Oregon Part 1: Eastern Border to Portland
/Wilder, ID, is very nearly on the state border, so it didn't take long to make it to the border. We had time-budgeted nearly a week to get from Idaho to Portland, but I must have done some math wrong, because we ended up making it to just outside Portland in three days.
Our path took us along side the historic Oregon Trail. At one point, we passed a good looking historical point, with what seemed to be a small hiking trail leading up to a small hill. We couldn't miss a quick morning walk, so we doubled back on a dirt road to make it to the trailhead.. It felt good to get Little Foot's tires dirty, if only for a minute. After the dirt road delivered us to the historical site, we climbed the hill and realized we had been driving remarkably close to the actual Oregon Trail! It is really cool to think we were navigating in terrain very similar to some of the original American pioneers.
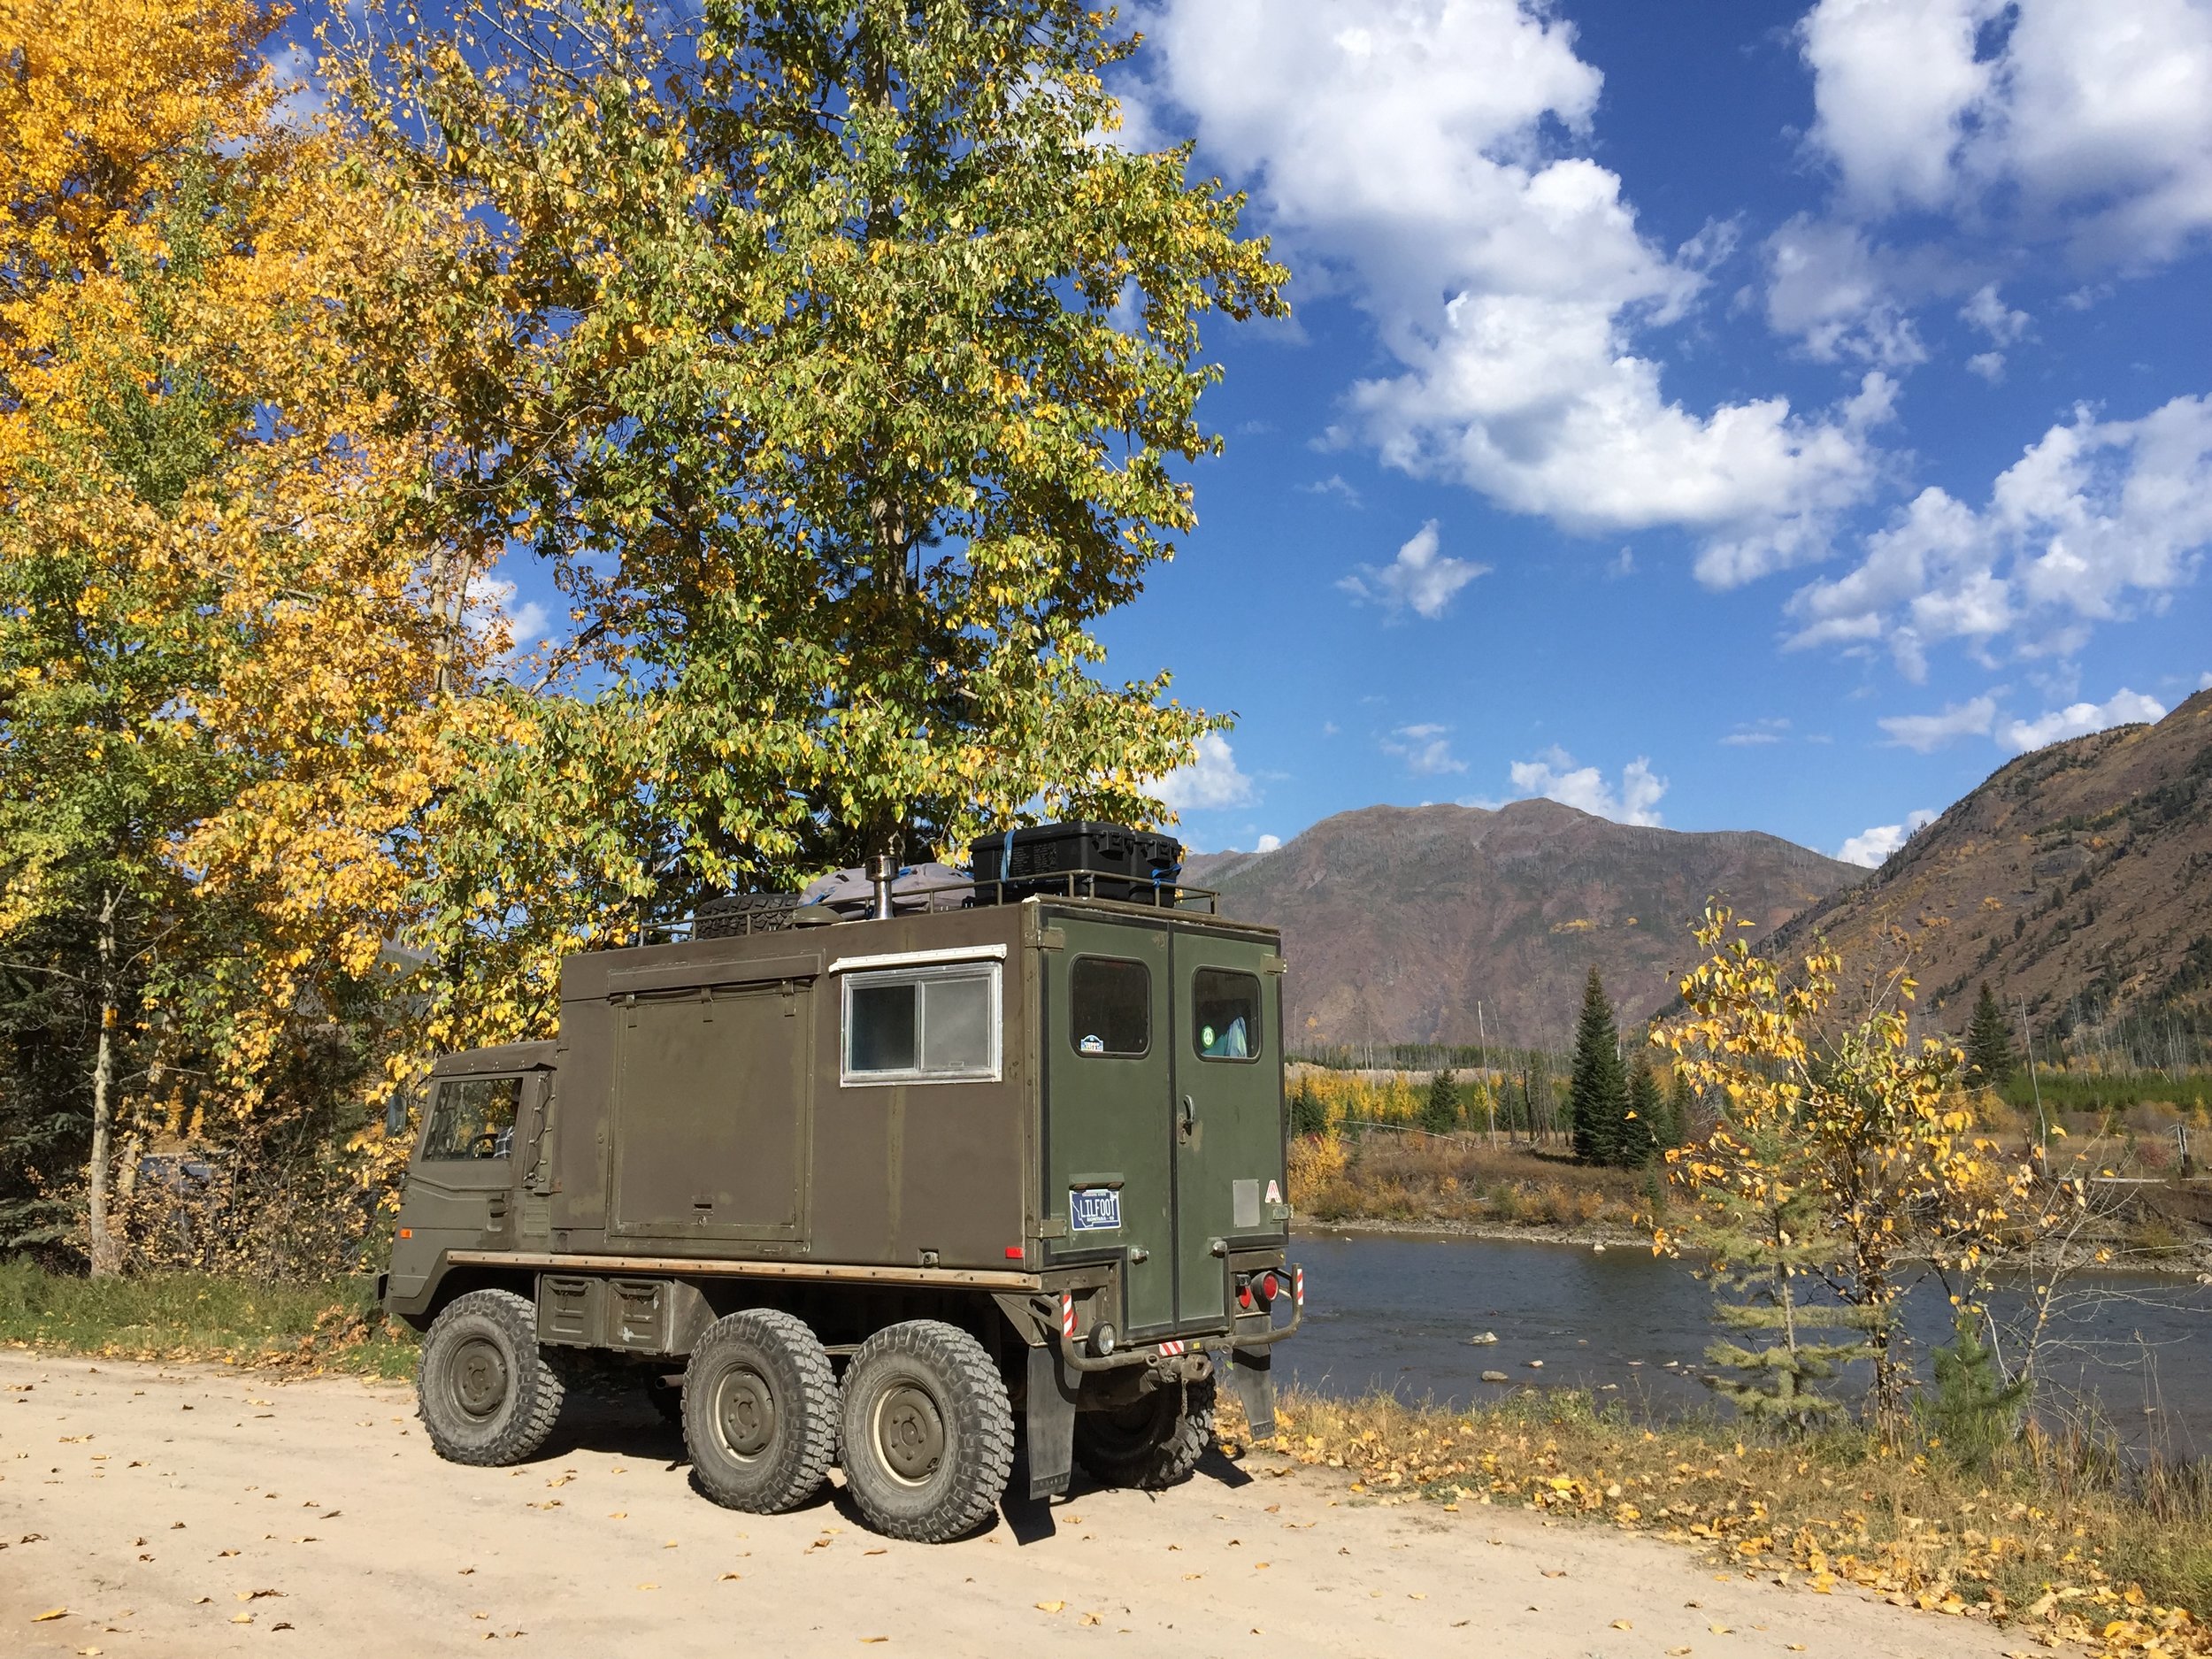
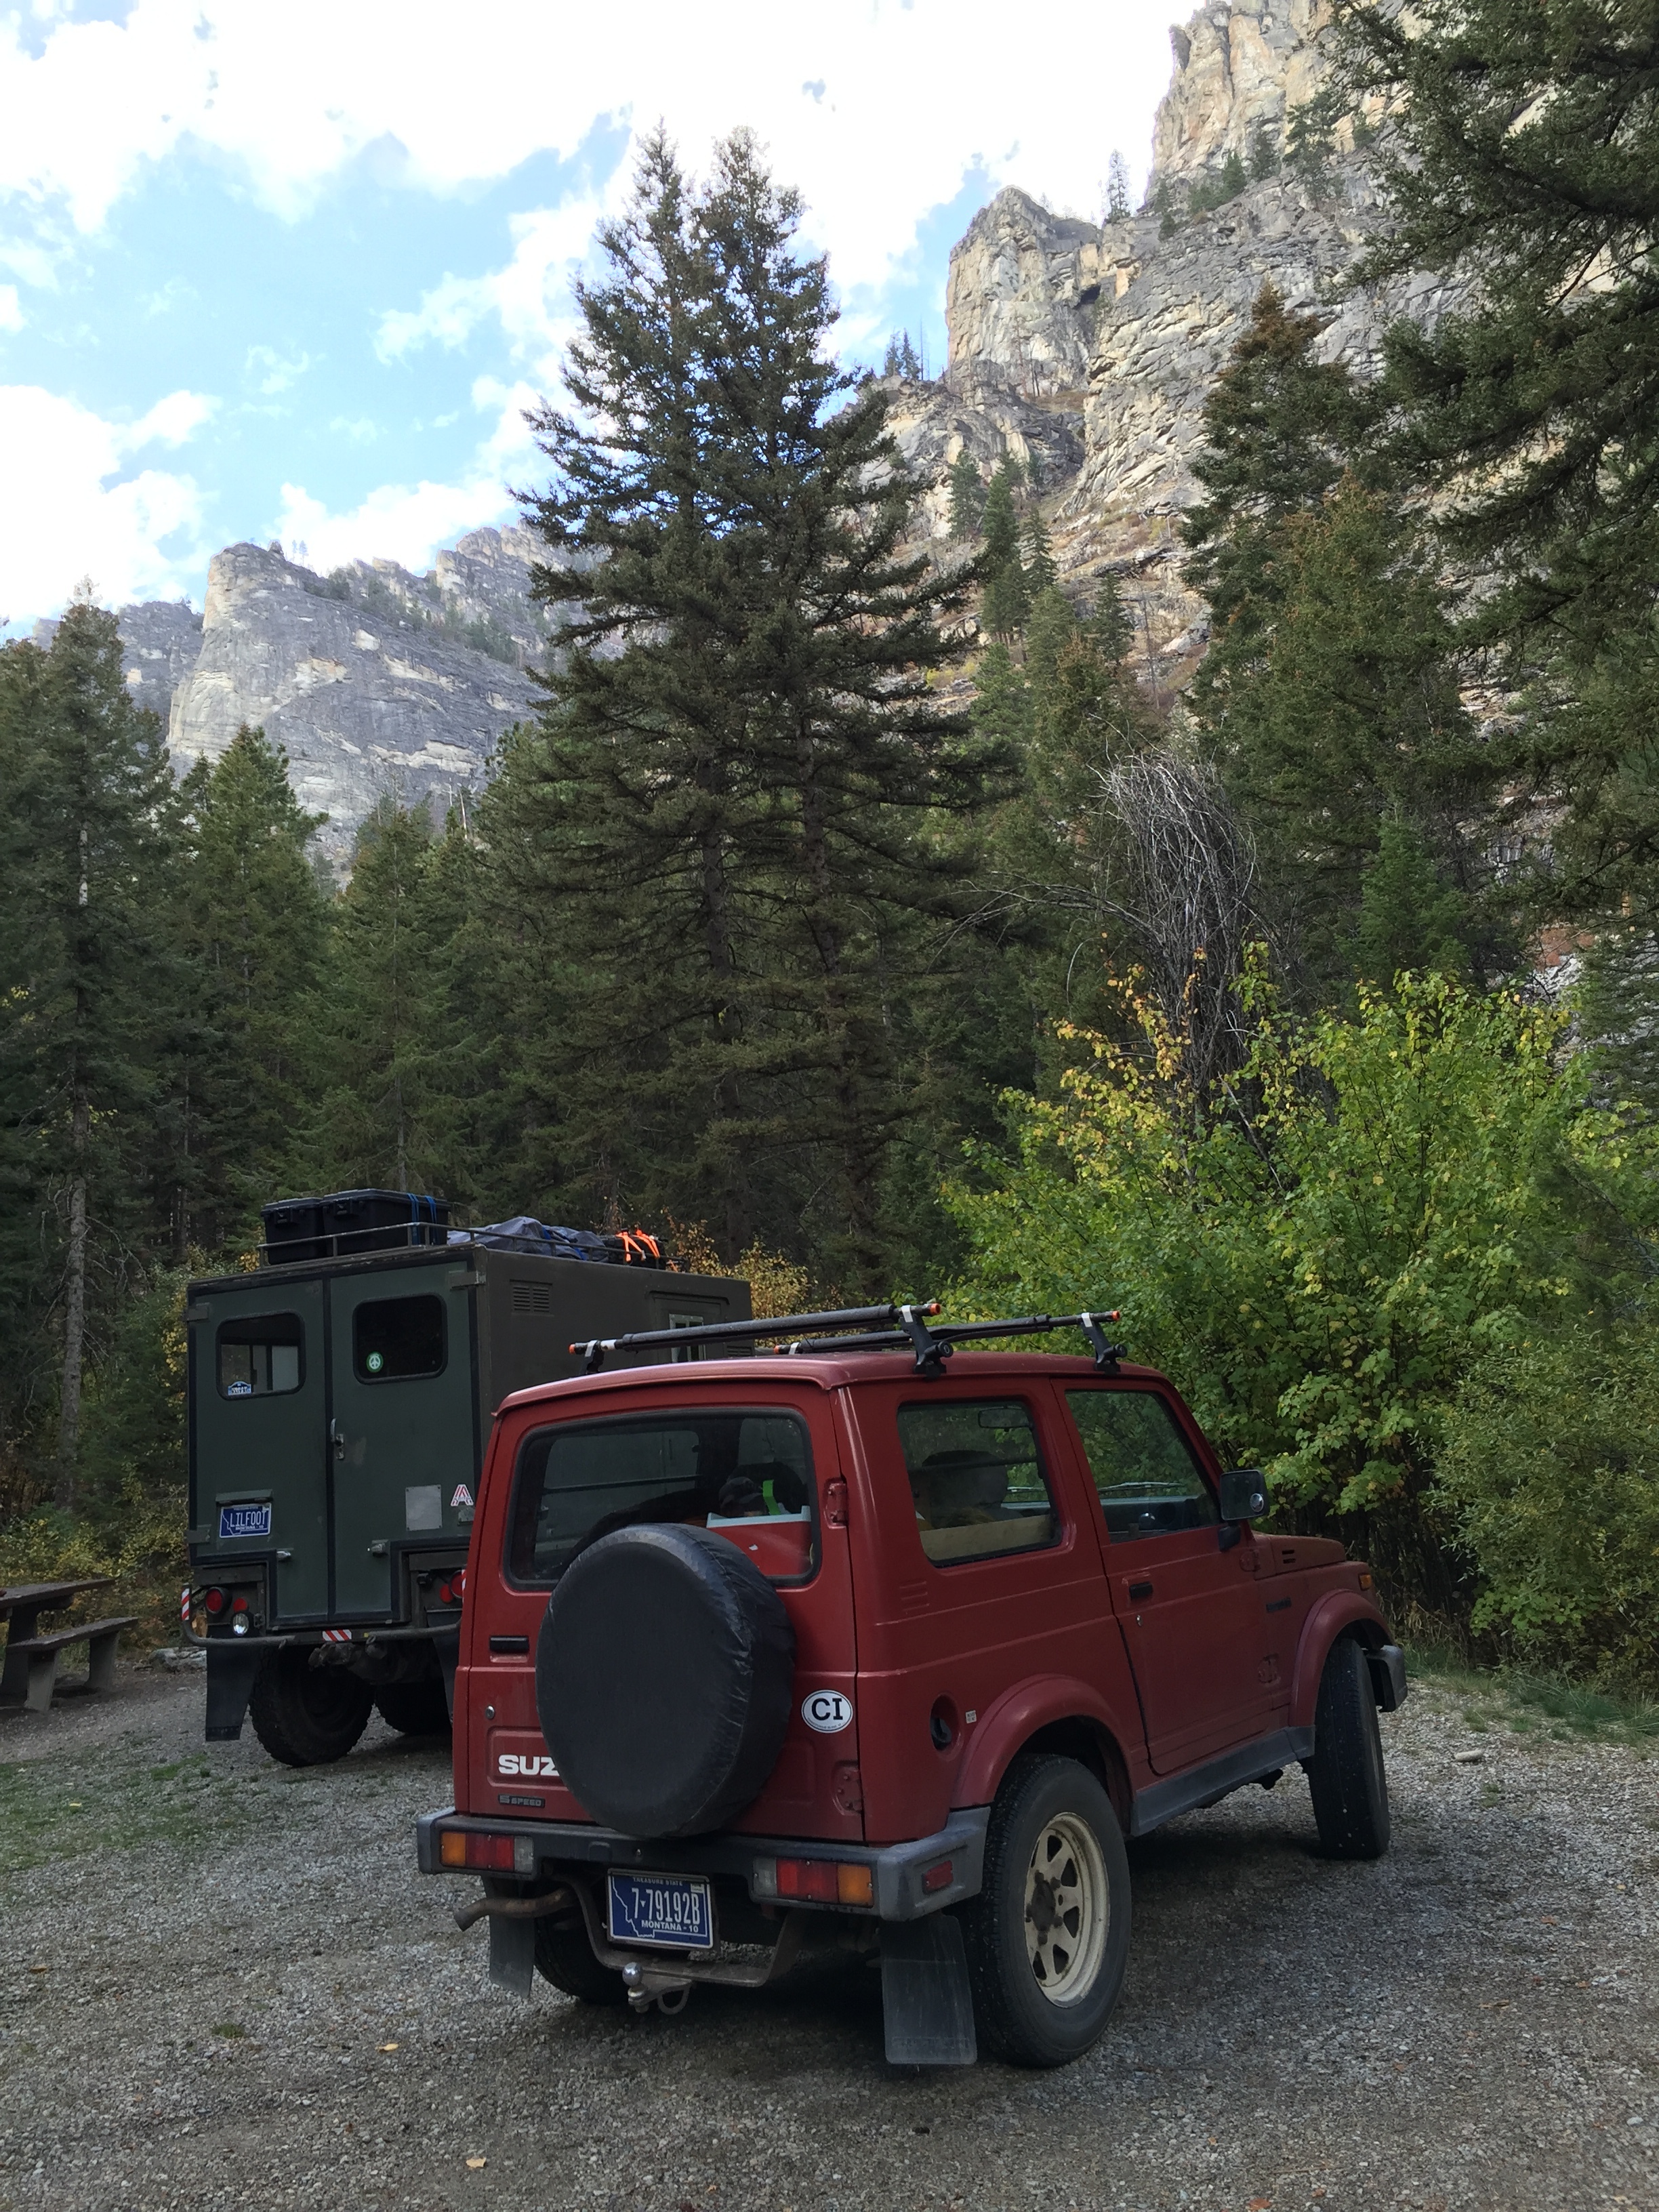
Our campsite that night was a little pull-off on a BLM road near Dayville, OR. Very beautiful land, and it seemed to be past the prime of hunting season, so there was little traffic.
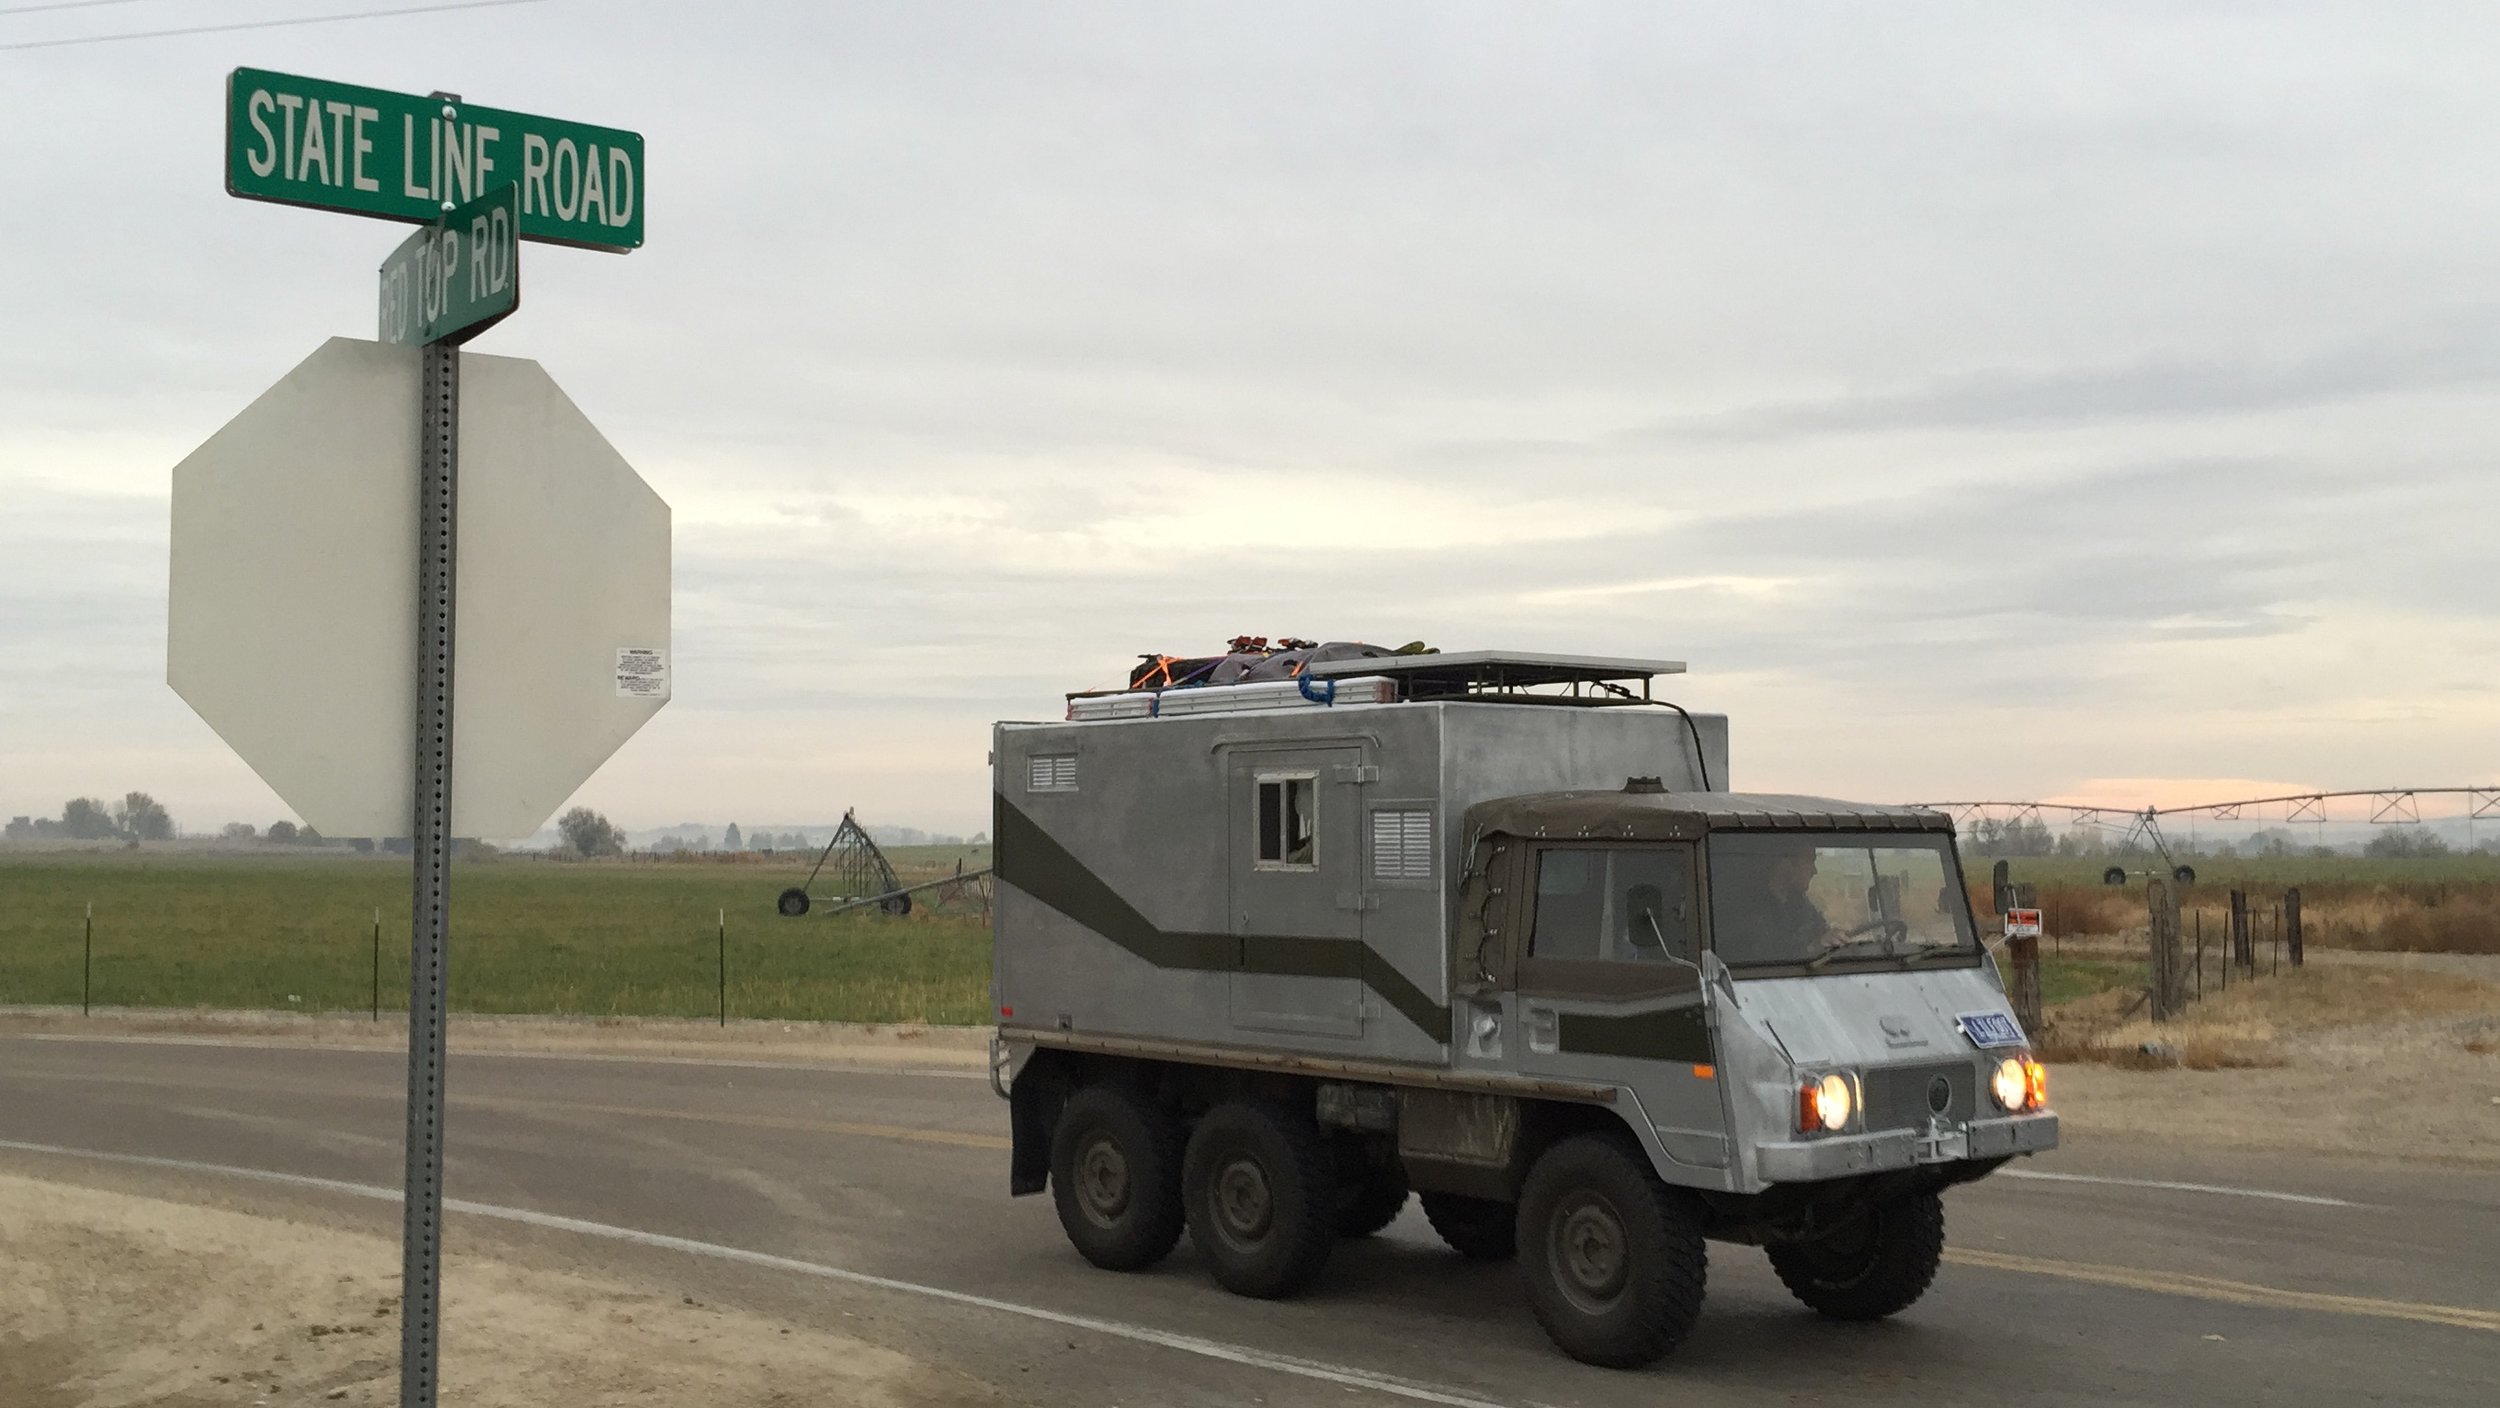
Like a starting line, but slower and lonelier.

Driving real close (or maybe very nearly on?) the Oregon Trail.

On a BLM road near Dayville, OR.

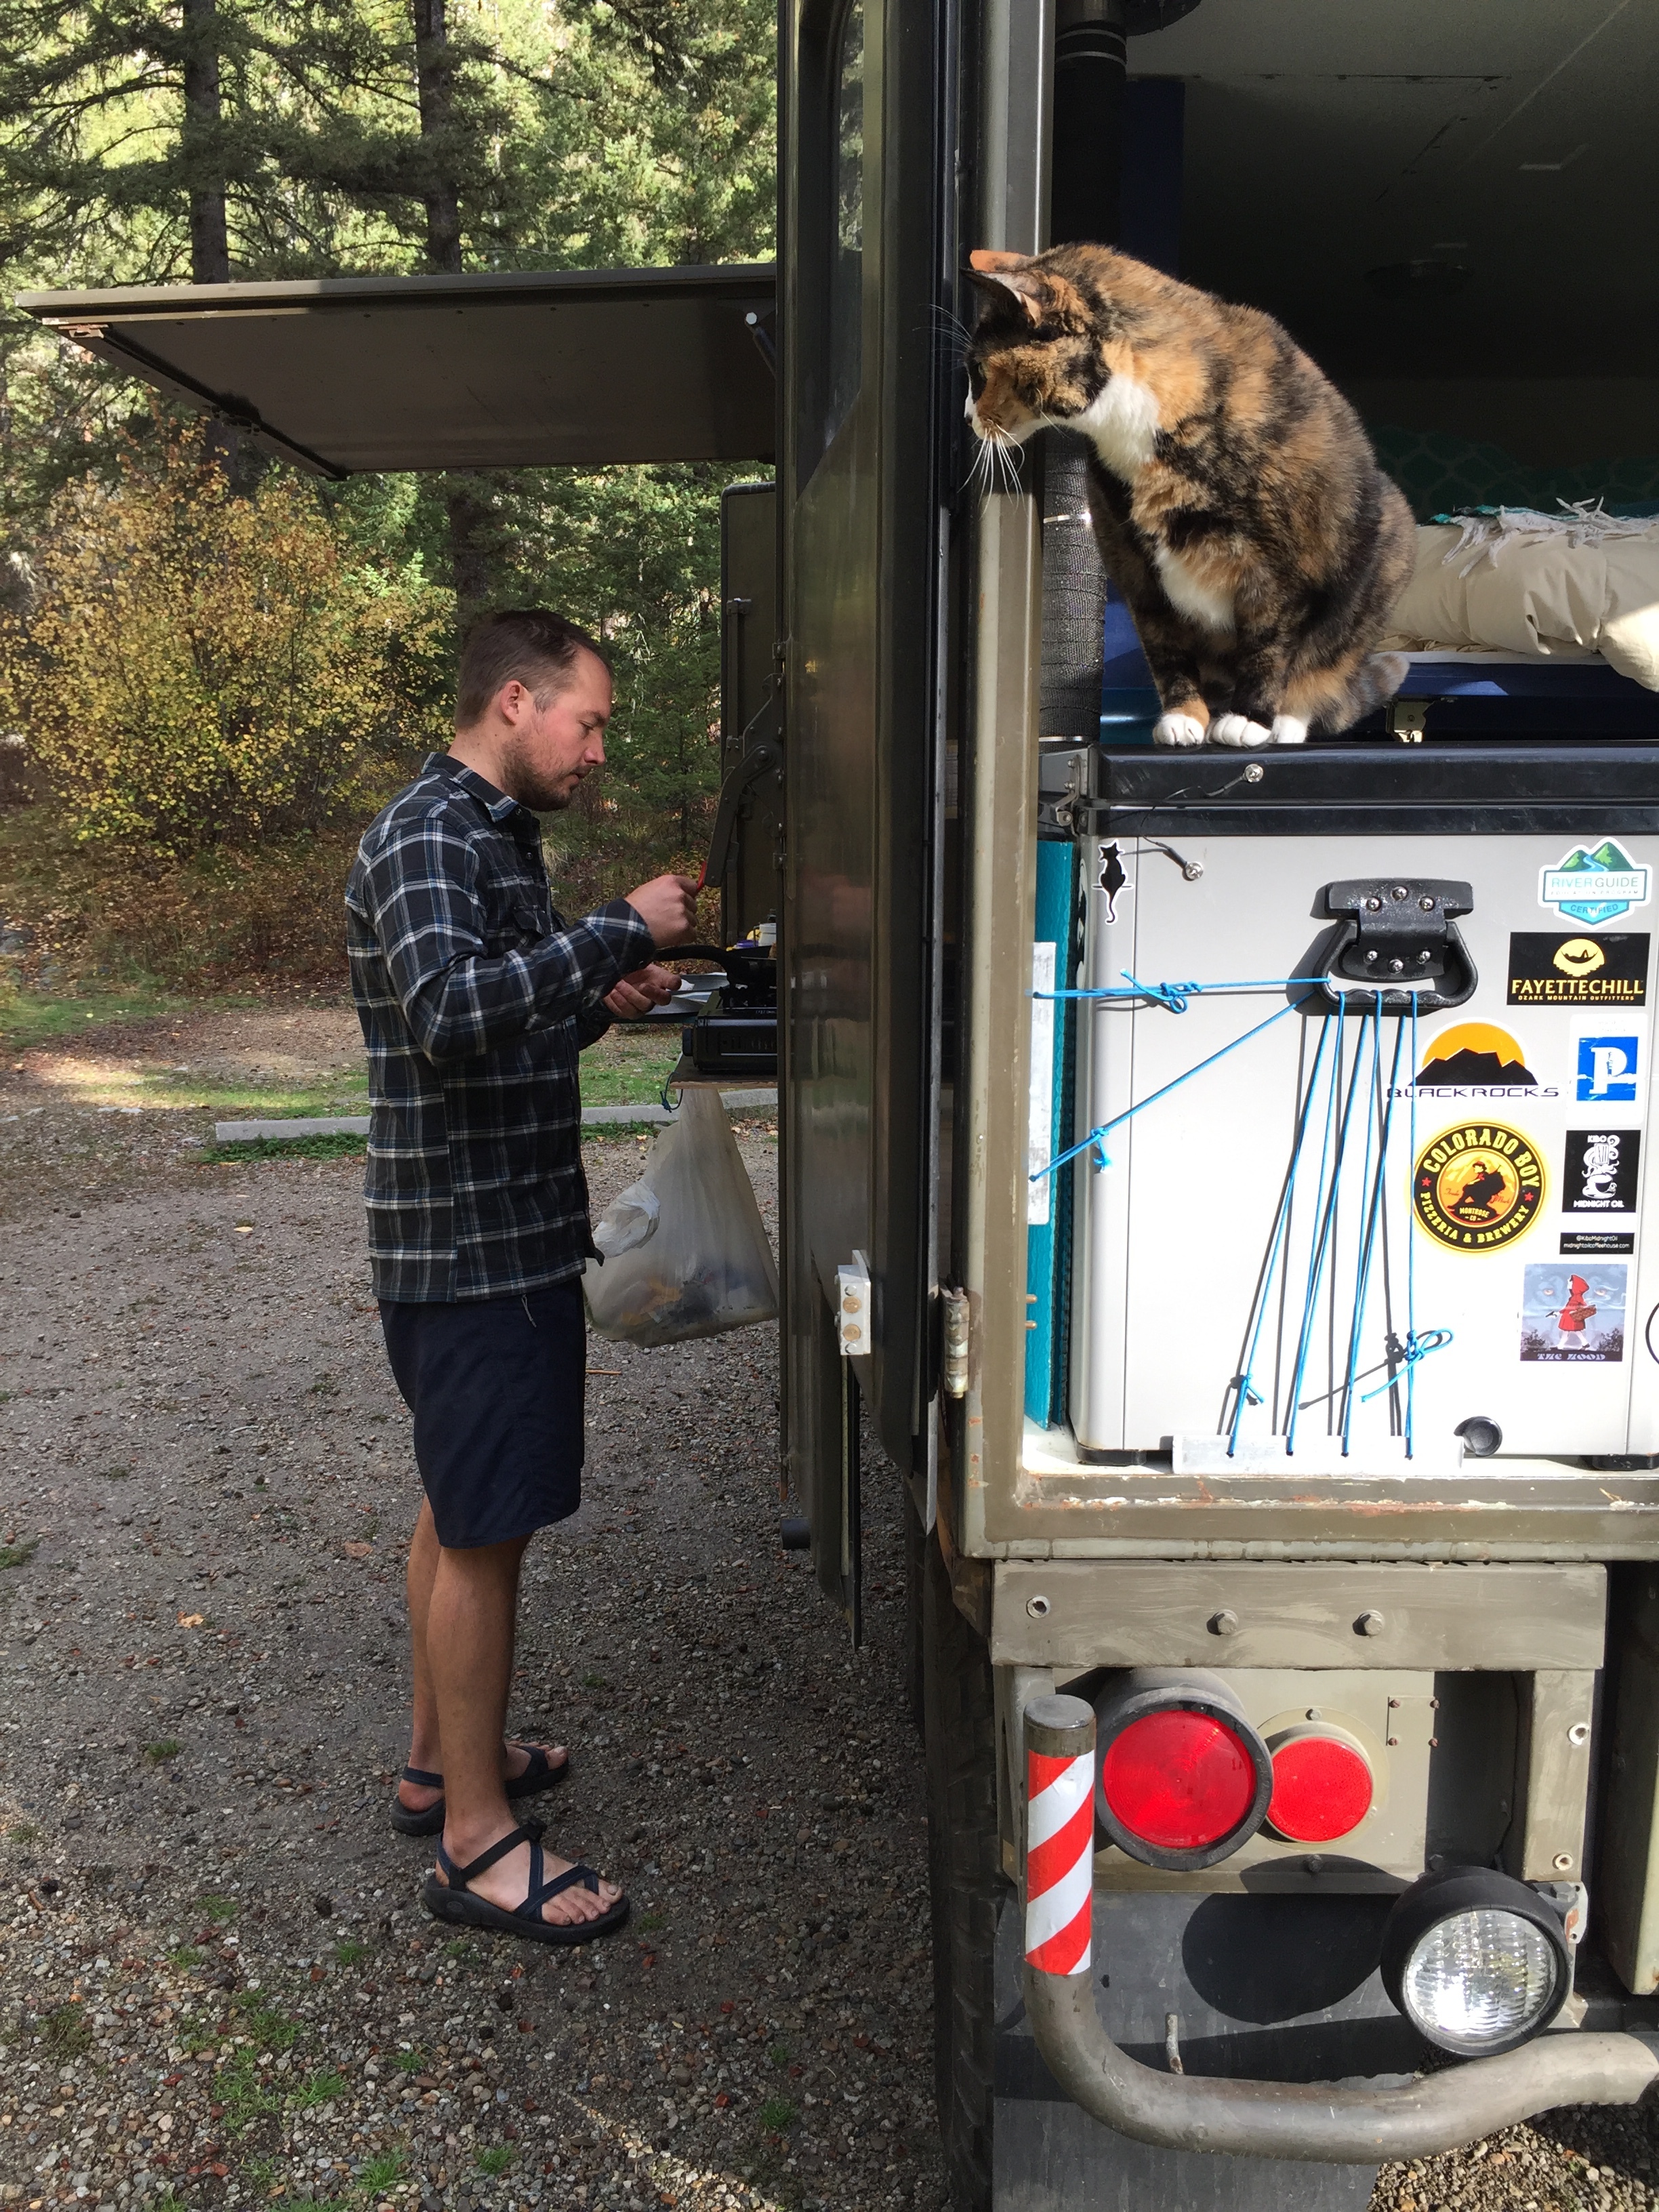
Collecting firewood at camp, the Cubic Mini Woodstove burns mini wood!
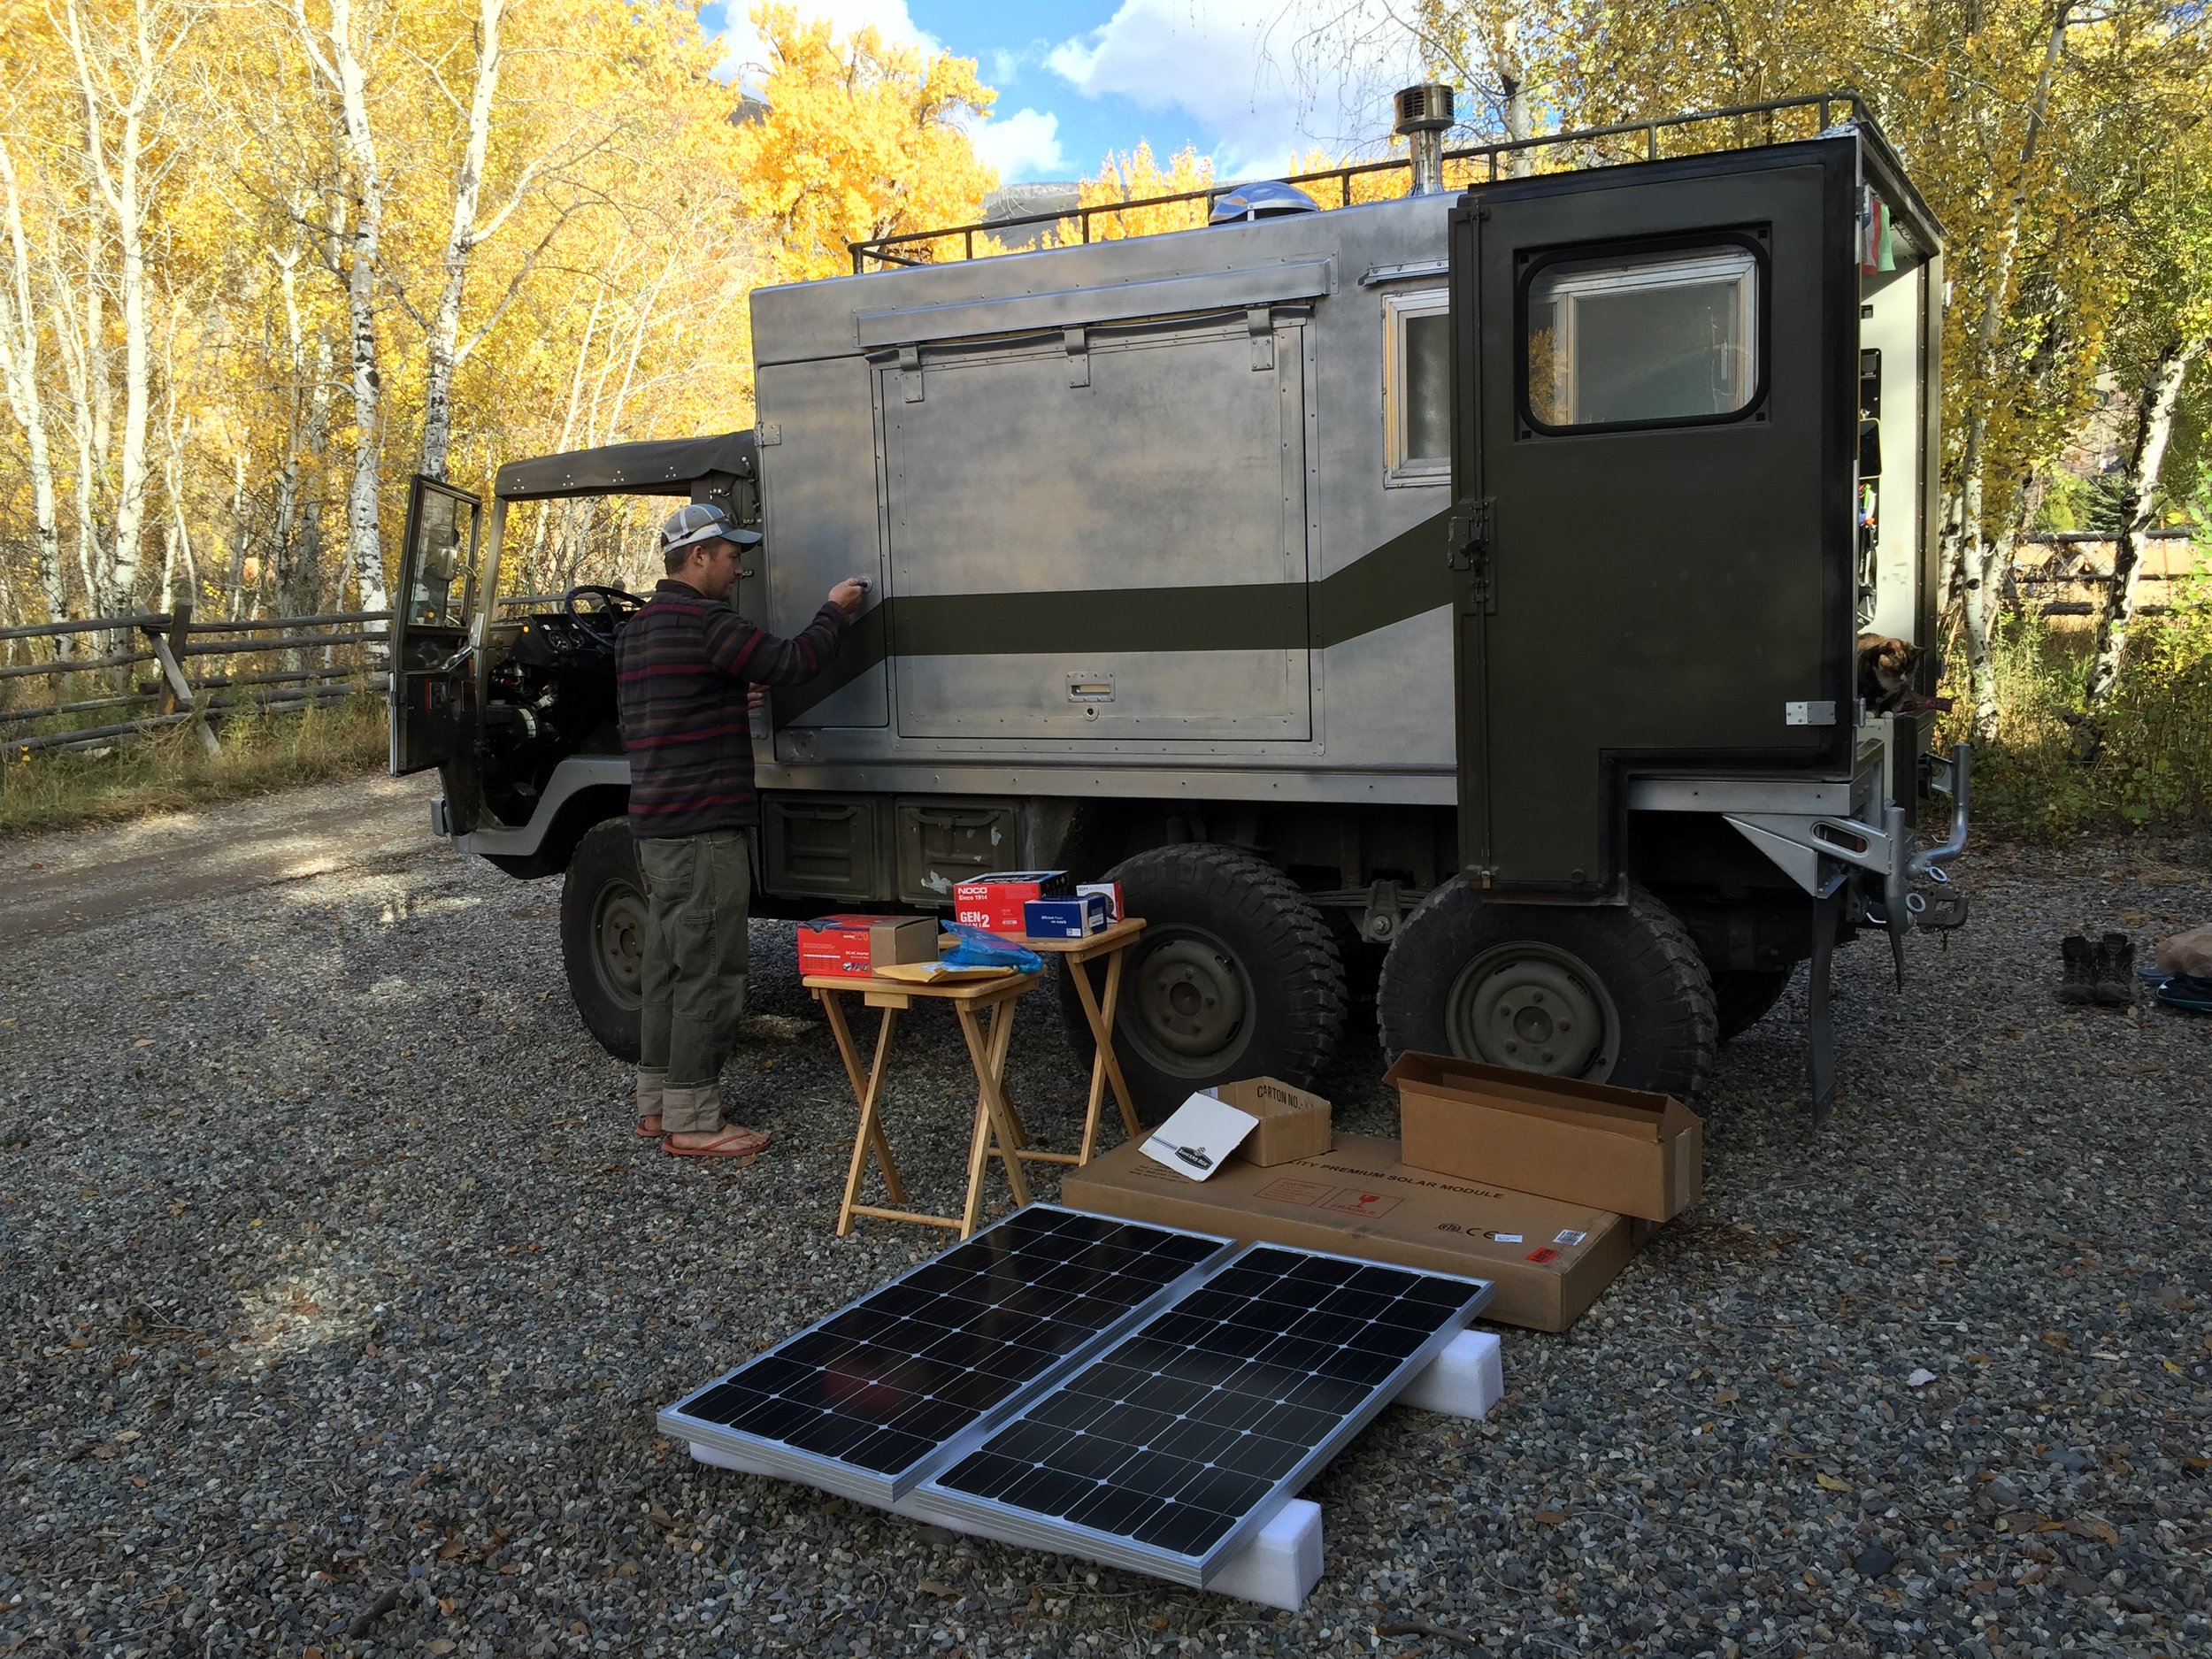
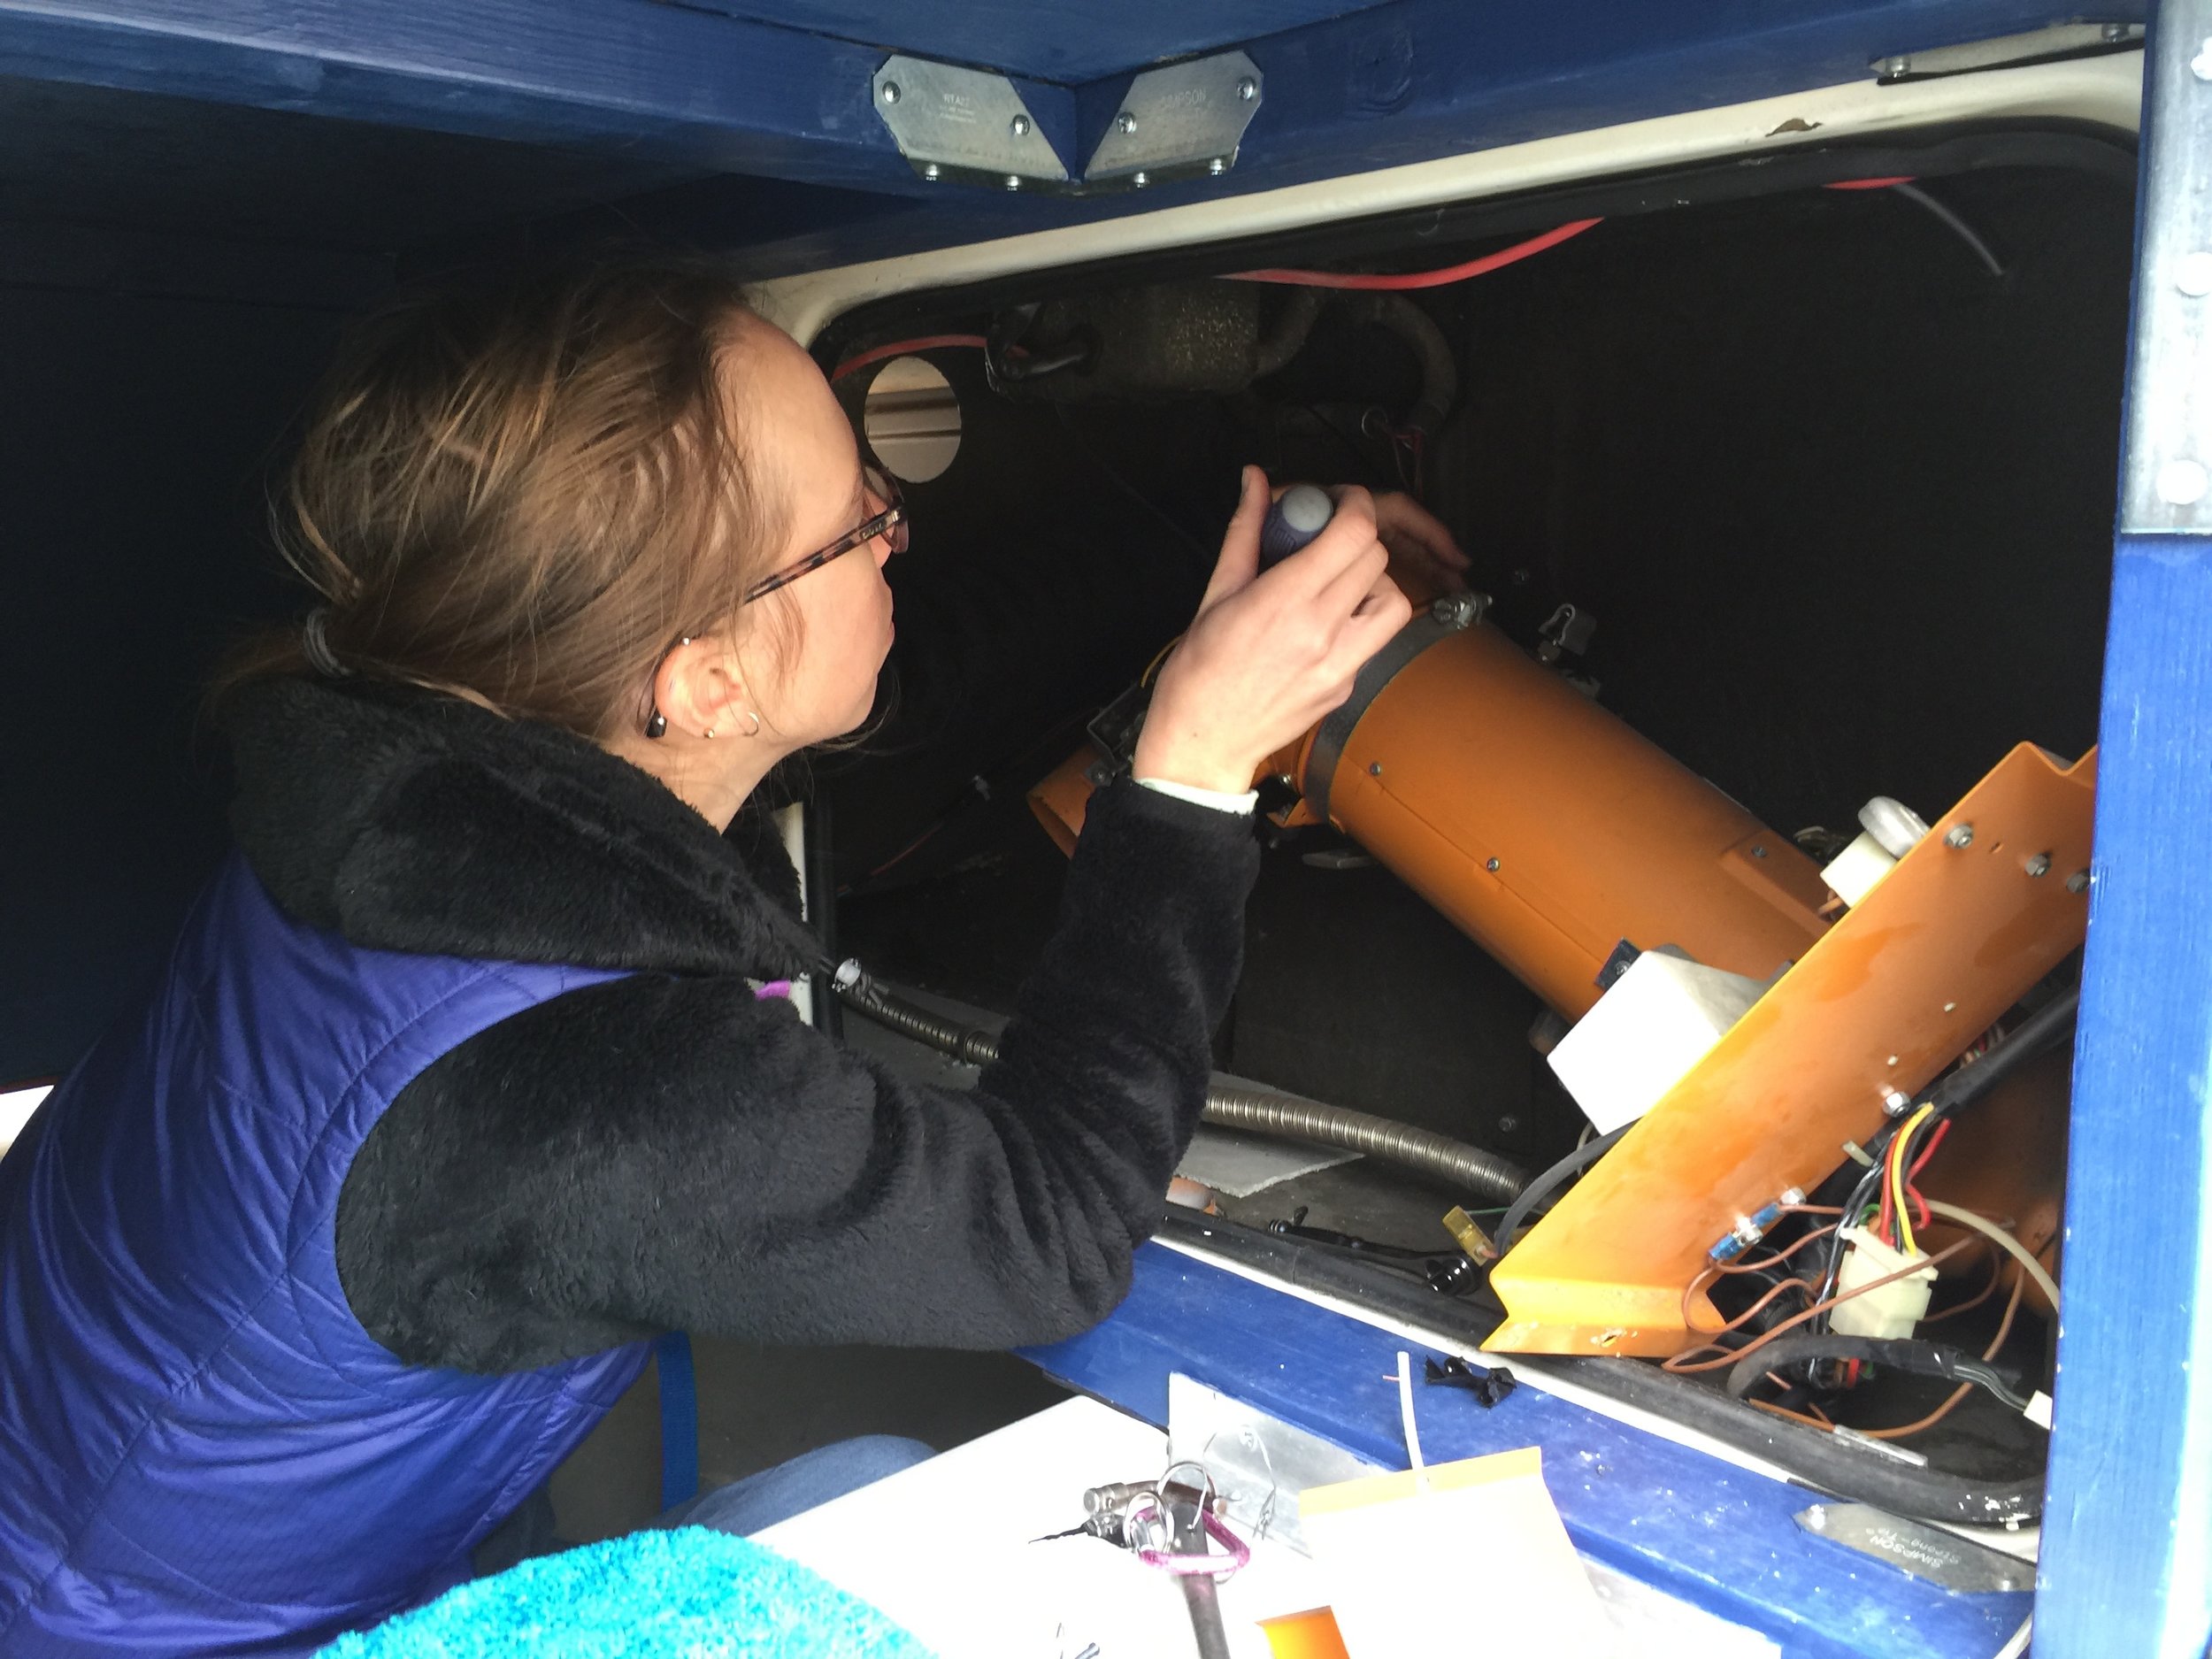
We're starting to realize that every blog post may very well have some aspect of Pinzgauer maintenance or repair. If you have an older vehicle, or really any vehicle, realize that maintenance and repair needs to happen. Don't neglect a potential problem. Not a huge problem this time, just a loose wiper motor mount. We got the wrenches out to tighten some nuts and bolts, because a few minutes of maintenance might be the difference between a working wiper motor and a serious headache of sourcing a 30 year old, foreign military surplus part.
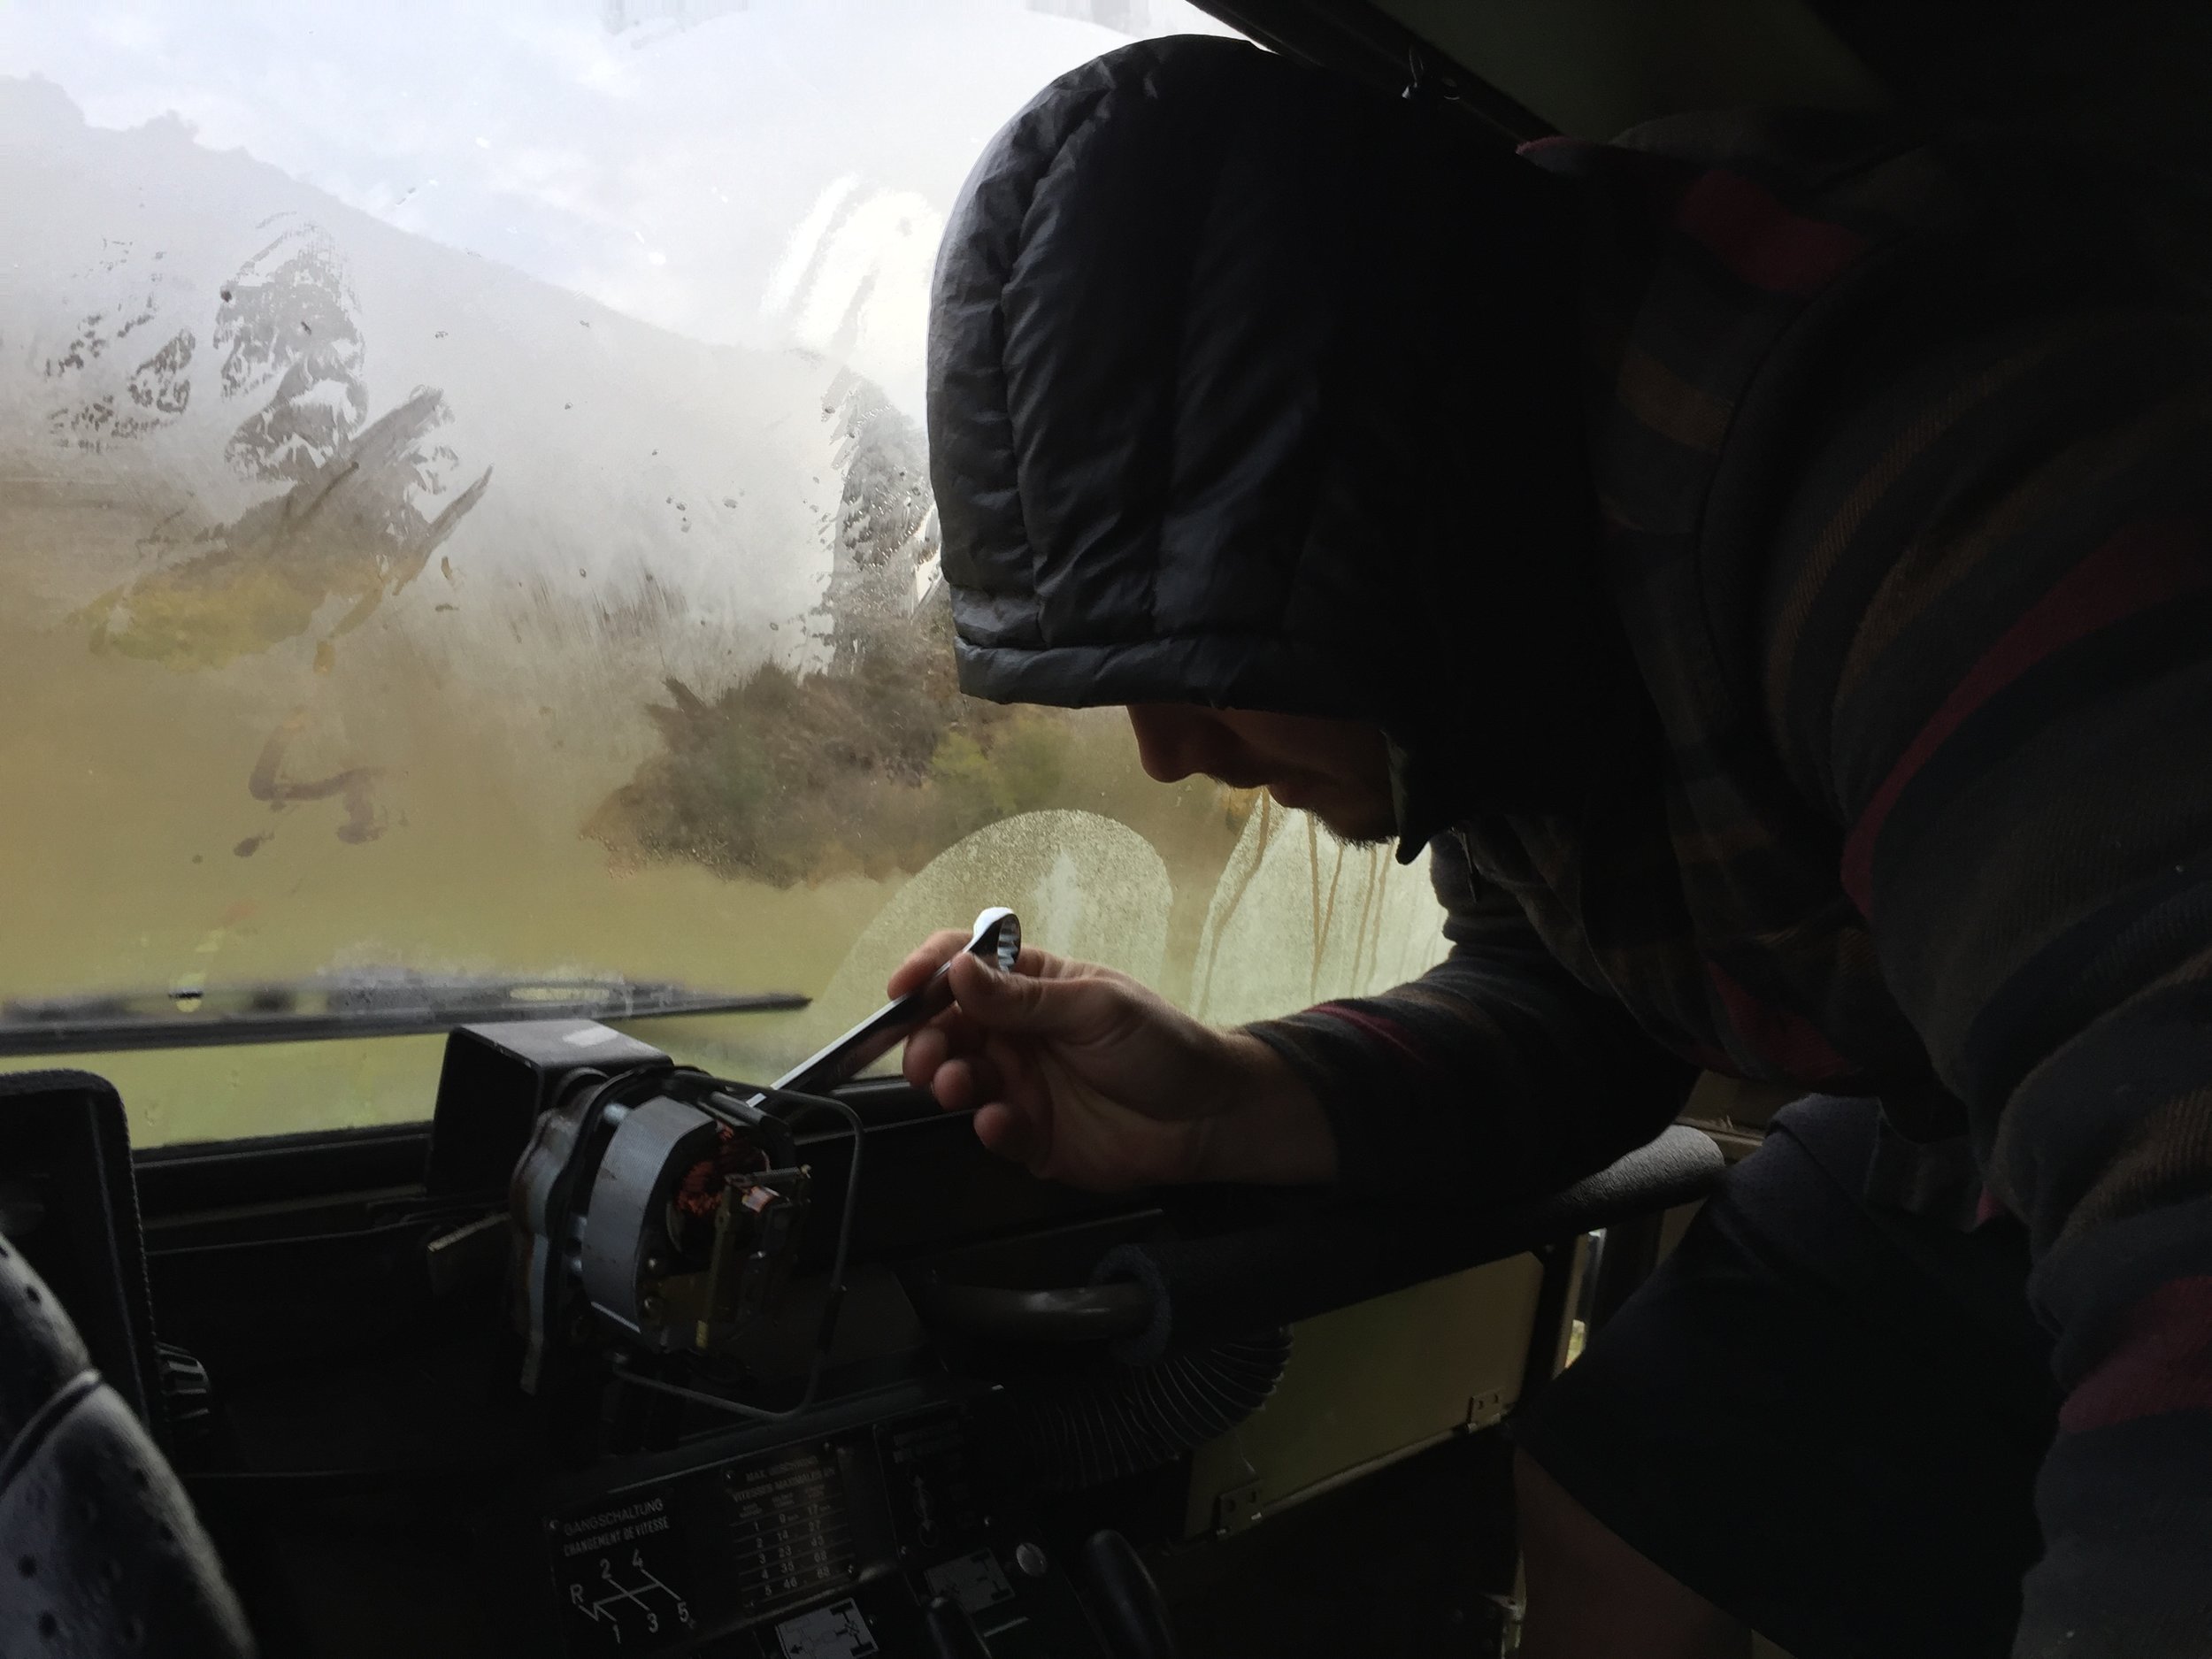
Fixing.
Our drive the next day started with a beautiful blue sky and Chelsea behind the wheel. We had found a "short cut" across the state by using a dirt road that started just a few miles past our campsite. Chelsea started driving, thinking that she needed some practice, and just kept on going! It ended up being a great drive, and it sure was nice to ride in the passenger seat.
We didn't get any photos of the drive but it was beautiful! Because Chelsea was driving, I was on photo duty, and only took videos instead of photo. Unfortunately its hard to embed those in our blog without some serious editing, so maybe they will show up in a movie later. Whoops! We did get a photo of me making lunch at the high pass on the drive, so you can get an idea of the road.
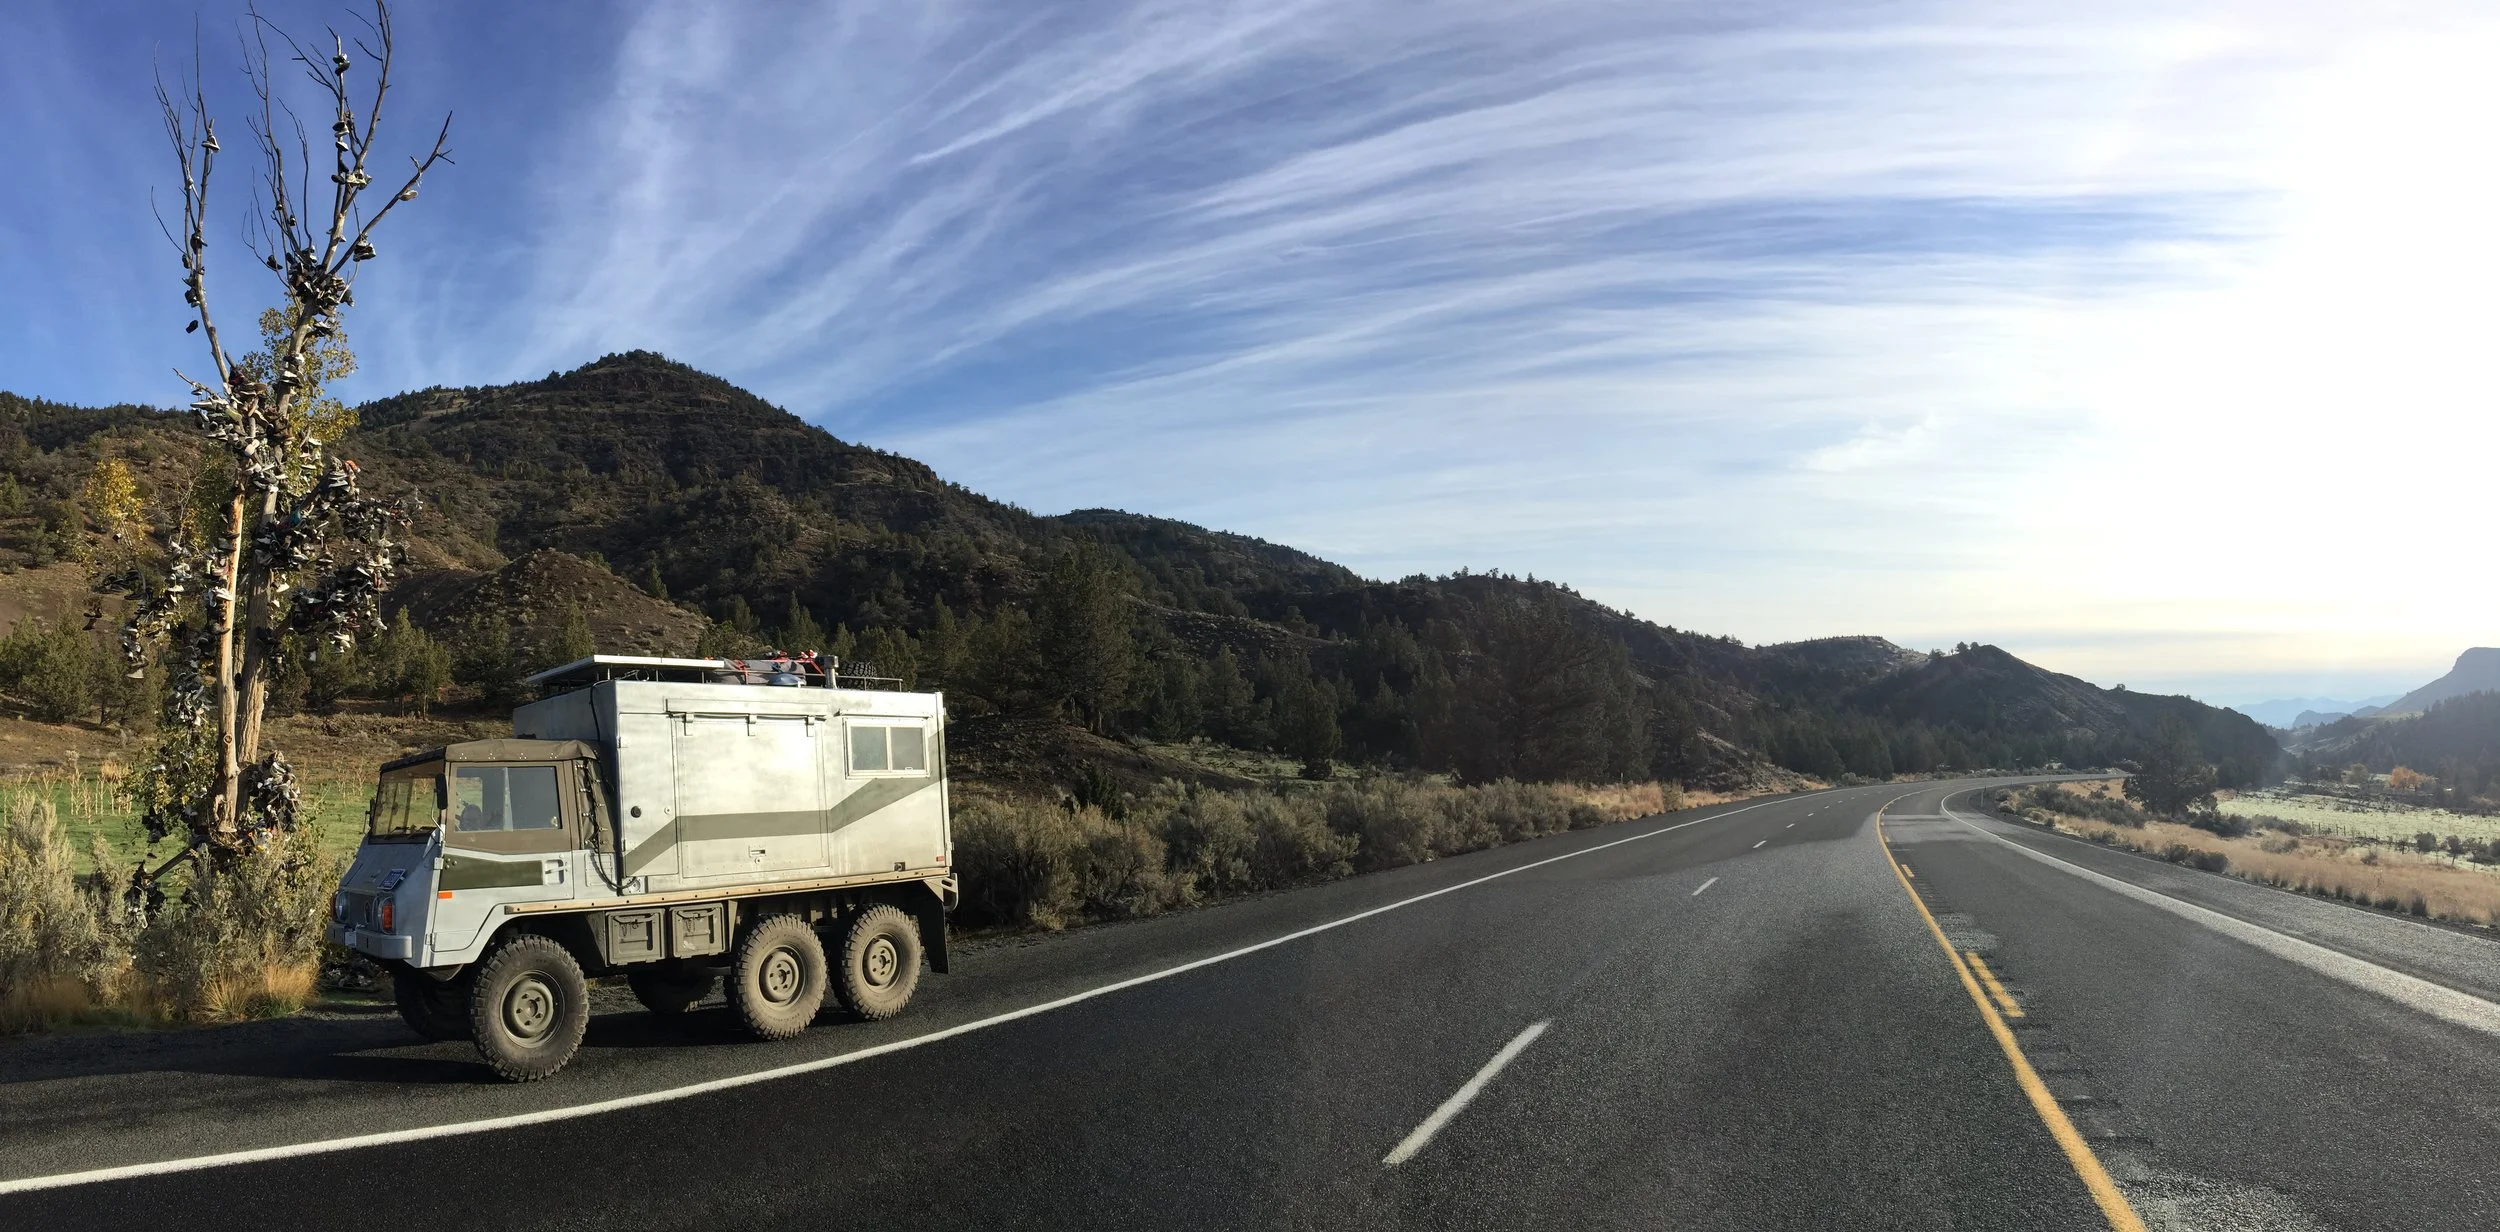
Parked briefly next to a tree covered in shoes! It had a sign on it that said, "Just a bunch of old soles hanging around."

Behind the wheel for one of the first times!

Loulou likes to join us in the sun in a camp chair that she's claimed as her own. (On that note…we need to purchase a third camp chair…)
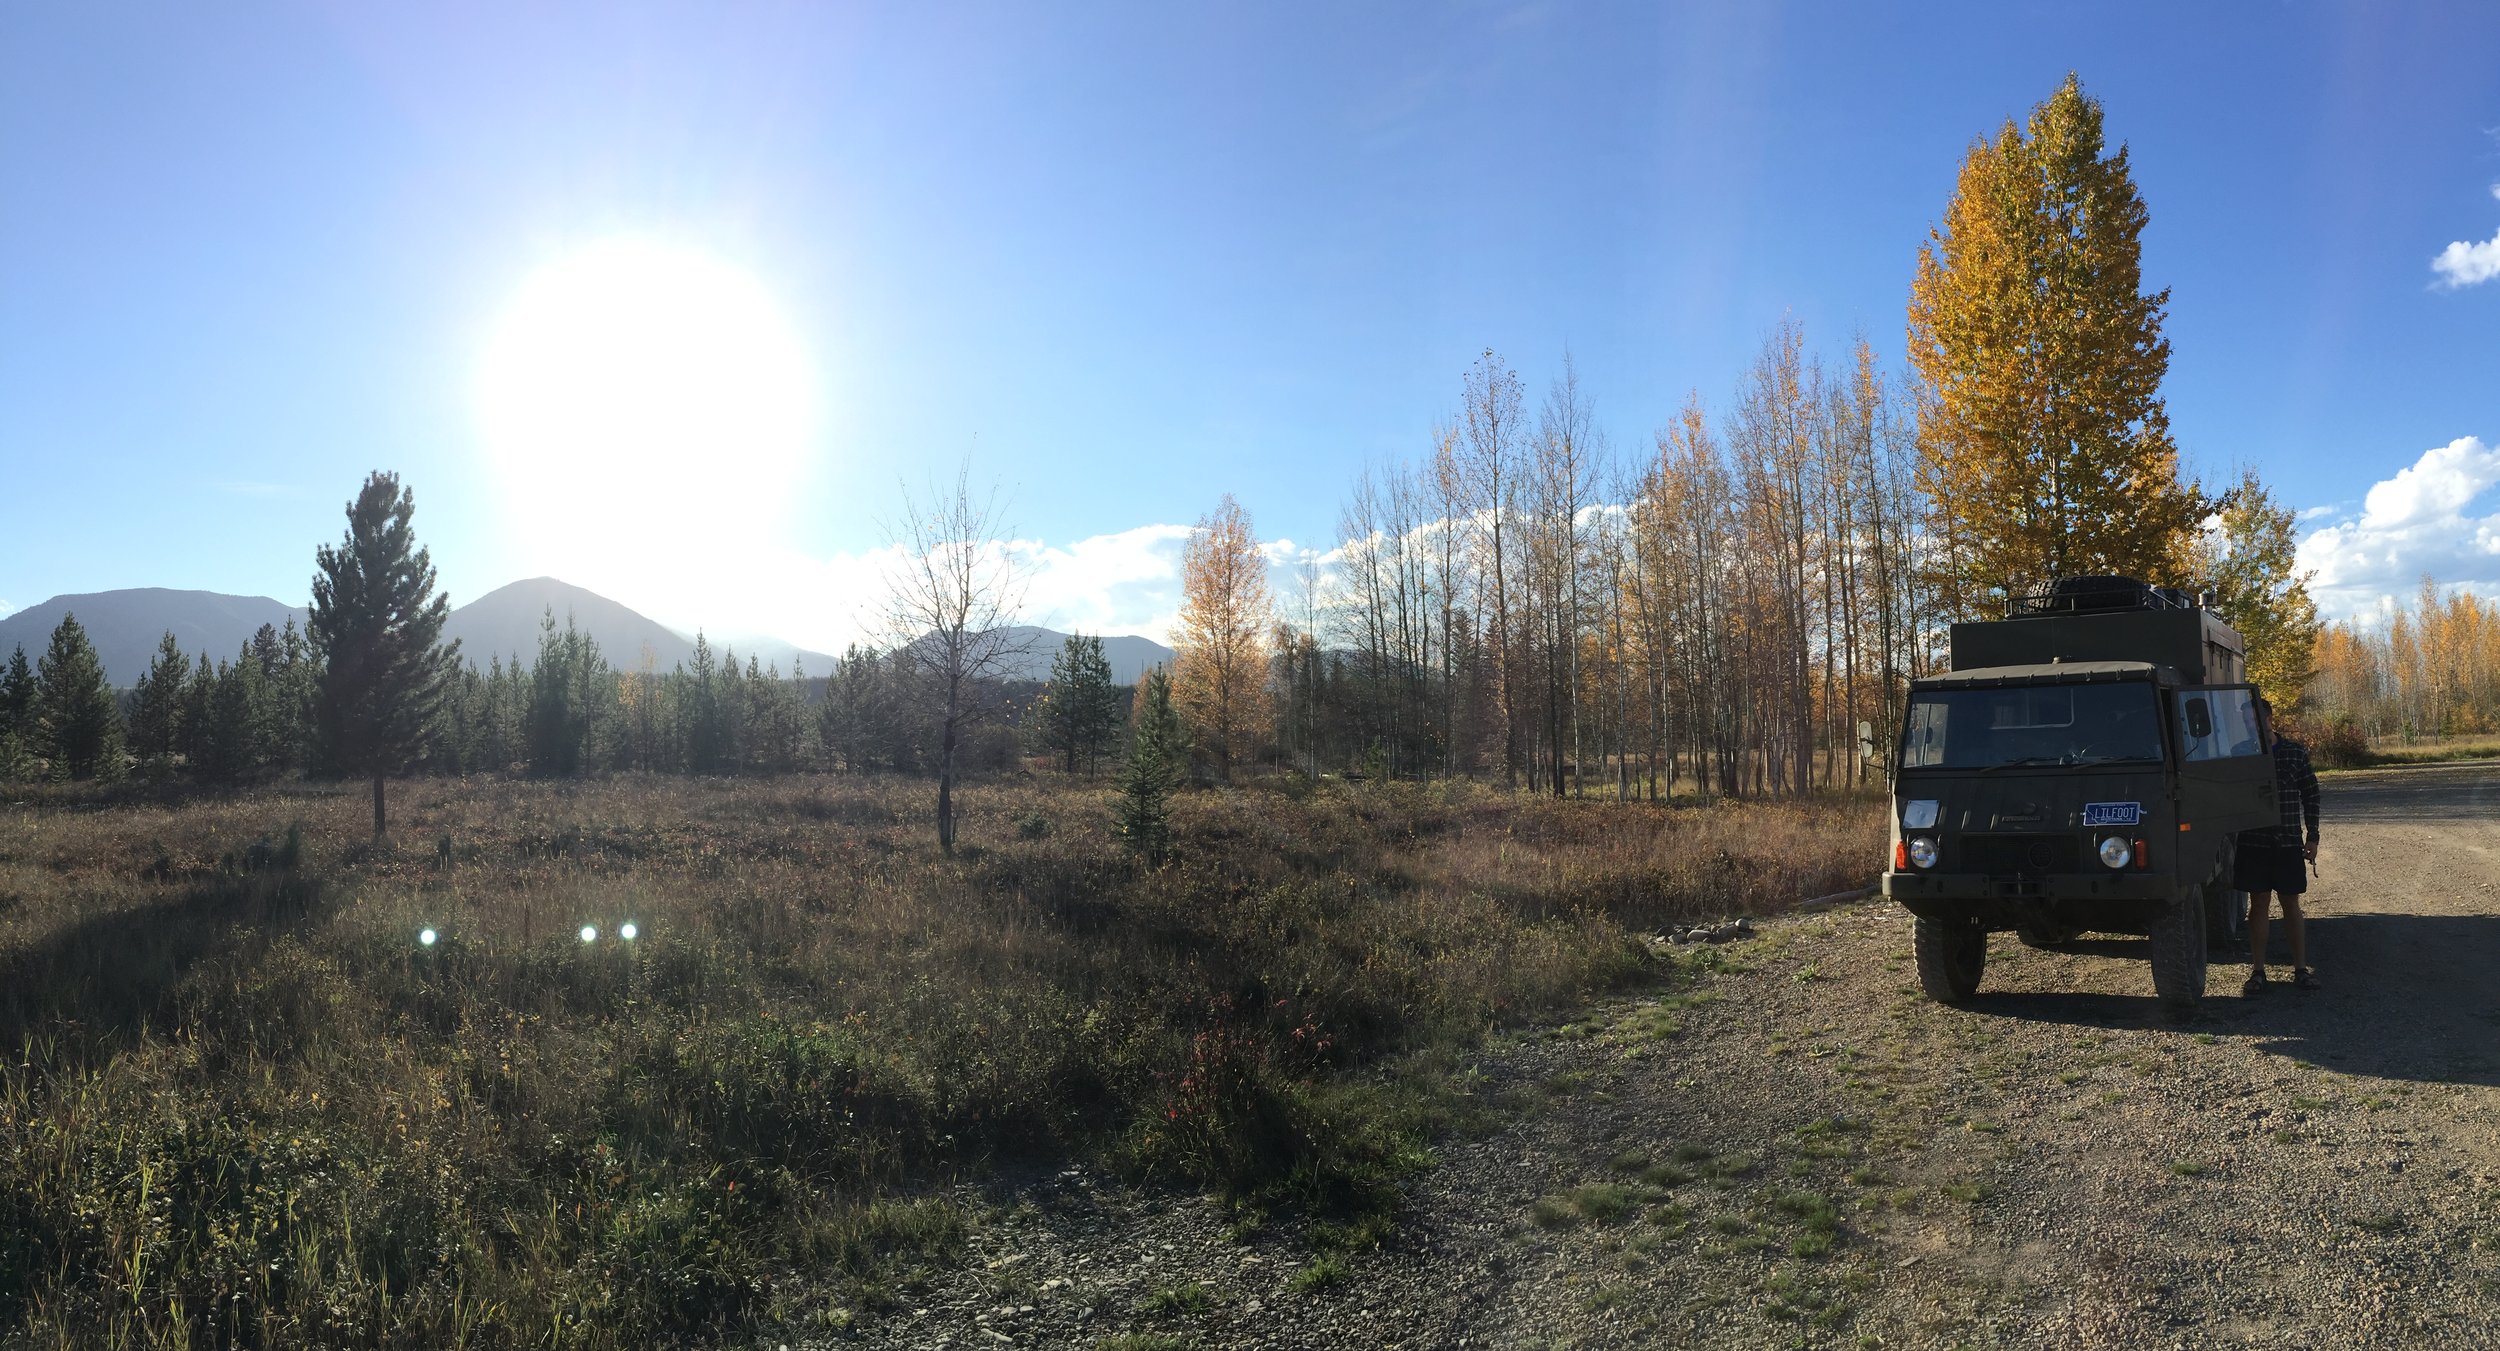
We spent a night camped in the National Forest near Bagby Hot springs, choosing to stop driving before twilight instead of pushing on into the darkness. The campsite was secluded and beautiful, and even featured a dirt road detour with almost no other traffic but us. The next morning we got up and drove, making it to the hot springs parking lot before 10AM. We bought our passes ($5 each…and a first for us for hot springs in a national forest) and headed up the trail, but only after fielding a handful of questions from the nice parking lot attendant.
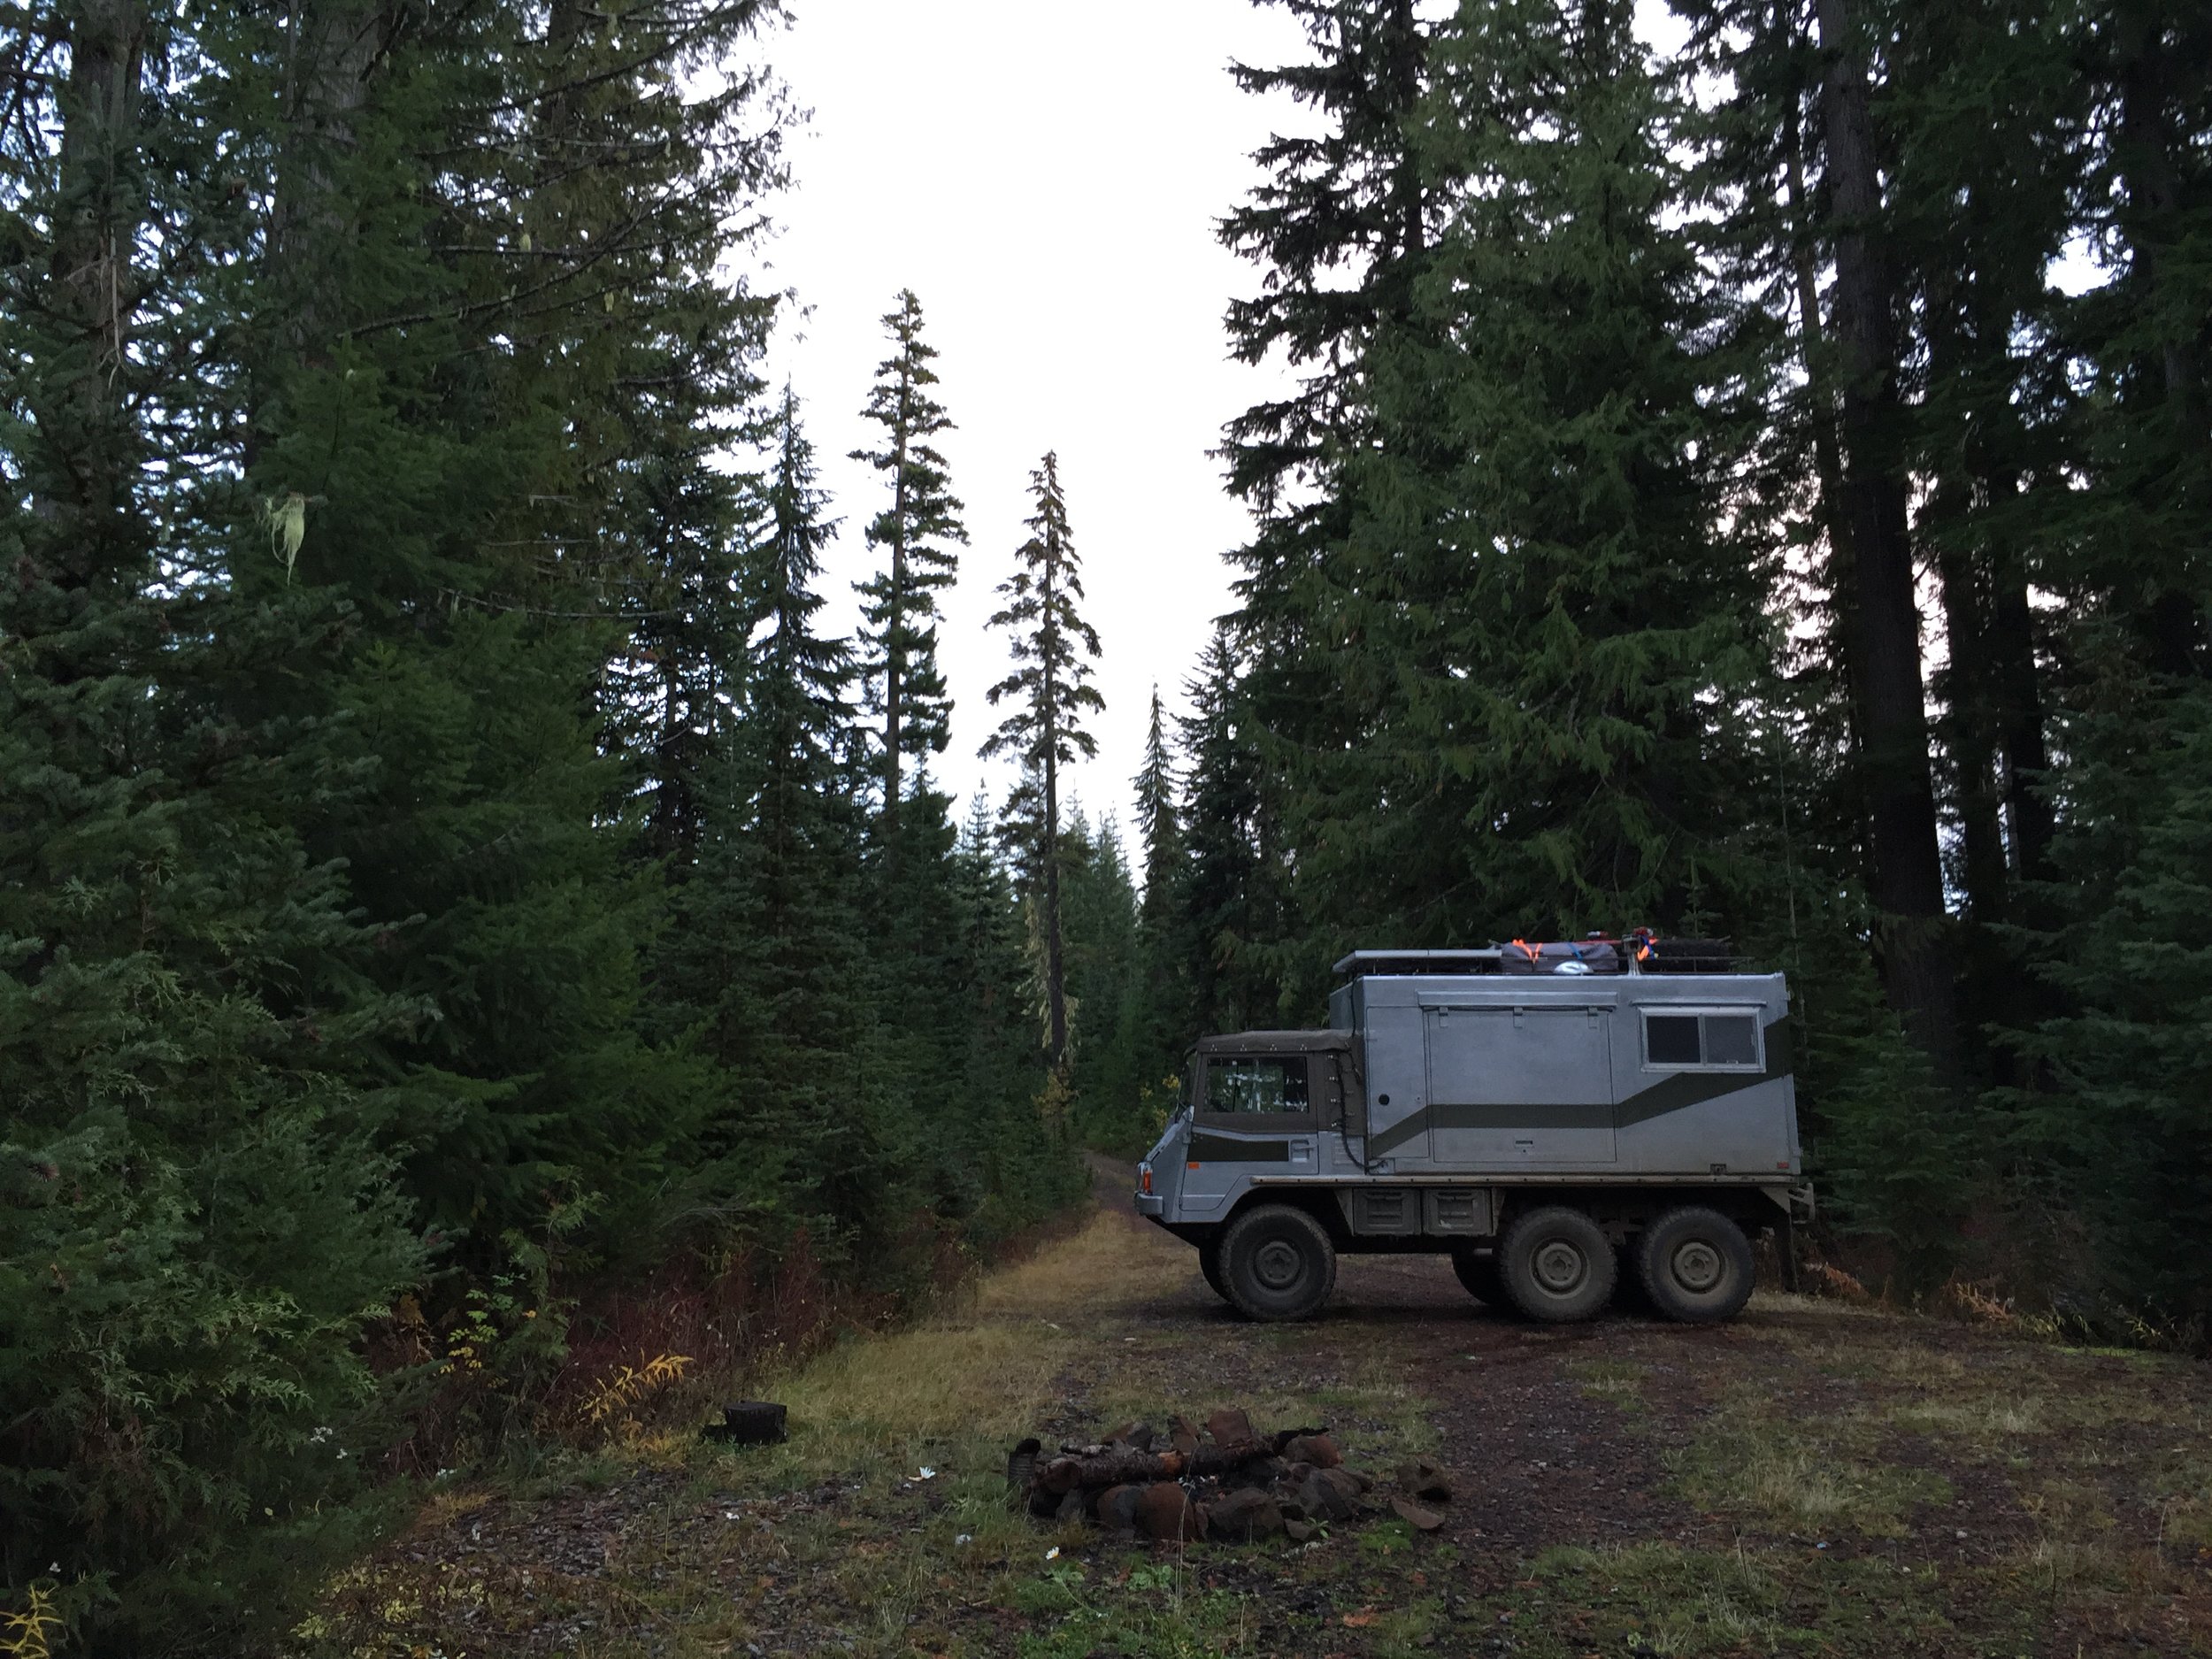
Again, beautiful and deserted.
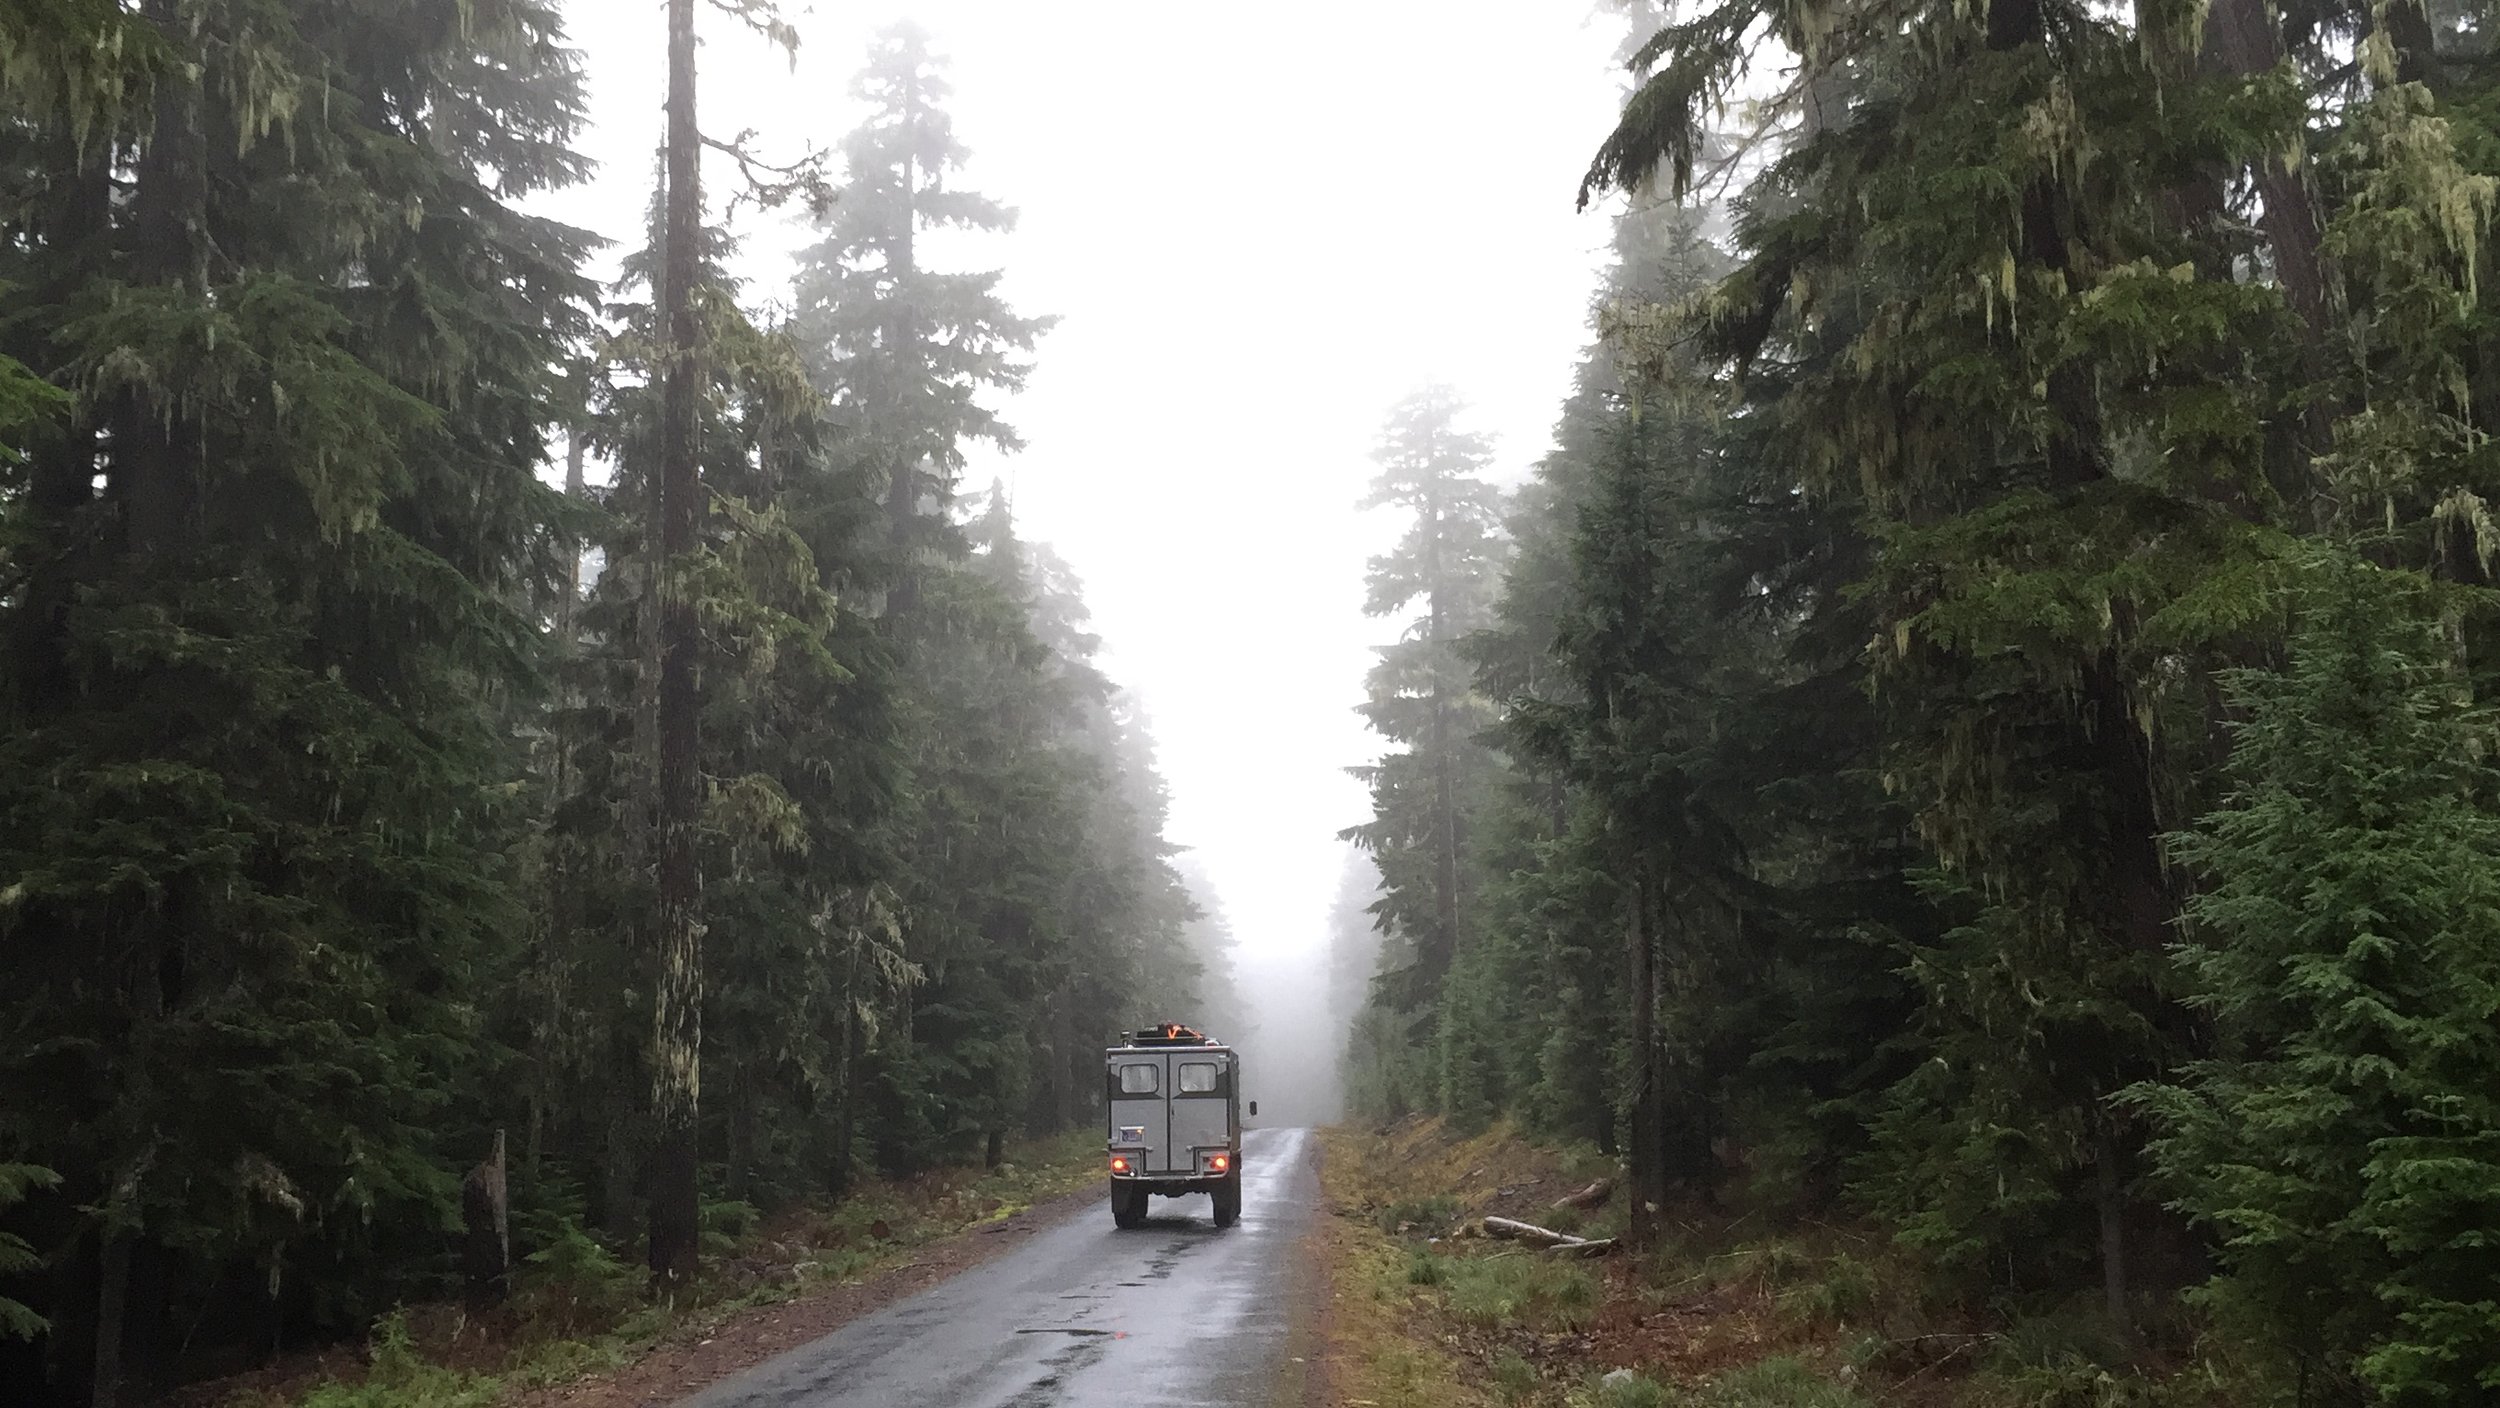
Little Foot diving through the morning fog towards Bagby hot springs.
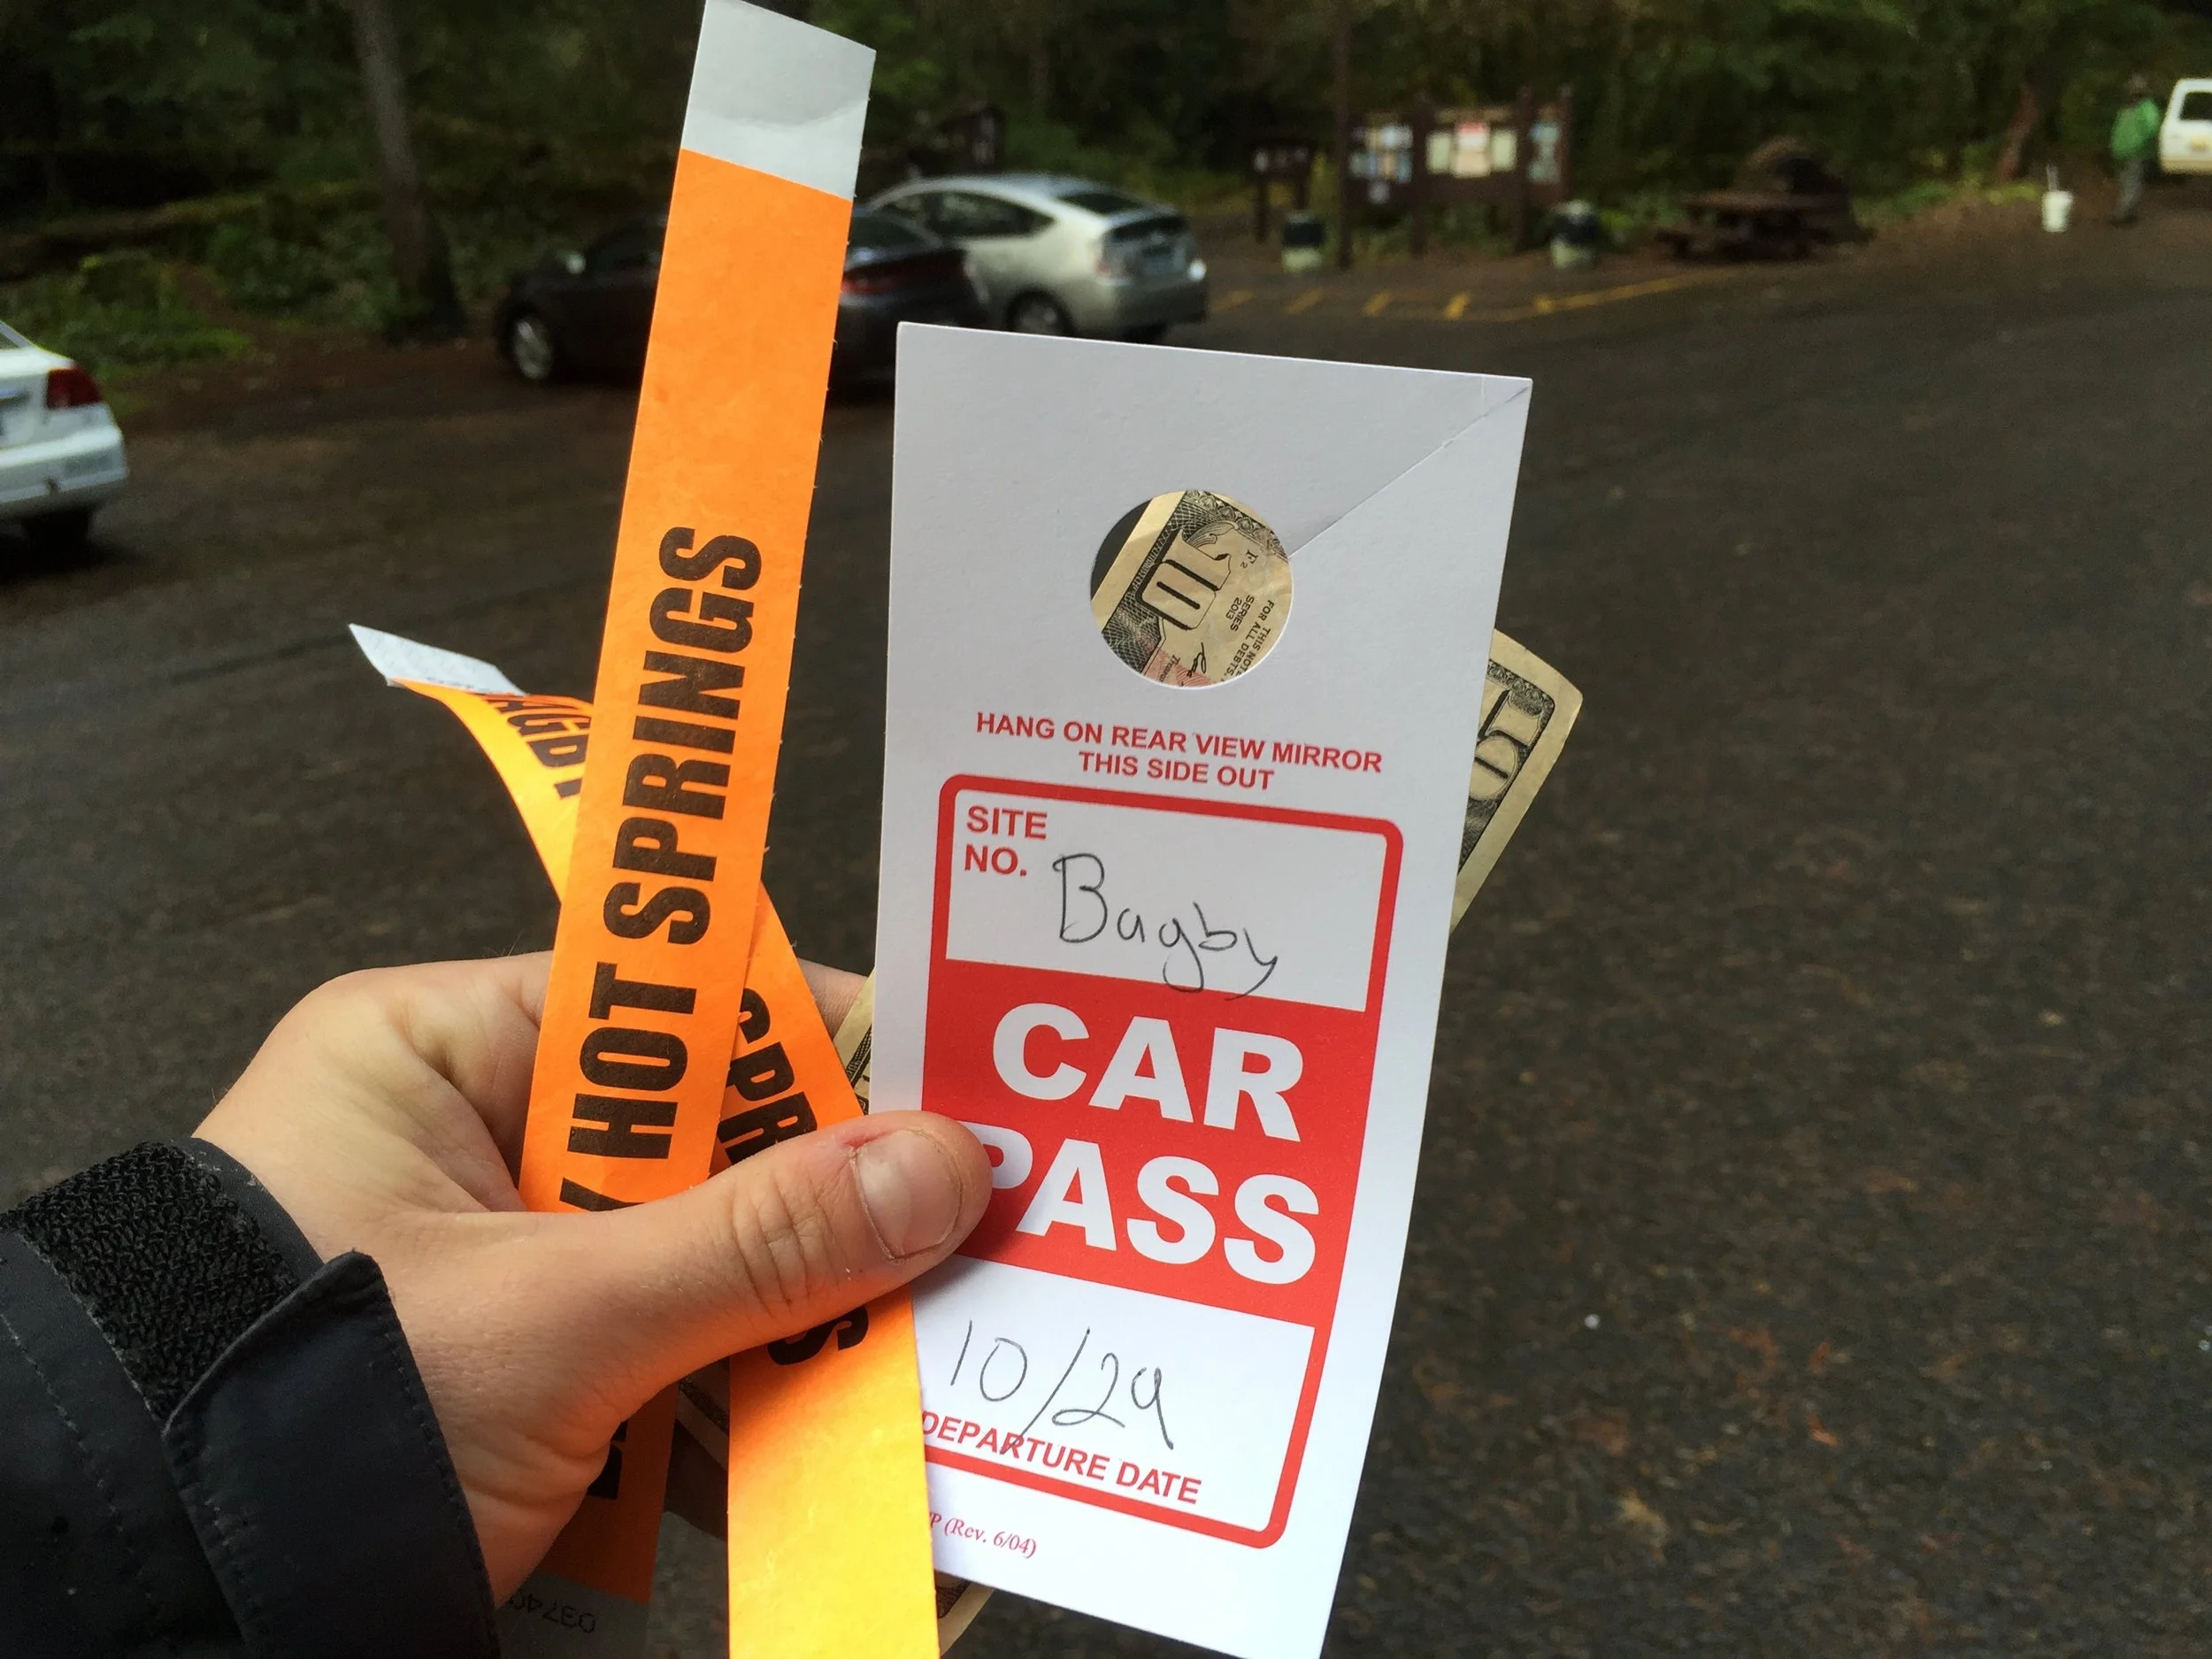
Parking pass and wrist band in hand. $5 each, parking included.

Loulou coming out of her cocoon of quiet after we parked for the afternoon.
Bagby hot springs is a 1.5 mile walk up a well built, and relatively flat trail. Honestly, until the end, it is very nearly ADA accessible. I think that the vast majority of people could make it up the trail, so if you're on the fence, just go. The stroll alone is worth it, with the trail meandering through old growth cedar forests and beside a picturesque river, complete with plunging waterfalls and beautiful bridges.
The spring water is channeled through some pipes and open wooden aqueducts, and fed into a man-made pool. There is a communal soaking room with a handful of large pools for groups, a series of five private soaking rooms containing hollowed out tree trunks, like stationary, half finished canoes. The trunks vary in size, but we found one that would comfortably fit the two of us.
We gave it a scrub, and opened the taps for the glorious hot spring water to collect. It took a while, to be honest, to fill the tub, so we ended up carrying 5 gallon buckets of water from another nearby overflowing tub, to speed the process.
The walls of the bath houses are partially covered with graffiti, most of it records of other bathers and of a PG nature, with a little of it being crude and immature. The graffiti, the worn soaked wood structure, the steam, and the natural pacific northwest rain forest setting all combine to create a strange, nearly dystopian setting. There's definitely a forgotten-land vibe going on.

Chelsea, looking at me after I said something stupid.
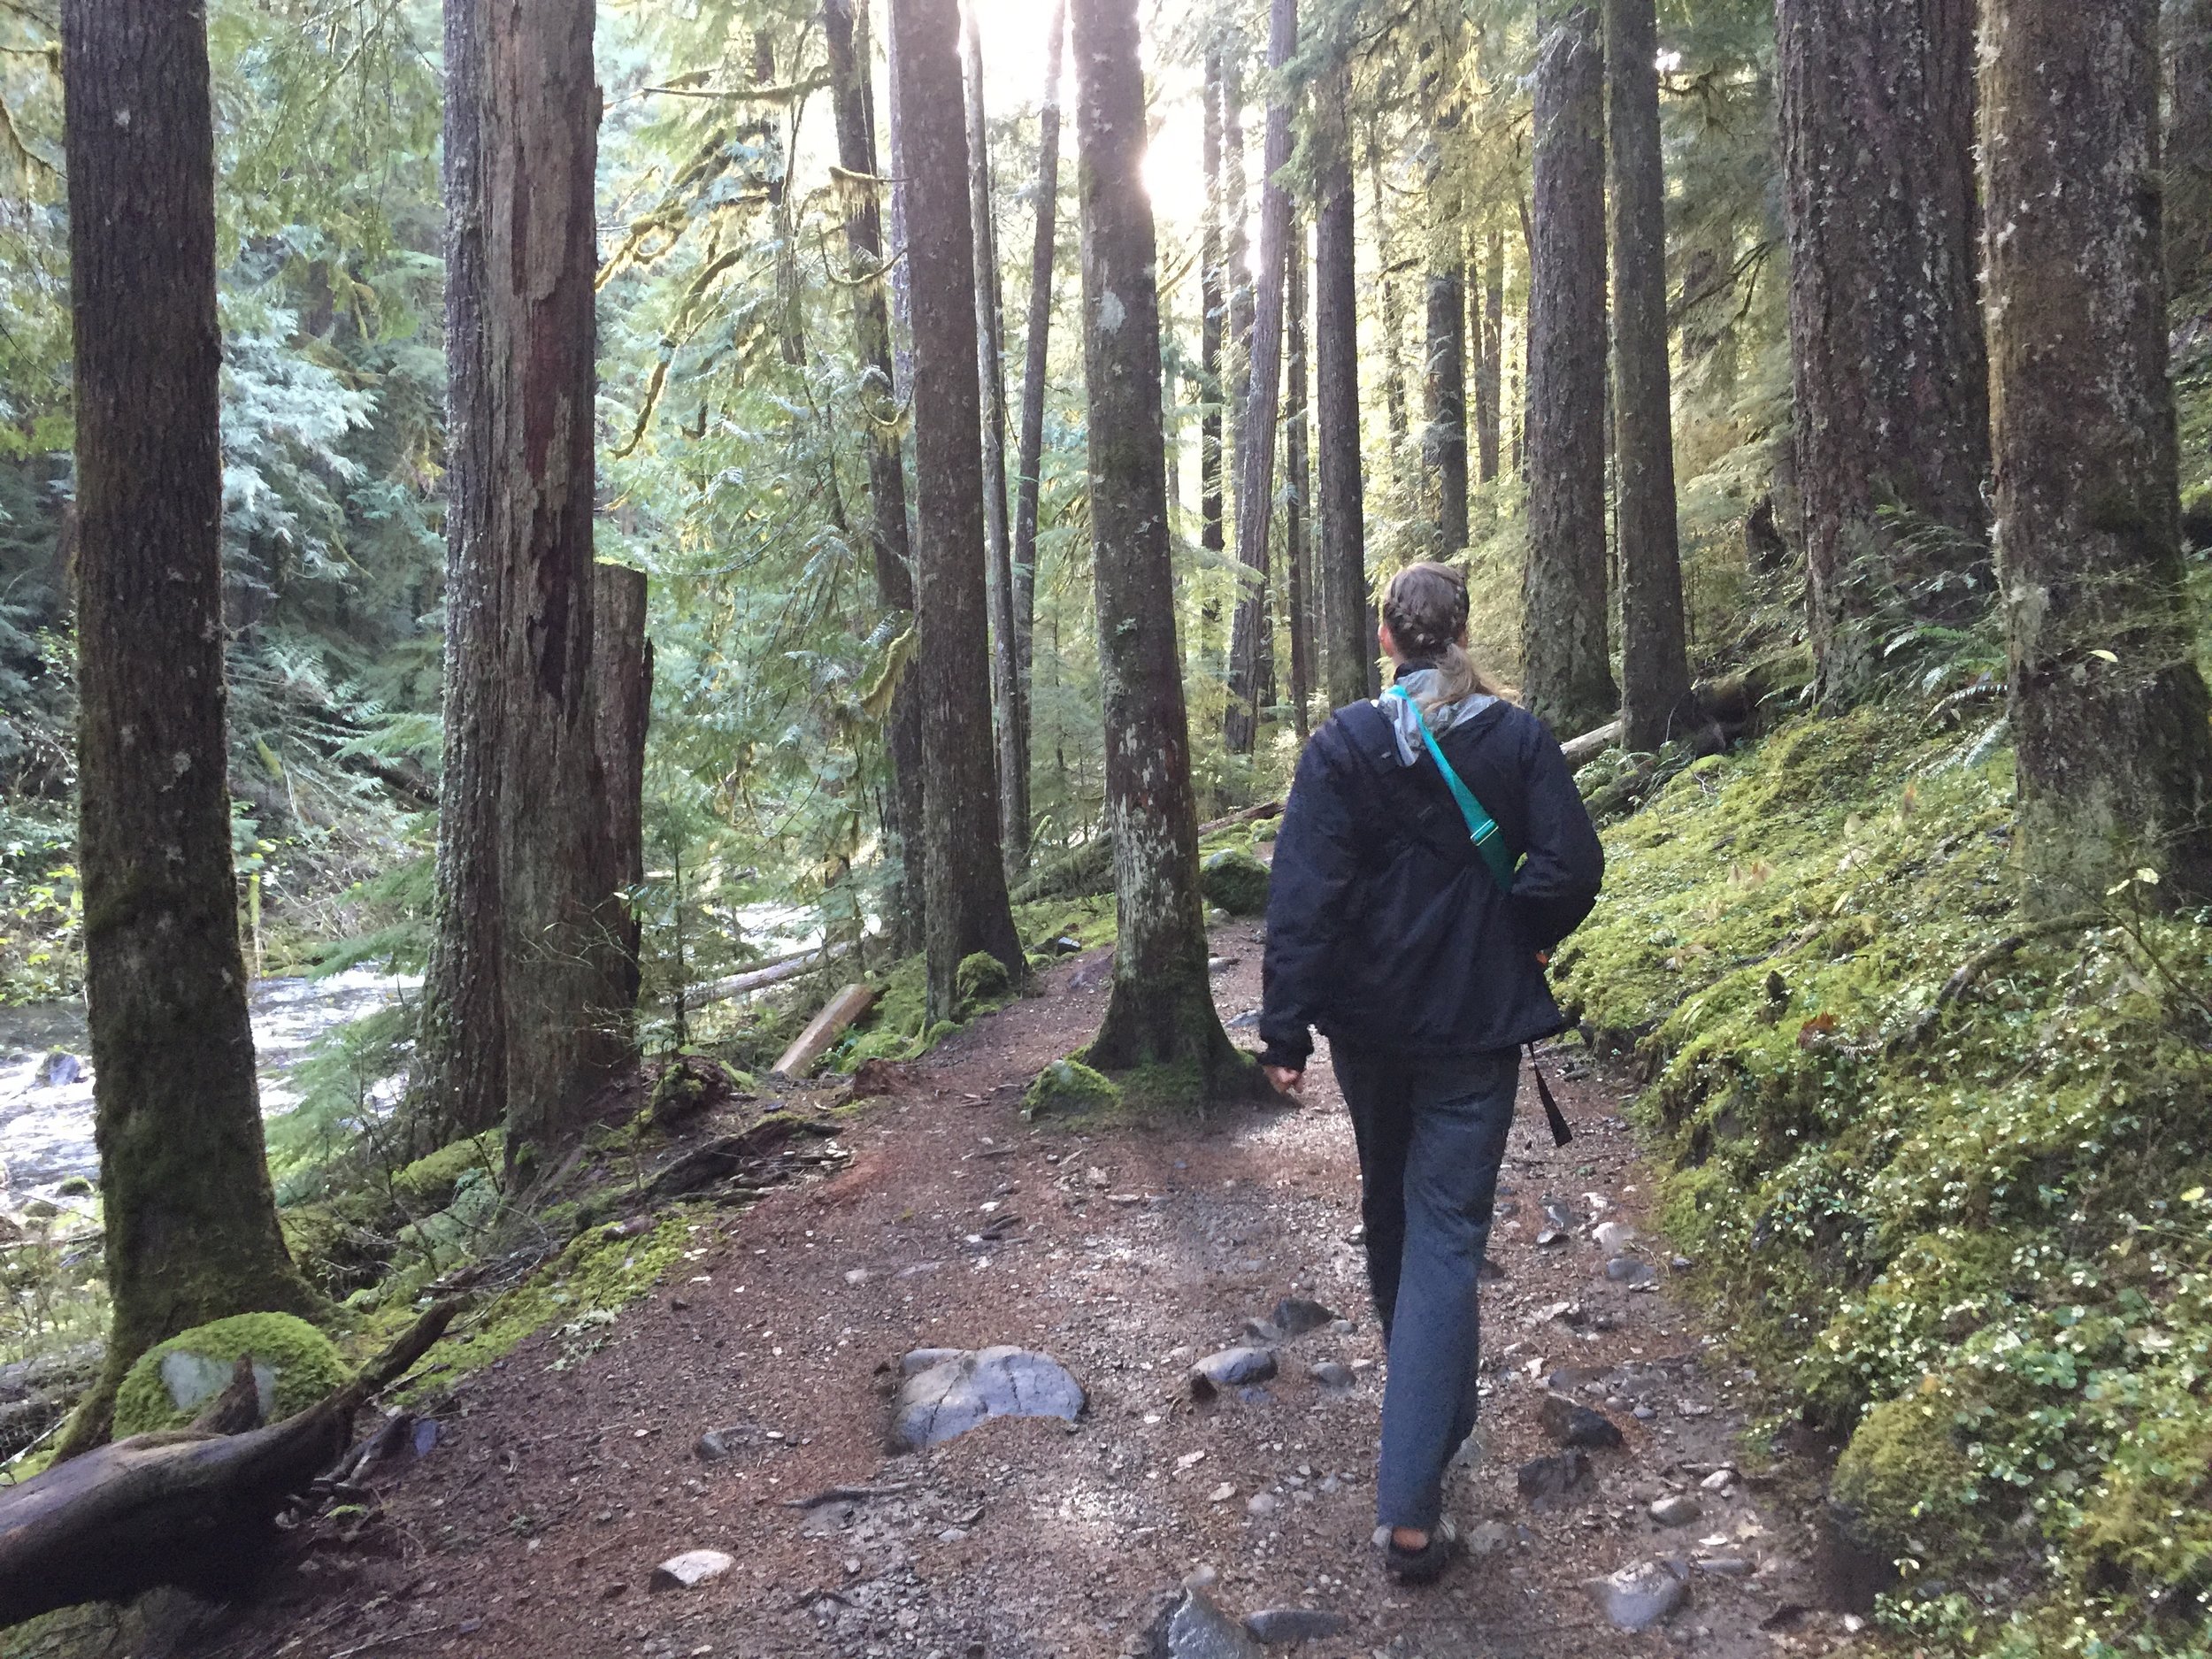
The majority of the path was flatter than this, and a large portion was paved.

Bathhouses steaming in the rainforest.
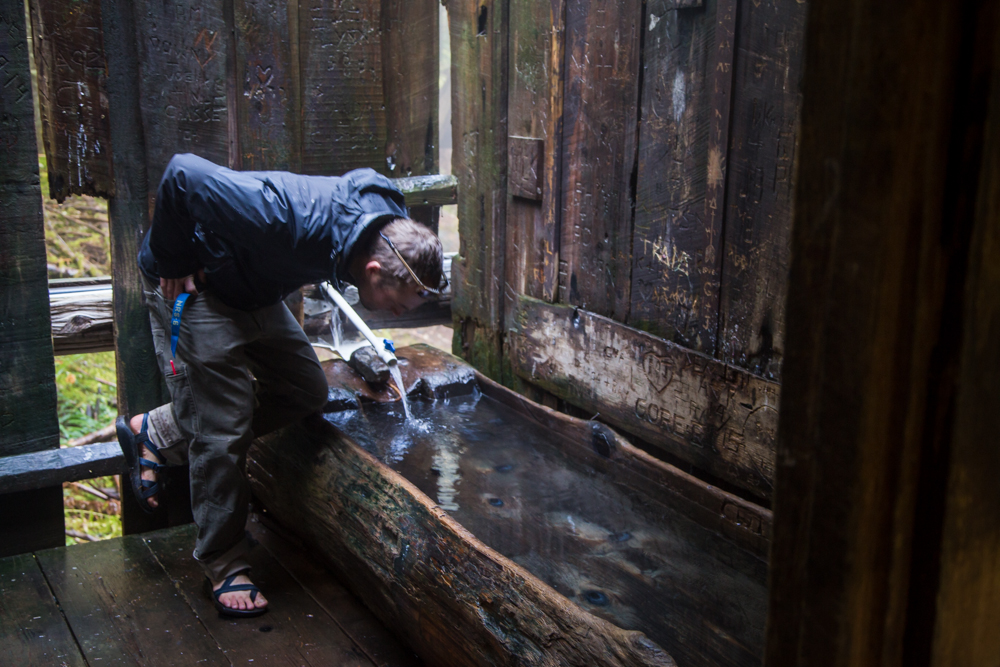
Me inspecting one of the hollowed out tree bathtubs. We scrubbed the tub before and after our soak, so as to bathe cleanly and leave a tub ready for the next folks.