
Summer 2023: Walter the Warthog Build 2.0 & Trip Prep
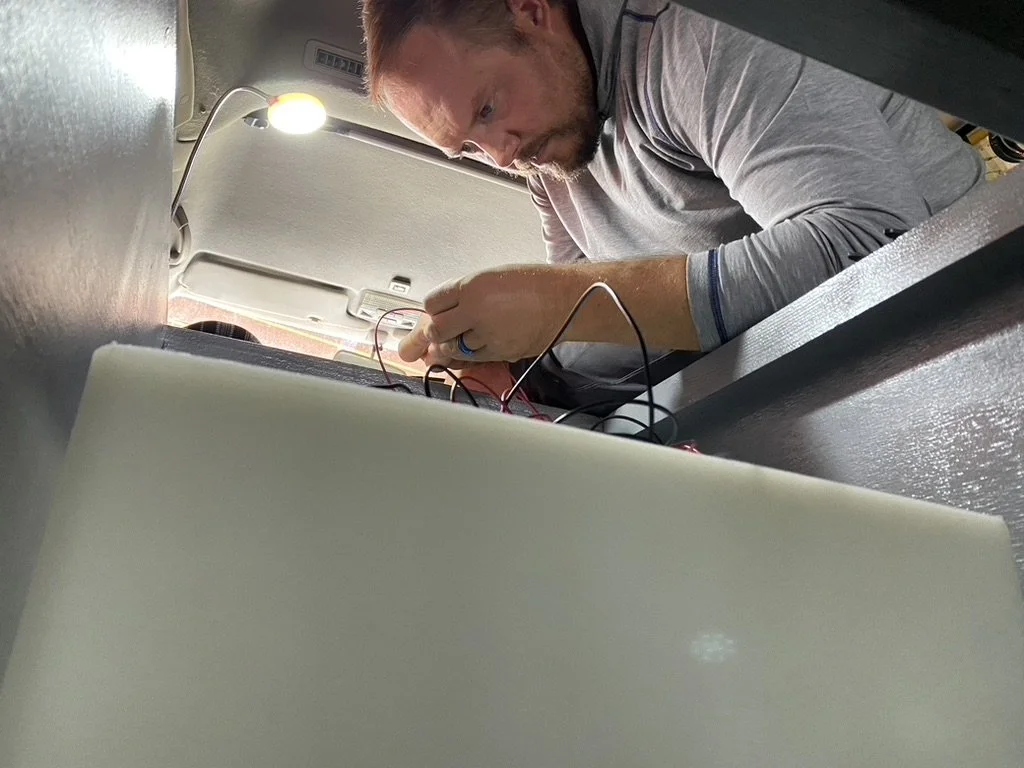
/Our spring adventure to Oregon taught us that while we had the right idea for our Delica build, we still had a long way to go to reach a final version of a camper. The first order of business was finalizing our electrical systems, which mostly meant doubling the battery capacity to 200AH, and moving the whole system under the refrigerator. We ended up purchasing a new Dometic CFX3 35 to replace our failing 10-year-old Whynter, and its smaller capacity and sleek form factor allowed us to increase the size of the storage under the fridge. In that space I shoehorned our two batteries, a 30A DC-DC charge controller, a bunch of ANL fuses, a fuse block, and a few bus bars.
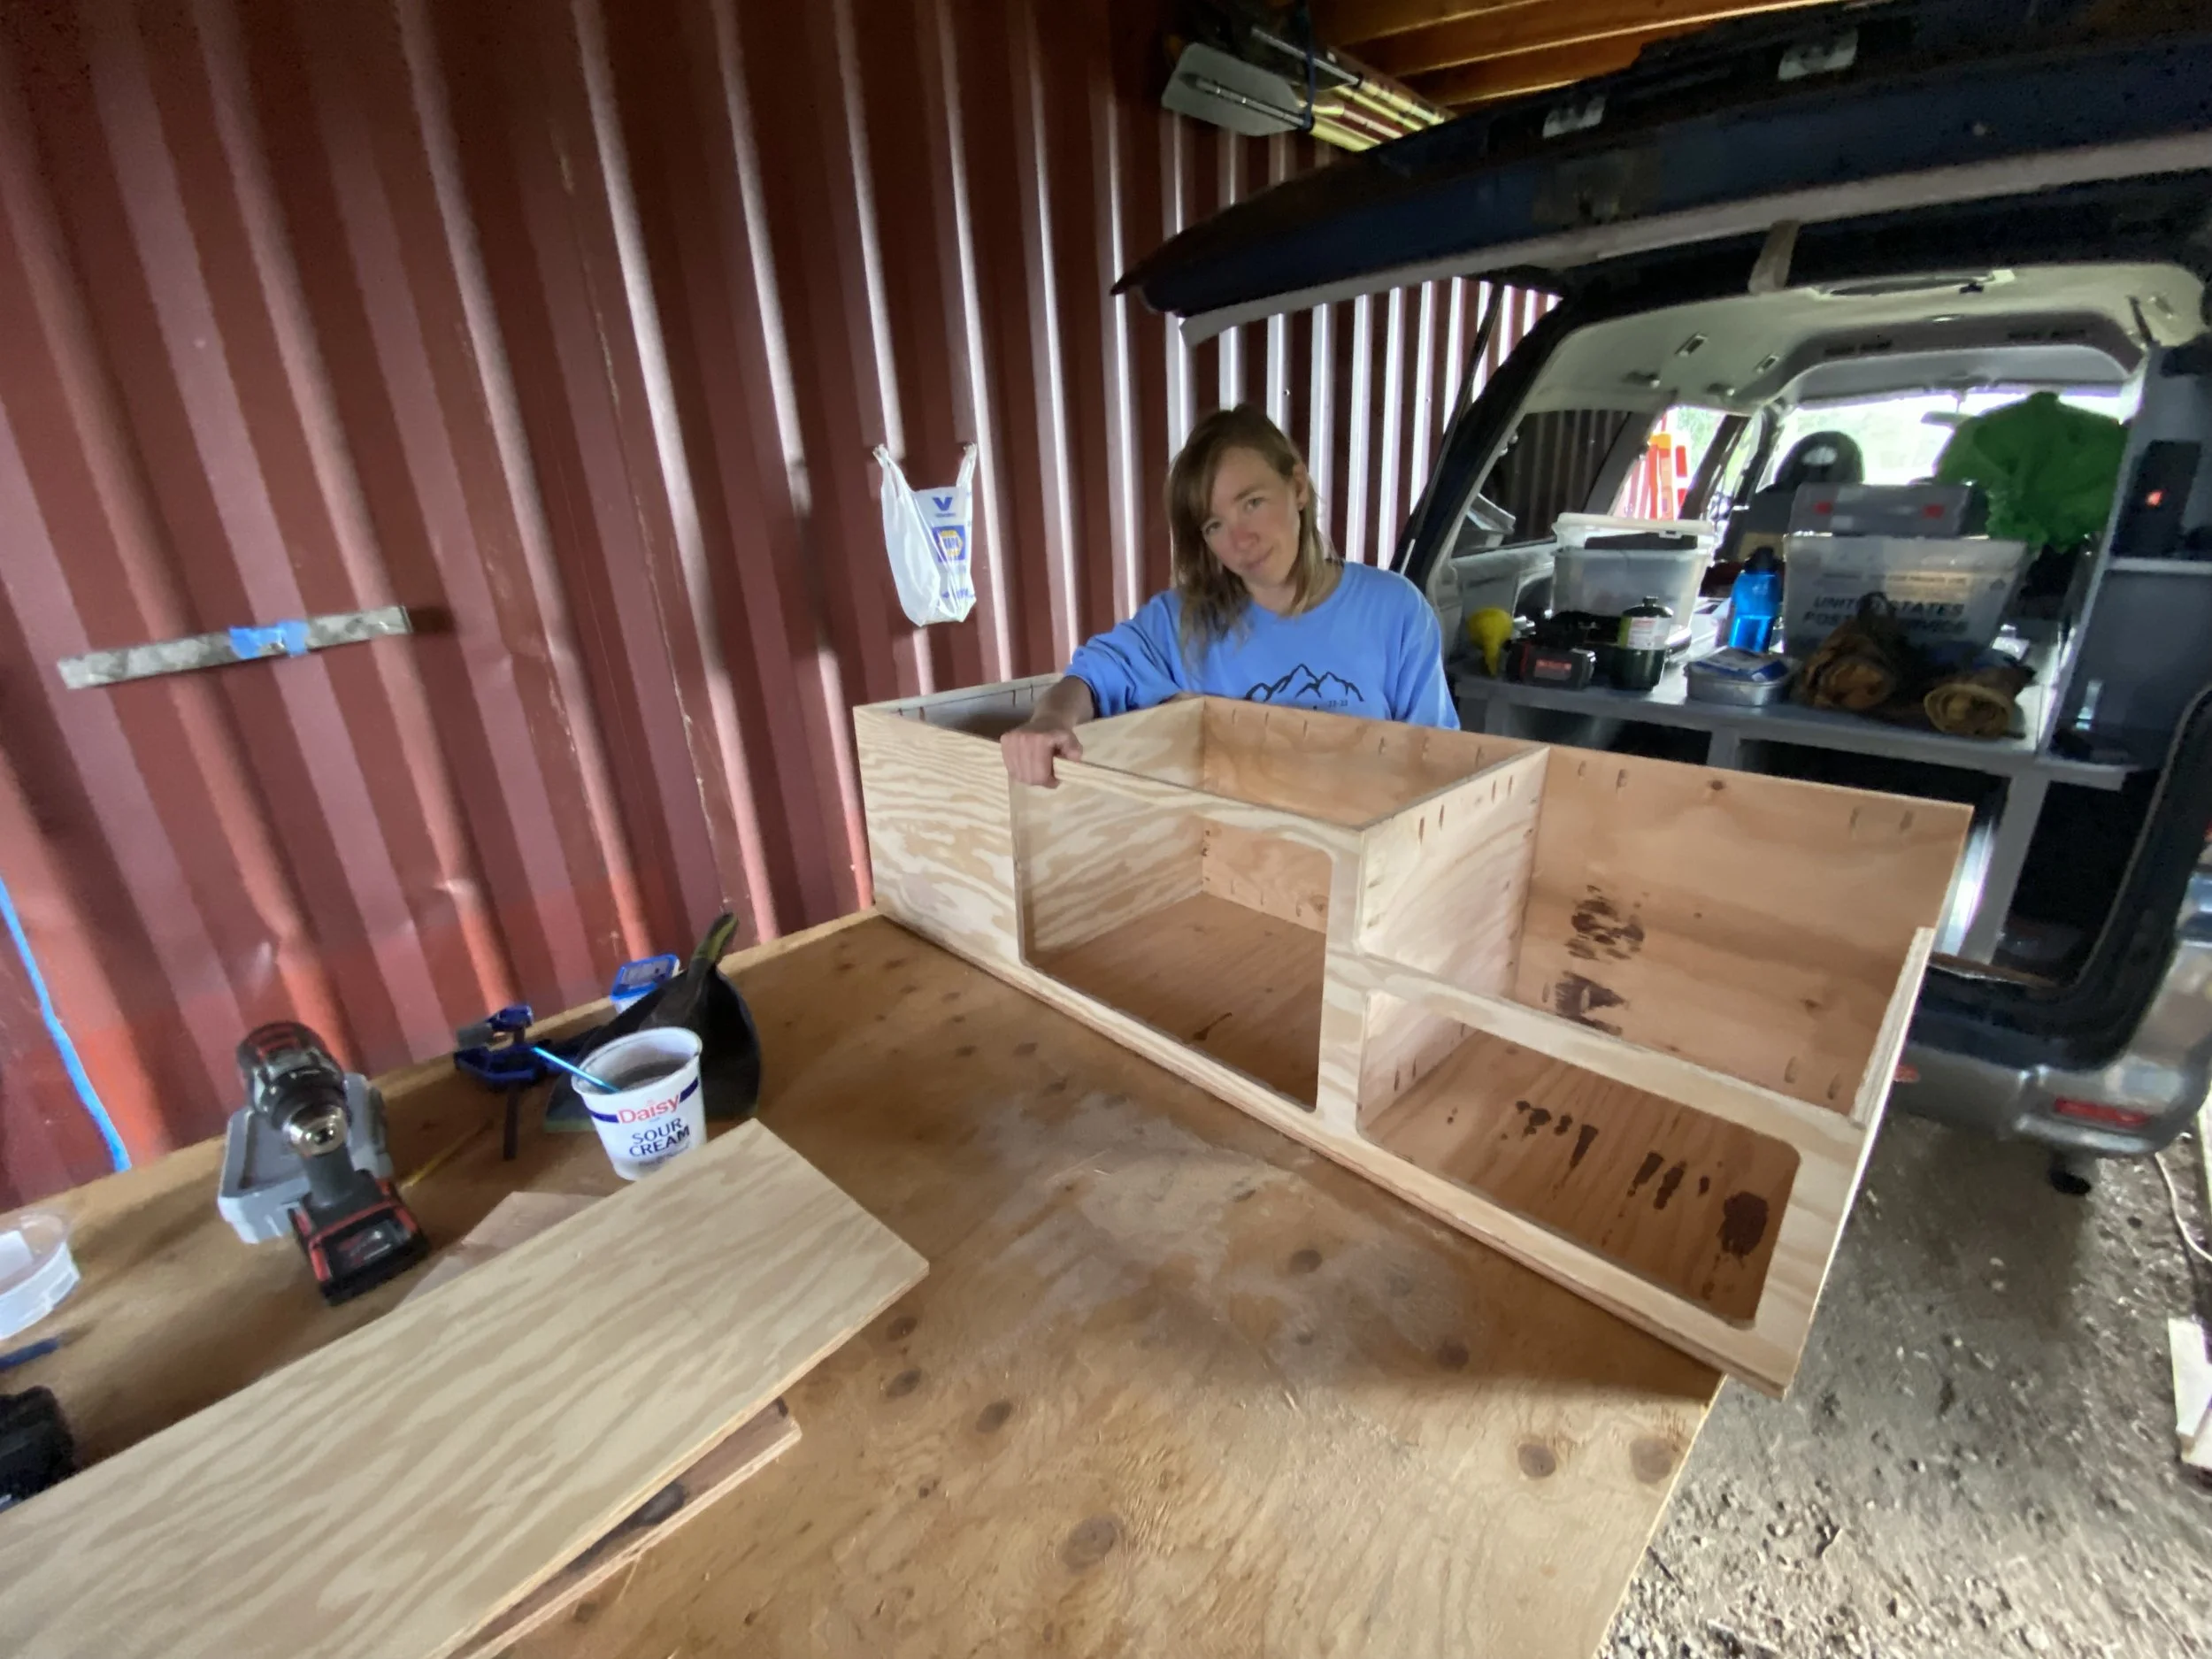
Once the majority of the wiring was in place, we began work on a set of shelves for vertical storage, or, the “clothing tower.” Its a three tiered shelf/cabinet piece that will hold most of our day-to-day needs, with toiletries and first aid on top, clothing in the center behind a wall of bungees, and a various soft and hard goods in the bottom “stuff storage” area - a cubby blocked from view by the mattress and bedding.
We installed a mostly custom nine gallon water tank. Tank Depot offered an off-the-shelf size that fit nearly perfectly in one of our storage bays, so we installed that and plumbed a pressure sensitive water pump to a marine grade hose spigot at the back of the van. That will allow us to get clean water while we are cooking and attach a hose to the spigot now and then. In addition to the nine gallon tank, we are packing a Scepter water jug and two Swiss Army surplus water bladders; this will allow us to carry 24 gallons of clean water if we’re planning an extended stay on a beach somewhere, and the water bladders double as solar showers if we have an excess of water.
Contemplating solar panel placement - we didn’t have much space to work with And THE ROAD NOISE ABOVE 60MPH WAS TOO SIGNIFICANT TO IGNORE.
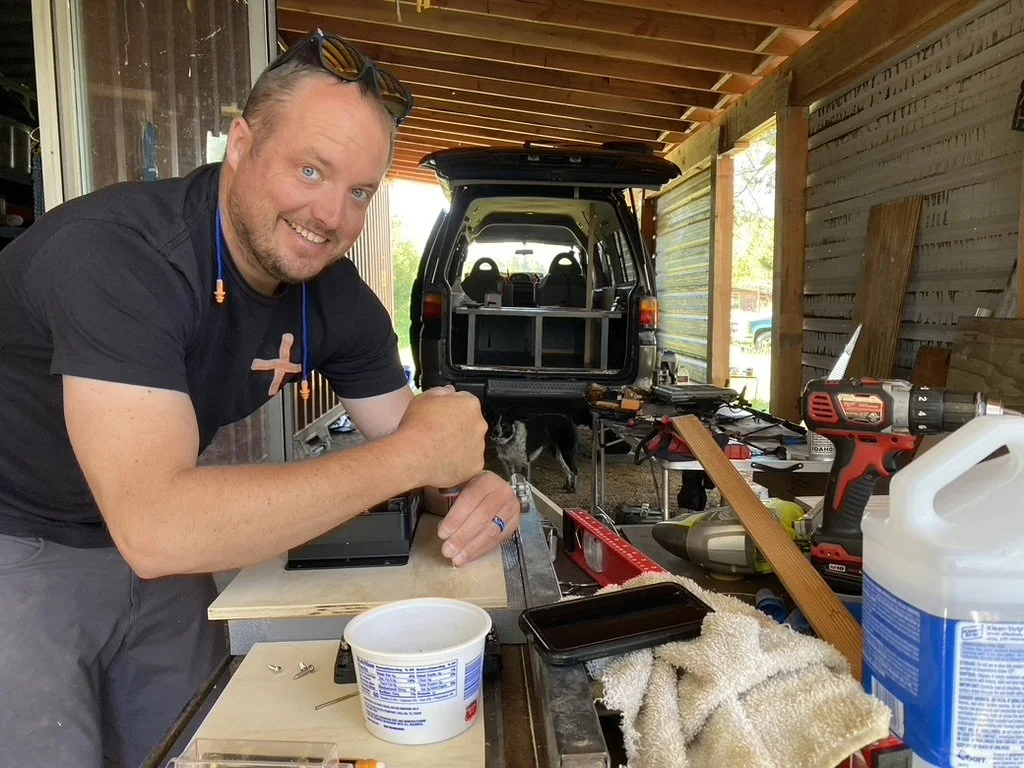
I’M TIGHTENING SCREWS TO DRY FIT THE CHARGE CONTROLLER, NOT COYLY HIDING A SURPRISE.
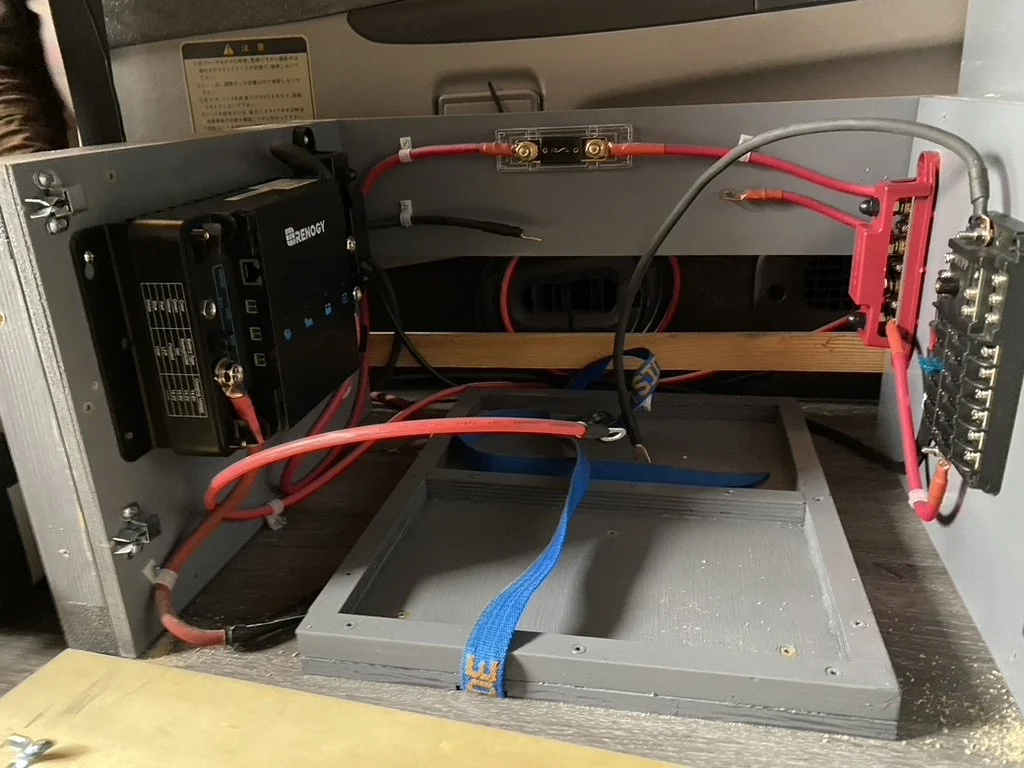
WIRES, WIRES, EVERYWHERE. WE GOT REALLY GOOD AT CRIMPING AND HEAT SHRINKING WIRES.
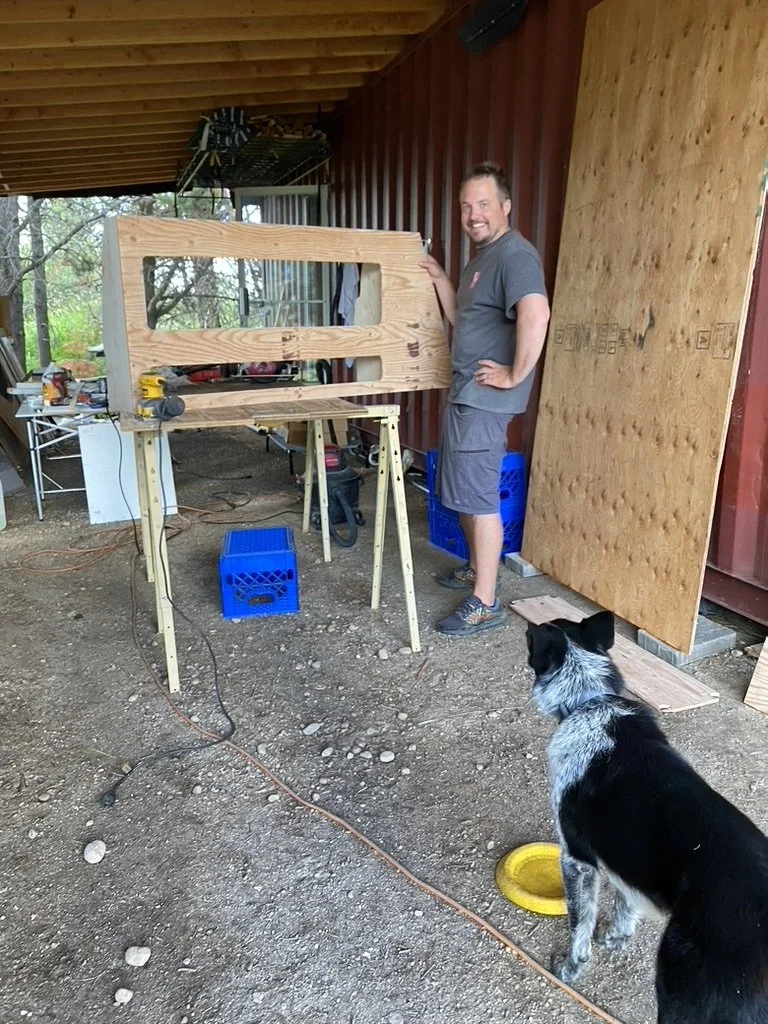

DRY FITTING THE CLOTHING TOWER

WIRING CONTINUING IN A MOSTLY COMPLETE VAN INTERIOR.
OUR NINE GALLON WATER TANK FITS PERFECTLY AND KEEPS THE WEIGHT BETWEEN THE AXLES.
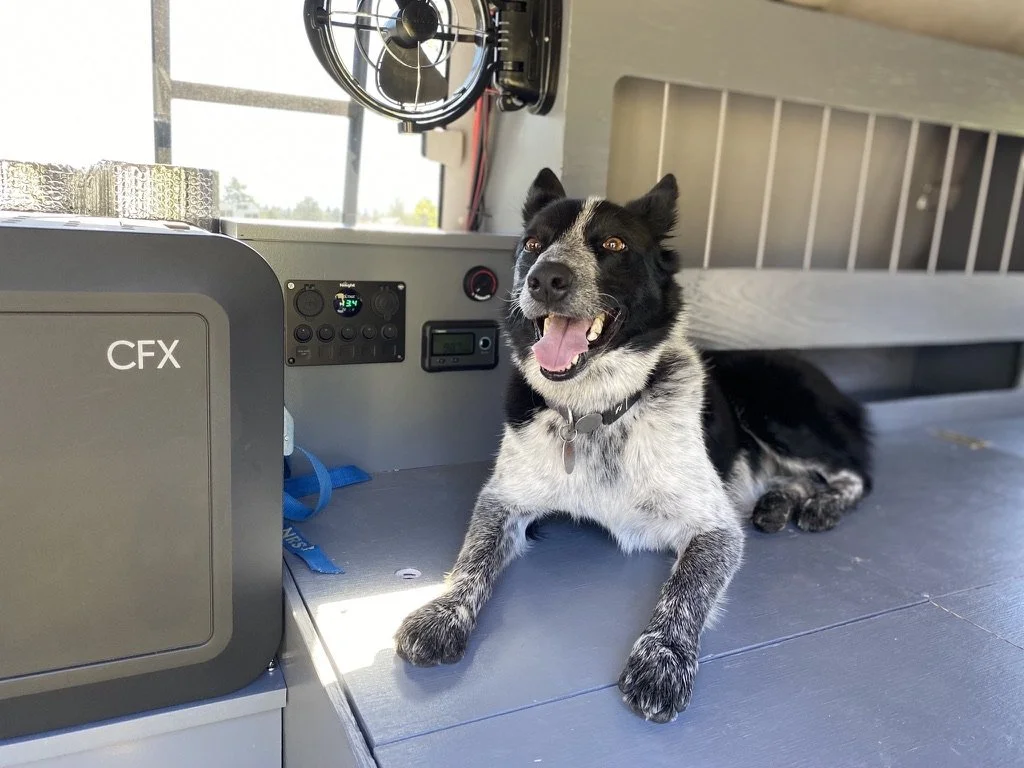
DOG APPROVES?
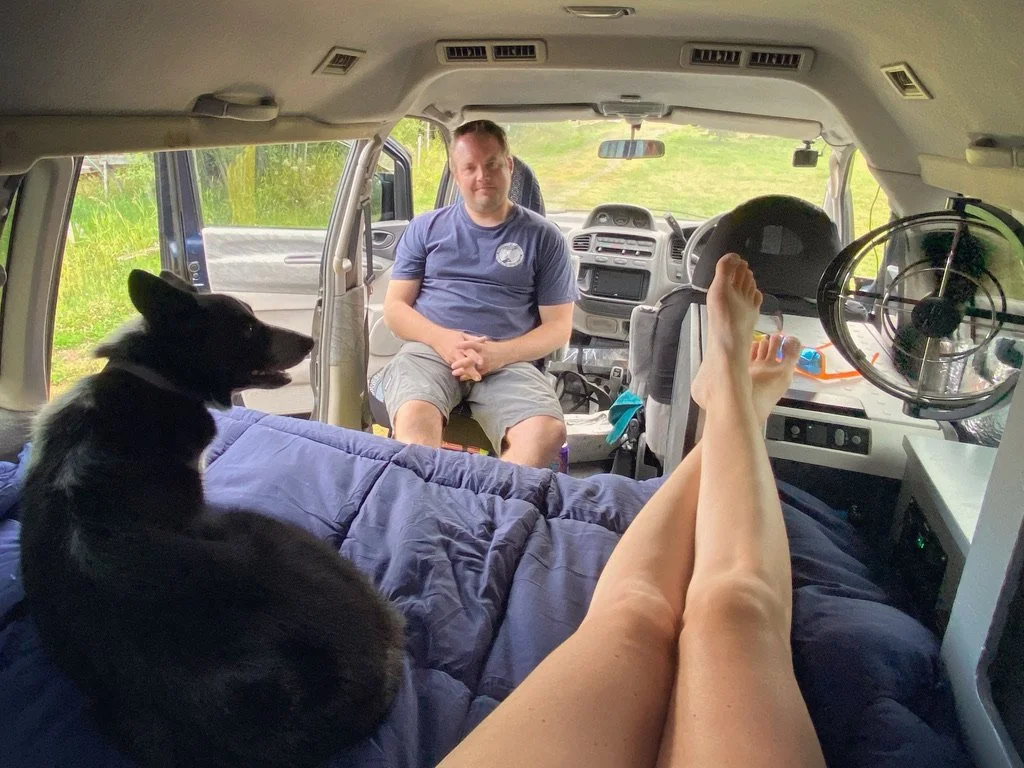
THE WHOLE FAMILY TESTING OUT THE CAMPER.
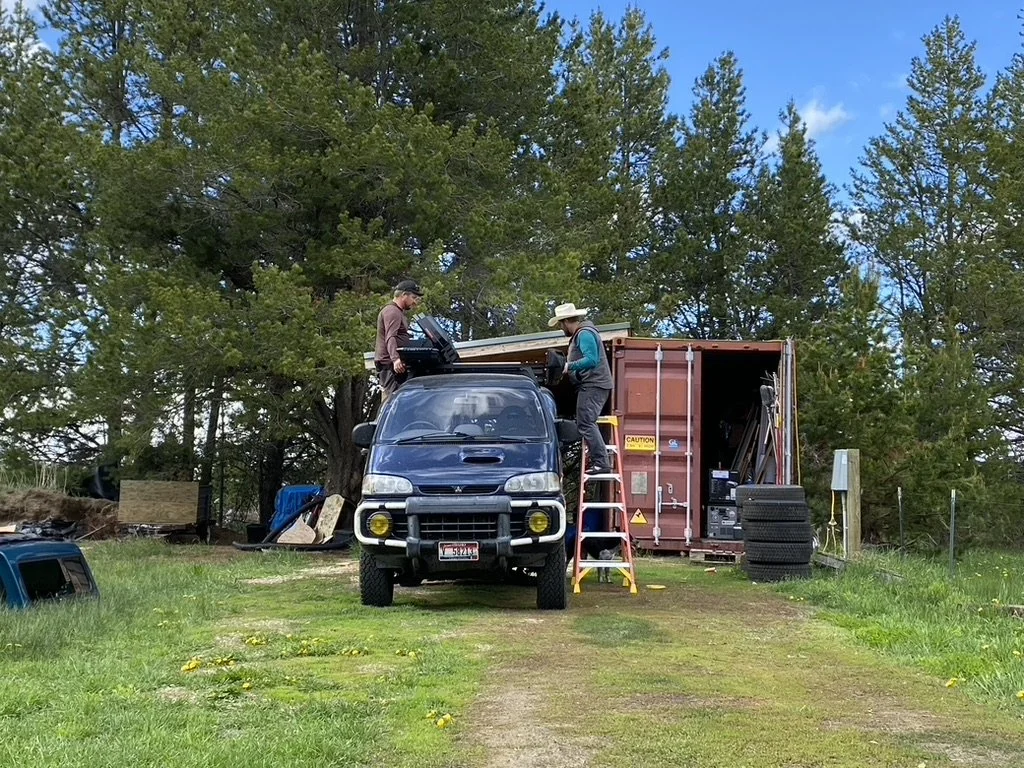
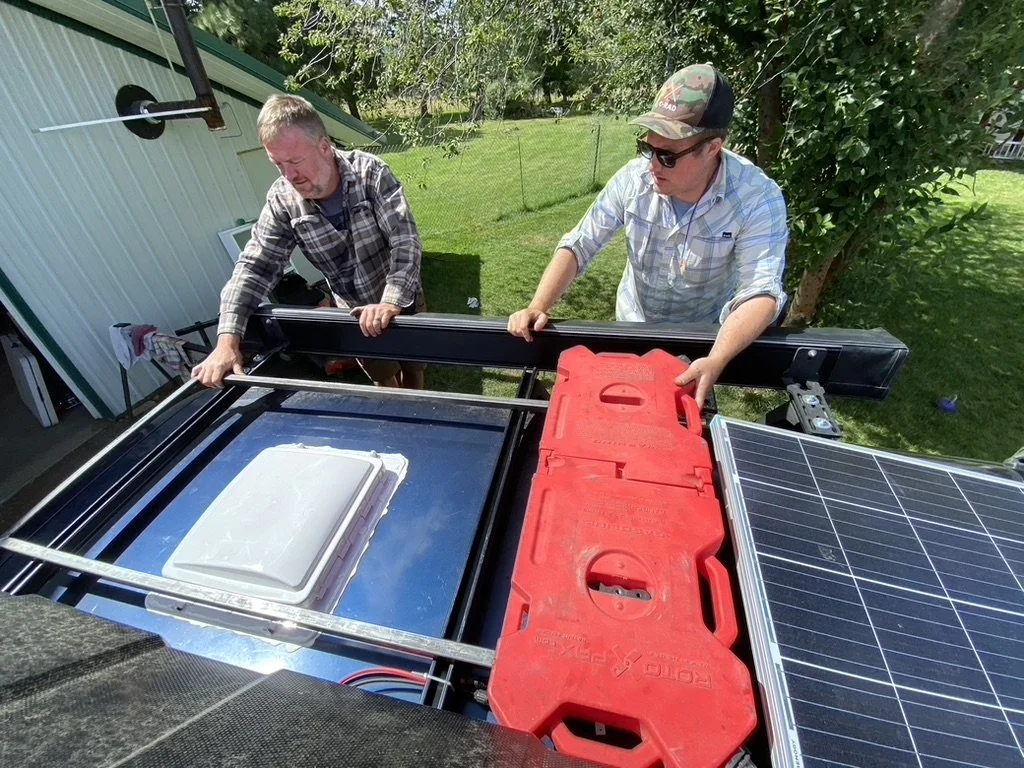
With the interior mostly wrapped up, we set our sights on the exterior. We had tackled installing a roof rack and a ladder in the early spring, so next came attaching a 175W solar panel from Renogy, a Maxxair fan in the roof, and a custom roof rack for propane, Rotopax fuel tanks, and Maxtrax traction boards.
The solar panel was tricky - we had installed it once before the Rendezvan event in Oregon but we noticed it was creating a lot of road noise, and taking up the lion’s share of rooftop real estate. Chelsea had the great idea of moving the panel forward and sloping it down, creating a mohawk of power on Walter’s forehead. We had a friend graciously donate a roof rack solution that fit great, and that let us install the panel in its final position.
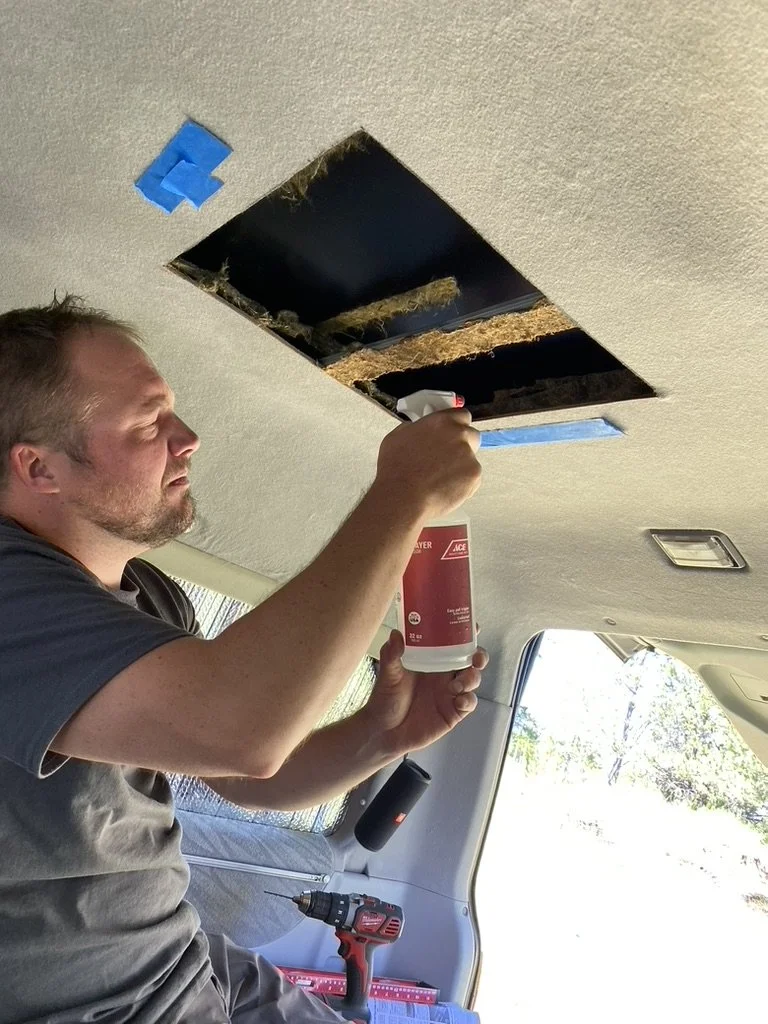
After moving the solar panel, we had room to install our Maxxair fan, although the position of the fan was mostly chosen for us by the nice engineers at Mitsubishi. We wanted the fan near the head of the bed, which is the tail of the van, and we identified roughly 17 inches of clear roof between two structural body ribs on our LWB Delica L400. We could feel the body ribs by pressing on the roof and noting the firm areas, but we didn’t trust that method to exactly locate the ribs, at least not to within the 1/2 inch, so we started by cutting a small 4x4 hole in the headliner to feel around, and boy, are we glad we did.
We ended up realizing that we had maybe 15 1/2 inches of clear sheet metal between the body ribs, which is certainly enough to fit a 14 inch fan, but it didn’t allow for much wiggle room. We were dead set on not cutting a body support, even if it meant moving from our gold standard Maxxair fan to a smaller, lower volume fan, because the Delica is unibody design, meaning there is no large frame that the body sits upon - the van body is the structural support of the vehicle. We proceeded carefully, cuttting larger and larger hole in the headliner until we were happy with our placement of the fan, then we popped four pilot holes up into the van roof. Pilot holes in place, we checked measurements on the exterior of the van, enlarged the holes, and cut out the 14x14 inch square with a metal blade on our trusty jig saw, purchased back when were just two kids converting and living in a school bus selling Christmas trees.
Next we built the kitchen, a 48 inch slide out drawer that uses an interference fit instead of modern drawer slides. We eschewed drawers slides partially because we didn’t want to sacrifice 1 1/2 inches of lateral space, partially because a van-build mentor of ours (@putacamperinit on the Instagram) didn’t have a slide product that she loved, and mostly becasue we had great success with interference fit slides when we built out Littlefoot the Pinzgauer. I’m really not doing the kitchen build justice; it loomed large in our minds and our hearts for weeks, if not months, and building a cabinet when you’re not a cabinet maker is infuriating. In the end, we decided it’s not just good, its good enough.
After the traumas of cutting a hole in or roof and fitting a square drawer into an un-square cabinet, we headed over our friend’s shed for some fabrication. Having Wayne make our dreams dreams come true is fast becoming a requisite step in every one of our long range adventures - he modified the ladder rack on Batsquatch the F-350, introduced us to the shop that sold us a roof top tent, and modified our TW200s to be able to carry everything we could ever want and a dog. His expertise was employed on this trip in a handful of ways, but mostly to create a bespoke roof “tray” that sits on our roof rack and allows for secure attachments of 8 gallons of diesel (upping our range from 476 miles to just under 600 miles), as well as a spot for our Maxtrax traction boards and our five gallon propane tank.
A few more fun things came in the mail as we buttoned up the exterior: we got a custom awning wall from the great sewists over at Bear Paw Wilderness Designs and a set of suspension helper air bags from Airlift. Our awning is from Ironman4x4 and its a great piece of camp equipment. It folds out in seconds and it folds up in seconds, offers a huge amount of sun and rain protection, and can freestand for convenience or deploy legs and guy lines for stability. Ironman offers an awning wall addition for the product, which attaches to existing velcro on the awning, but it was too big and bulky for our needs. We wanted a low weight, low volume awning wall solution that could span two sections of our awning while tying in to anchors on the vehicle or the awning legs, and Bear Paw Wilderness Designs did a great job making our dreams come true. It’s our privacy wall, and it works great.
As mentioned above, we also got a set of Airlift suspension helper airbags. The last photo in the following series is a picture of me beginning the install of this integral piece of kit. I want you to notice the innocent smile plastered across my face in that photo, because that was the last smile I made before Chelsea sweetly said, “Hey babe, I think these welds are broken.”
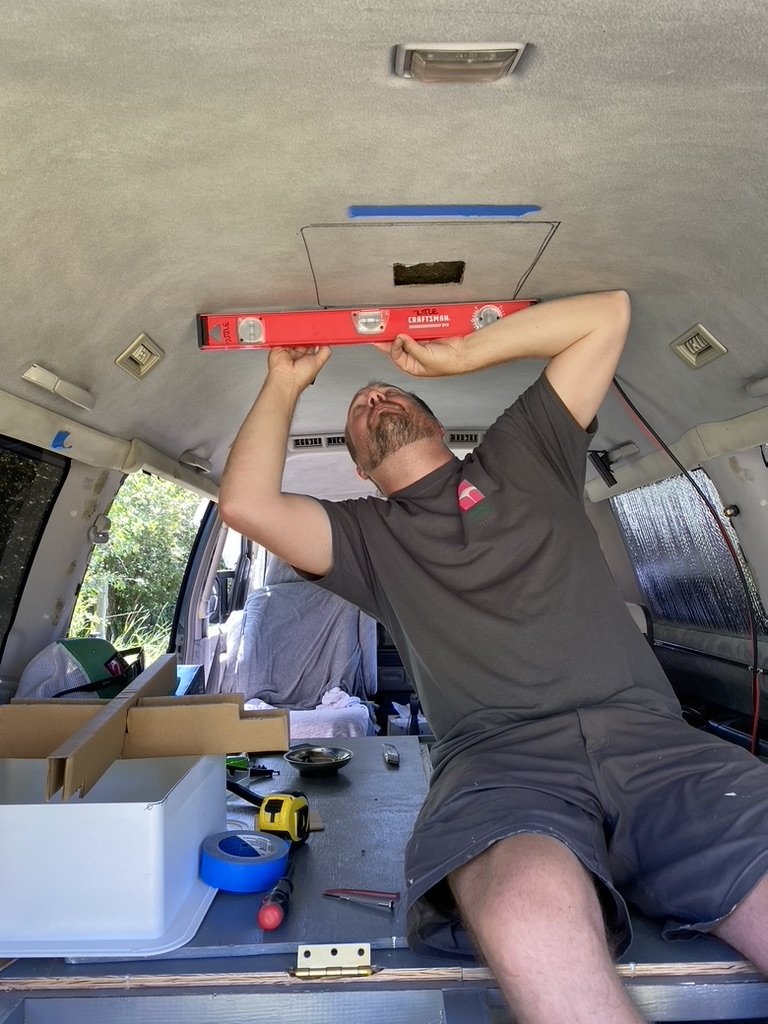
CUTTING SMALL HOLES INCASE WE HAVE TO SCRAP THE LOCATION OF THE FAN.
WE SOAKED THE OEM INSULATION WITH WATER BEFORE CUTTING A HOLE IN THE ROOF IN CASE THERE WERE ANY SPARKS.
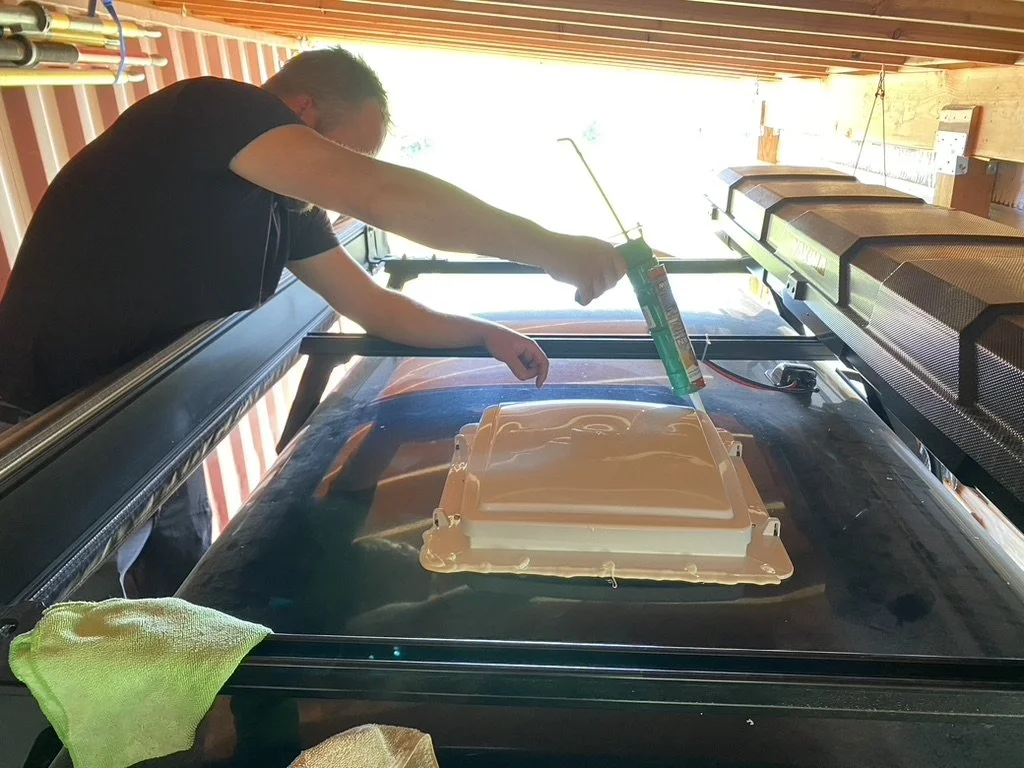
USING LAP SEALANT TO WATERPROOF THE MAXXAIR FAN

PULLING A RADIATOR TO INSTALL A NEW, HUGE, TRIPLE CORE UNIT. MORE COOLING, MORE SAFETY.
THE KITCHen DRAWER, 80% COMPLETE.

STAINED, SEALED, AND INSTALLED.
WAYNE AND I FIGURING OUT HOW WE WERE GOING TO FIT TEN PUNDS INTO A FIVE PoUND BAG.
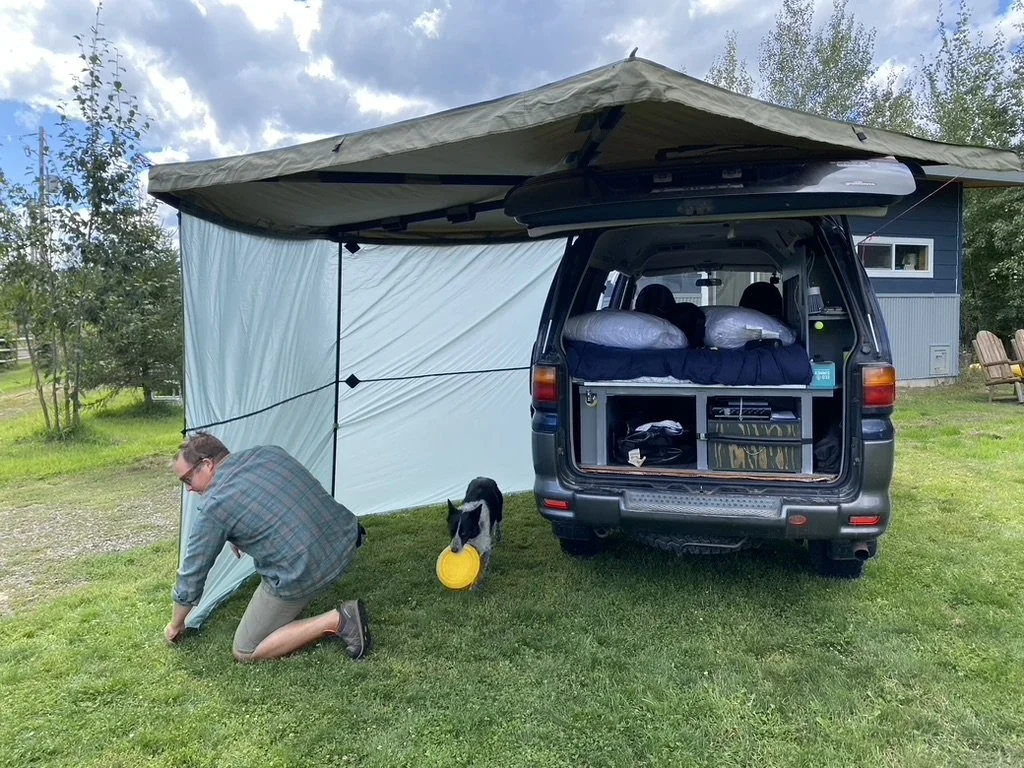
OUR PRIVACY WALL FROM BEAR PAW DESIGNS. IT VELCROS UP, ATTACHES TO THE AWNINGS LEGS and MOVEs TO SPAN ANY PART two parts OF THE AWNING.
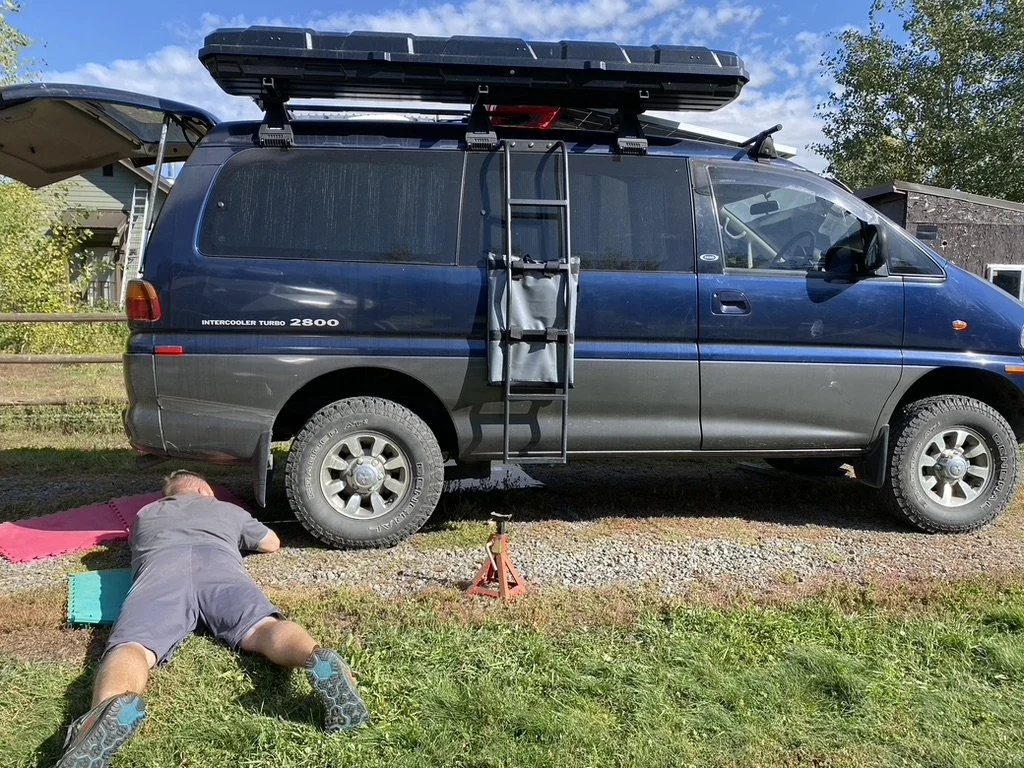
JACKINNG UP THE VAN FOR WHAT SHOULD HAVE BEEN AN EASY INSTALL OF SOME AIR BAGS.
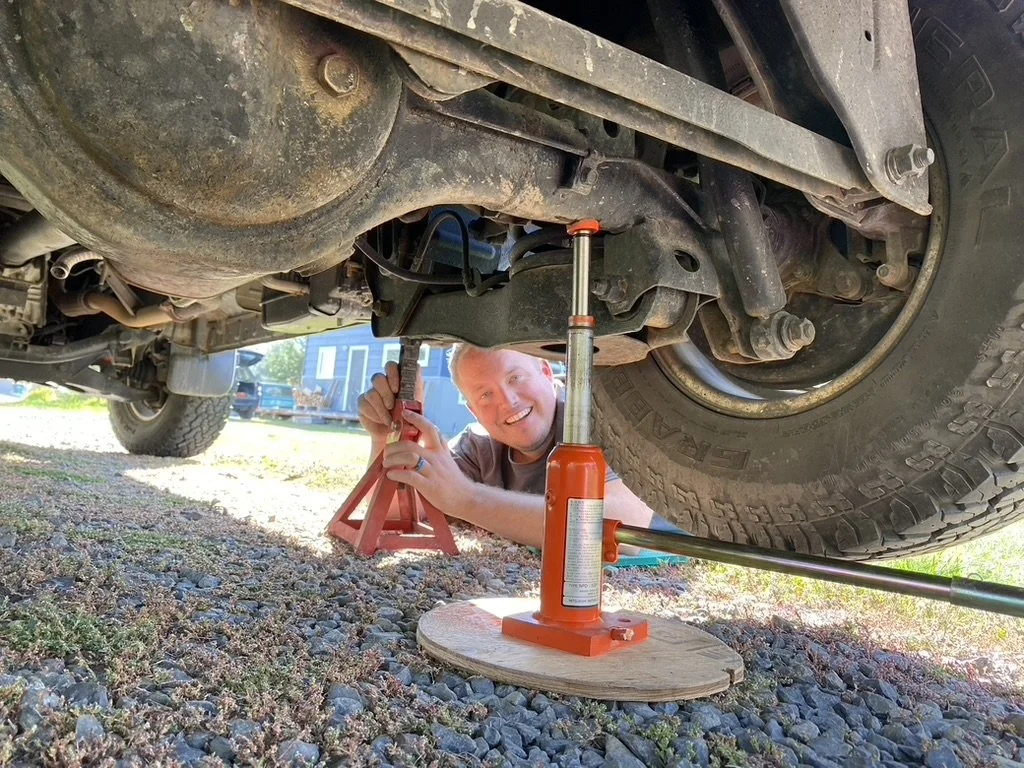
SMILING RIGHT BEFORE I FOUND THE CRACKED WELDS.
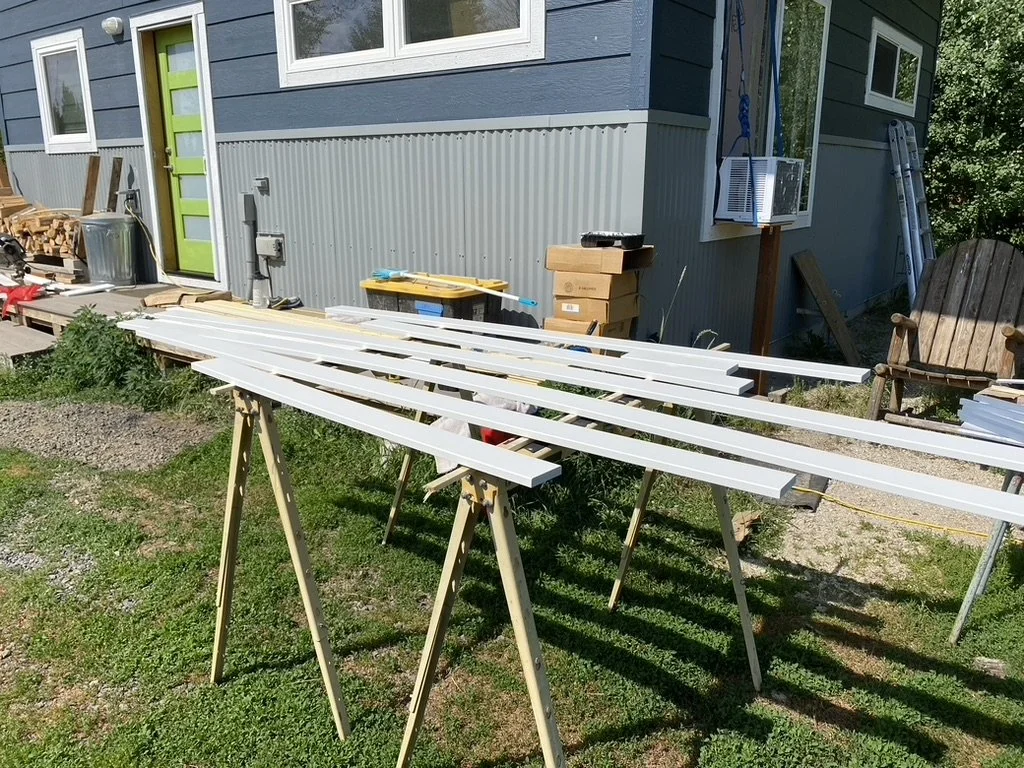
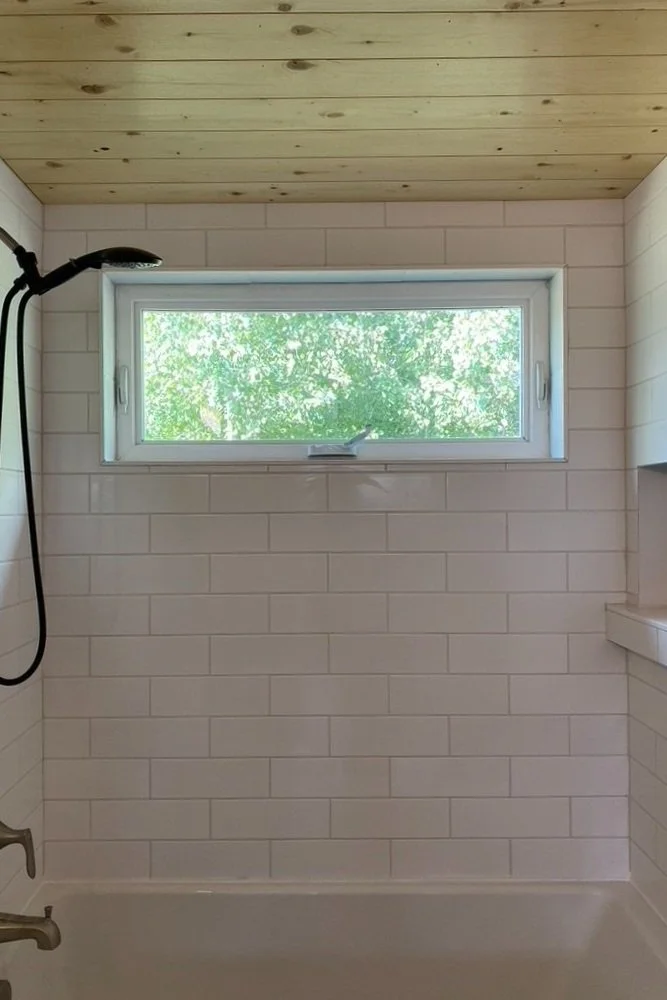
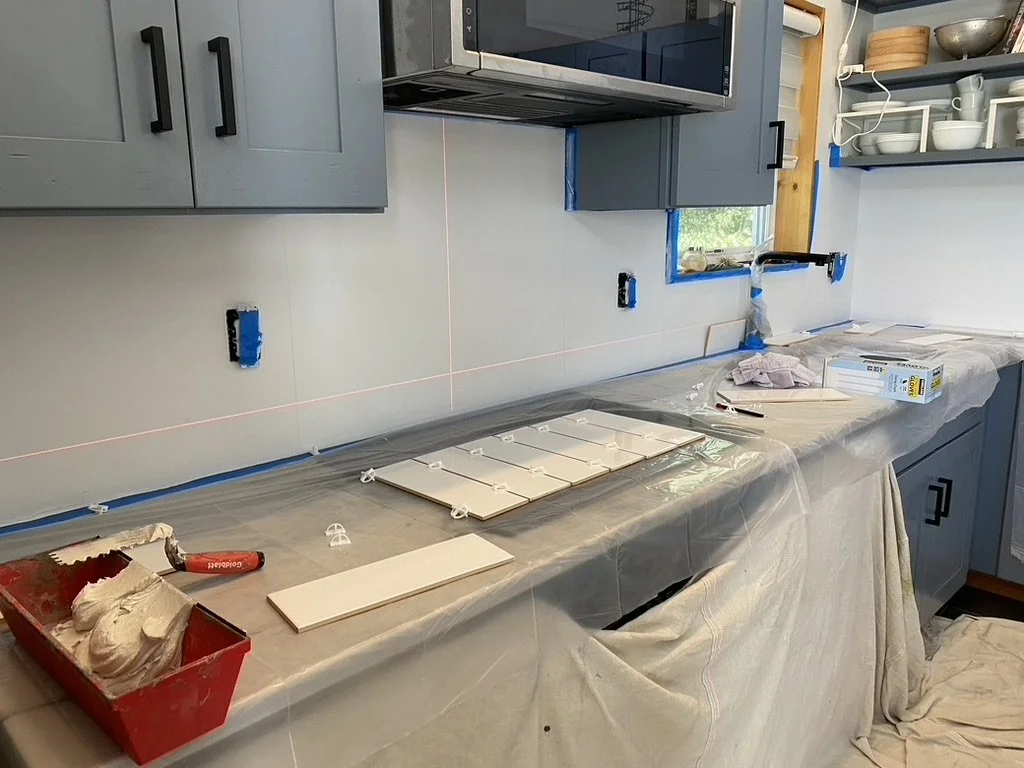
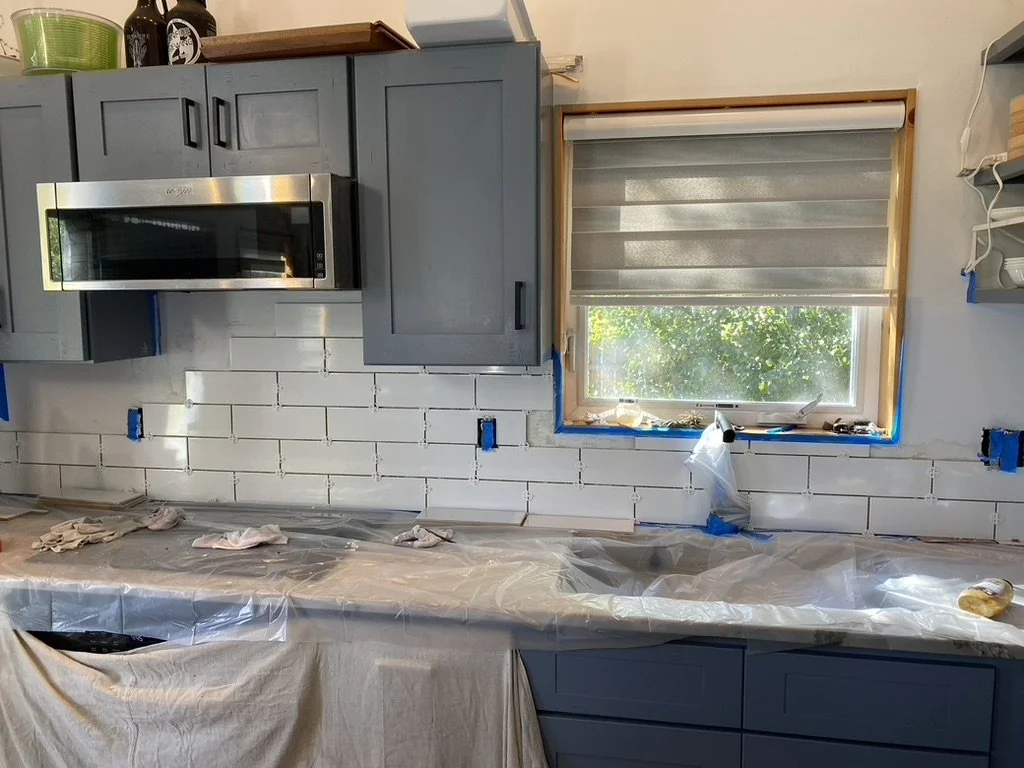
I know I left us on a bit of a cliffhanger, broken welds and all, but I’ve got to point out that there was a sideshow going on while we were finishing our build. In between all the buildout and the van prep we had to find time for some not-insignificant home improvement projects. We had built our house with our own two hands four years prior, and a few of the more intimidating projects kept getting put off. We hadn’t tiled the backsplash or the shower surround, there was essentially no trim on any of the interior doors, and the exterior needed to be caulked and get a fresh coat of paint. We had been perfectly content living without the finishing touches on the house, but now with a renter moving in we knew we had to do the responsible thing and finish the projects.
The projects ballooned in time - we had hoped to get all the tiling done in five days but it took the better part of two weeks, meaning we didn’t have a kitchen or a shower for most of September. (Don’t worry, we set up an outdoor shower for the interim.) The exterior paint took two days instead of one. Trim projects had to be put off because other projects had to be completed first. It all just snowballed, and it eventually didn’t feel like trip prep. The days were sliding away, and despite me calling out “THIS IS OVERLANDING” every once in a while as we tiled or grouted or painted, life didn’t feel like an adventure anymore. We had to keep reminding ourselves that there was a light at the end of the tunnel, and that we were, in fact, at our best when we are escaping.

FOURS YEARS LATER, TRIMMING IN OUR DOORS.
ITS NOT A BIG HOUSE BUT THE PROJECTS FELT HUGE.
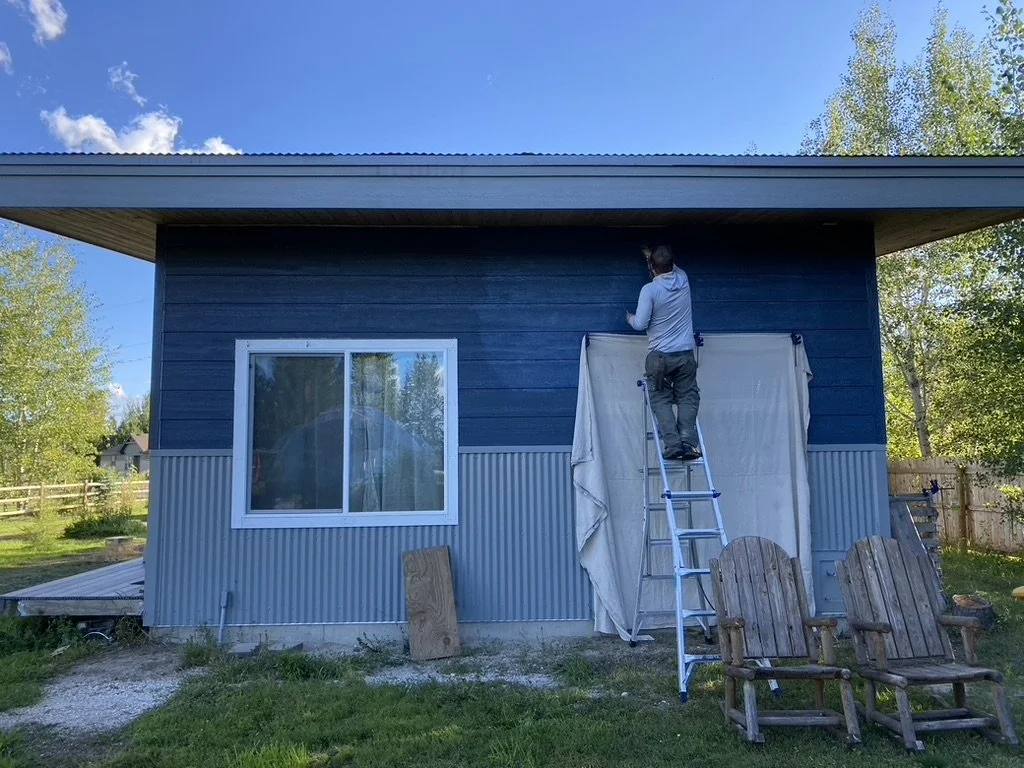
PAINTING IN THE SHADE ON A HOT DAY.
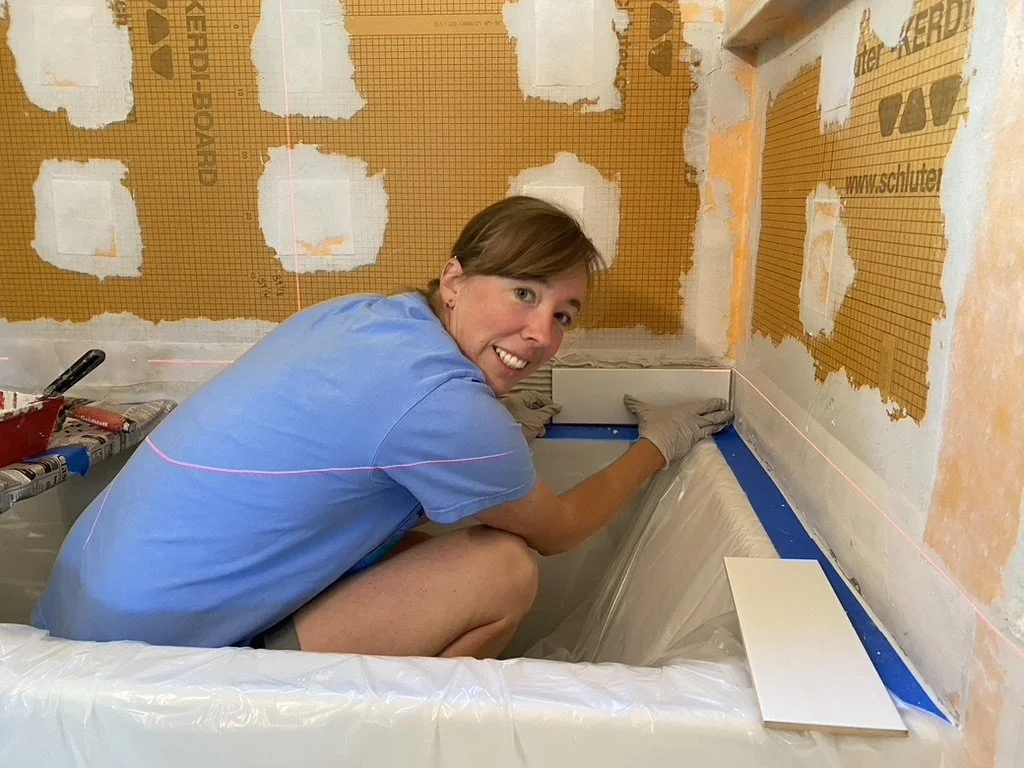
Beginning the bathroom tile install
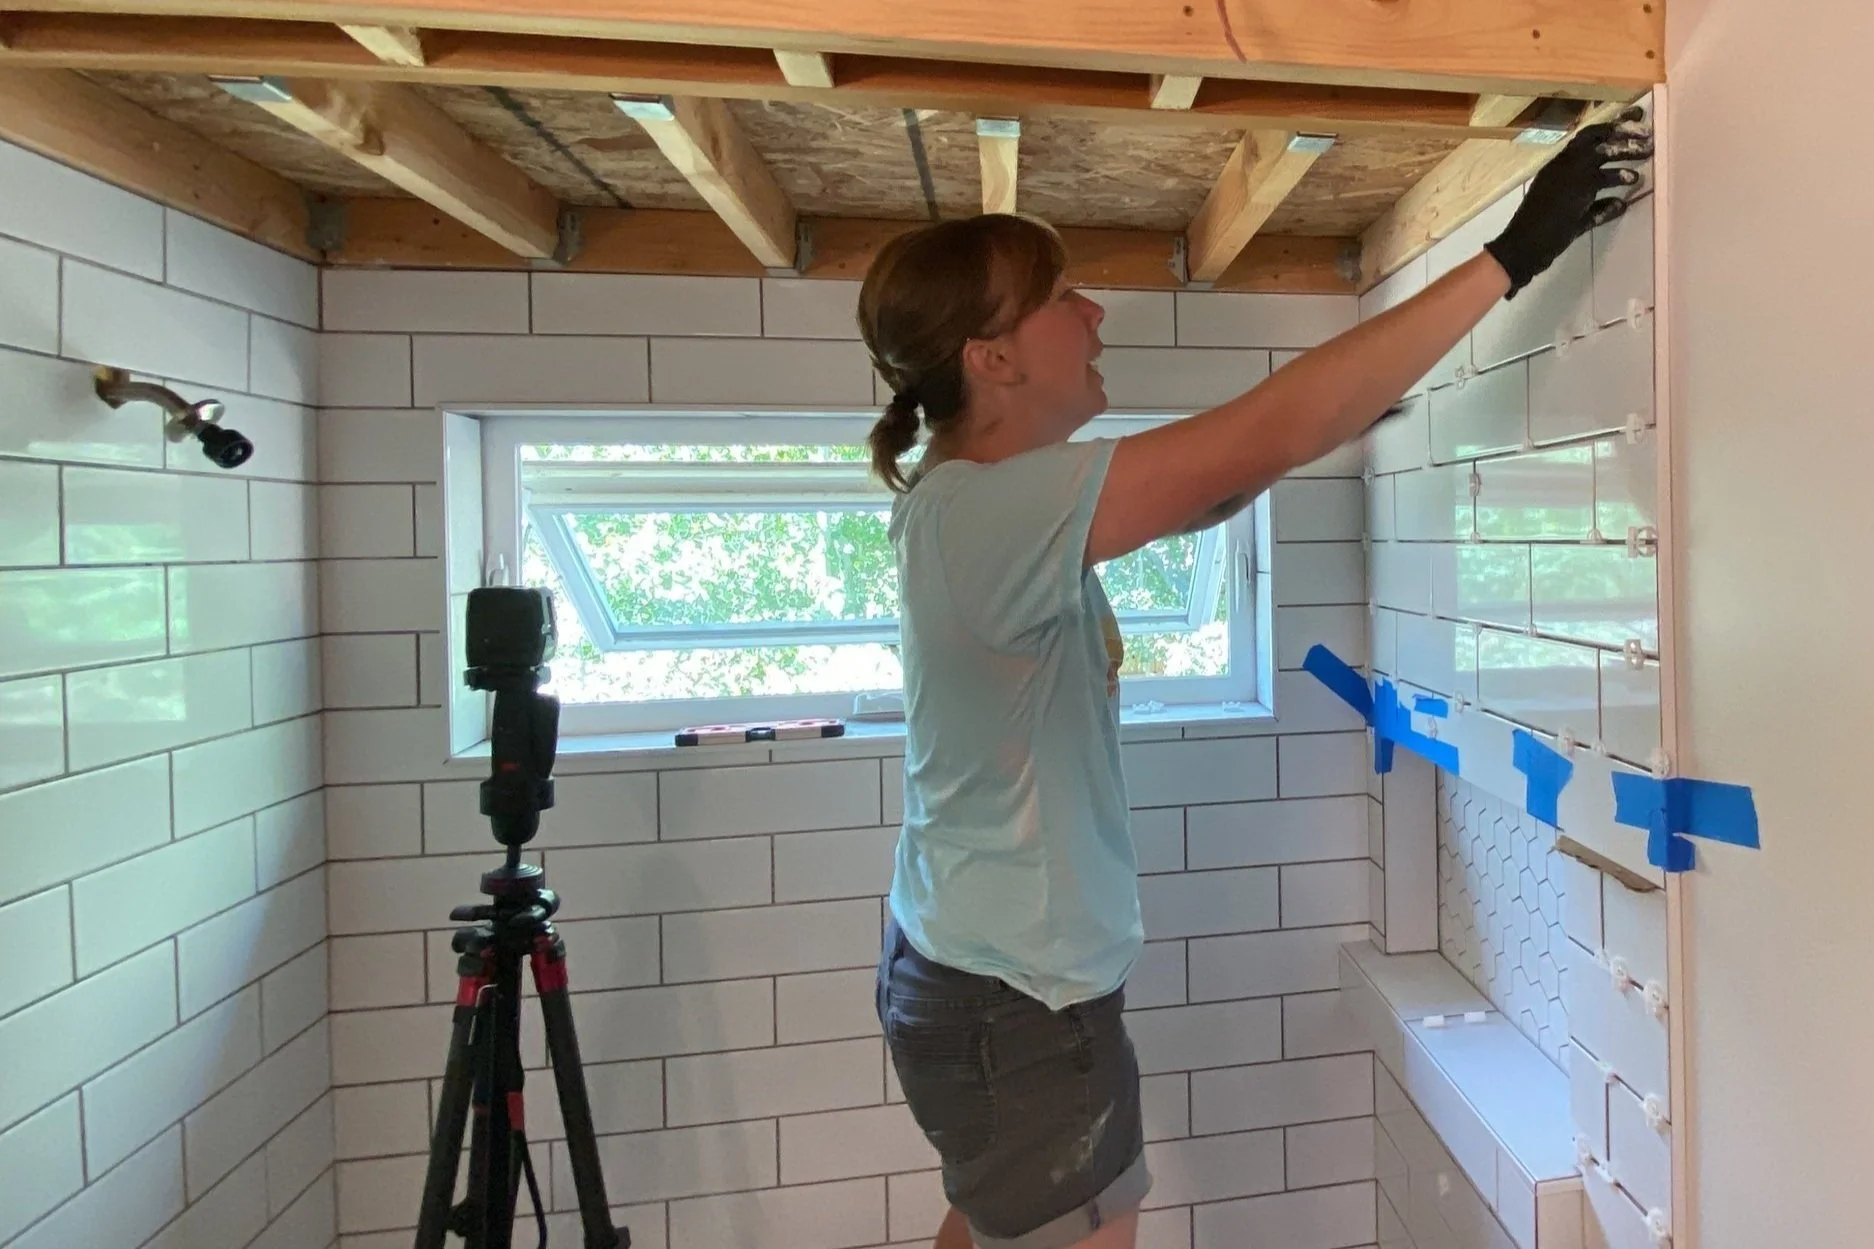
SEVEN DAYS INTO A 3 DAY PROJECT.
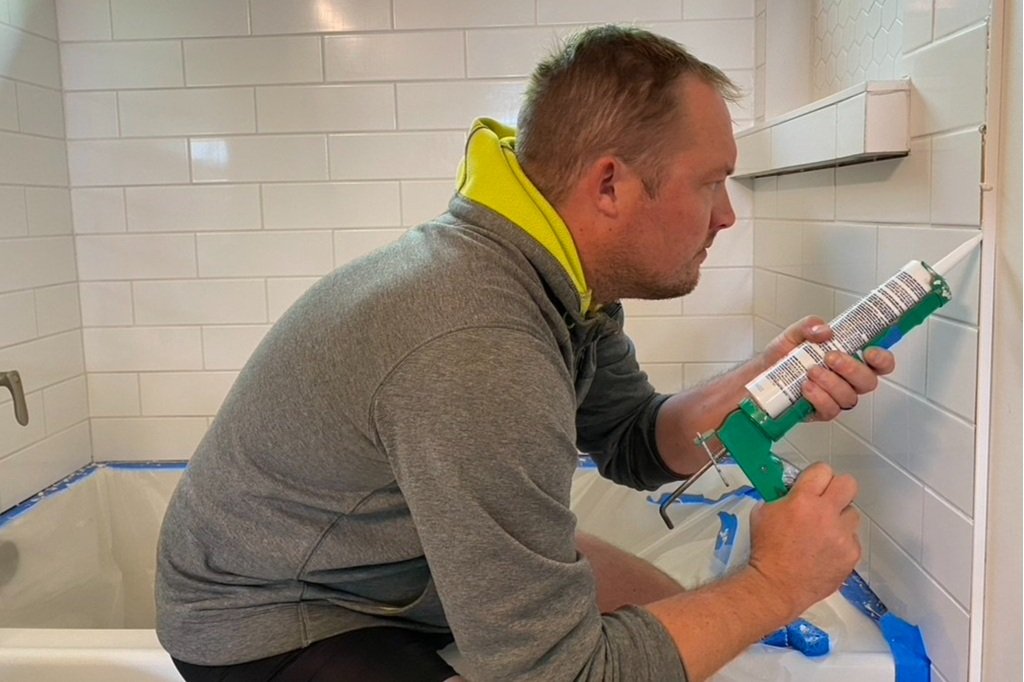
So close we can taste it.
Complete! It was a pain, but now it’s done.
TILING IS A REQUISITE STEP IN OVERLANDING.
SO CLOSE TO THE FINISH LINE, WHICH IS ALSO THE STARTING LINE.