
The Jalcomulco Chronicles : Building a brick wood-fired oven
/DISCLAIMER : This post is more of a DIY how-to for when we get around to building our own pizza oven someday. Chelsea wrote it, and it’s great, and the photos are awesome, but it’s not our usual travel/culture-centric kind of content. Enjoy, or don’t, but we’ll be back with a more regular type post on Monday!
Shortly after we arrived in Jalcomulco, Oscar mentioned that he would be building a brick wood-fired pizza oven soon. His brother-in-law, Selso, is a talented mason that’s well-versed in building brick ovens, so he would be taking the reigns on the project, with Oscar helping. Christian and I quickly begged our way into being included, as constructing our own oven has long been a personal dream of ours.
The oven was planned for a spot beside Oscar’s garage, just outside of the front entry. The location housed an impressive array of medicinal and herbal plants, but all of that was dug up and transplanted elsewhere to make way for the oven.
In Jalcomulco, the most common way to mix concrete is on the ground near where you’ll be using it. There are dried spots up and down the streets of town, where people have mixed their materials out in front of their houses while doing building projects inside. Unlike what we’re used to in the US, their concrete doesn’t come premixed. They get bags of cement, and then add sand and rocks and calcium before mixing it by hand while adding water. You can always tell who is about to start a home project when you see a pile of sand and rocks outside their house on the sidewalk. I’m not sure of the exact ratio, but watching them work told me that they’ve done this a few hundred times and their movements were not unlike a seasoned baker making biscuits from scratch without a measuring cup in sight.
Before their first batch of concrete was mixed, scrap wood was gathered and placed into a form along the wall where they would first pour the base for the whole structure. After the base was poured and had set for a day, Selso removed the boards, mixed a small portion of plain cement without sand or rocks, and spread a finish layer over the base, smoothing the material with a homemade wooden trowel and eventually finishing it off with a wavy texture created by dipping one of Maria’s brooms in water and then lightly dragging it across the top while moving it back and forth. This step was my favorite, as I’d seen plenty of finished concrete steps and walkways with this wavy texture, but I’d never known how the texture was made. Seeing how it was achieved with such a simple technique using a broom reminded me once again that you don’t need expensive and specialized tools for every Pinterest-fueled DIY project and creative thinking goes a long way.

The future home of a custom brick oven!

Forms are up and concrete is being added to make the base of the oven.

Christian joined in, helping to sling concrete.

The oven would be 1 meter x 1 meter, so the front needed an additional base bump-out built.
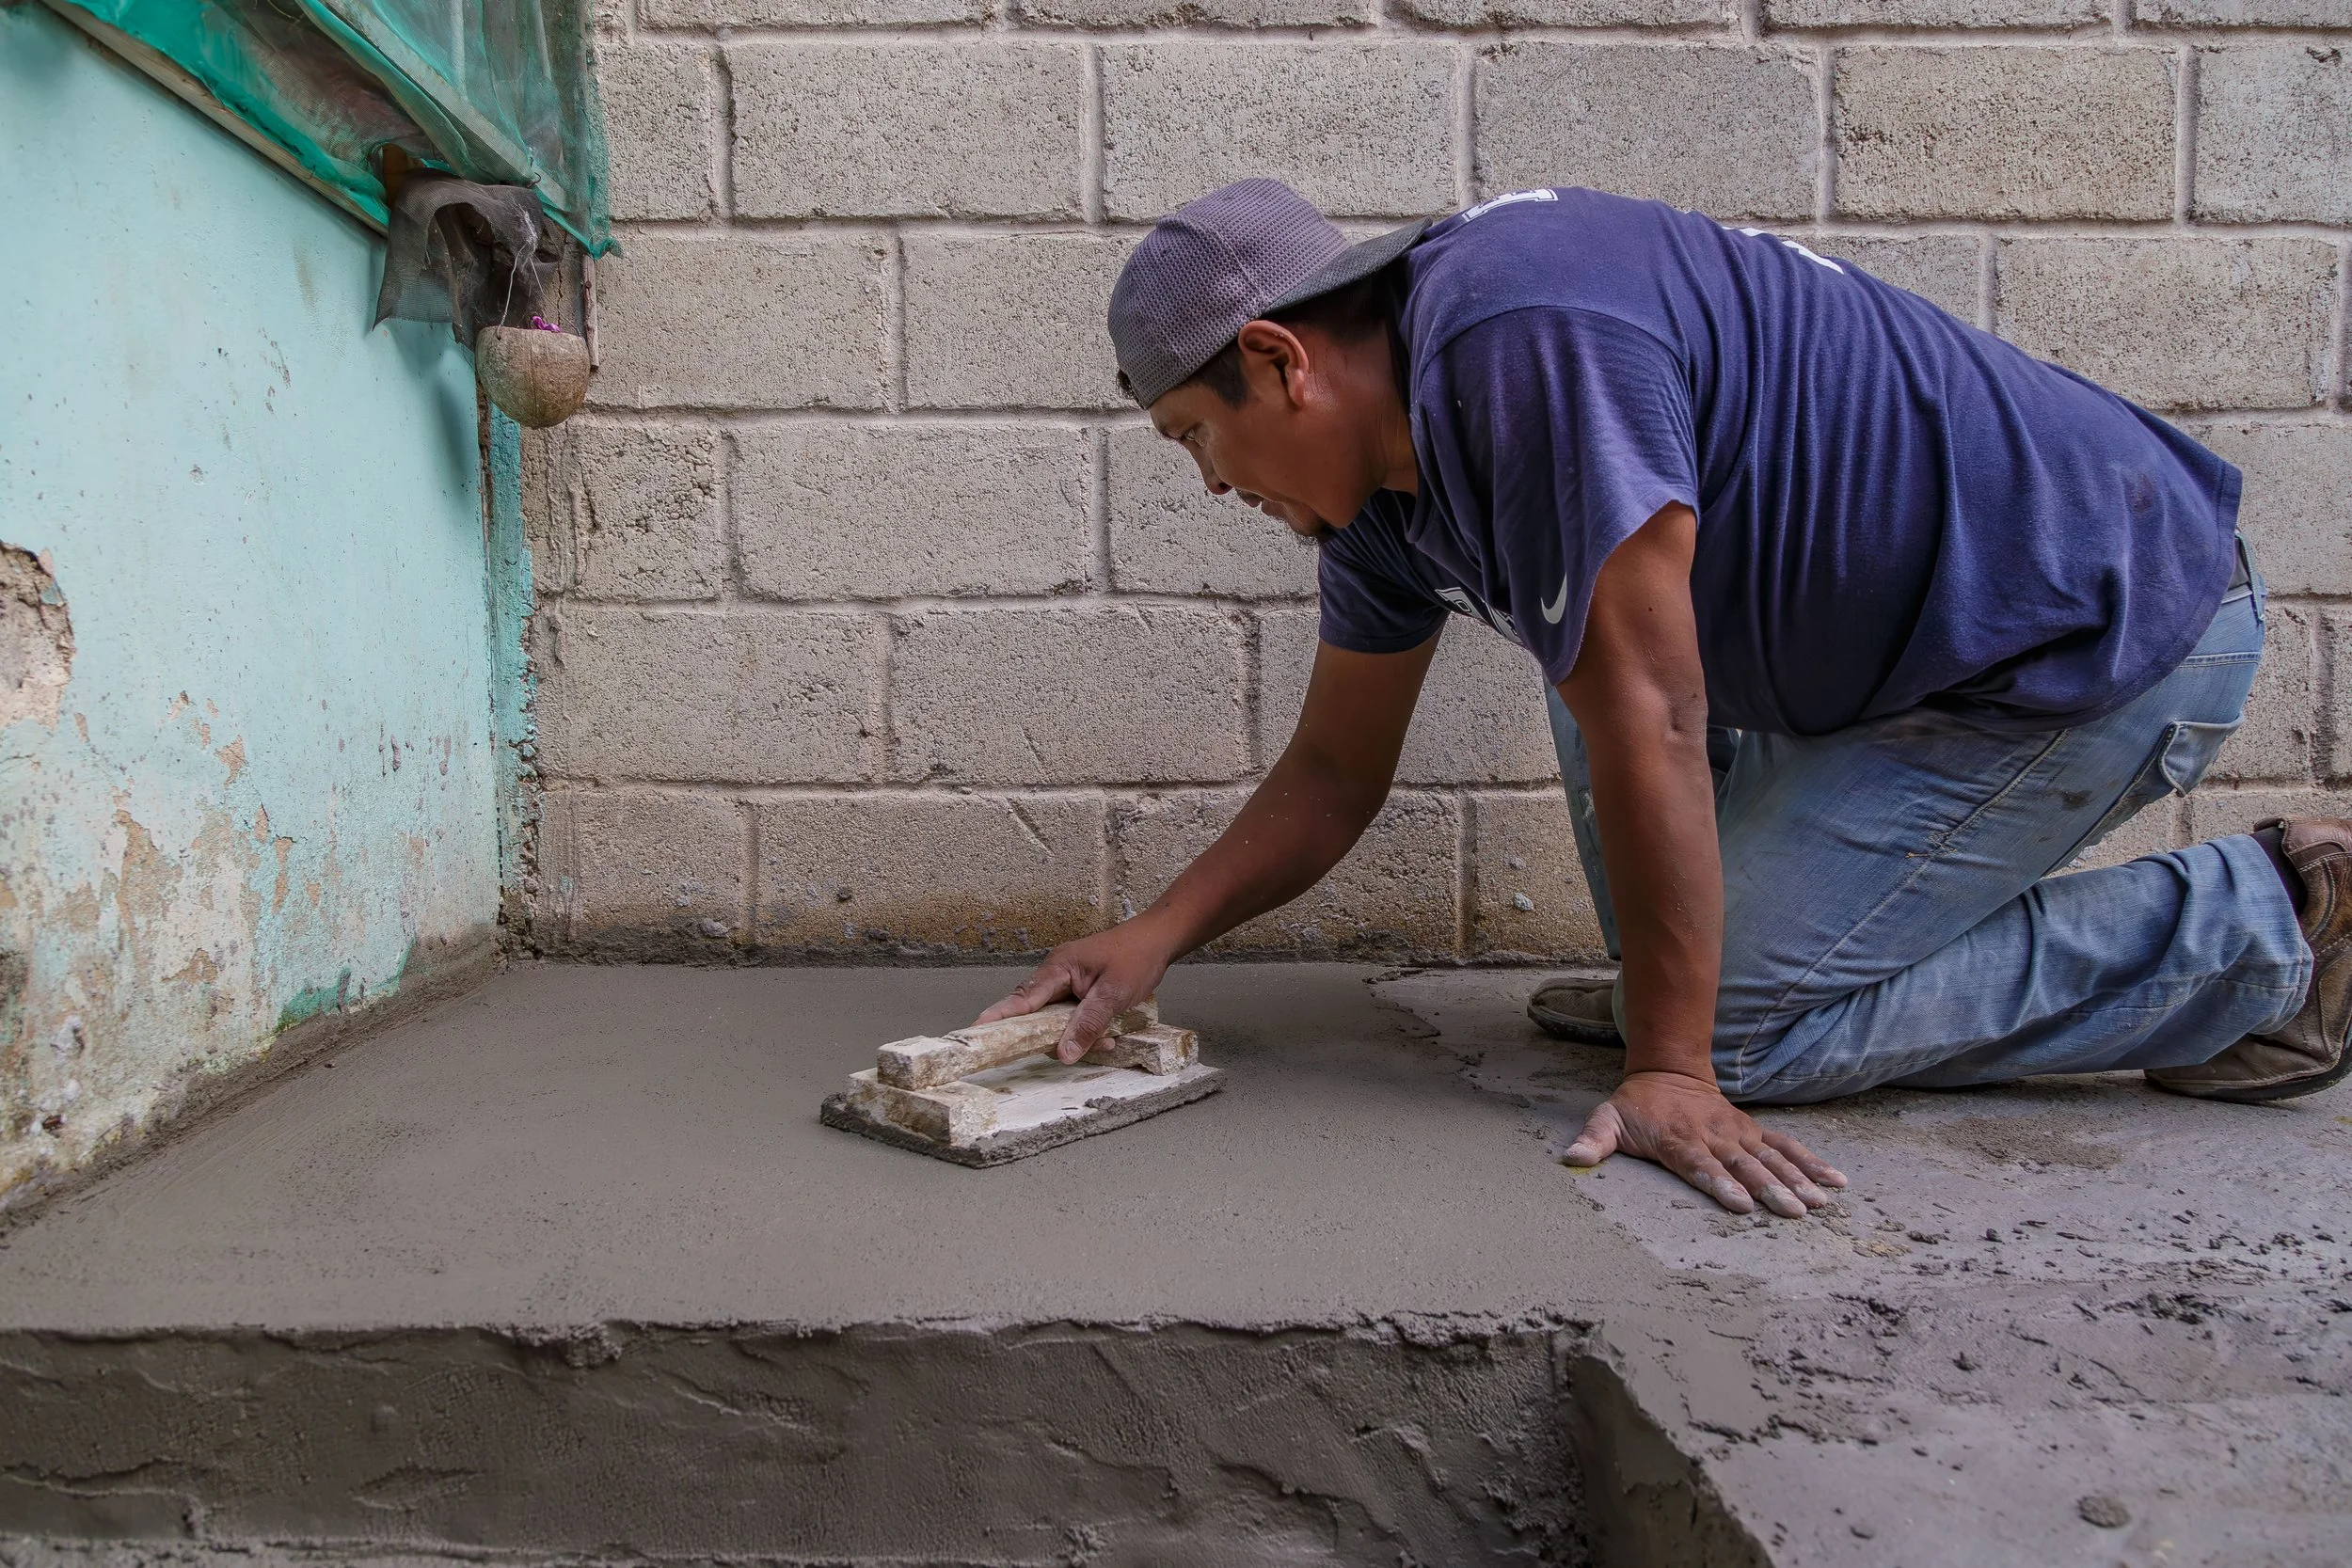
Selso carefully adding a finish coat of cement to the base once it had mostly dried.

Selso sprinkled dry cement on the finish coat in preparation to add texture.

A well-worn broom was dipped in water and dragged lightly back and forth over the surface to create a wavy pattern.

A larger view of the progress as he added The texture.

It’s both beautiful and functional, as it doubles as a non-slip texture!
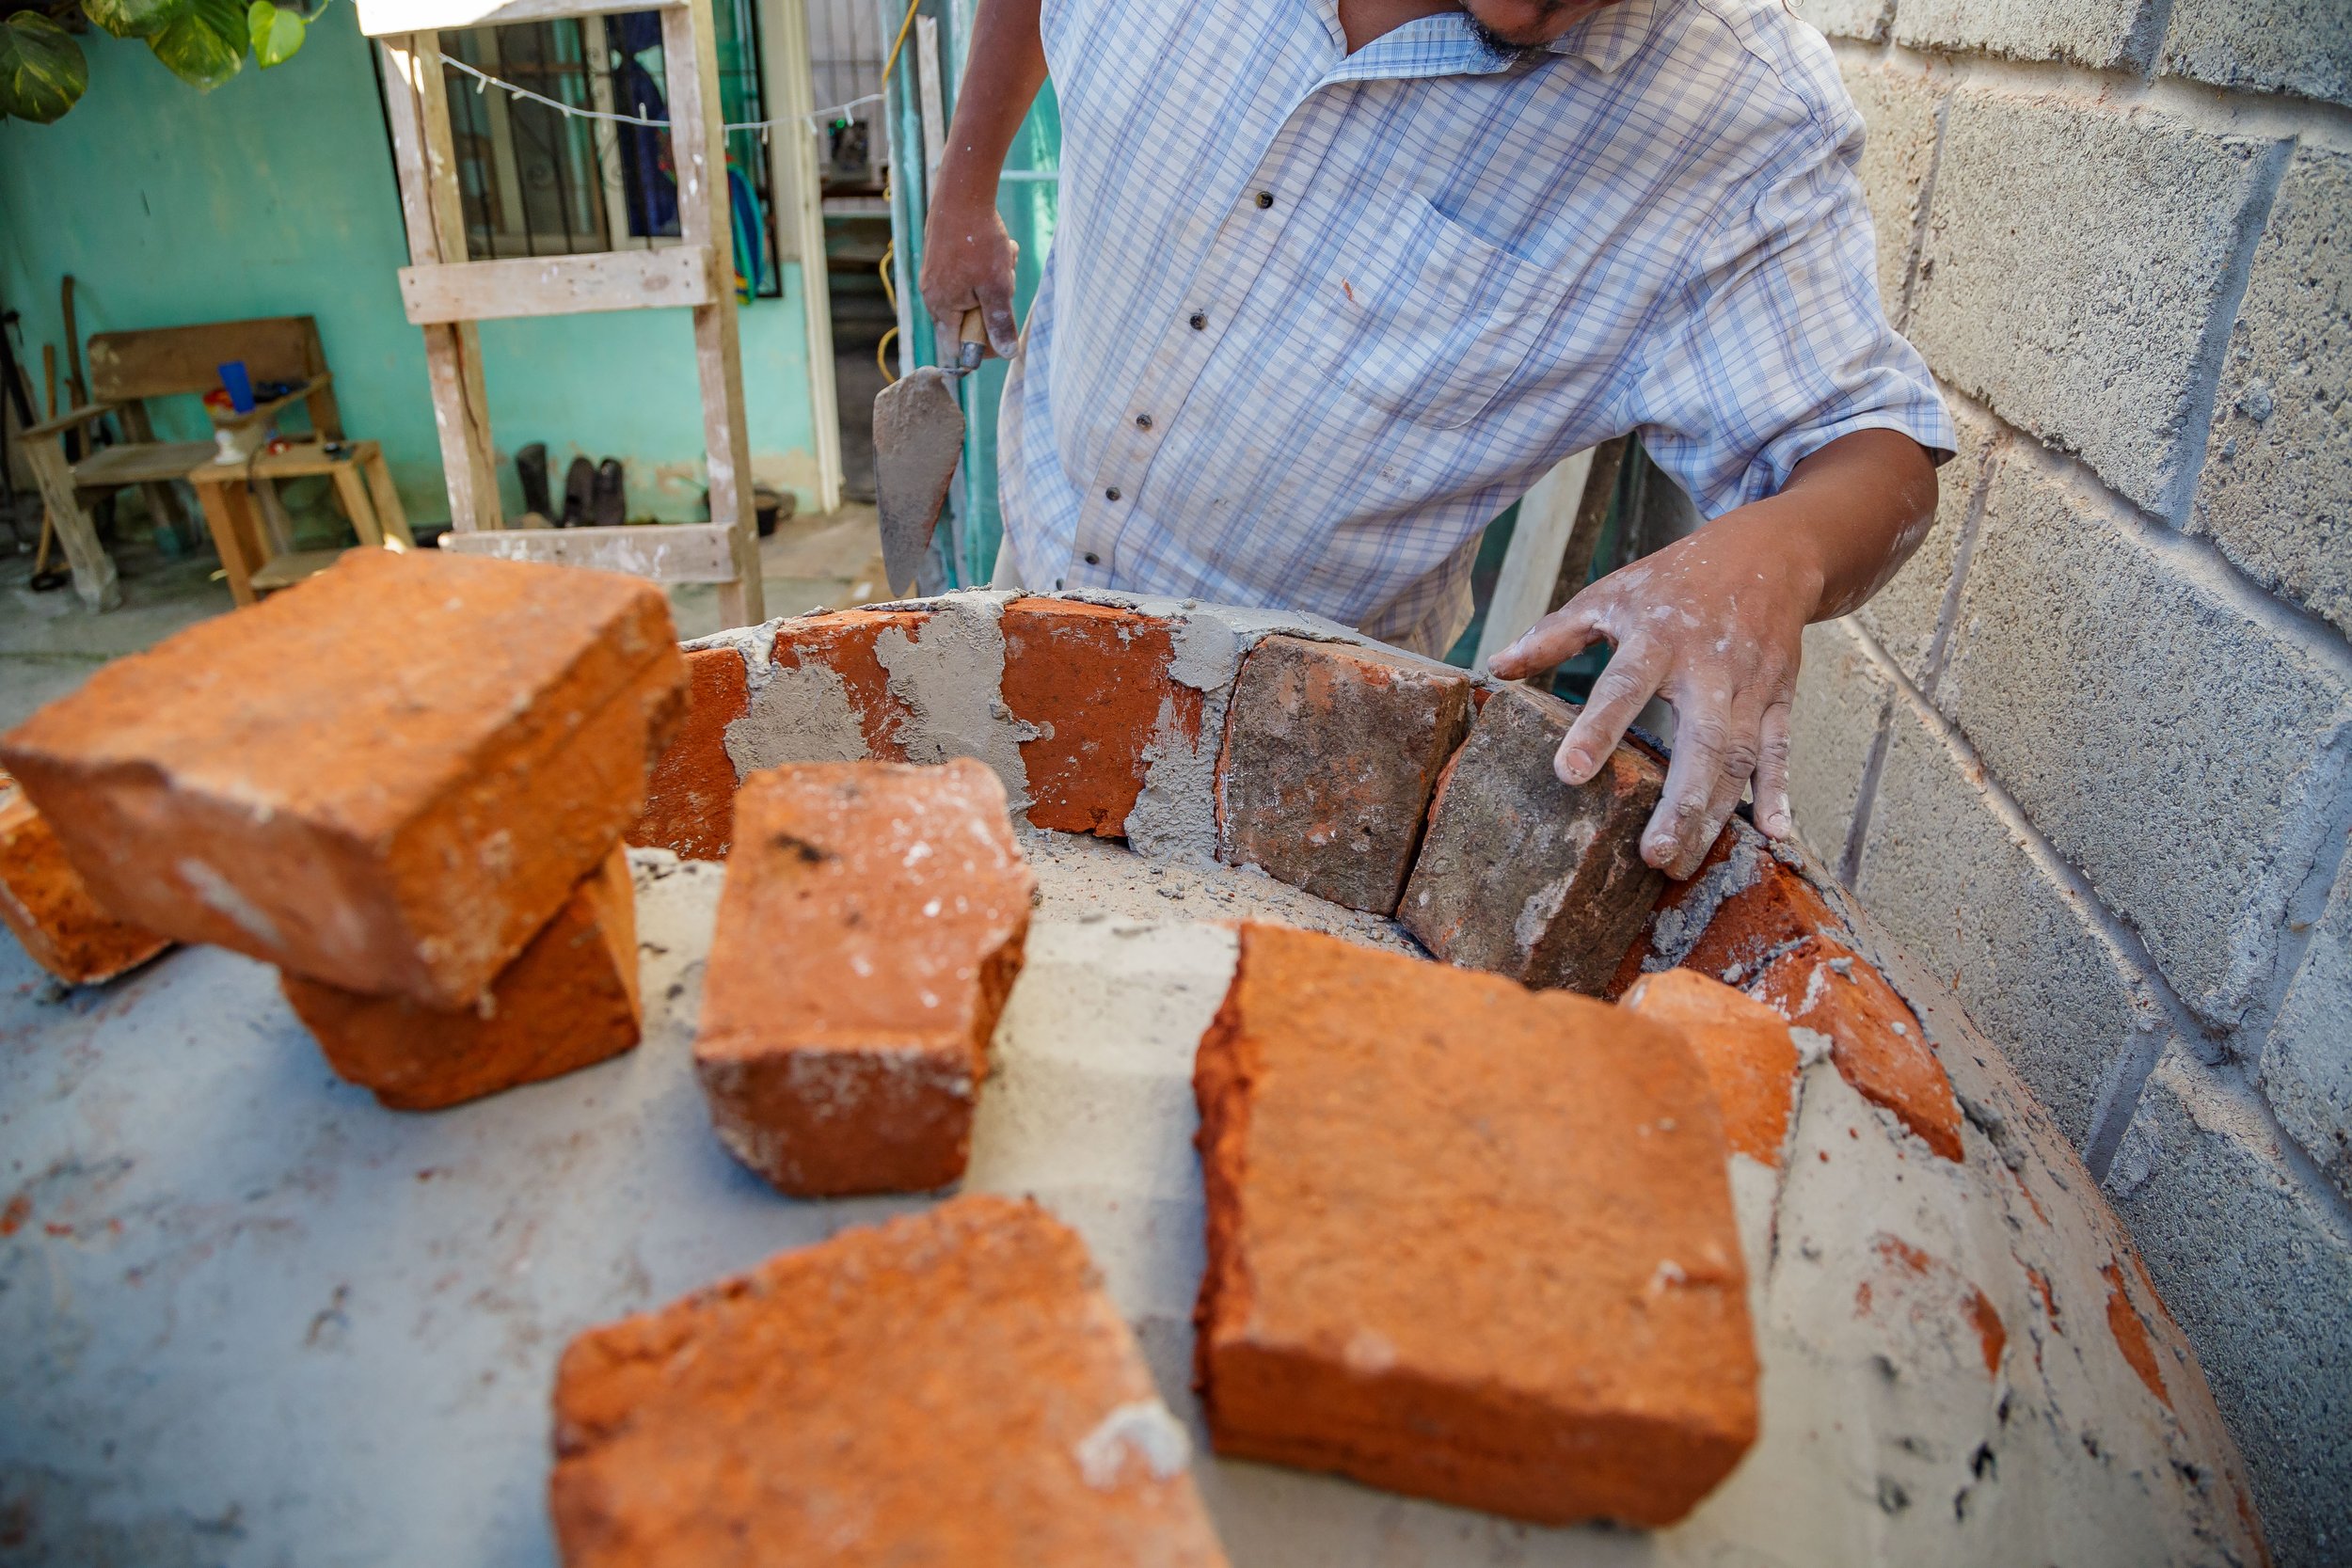
After the base was fully cured, the oven structure was next to take shape. Using cinderblocks, they laid out the walls of the lower part of the oven, which would be roughly 1 meter by 1 meter. The opening/door of the oven would be a little proud, so the walls didn’t form a perfect square and it was slightly deeper than it was wide.
After the walls were finished and dried, they filled it with dirt. It was filled “a few bricks” shy of full and they then made a custom circular rim out of bricks, which would be directly underneath the interior of the finished oven. The layer of dirt was topped with a mixture of broken glass, lava rock, sand and rock salt. This created an air-filled layer that helps insulate the hot oven from the base and keeps it from losing heat to the materials below when it’s in use. Oscar had to enlist the help of friends and family to get enough glass to cover the area, and Christian volunteered to source the rock salt during a trip to the nearby city of Coatepec when he was running errands to Autozone gathering supplies for an oil change on the van.

Oscar and Selso constructing the oven.

Level is level - Selso is a master of construction.

Oscar filling the void of the oven’s base with dirt.

Glass!

They used an old political banner to set on top of the glass while they broke it apart with hammers.

Oscar admiring his work.

Adding lava rock.

Oscar preparing cement while Selso mixes the glass, sand and lava rock.

Rock salt, lava rock, sand and glass.

Oscar adding the rock salt,.
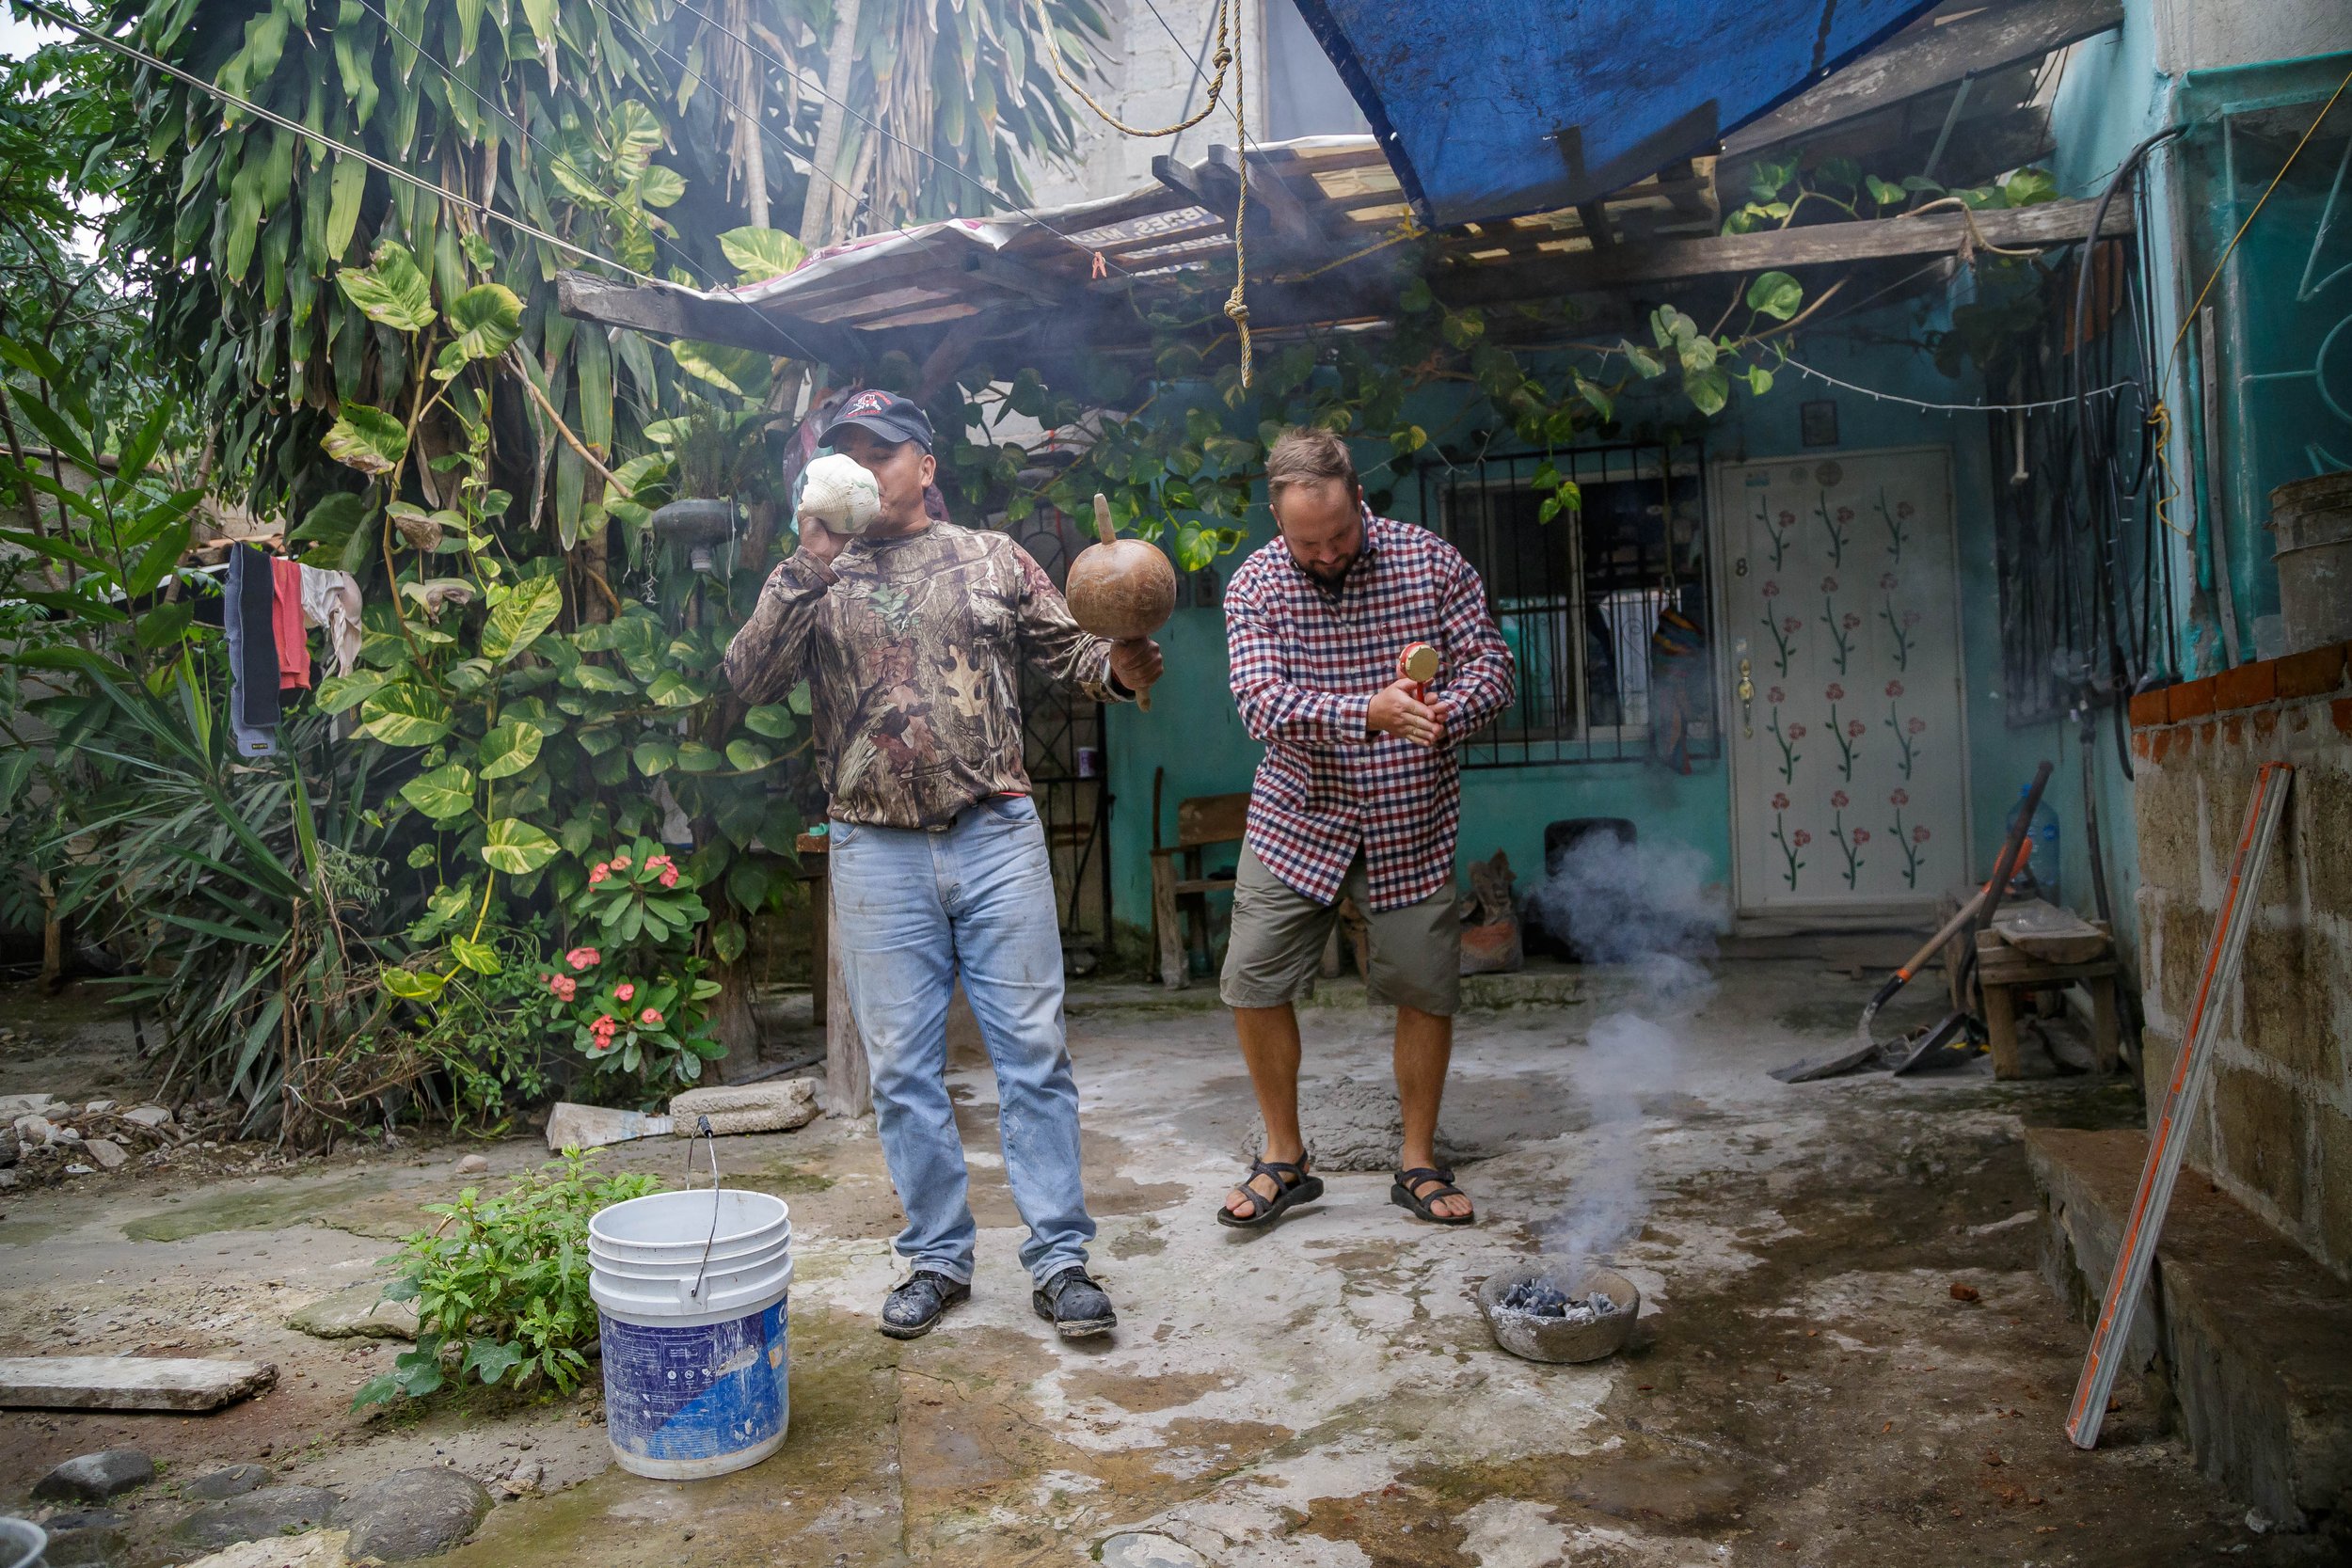
The days spent working on the oven weren’t without their shenanigans. Oscar busted out some herbal smoke to keep the mosquitoes at bay and he and Christian had an impromptu jam session with some instruments he found nearby.

A single of layer of bricks was placed over the oven base once it was filled.
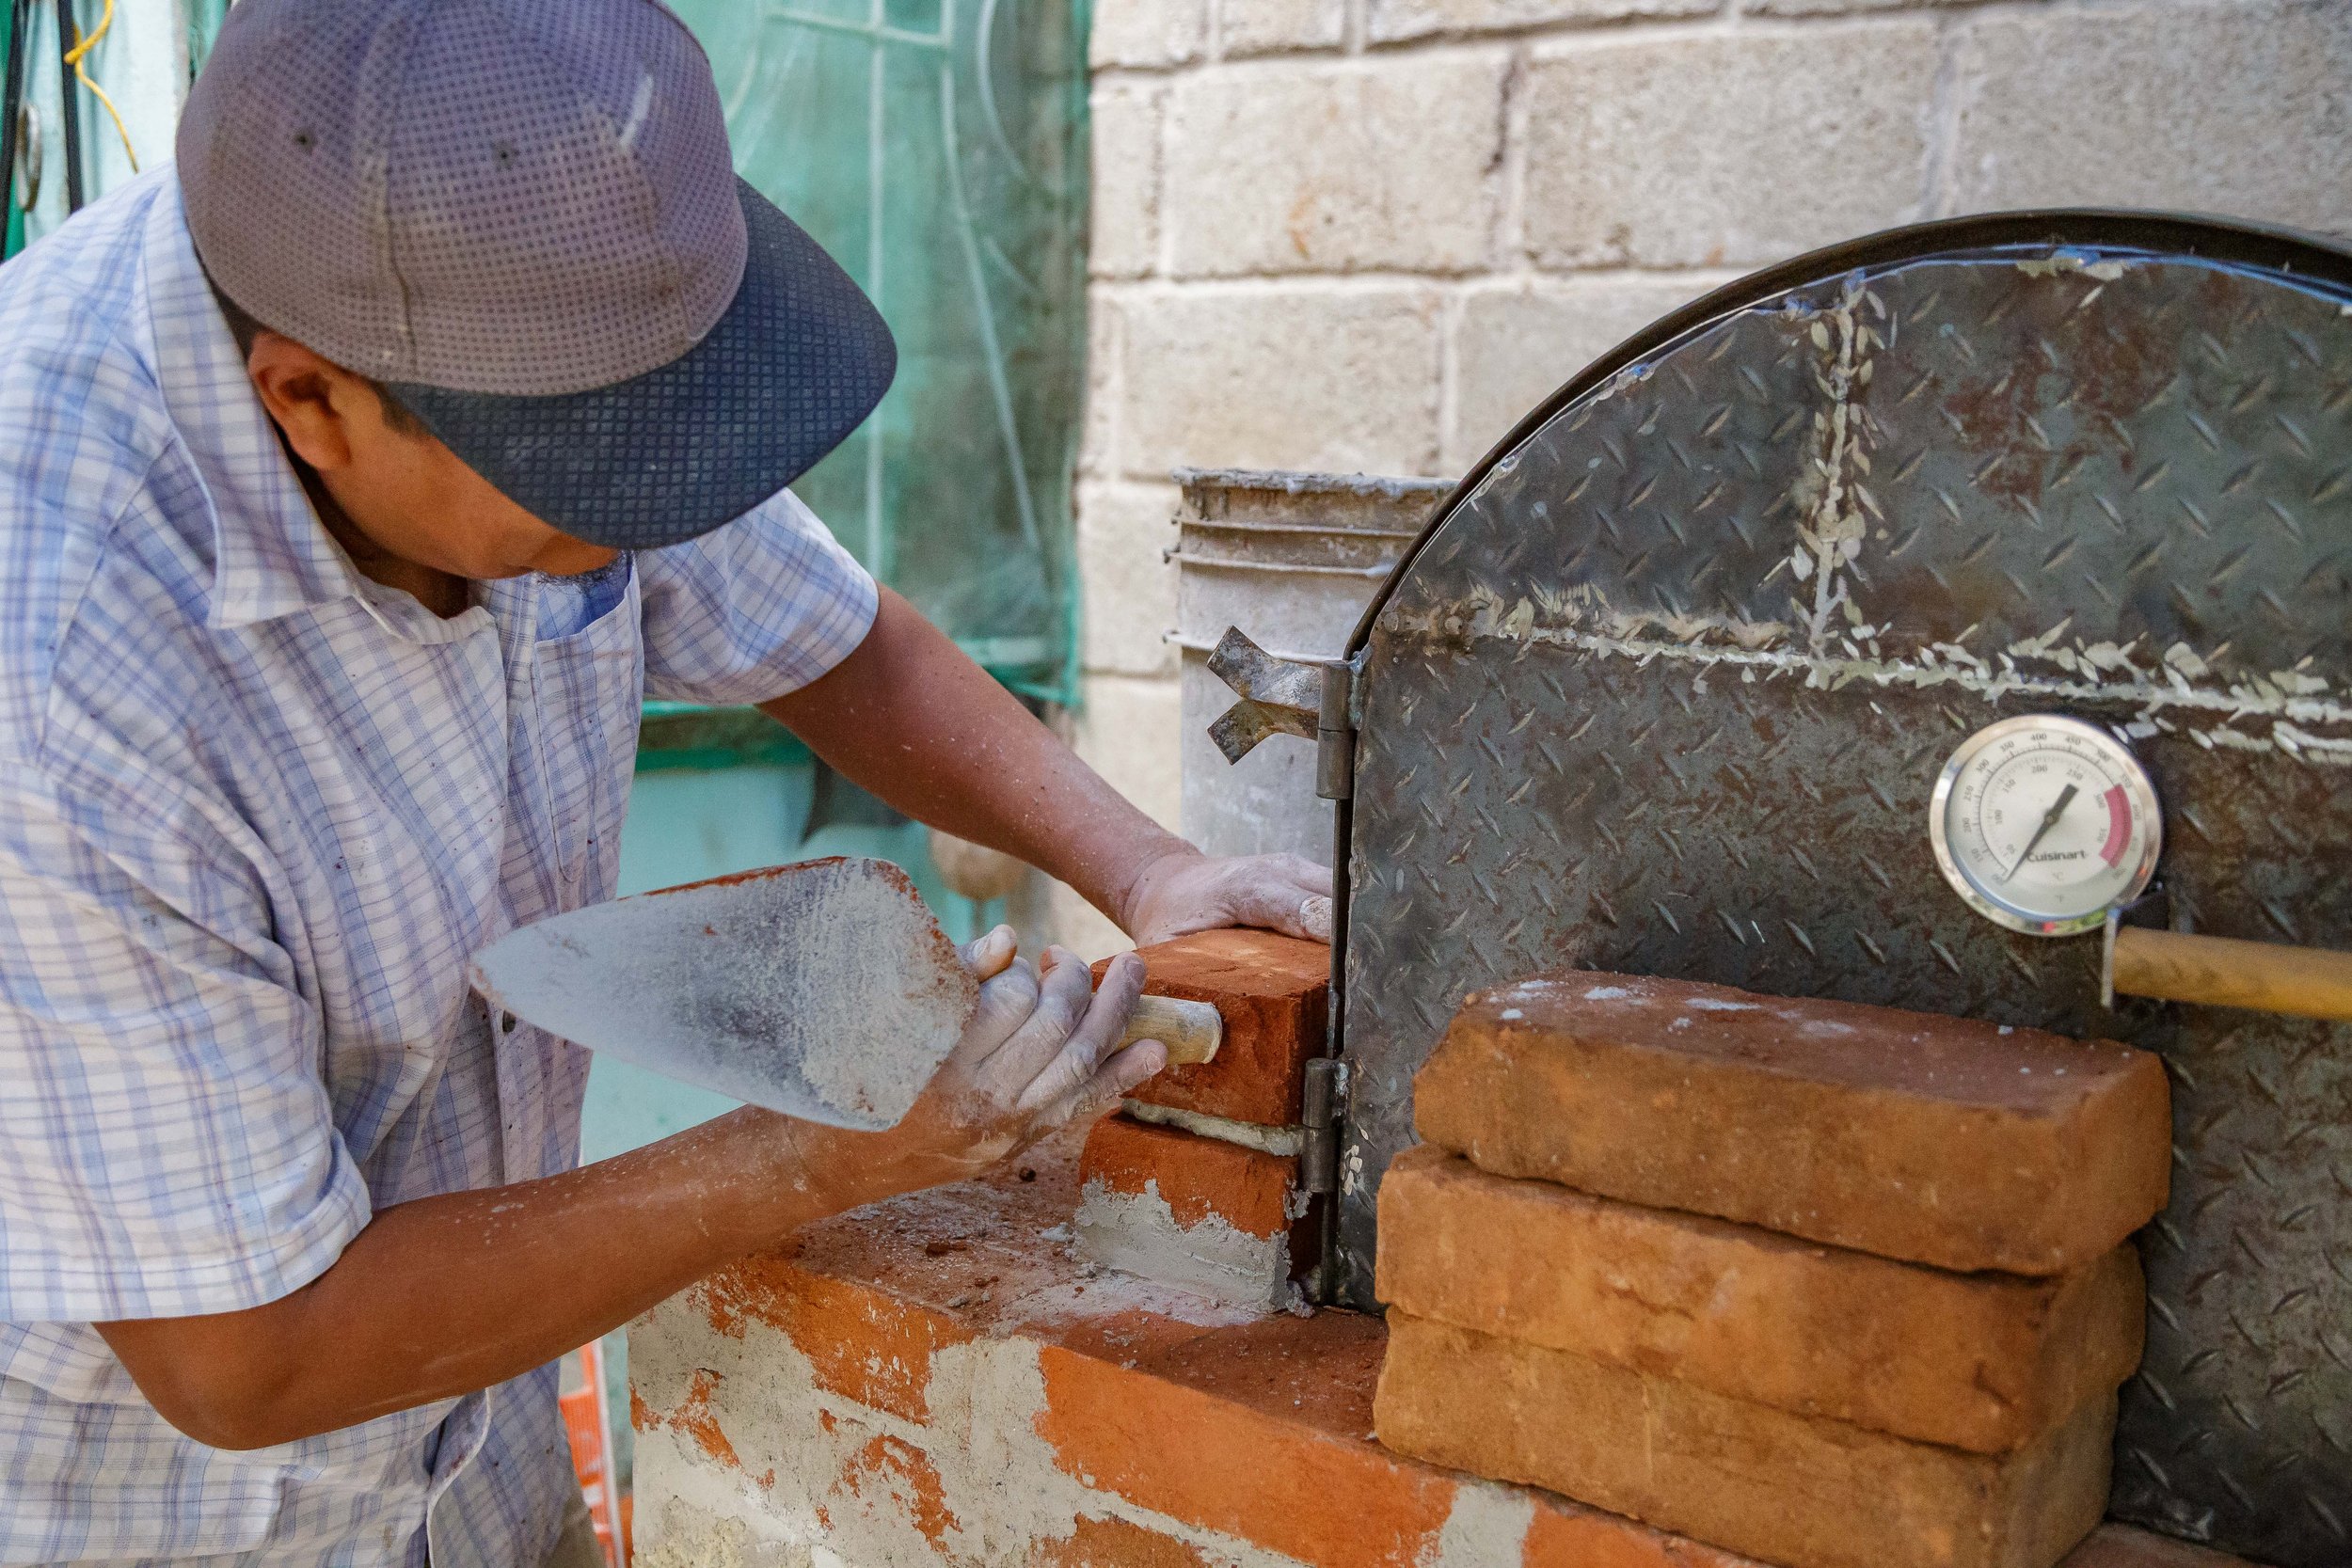
After the base was filled with material, Selso laid a single layer of bricks over the entire top. This would be the actual “floor” of the oven interior, and what would hold the fire and whatever is being cooked. A large circle was then drawn on the bricks to mark the inside circumference of the oven. It was offset from the front to accommodate the door and archway into the oven. Oscar had a local welder fabricate the door and it had two metal “legs” that would sink into the oven base and two side “tabs” that would be bricked into the arch to hold it into place. Selso eyeballed the door, found a spot he was happy with, and drilled a couple holes to sink it into place. A few supports were positioned on the front and back of it while he added a brick archway around the door. A chimney was placed over the very center top of the archway to provide a place for smoke to escape.
Selso continued to work into the dark of the evening, moving onto the first layer of the oven proper, while Oscar and Christian slowly descended into a state of revelry, fueled by libations provided by Maria and an impeccable classic and grunge rock playlist that Oscar kept turning up. Eventually, peer pressure won out, and Selso abandoned the project, joining into a mosh pit of three as Nirvana’s ‘Smells Like Teen Spirit’ drowned out all other signs of life.

Oscar cutting some bricks to size with an angle grinder.

Selso laying the final layer of brick over the oven base.

Drawing a circle to begin construction of the walls.
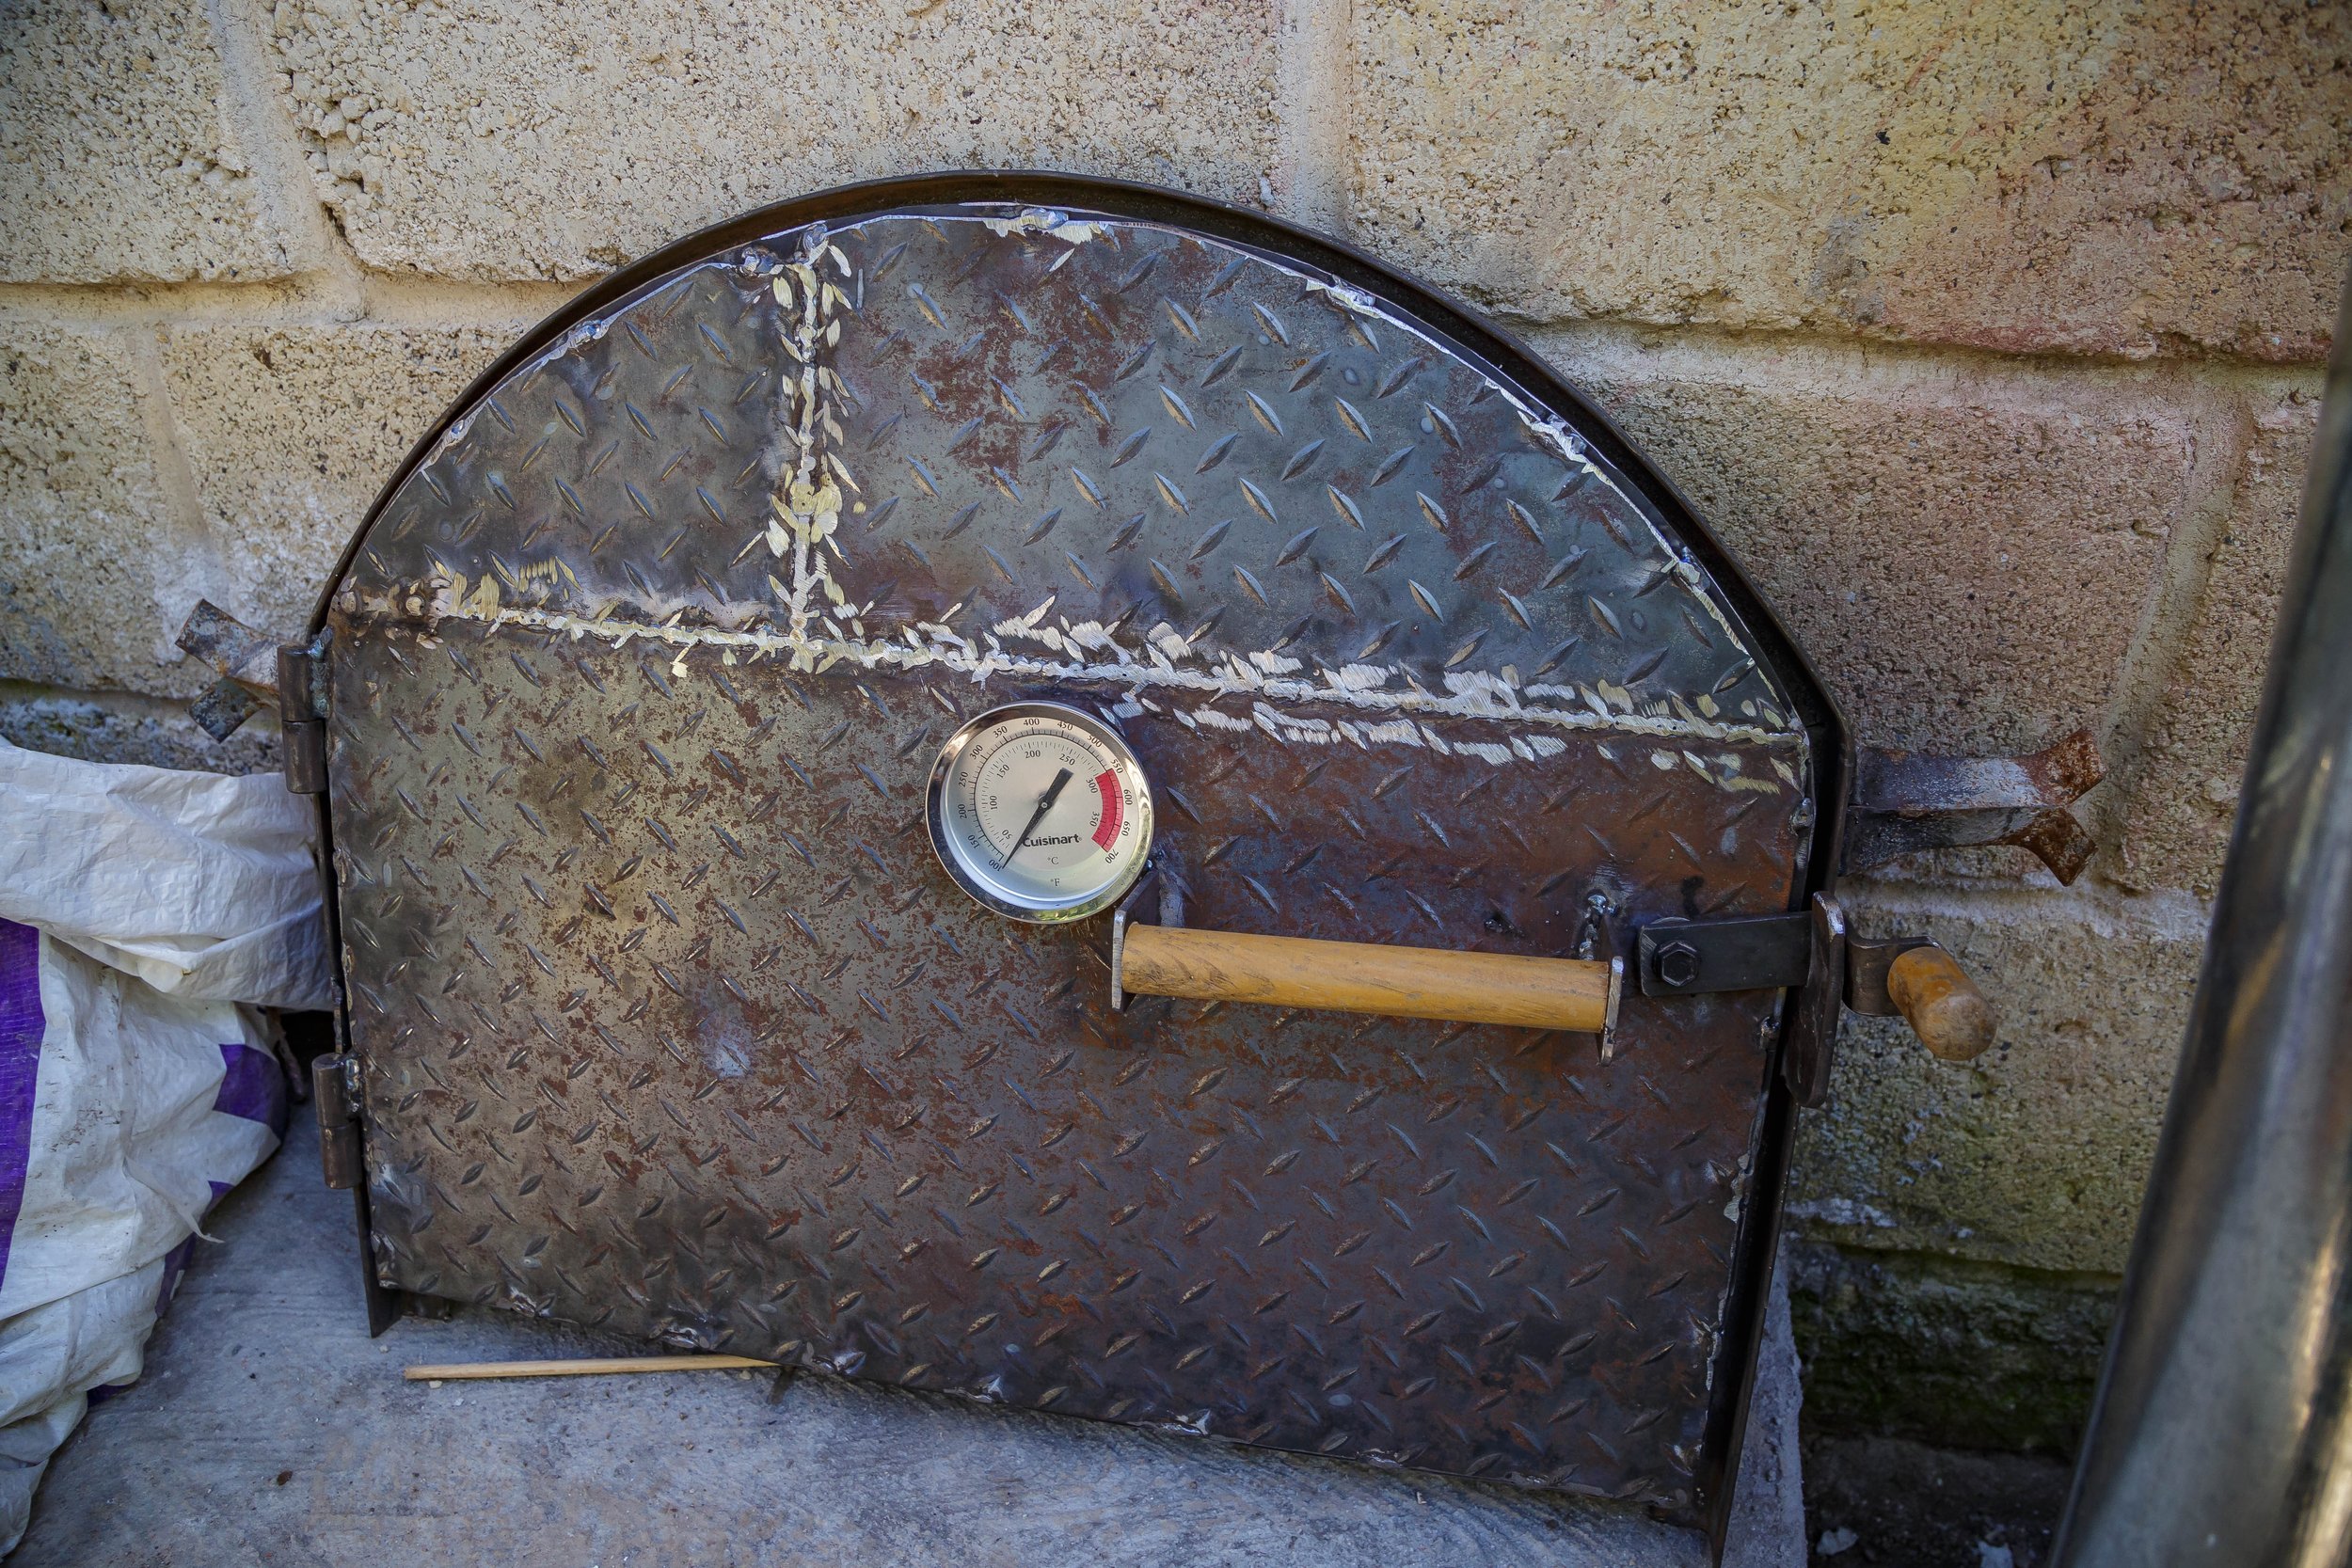
The custom fabricated door!

Selso figuring out where he wanted to install the door. (Notice the insulating bricks inside the custom door. It was quite heavy!)

A drill was used to hollow out where the door would be set into place.
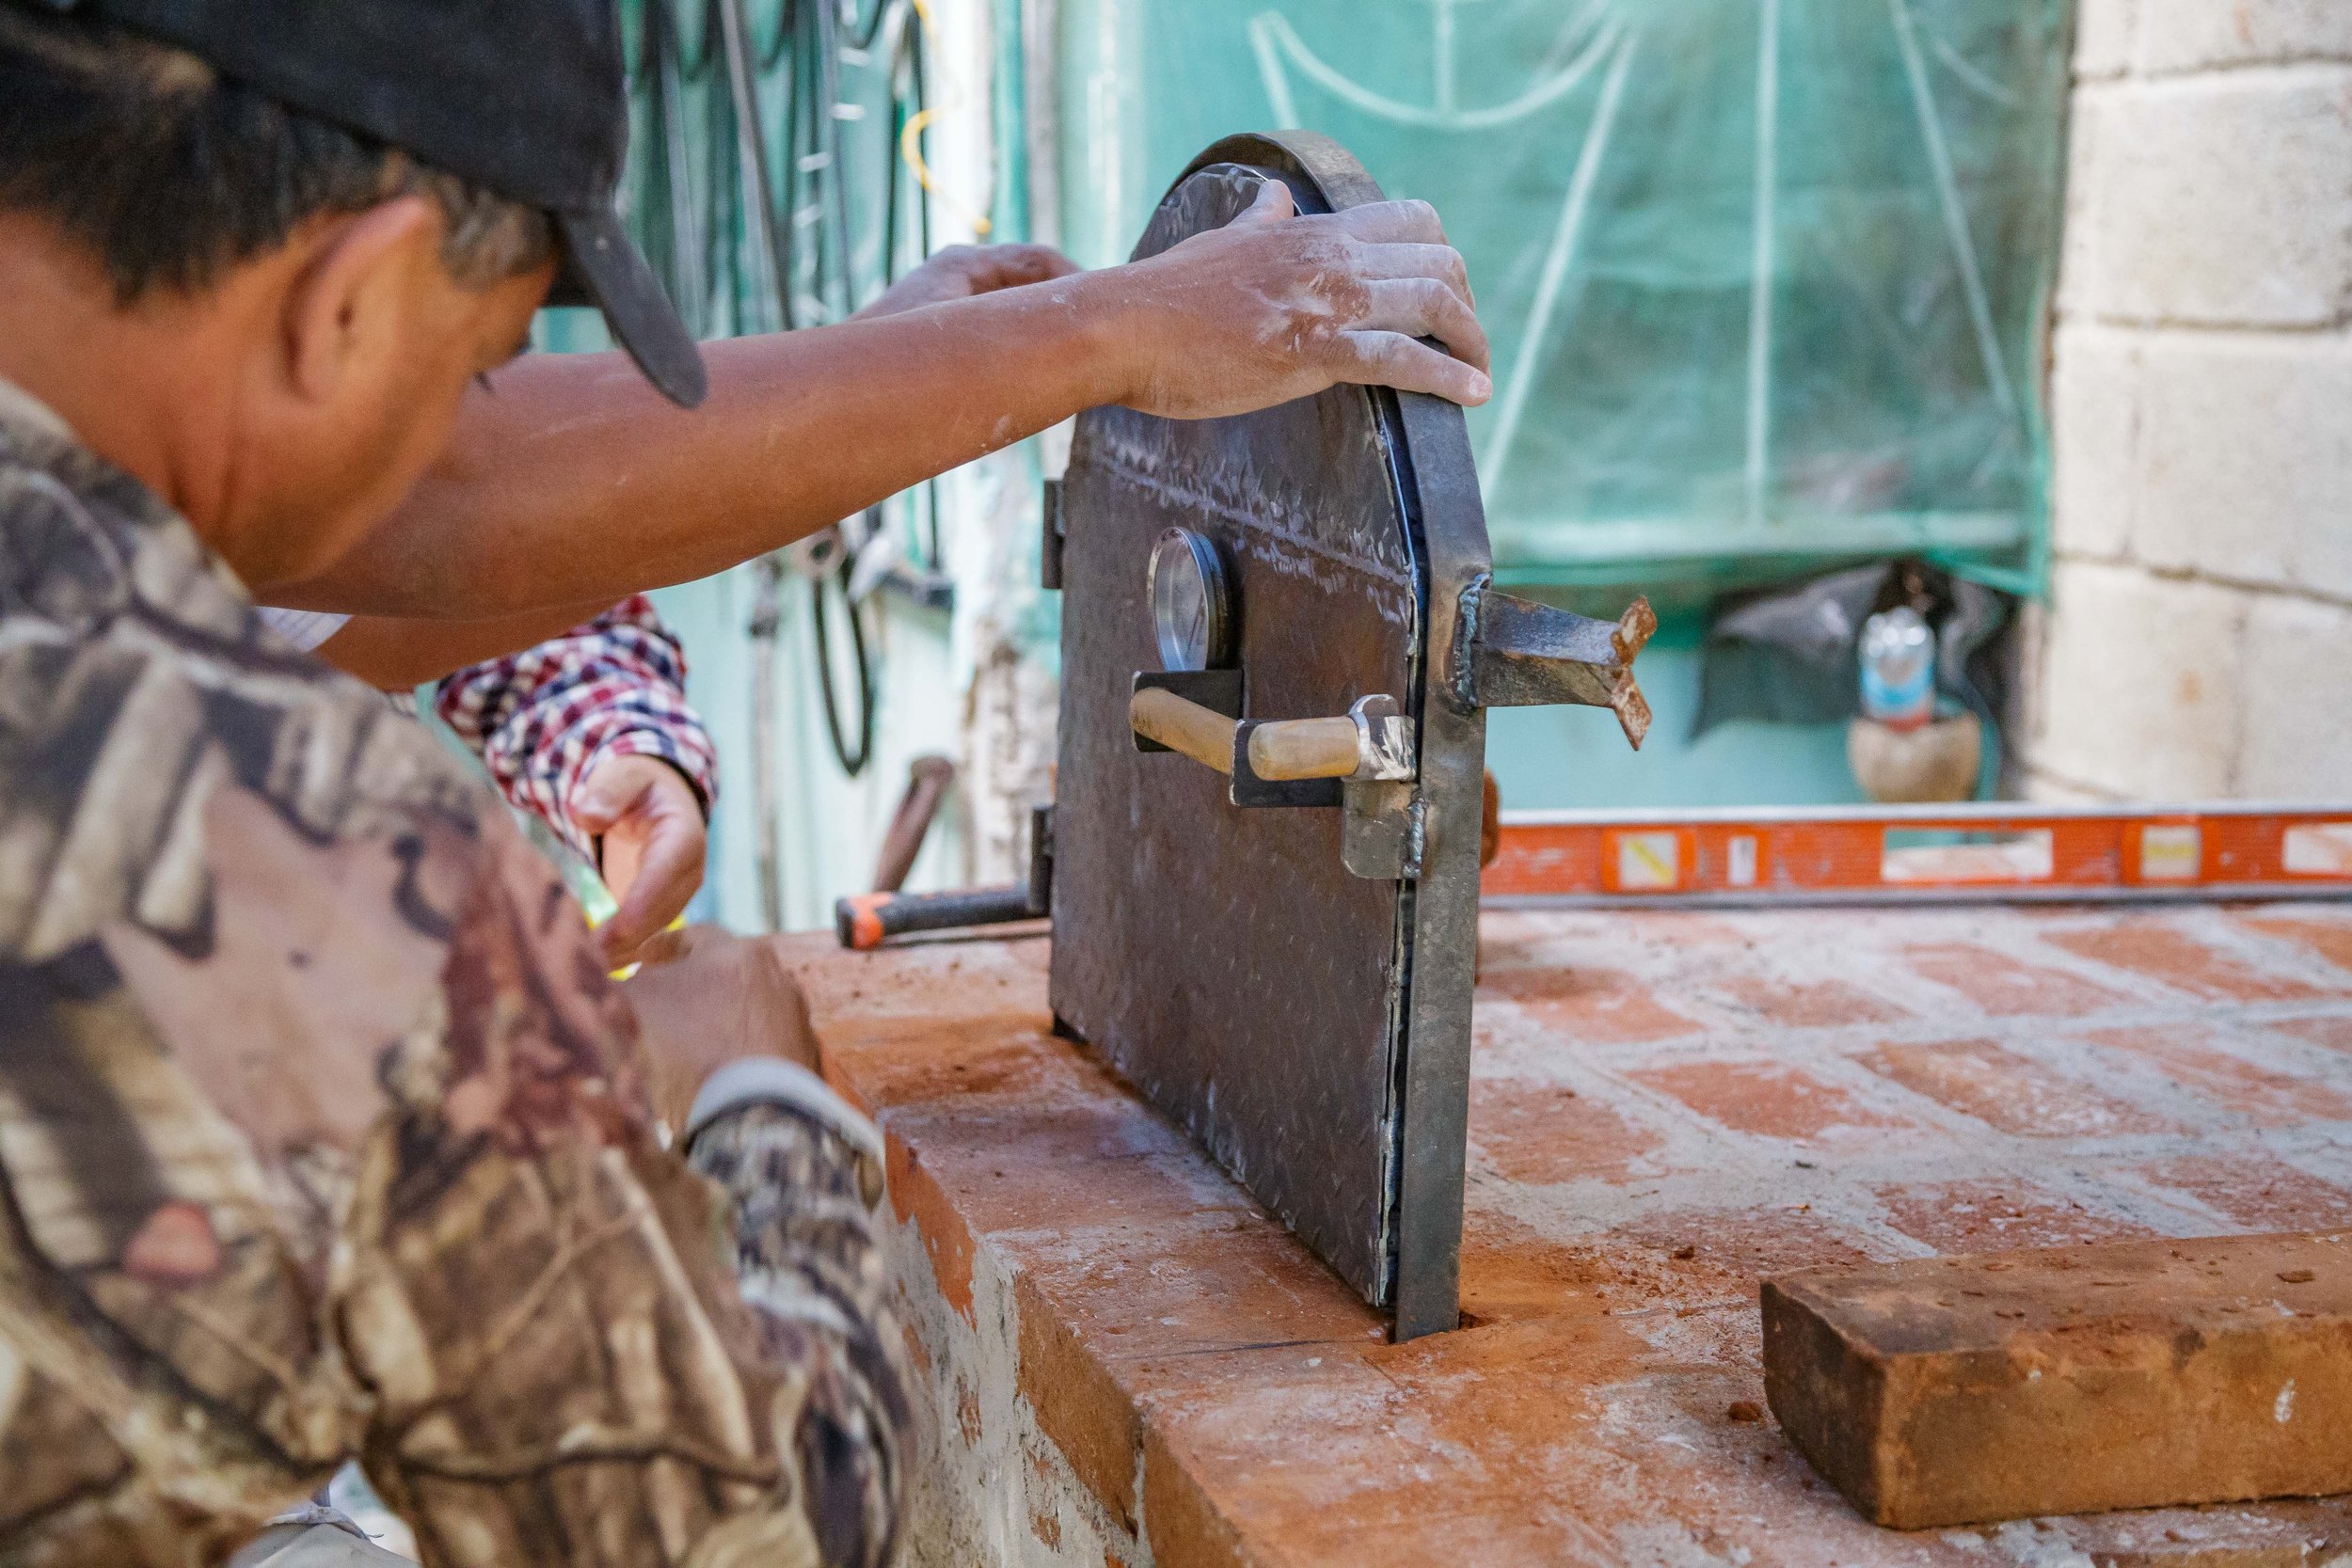
Perfect fit!
Once the door was in a good spot, Selso built an arch of bricks around it to hold it in place.

Christian hauling bricks while Gracie practices sit/stay in weird spots.

But Dad, tell me again why we’re not playing disc right now?

Selso constructing the arch around the door. He split two bricks in half to set the two tabs into place between them.

A close-up of the door tab.

Another view of the arch being built over the door.

Gotta have some posed pictures in there for commemorating the occasion.
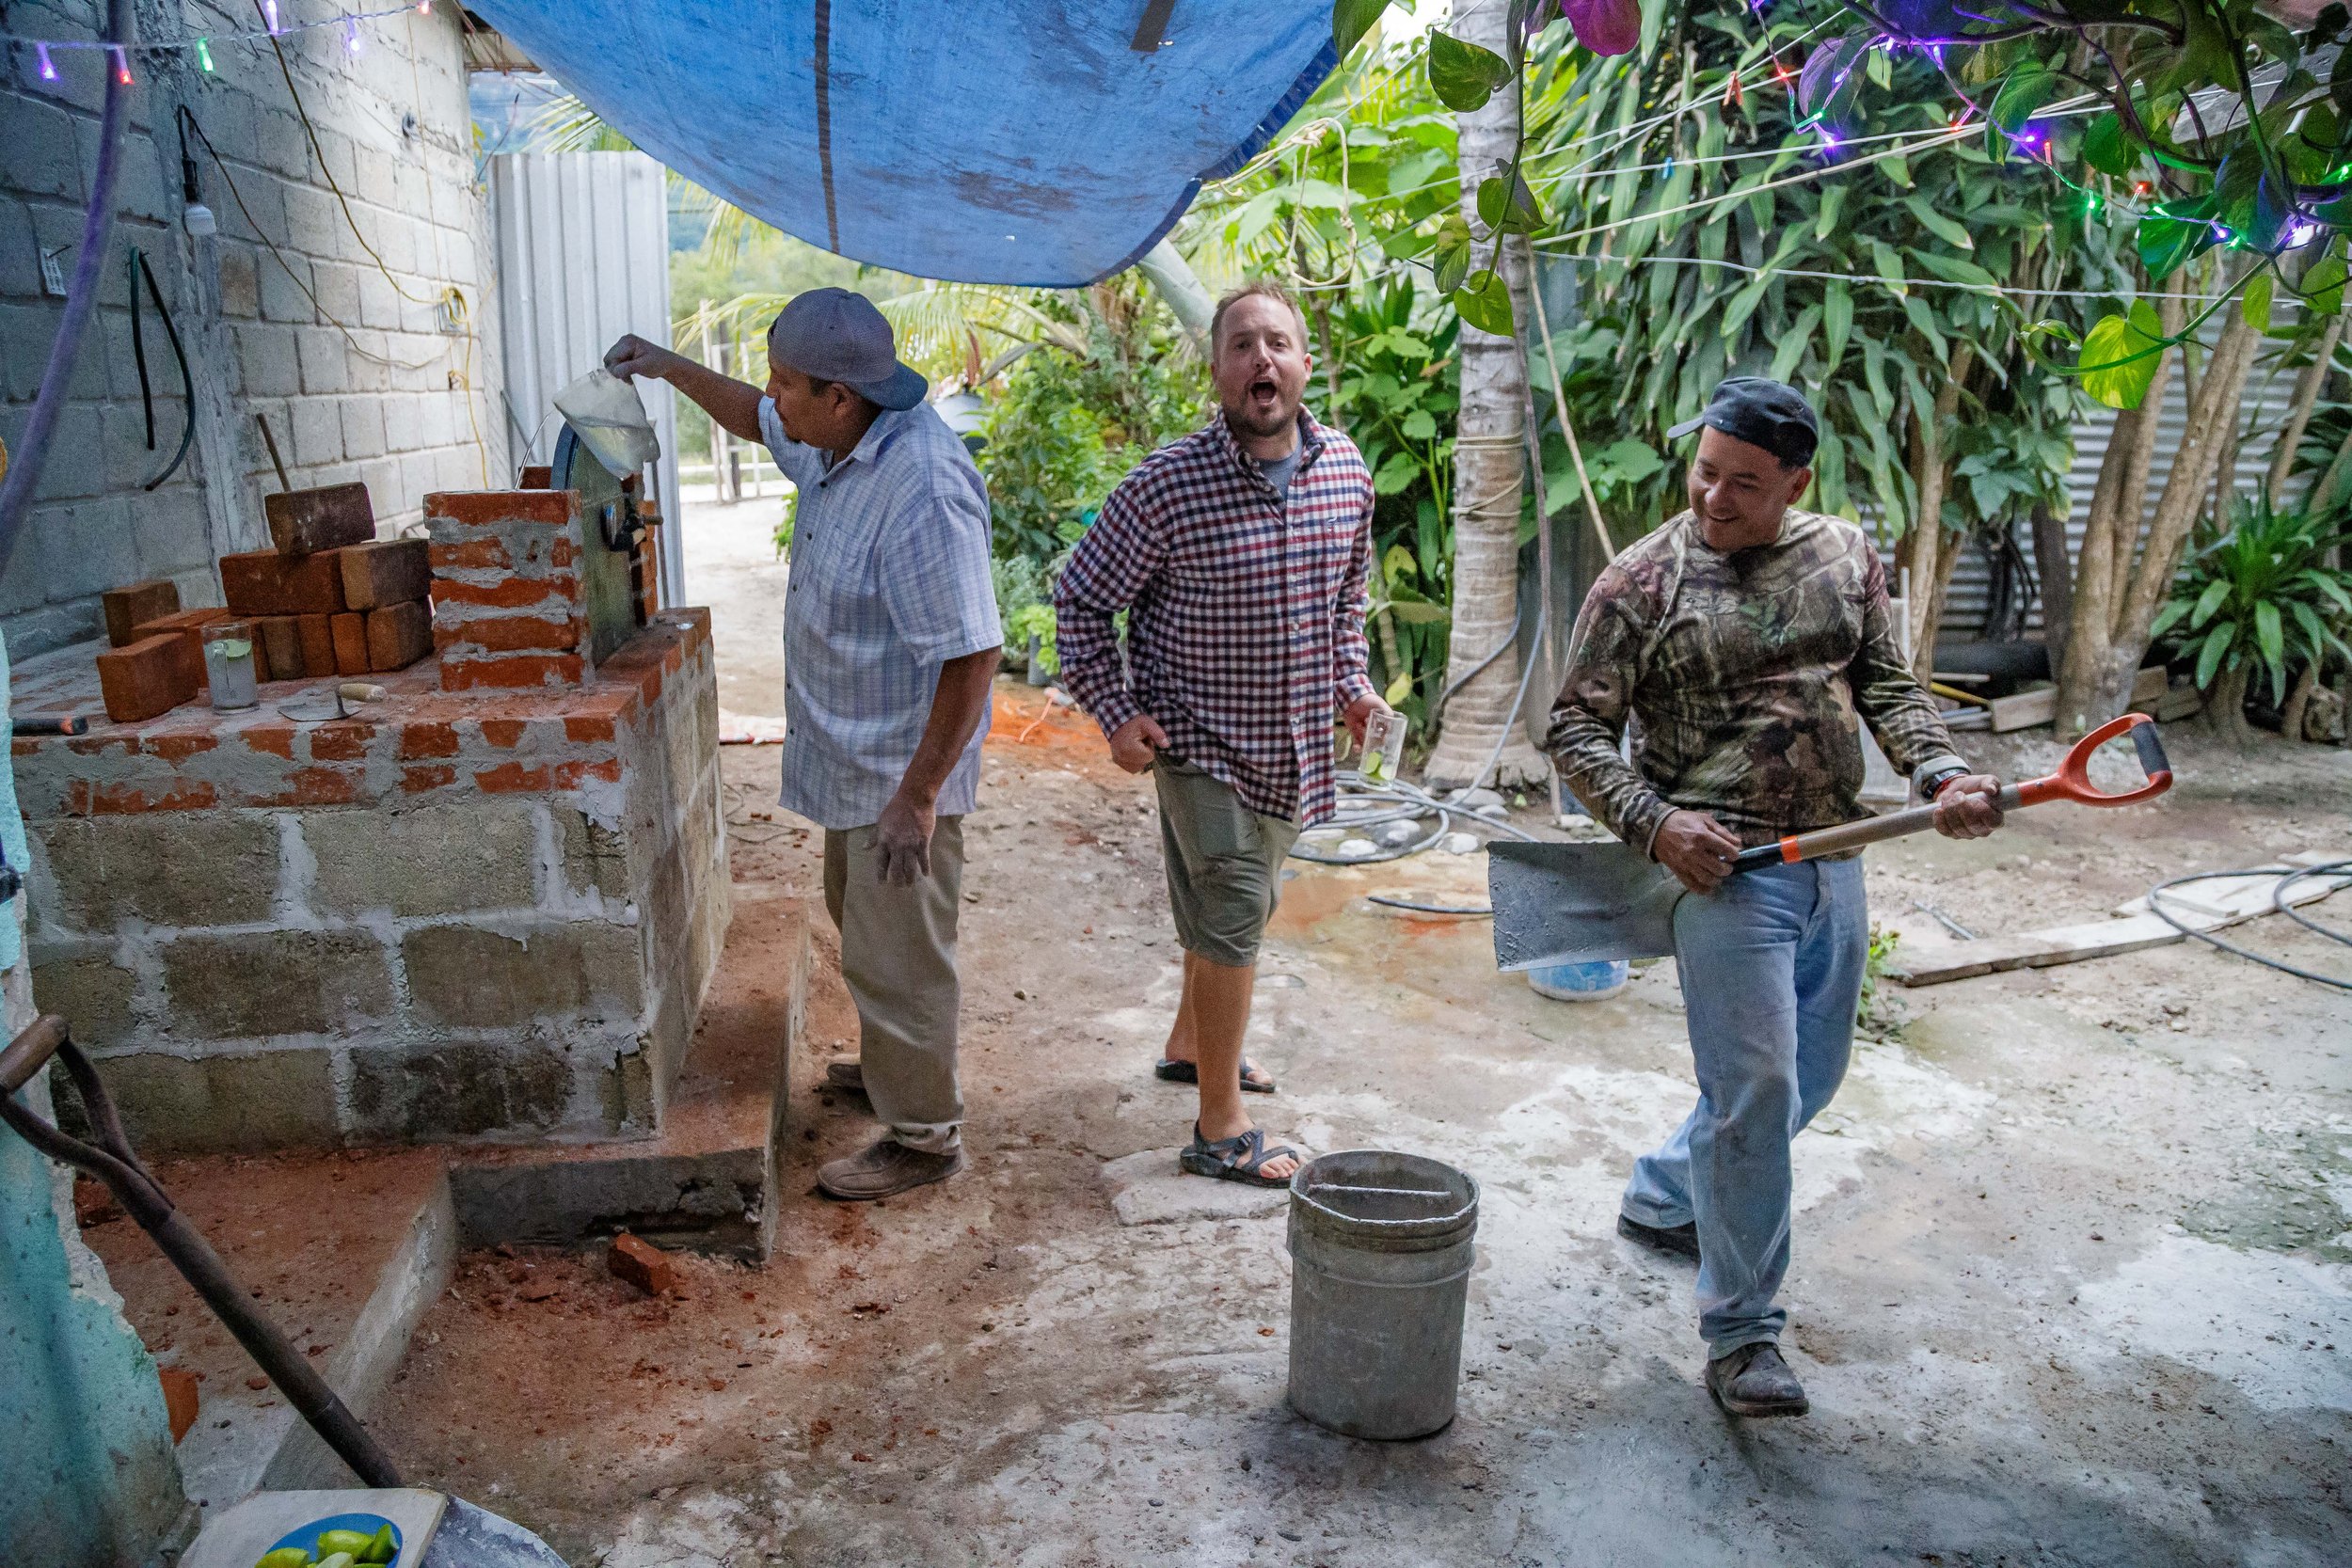
Selso hard at work while Christian and Oscar succumb to the irresistible urge to become Jalcomulco’s best Air Band.

Working his way up the sides of the door.

A chimney was set right over the door. Selso carved out part of the bricks on either side to accommodate the chimney and ensure a snug fit.

Adding the last of the arch around the chimney. Bricks, a basket and little blocks were used to support the archway as it was built.

Selso begins on the lower circle of the oven proper. Bricks were cut in two to create a more smooth shape.
The next day, supports for the arch were removed and the door was tested. With it opening smoothly, Selso turned his attention back to the oven proper and began laying the rows that would eventually push inward, forming the dome. The bricks were cut in half, making it easier to create a smooth curve around the circle. Since the shapes didn’t need to be precise, they were broken in half with a swift hit of the trowel or hammer, saving the time it would have taken to cut each one with a grinding wheel.
After the fourth row, Selso started laying the bricks slightly inside the circle, creating a surprisingly smooth freehand slope towards the center as he went. By my count/estimation, there were about 13 or 14 rows total. You’ll see in the final photos why it’s hard to say for sure, as the final “keystone” pieces were bits and pieces of broken bricks pushed and fit into the remaining opening until things seemed happy.
By the ninth row, the bricks were angled in enough to warrant some support. A basket, bricks, cardboard and a pile of neatly formed wet sand created an inner dome for Selso to build the last few rows on, completing the satisfying shape of the oven.

The next day! The arch set well, the door opens and the rest of the oven was ready to be finished!

Working on the first row of bricks of the oven.

Selso laying brick after brick.

Selso beginning the artful work of constructing the oven’s dome.

The dome growing inwards on itself.

More mud, more bricks, less space.

Selso adding materials to the interior of the dome to create support for the final layers.

Creating a support for the roof of the oven.

THE TOP OF THE TEMPORARY INTERIOR SUPPORT OF THE OVEN.

ADDING SAND TO THE TOP OF THE TEMPORARY SUPPORT TO ACT AS A SMOOTH FLOOR FOR THE LAST LAYERS OF BRICK - PREPERATION EQUALS SUCCESS.

ADDING THE FINAL LAYERS OF BRICK.

SELSO HAD TO CUT EACH BRICK DOWN AS THE CIRCLE GOT SMALLER.

Tighter and tighter circles of smaller and smaller bricks.

Selso adding the final bricks to the dome of the pizza oven.

Done!
After a day or two of drying, a layer of chicken wire was wrapped around the dome and plain cement (no rocks or sand) was mixed to spread over the oven and give it a finished look. It was applied with a trowel and a large wet sponge was used to smooth it out.
The final step is to cure the oven for use, which is done by burning small fires inside of it over several days. The first fire is very small, with little heat and each subsequent fire is slightly larger, hotter and should burn for longer.
The finished product turned out really well, and it was encouraging to see that the oven could be built in a less than precise way and still look almost perfect when finished. The inaugural cooking event was on New Year’s Eve, and Oscar prepared some delicious ribs in a traditional red chili sauce. Christian couldn’t resist the urge to participate, and prepared some beans and bread to cook as well.

Chicken wire and skim coat of stucco to finish this iteration of the pizza ove,n.

The first of three or four small starter fires to cure the oven.

Two oven building professionals.

The first big fire for the first meal in the new oven.

Beans cooking in a pot carved from volcanic rock.

The new pizza oven fits in well at Oscar’s beautiful home.