Paint makes vans go faster.
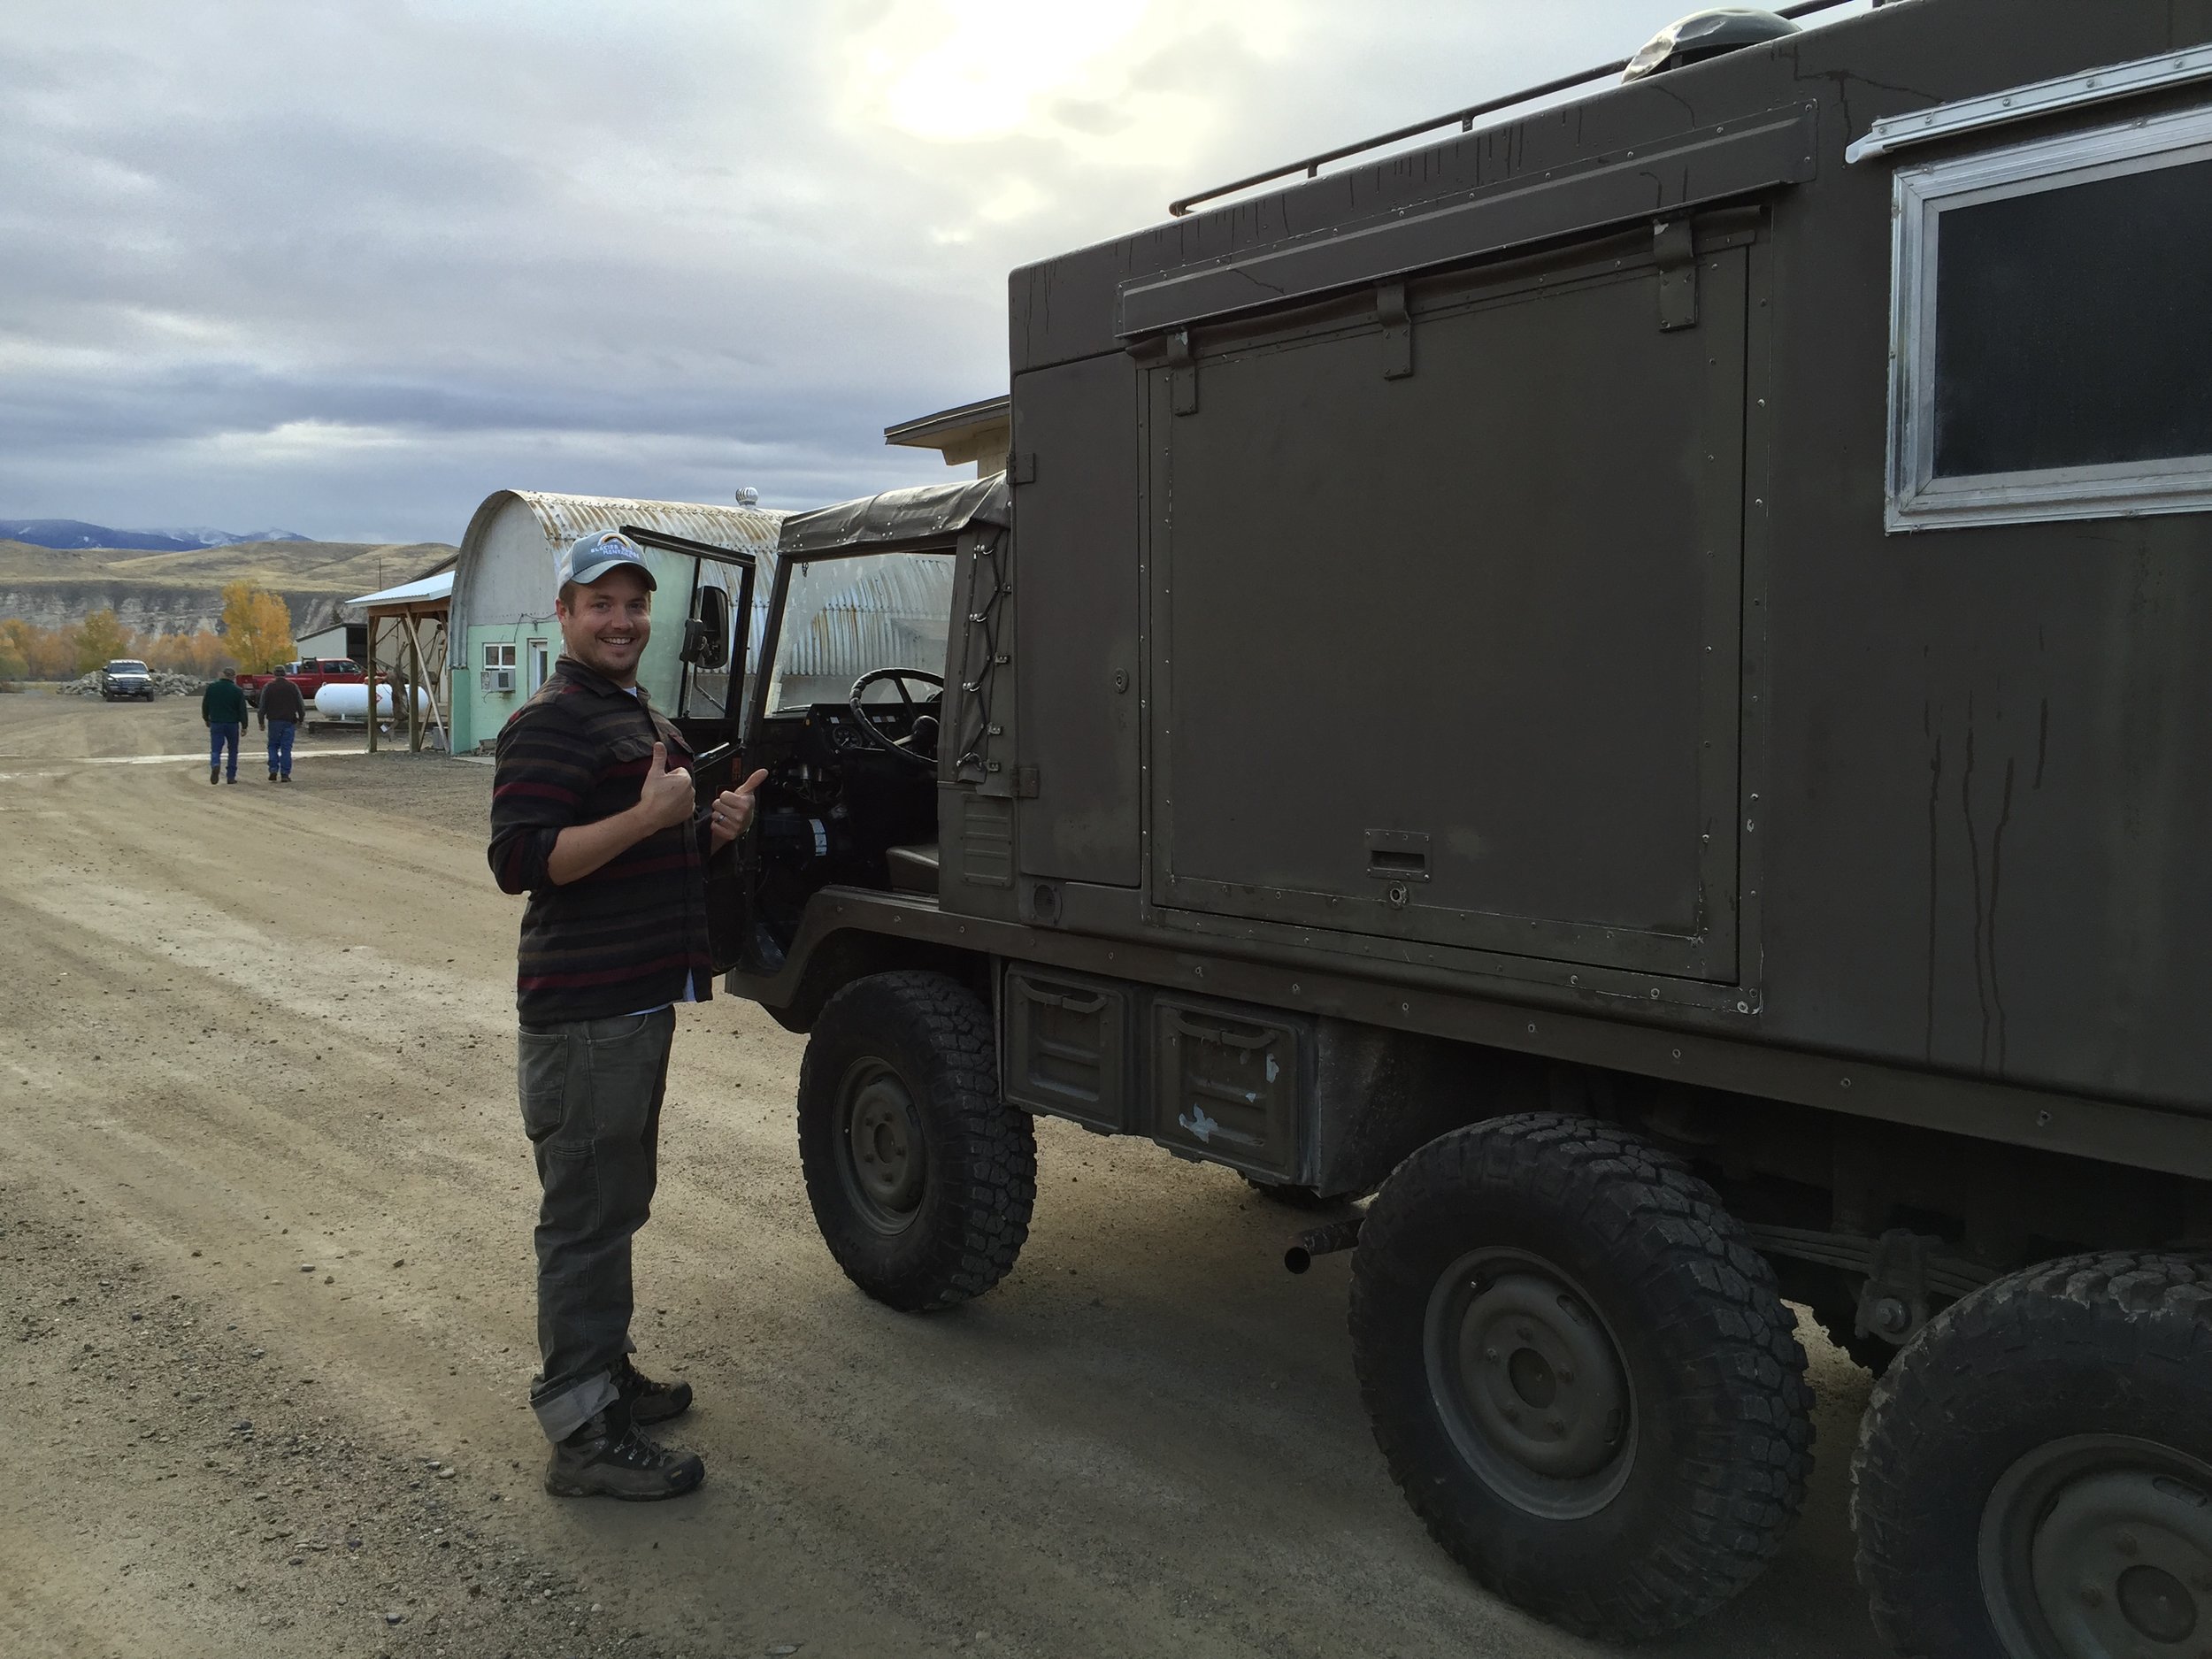
/We had hoped to be able to paint Little Foot while in Salmon and followed quite a few leads to find a place to do it indoors (so we could protect it and heat it to get the paint to cure properly). After some back and forth, we finally thought we had a spot lined up via an old friend of my dad. When the morning came, we loaded up the supplies (including tarps to cover anything nearby since we decided to go the "easy" spray paint route this time around) and headed over to the spot.
Salmon, ID, refuses to not be pretty.
Plan A foiled. On to plan B.
Unfortunately for us, the garage bay (that happened to be on the lot of a government agency) was for use by employees only. But because God was watching out for us, one of the other gentlemen at the lot offered us the use of his personal garage, just up the road. He mentioned it was outfitted with a paint booth, and we couldn't say yes fast enough!
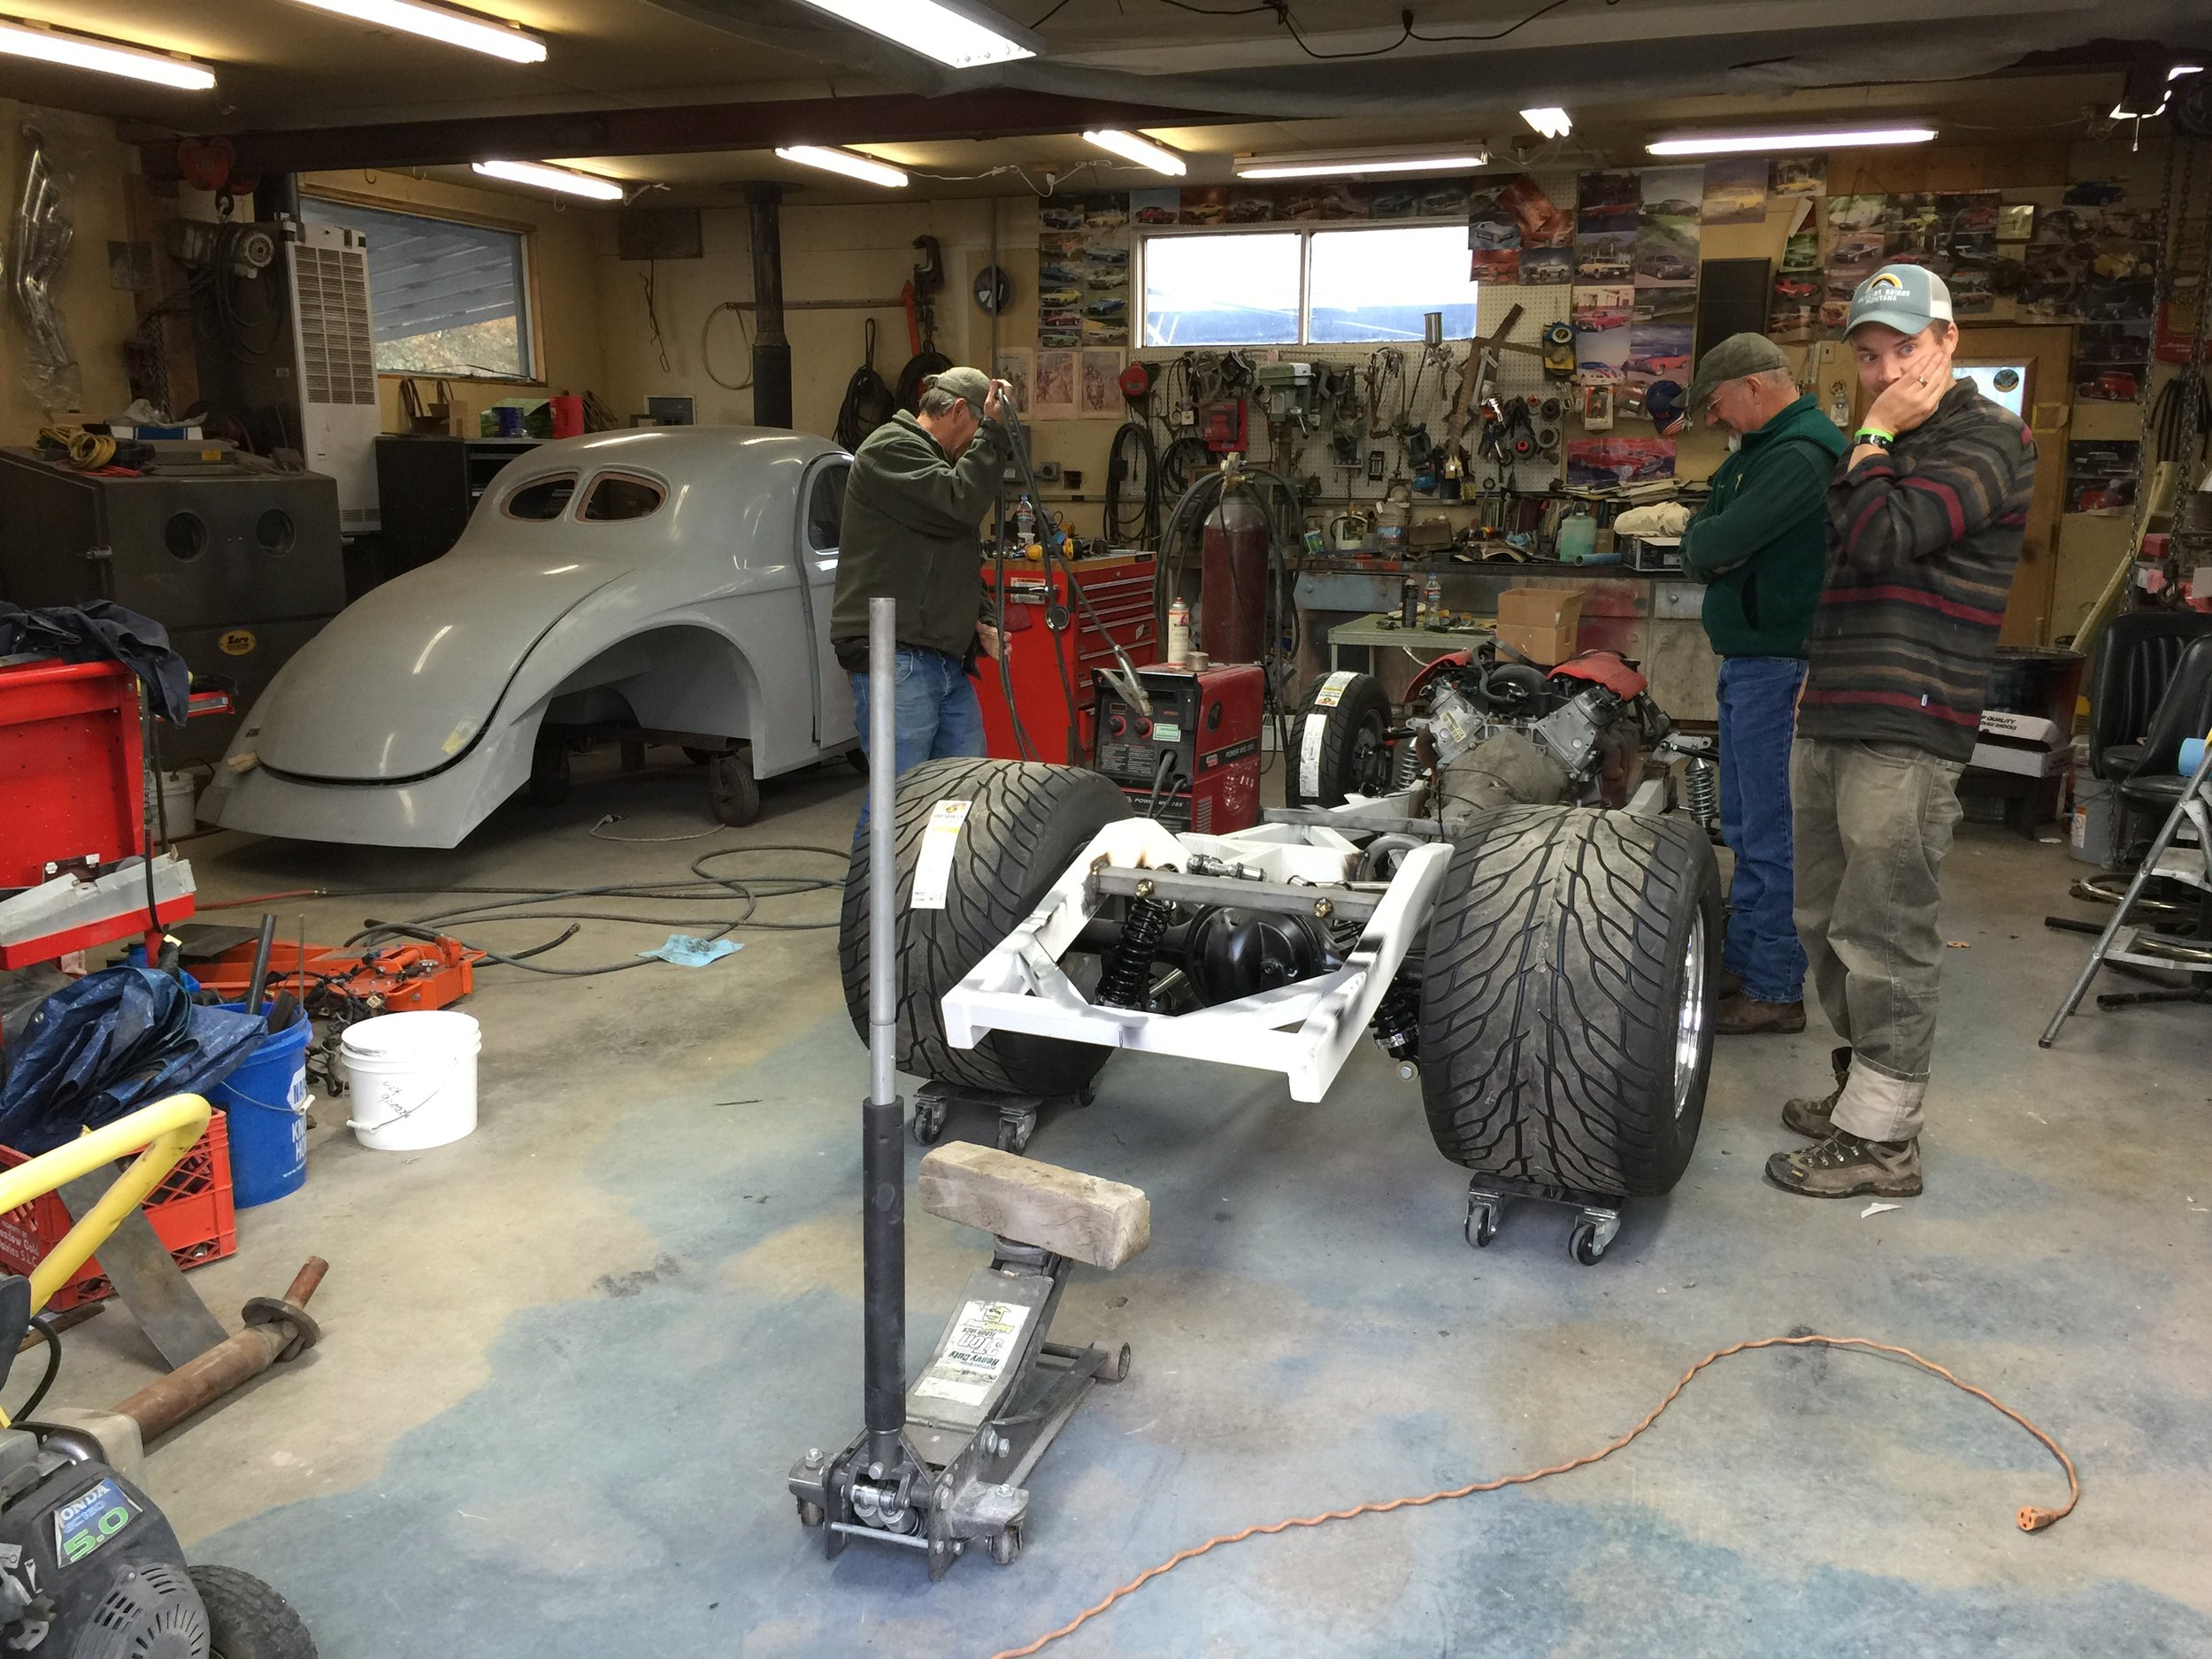
The owner of the workshop mentioned we'd have to move a project out of the way. He didn't mention it was a home-built, 5.7L Corvette-powered hotrod!
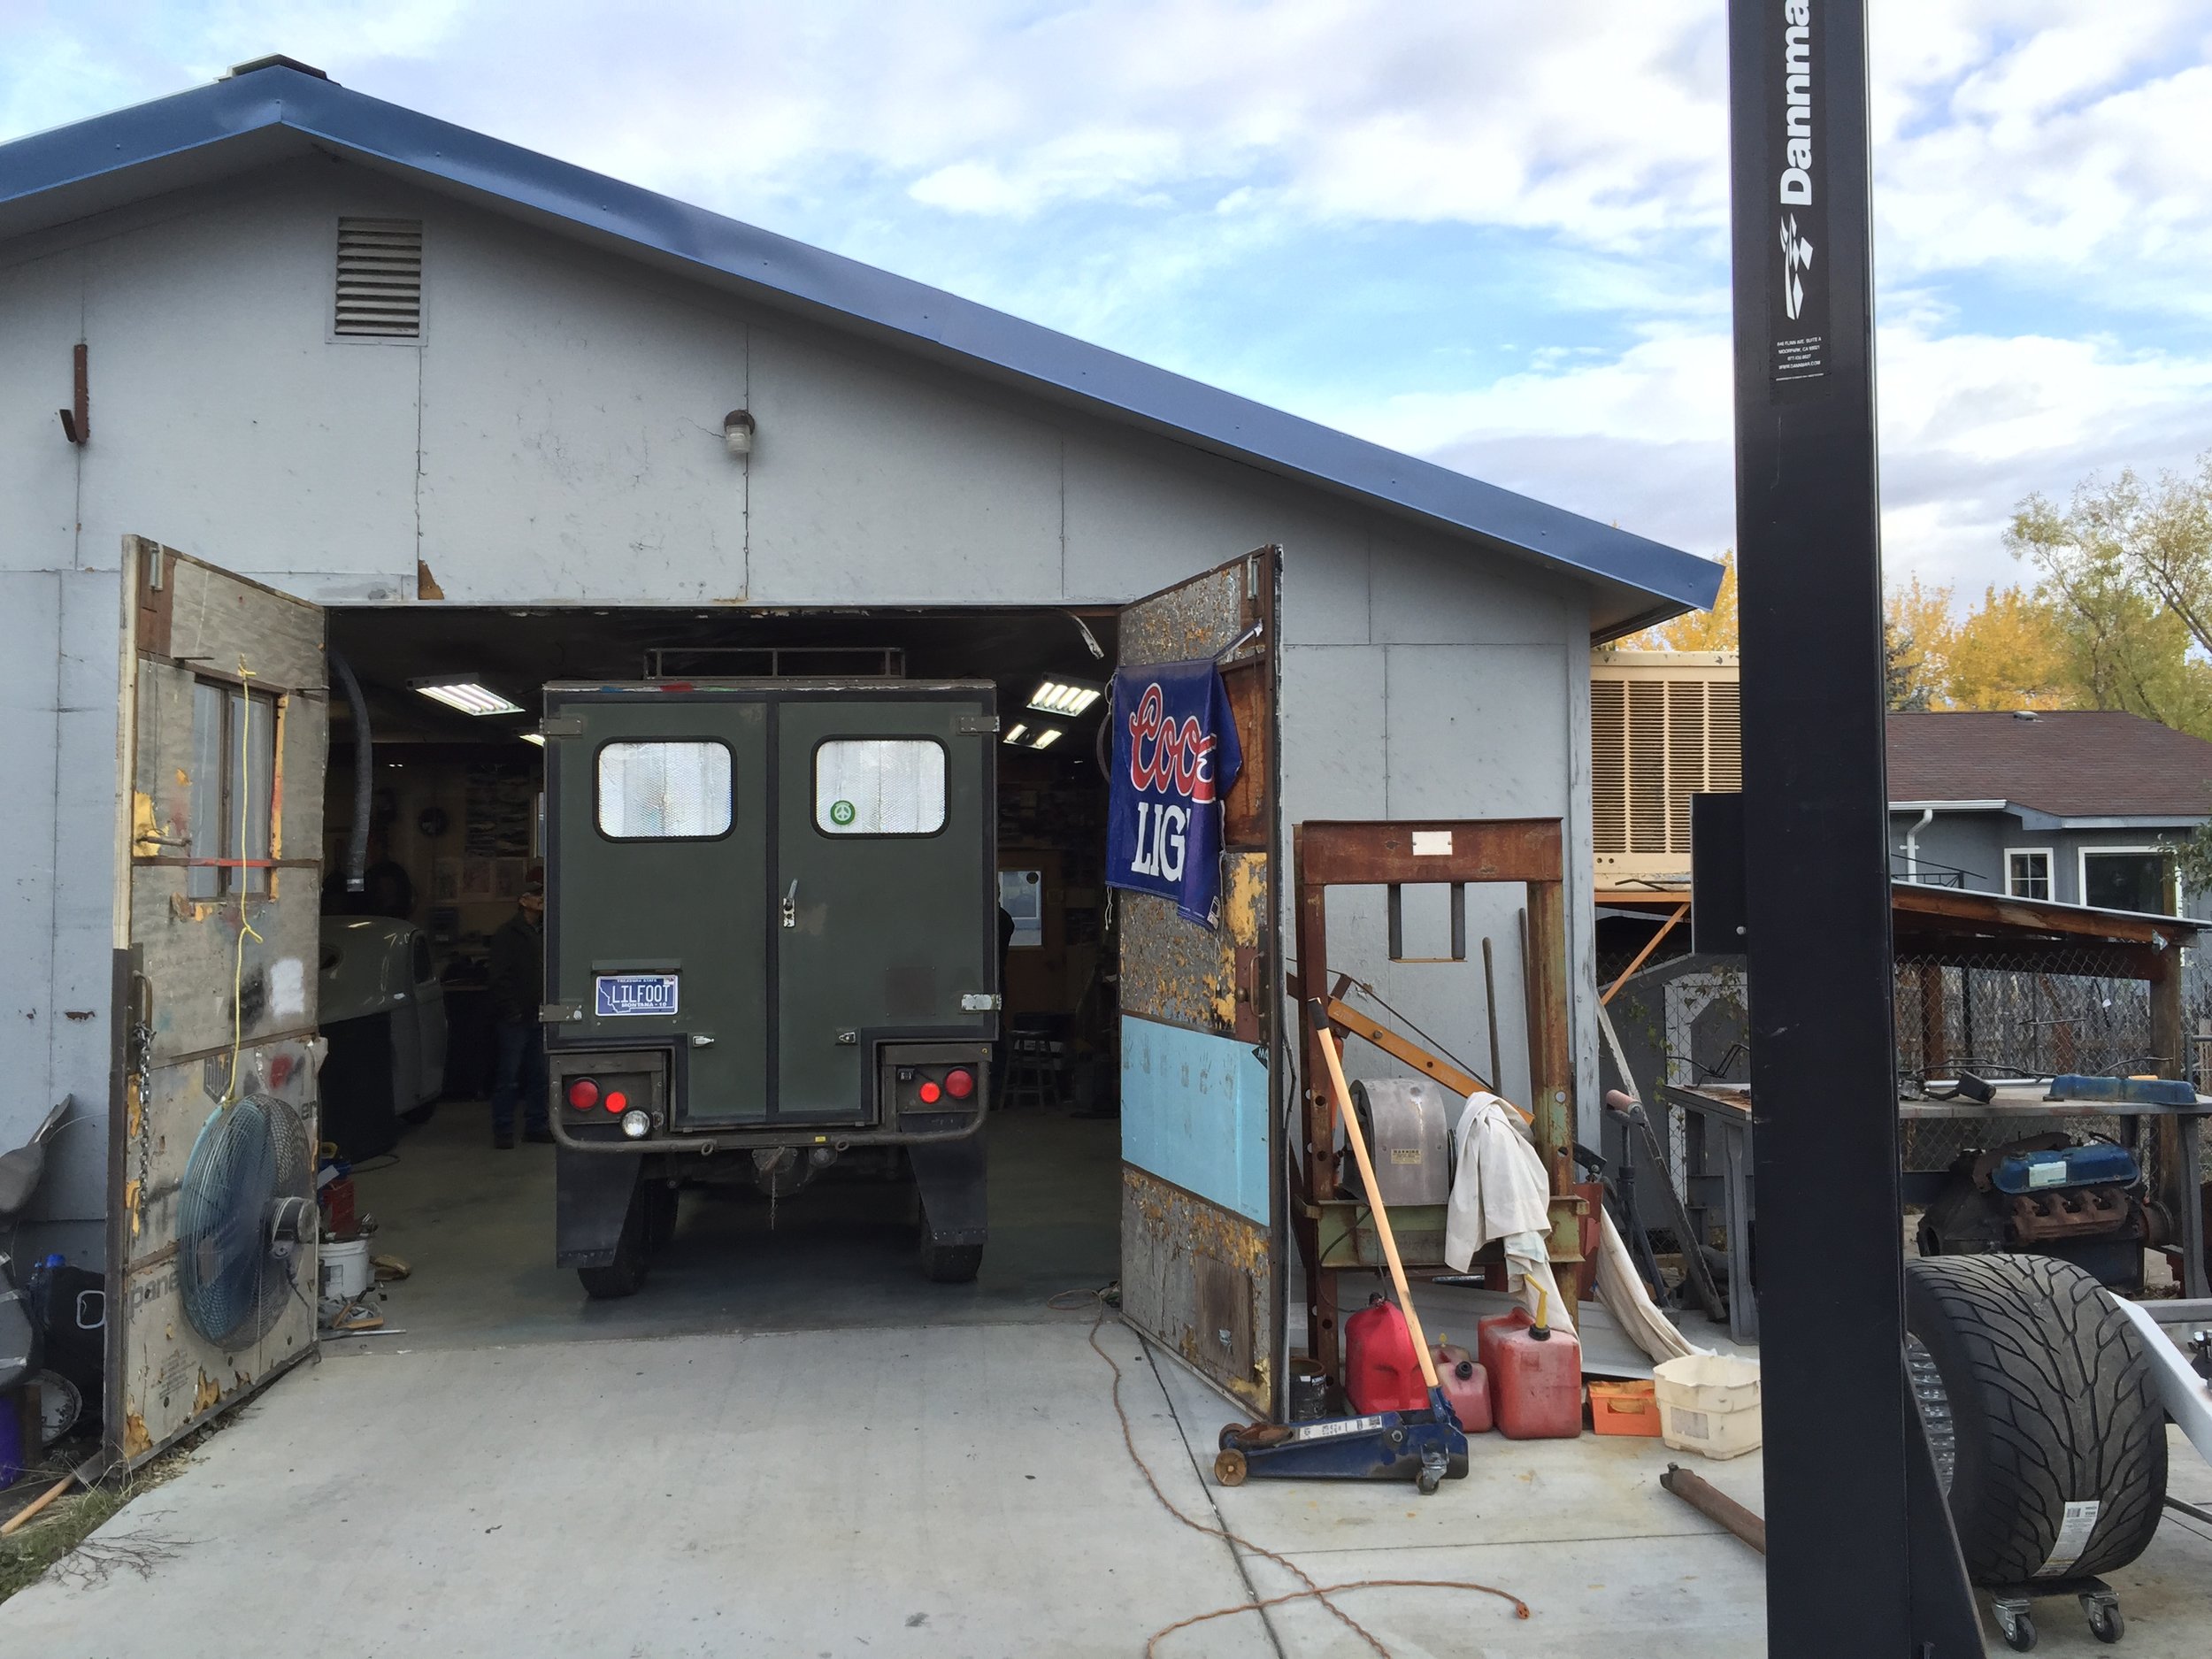
Think short thoughts! We barely fit. You can see the exhaust fan on the left side of the garage door.
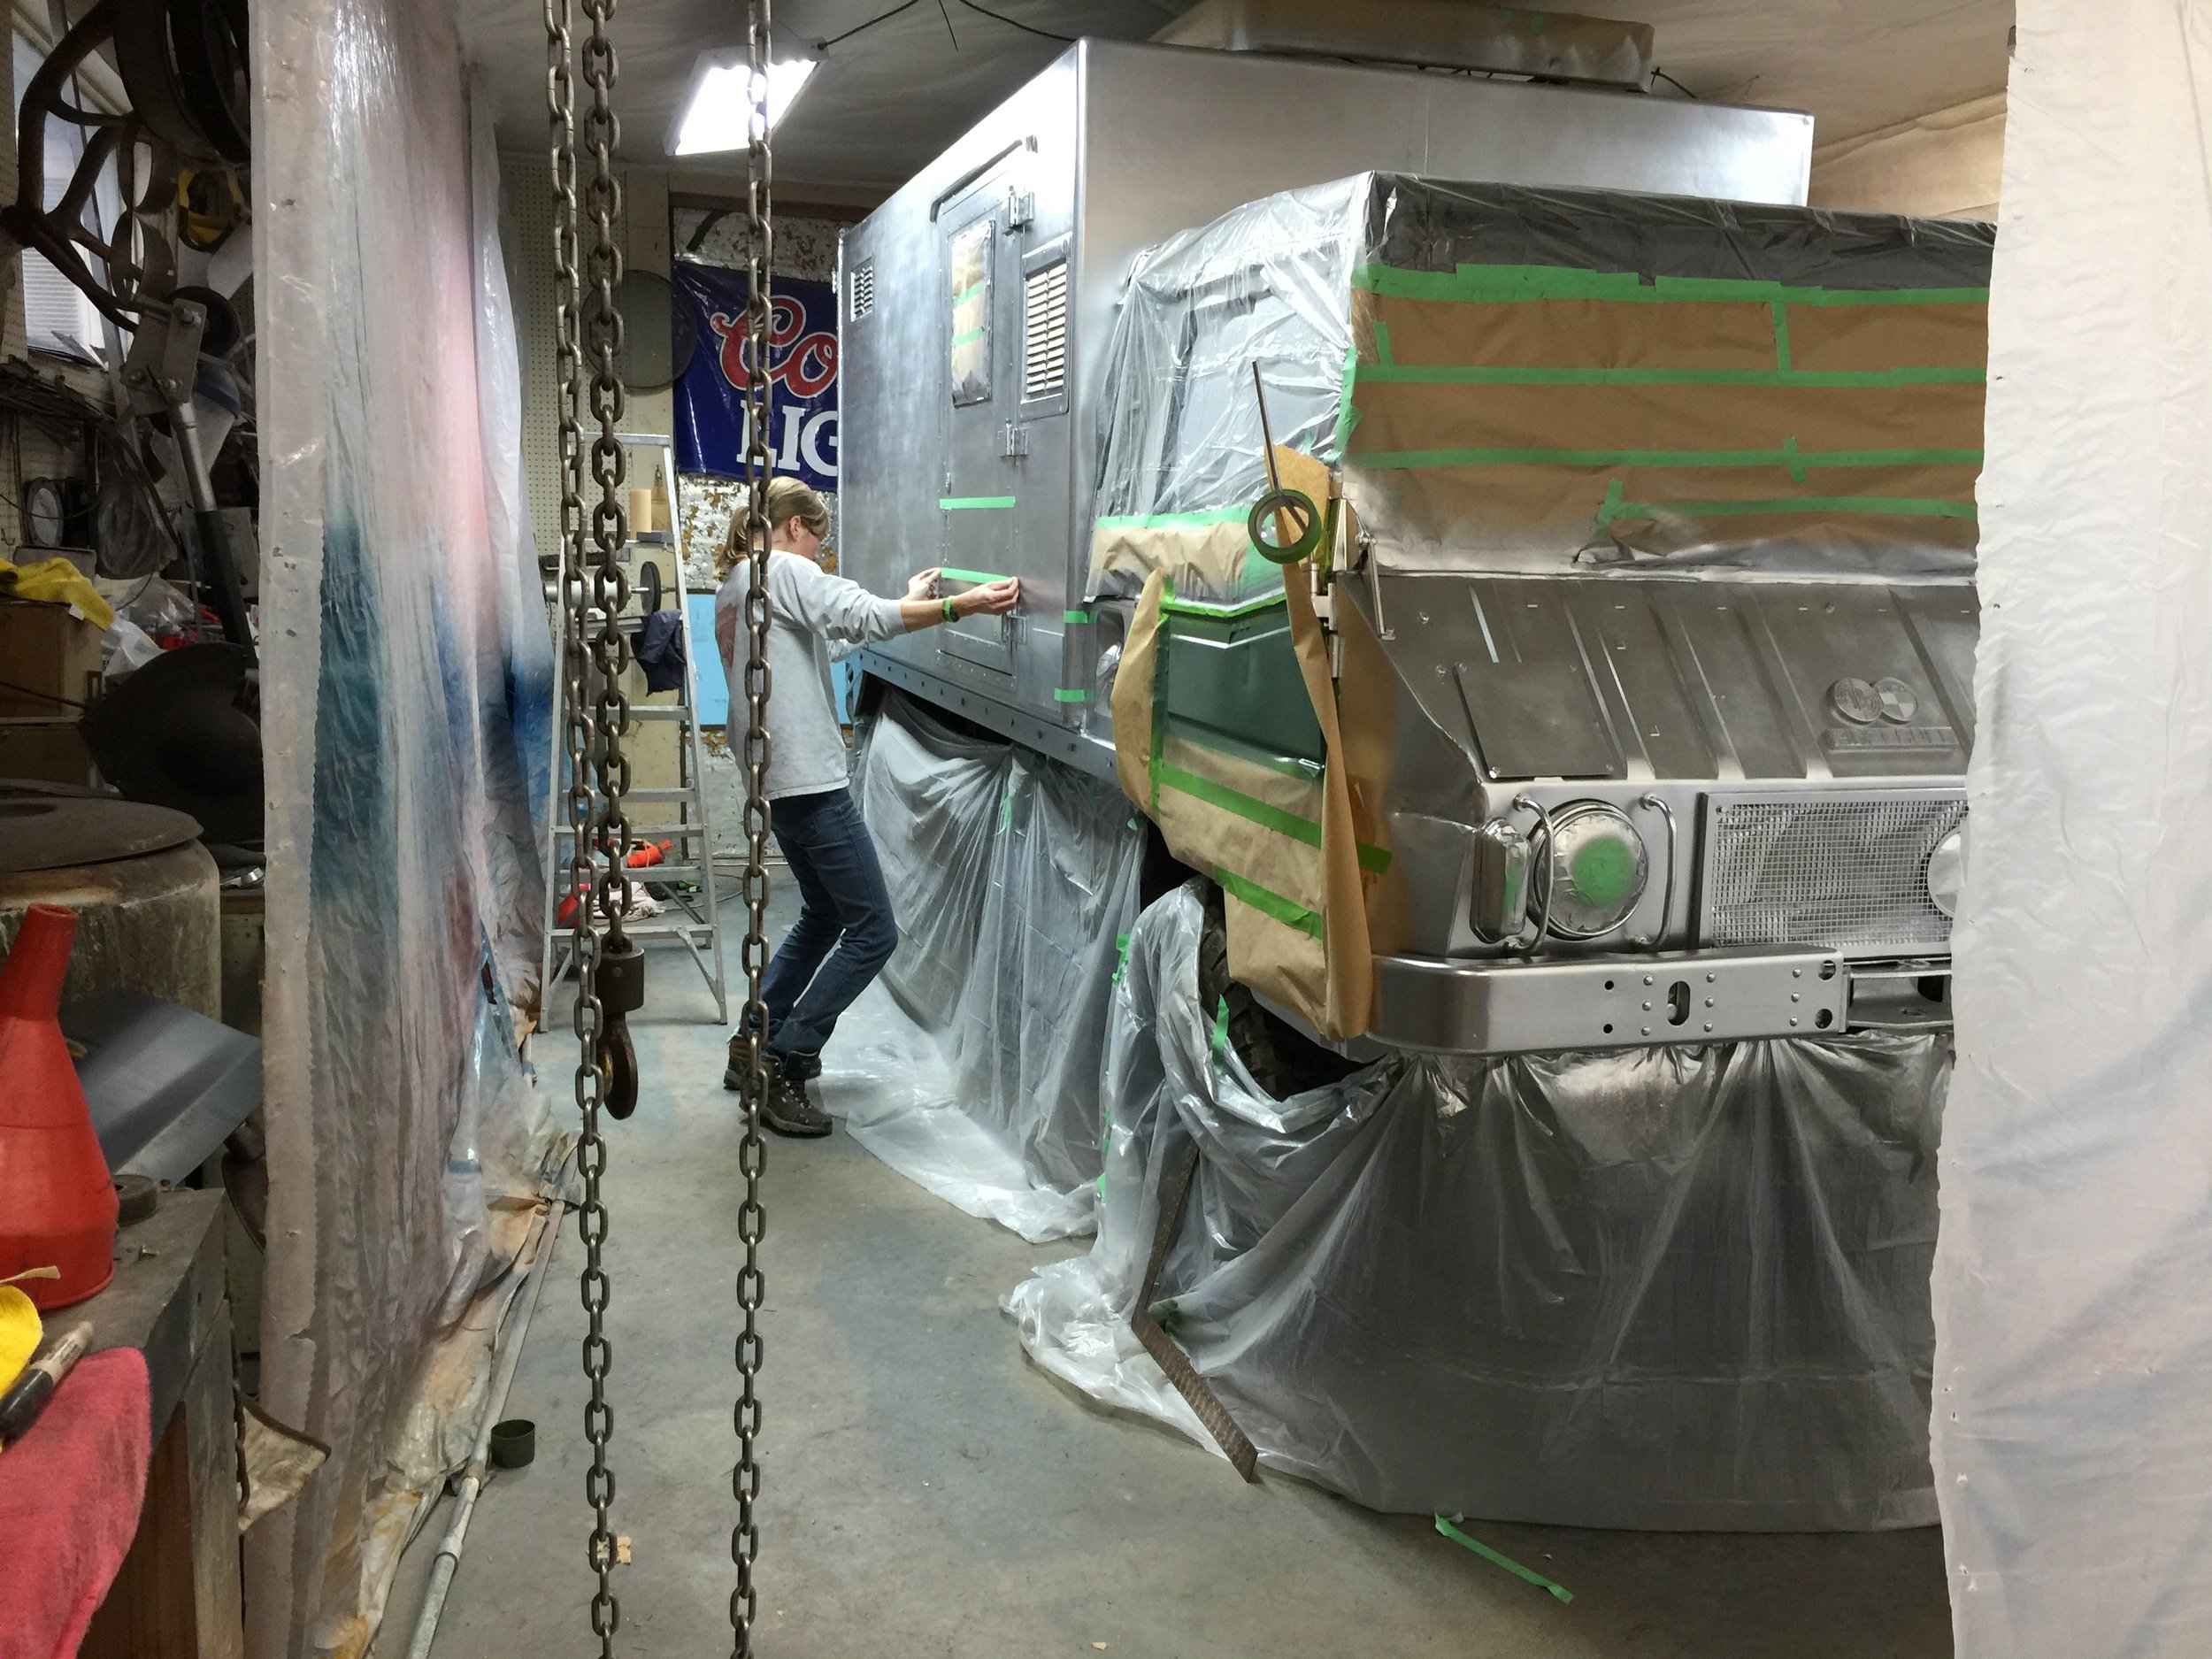
We pulled the wood stove's draft cap off the chimney, slid Little foot into the garage, dropped the paint booth's walls. and got to work on prep. The most important part of any paint project is preparation. Between cleaning, sanding, and taping, the preparation should take at least 1/2 the time allotted for the project.

Tape tape tape.
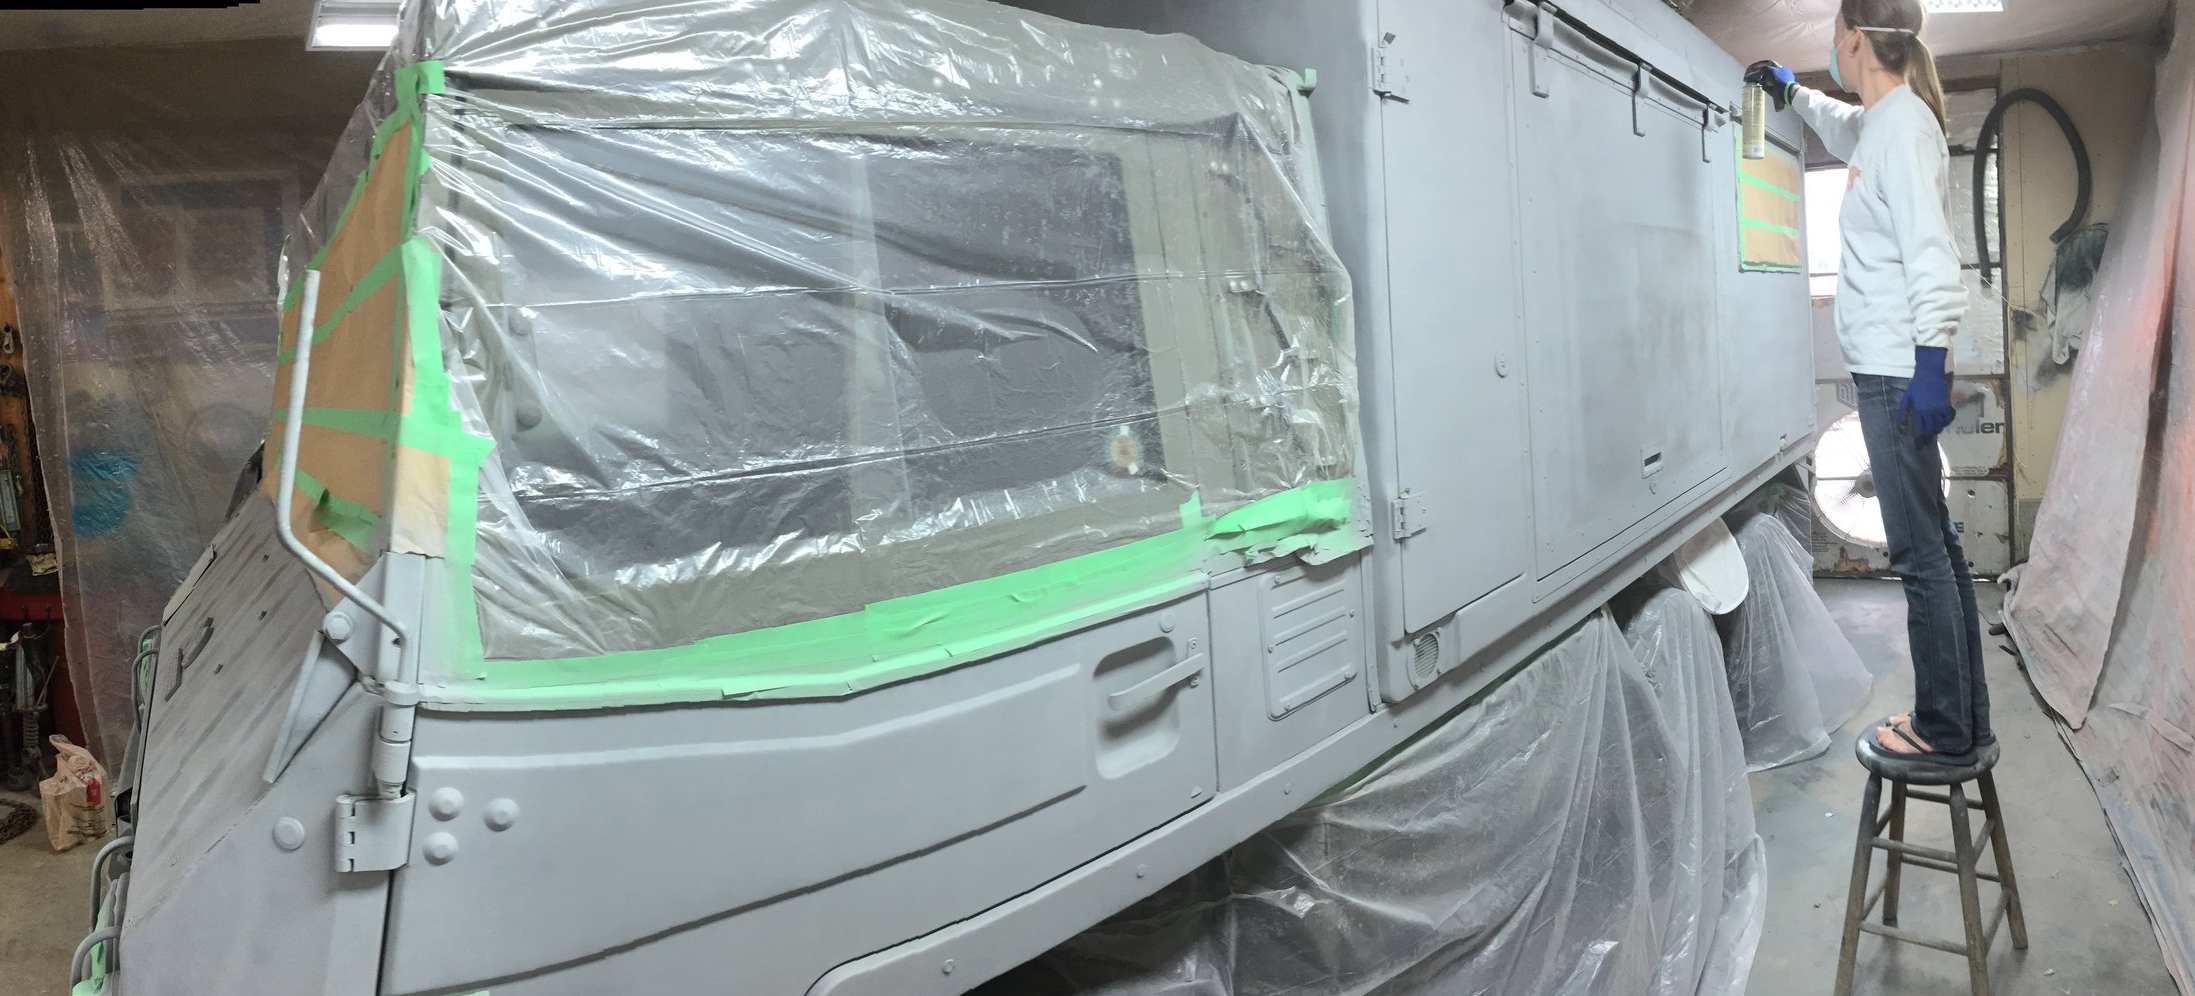
After everything was taped, we coated Little Foot with automotive primer. A solid coat of primer should keep the original paint from seeping through, as well as allow for strong adhesion of the new paint.
We turned Little Foot into the Tin Man!
After priming we started in on the top coat. We had wanted something simple, so we chose an aluminum gloss paint, thinking it would be a muted silver. We were WAY off! The paint was darn close to a mirror finish. We had turned our matte green steed into the Tin Man, and we were worried. Little Foot looked comical, and not the good kind of comical. In an effort to tone down the silver, we decided to quickly add original, olive drab racing stripes. For what may be the first time in automotive history, racing stripes were added to a vehicle to make it look less ridiculous.

I'm just posing. Chelsea did all the geometry work on the stripes. I think they look great!
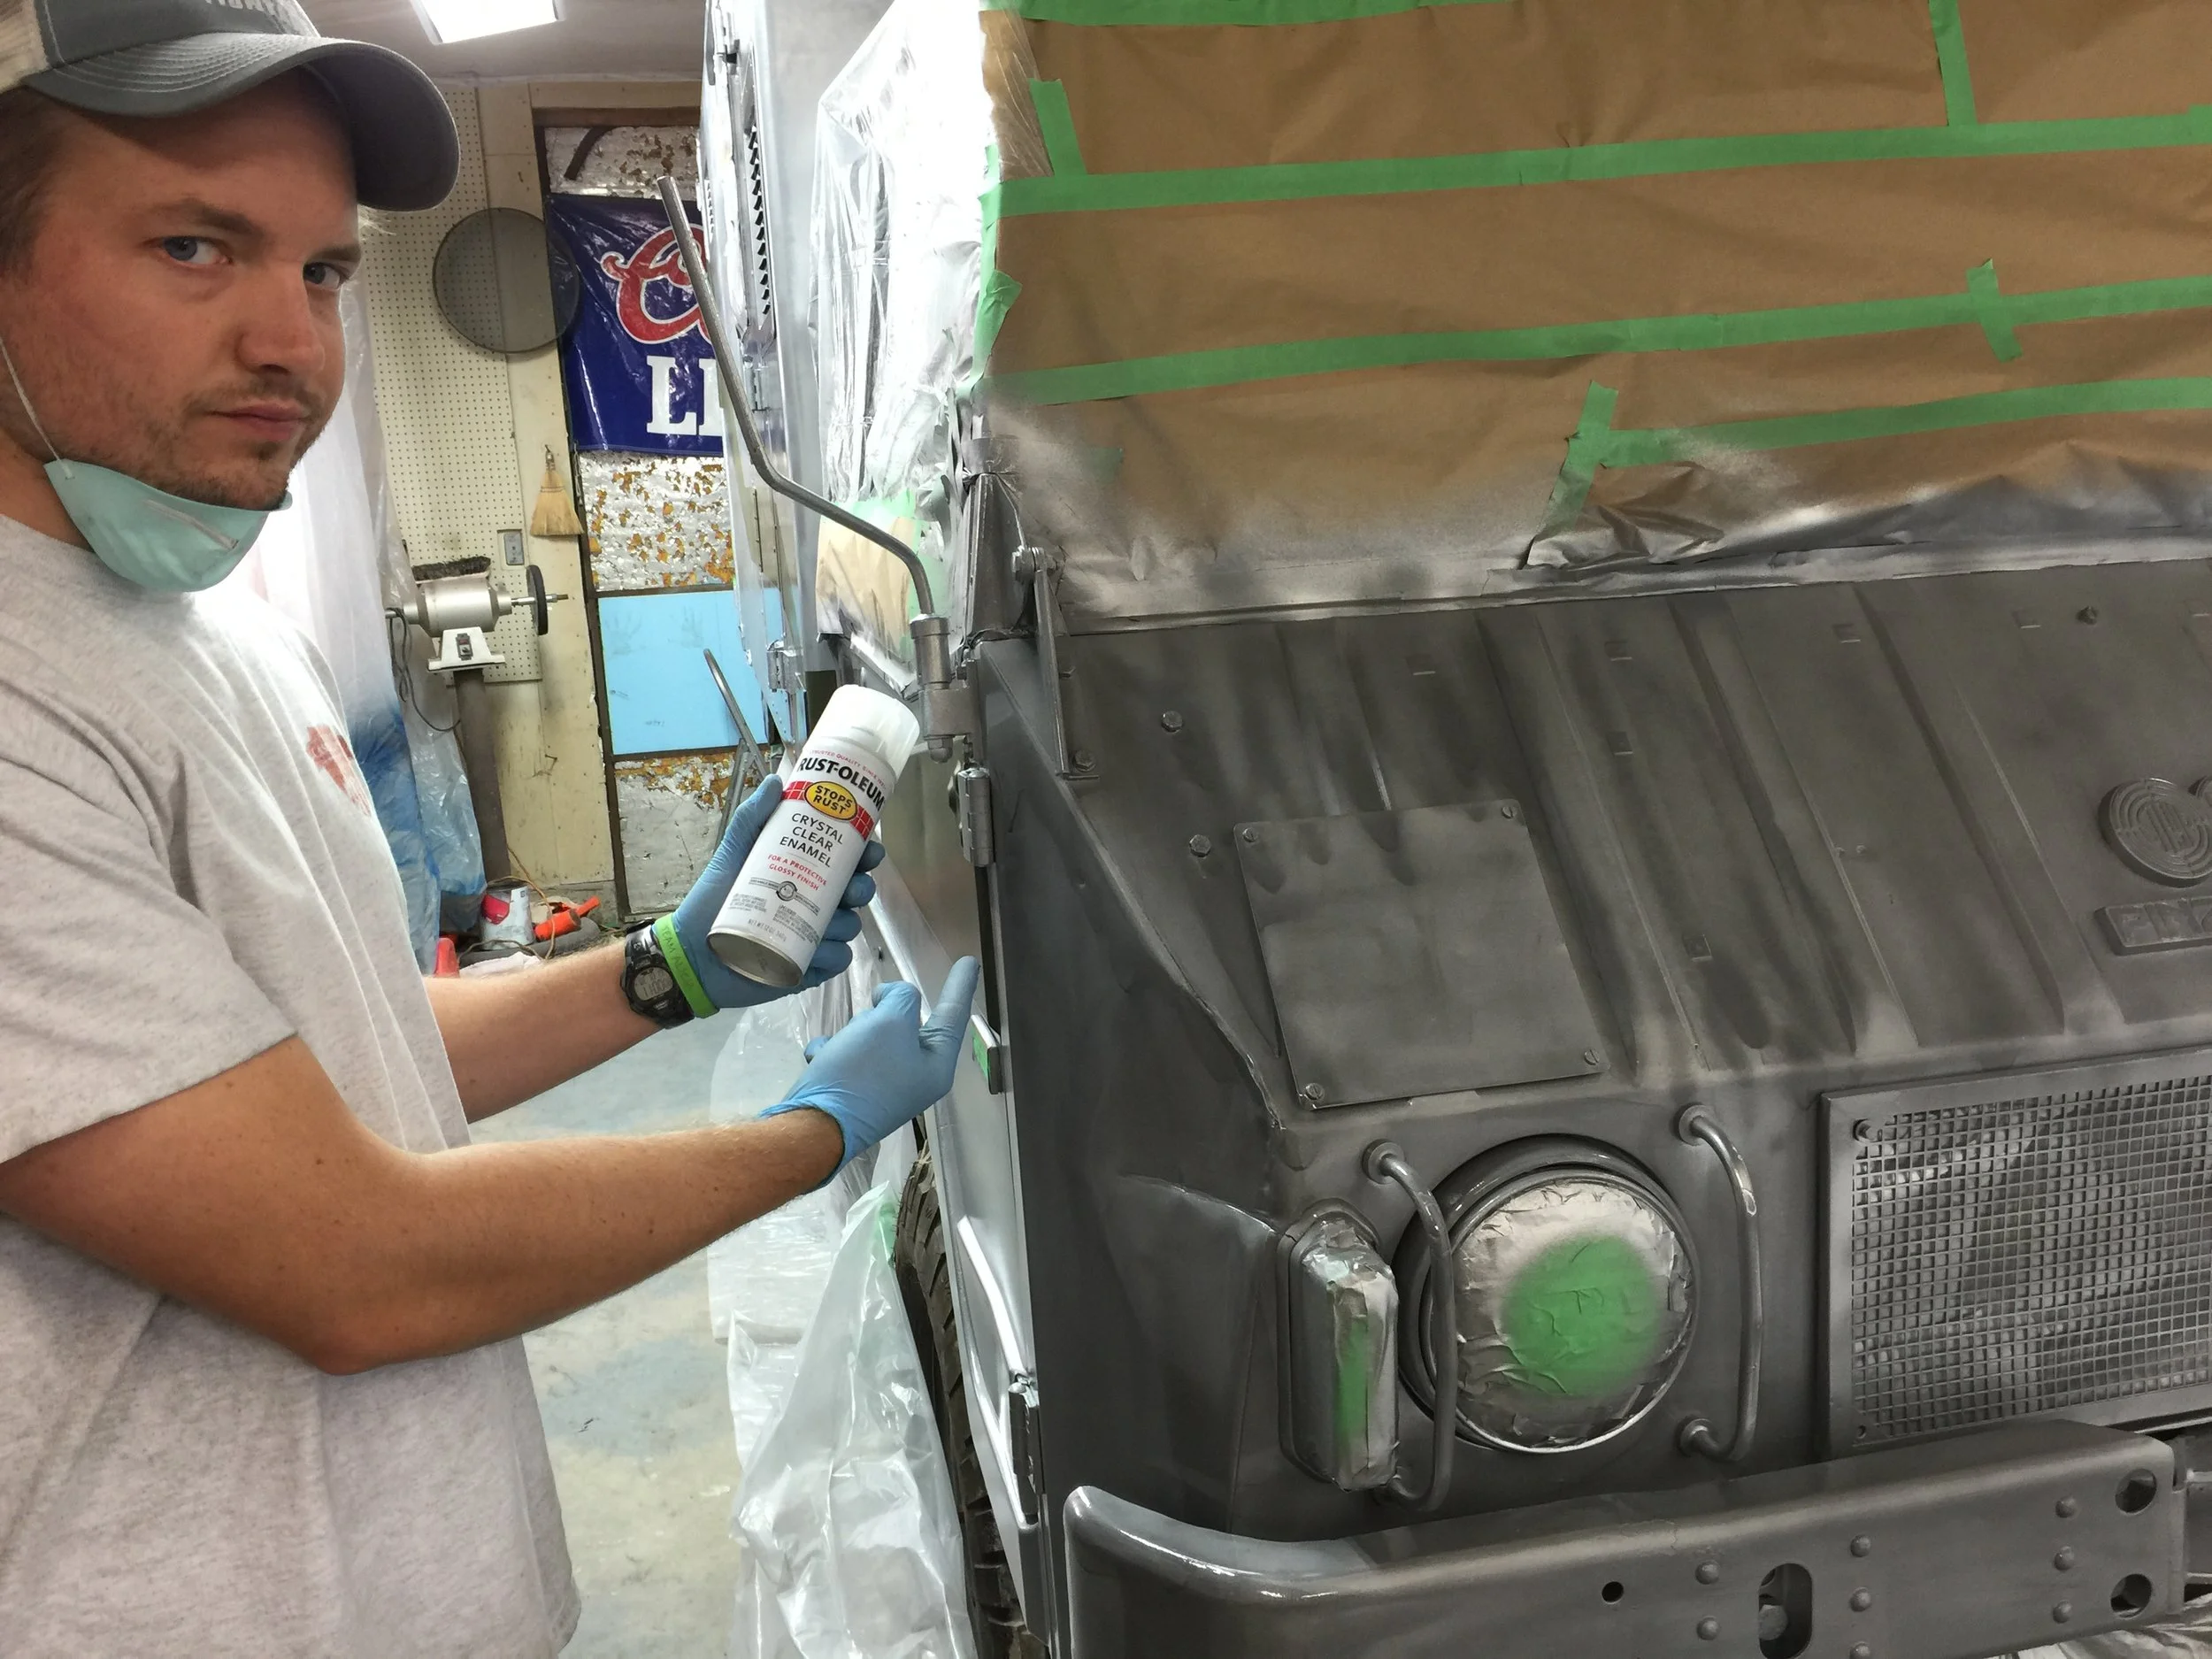
Clear coat misery.
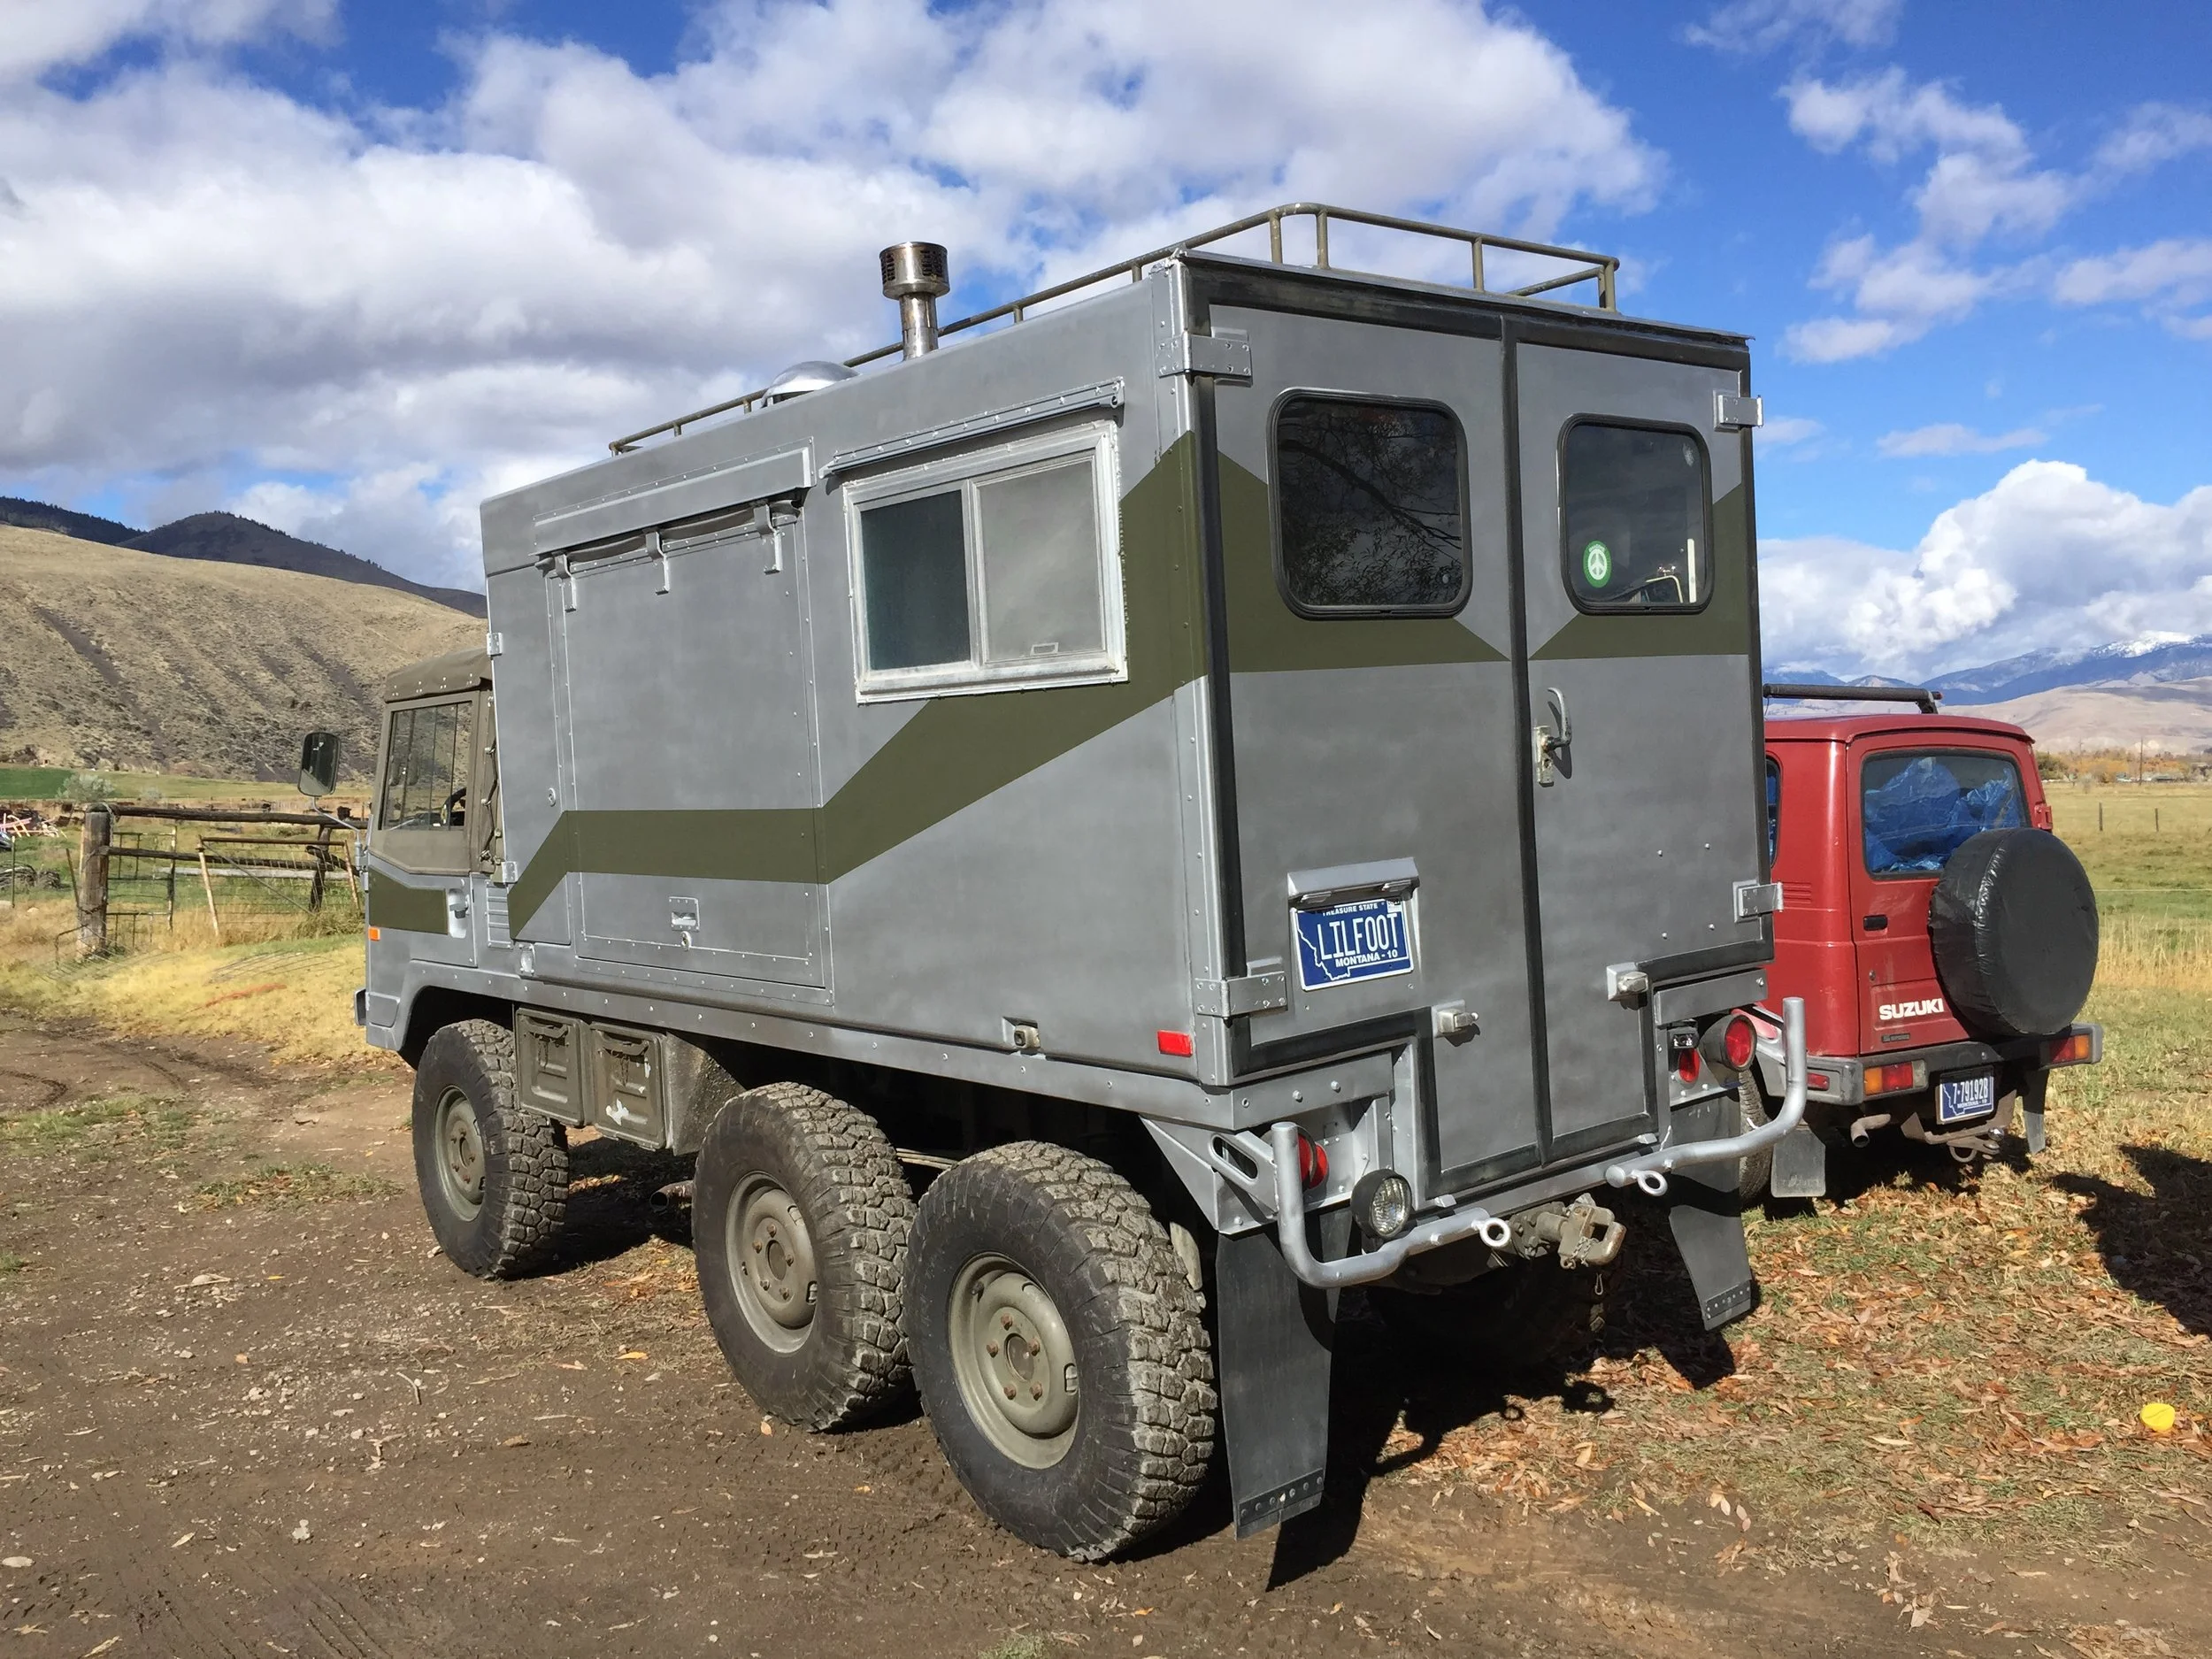
After finishing the racing stripes we decided to clear coat Little Foot to add some protection to the paint. About half a can in, Chelsea noticed that the clear coat was causing the aluminum paint to run. It looked terrible! After inspecting the warning labels on the clear coat, we read "DO NOT USE ON ALUMINUM FINISHES." Oops. Luckily, we realized that we weren't suppose to use the clear coat on aluminum finishes because it reduces the reflective qualities of the paint, effectively removing the sheen. This was an enormous blessing to us, because it muted the super shiny paint job, and left us with a gentle silver finish. Perfect! All our mistakes turned into one decent, cheap paint job.

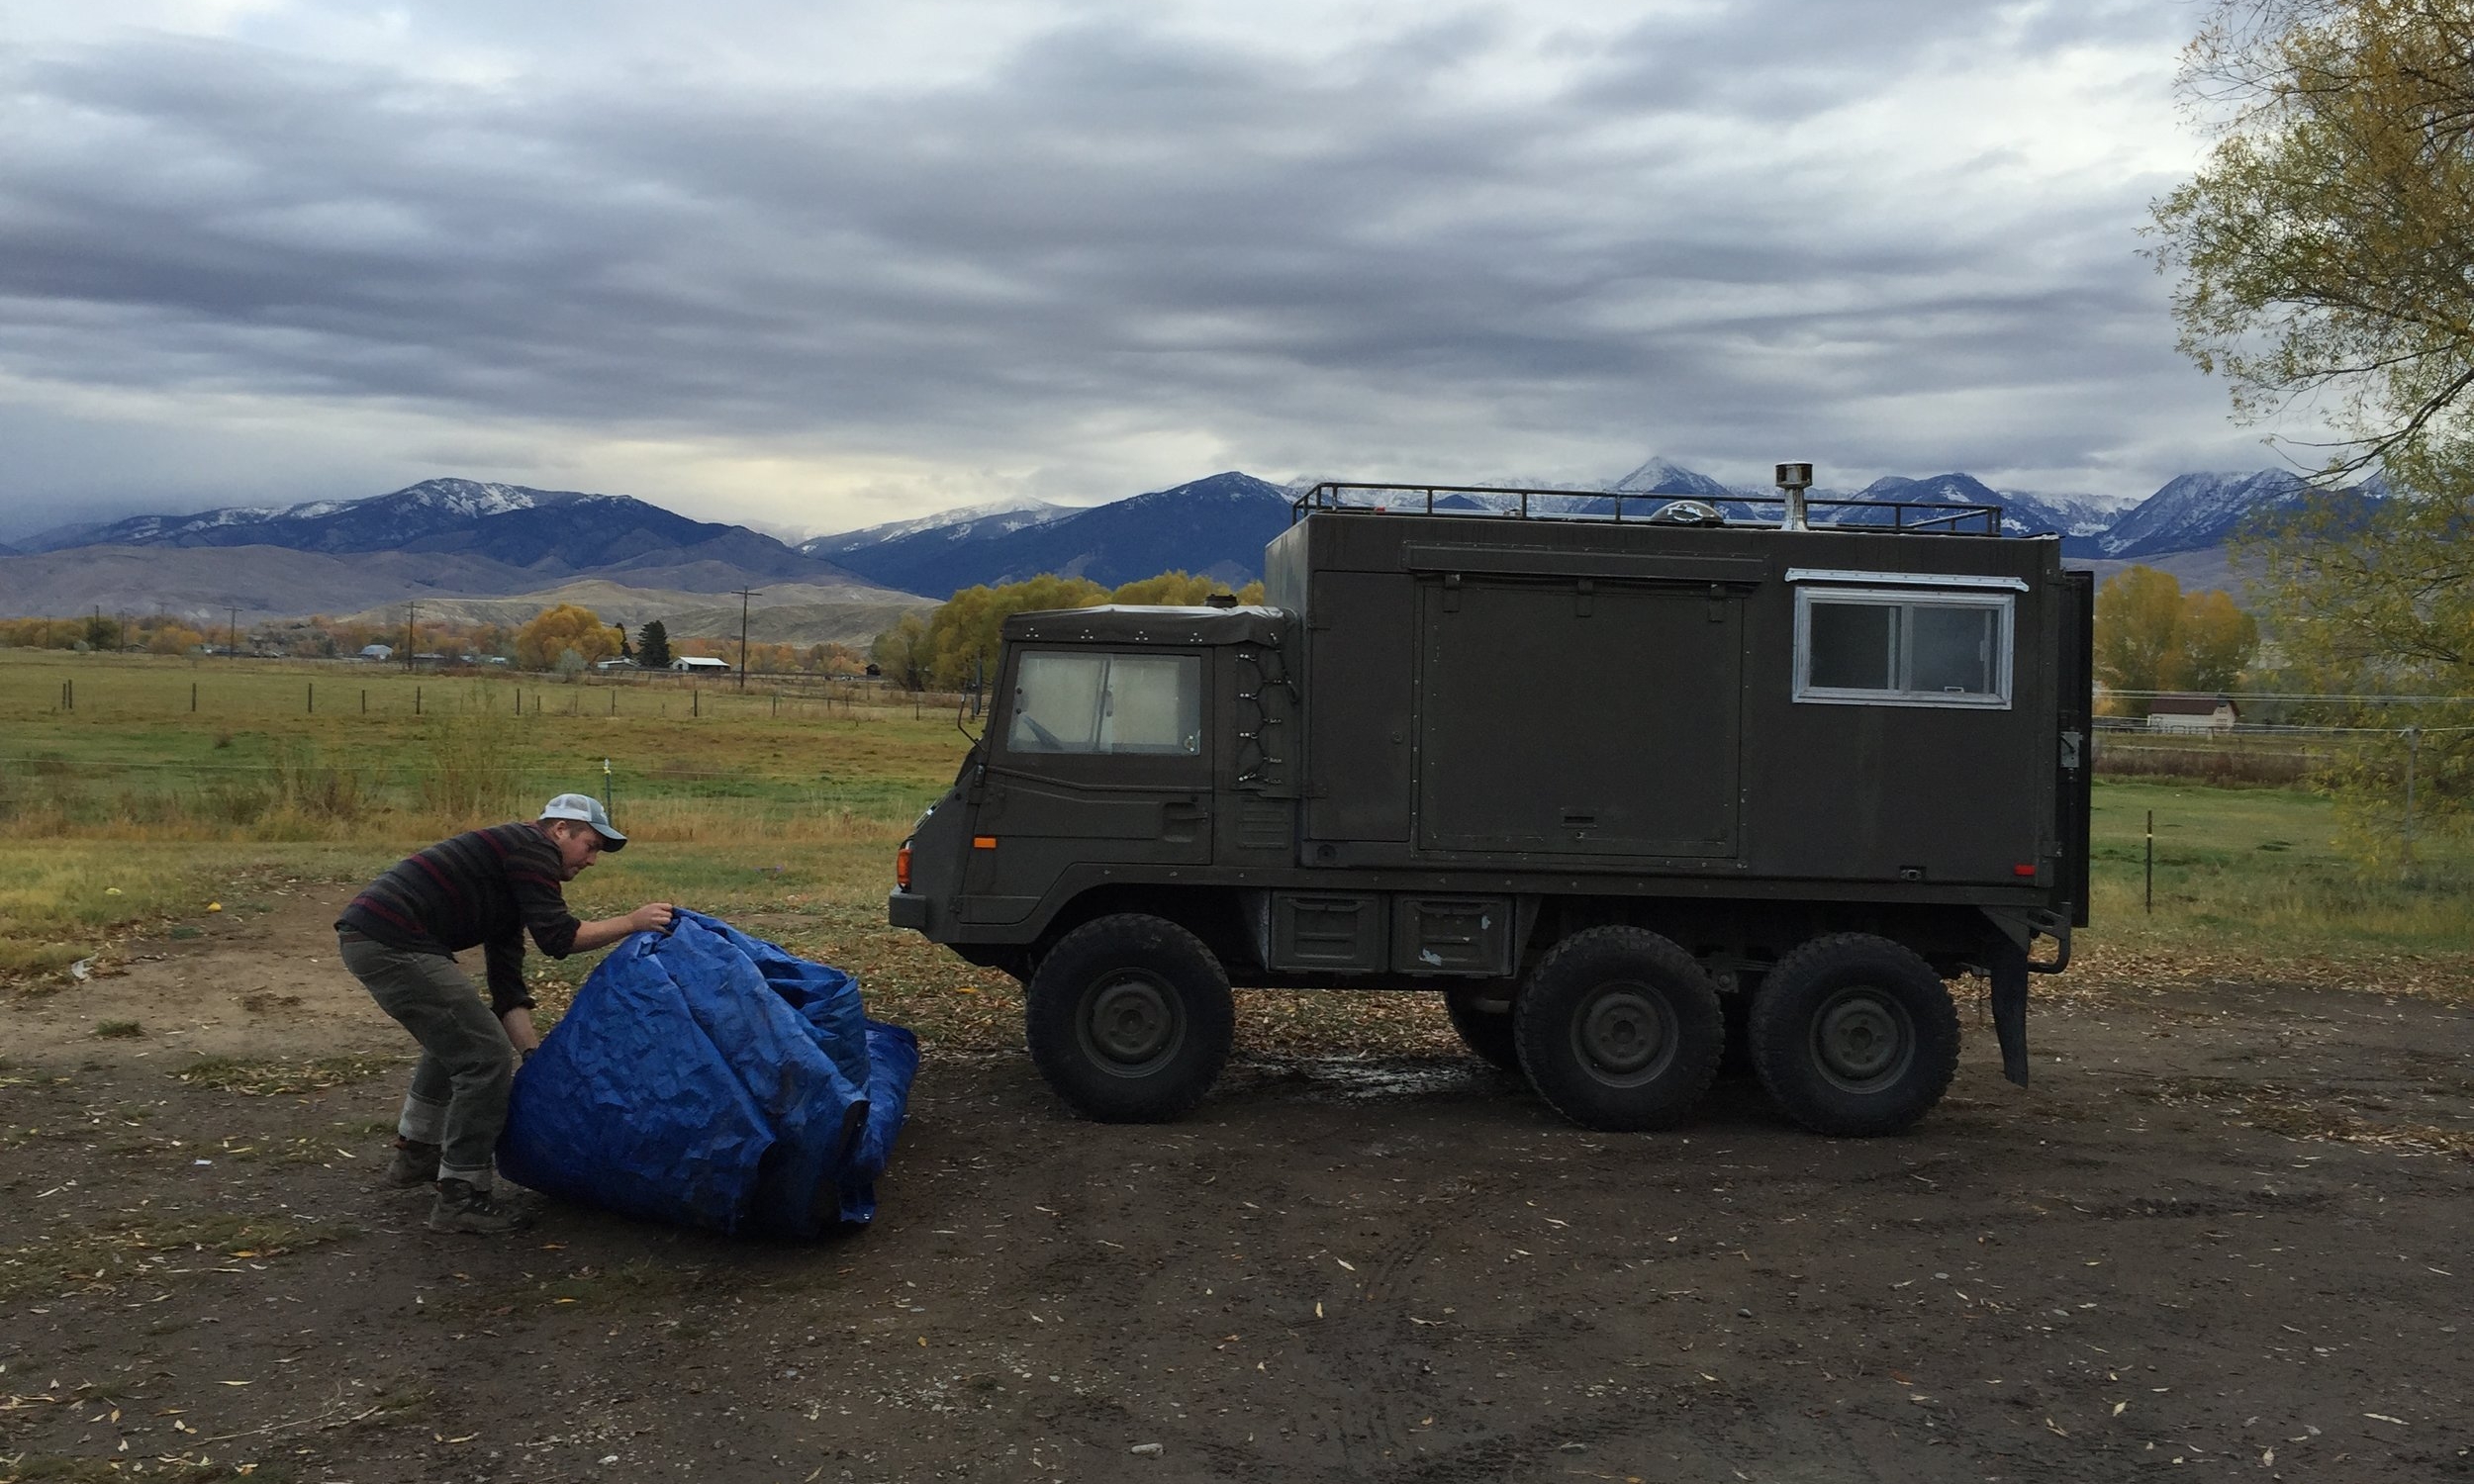
So now Little Foot looks a lot faster, and a lot less like an army van, which was exactly why we painted him in the first place. We really didn't want to travel over any borders looking like a lost band of paramilitary soldiers. We may get robbed as tourists, but at least we won't be posing as something we're not.