Solar Installation.
/Electrical self-sufficiency is basic need/want in the world of van dwelling. A robust electrical system can provide a way to charge devices, light a living space, keep food from spoiling, and more. In a past post, we listed the components we plan on using on our truck and house circuits, so check that out for a breakdown of what we're using. After all those components arrived in the mail, Chels and I got to installing. The big project, as far as installation is concerned, was mounting the photovoltaic cells (PV cells) and the charging devices.
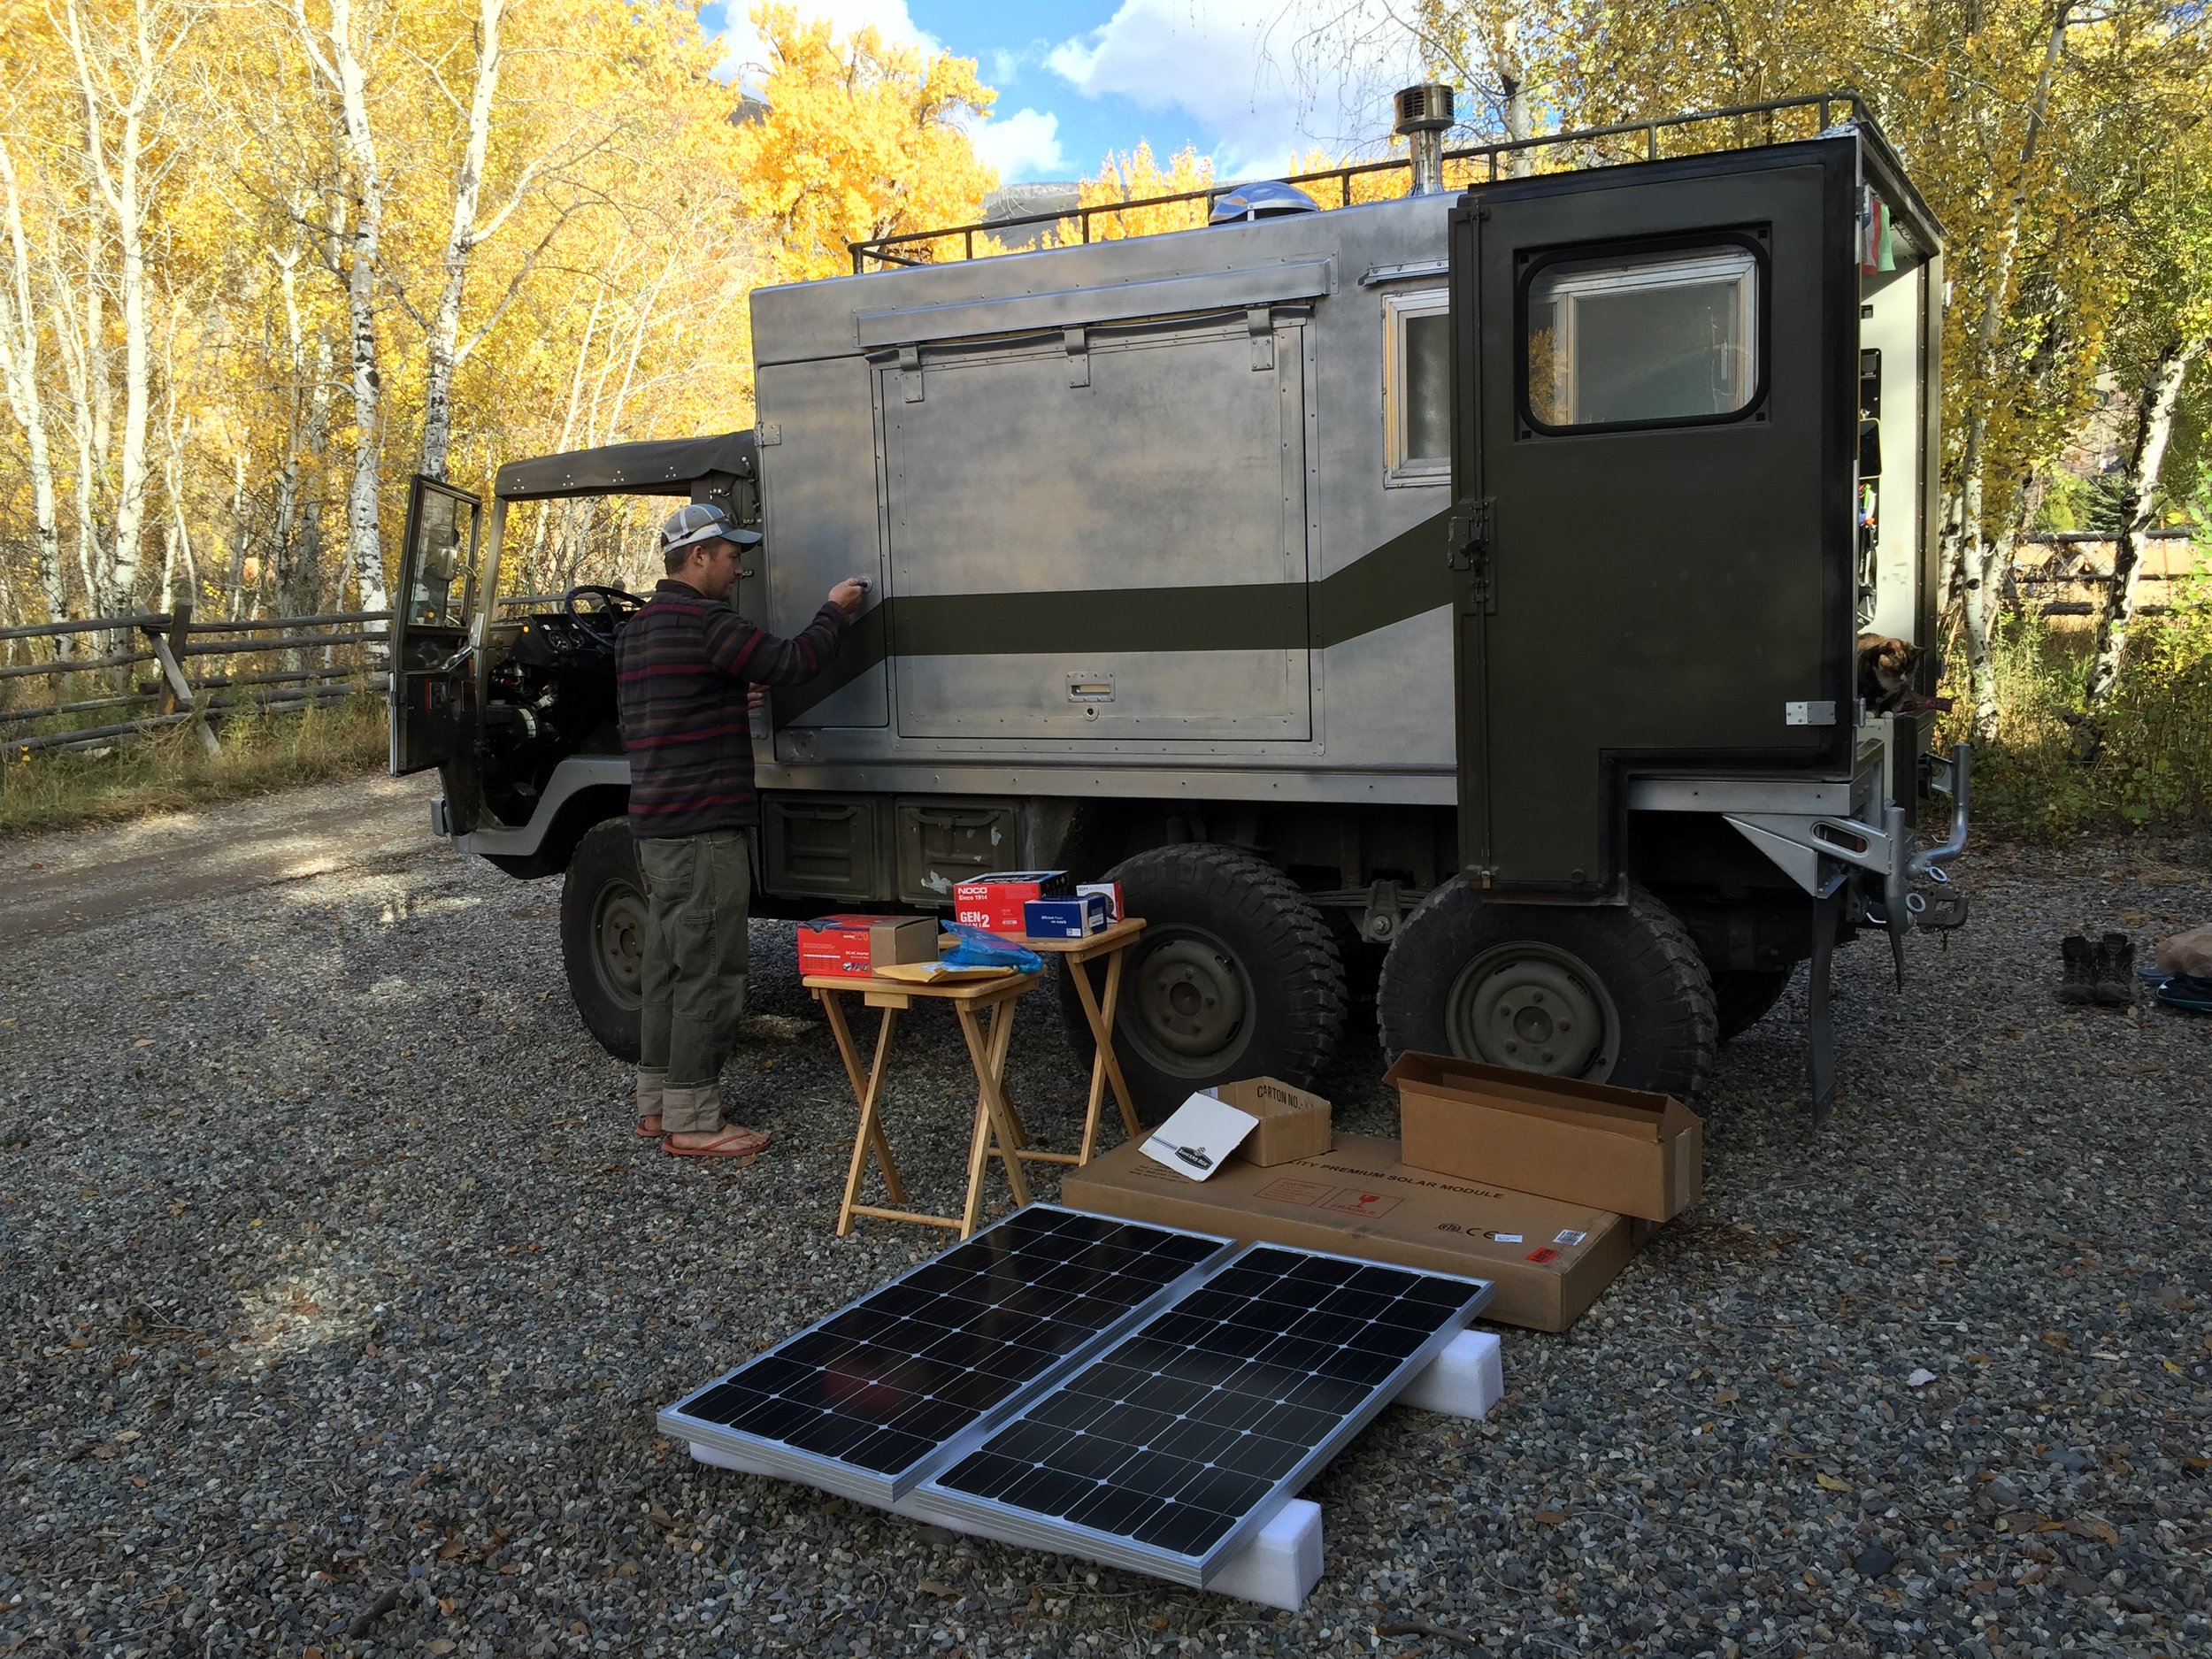
Components (toys) laid out.
We knew we wanted the PV cells on the roof rack, and we knew we wanted to be able to access the room beneath the cells, and be able to rotate the cells to take full advantage of the sun when camped for a few days. To achieve this, we needed to tie the PV cells together so they would act as one, and then mount them in such a way that they could rotate on a hinge.
We decided to make a very basic frame from some double sided 1/2 inch U-lay plywood. We could have bought a fancy hinging mount, or spent more money on steel components, but the plywood was free, light, low profile, and did we mention…free!
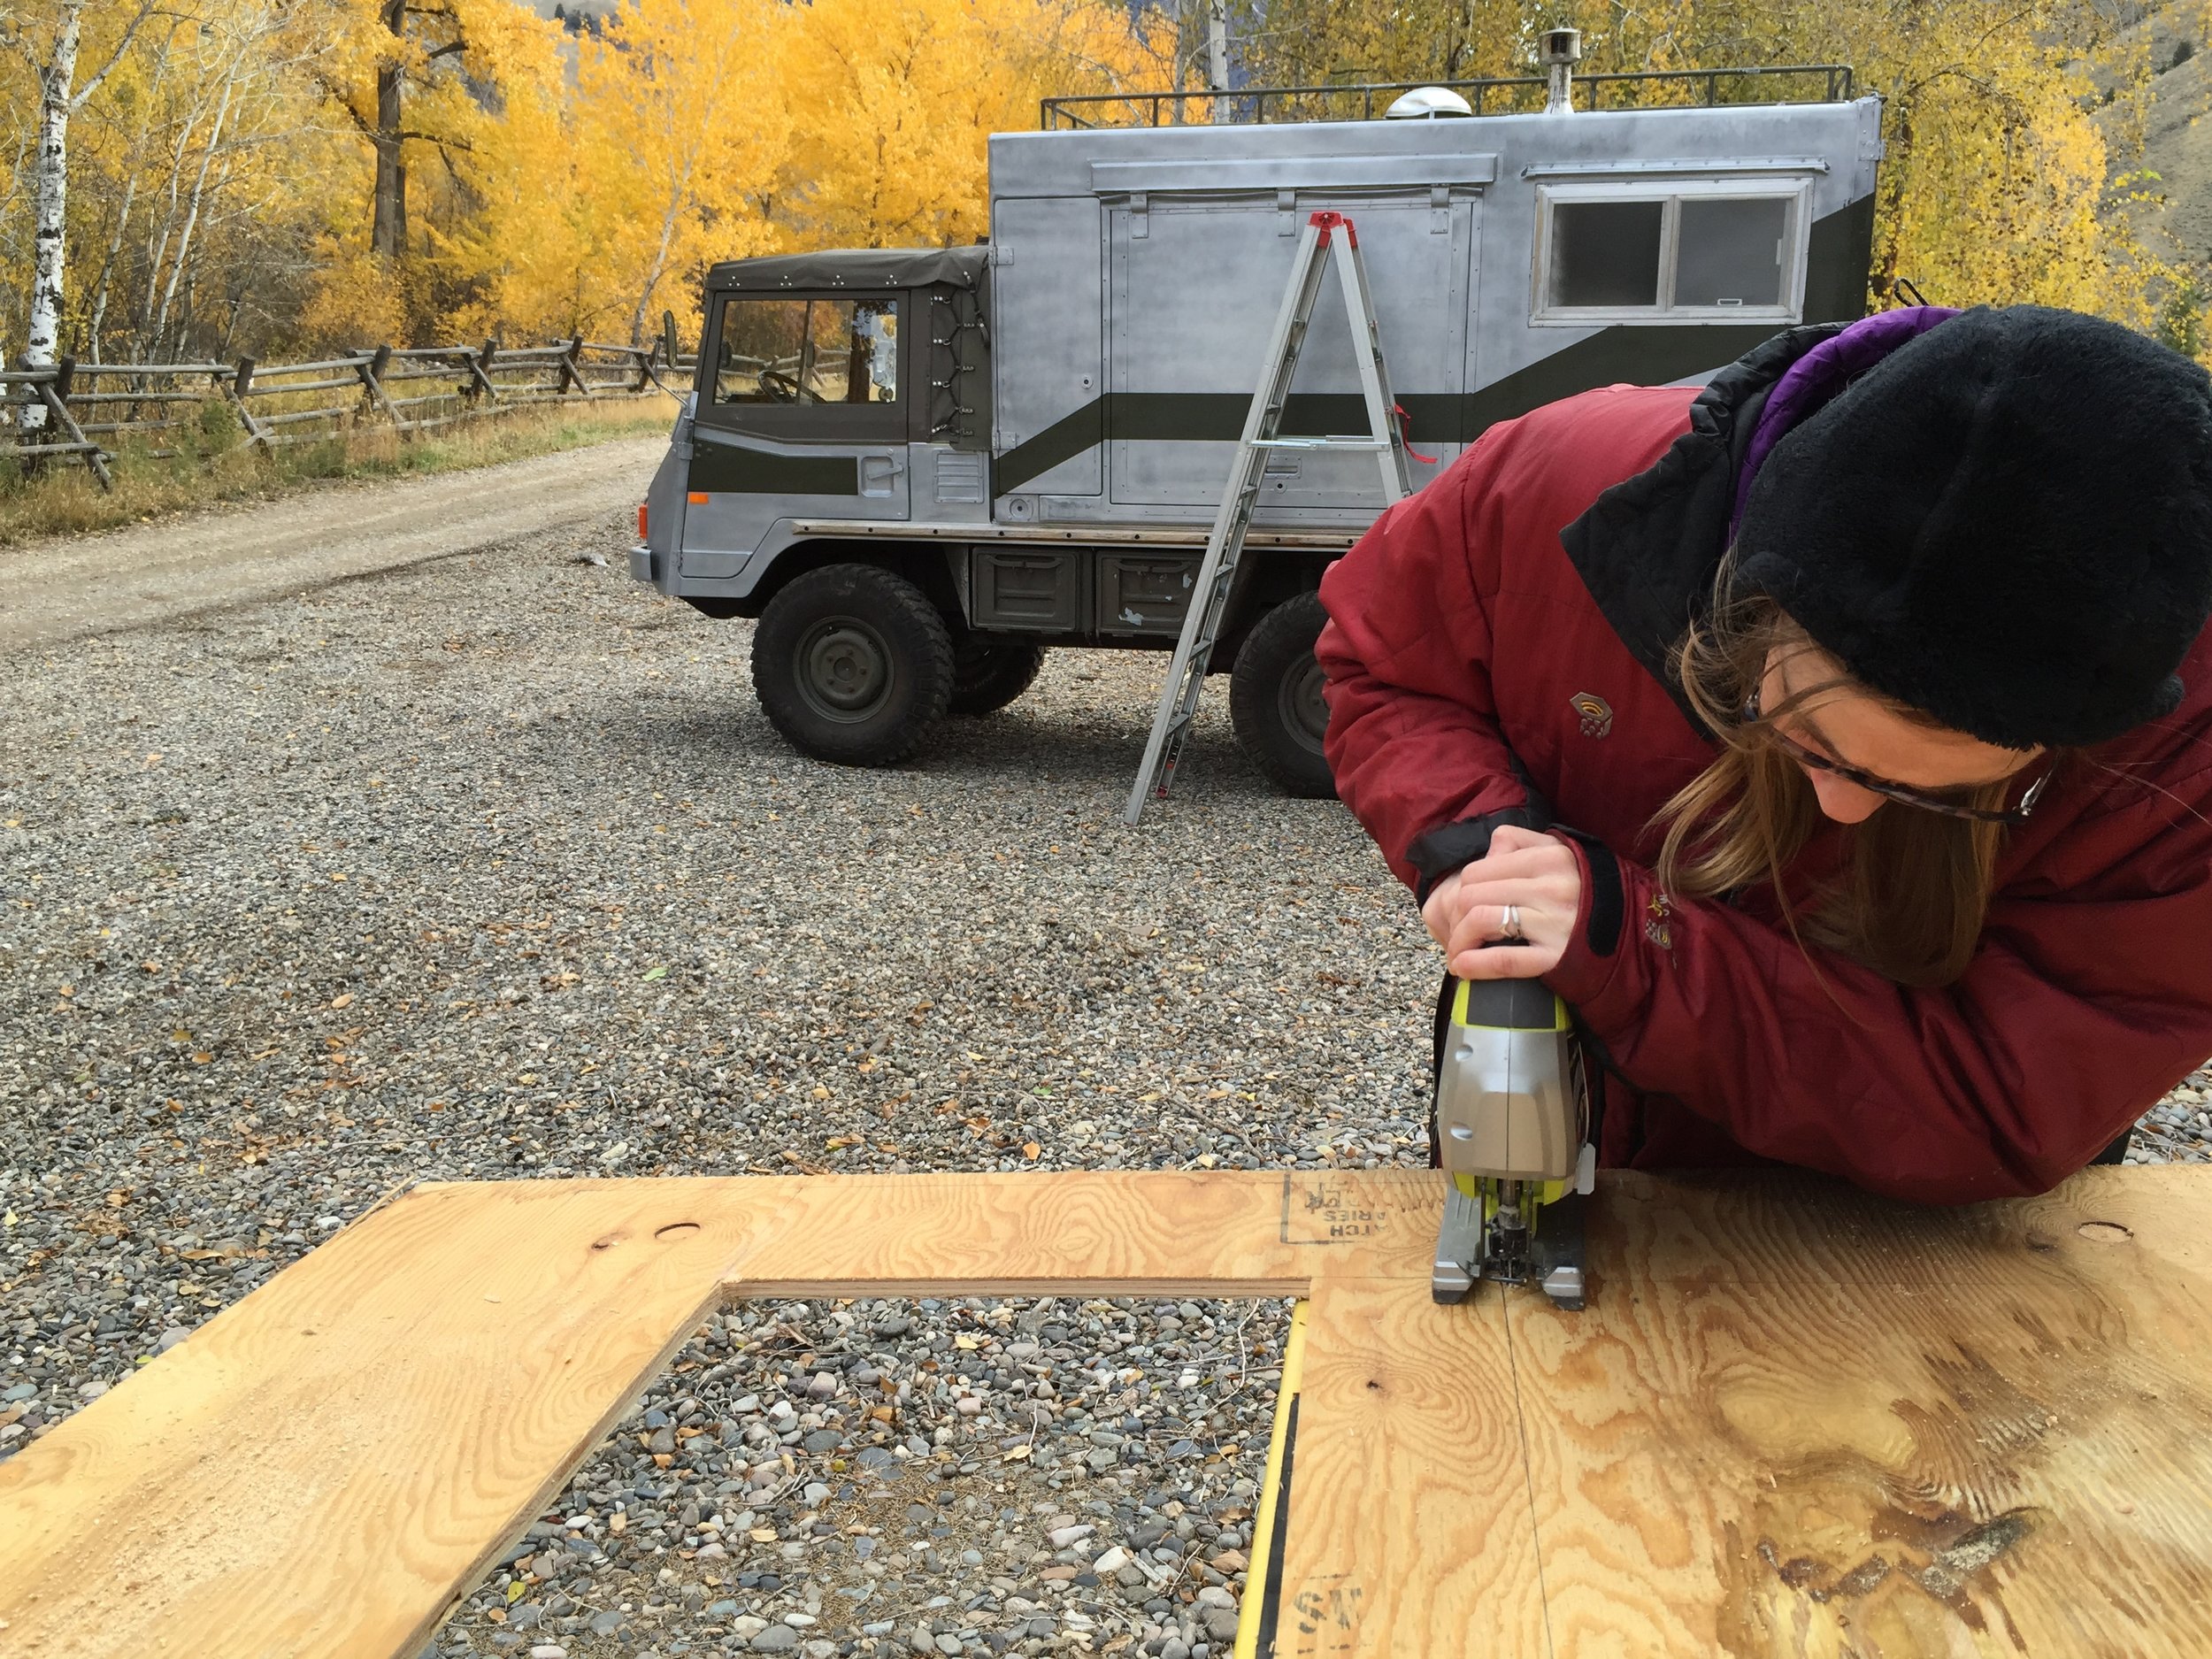
Cutting the plywood to size, and losing the centers to drop weight and add access.
We cut the plywood to nearly the exact dimensions of the two 100w PV cells (43" x 47"), leaving a 1/2" between the cells. Then, to reduce weight and allow for us to access the mounting hardware, we cut large rectangles out of the plywood. The PV cells added a lot of rigidity to the whole setup, so we weren't very concerned about cutting wood away from the frame.
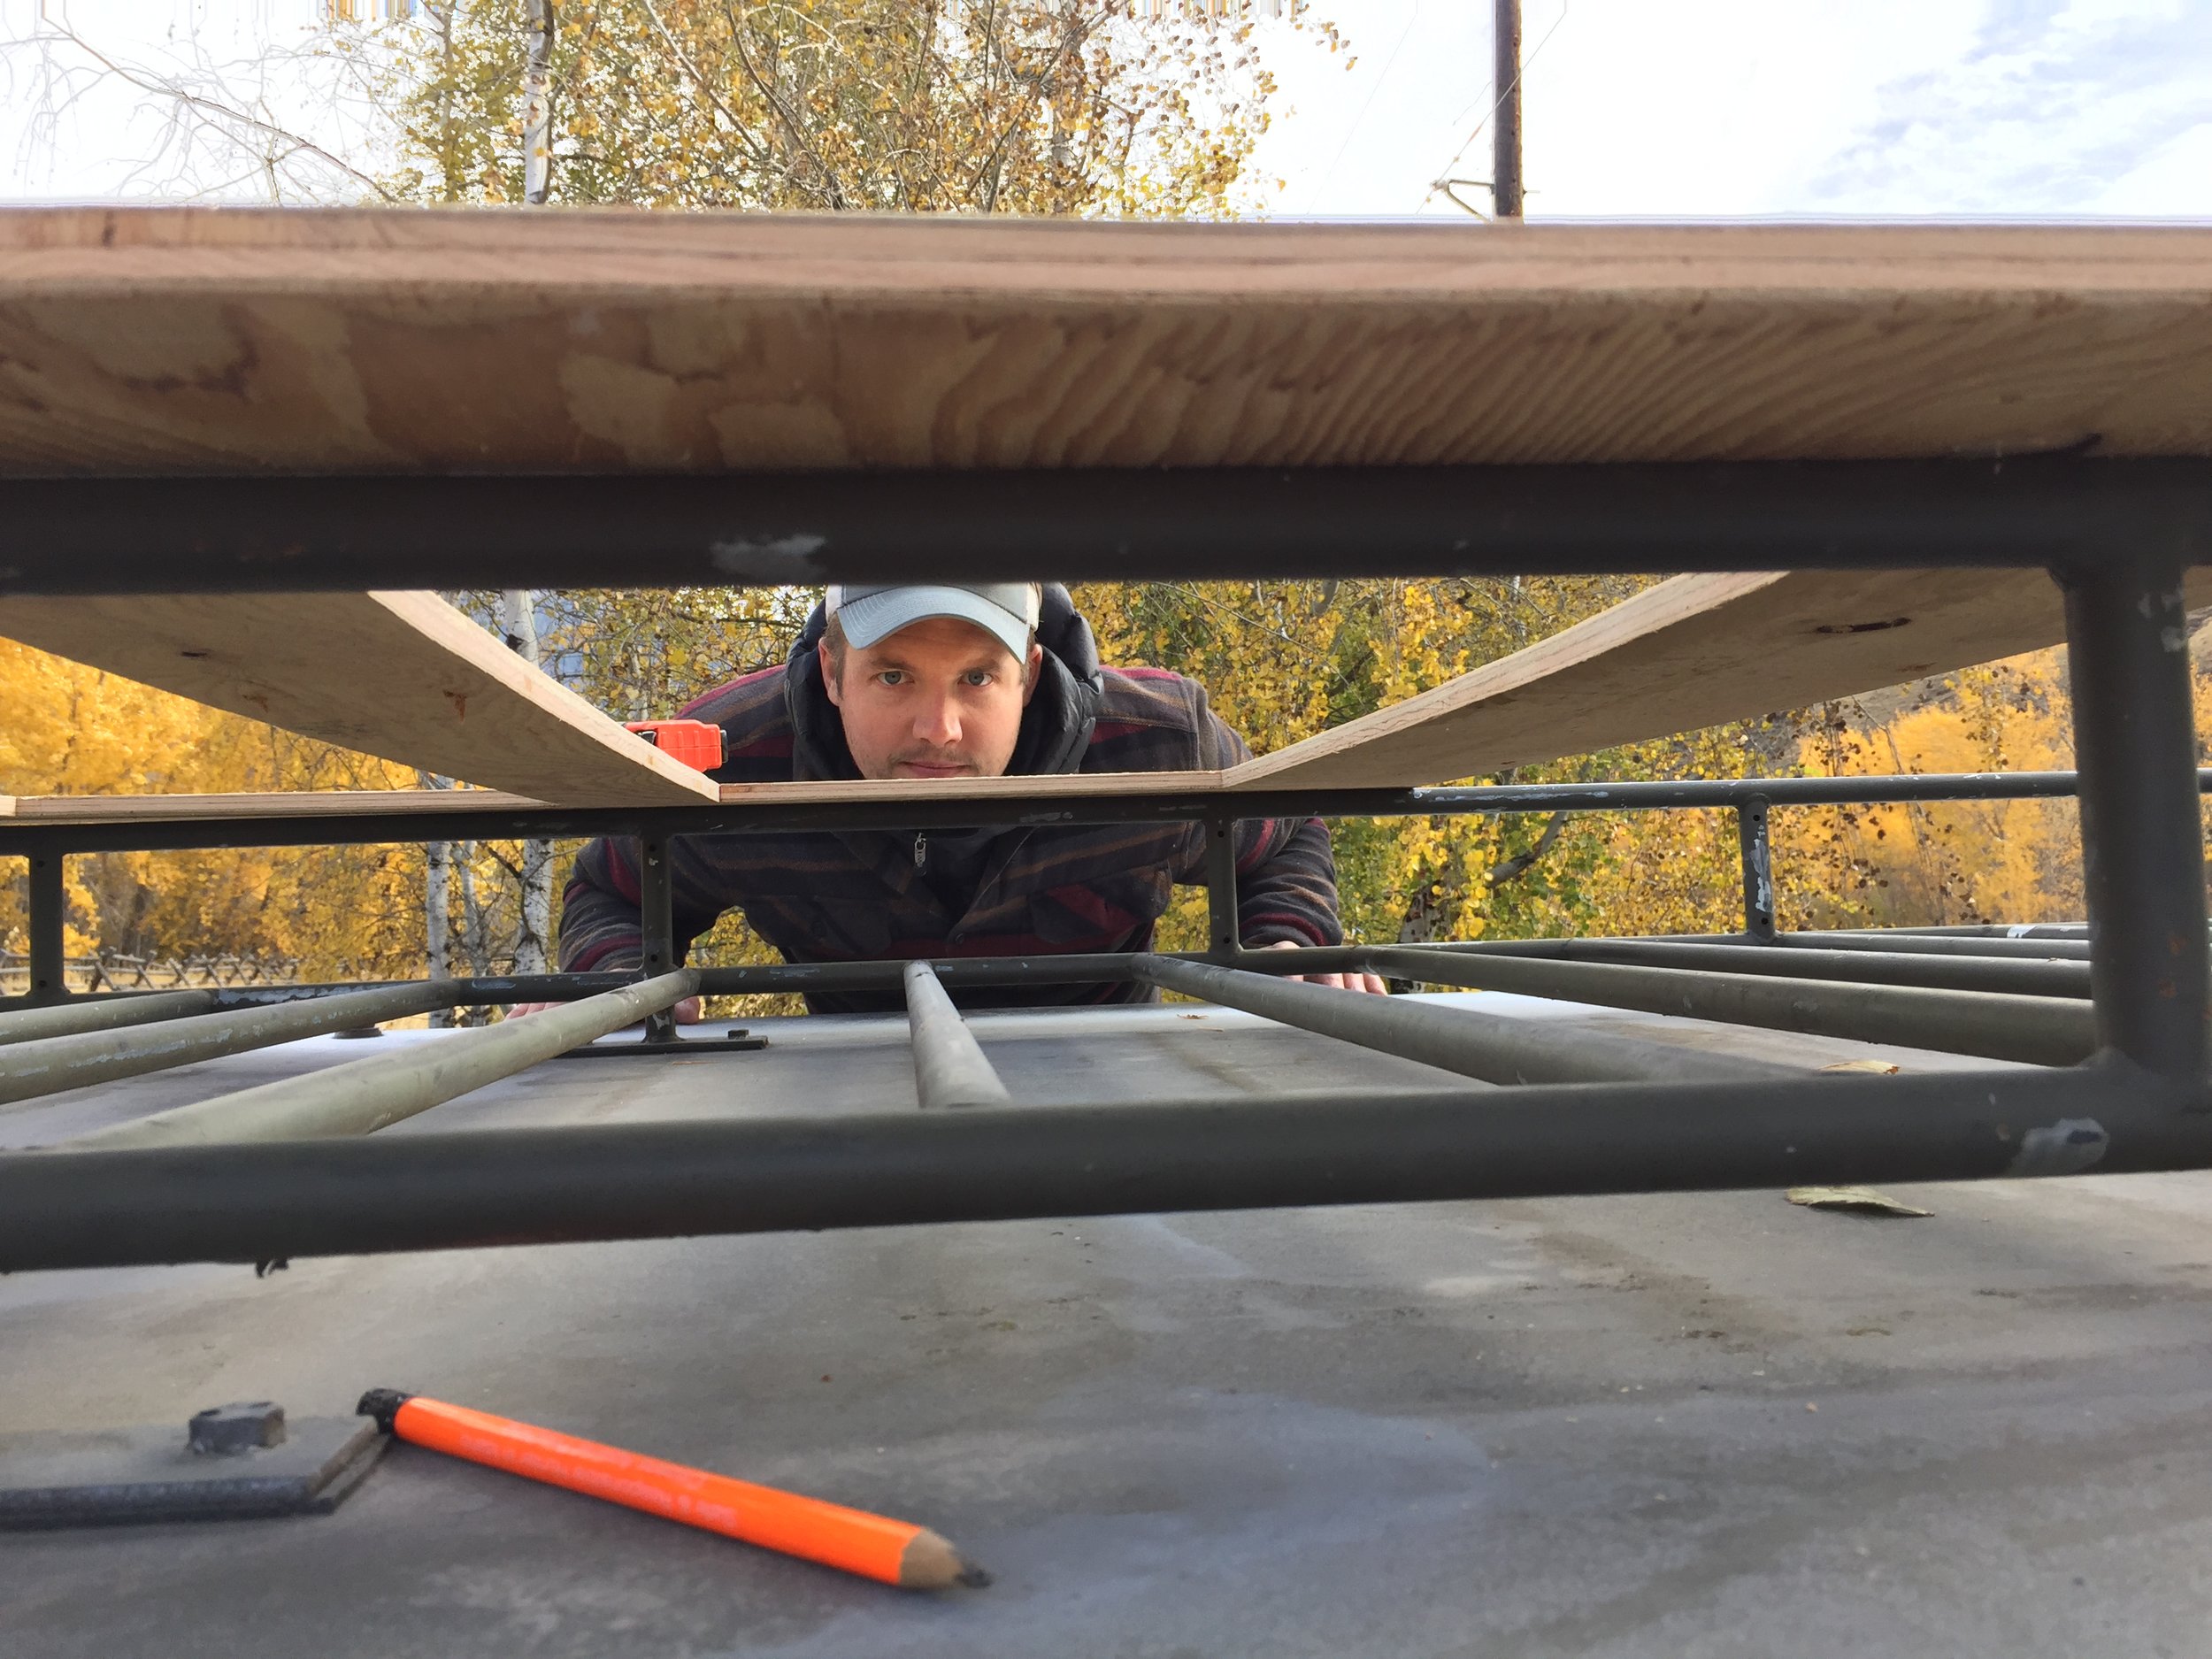
It fits!
One side of the plywood frame is held to the roof rack by 1" U bolts. These act as a simple hinge, and allow the PV cells to be rotated out of the way. The PV cells are held to the plywood by a handful of M6x30 bolts, washers, and nuts. We dry fitted everything before painting the plywood with leftover spray paint to add some weatherproofing. We also added some drain holes in the 1/2" gap between PV cells.

It hinges! The U-bolt setup is simple, cheap, and cheerful.
Mounting the panels wasn't terribly difficult, and it was (God willing) a one time event. There isn't a lot of room under the PV cells to move around, so bolting the cells to the plywood was a bit tricky. We don't have a permanent solution for holding the non-hinging side to the roof rack, so for now we've employed a cam strap.
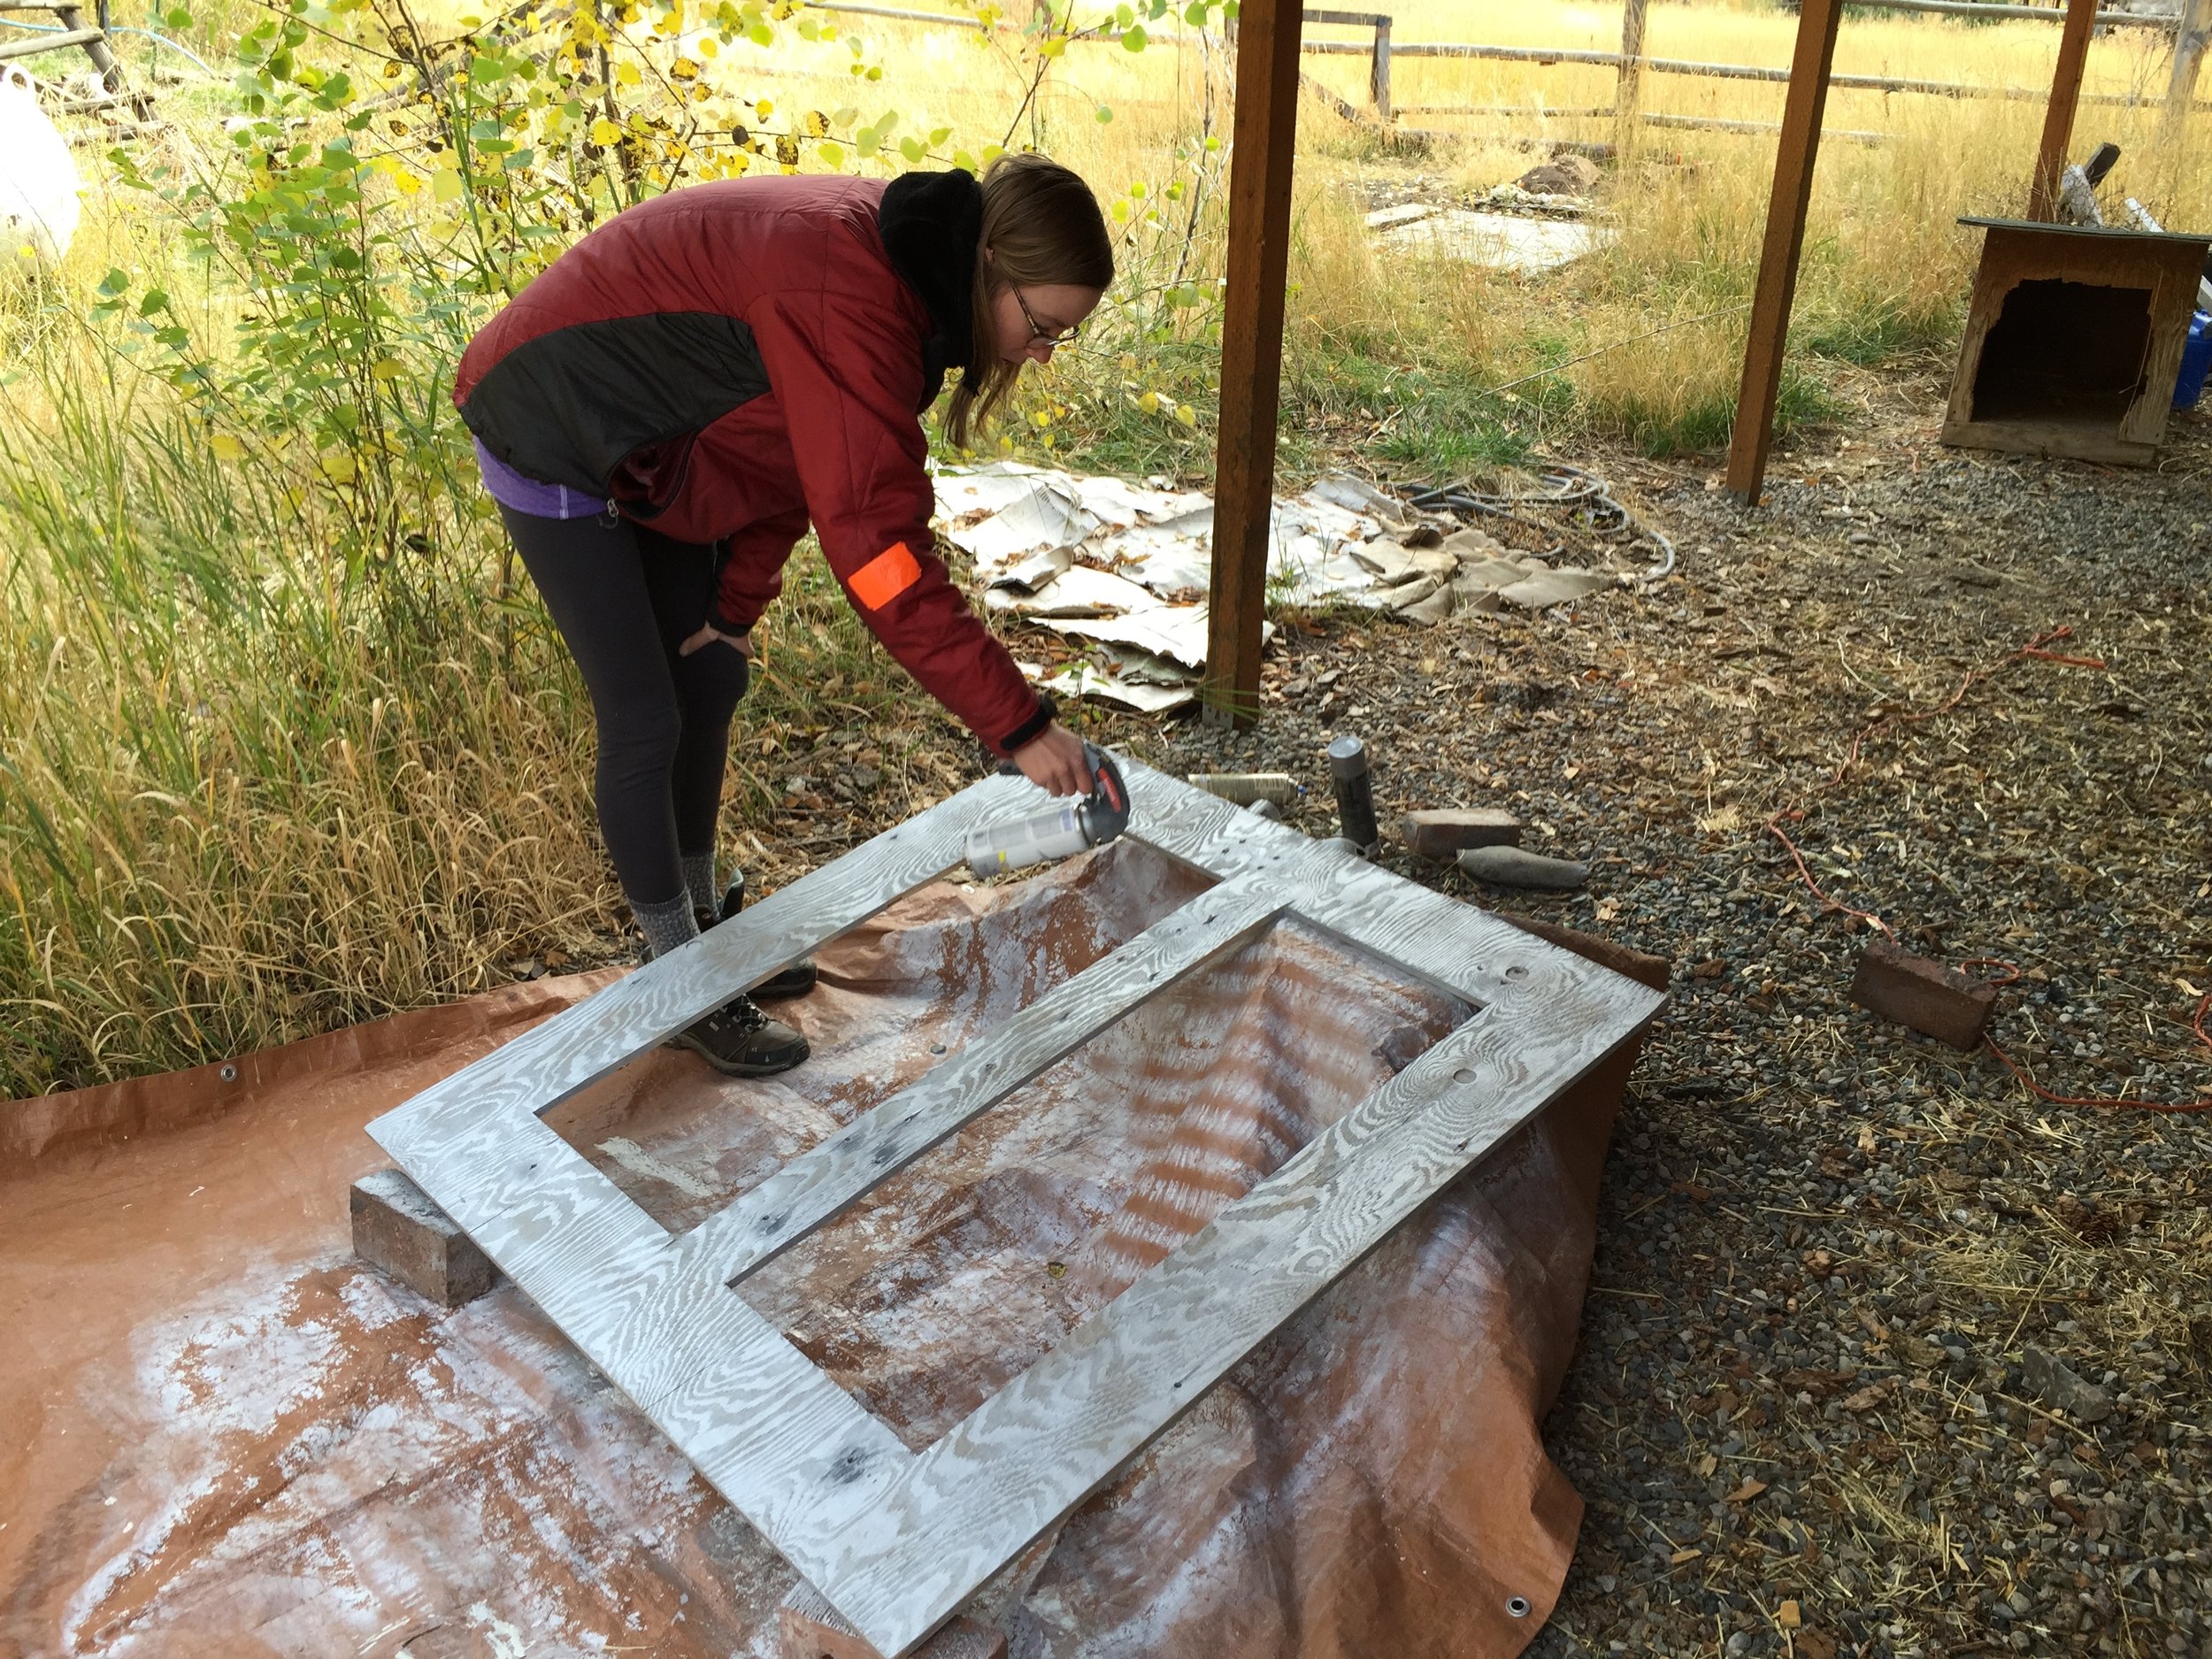
Paint for weatherproofing.
The positive and negative leads are wrapped in a plastic wiring loom and zip tied in place, and then tucked into the bungee straps that hold the cab's canvas top in place.
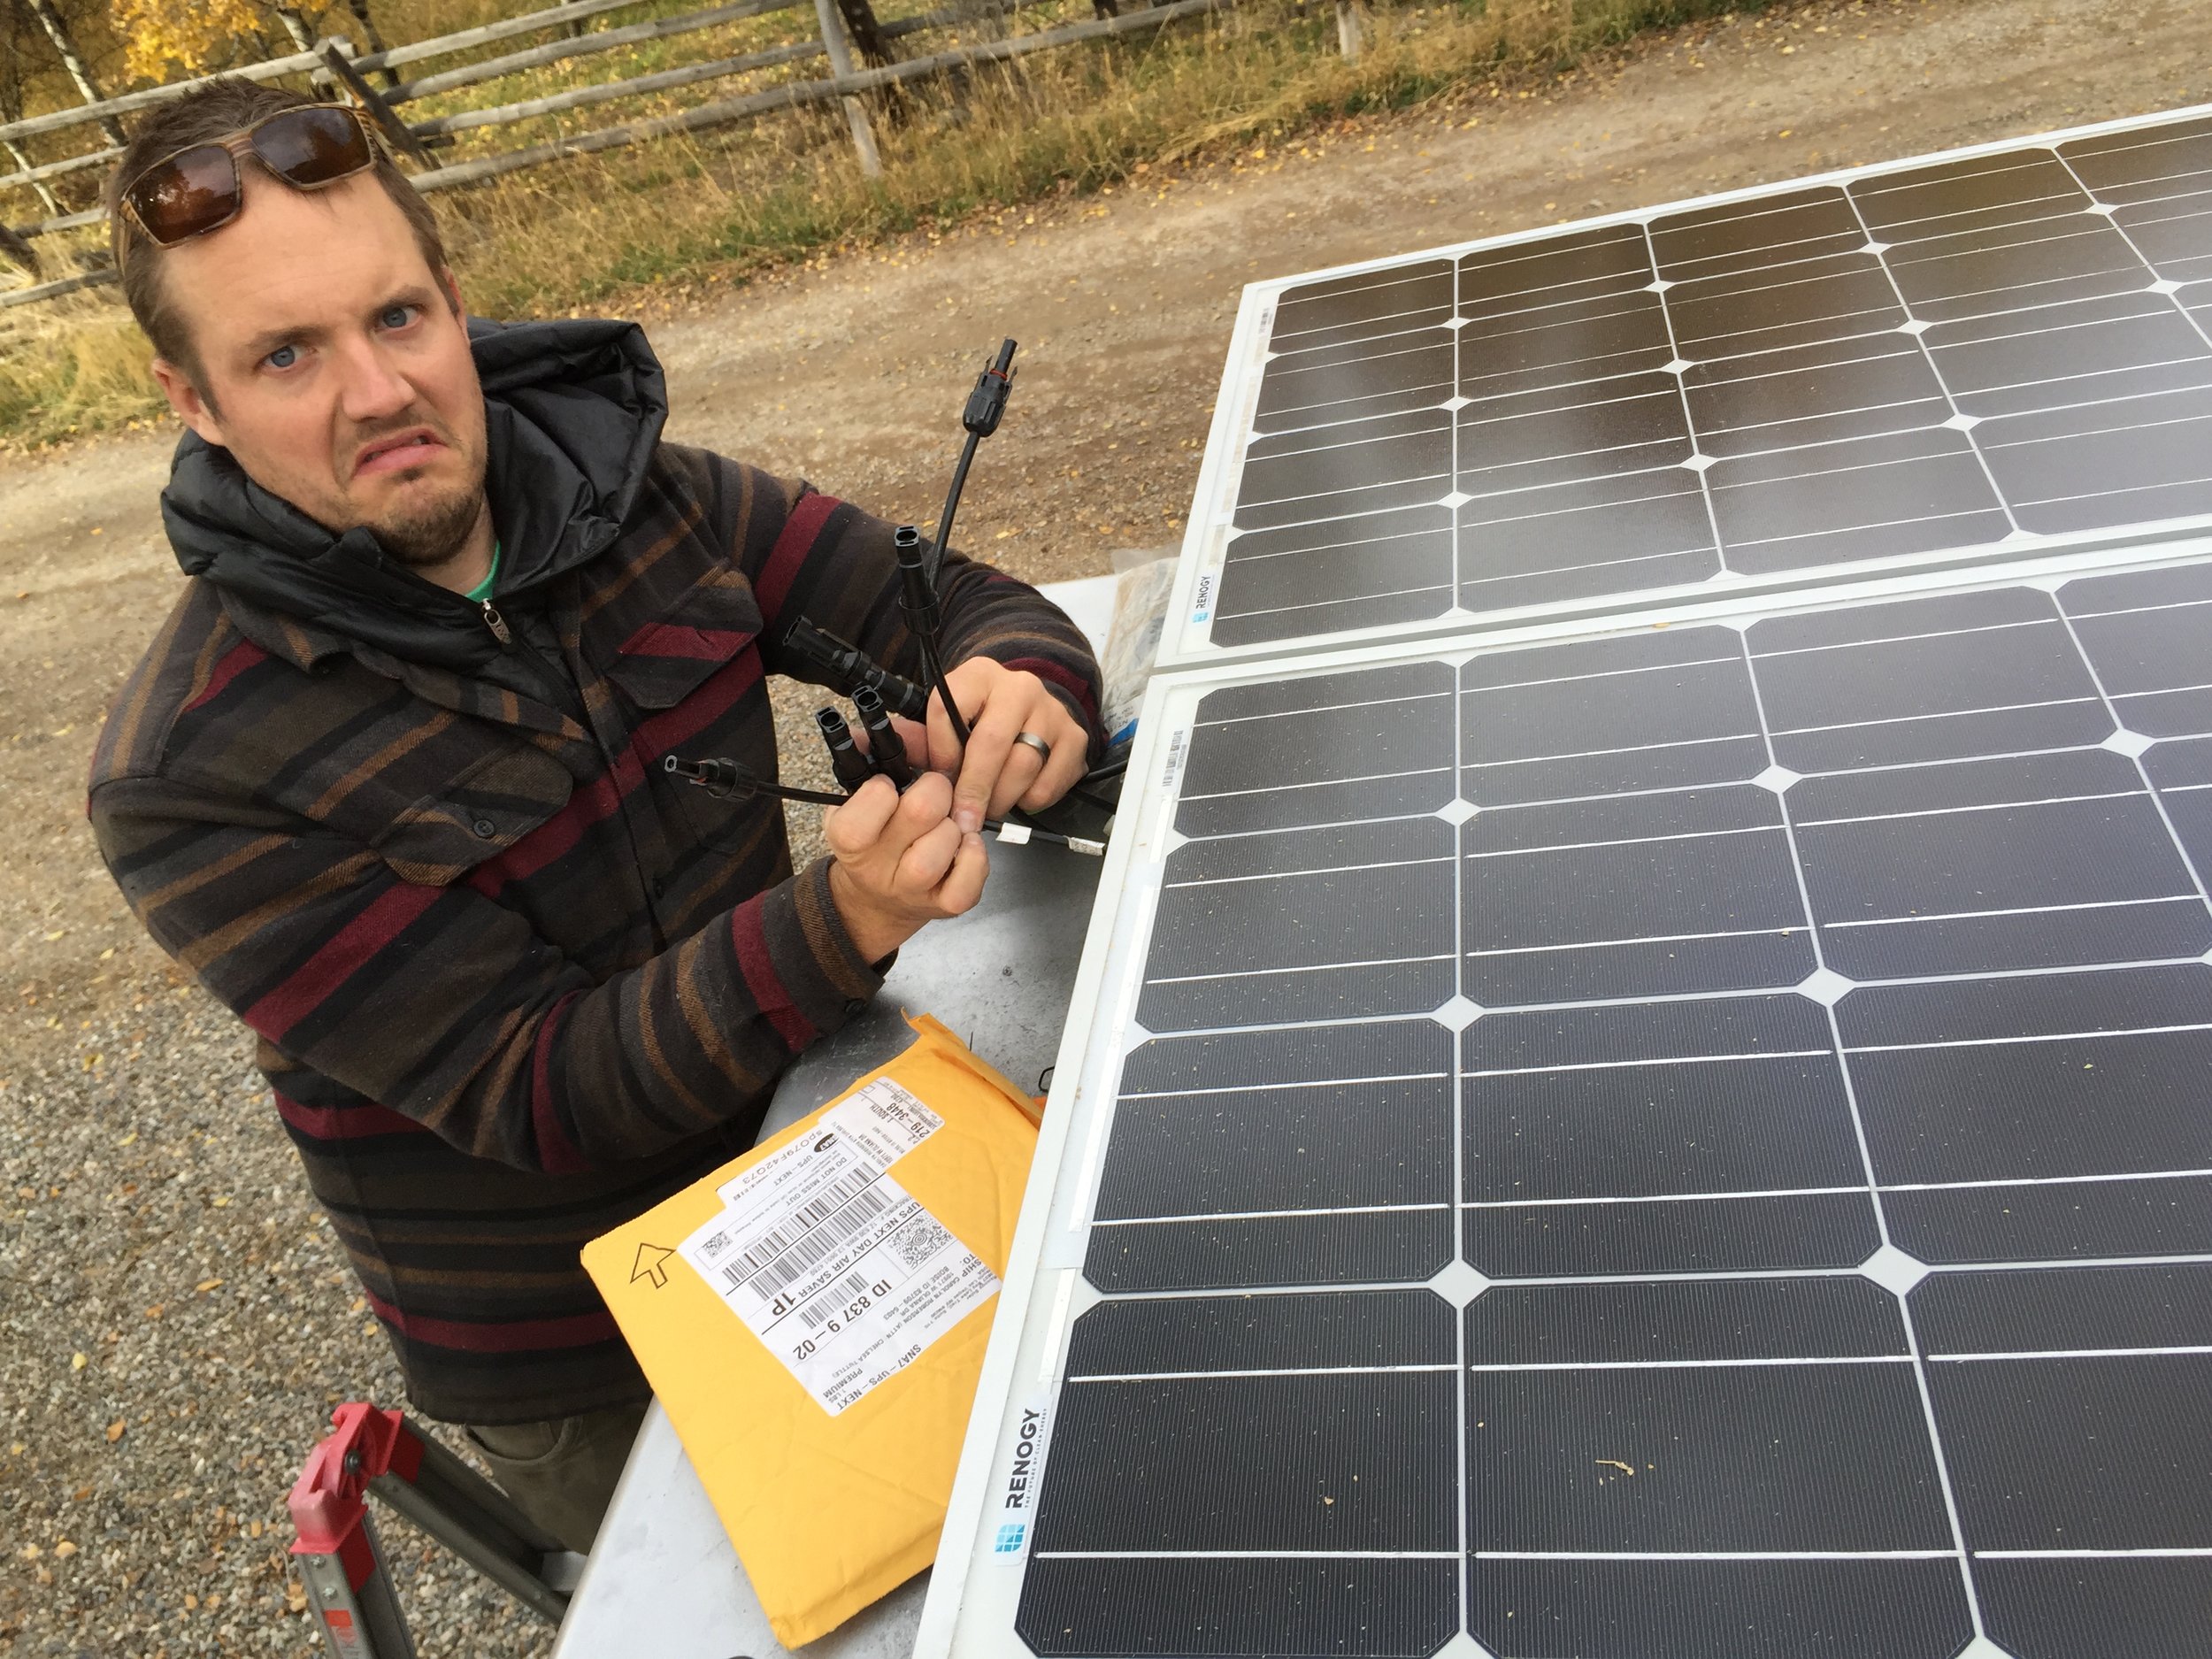
My wire face.

The wiring loom containing the PV cells leads running into the spare tire storage.
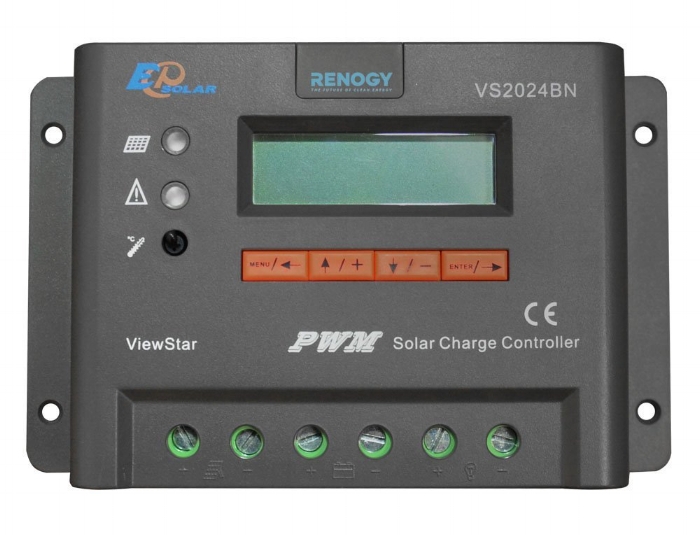
The next day we spent a few hours building a simple plywood shelf/rack for the charging components. The solar charge controller, the NOCO Genius battery charger, and the inverter will all live in what we call the "spare tire storage" to keep wire runs short. When dealing with a PV solar setup, keeping wire runs short will keep charge loss to a minimum.
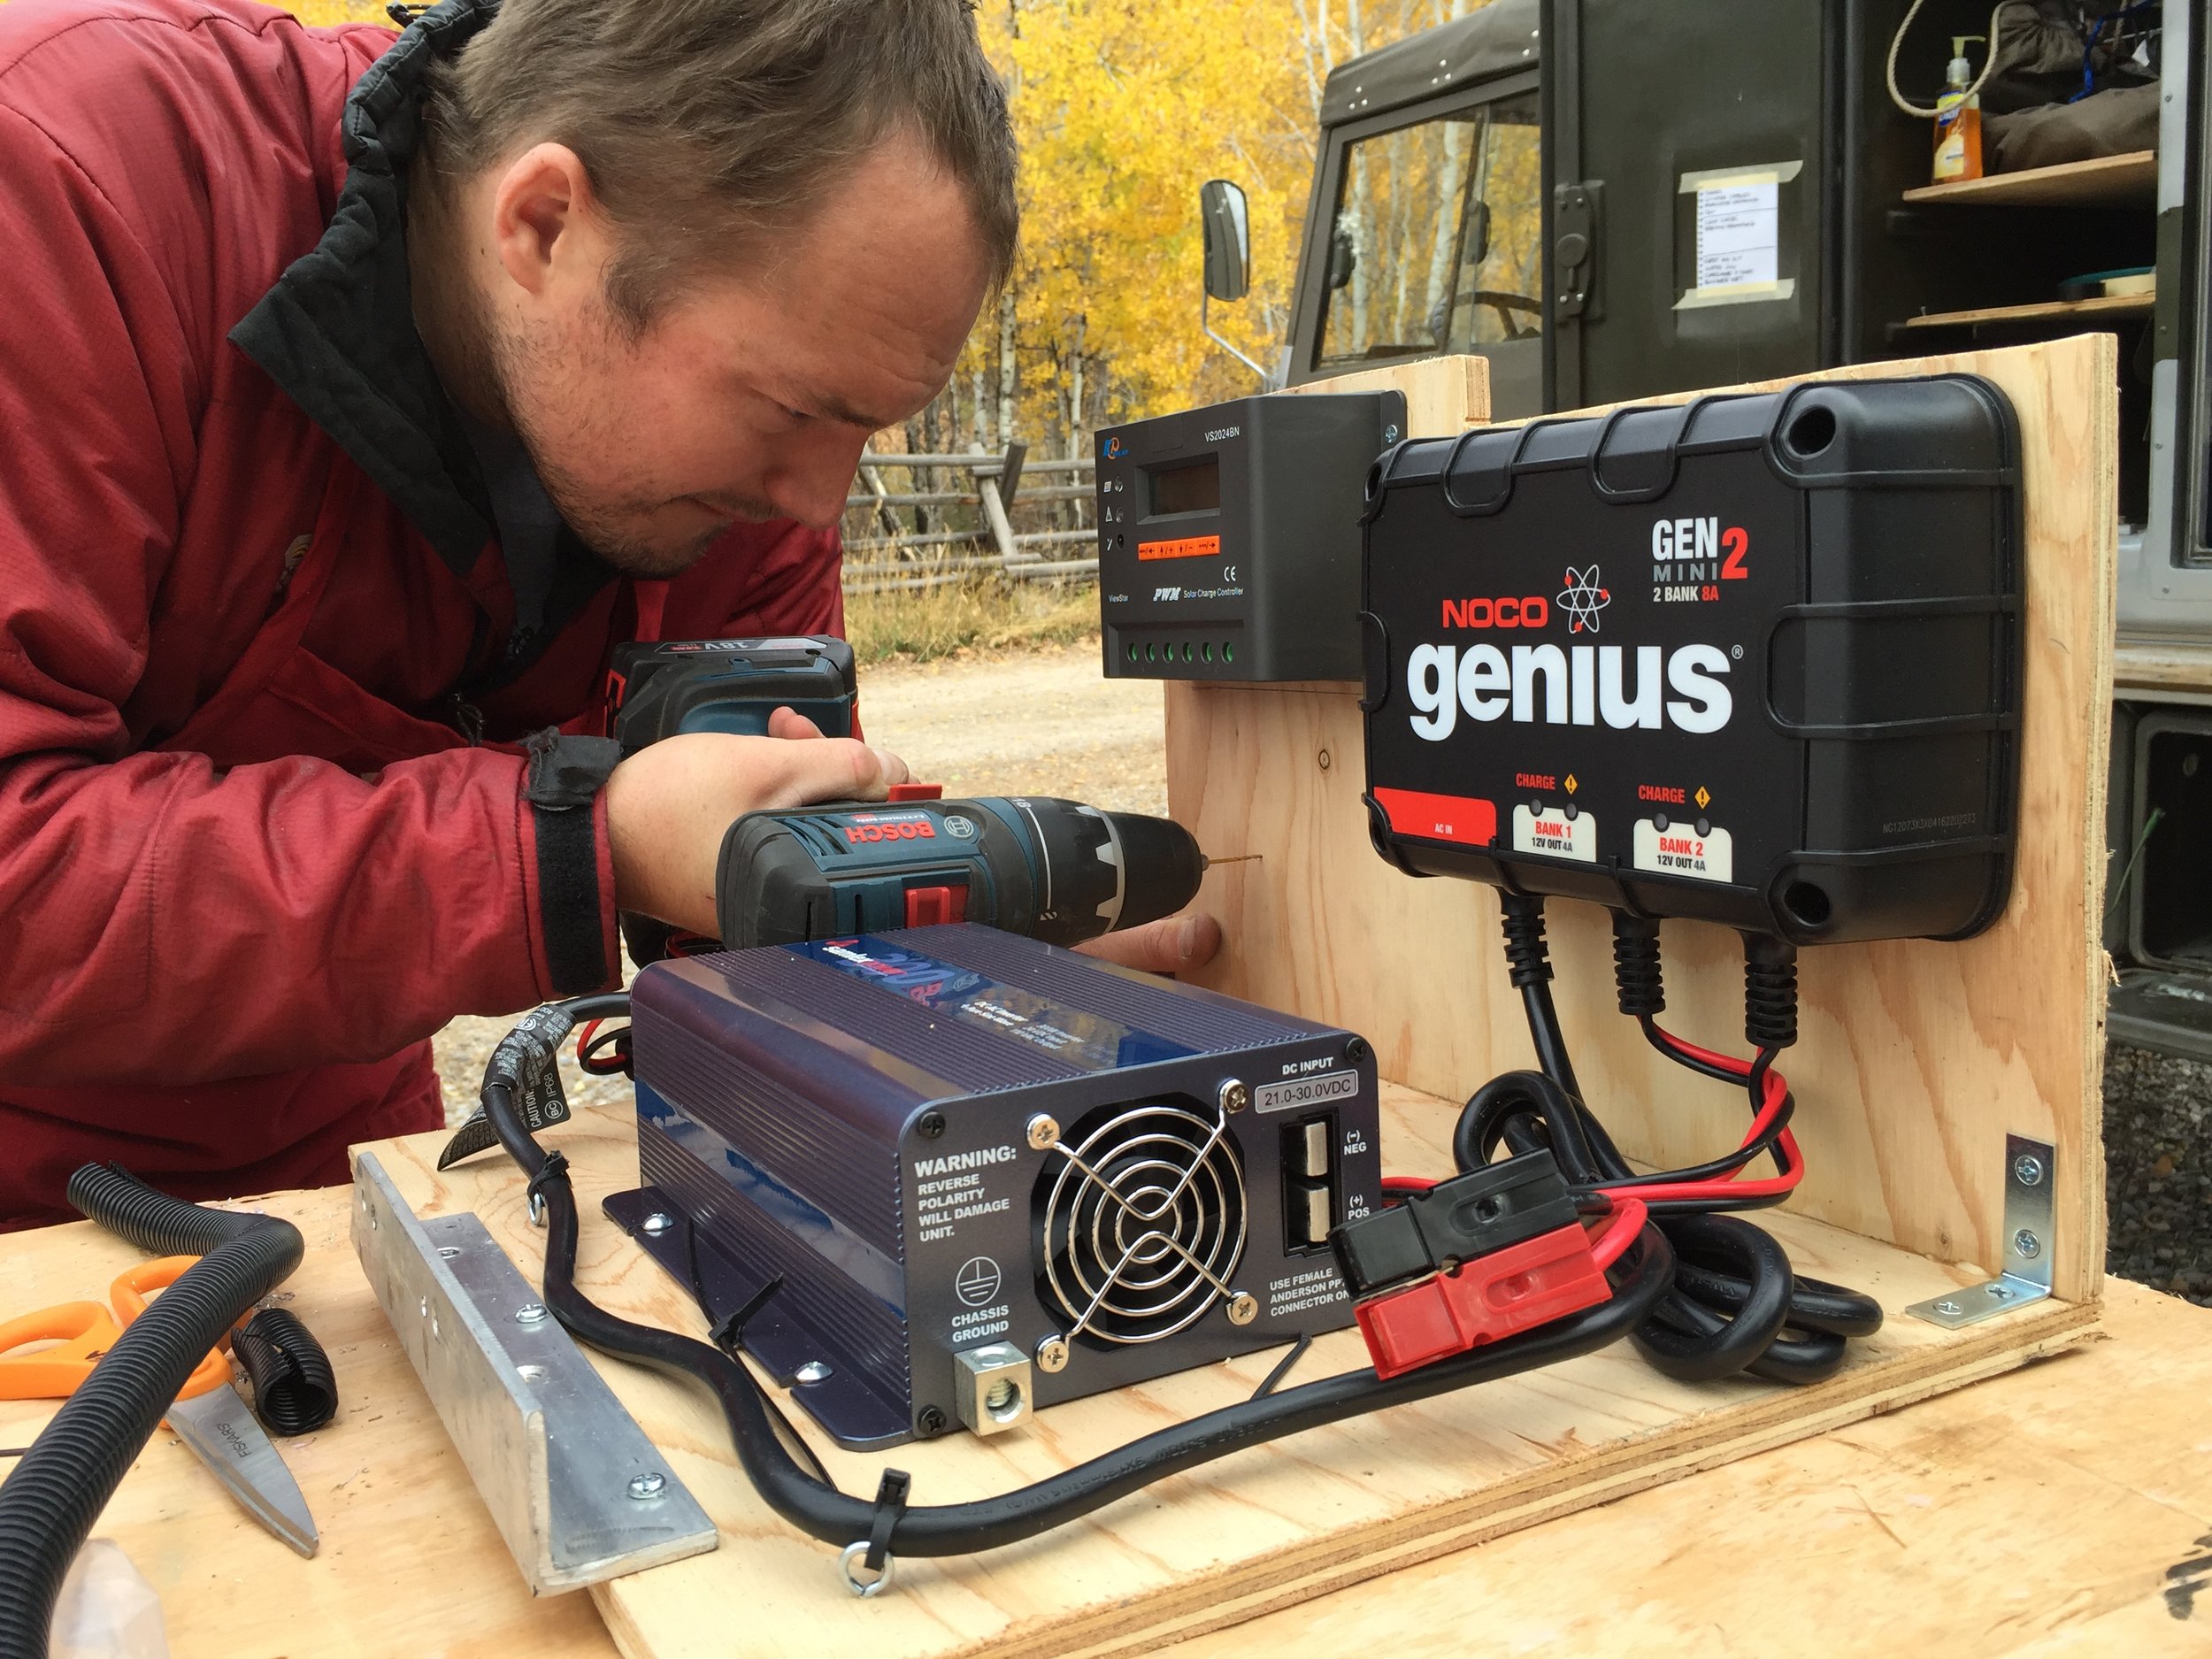
The panel for the components. All cables and wires will be zip tied in place.
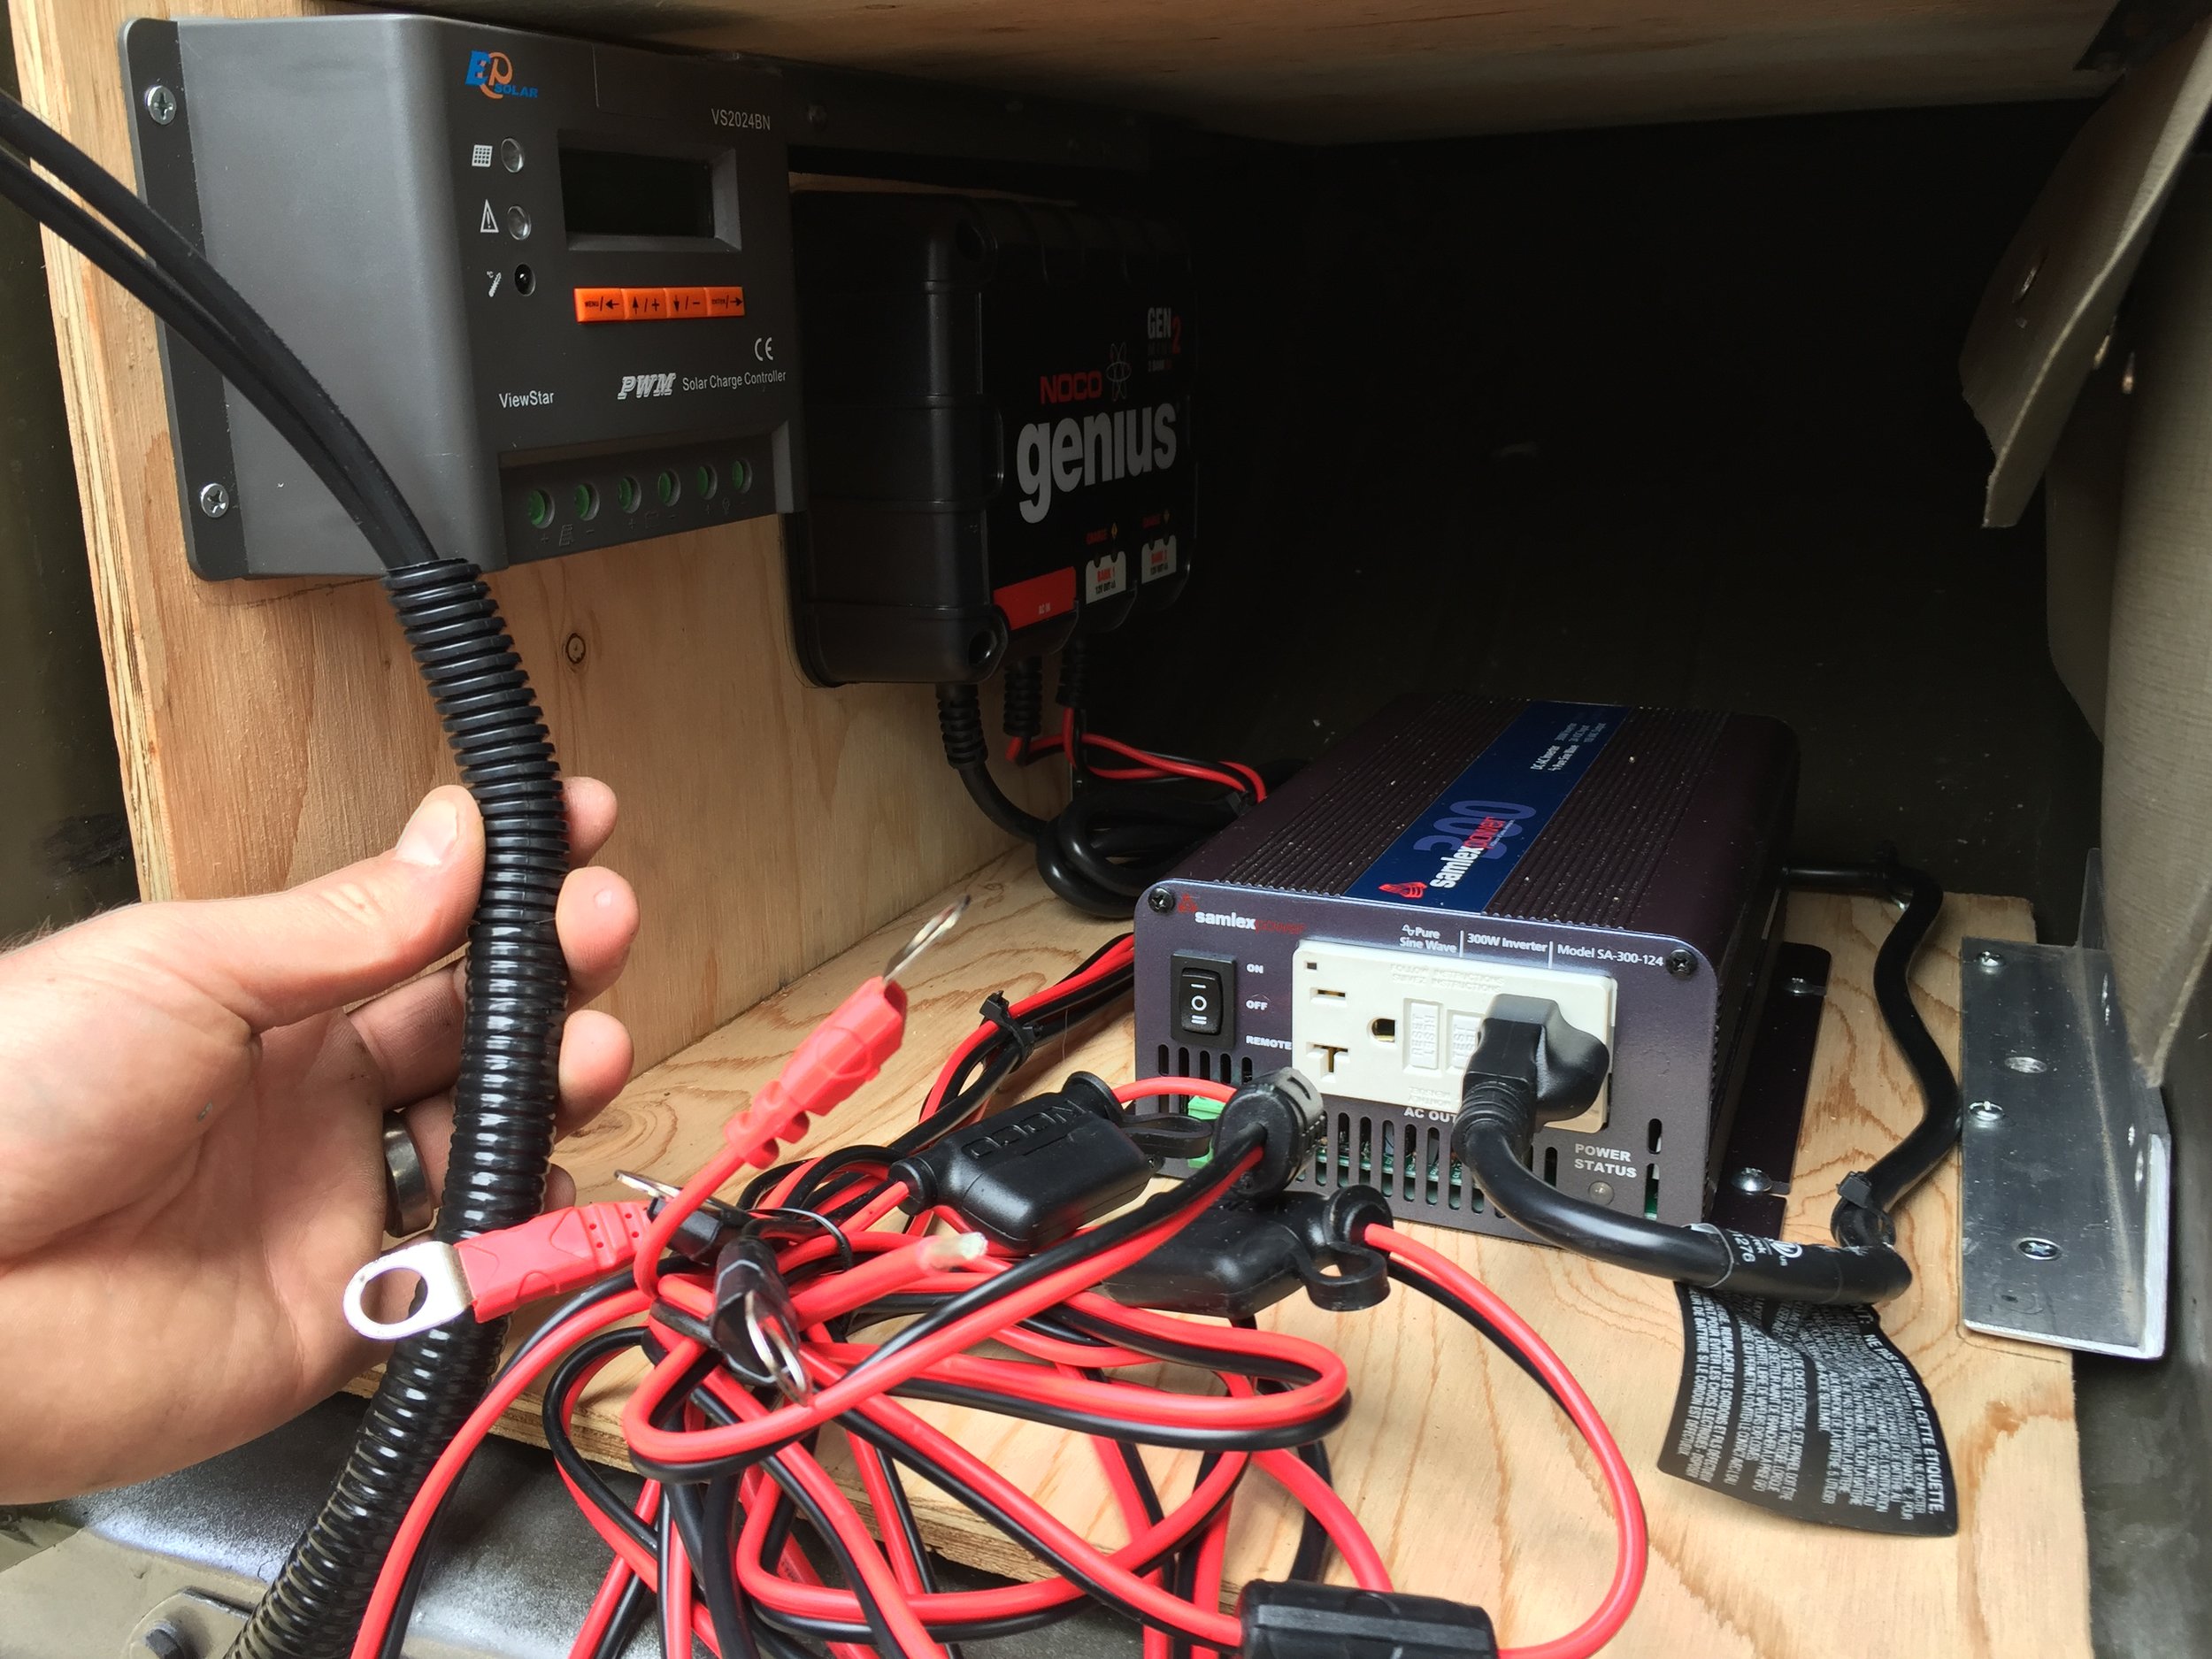
In its cubby space where it will eventually be all tied together.
We're not done yet. We still haven't bought deep cycle batteries, wired anything up, or bought any of the load-side wiring (fuse block, outlets). Once we get the system up and running we'll post a full review.
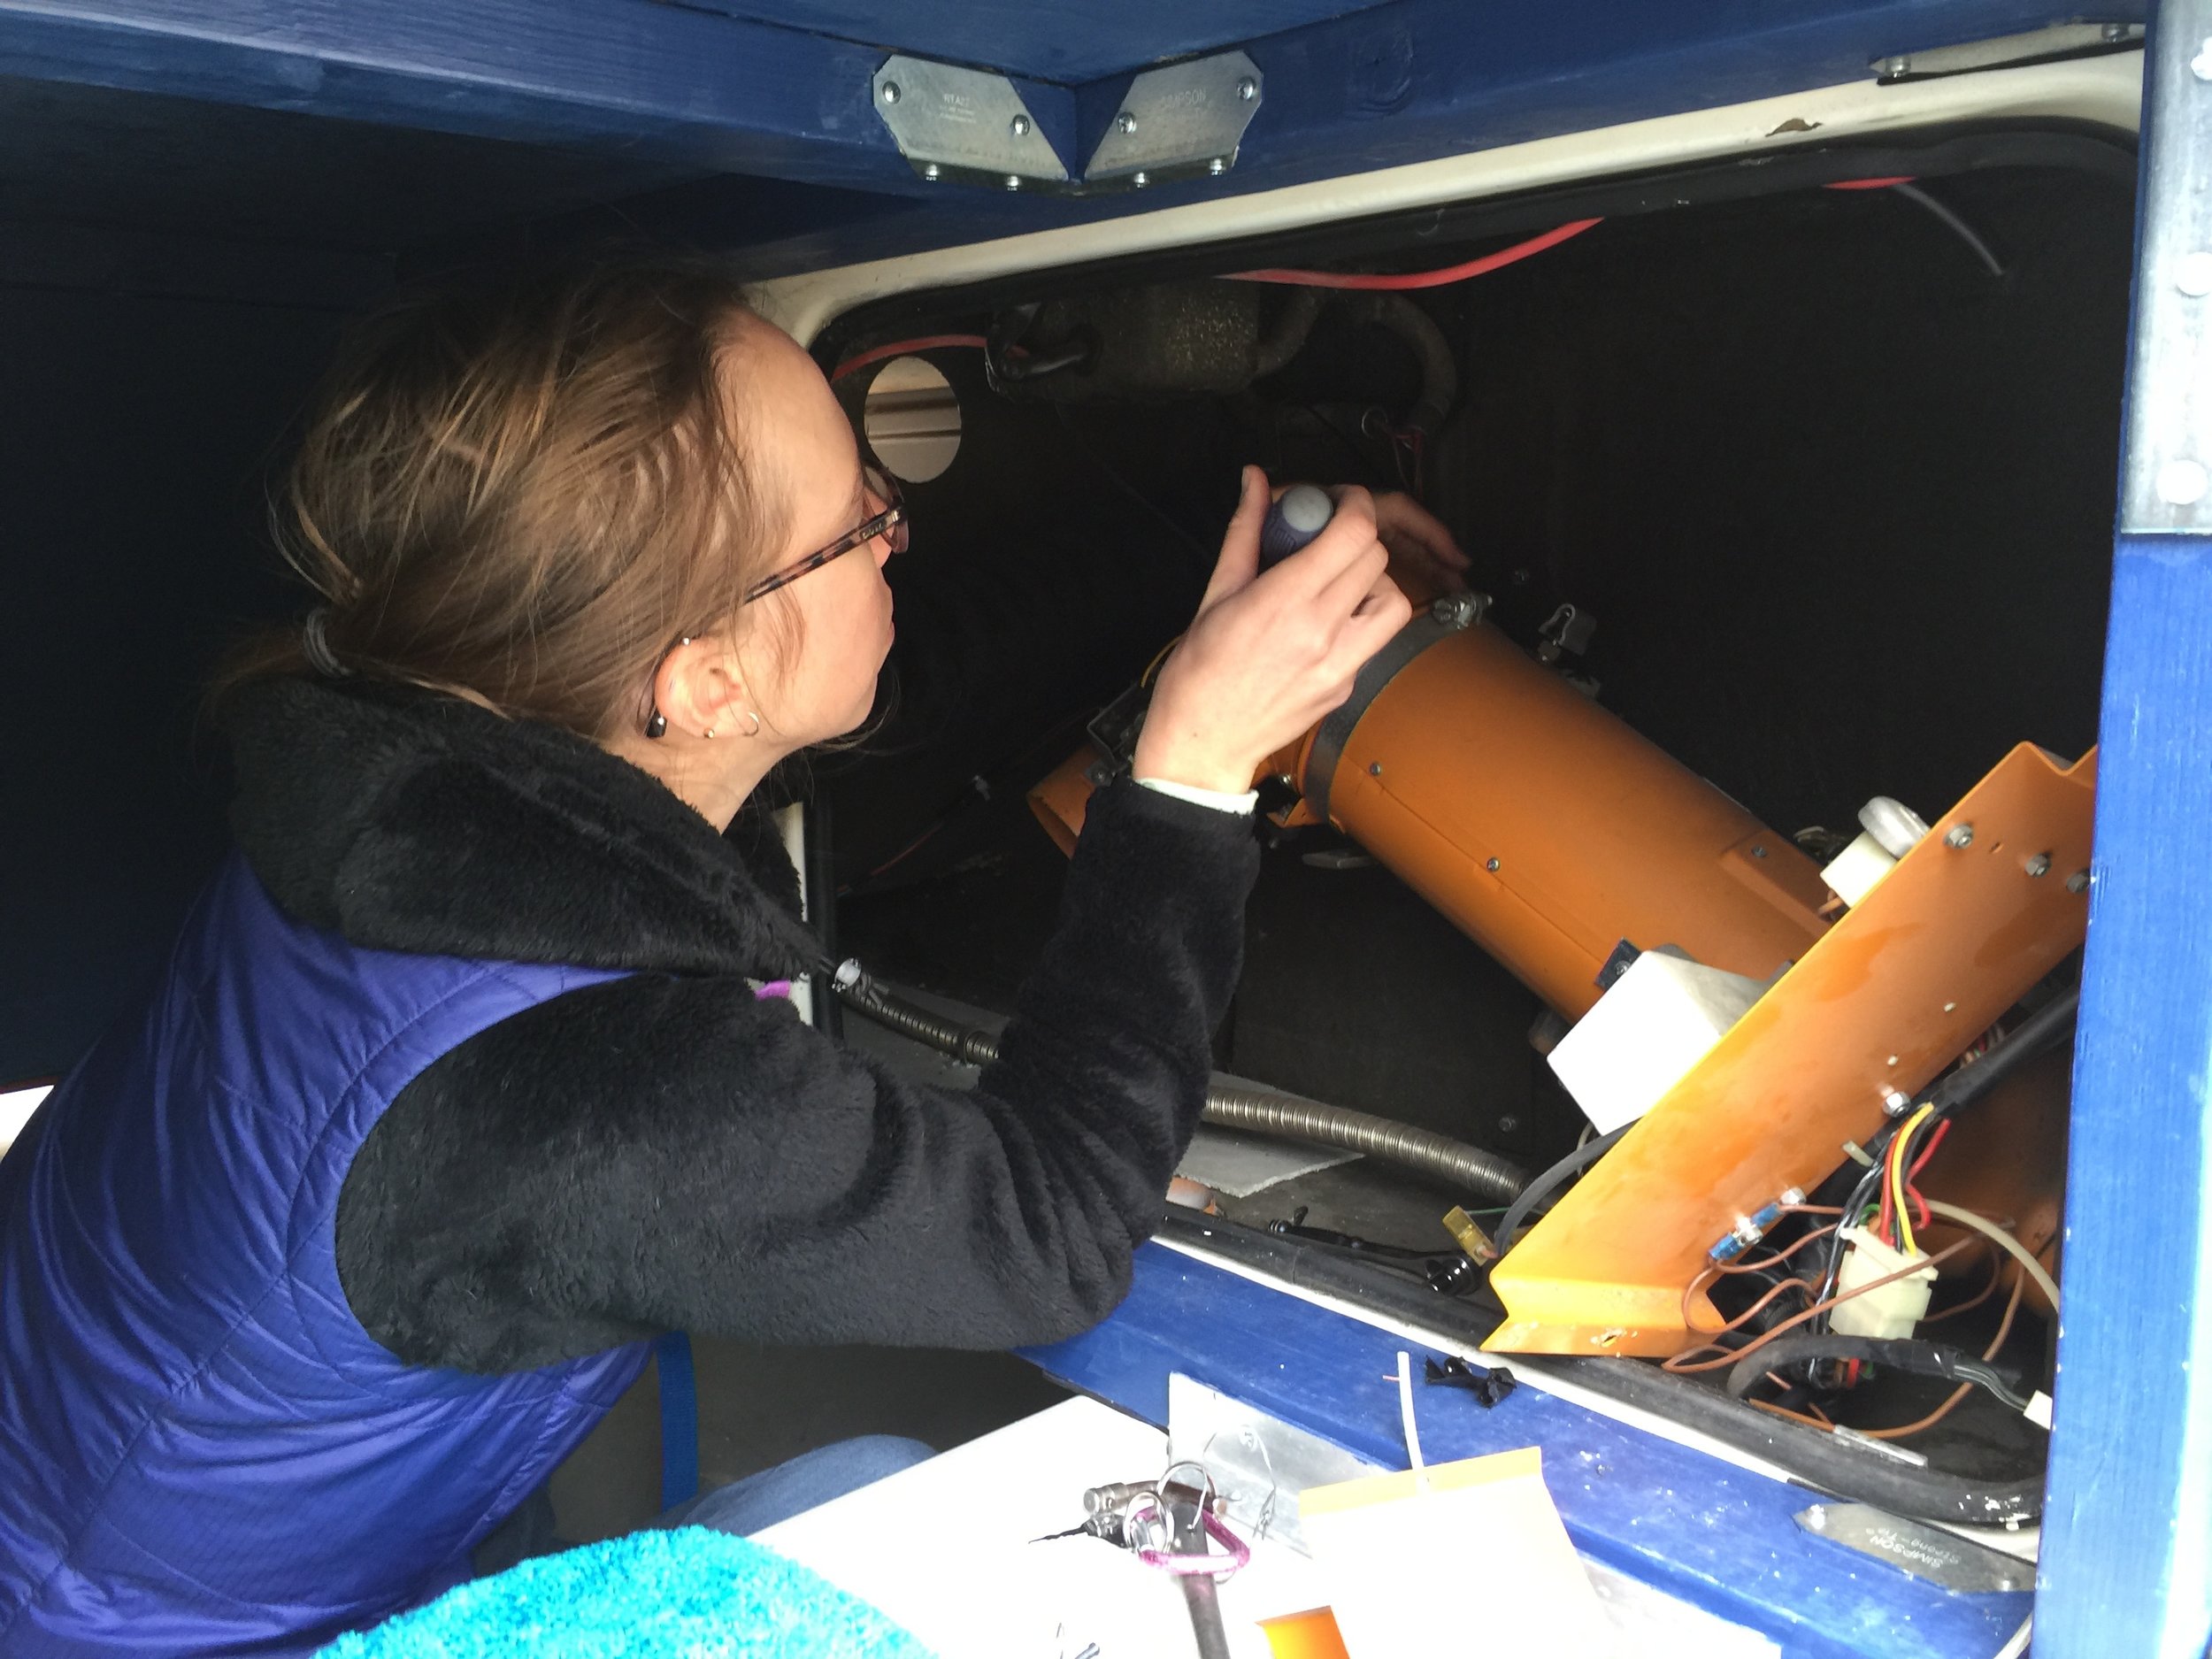
Out you heater, out! We had to tag team this one. (I'm glad Chels is smaller than me.)
We also completed another project that needed doing. The original heater for the box was still mounted in place, taking up valuable storage space in a locked and out-of-the-way compartment. While it probably worked great for the original purposes of the Pinzgauer, we didn't need it. We opened a side hatch on the box, capped the hidden fuel lines, and removed the filter, pump, wiring harness, heater, and exhaust ducting. It took us a while and the heater fought back a little, but we won, and with a minimal amount of damage to the heater. So, if anyone wants a 24V Eberspaecher petroleum fueled heater, let us know!