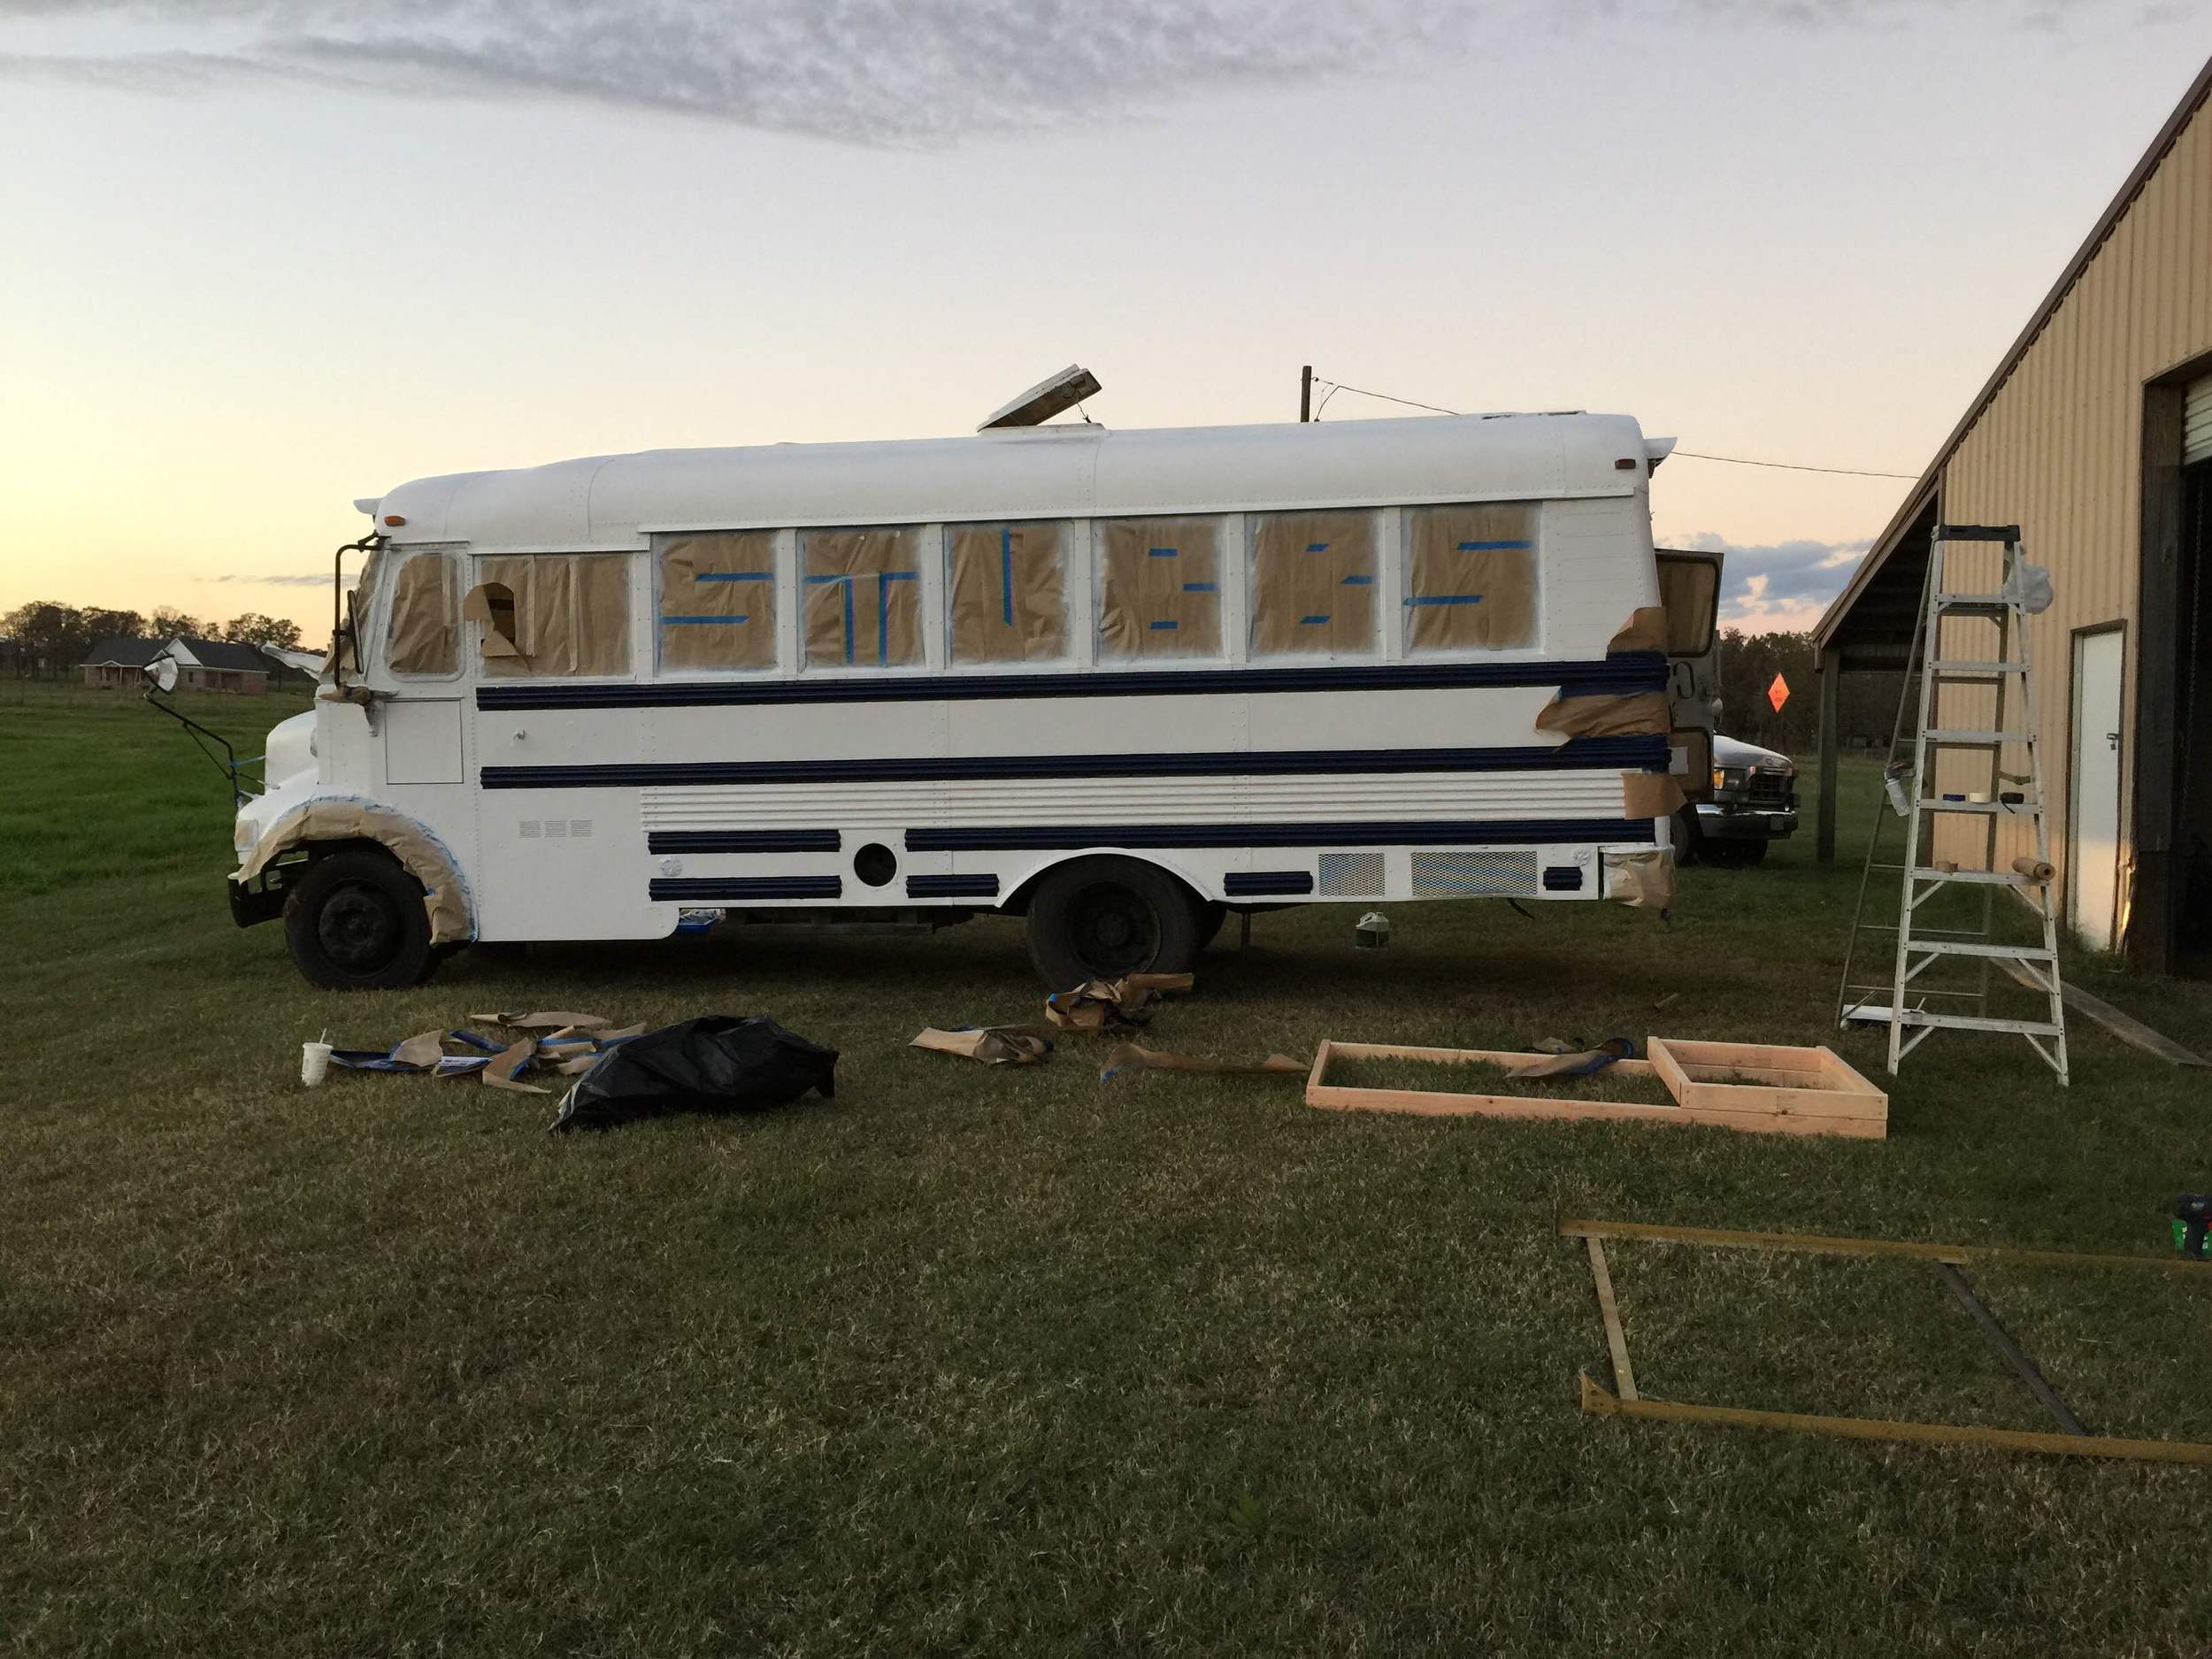
11.10.15 - Paint done, loft built - Day 14.
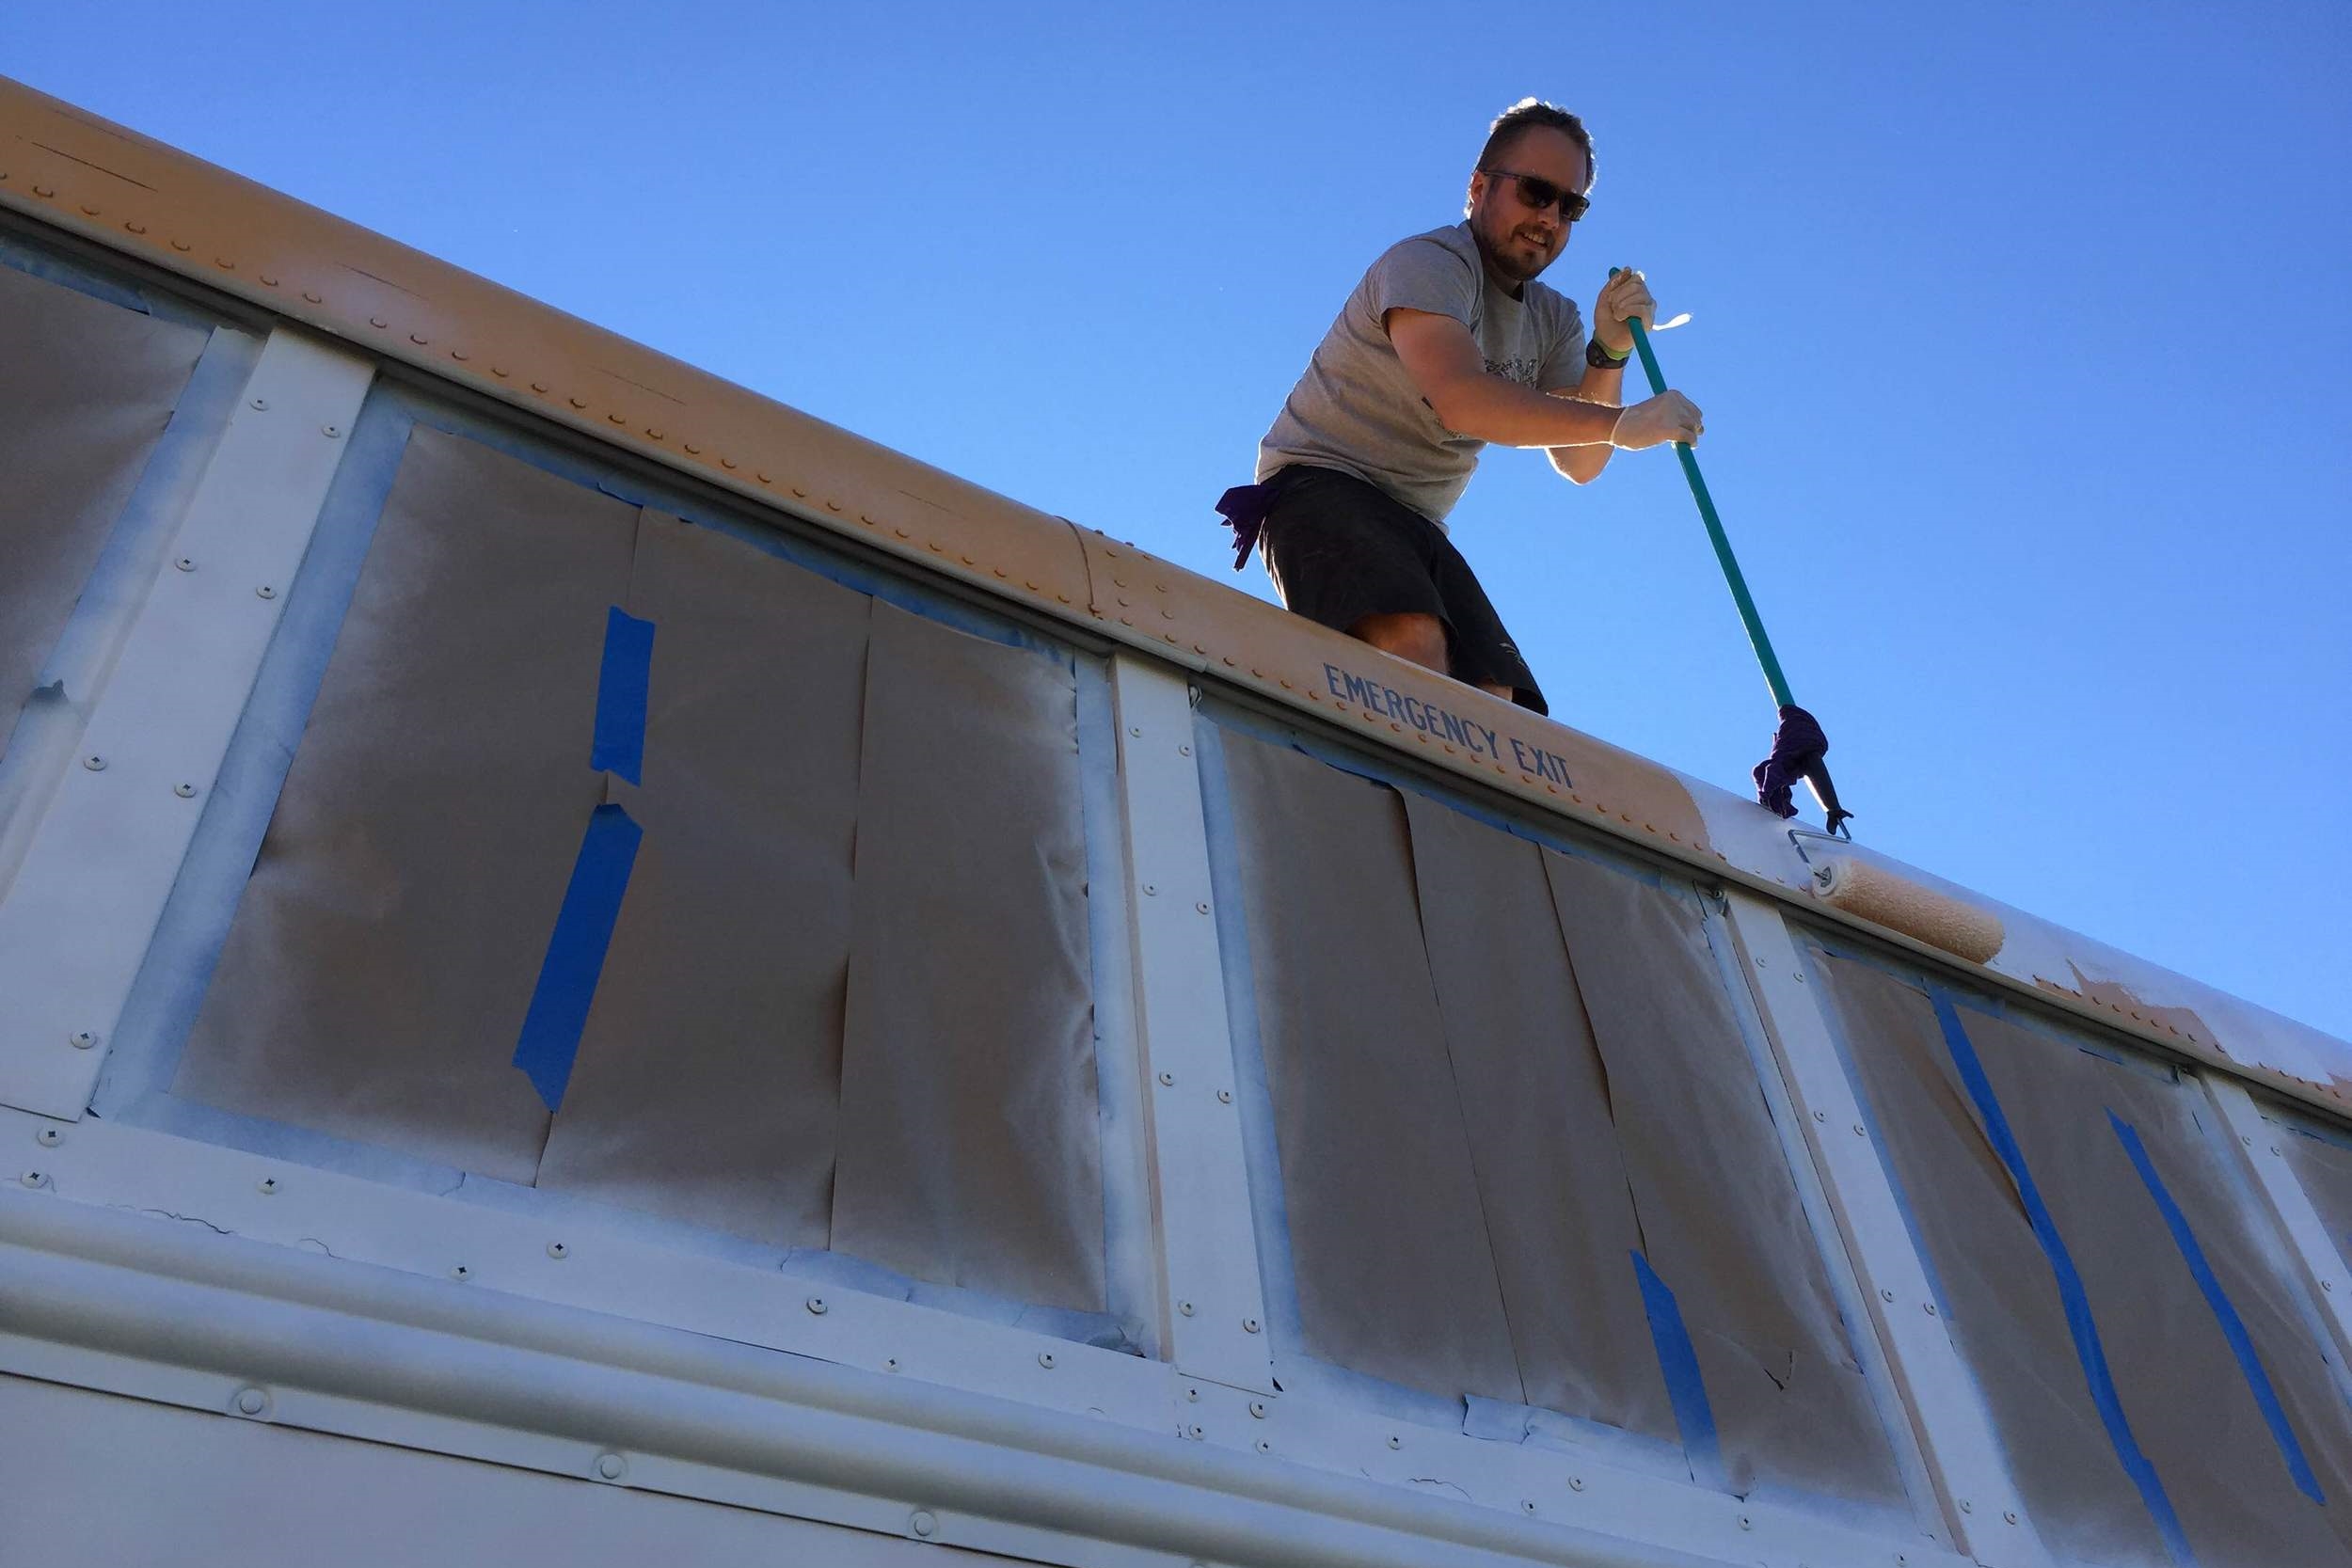
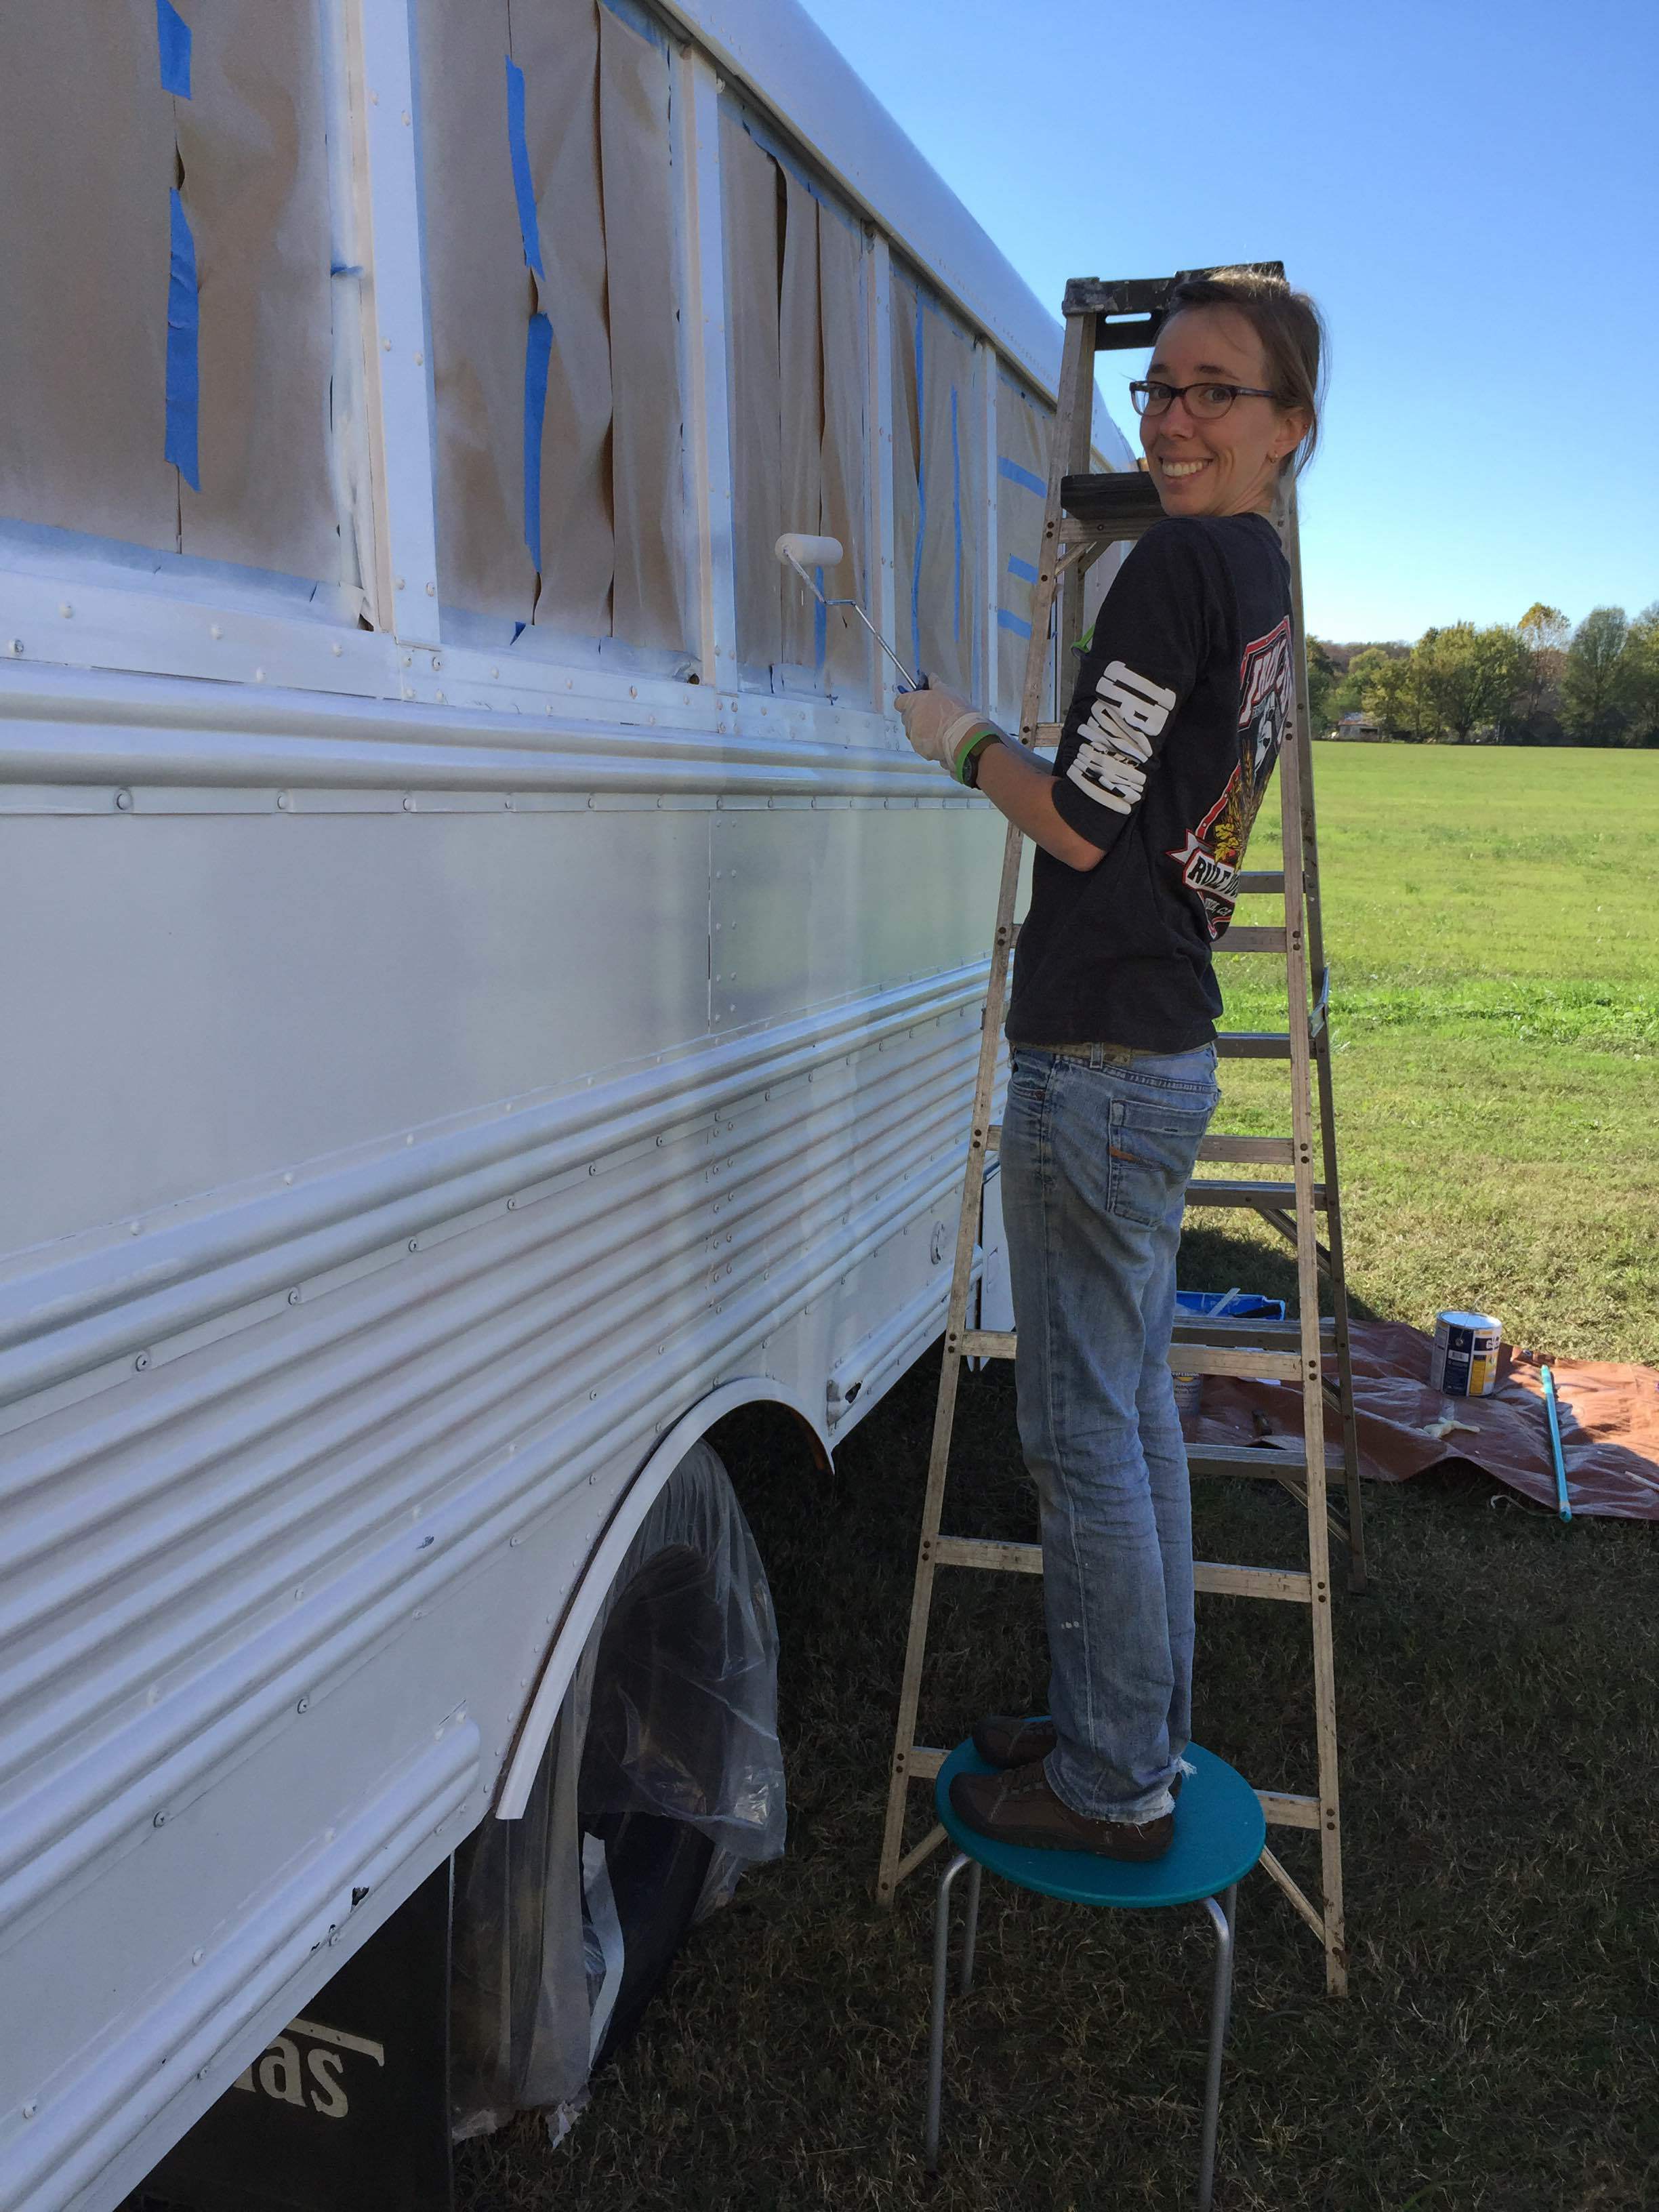
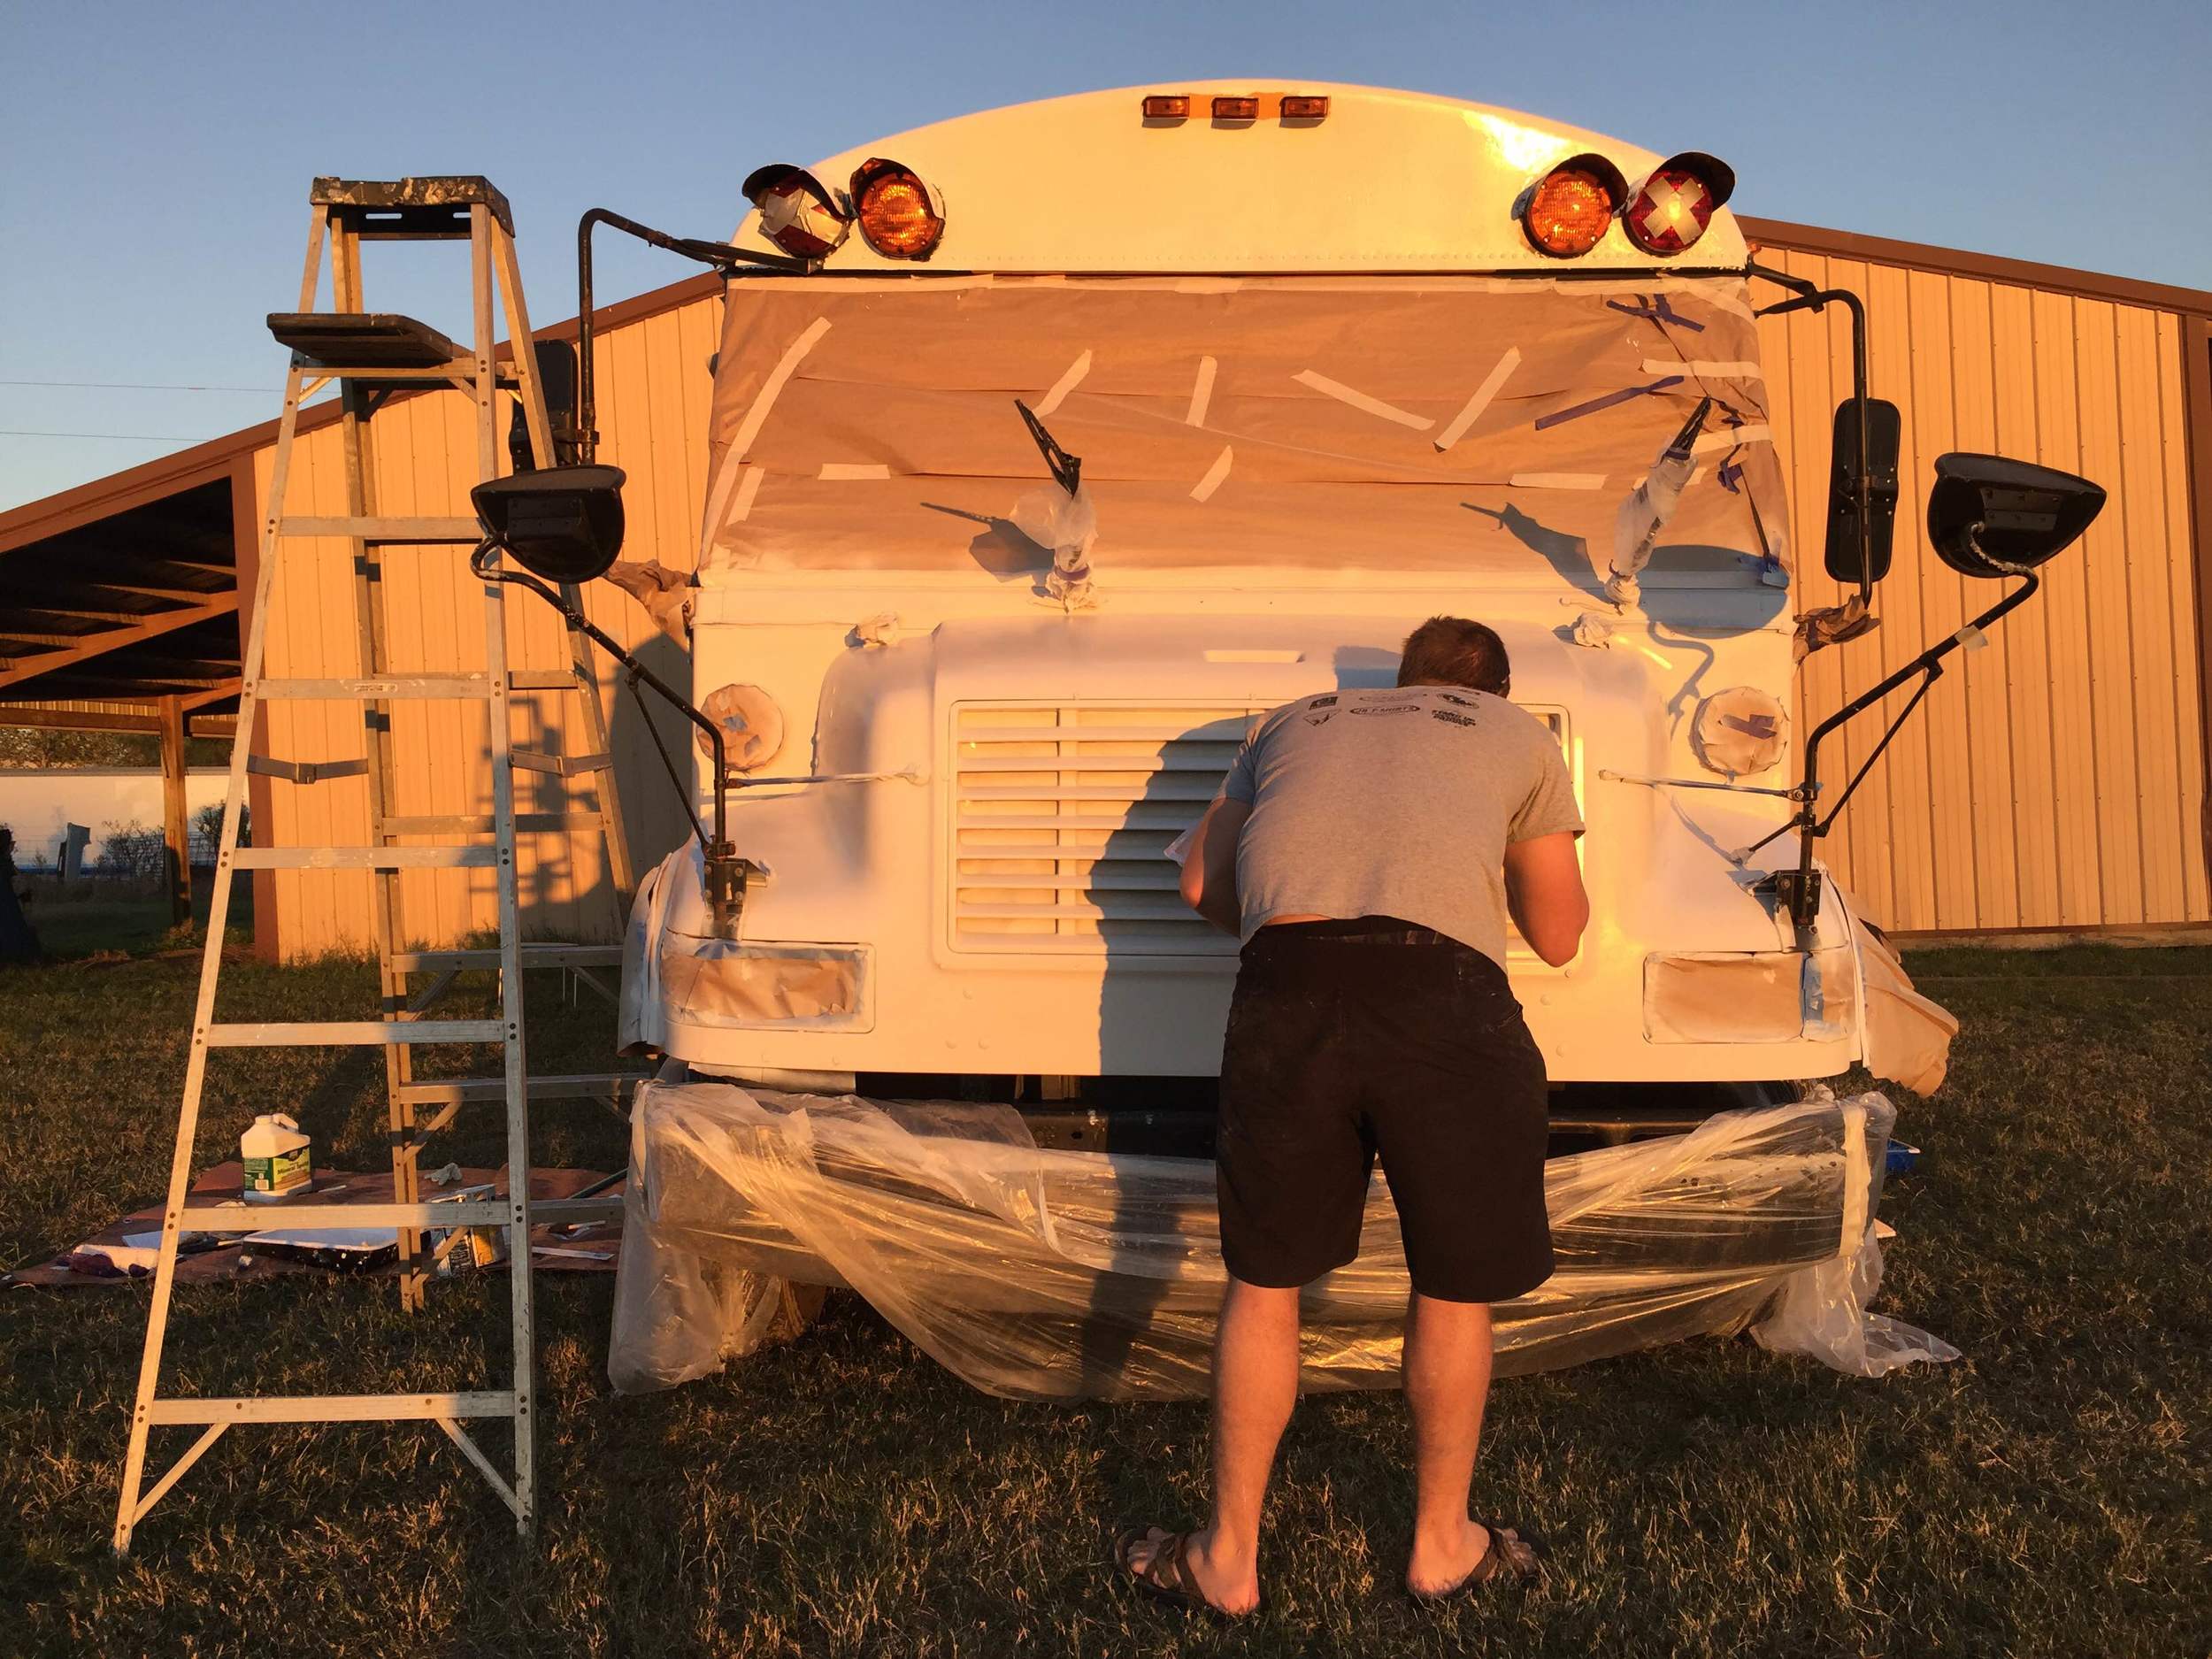
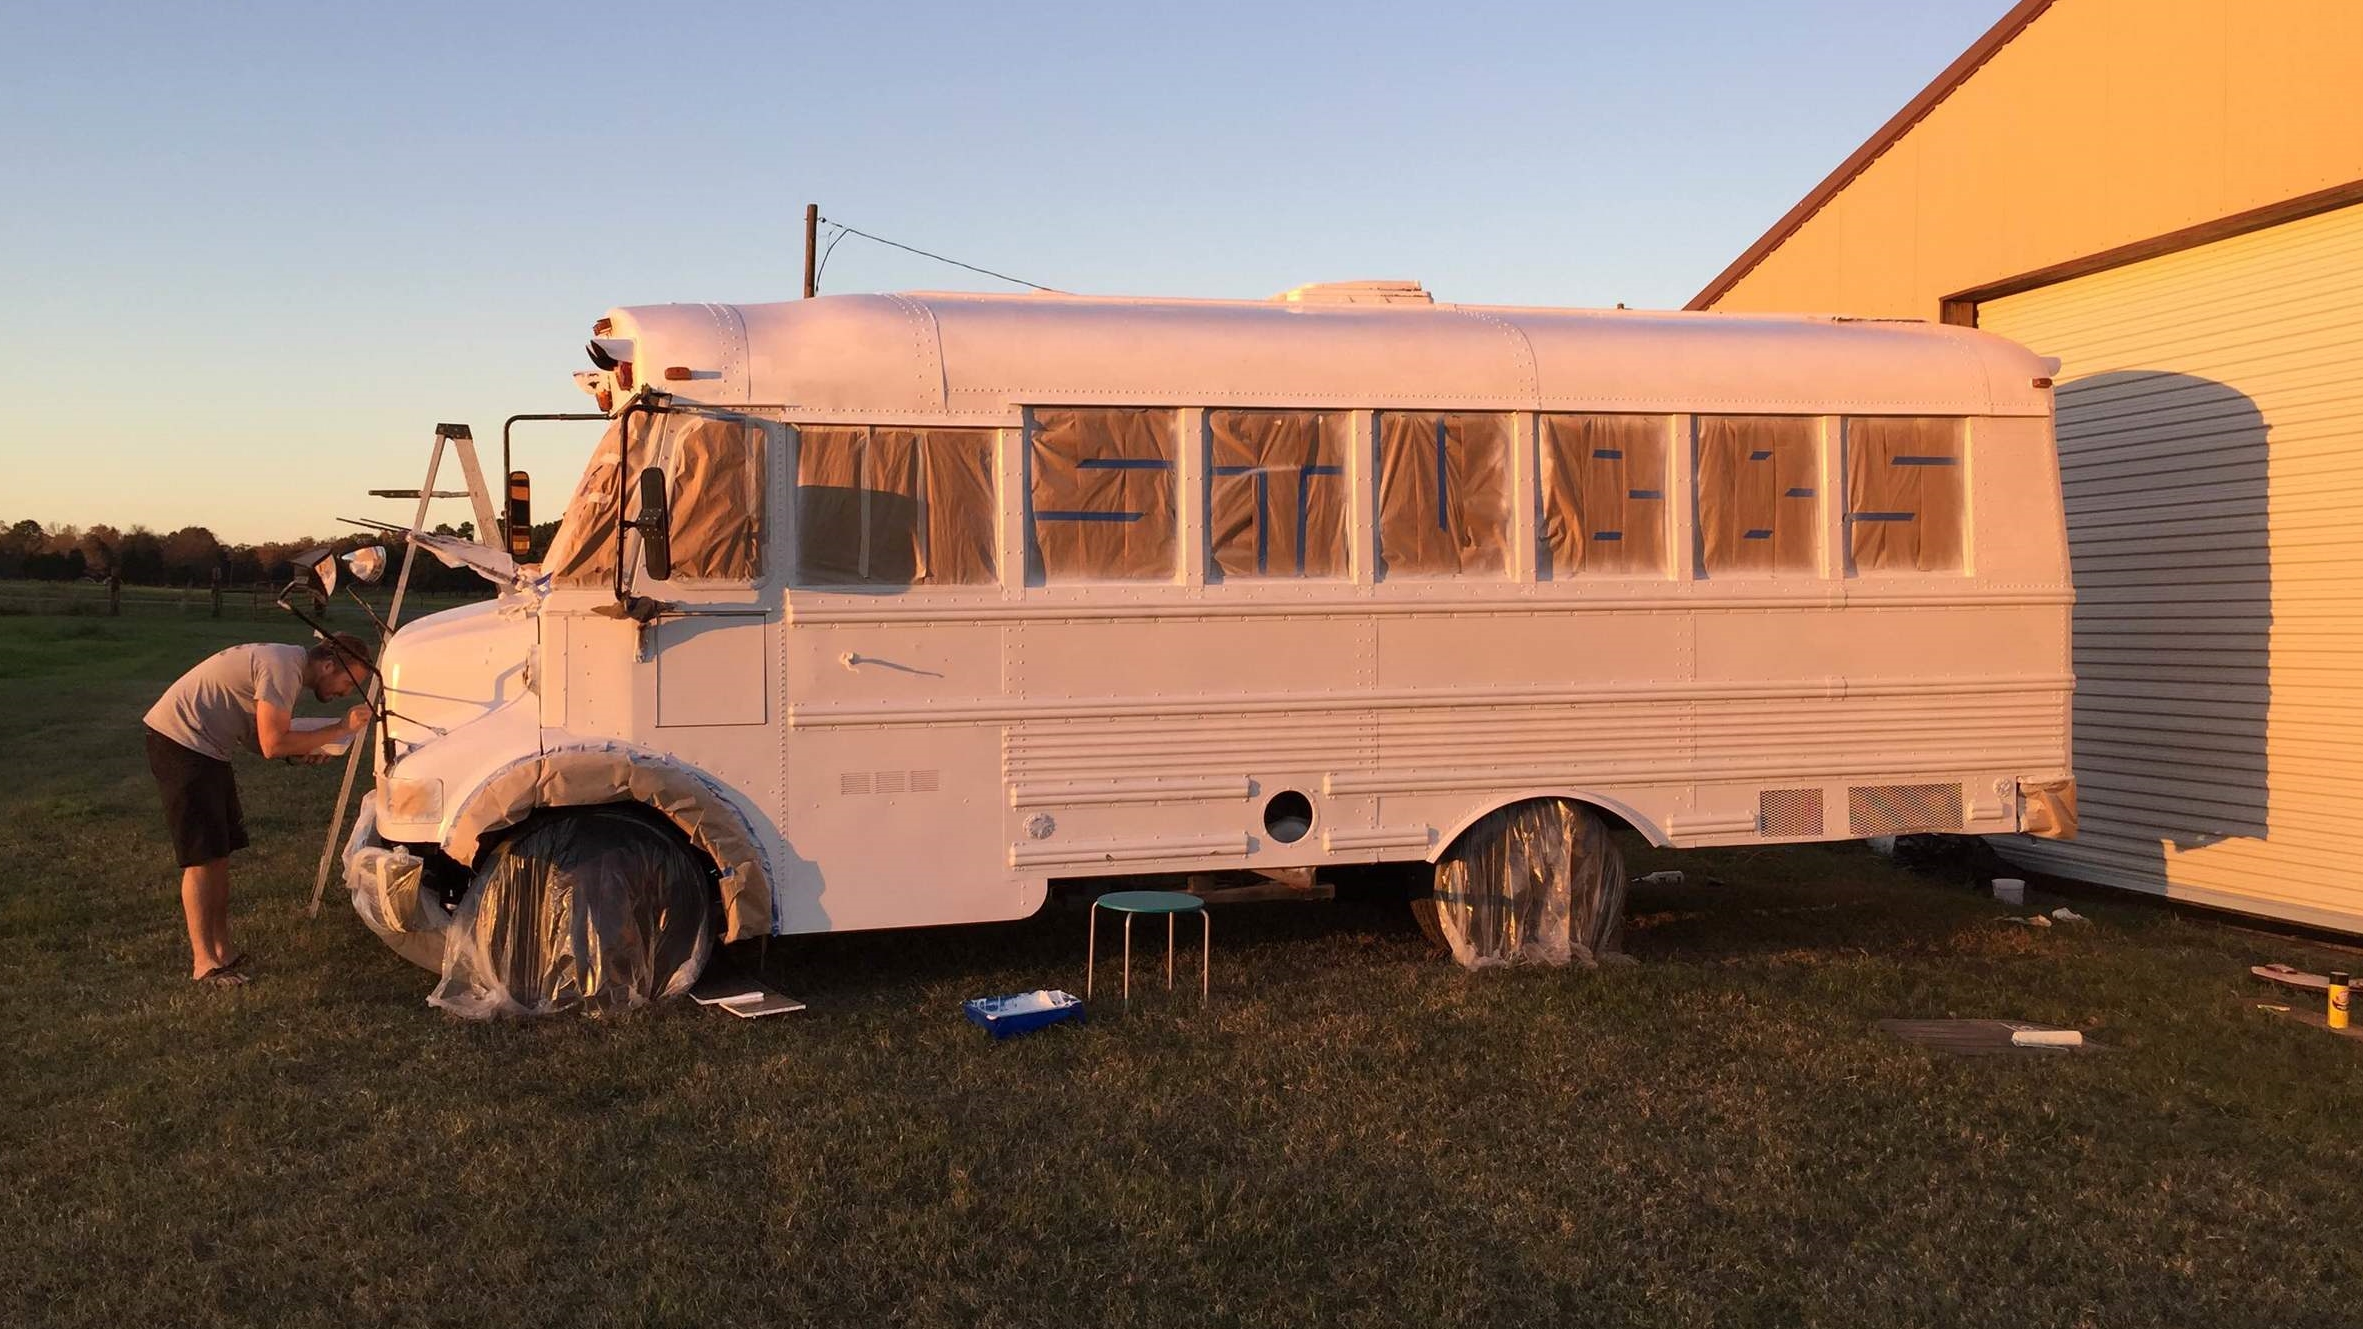
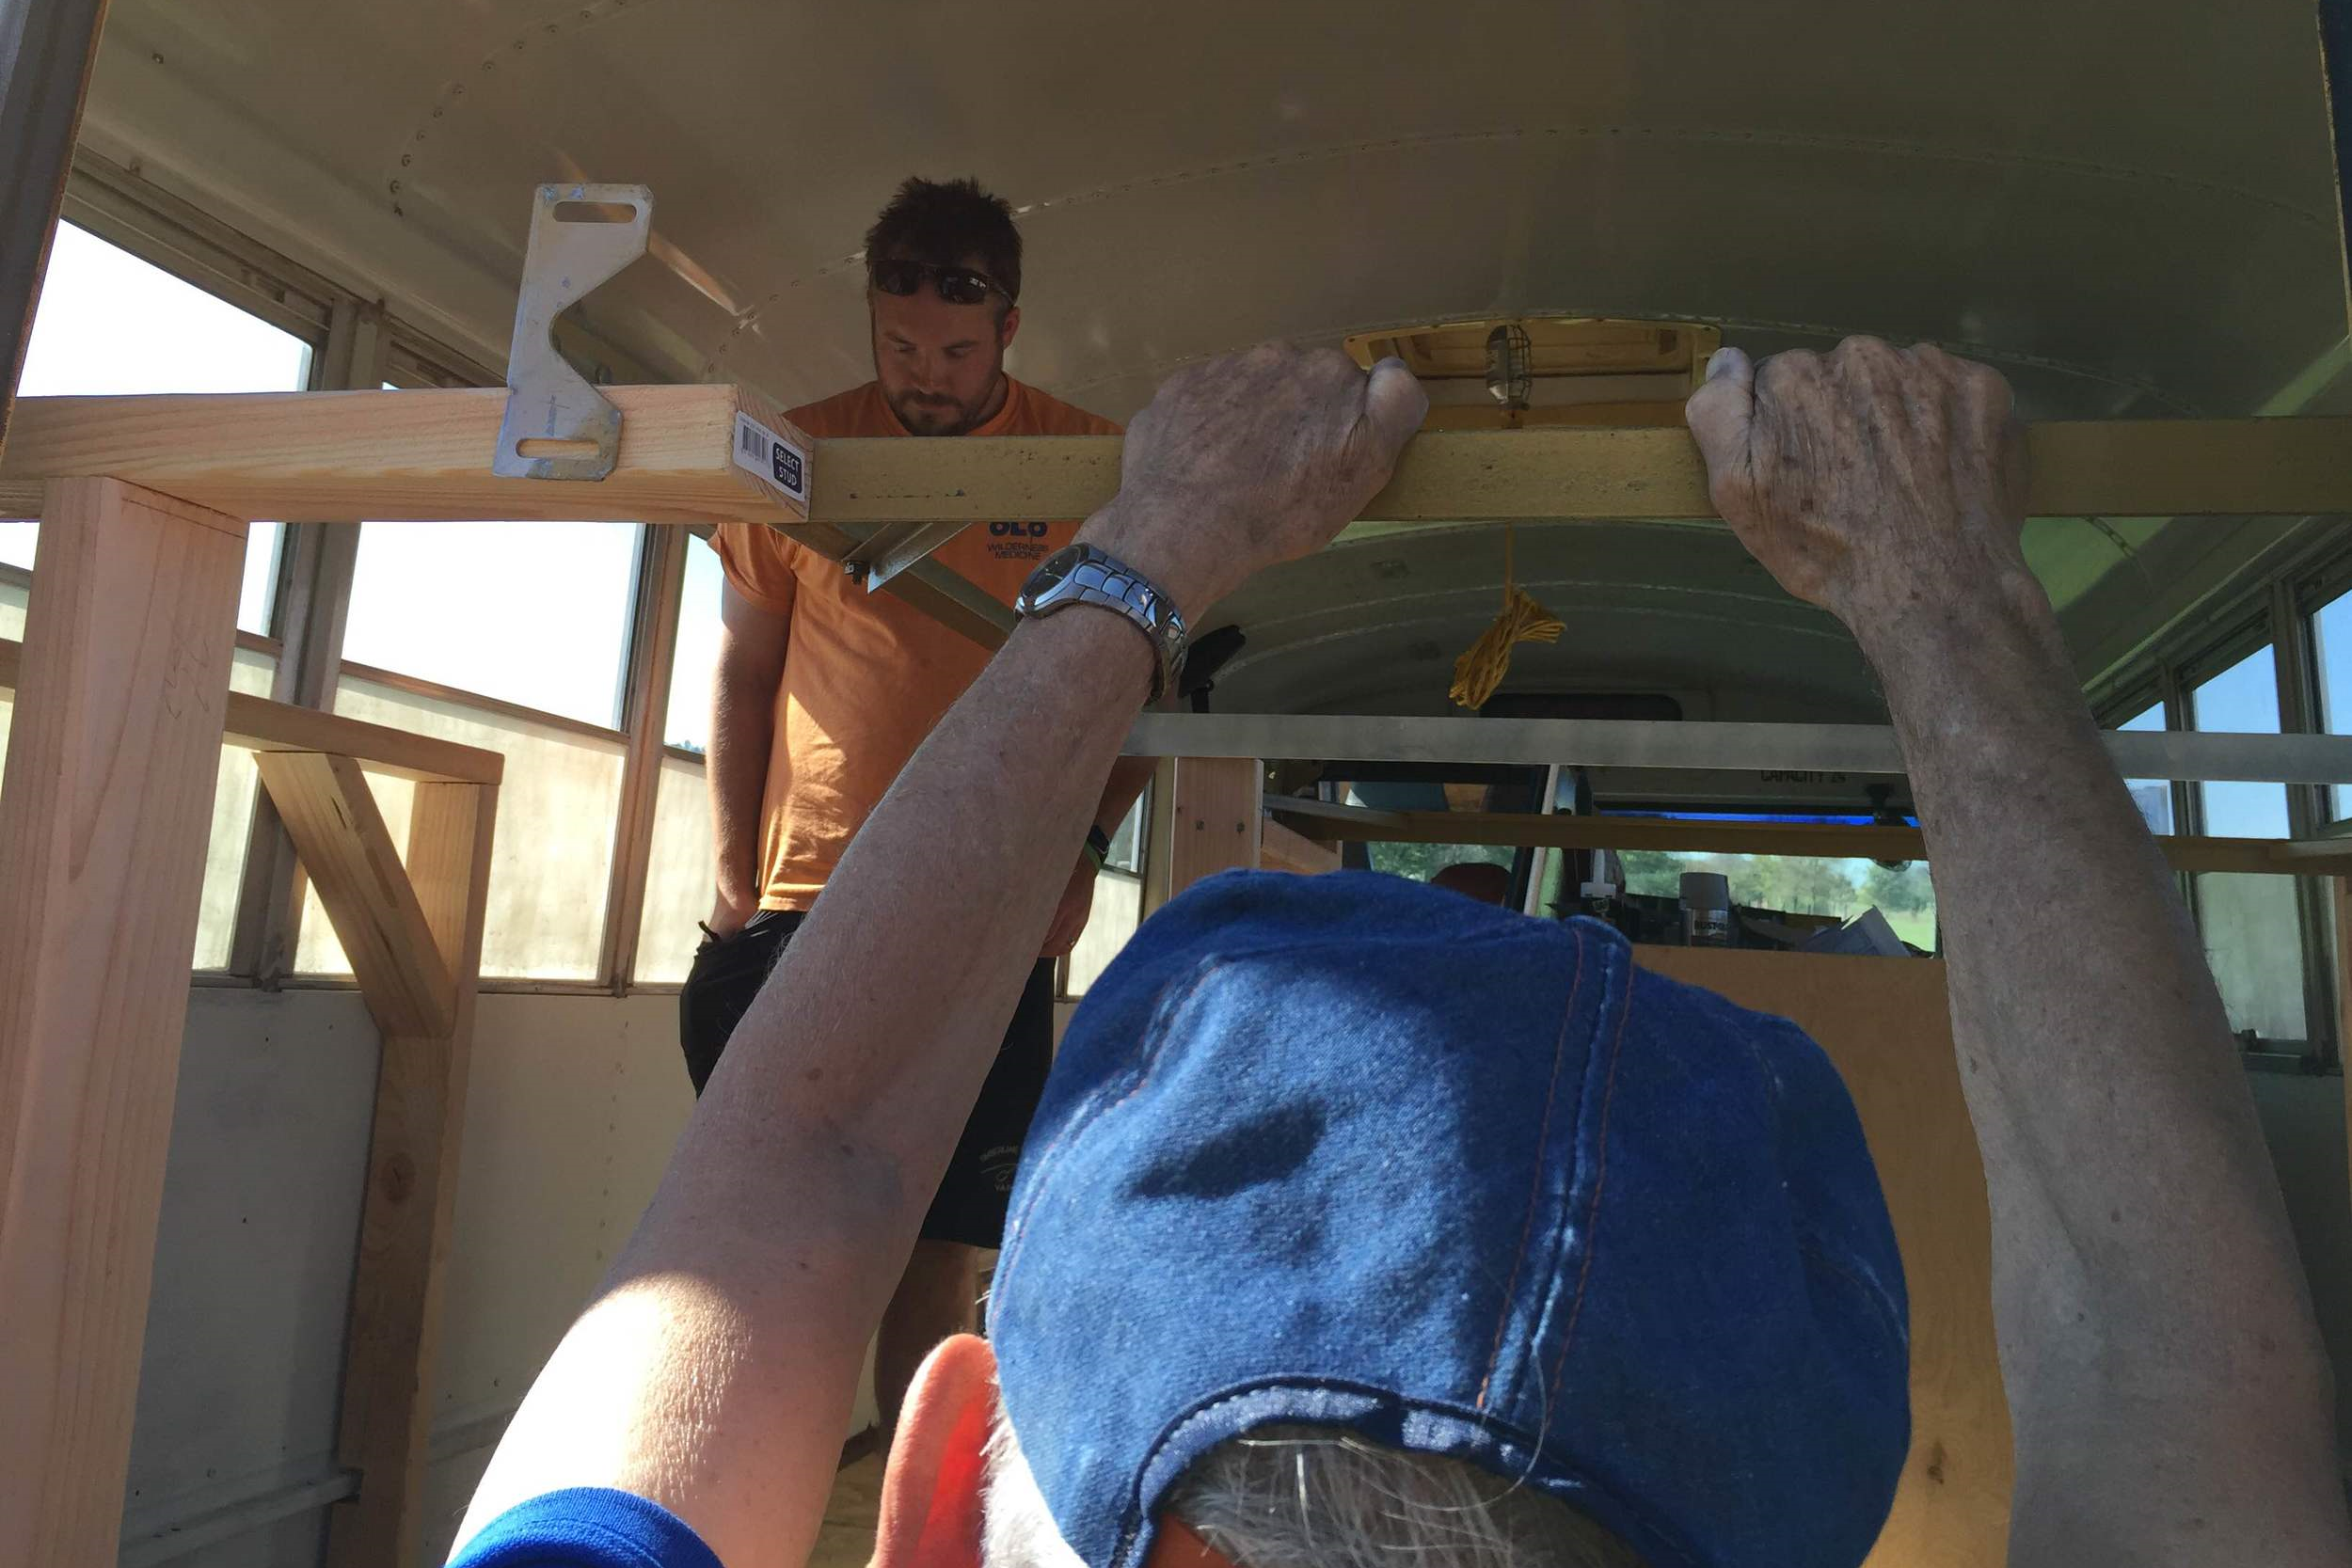
/Today was our big push to finish the exterior of the bus and start focusing solely on the interior habitable space. Knowing that, we decided to tackle two tasks at once. I would tape off and paint the remaining stripes (I still had one full side of navy stripes to paint, in addition to a teal accent panel I was dead set on doing) while Christian continued to frame out the bed loft/garage area.
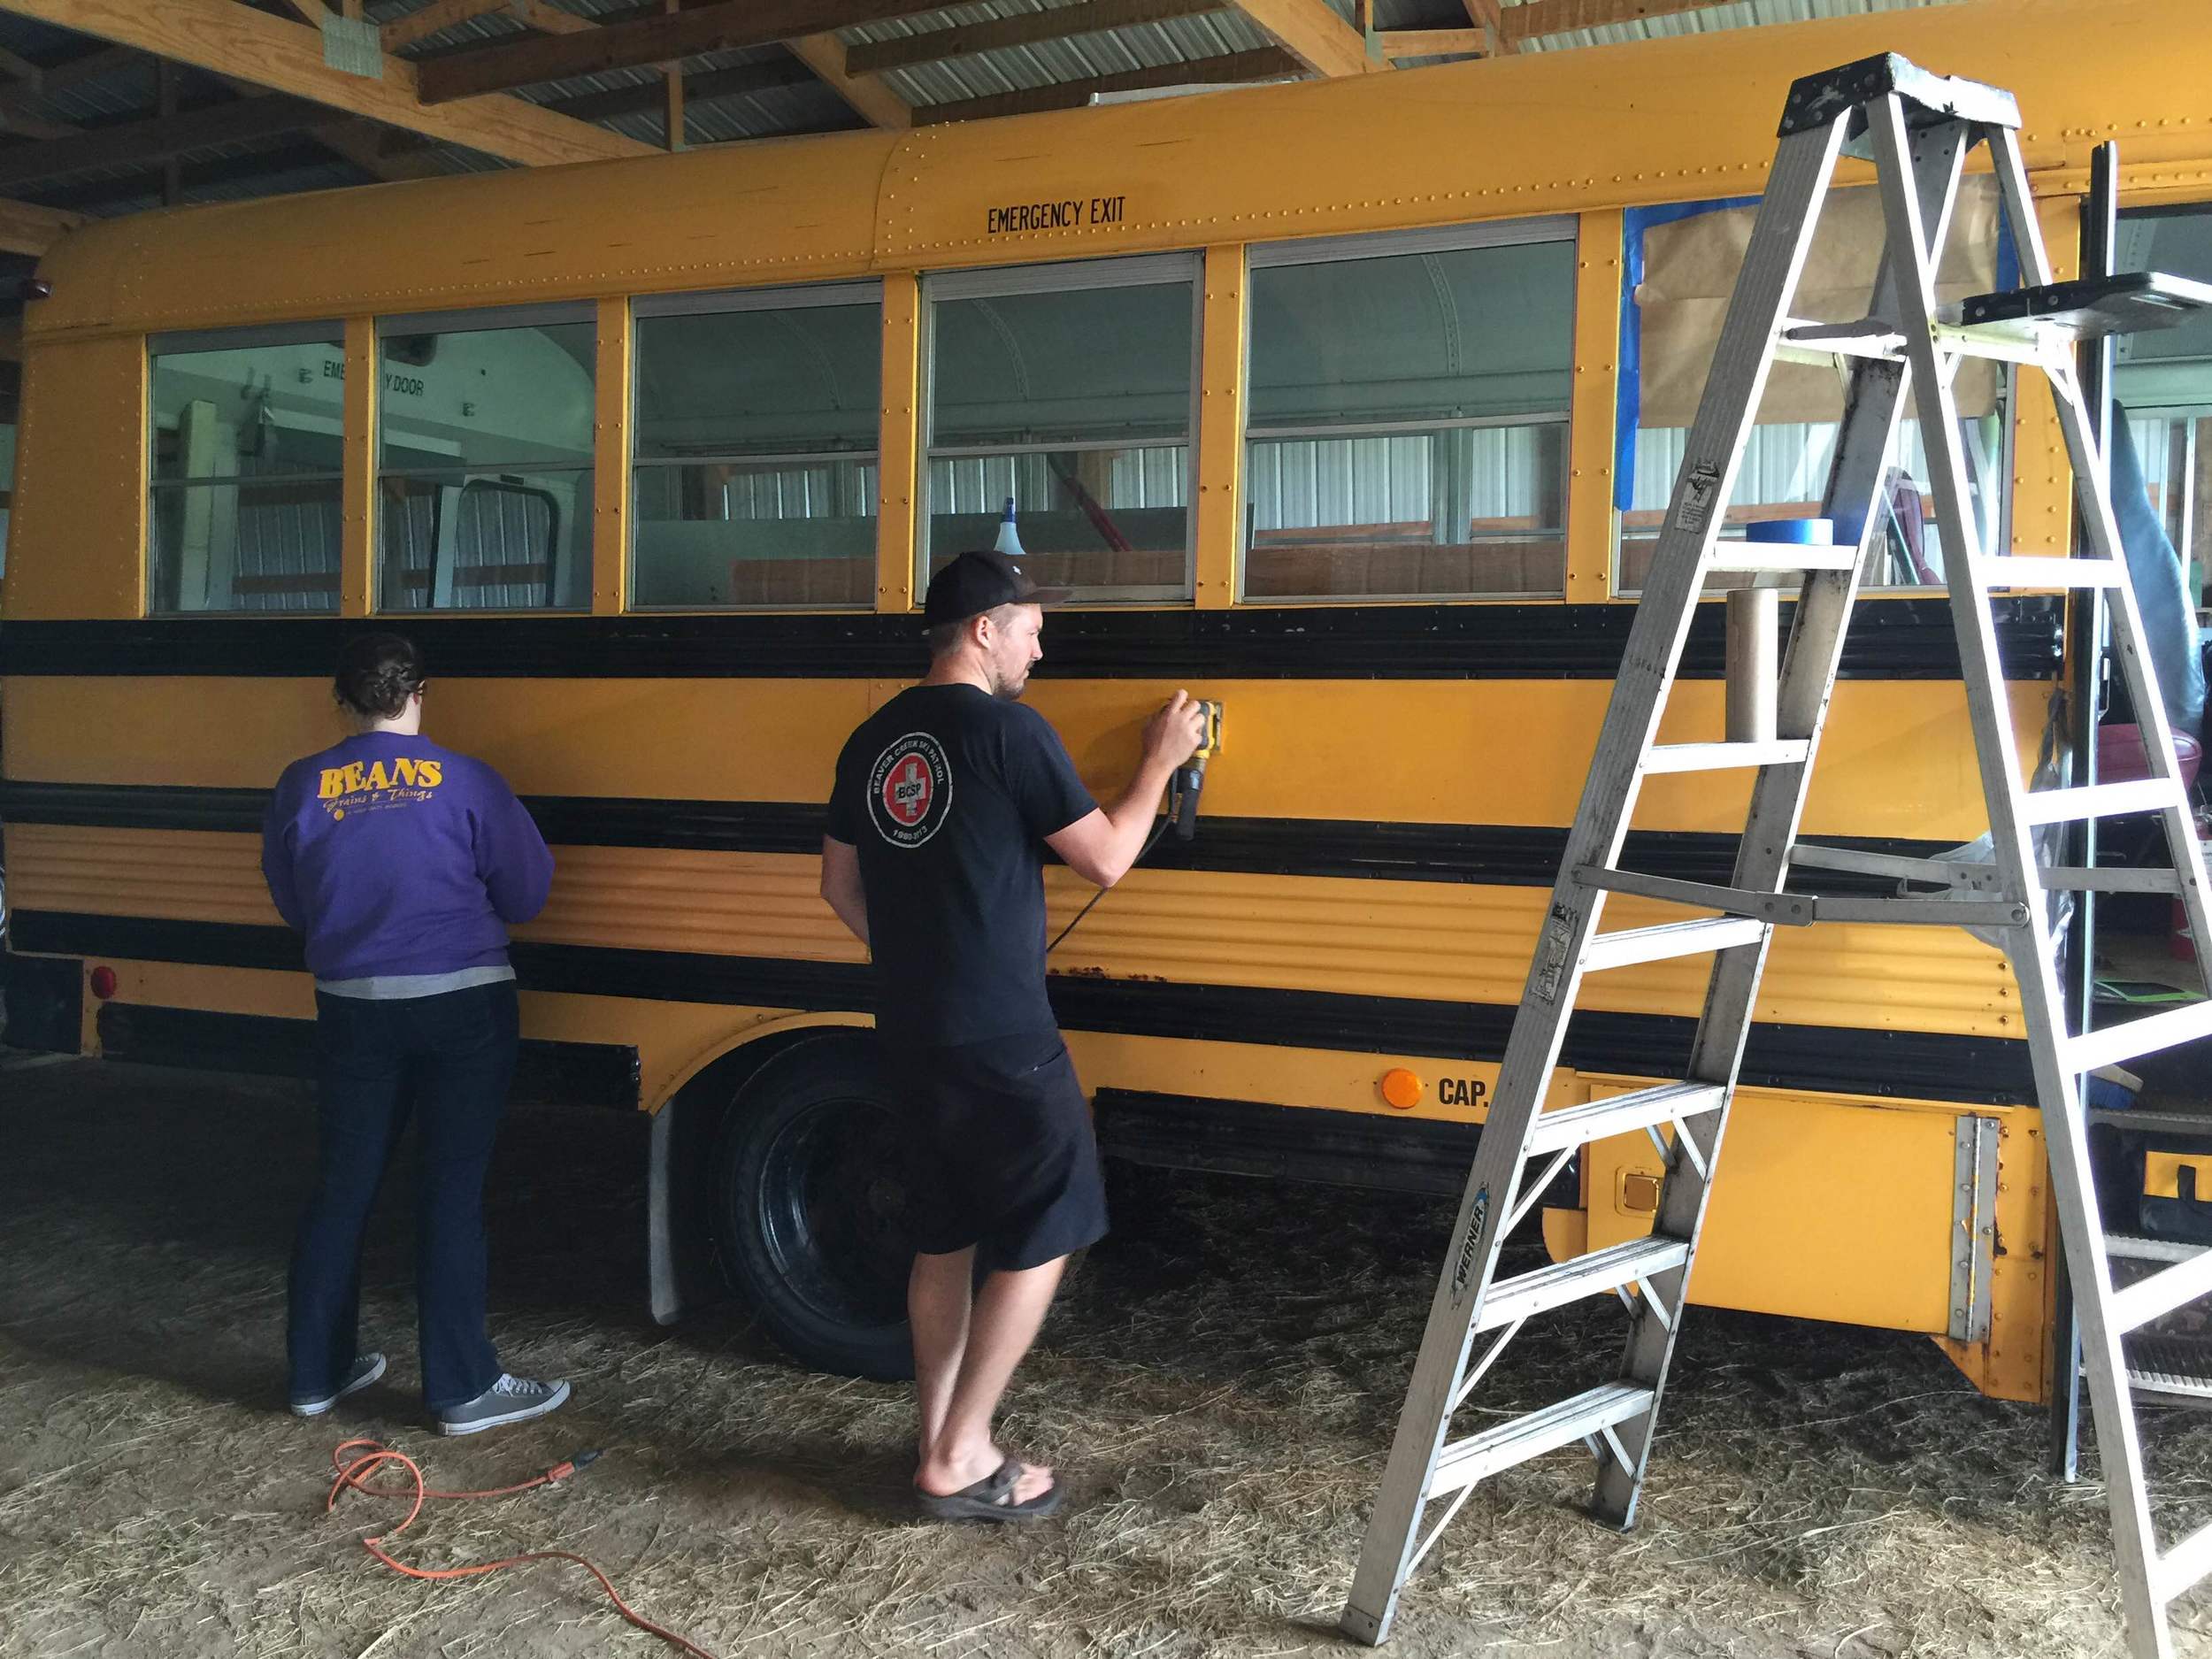
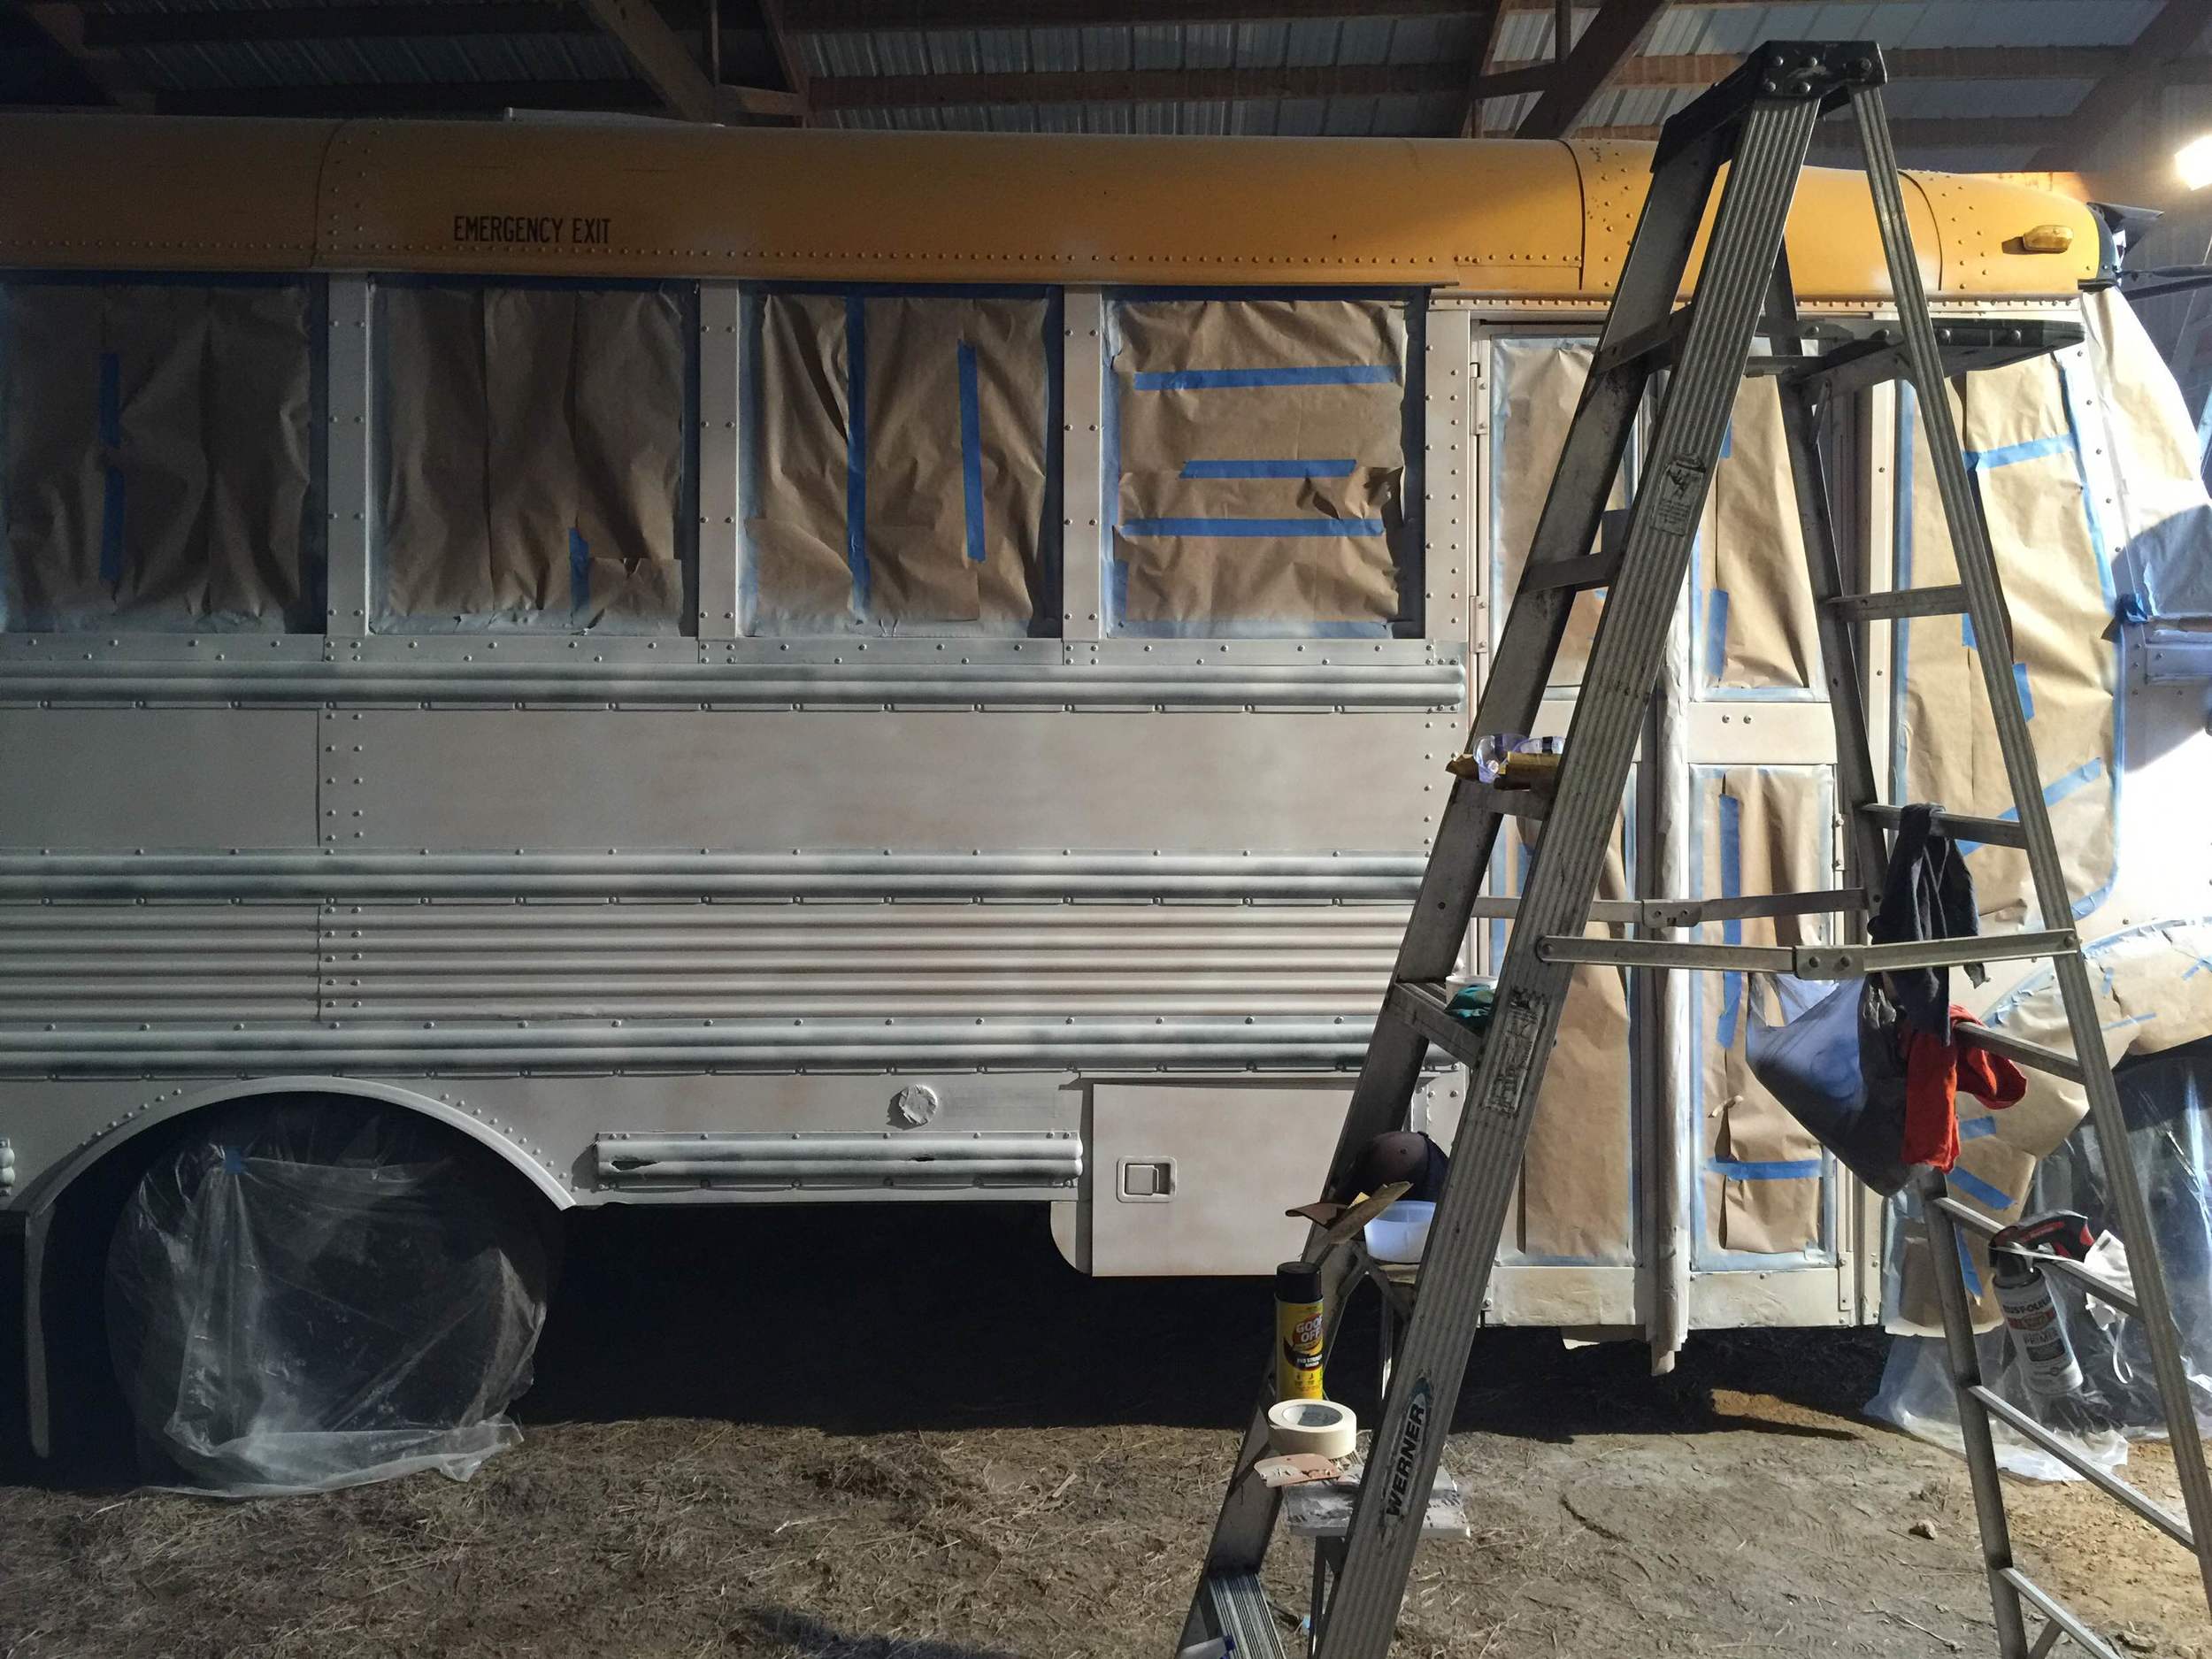
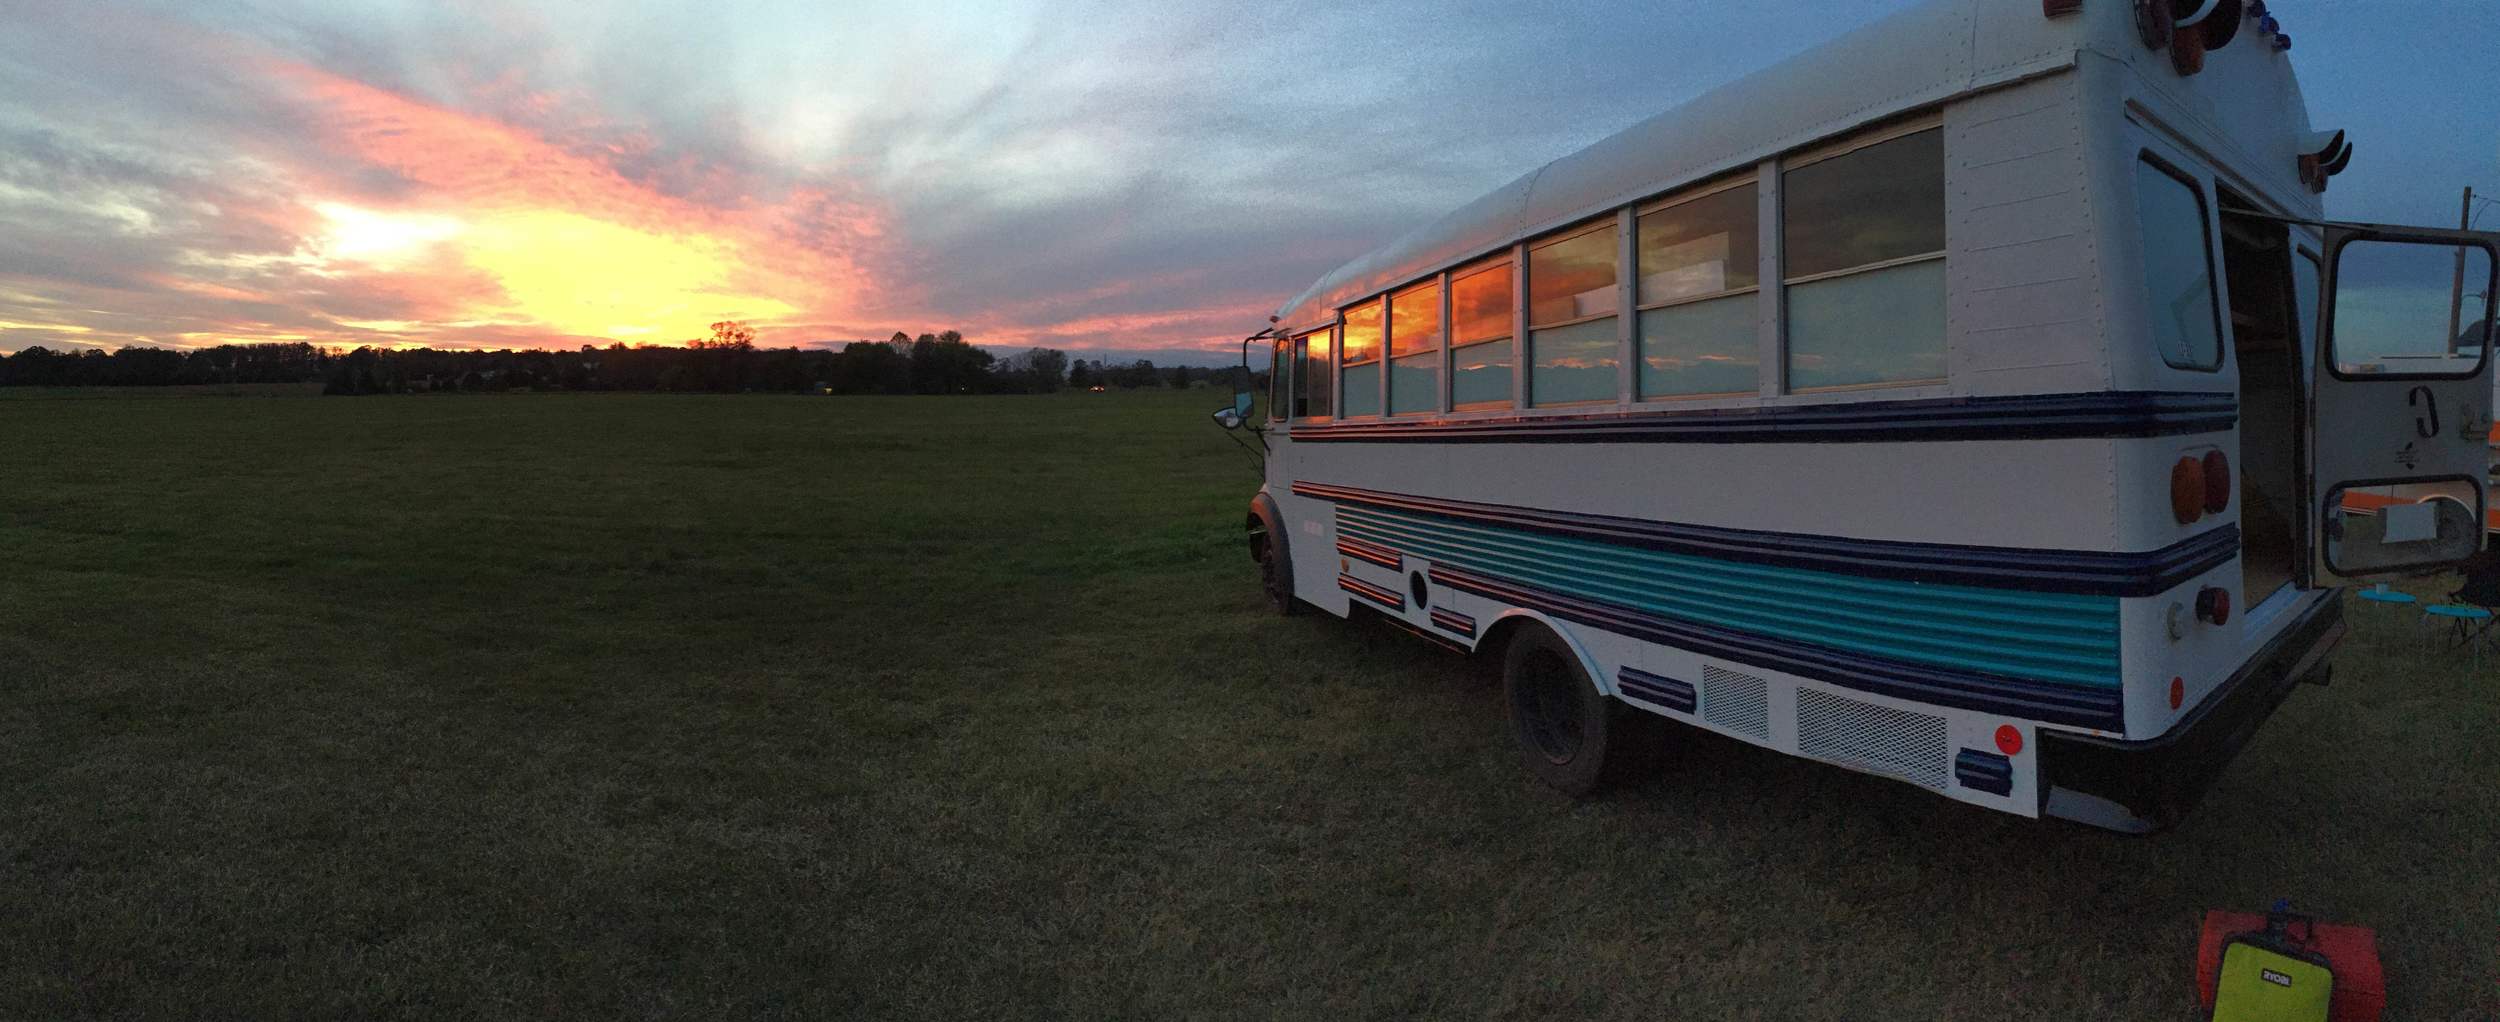
The bus, as we left it yesterday.
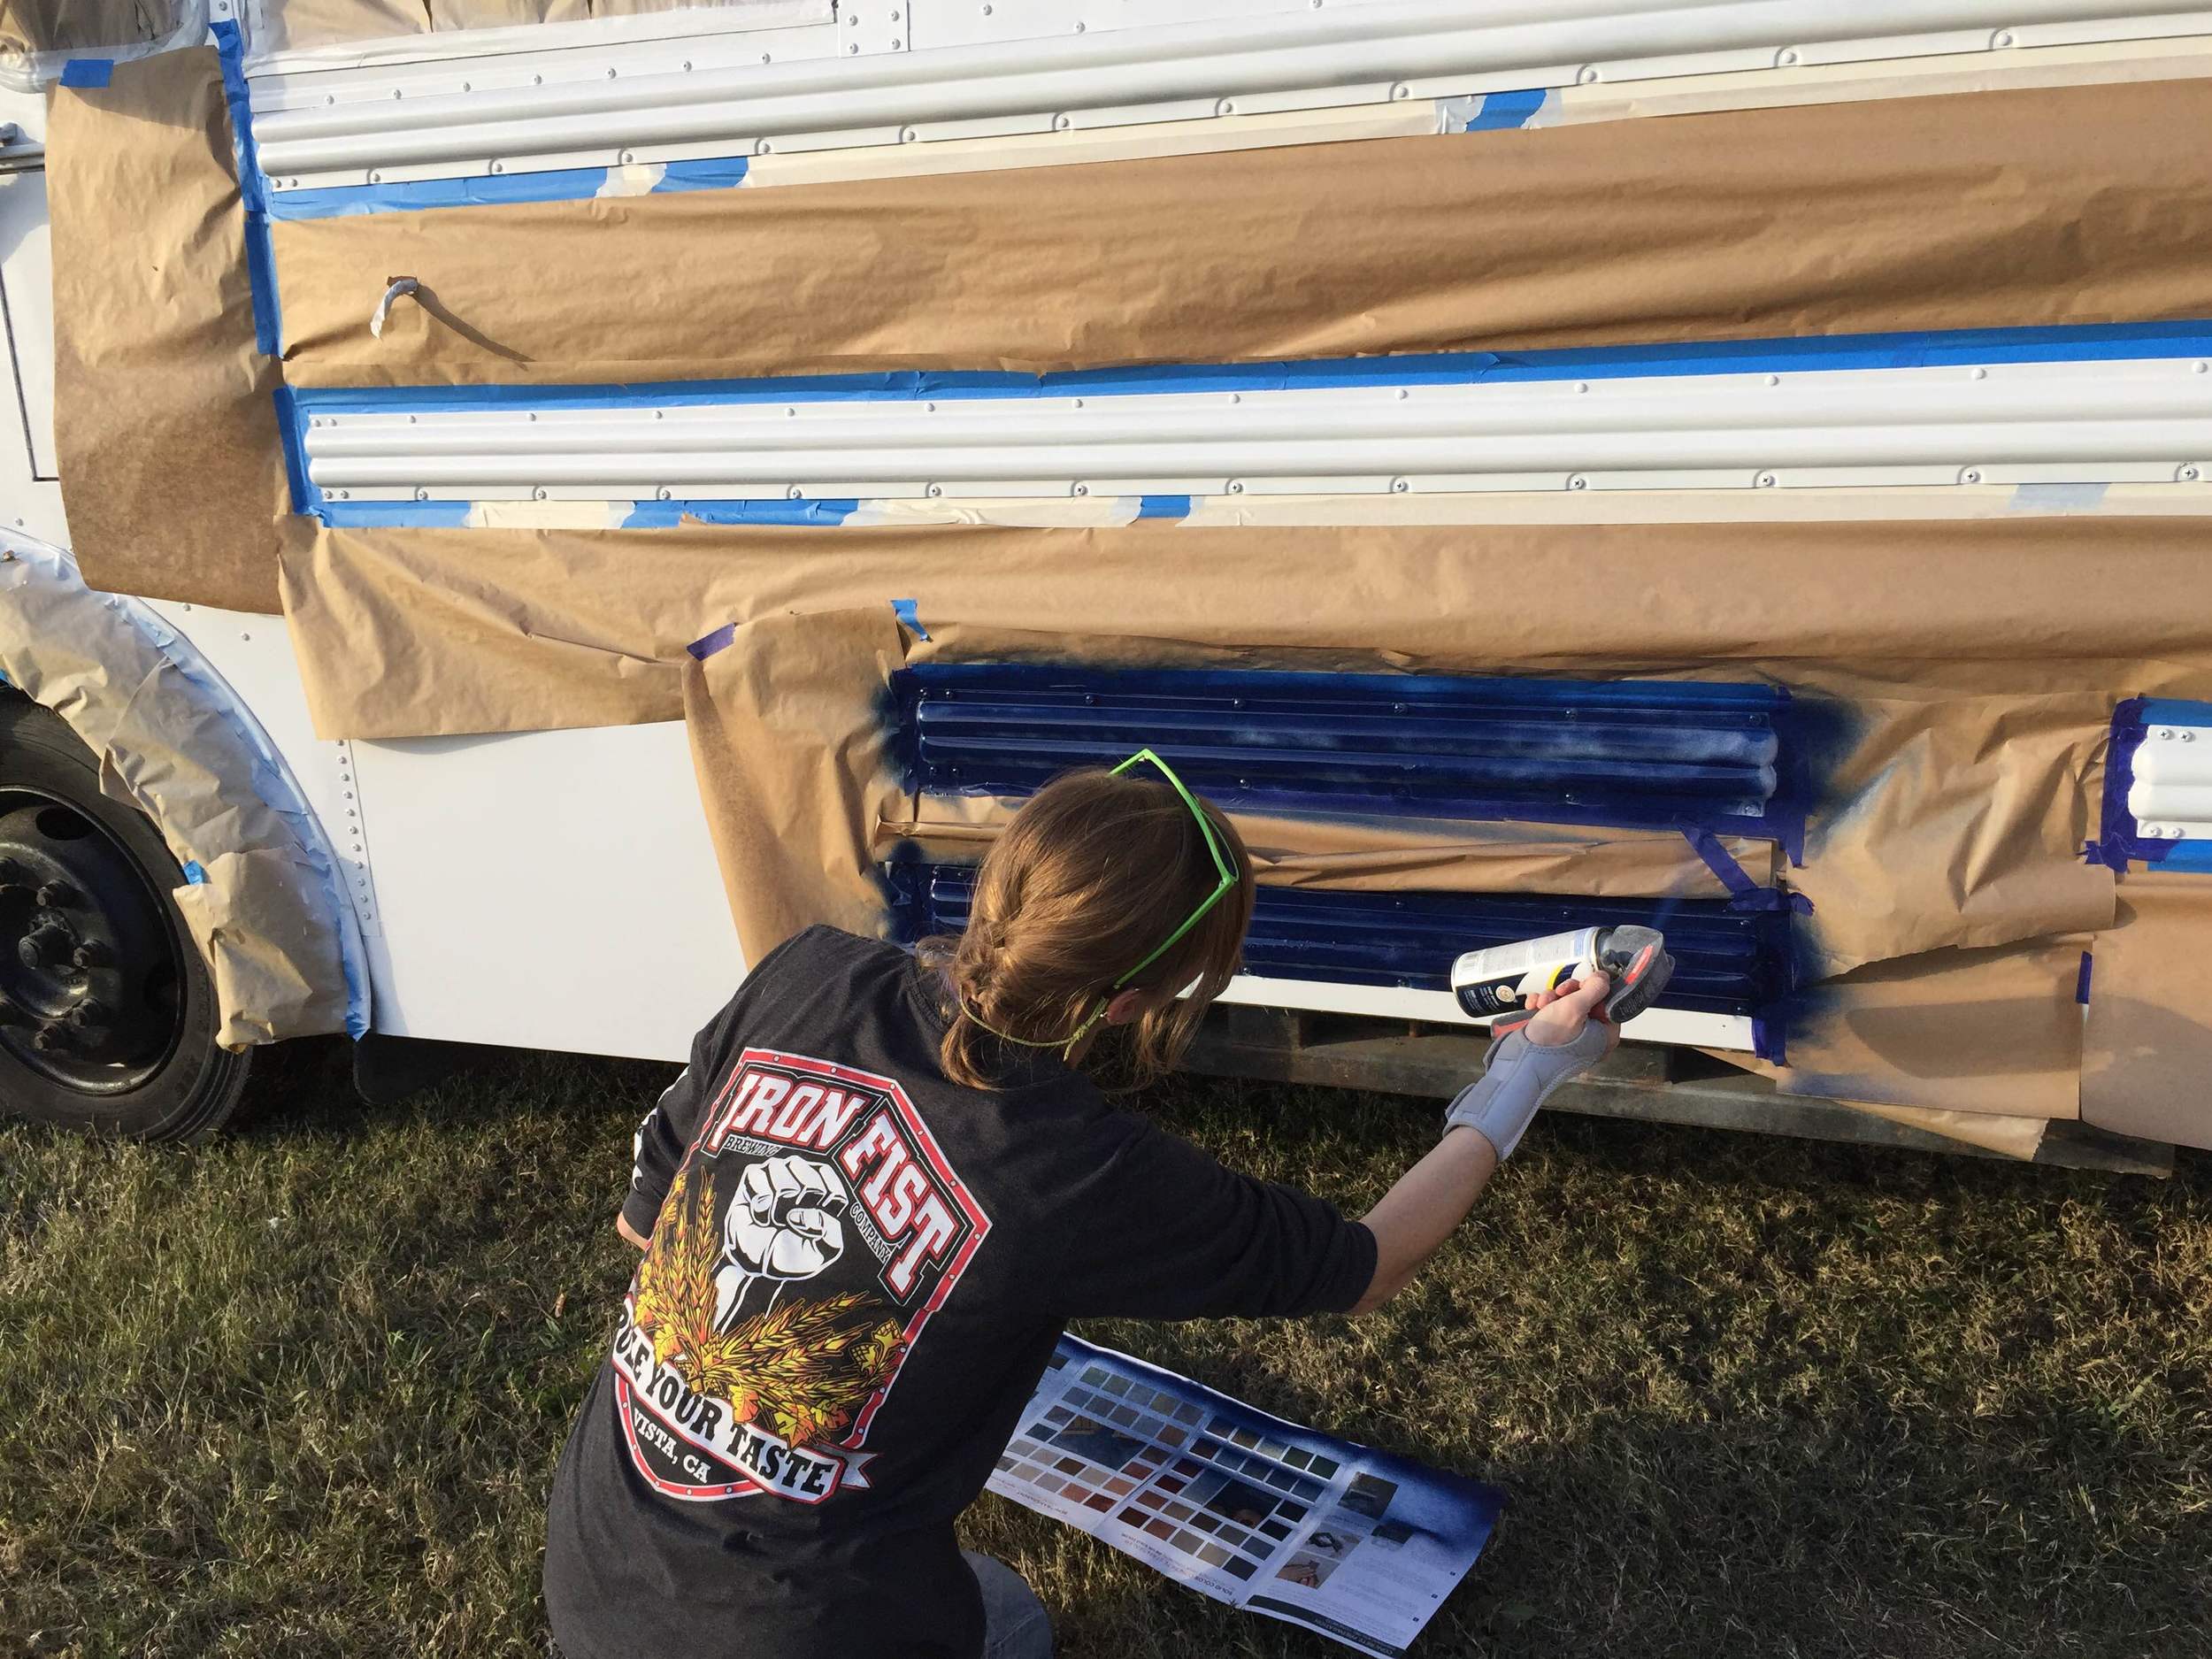
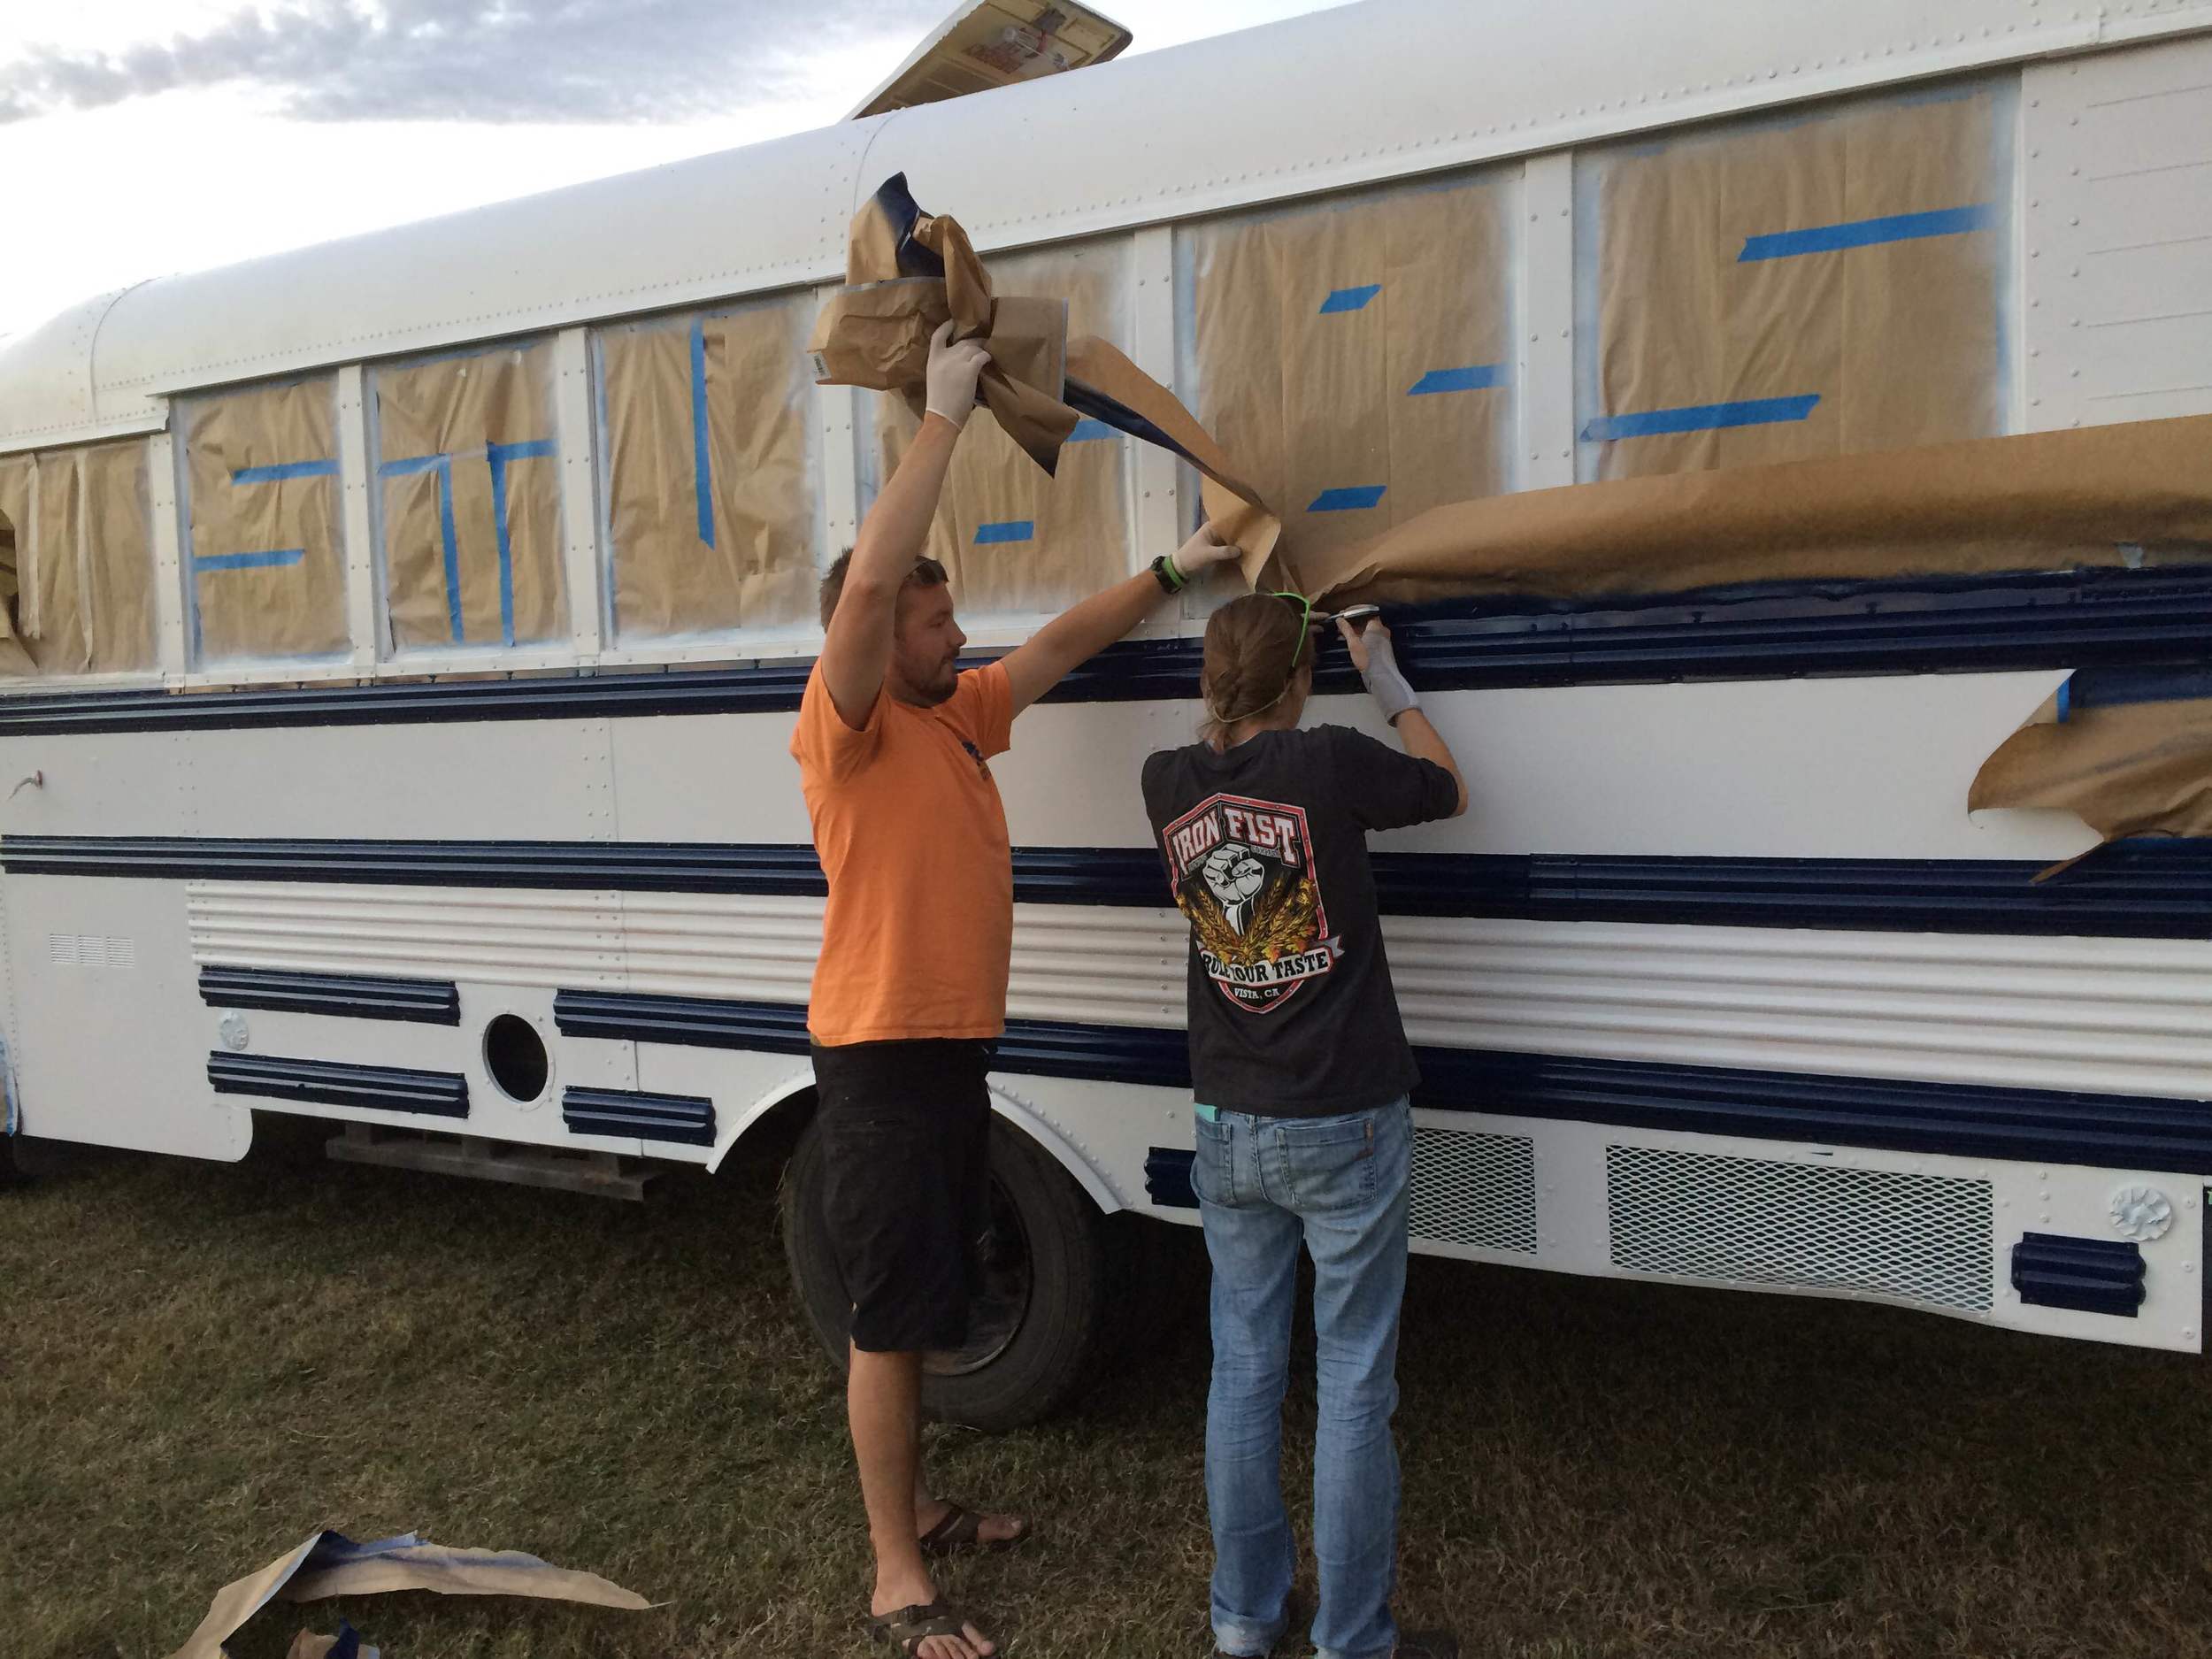
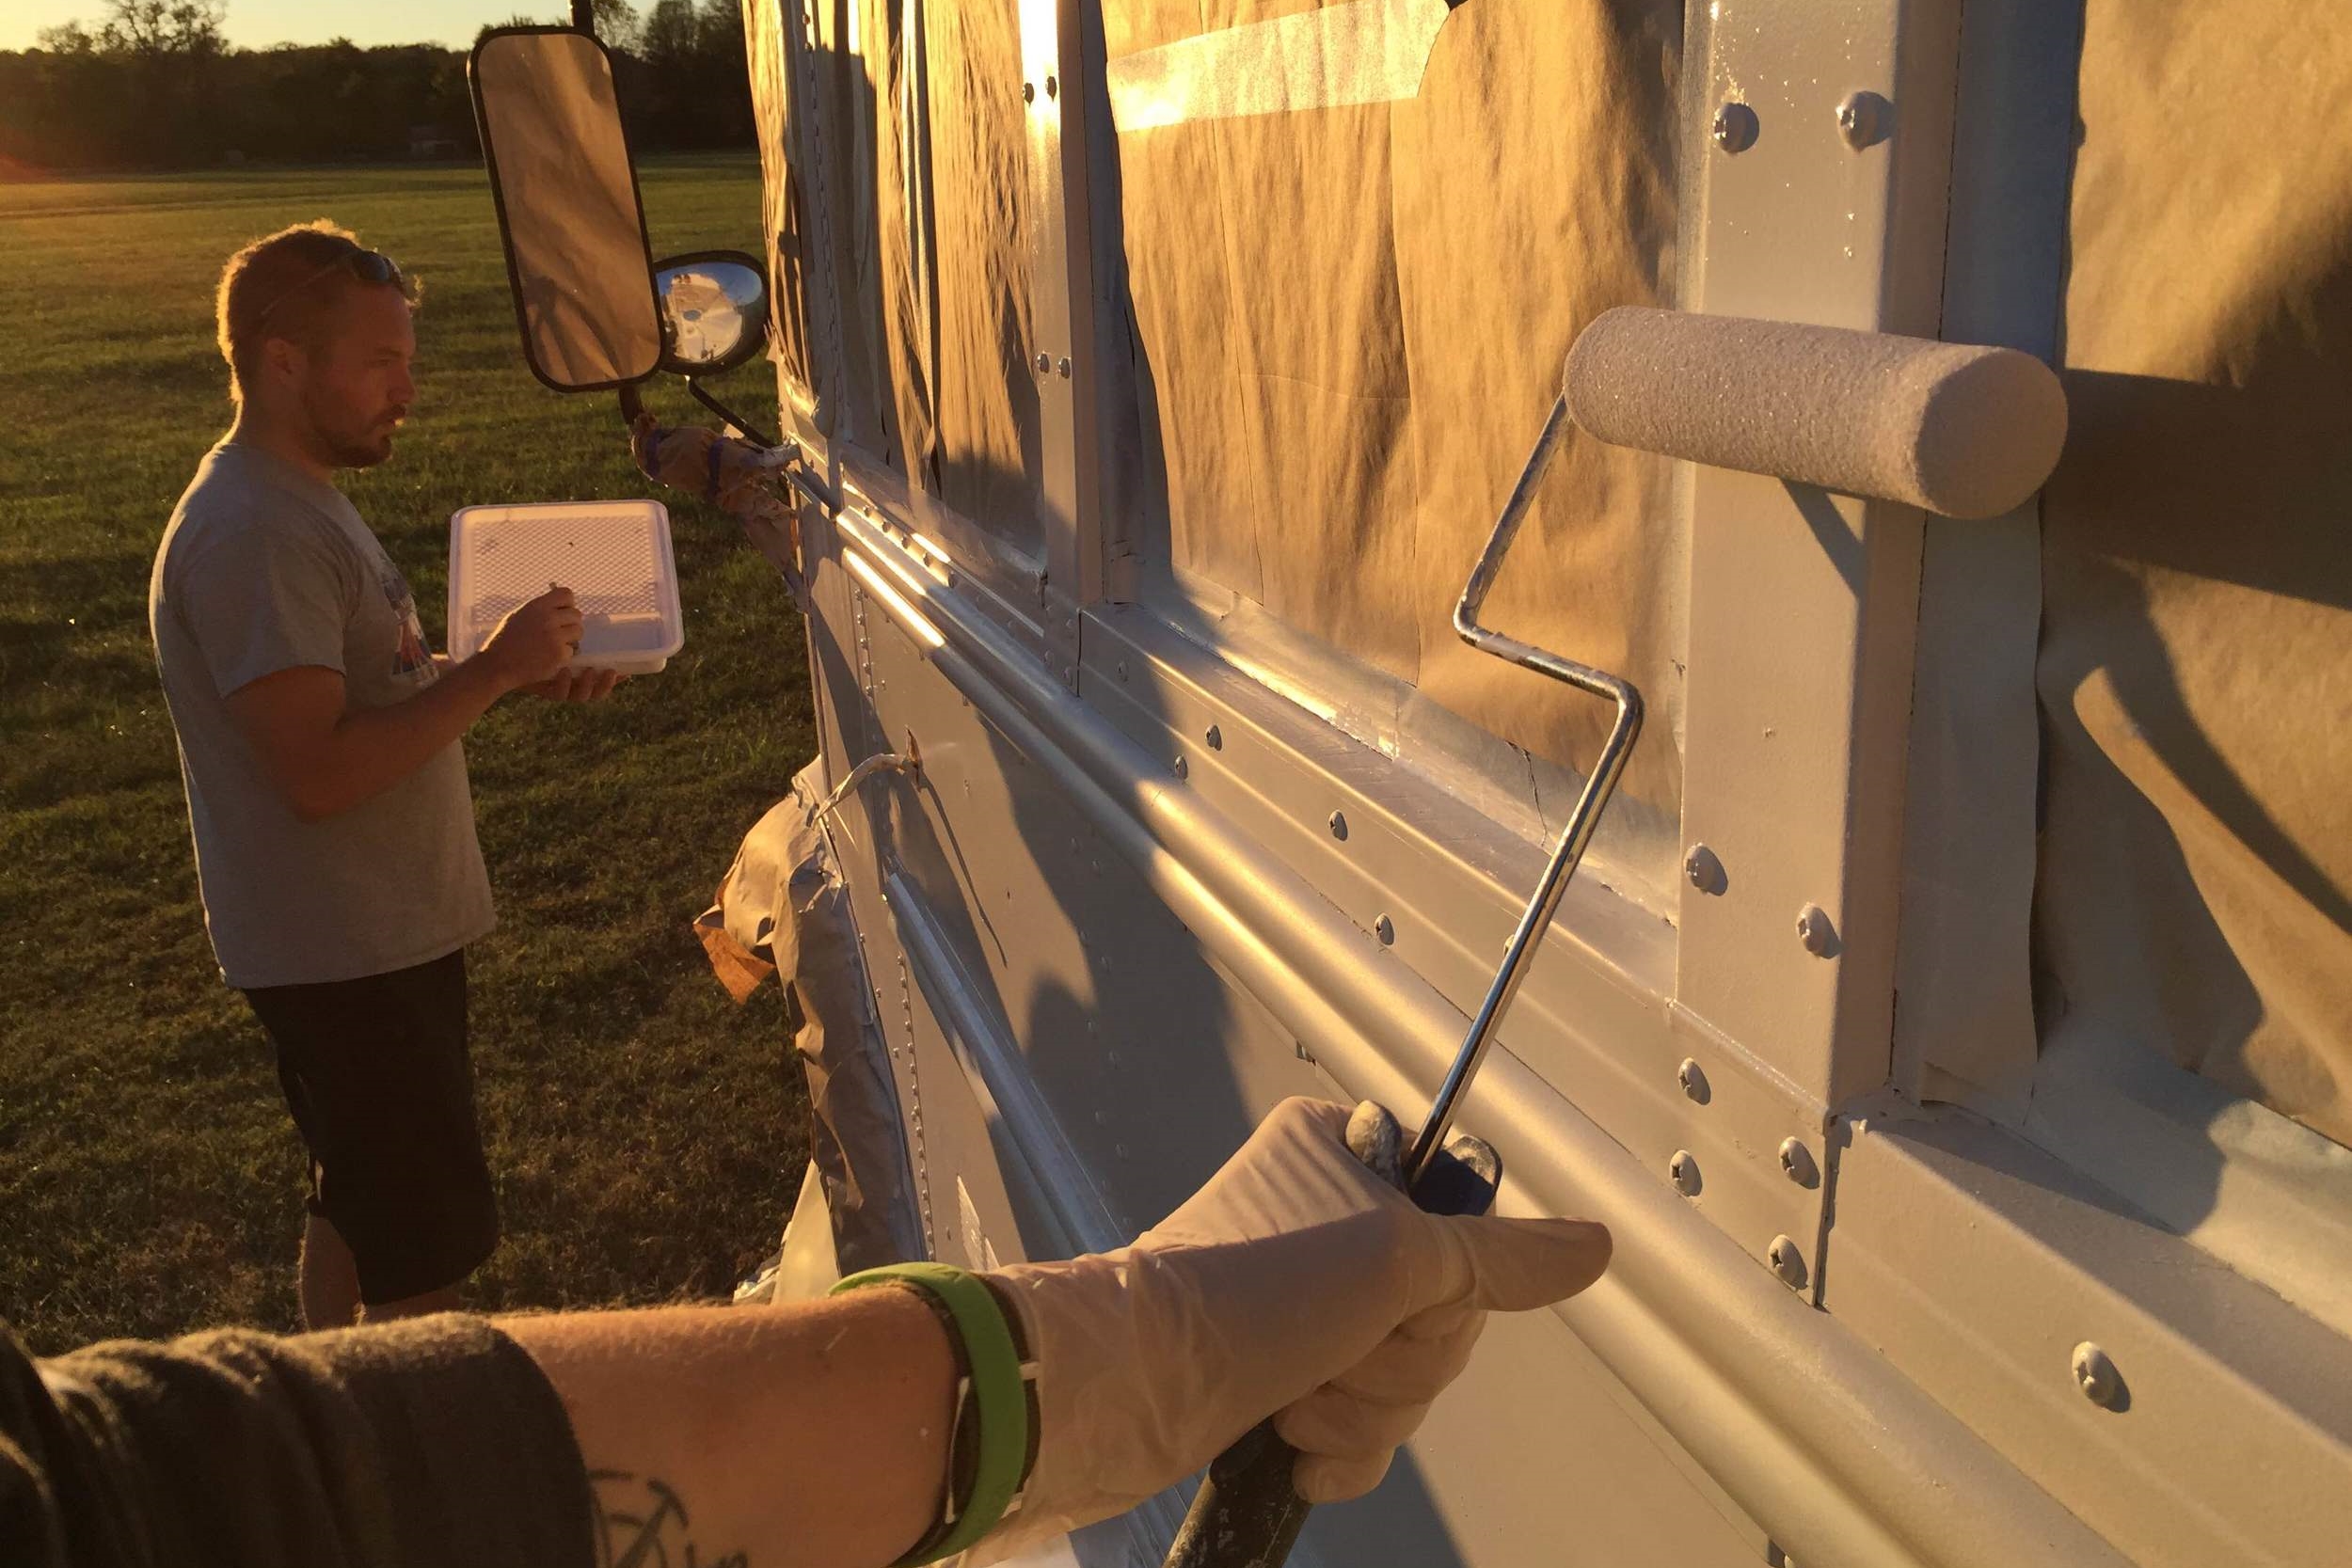
We made a morning run to the hardware store for a few select supplies and received a text from my Grandpa Bert asking what we needed help with today. I told him our plan and wouldn't you know, he pulled into the barn area right behind us as we arrived. We couldn't have been more thankful for his willingness to help. With him there to give me a hand taping off all of the stripes to paint, Christian could go about his carpentry without interruption.

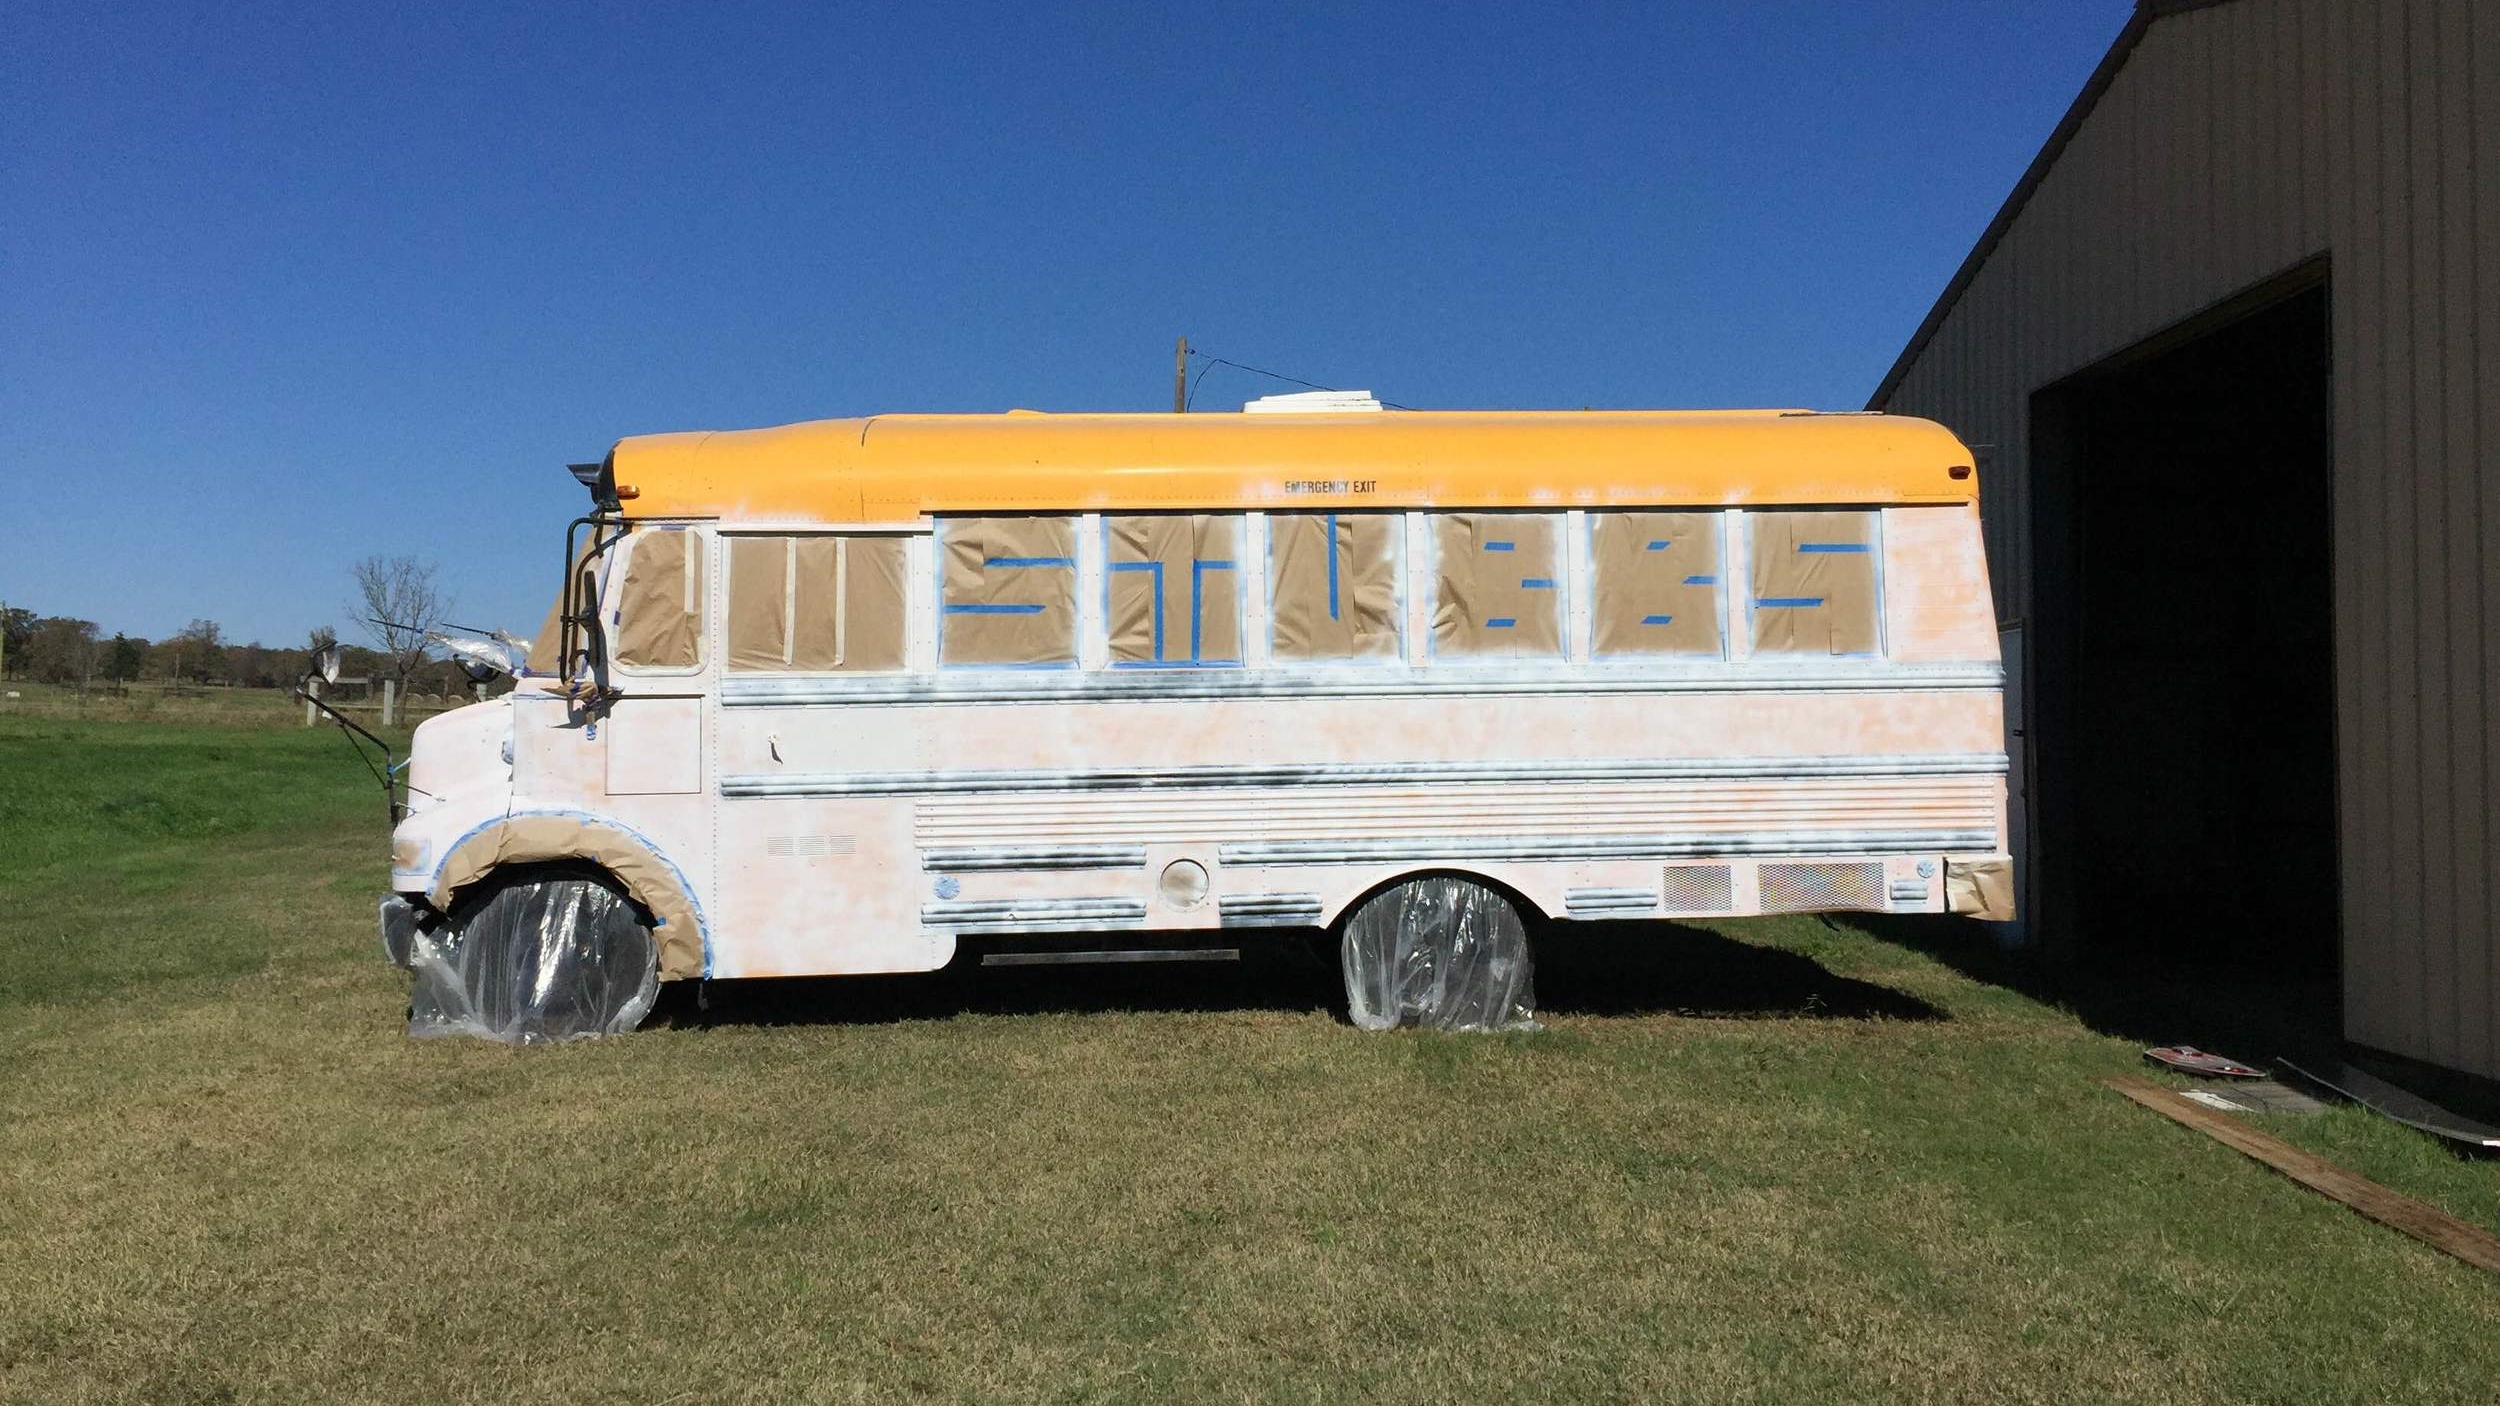
I can't emphasize enough what a task it is preparing for the painting. With such clean lines to work with, it was so important to lay out the tape as precisely as possible, which meant going slowly and double checking everything. Not to mention, the bolts every few inches posed a fun obstacle when trying to achieve that straight clean line.


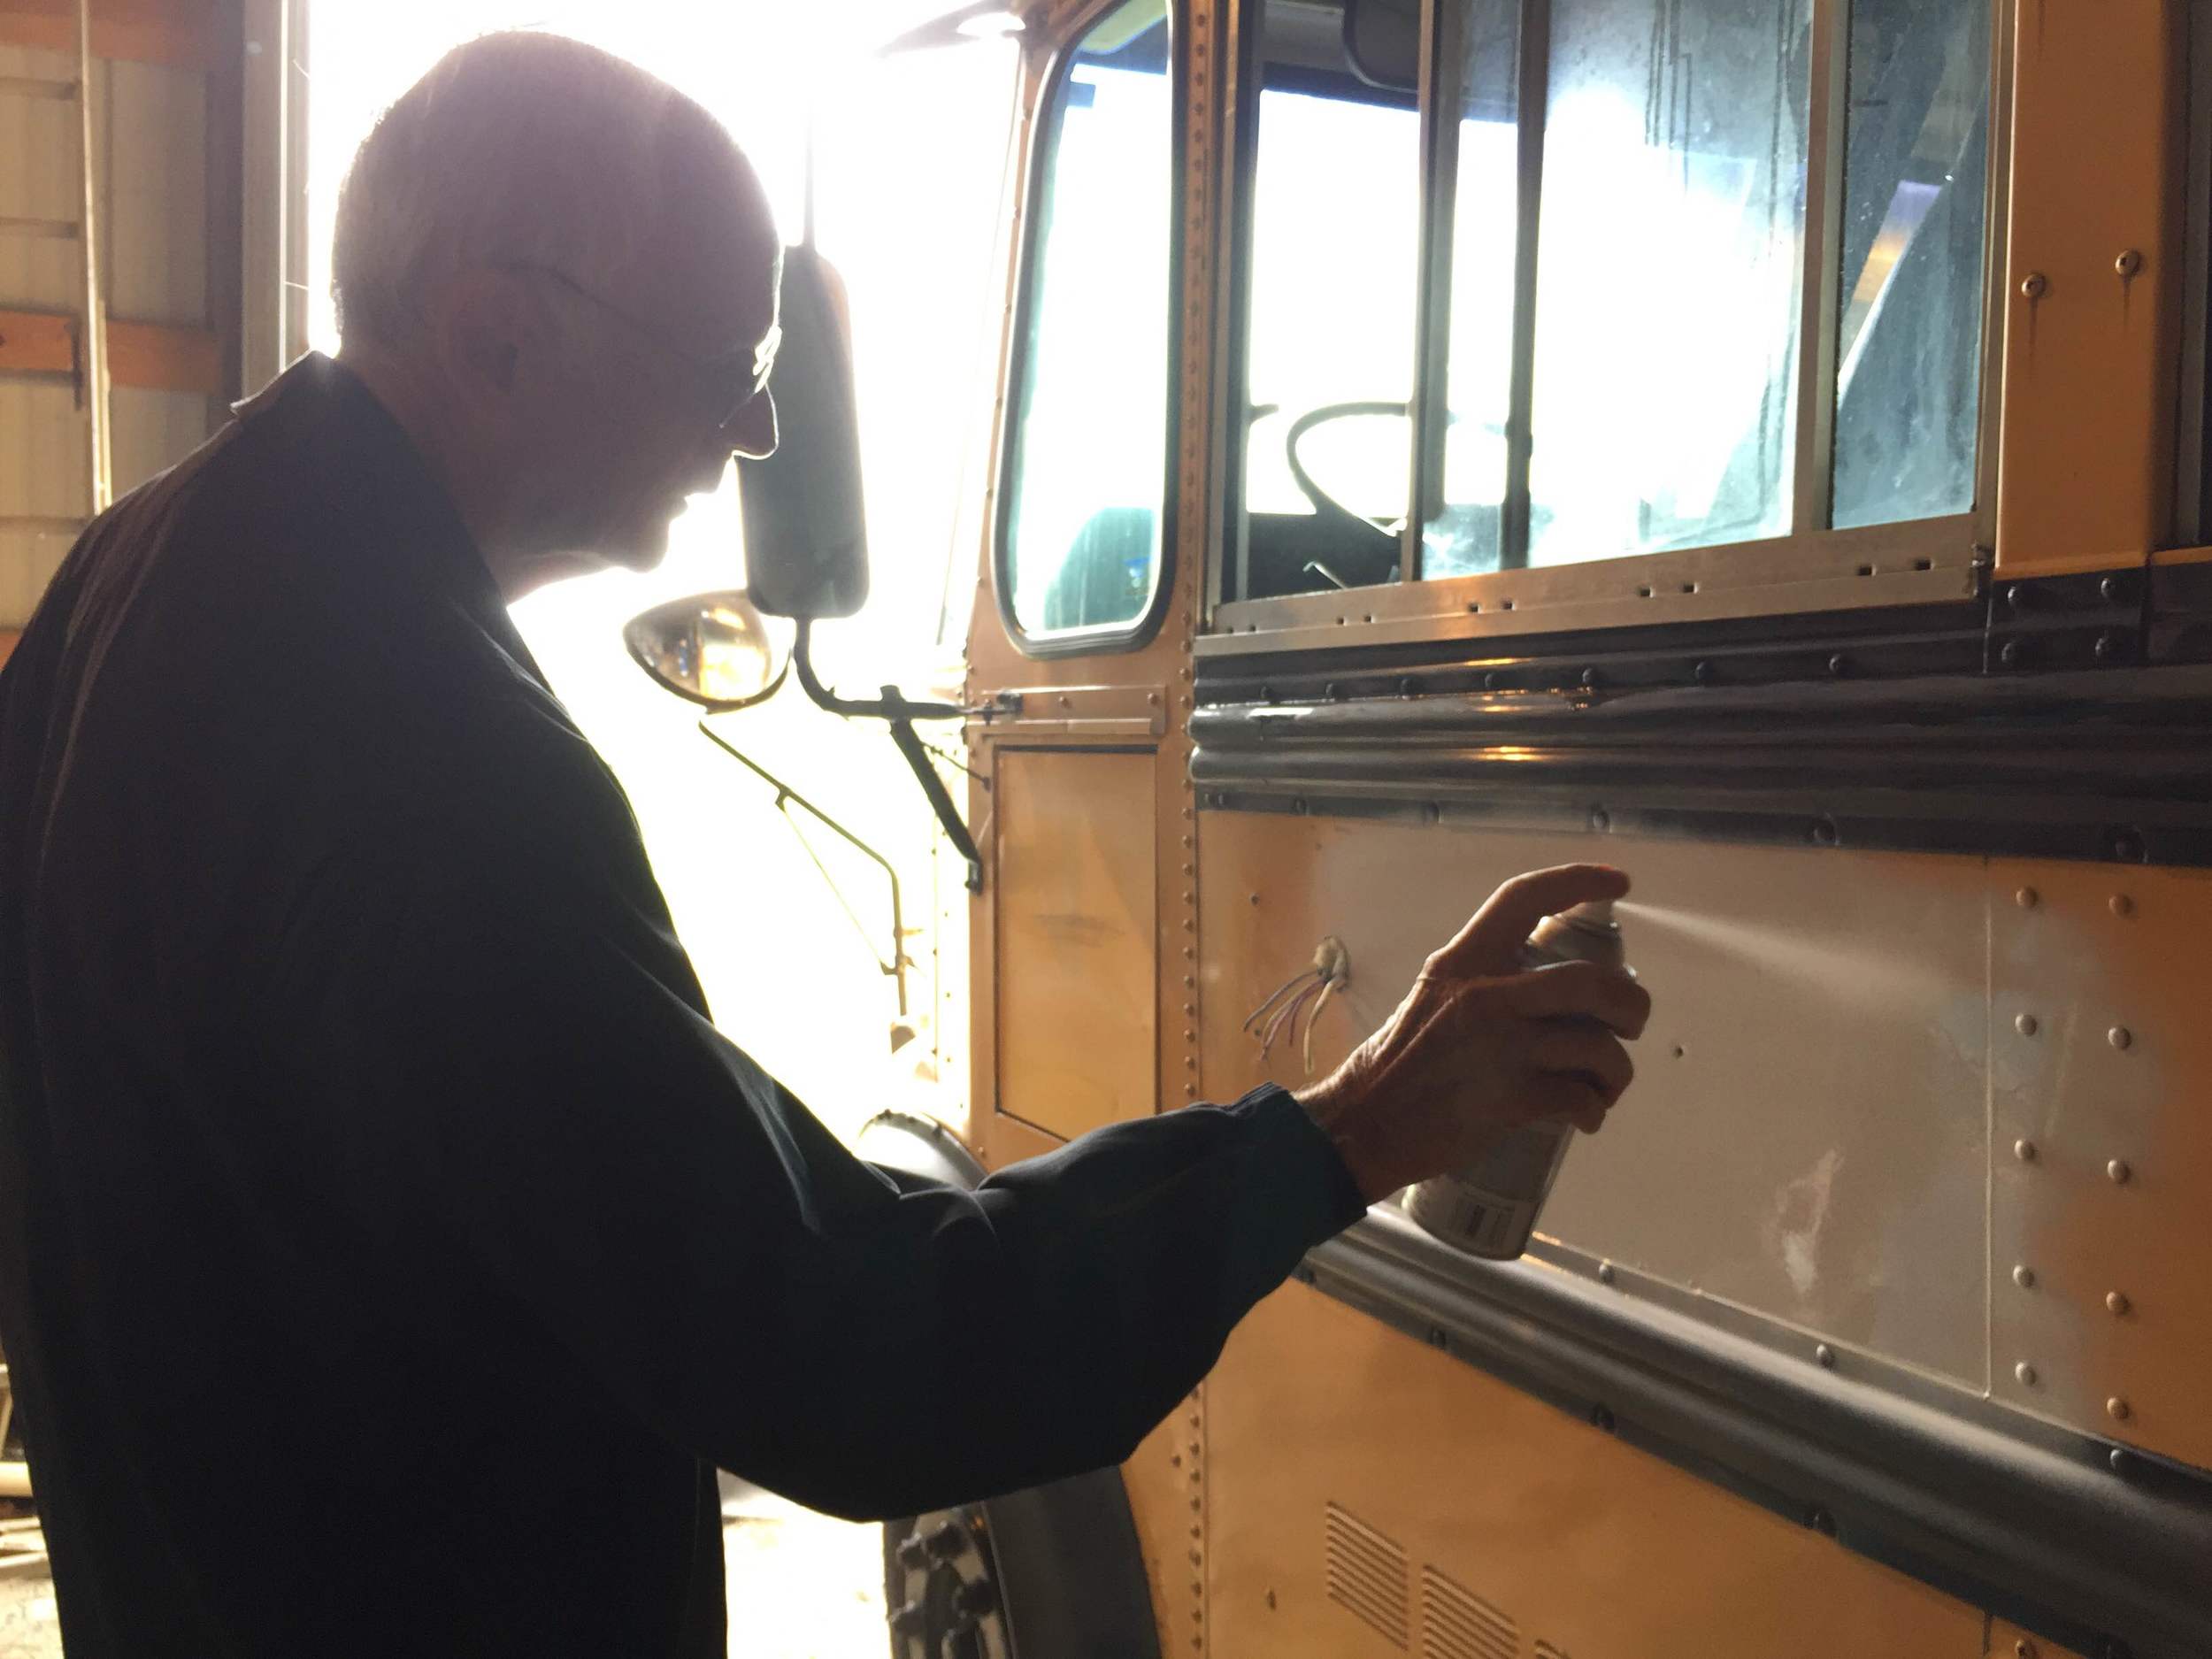
One coat of gloss Navy Blue applied.
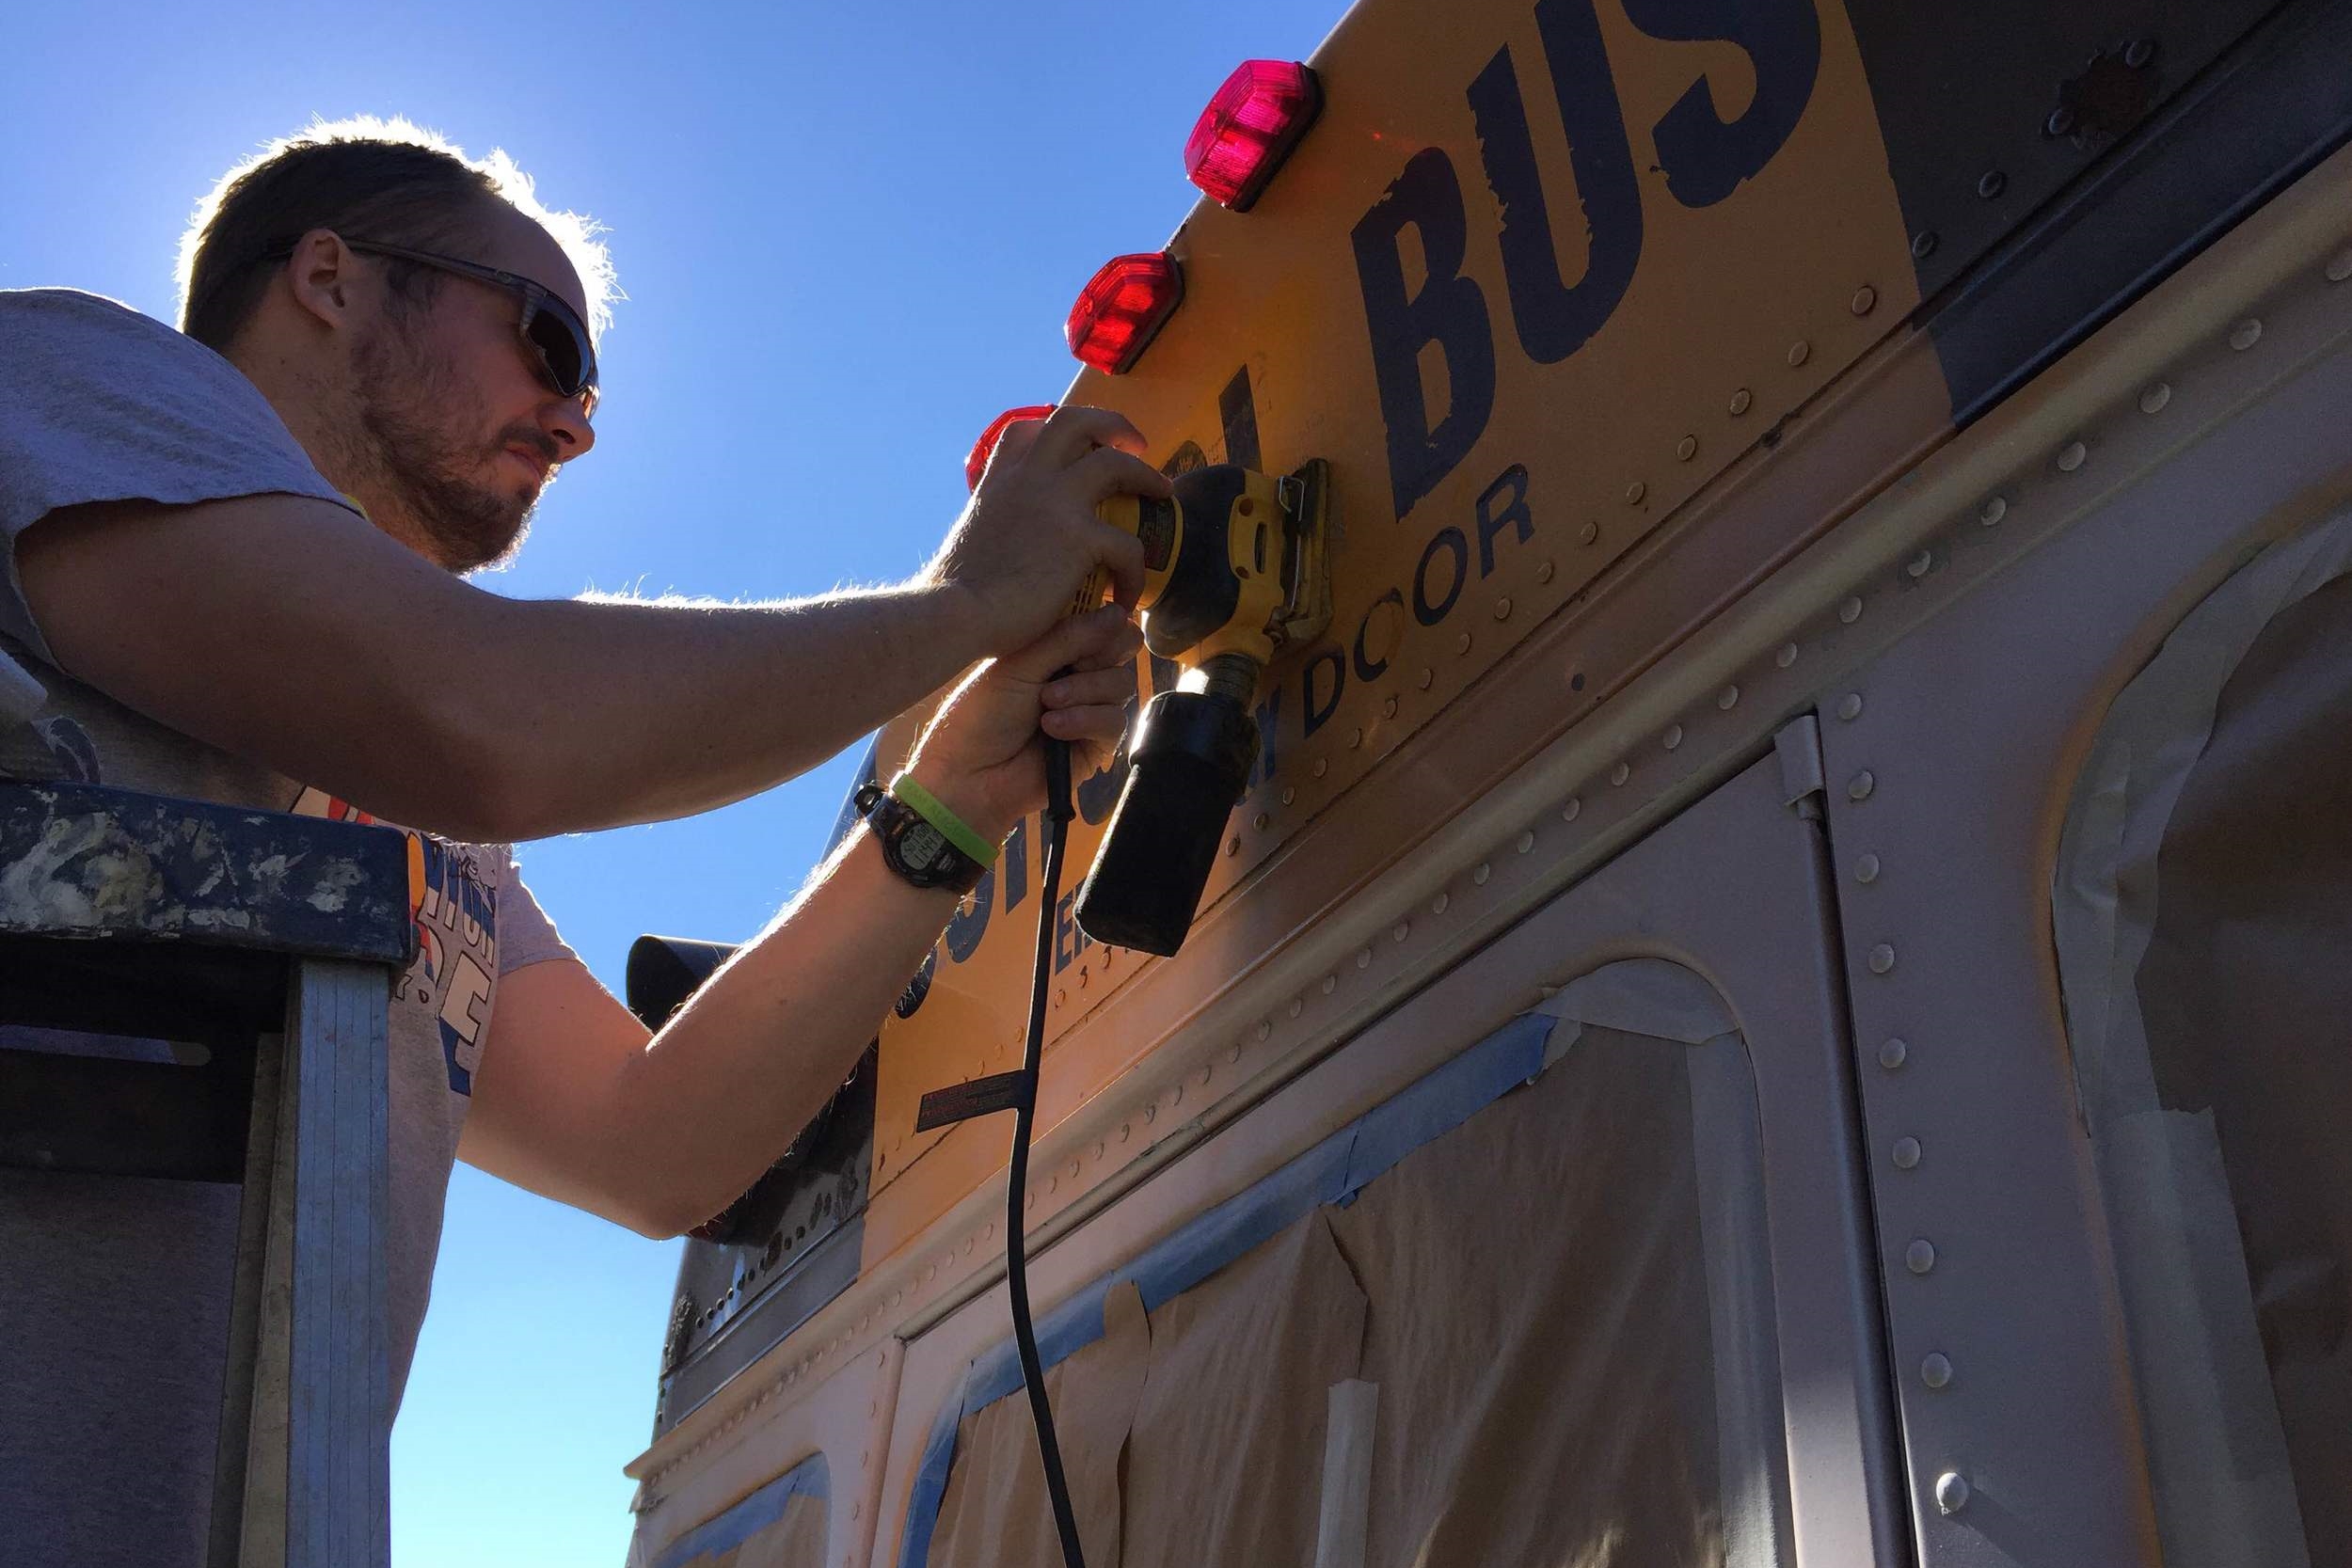
For the navy stripes, two coats was all it took to get full coverage. With my grandpa there to watch closely as I sprayed and point out spots I missed or went a little light, the work was fast when I finally got around to the painting.

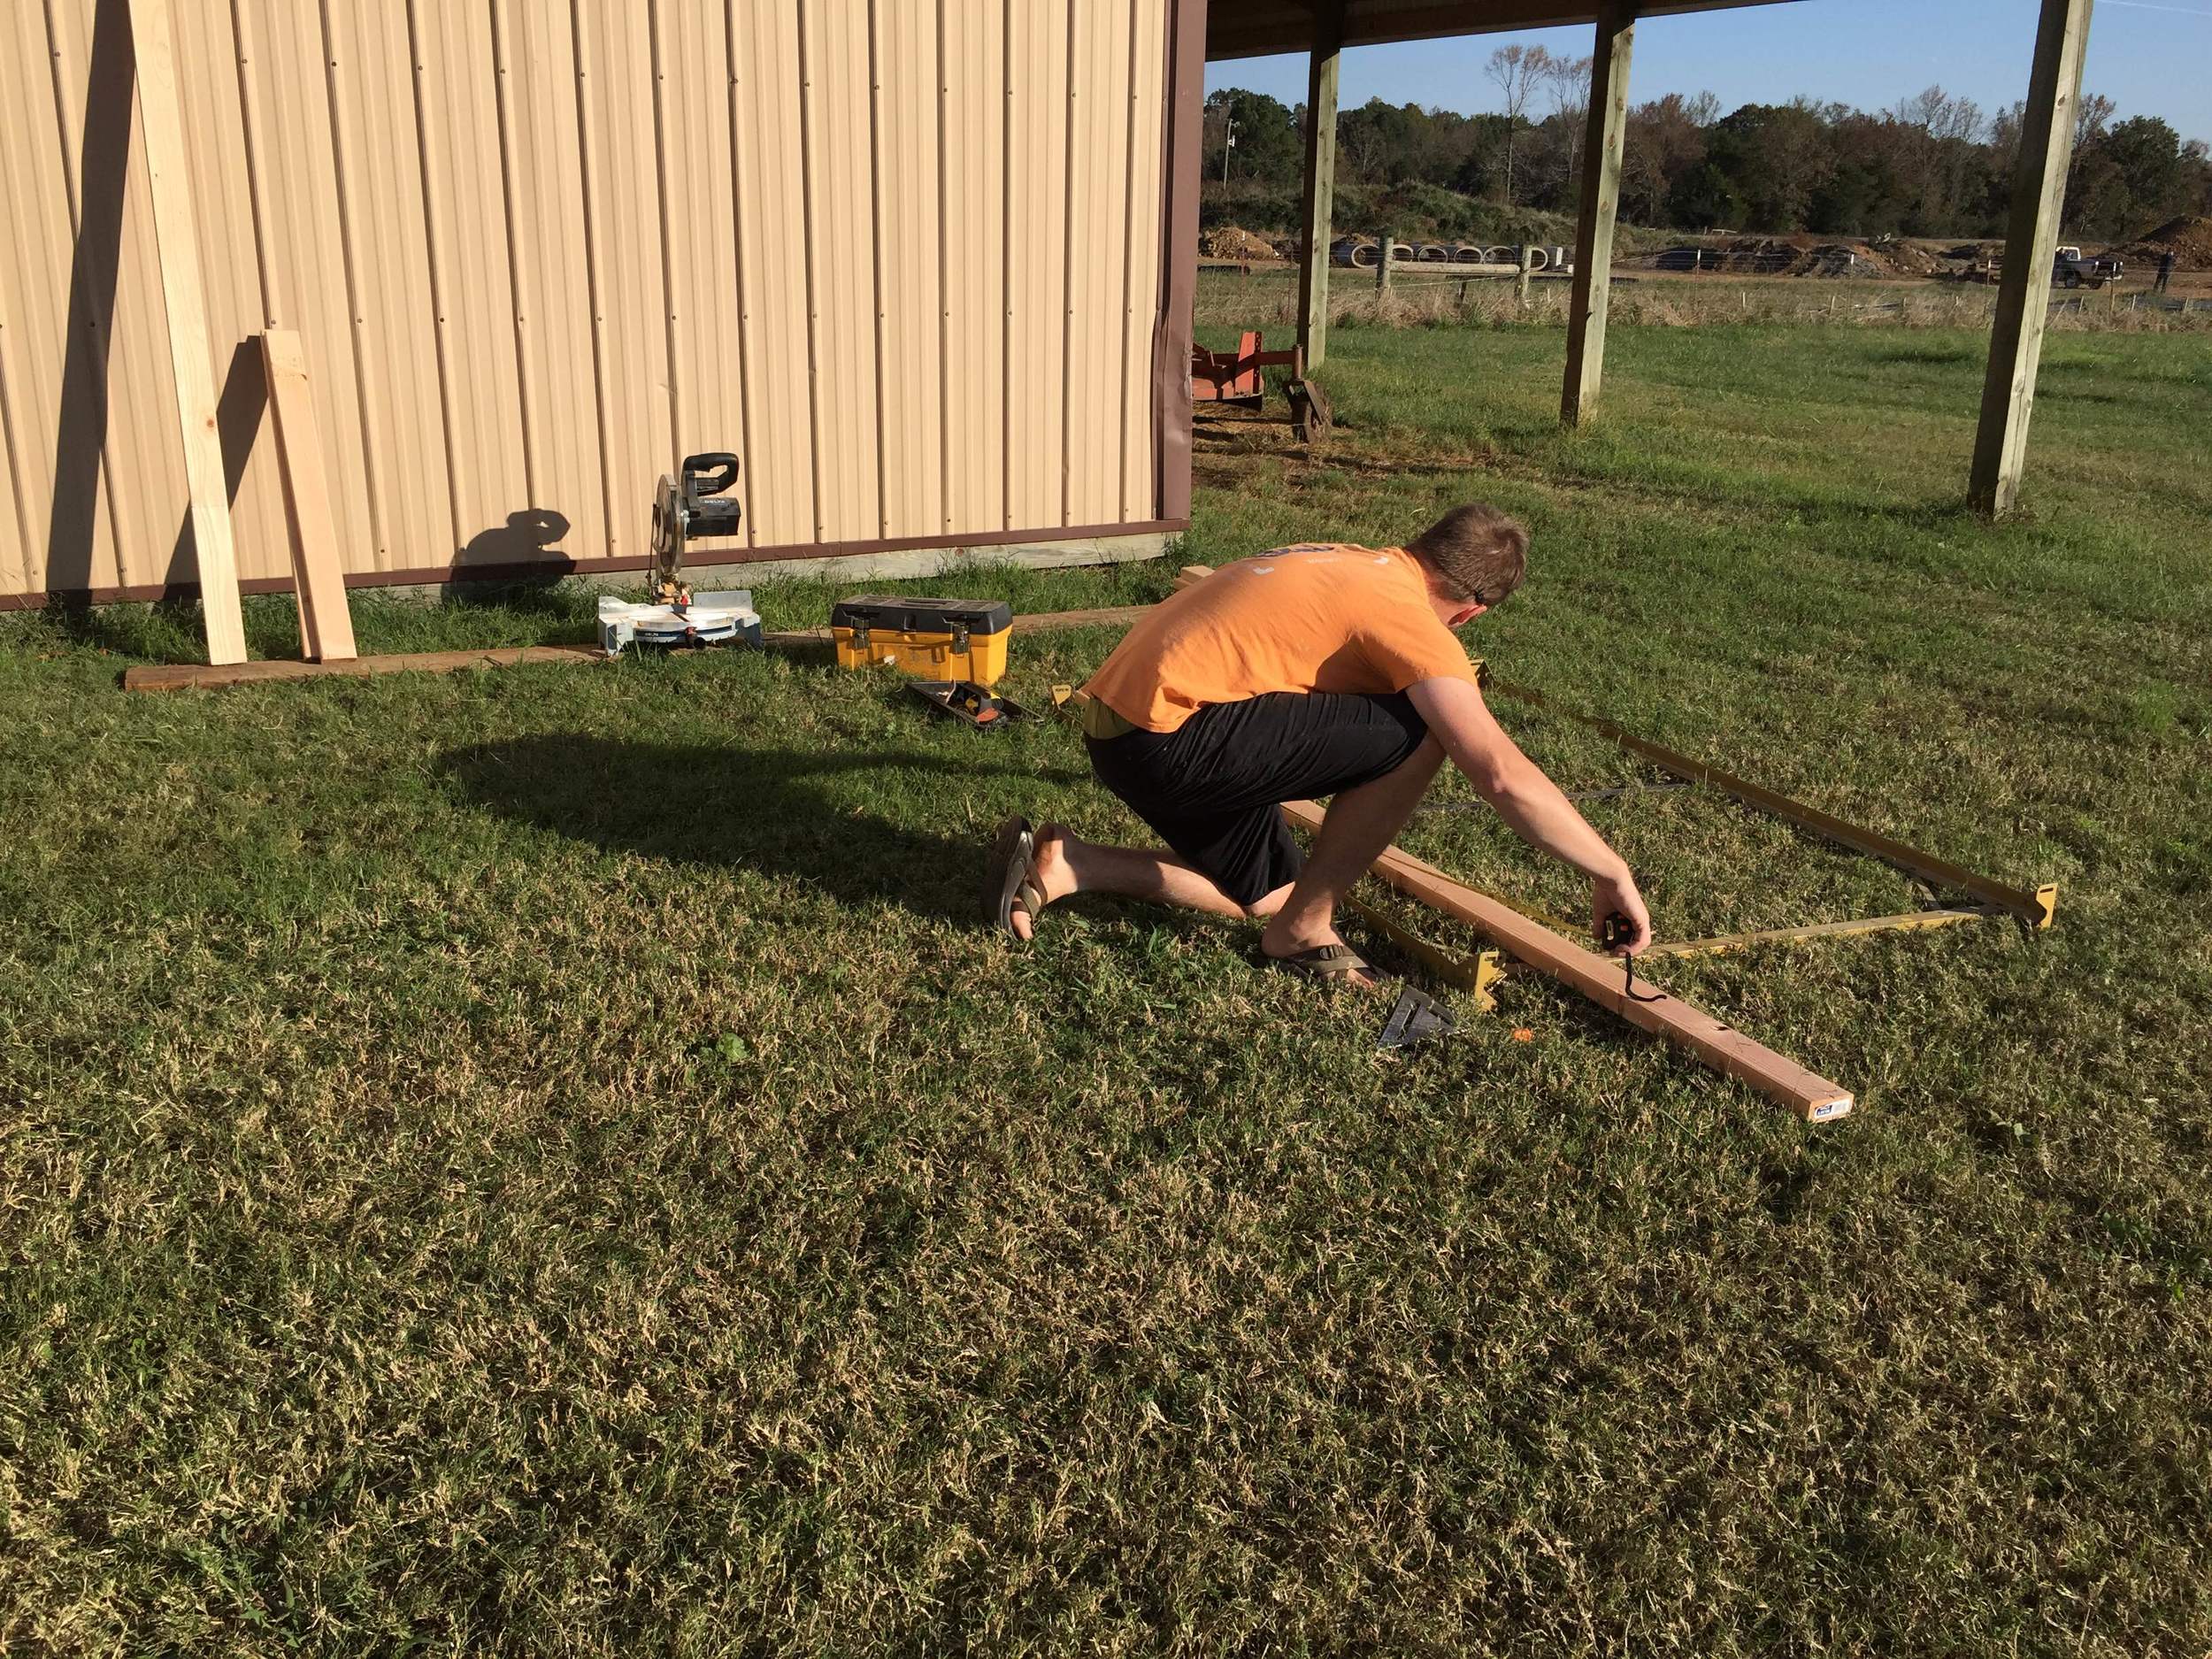
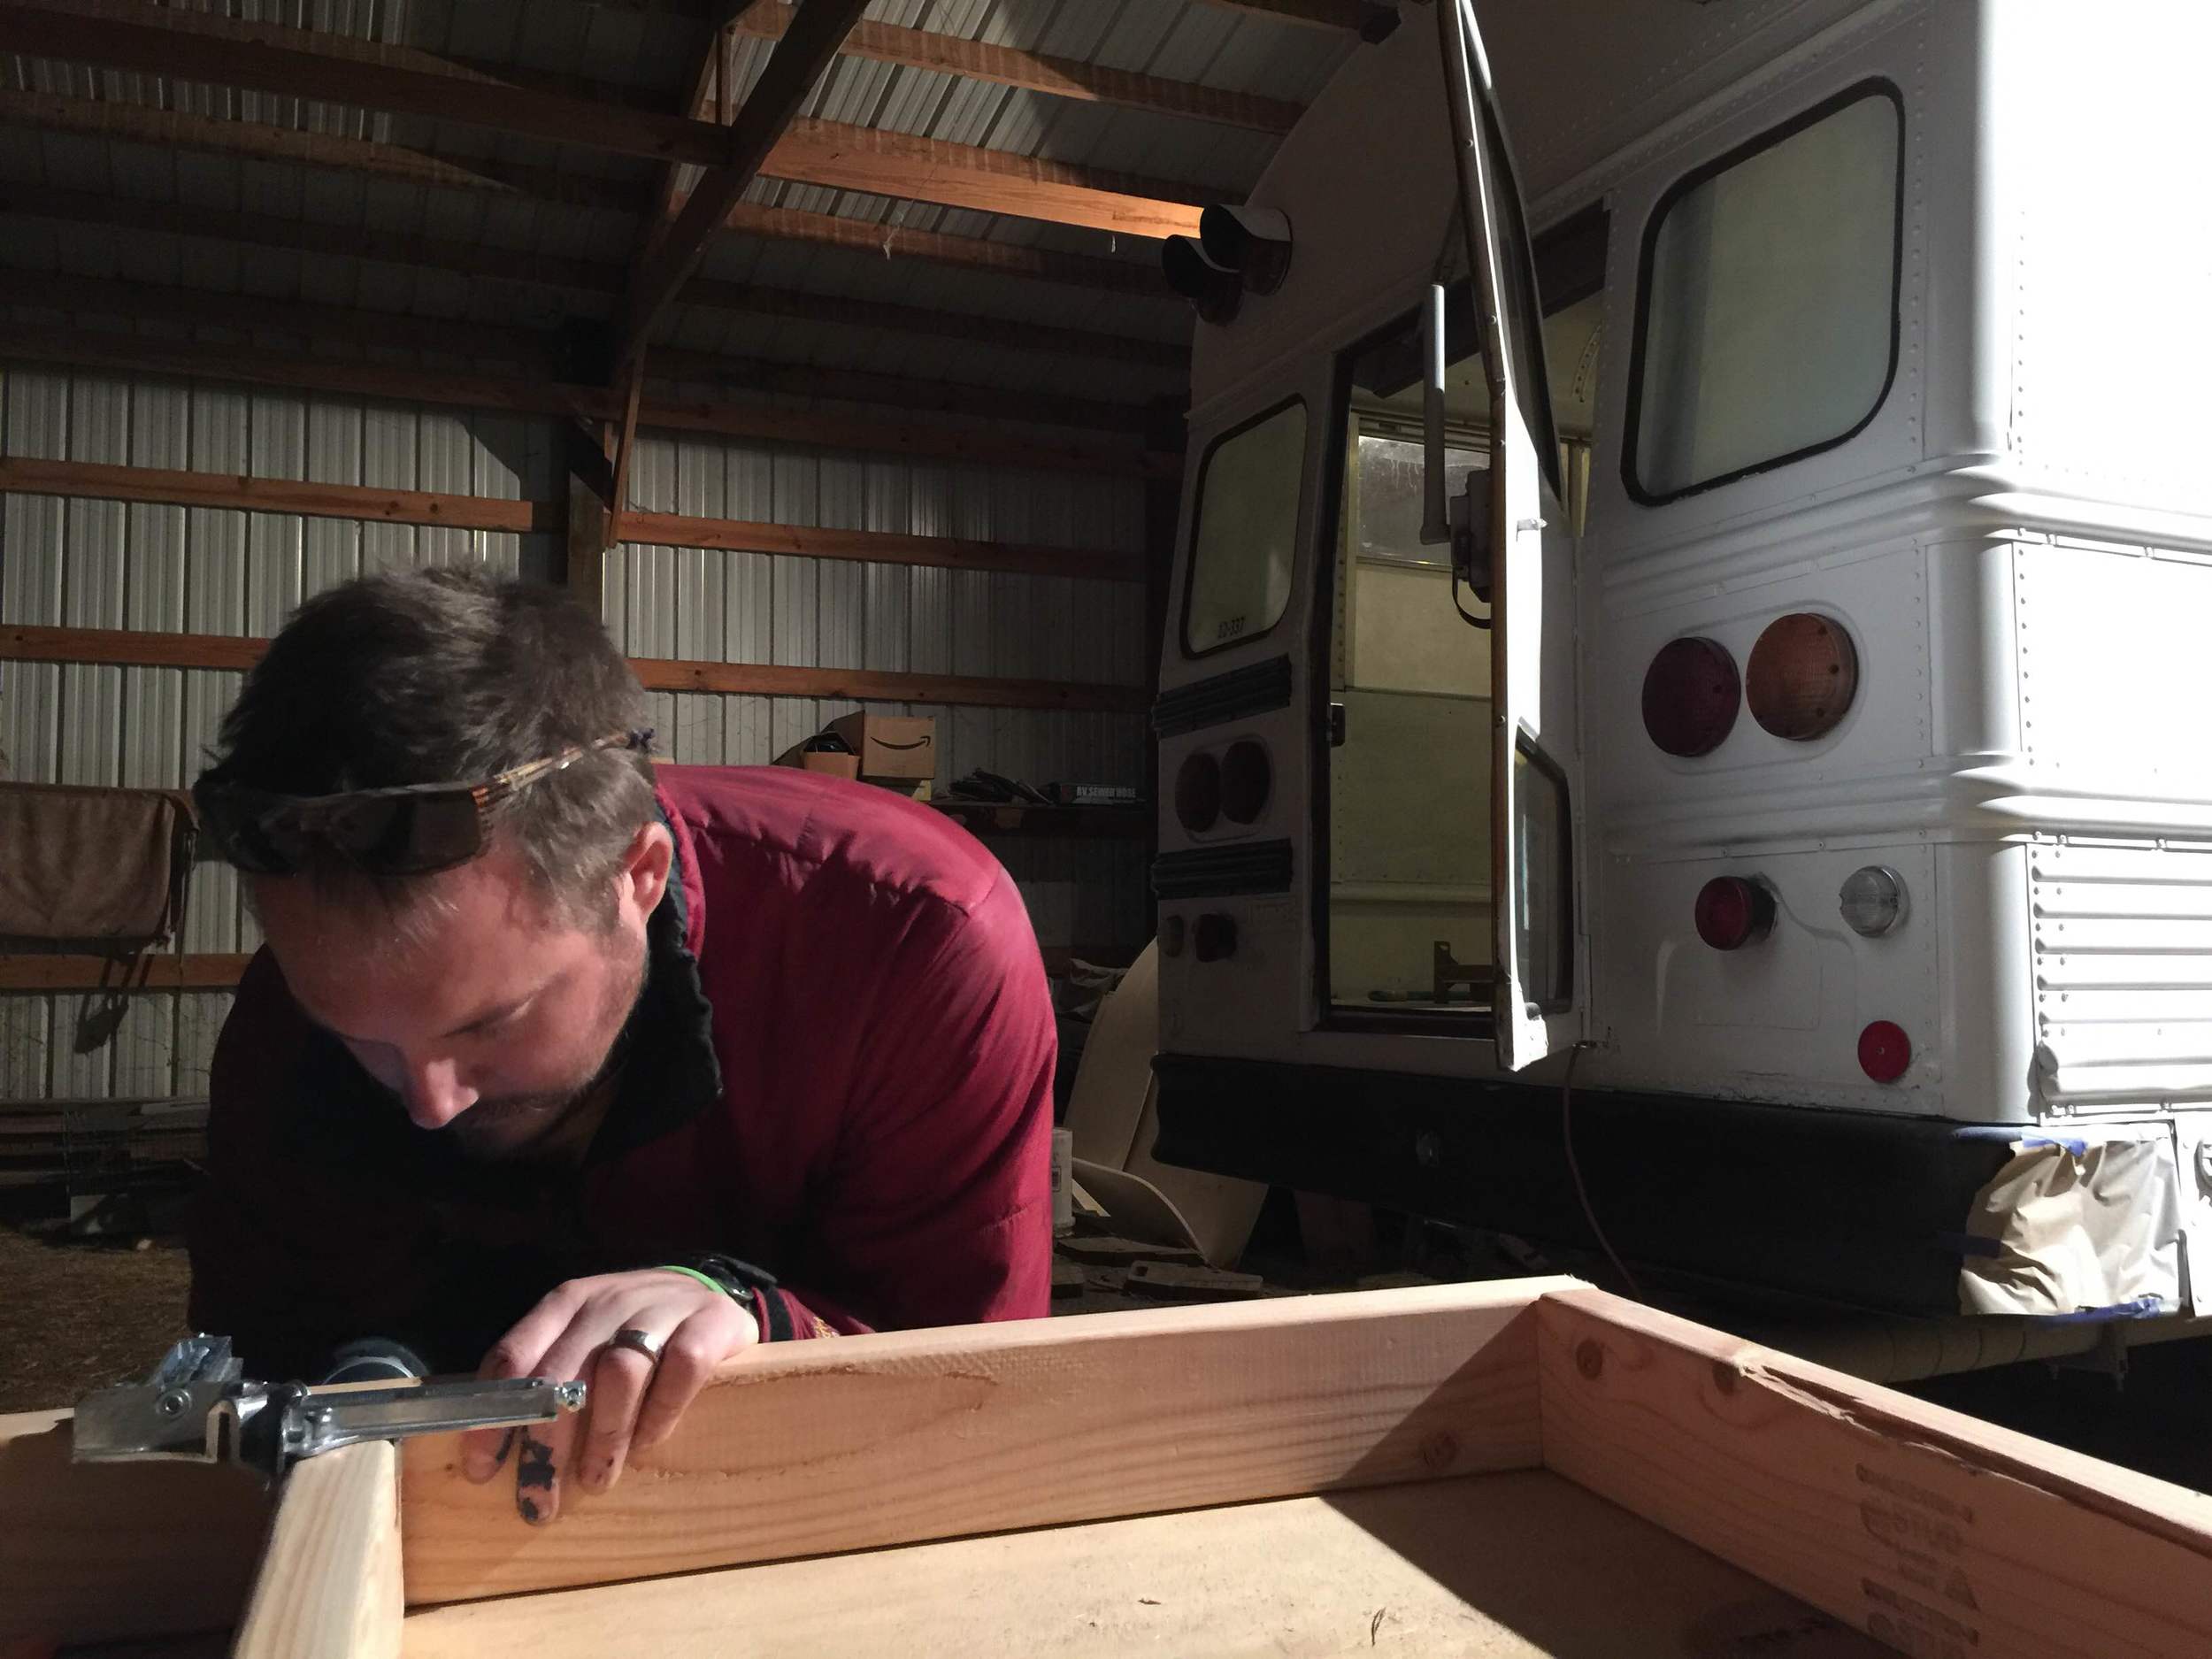
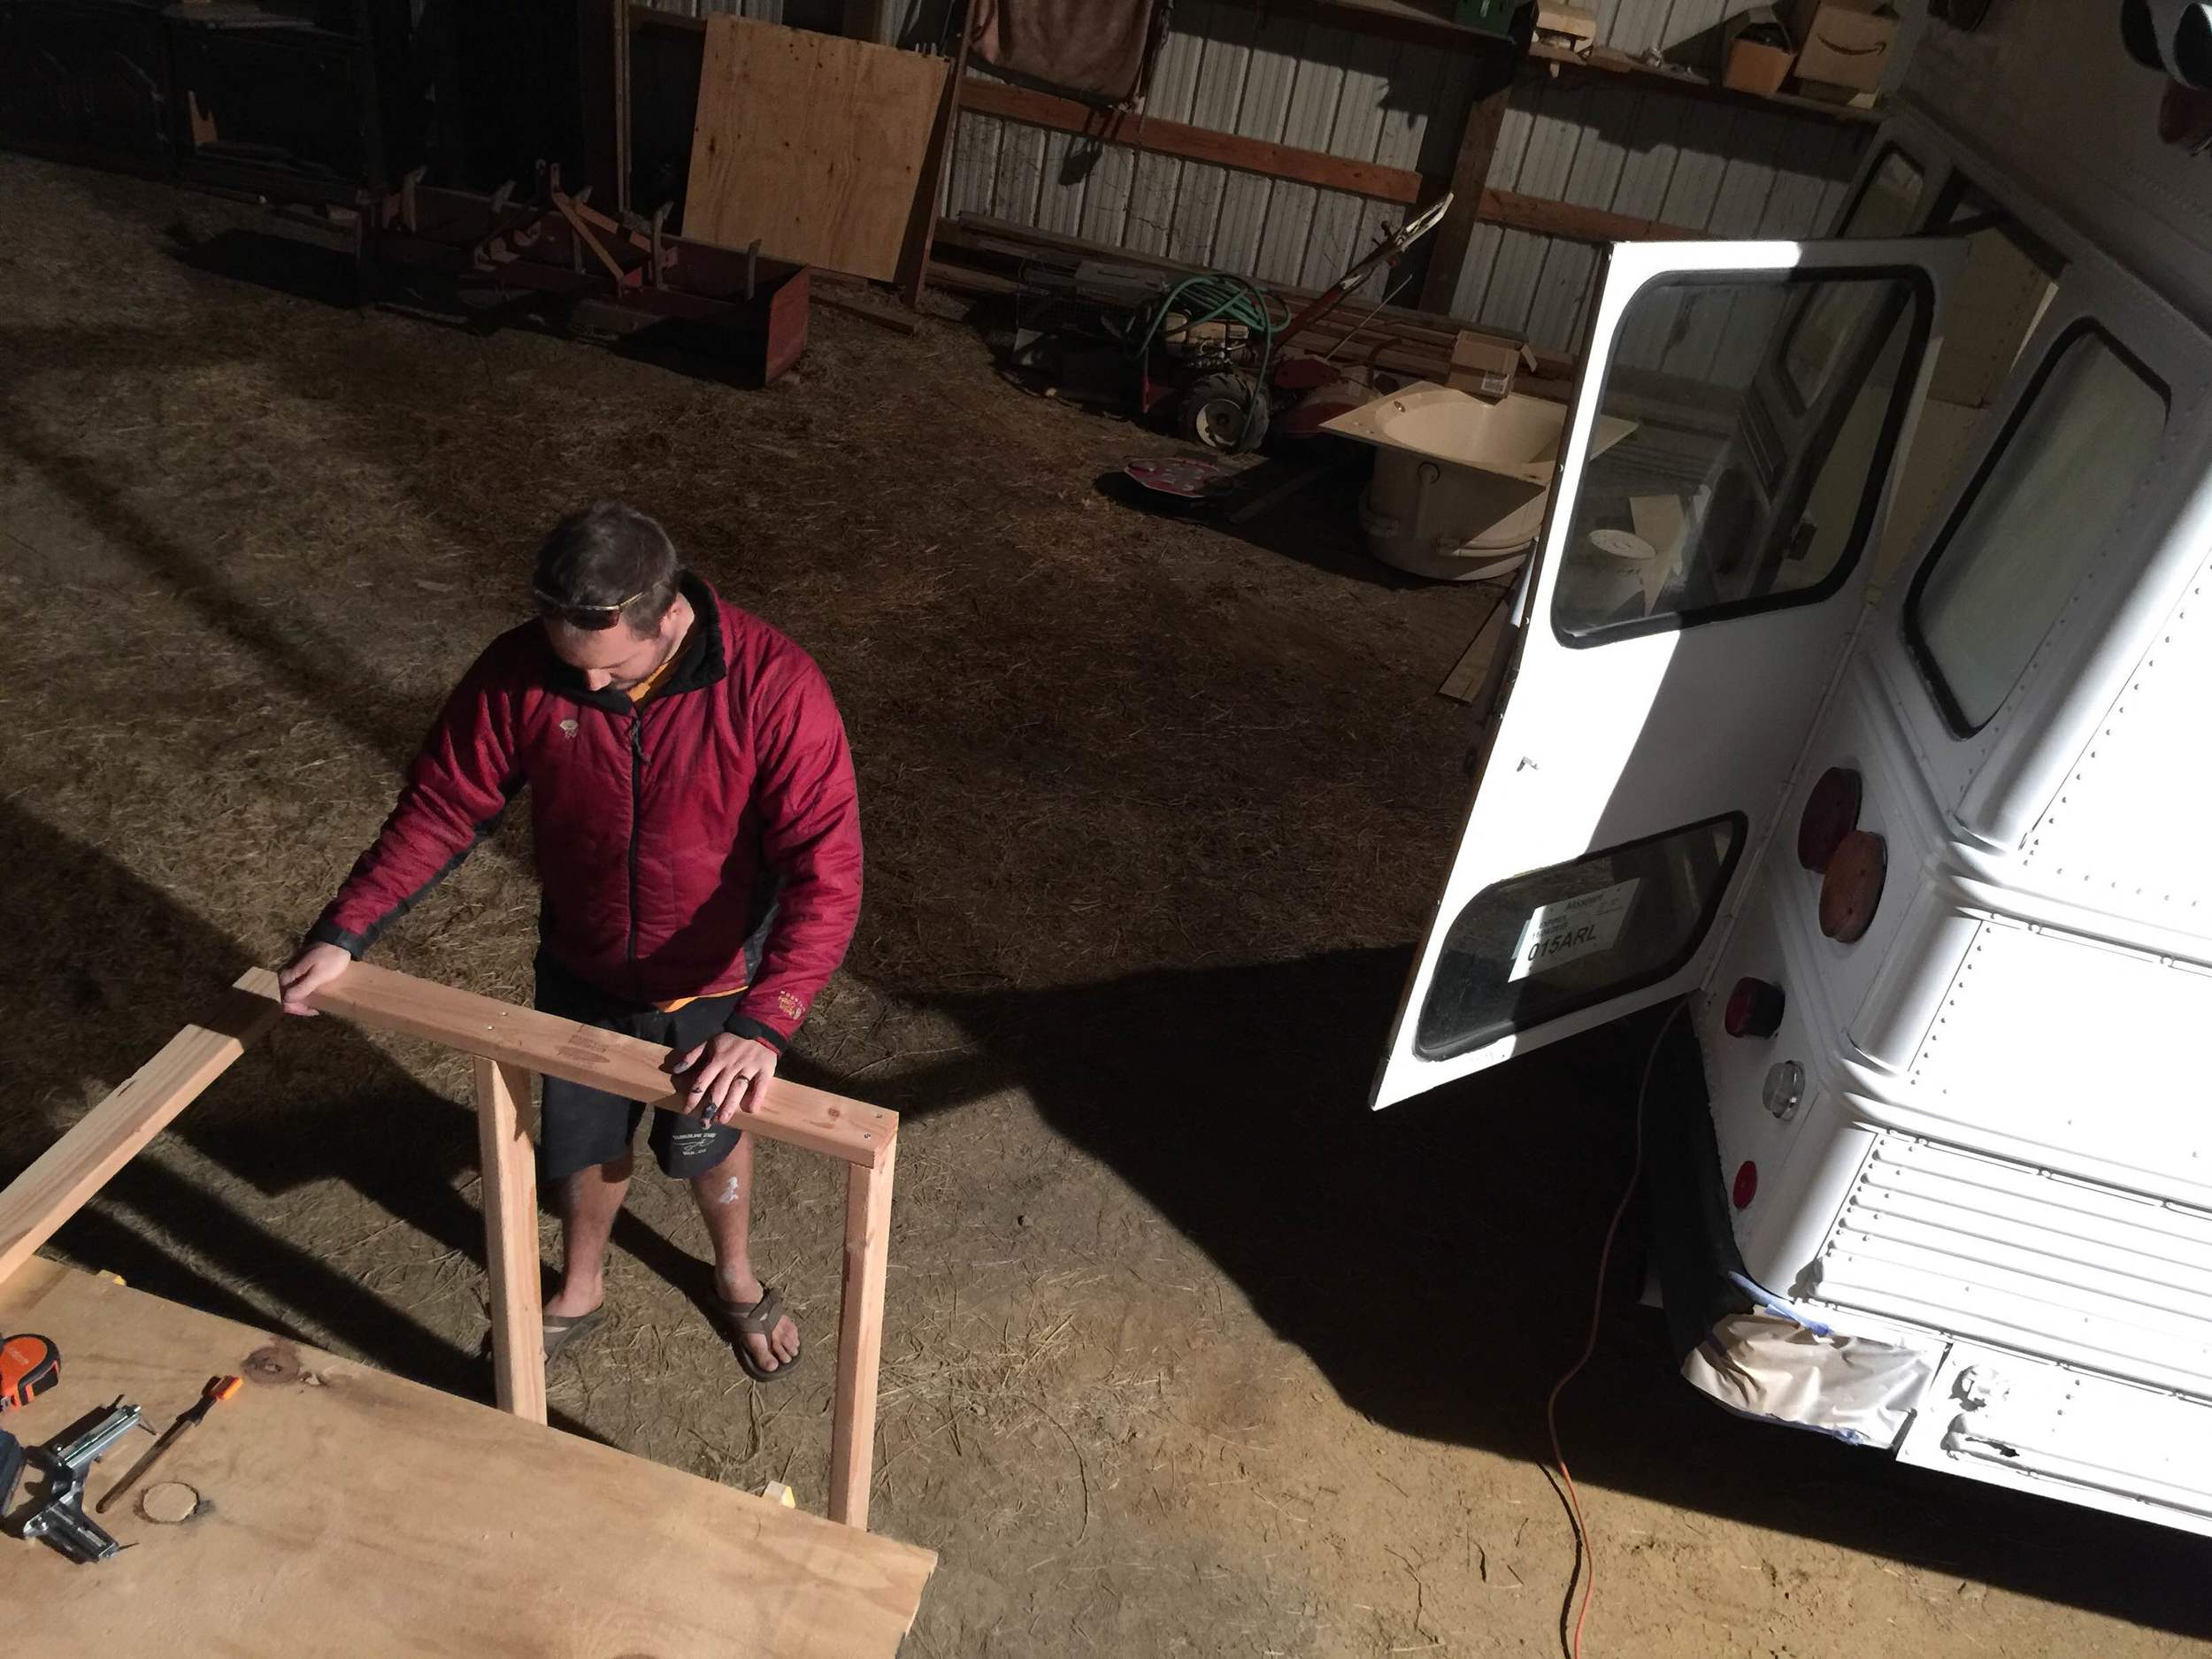
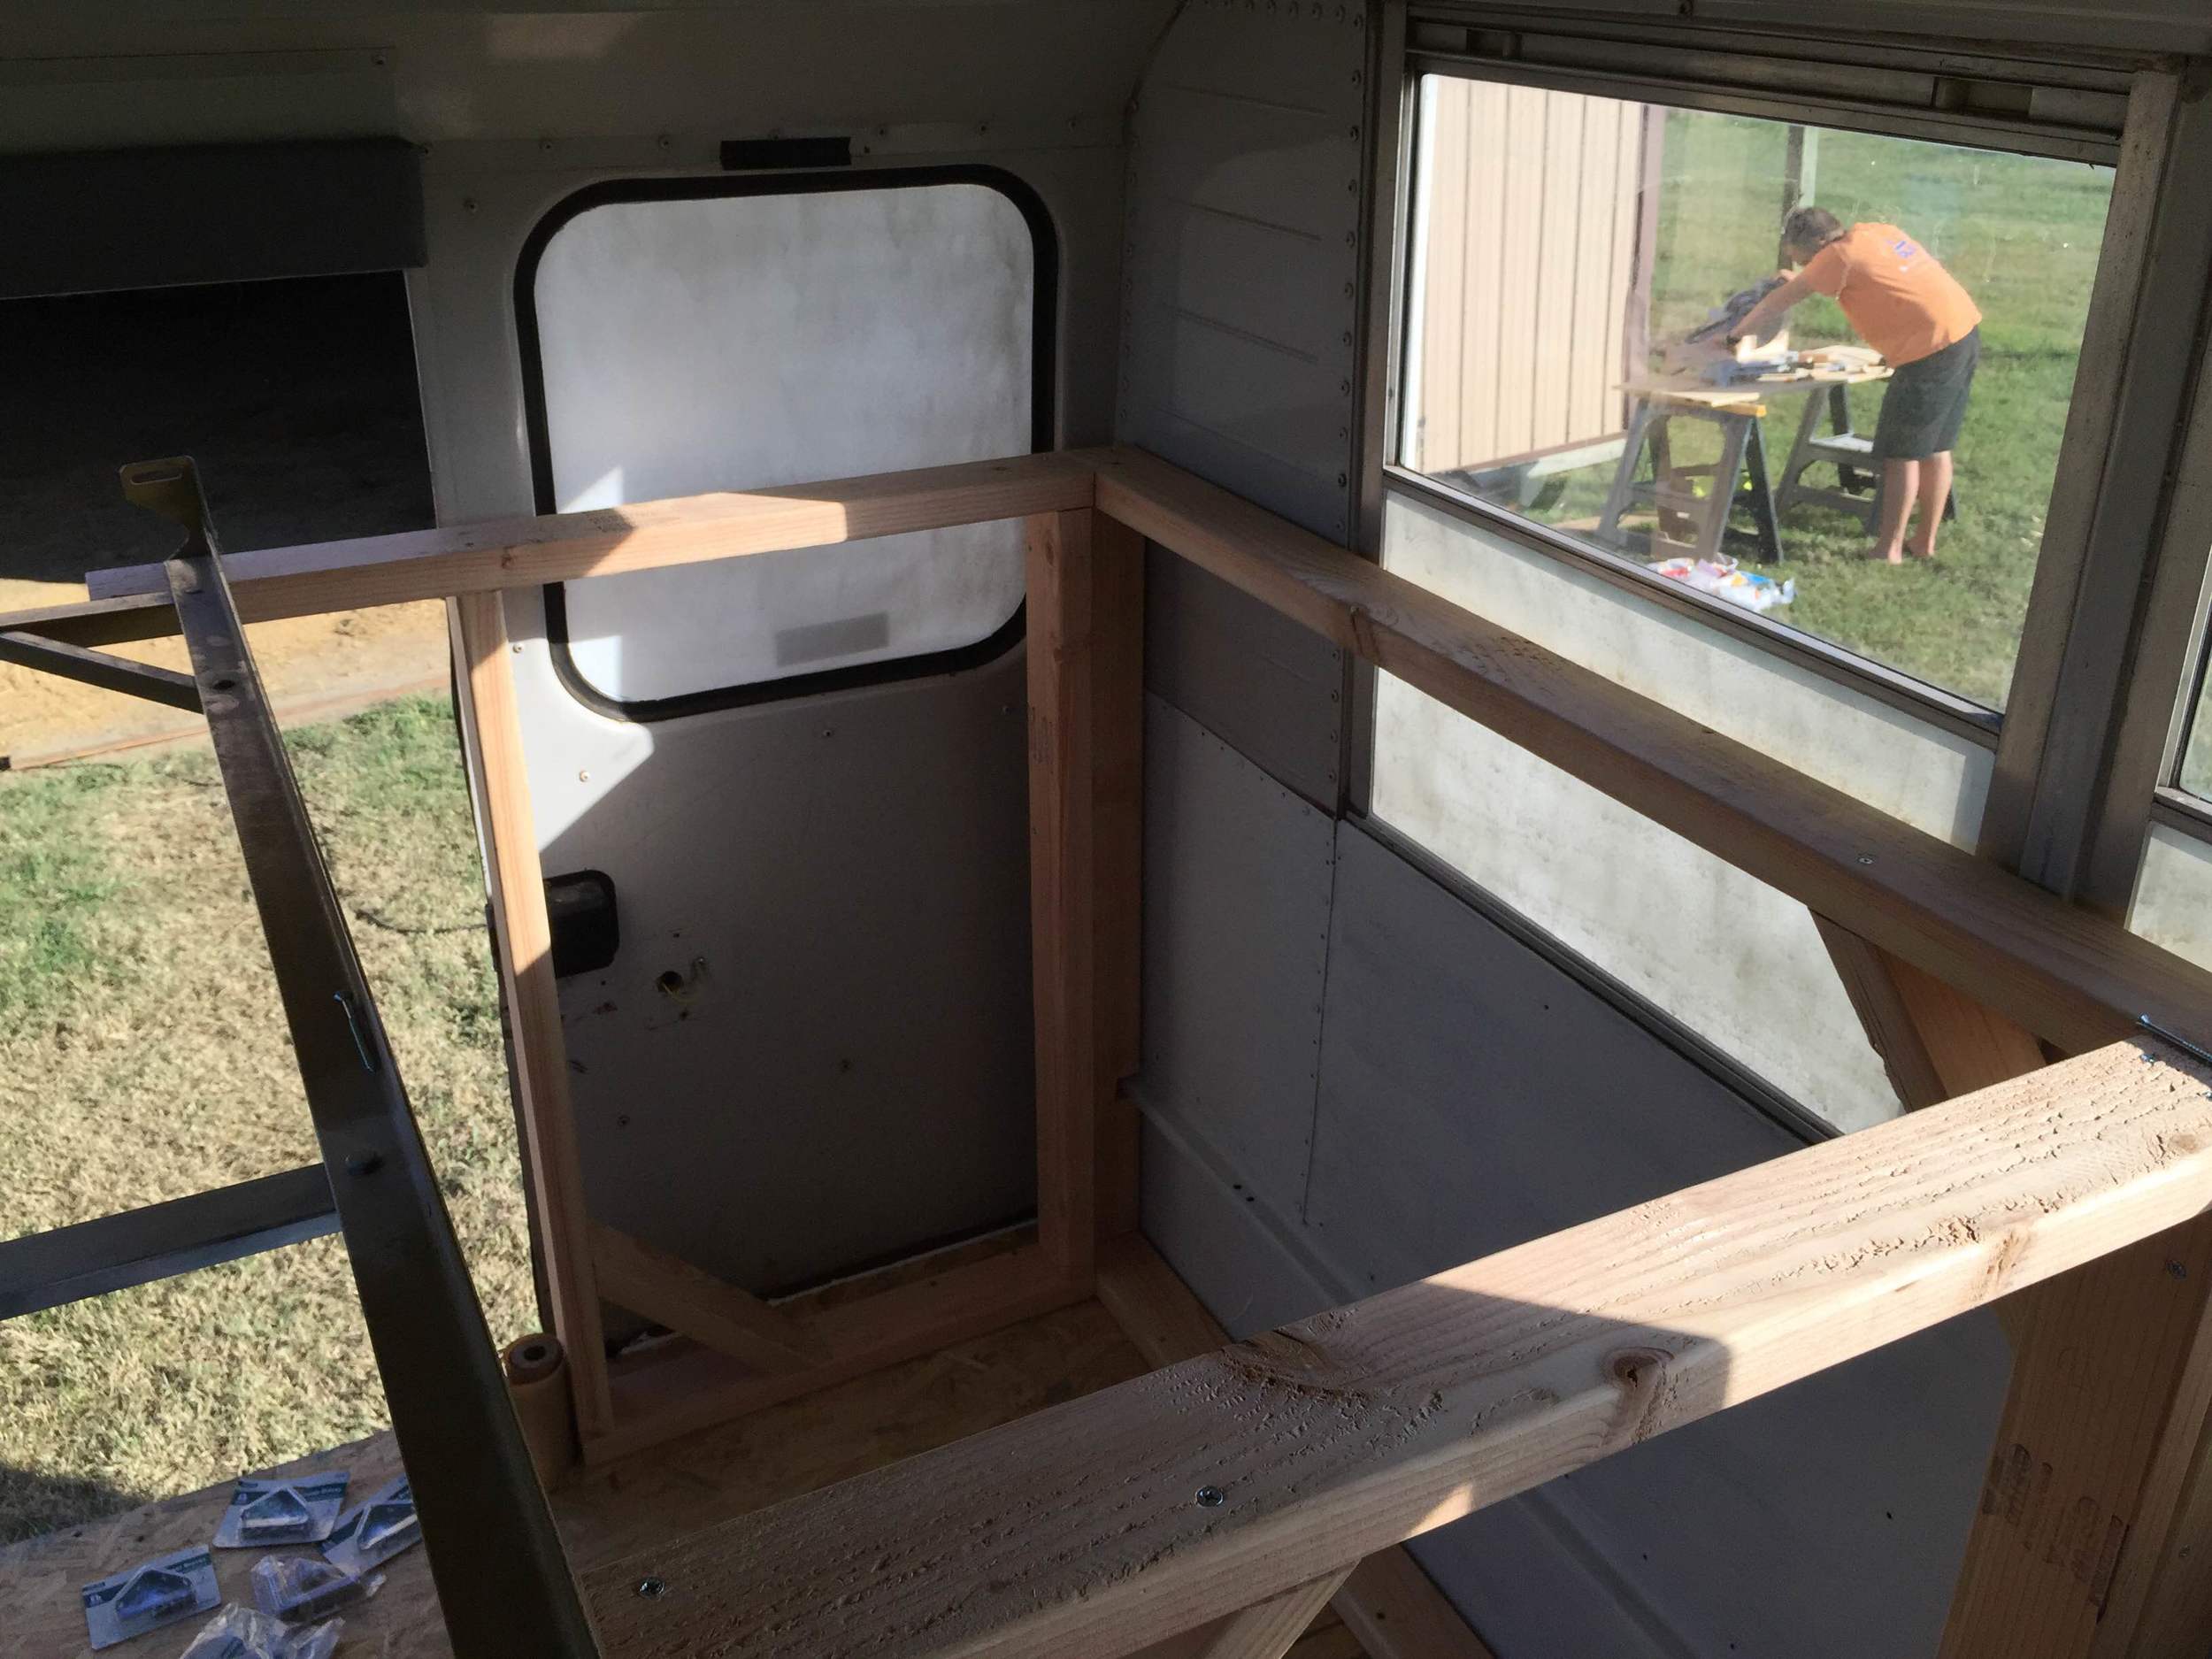
I really have to hand it to Christian…he did a fantastic job of framing out and building the loft. I don't think I walked over once during the course of the day to see what he was cutting or what his plan was. I had so much else I was concentrating on getting done that I was just happy he was a few feet away [supposedly] making progress of his own. When I would take a break while my paint dried, I'd pop my head into the bus if he was working in there. Each time, more of the loft was coming together.
He didn't plan any of it, by the way. He built each portion of it as the plan came together throughout the course of the project. I think the most impressive part of the whole thing is how perfectly every element of the design worked and fit like we'd envisioned.

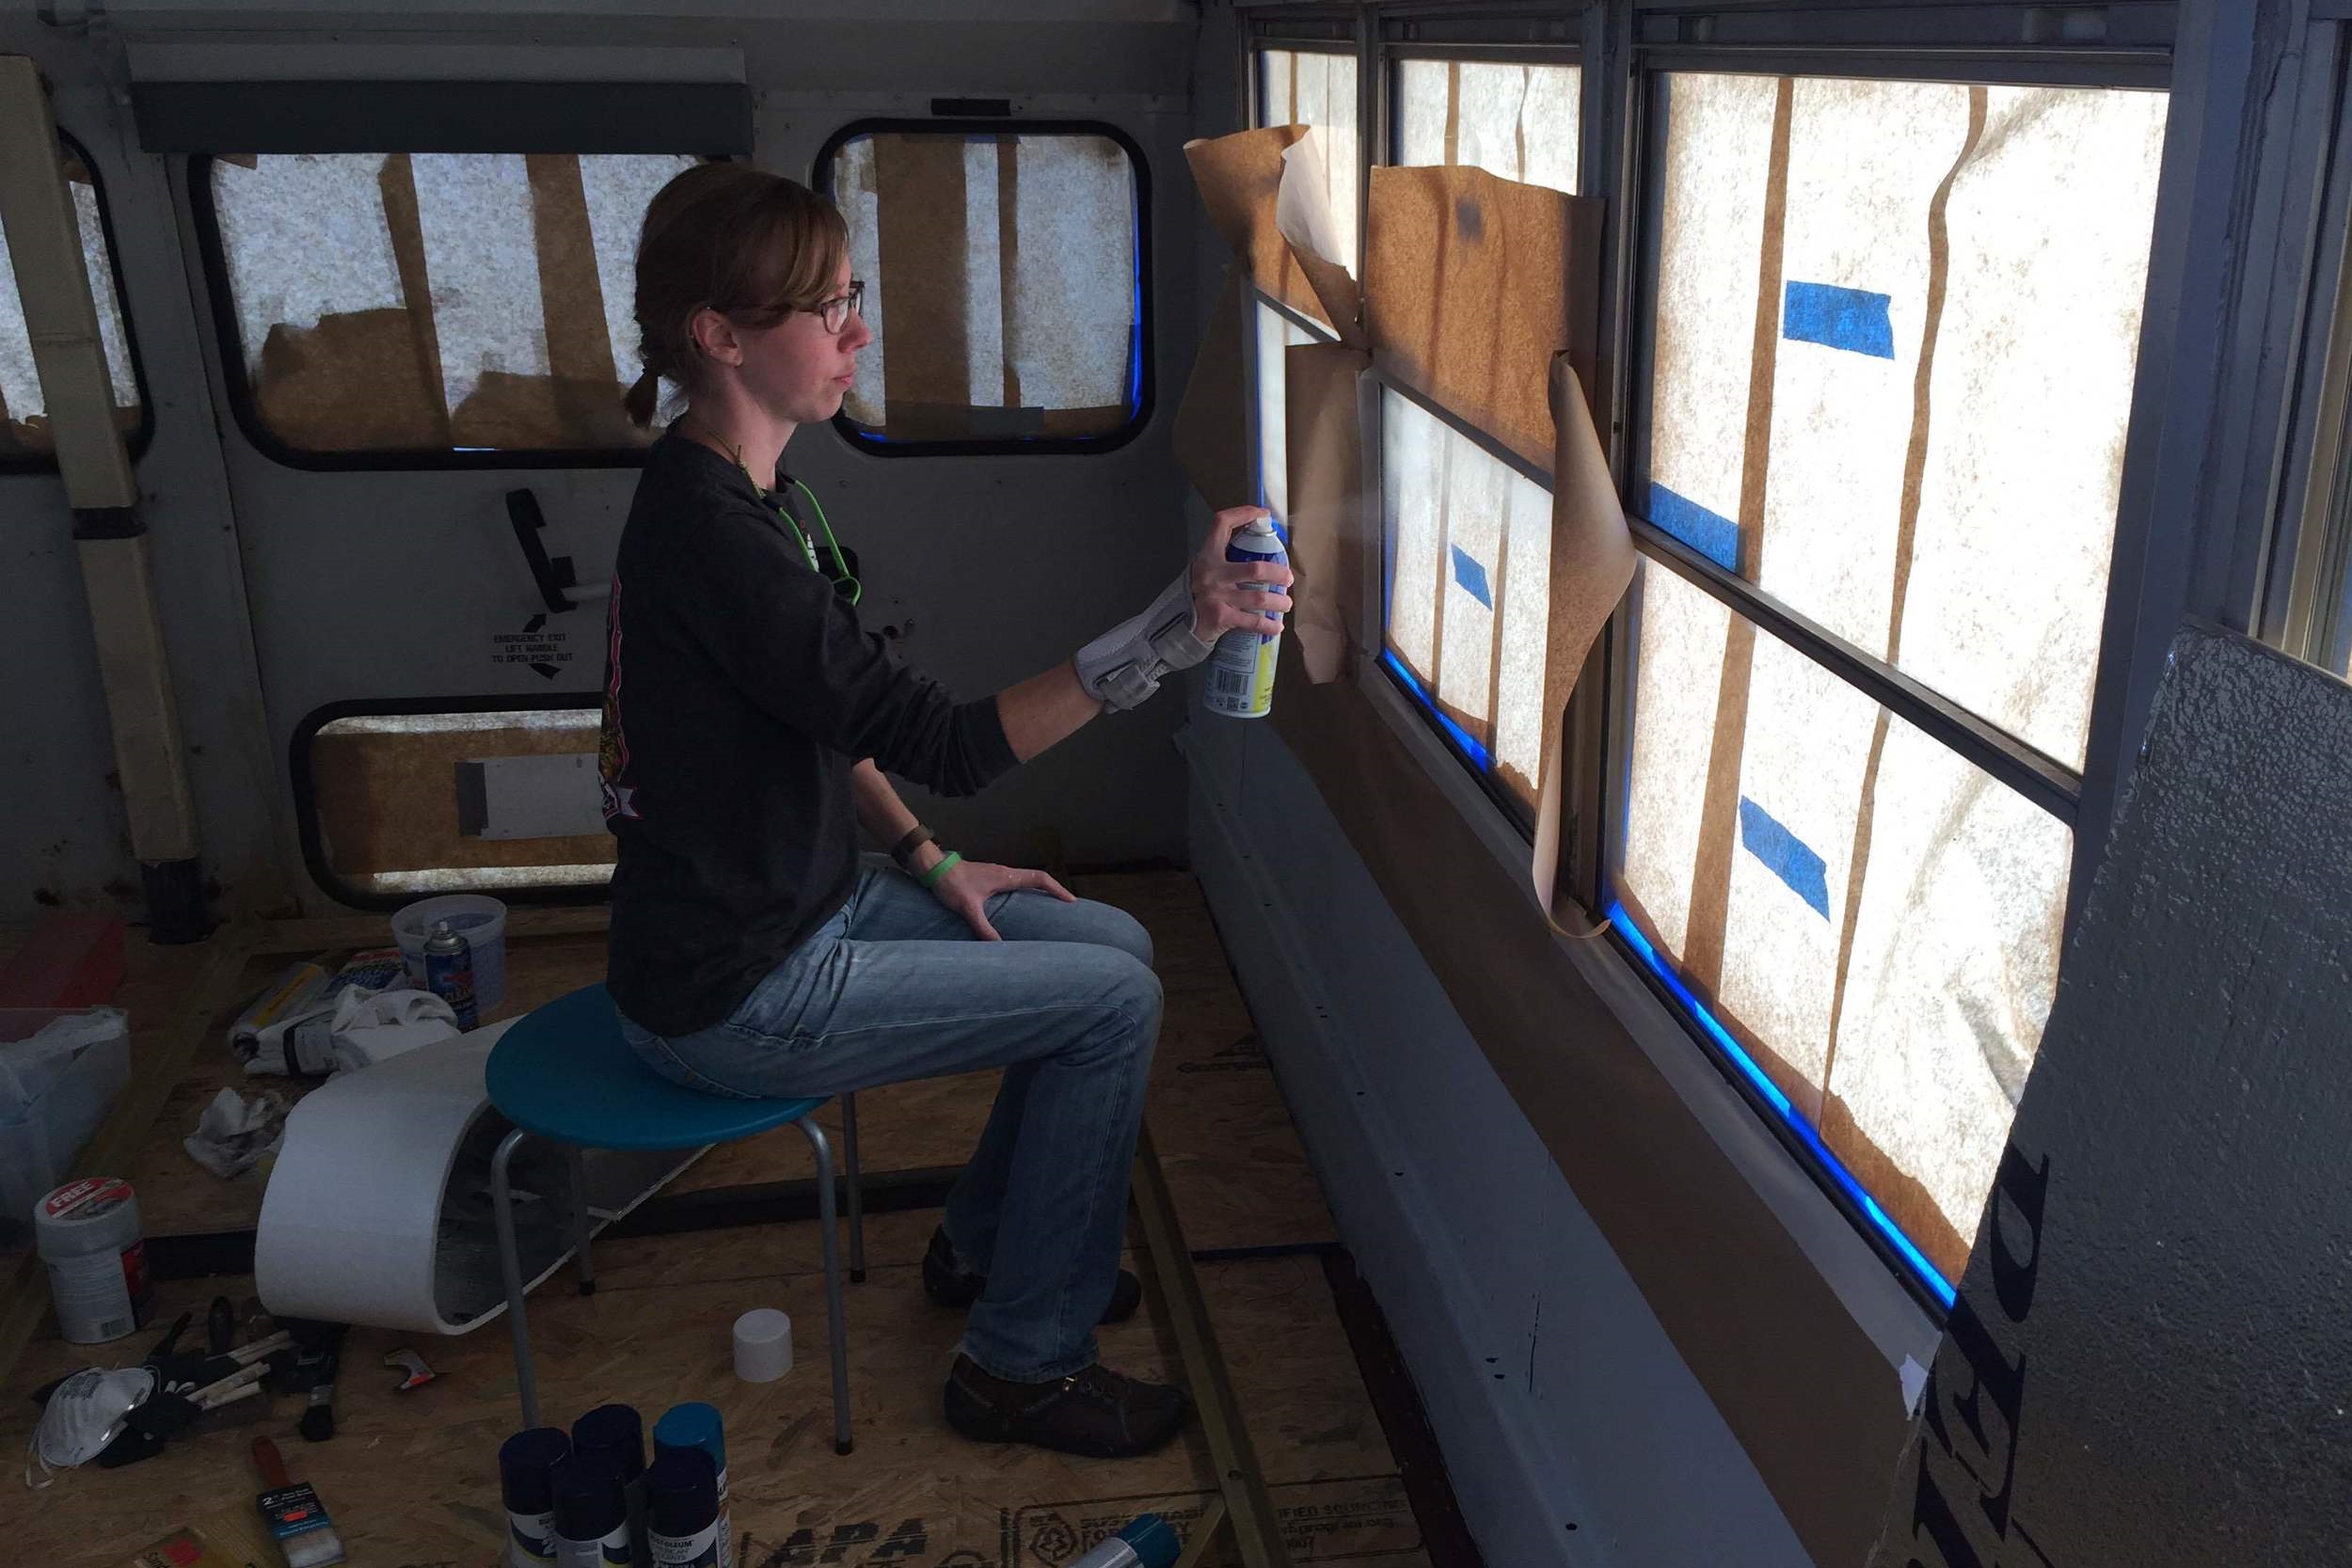
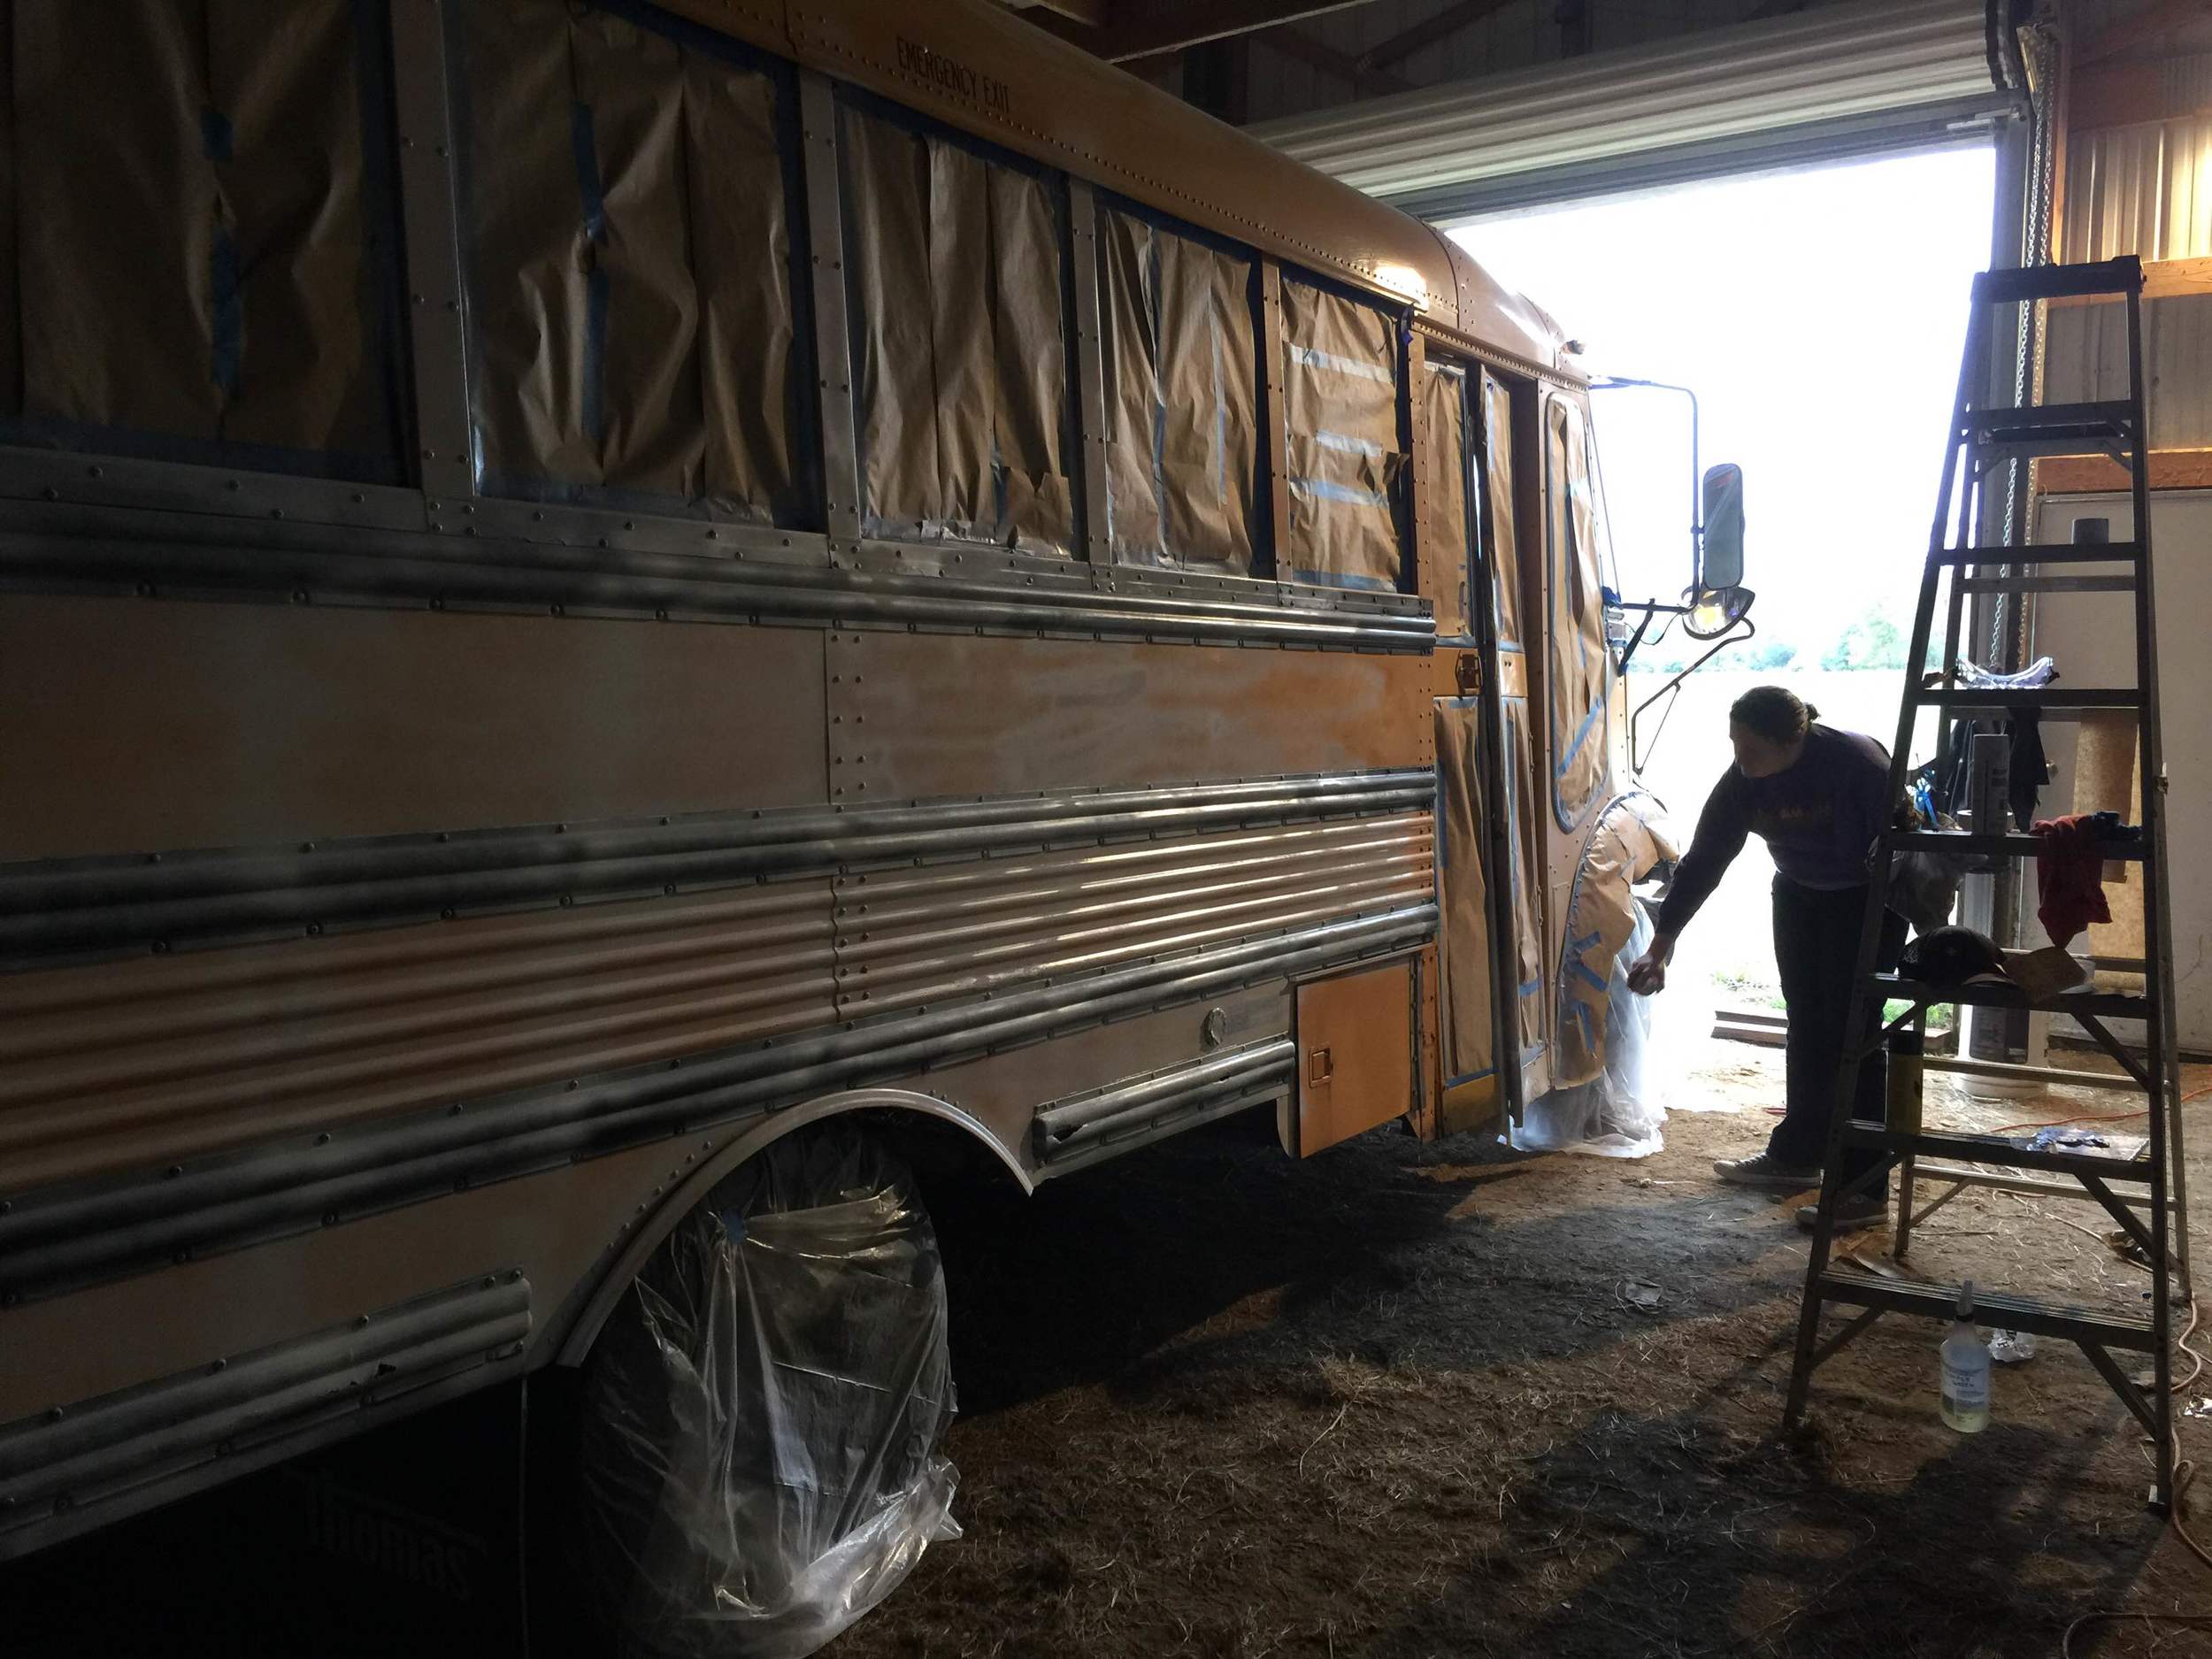
Luckily my teal stripe only required a small section to be taped off. Because we'd only been able to find two cans of the glossy teal spray paint, we bought some satin of the same color to layer on as pigment before doing a final coat with glossy.
Grandpa Bert checking in on Christian's progress.

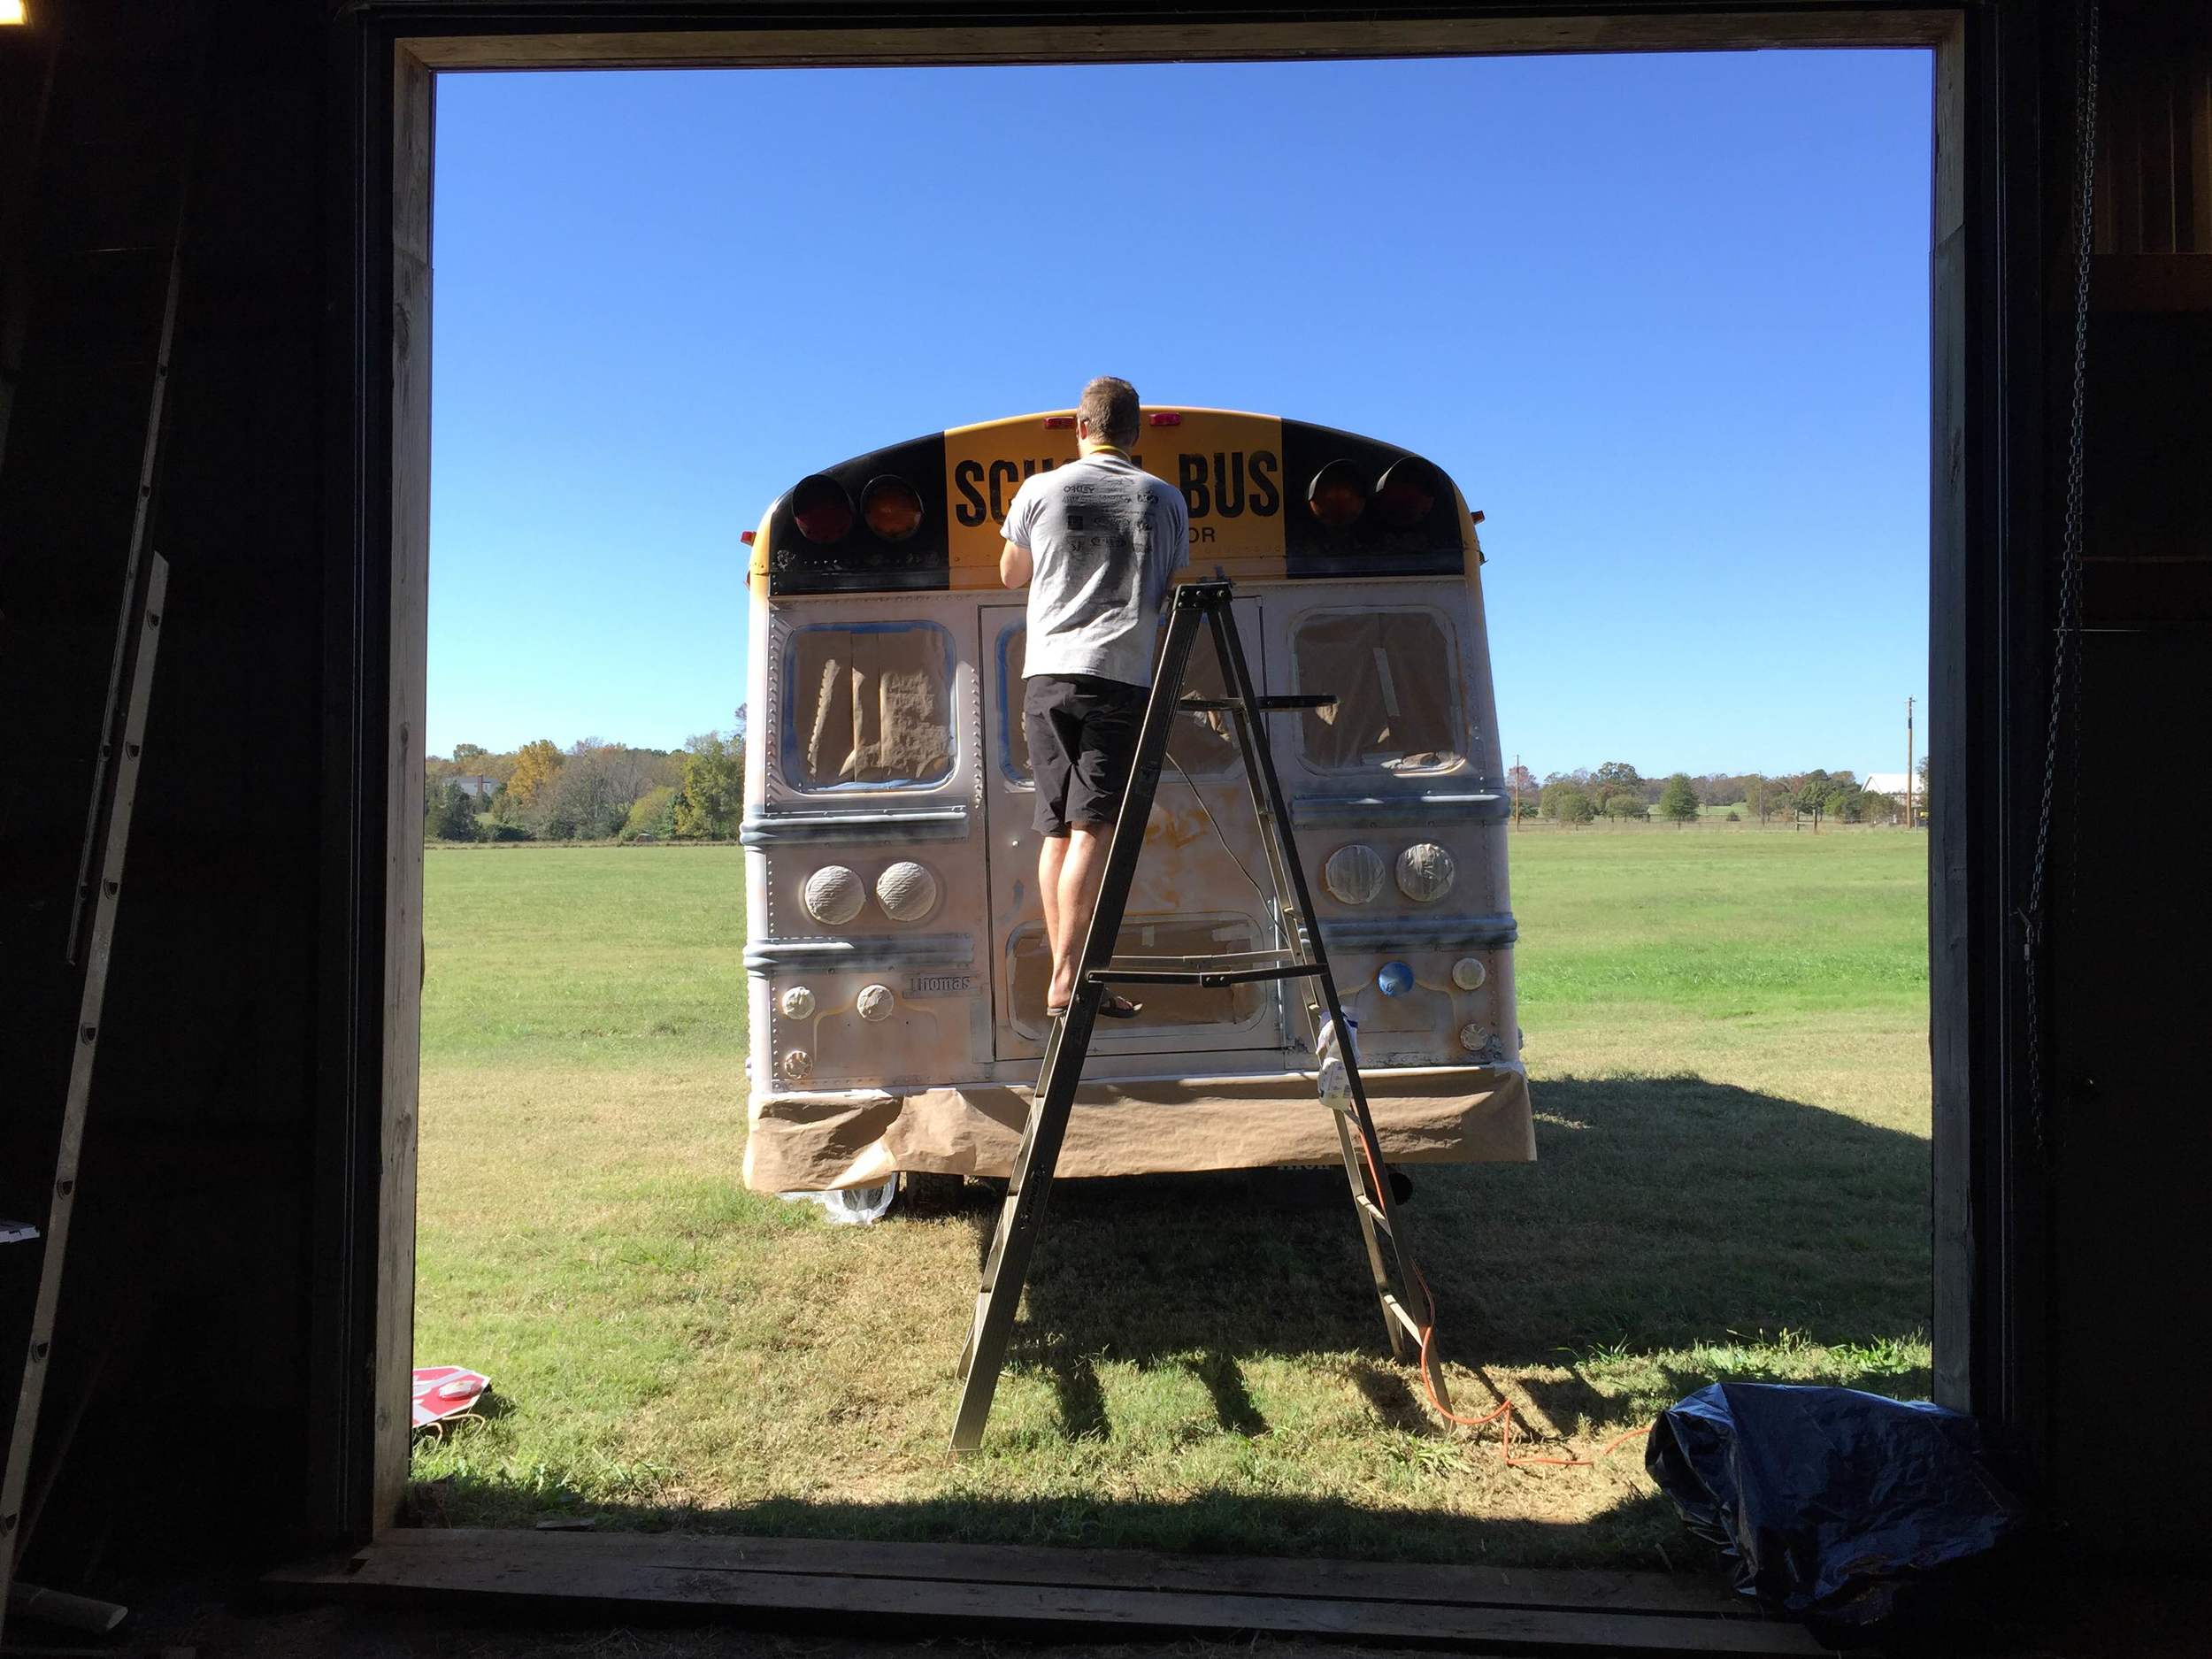
My first go-round with the teal paint, I didn't put two strips of paper down at the bottom. As a result, the wind and my negligence caused some accidental teal to land on the lower white and navy sections. I was able to touch up the white already, but the navy I'll have to get to later. I was so many hours into working that noticing this mishap nearly caused a meltdown.

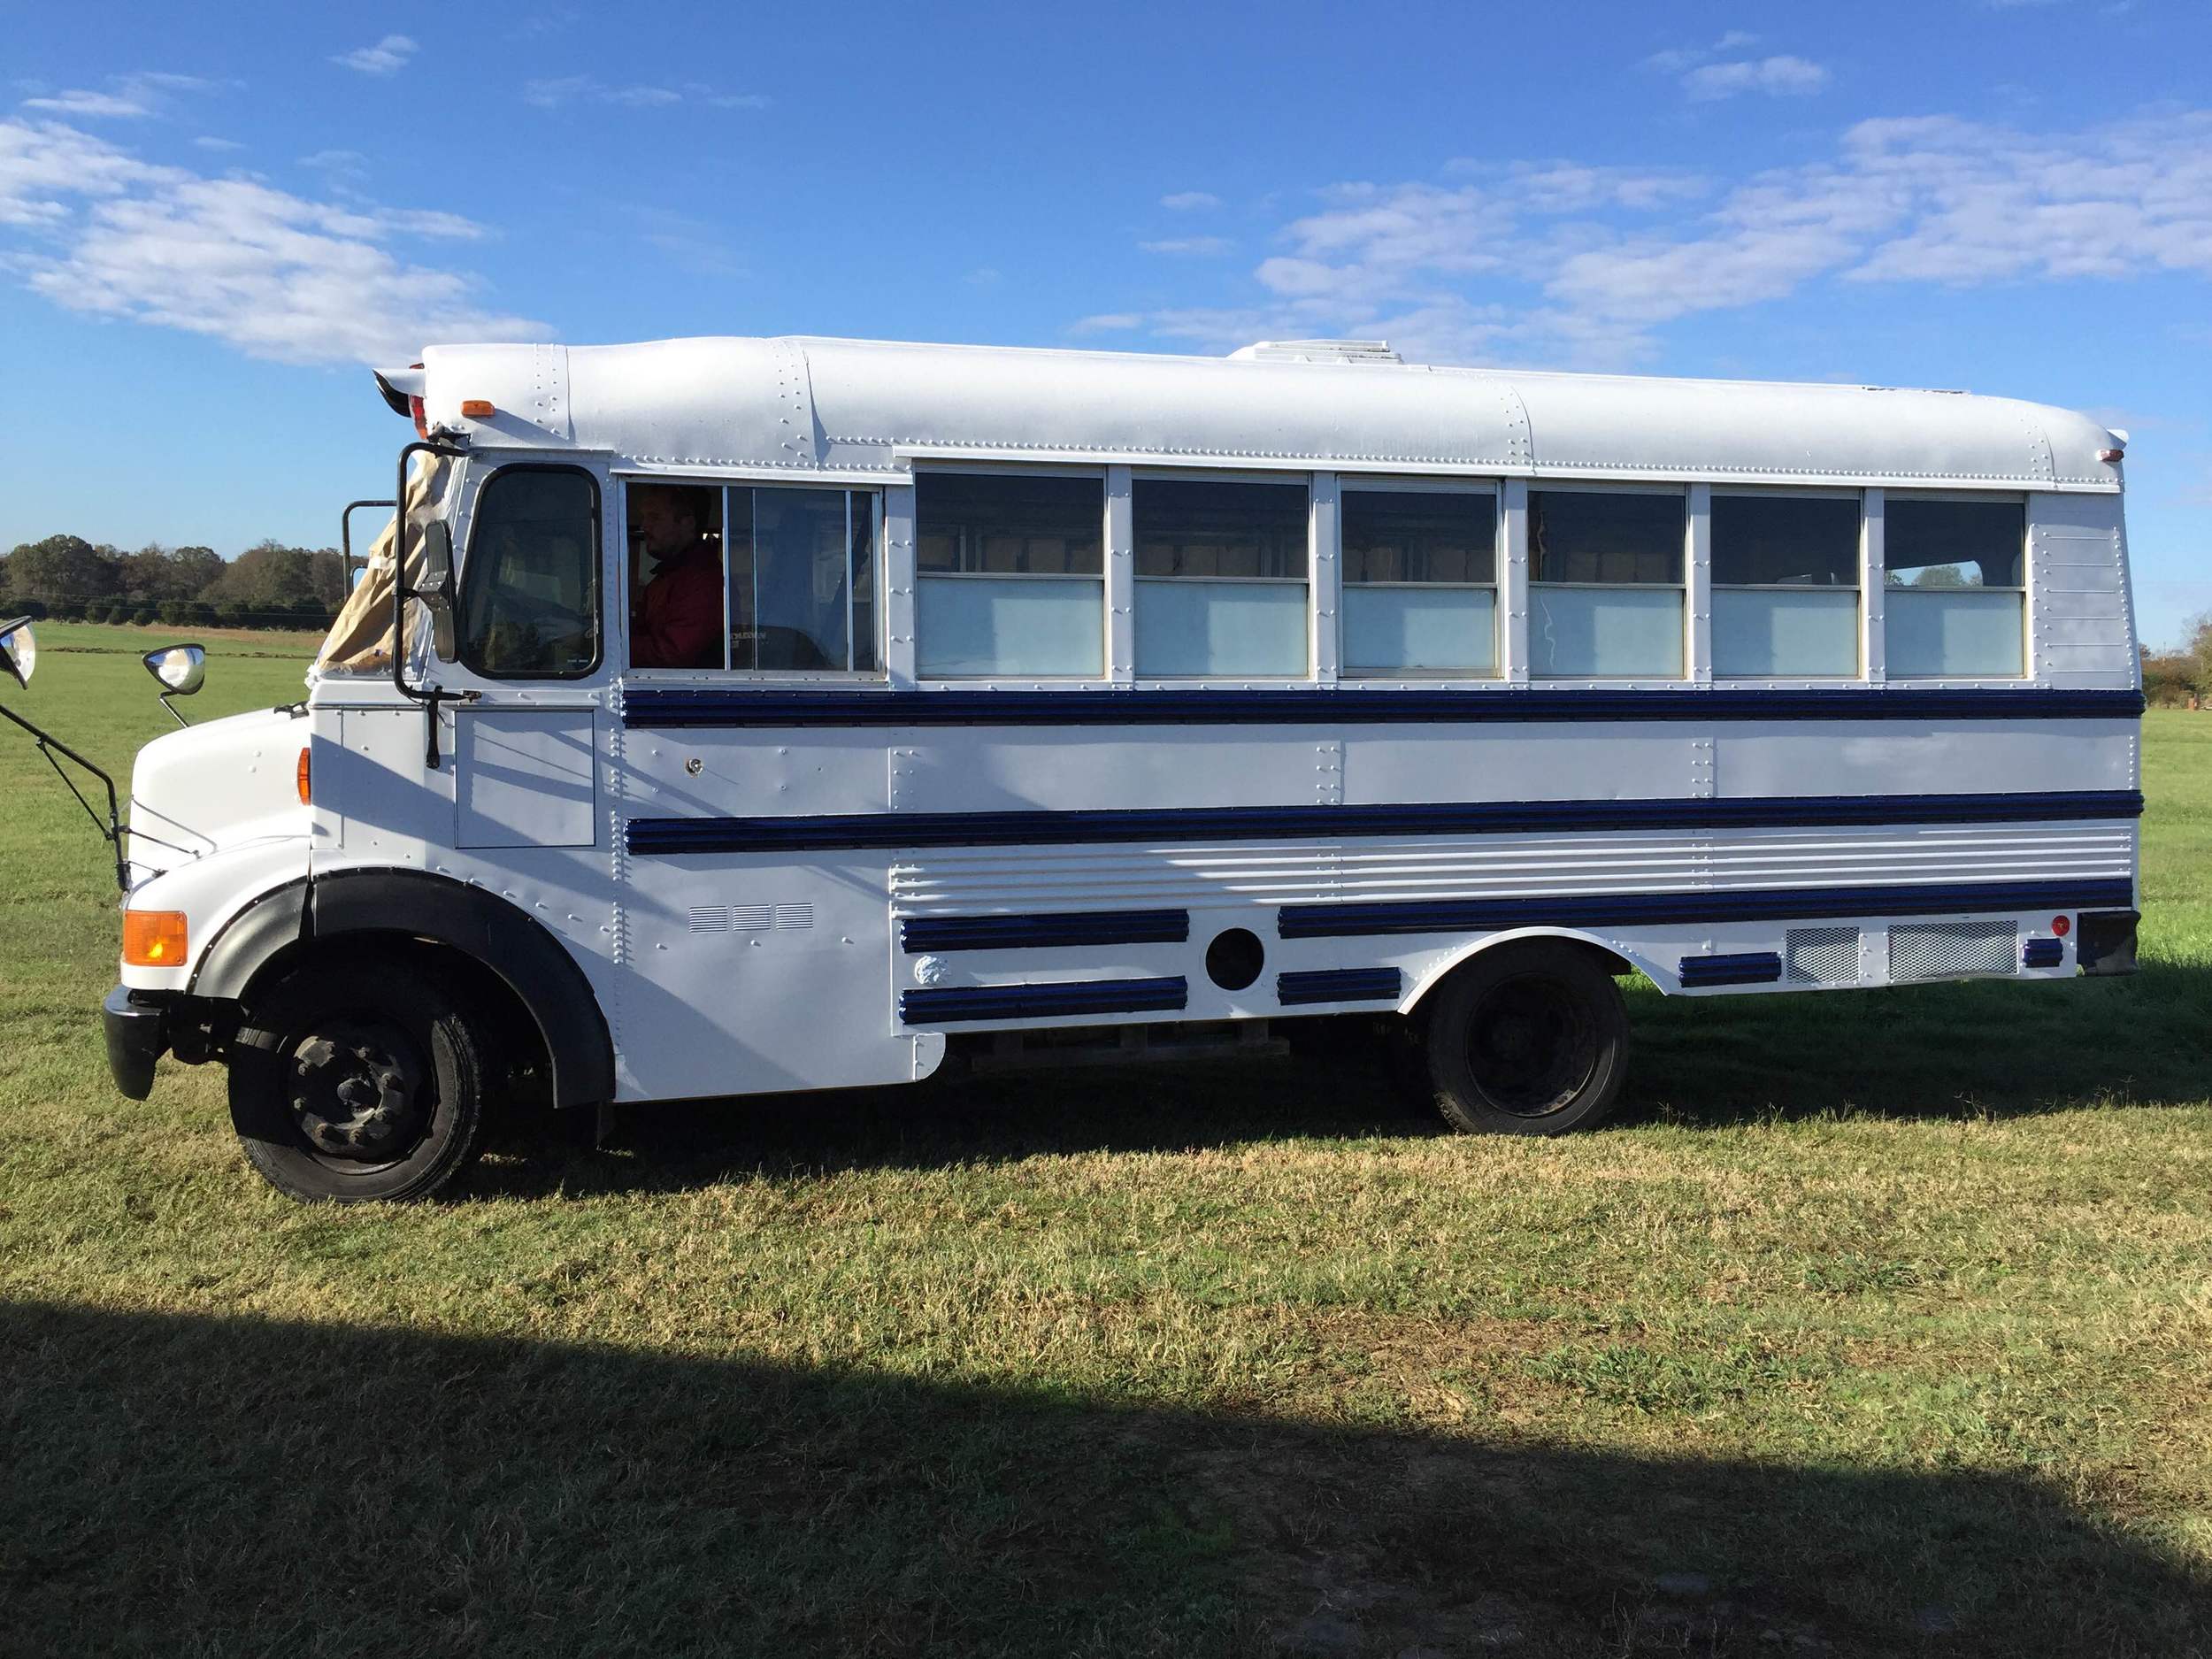
When we finally pulled all the tape and paper off, we couldn't help but admire how great Stubbs looked. It's far from perfect, but for being well under the cost of getting someone else to do it, we're incredibly pleased.
Christian continued to work on the loft space while I cleaned up and prepped to move the kitchen to its permanent spot.

After the loft was done, Christian secured the kitchen and we moved the filing cabinets into place. Without planning, there was just enough space for a 2x4 between them, so Christian built a frame and secured everything in place. (Don't mind the ugly tan…I haven't had the time to get all "Pinteresty" on the filing cabinets yet…that will come later.)
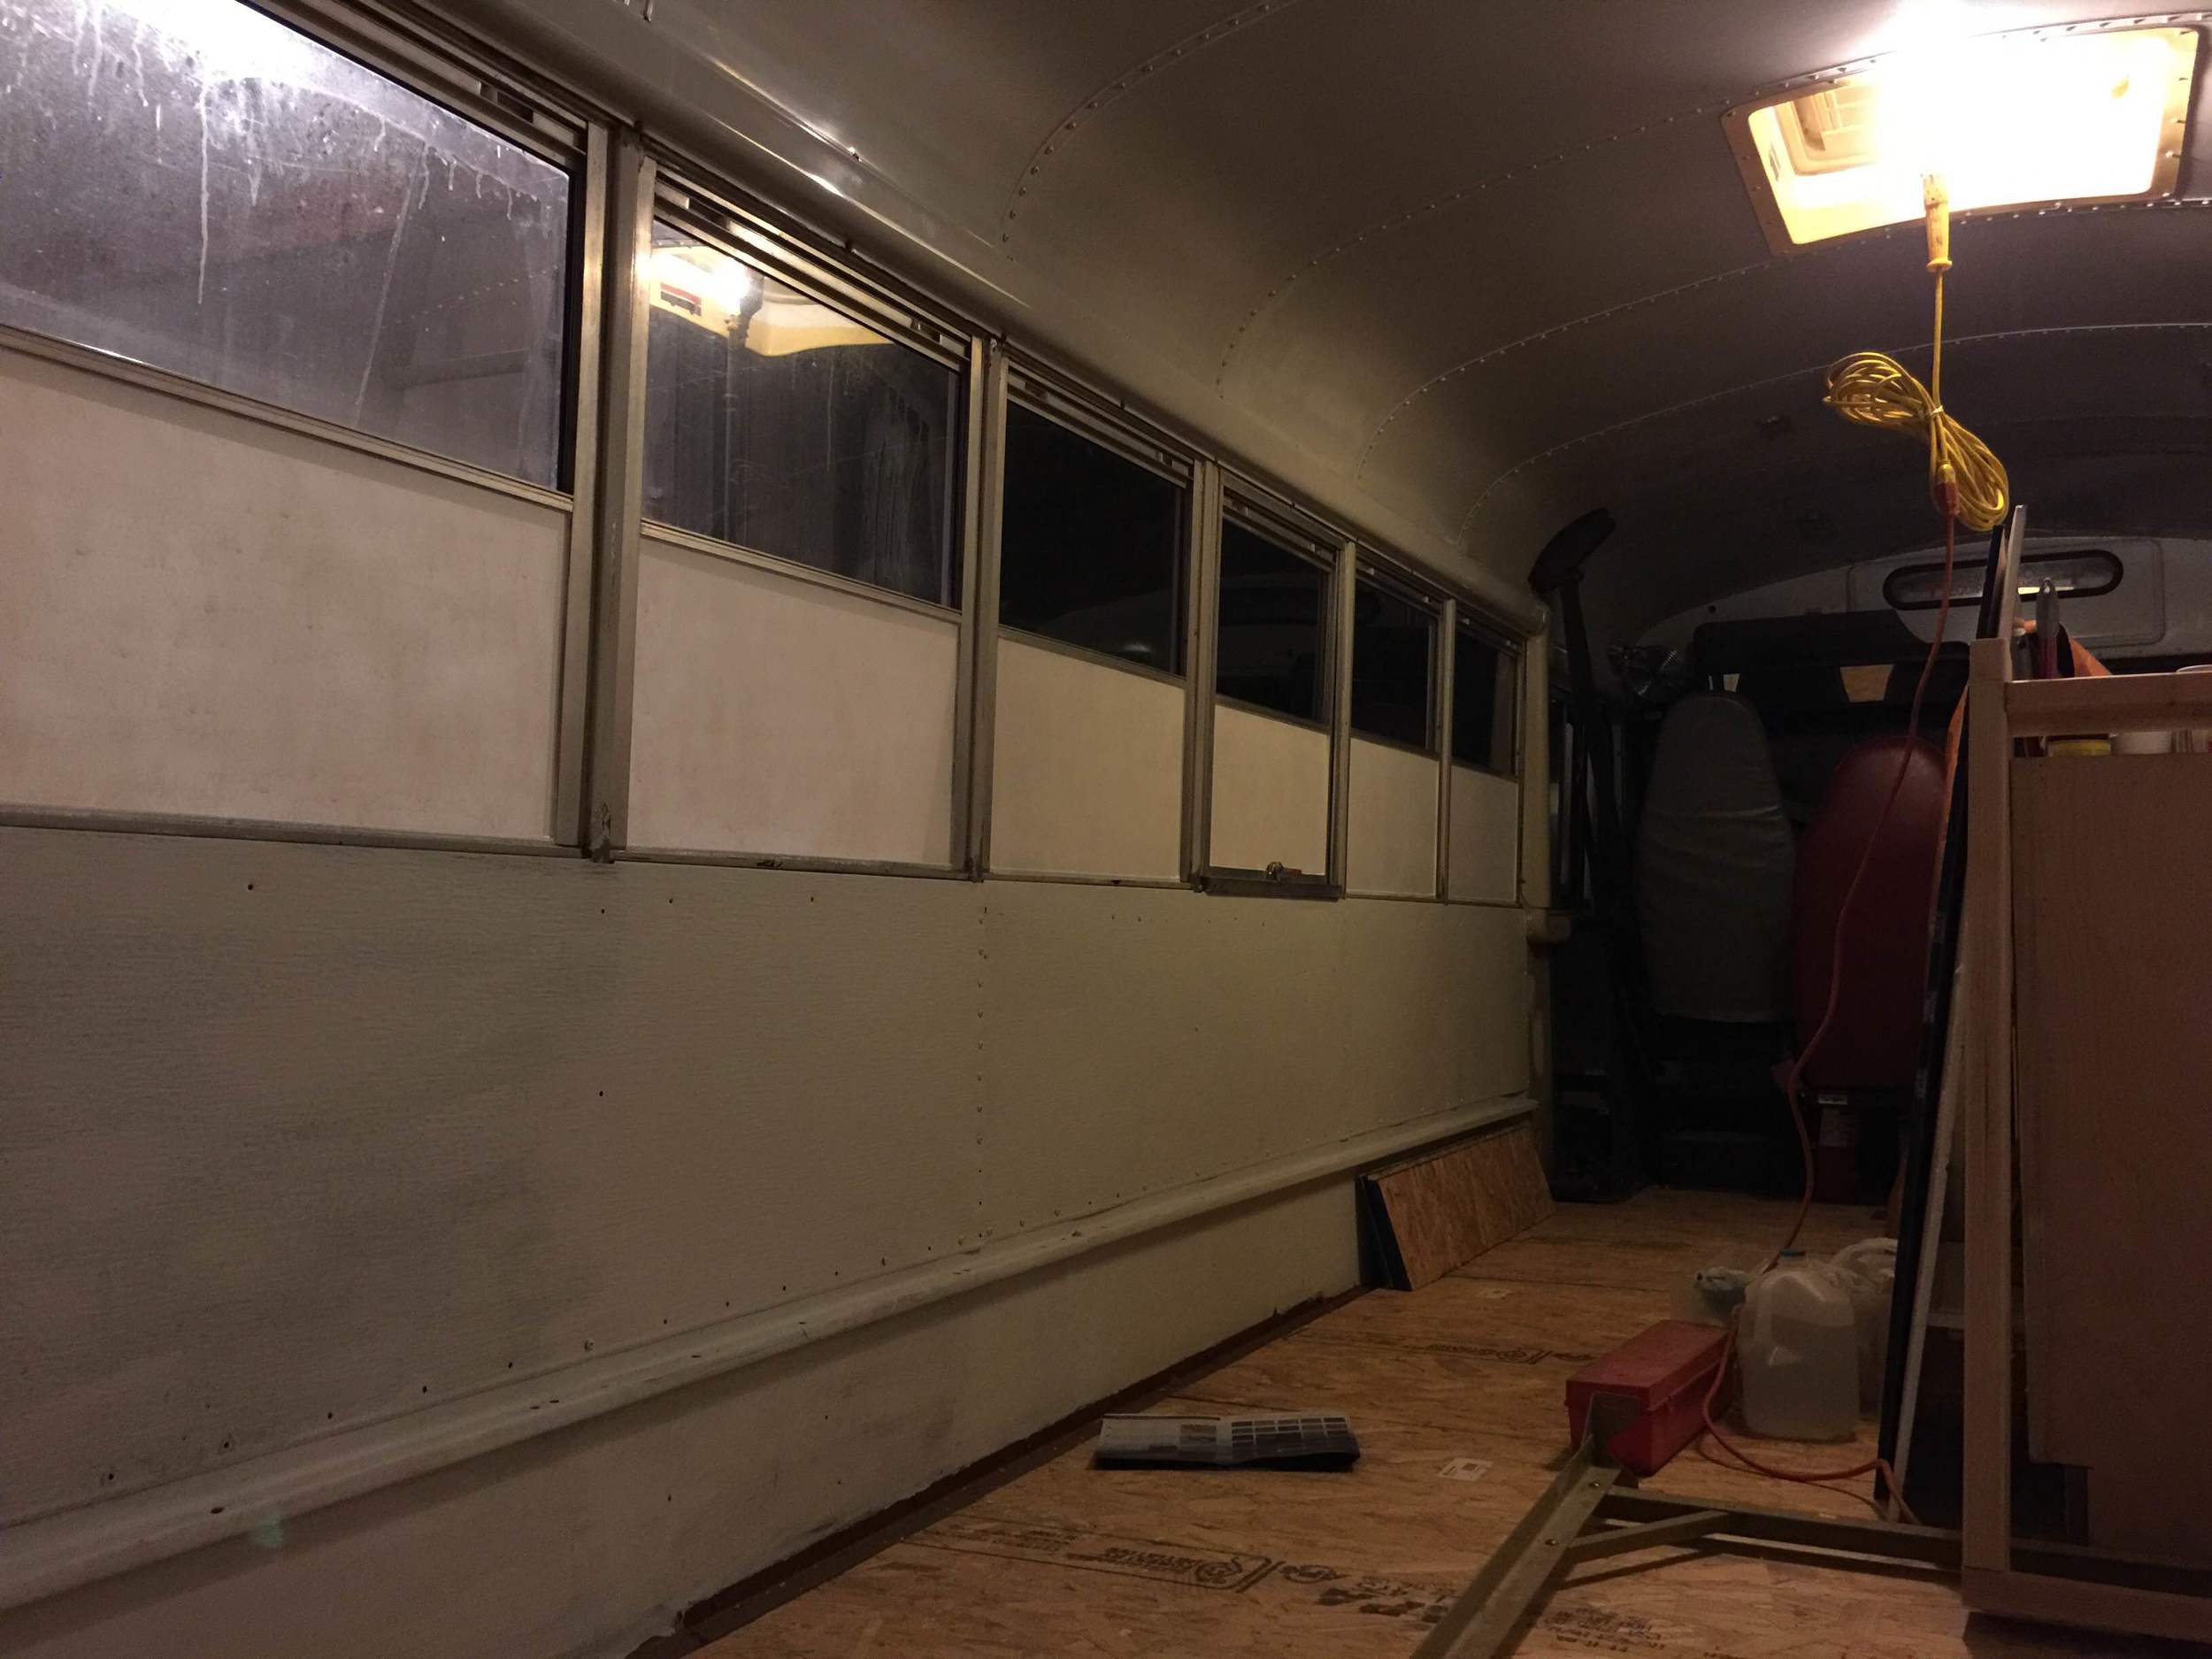
With the loft/bed frame and kitchen in place, you can kind of really start to see the layout come together. We only have one more day left to work and load up before we leave on Thursday, so we're both pretty happy there's a bed framed out.

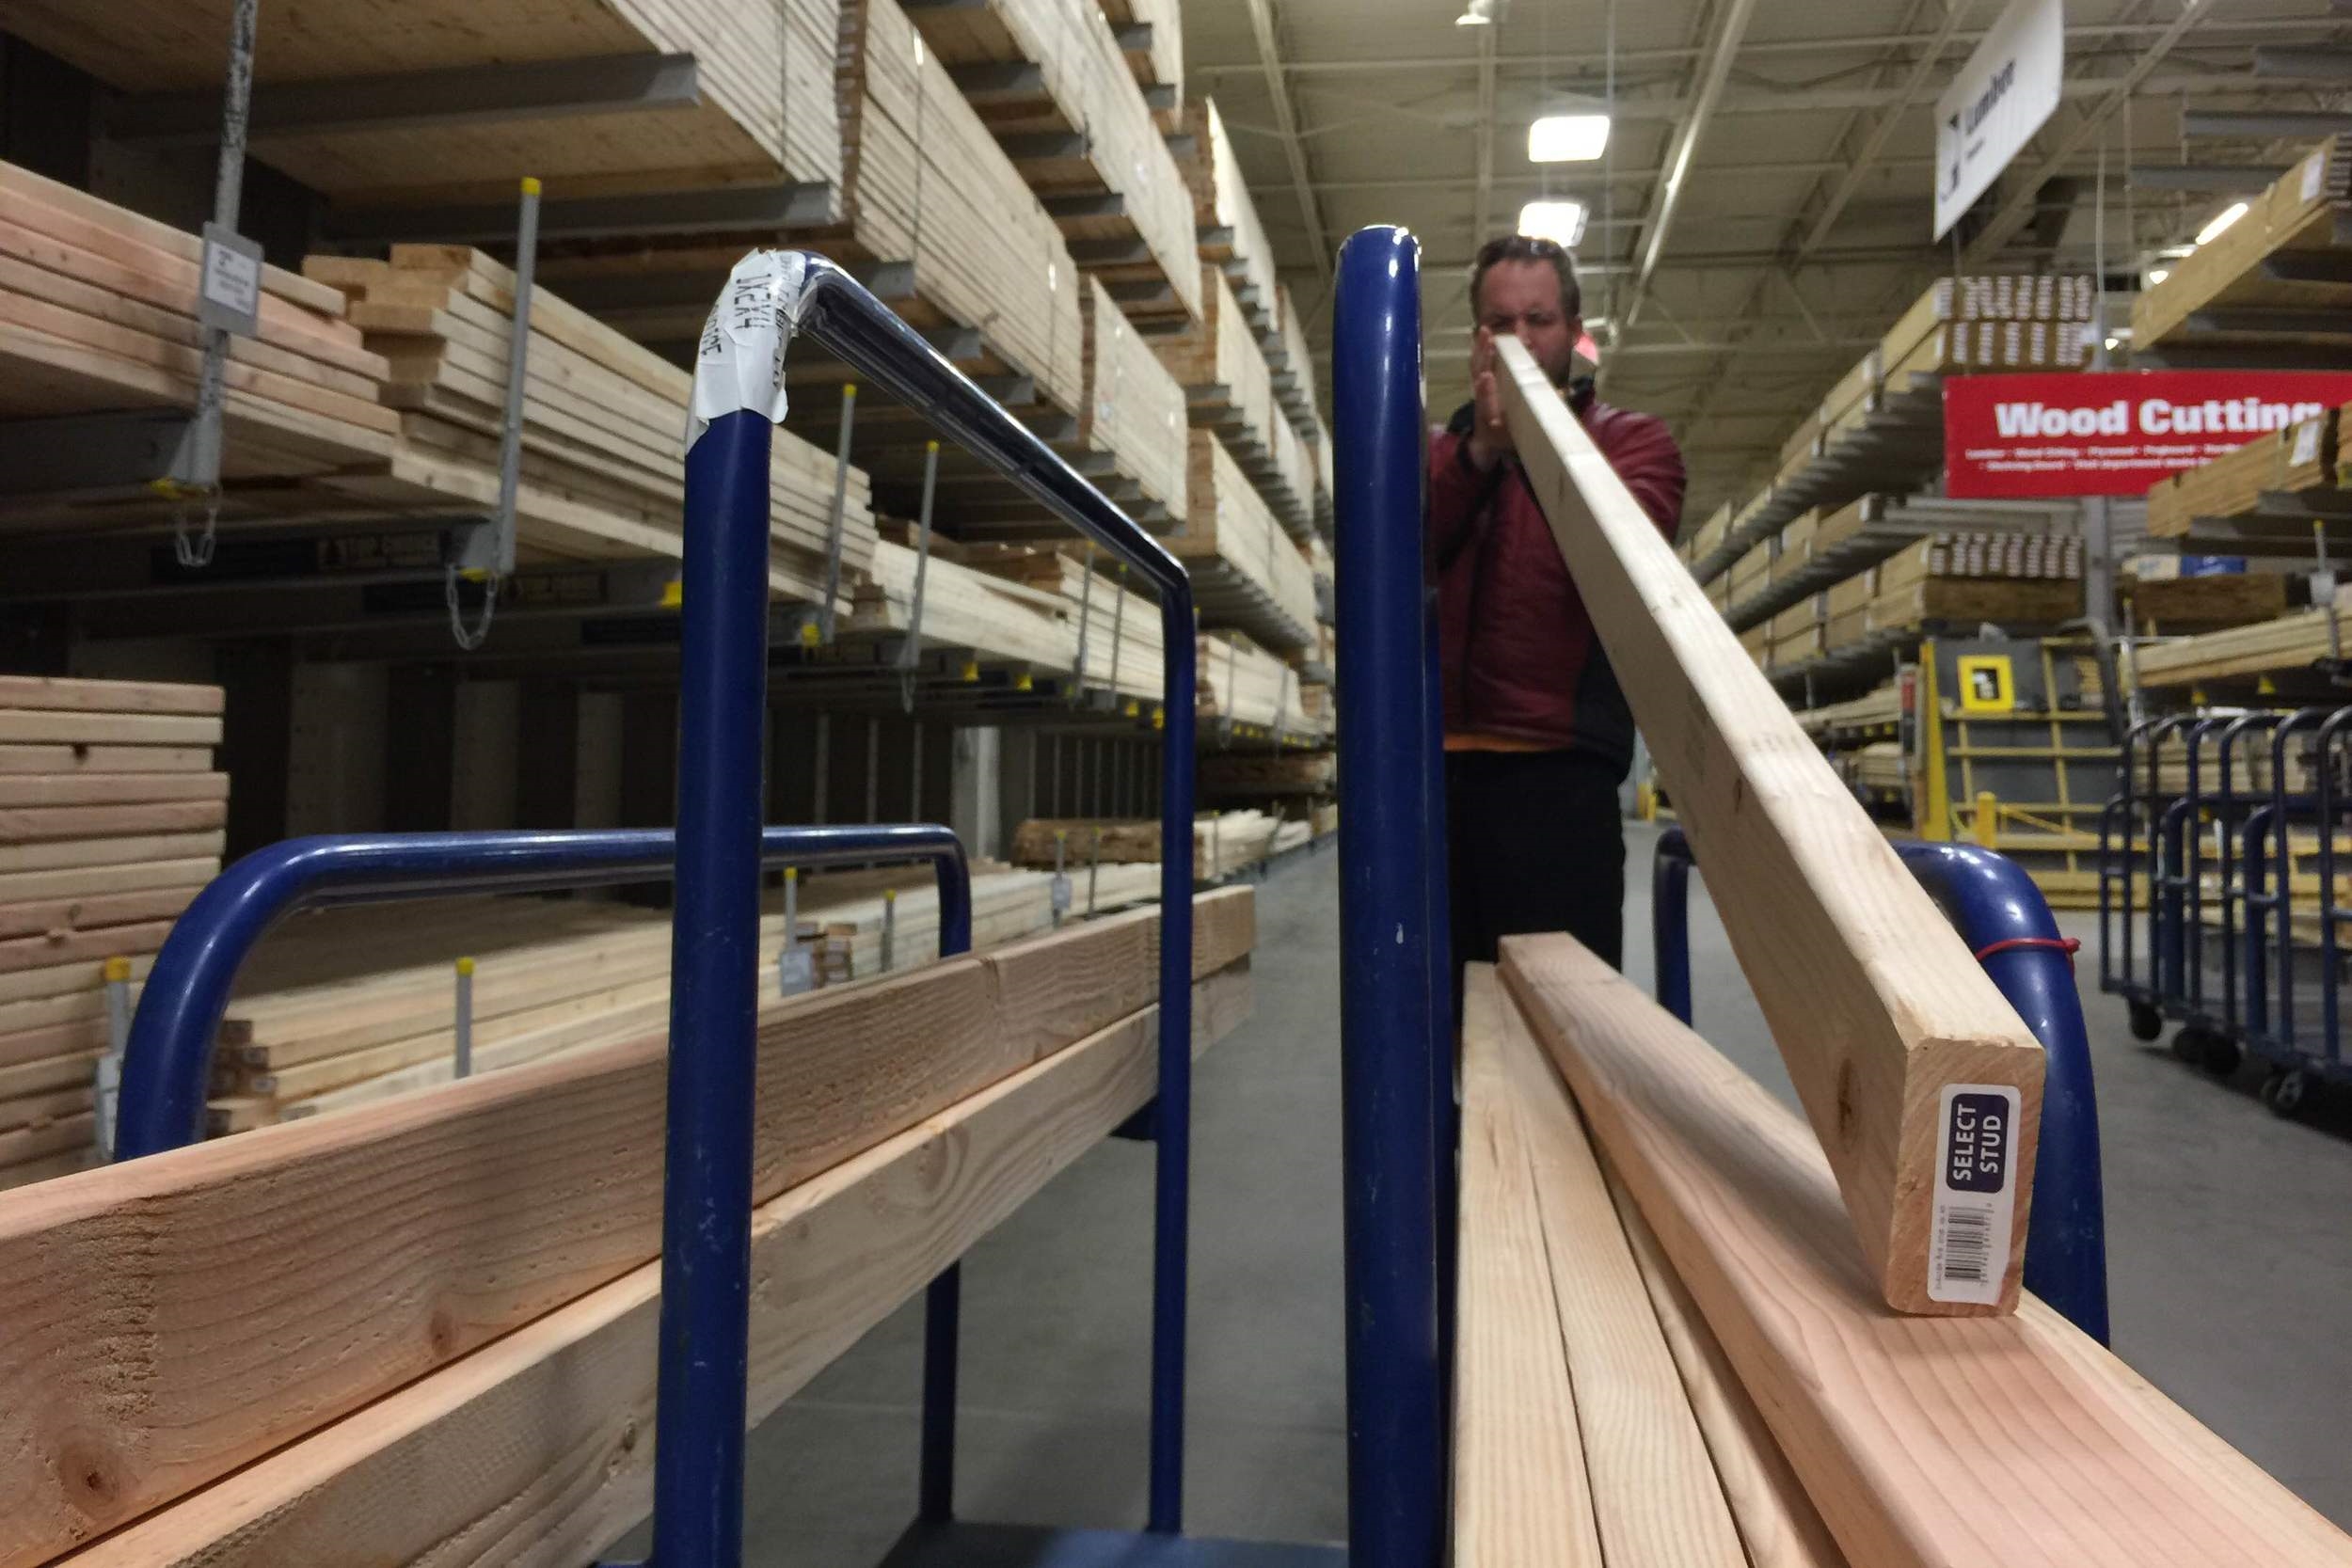
After moving Stubbs back to Willie's backyard, we made one last run to Lowes for some cut pieces of 3/4 inch plywood to use as the bed base. We wanted the cuts as exact as possible to prevent movement/falling through the frame, so we had them cut it at the store. Sadly, they were about 1/8 in too wide, so tomorrow's work will start with us cutting them down to fit into the frame.

I'm including a before/after photo of Stubbs to really show off the difference that the paint job makes because we're just so stinkin' proud of it!