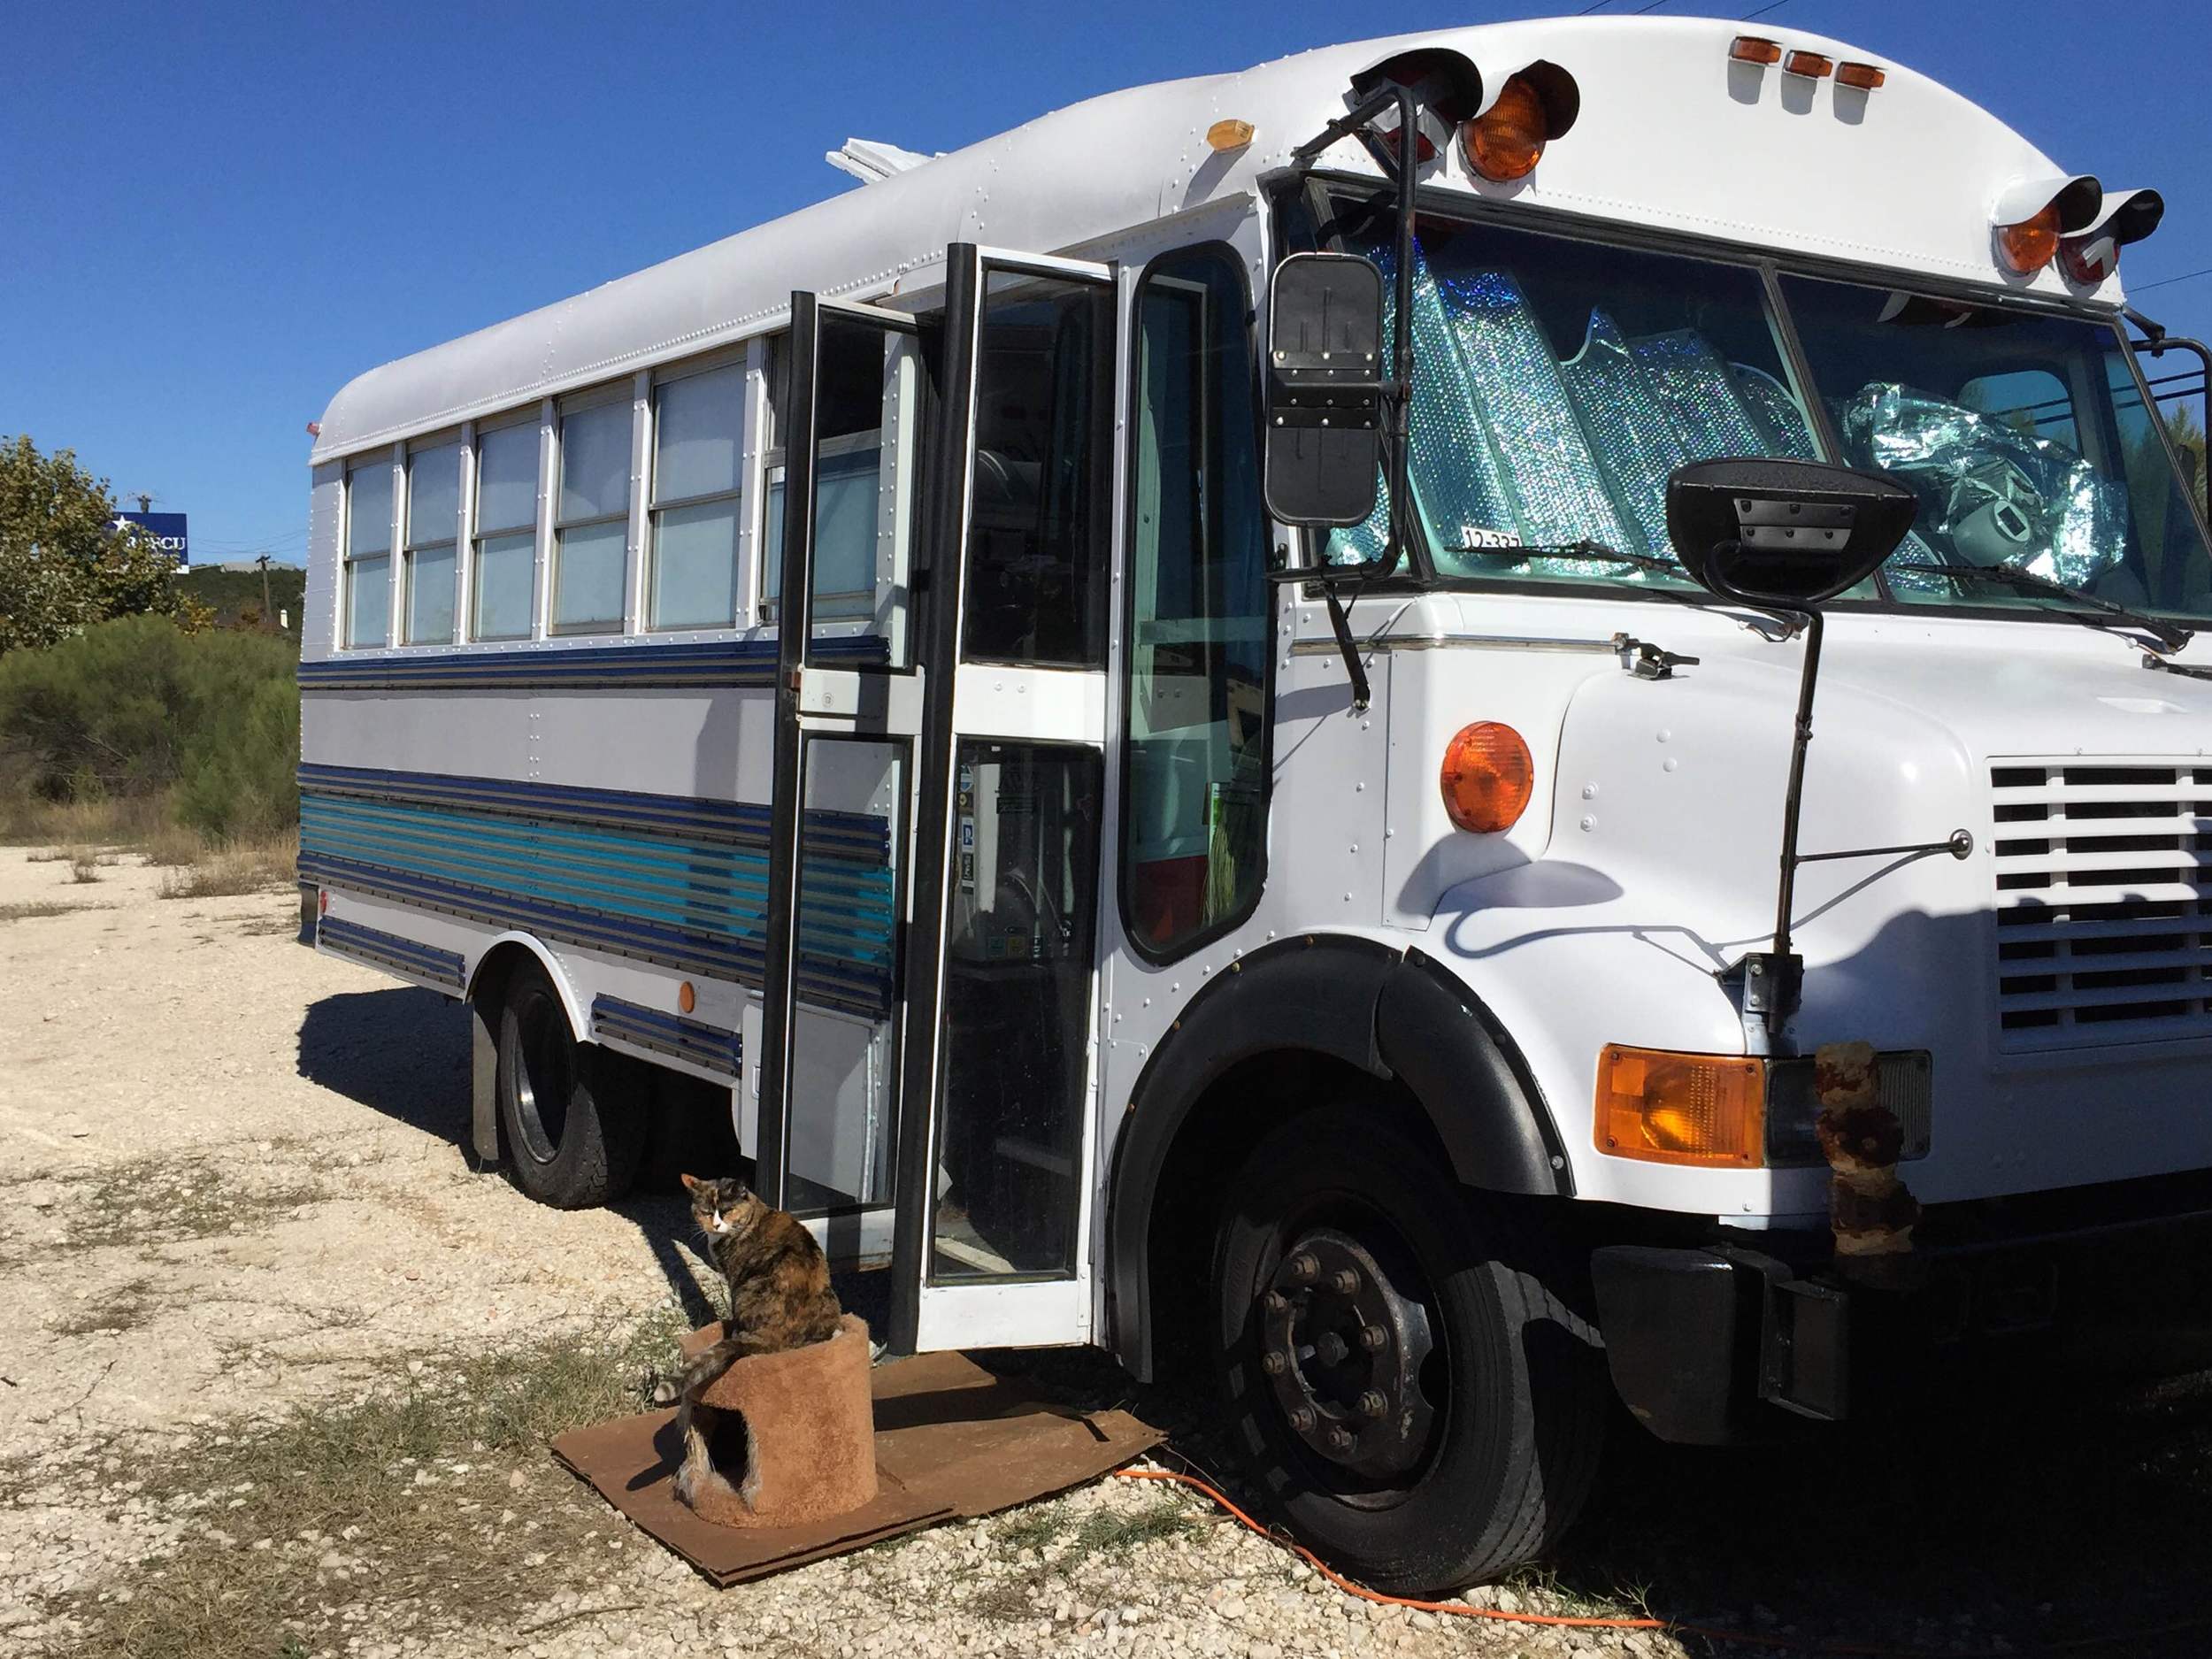
Farewell, Stubbs the Bus.
/On Thursday, September 15th, we watched as Stubbs the Bus rolled away with its new owners at the wheel. Josh and Celine are the new proud owners of one slightly stubby, but well-loved bus. I'd say it was bittersweet, but it honestly felt more sweet than bitter. Stubbs was a FANTASTIC home for us and we loved our first dabble into larger vehicle conversions, but we find we're currently better suited to a smaller vehicle for the time being.
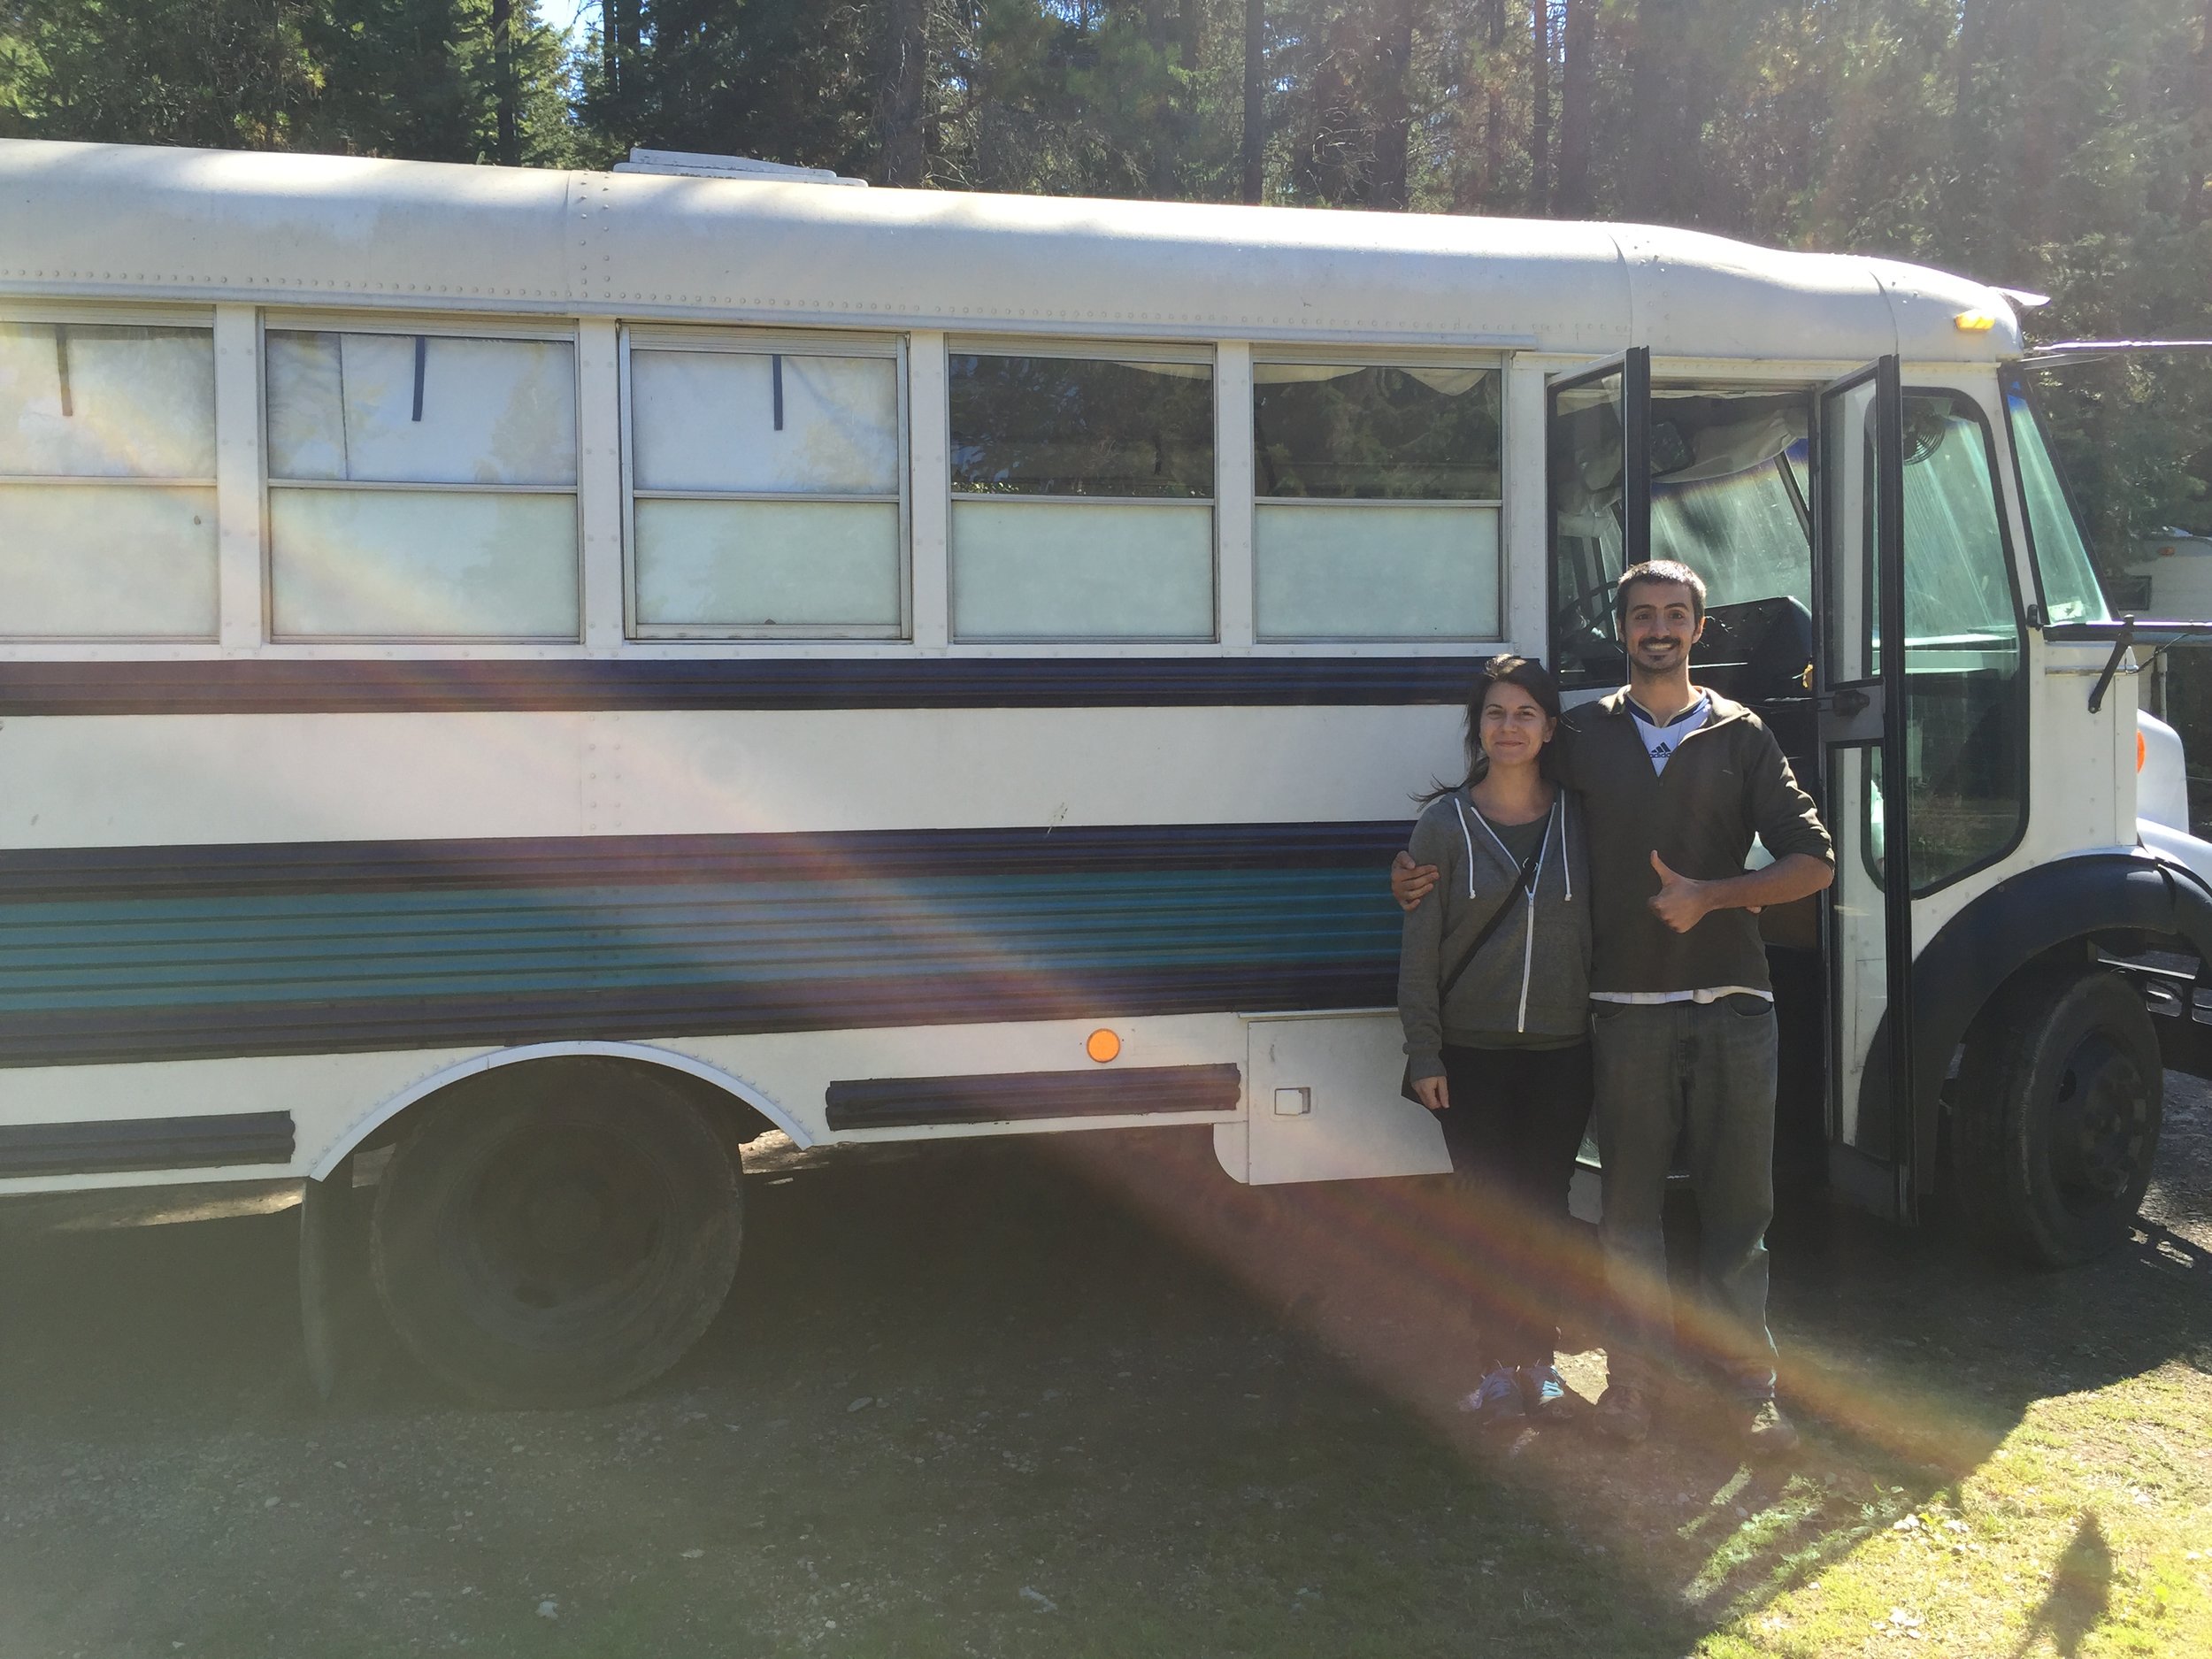
Two proud new parents. Who knew a stork could carry 10,000 pounds of American steel?
Amazingly, we never even advertised Stubbs being for sale. Shortly after we bought Little Foot, we were hanging out with some friends and mentioned needing to sell the bus. One of them immediately said their brother would be interested and low and behold, he was so interested that he bought it! It's a beautiful thing when paths cross in just the right way.
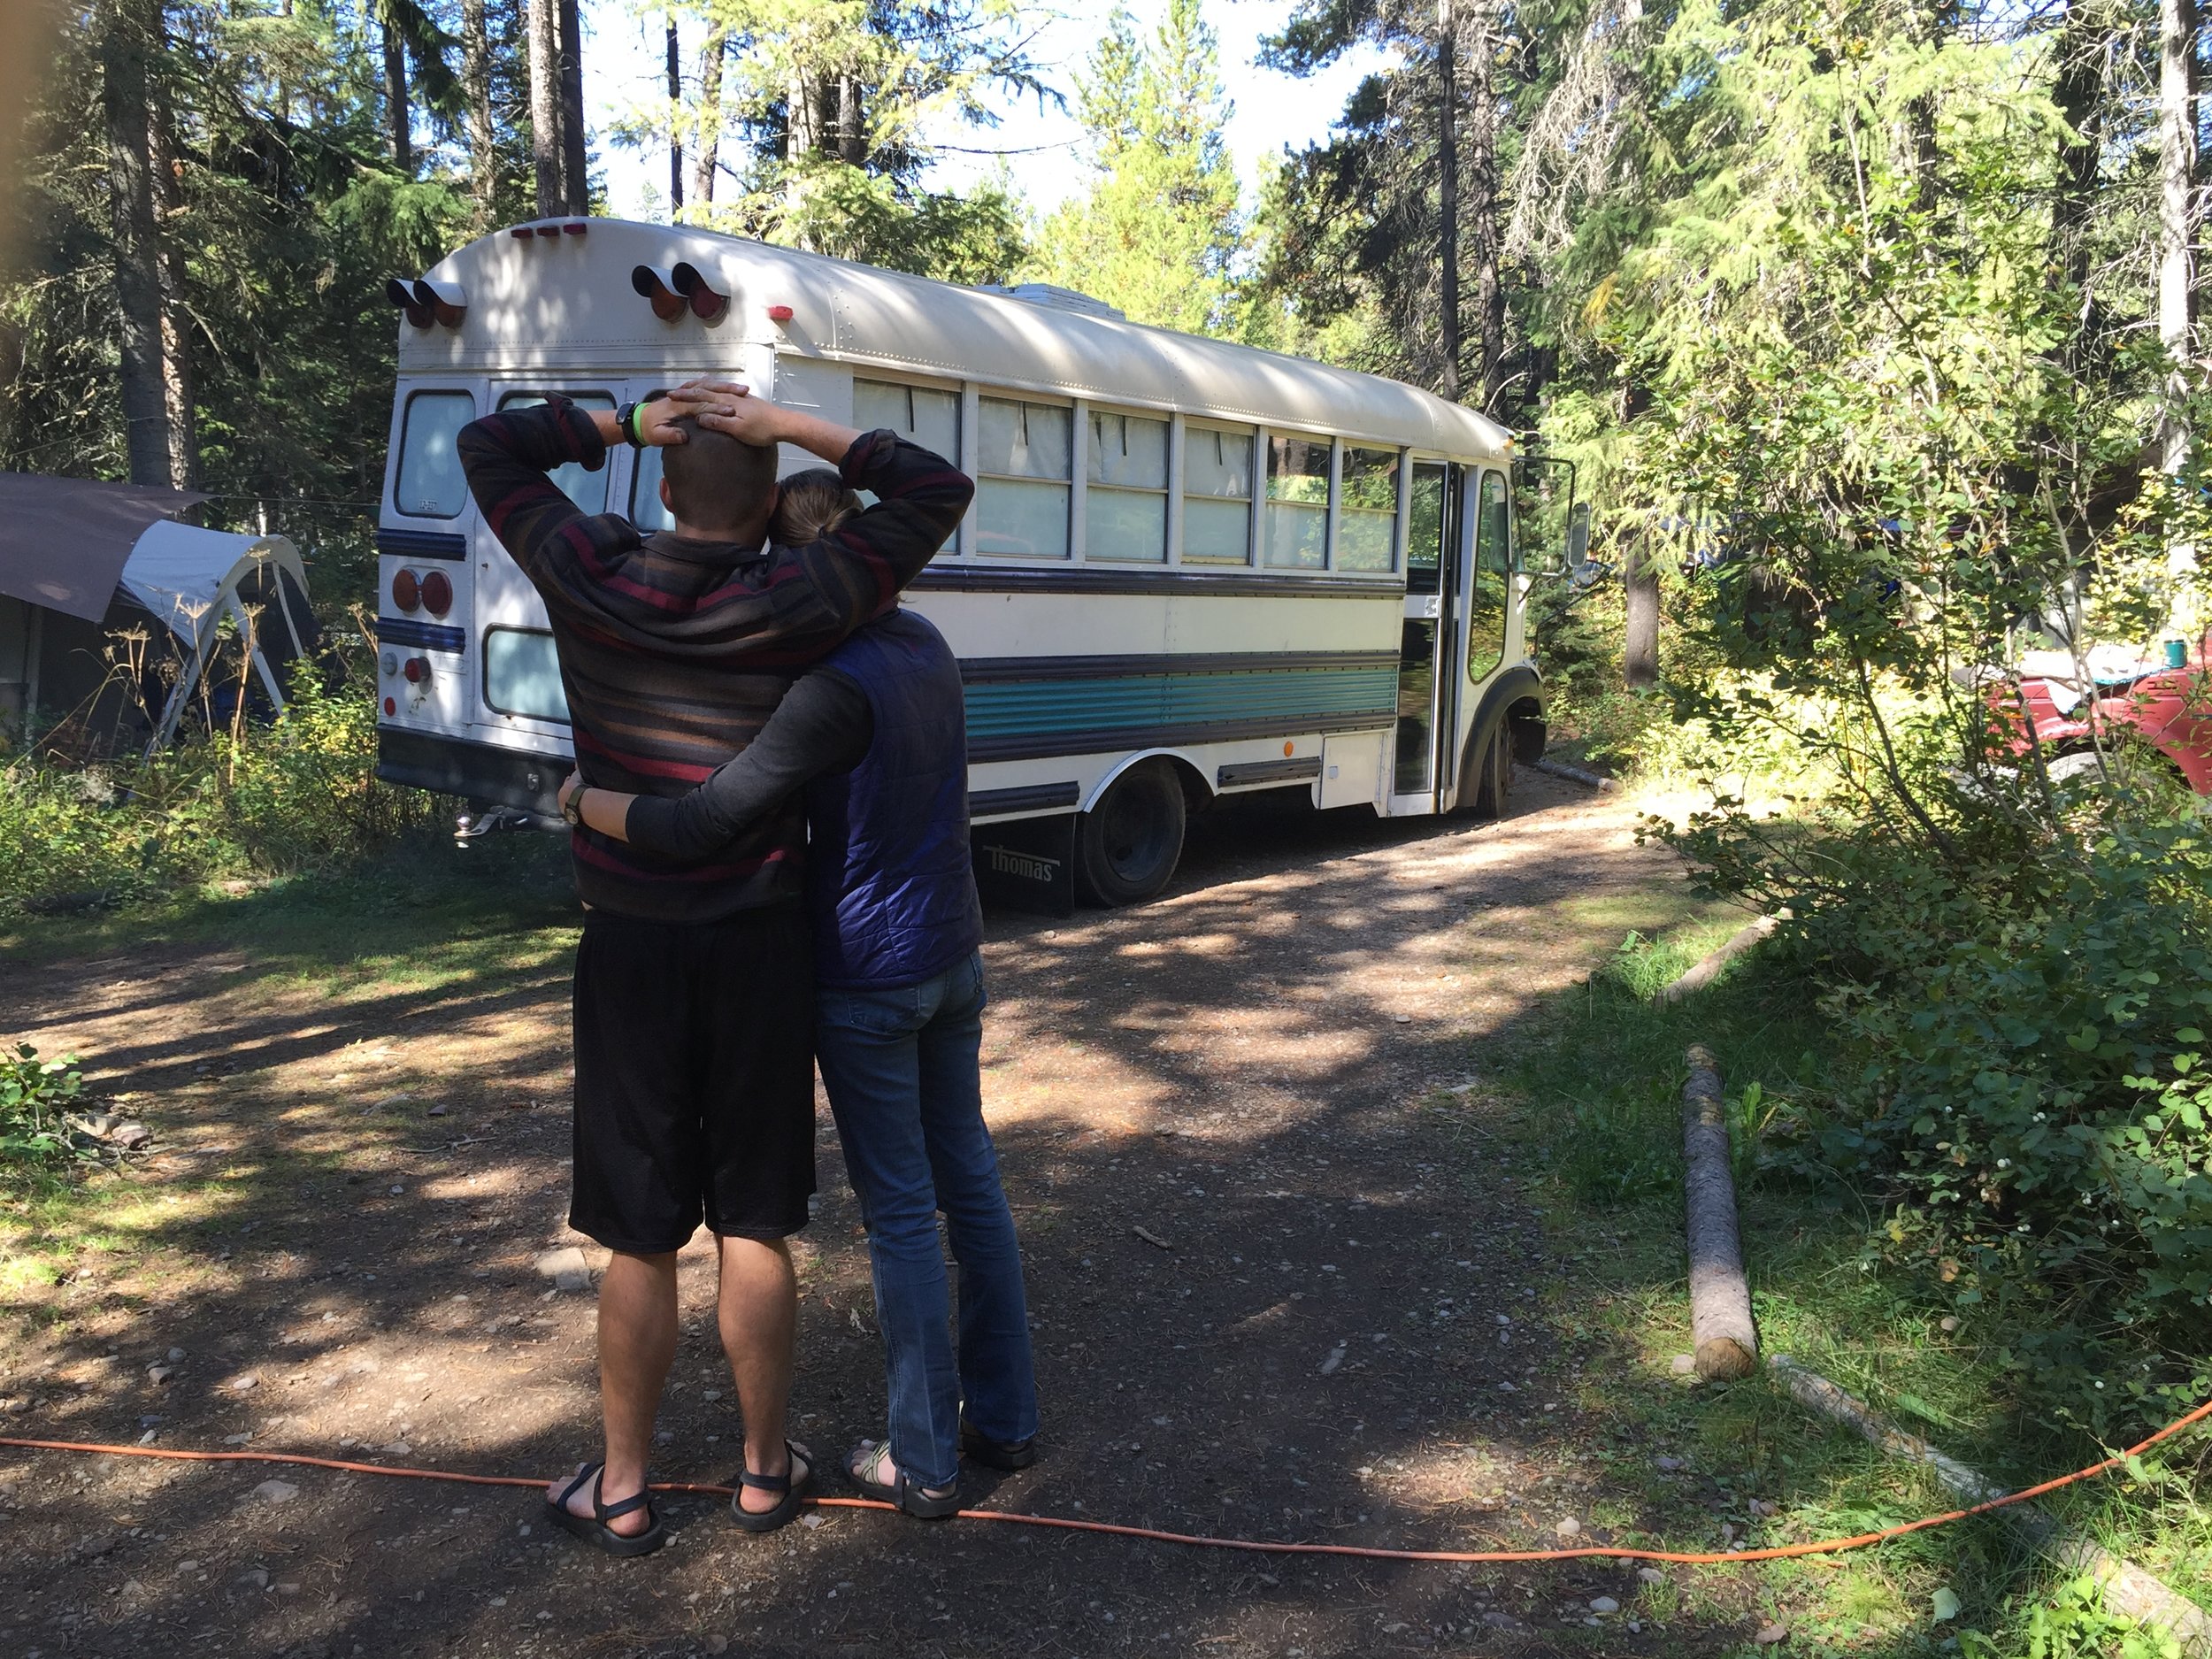
Away he goes.
As far as we know, Josh and Celine plan to finish all the details we never did and then some. I think they'll end up tearing into the garage space to utilize it as a full bathroom and will do all the plumbing and electric we never had the time or funds to dive into. It's always a comforting thought to see a vehicle you love go to someone that will continue to give it life and use it in their own adventures.
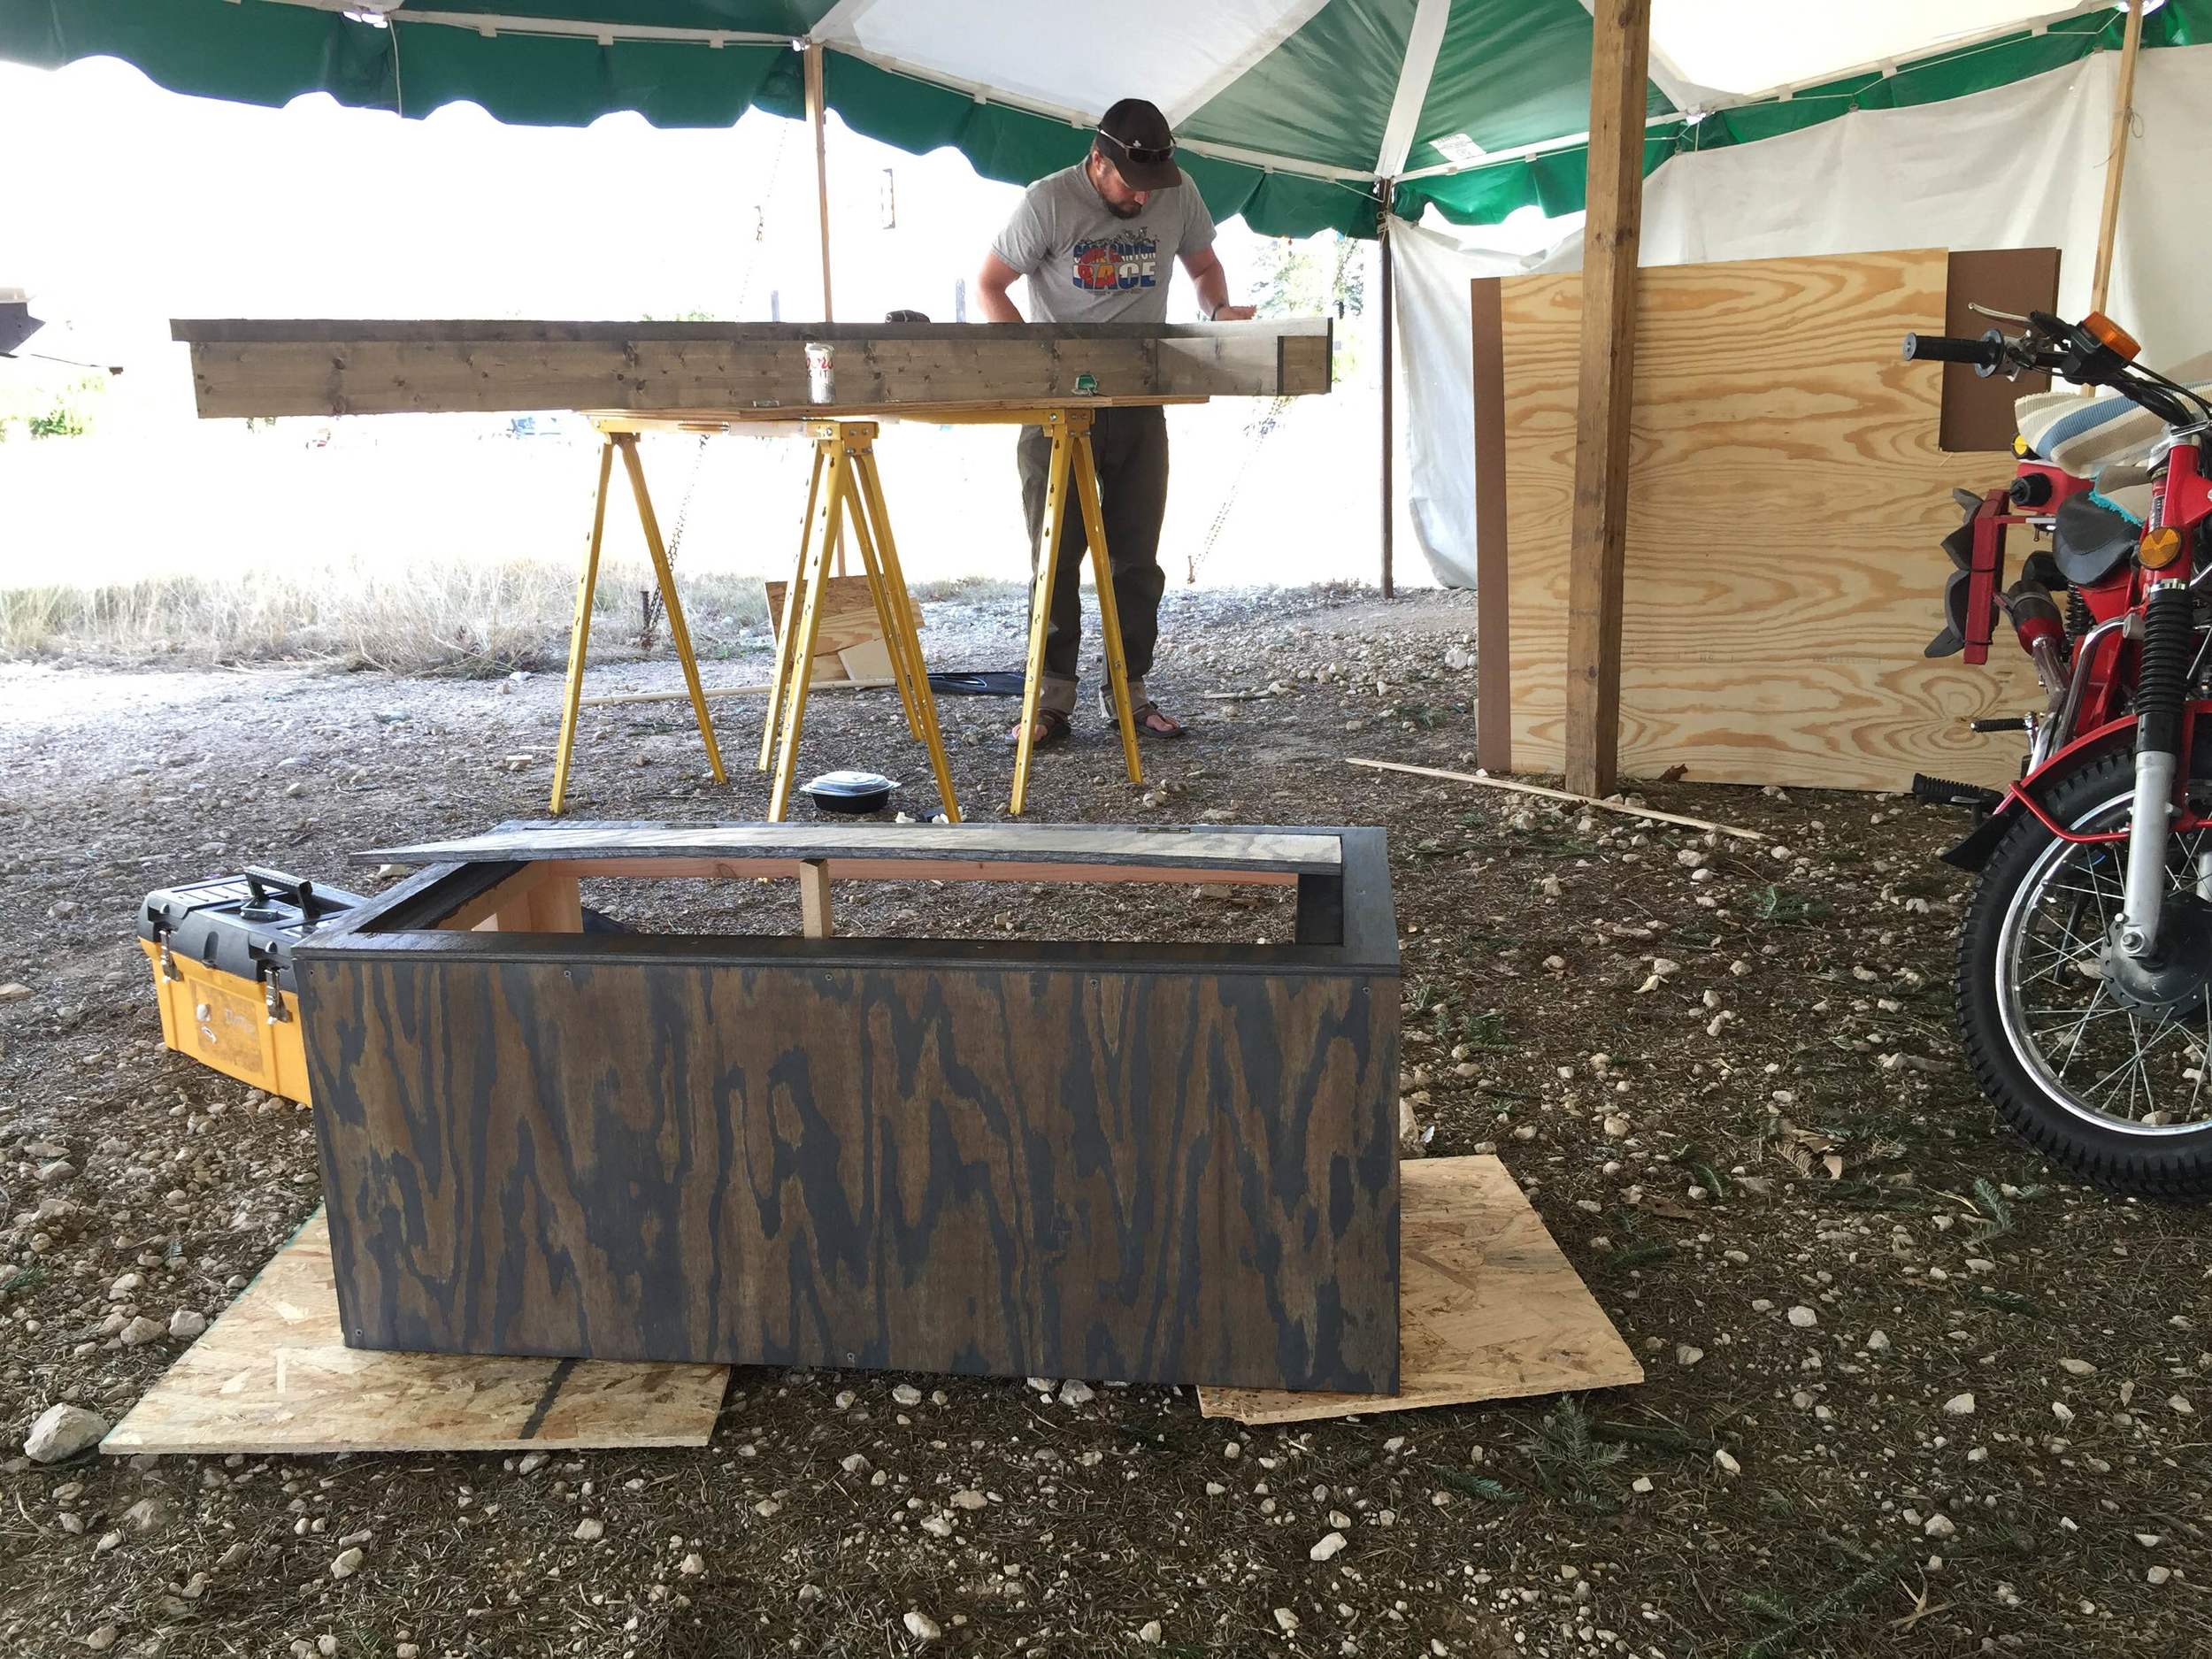
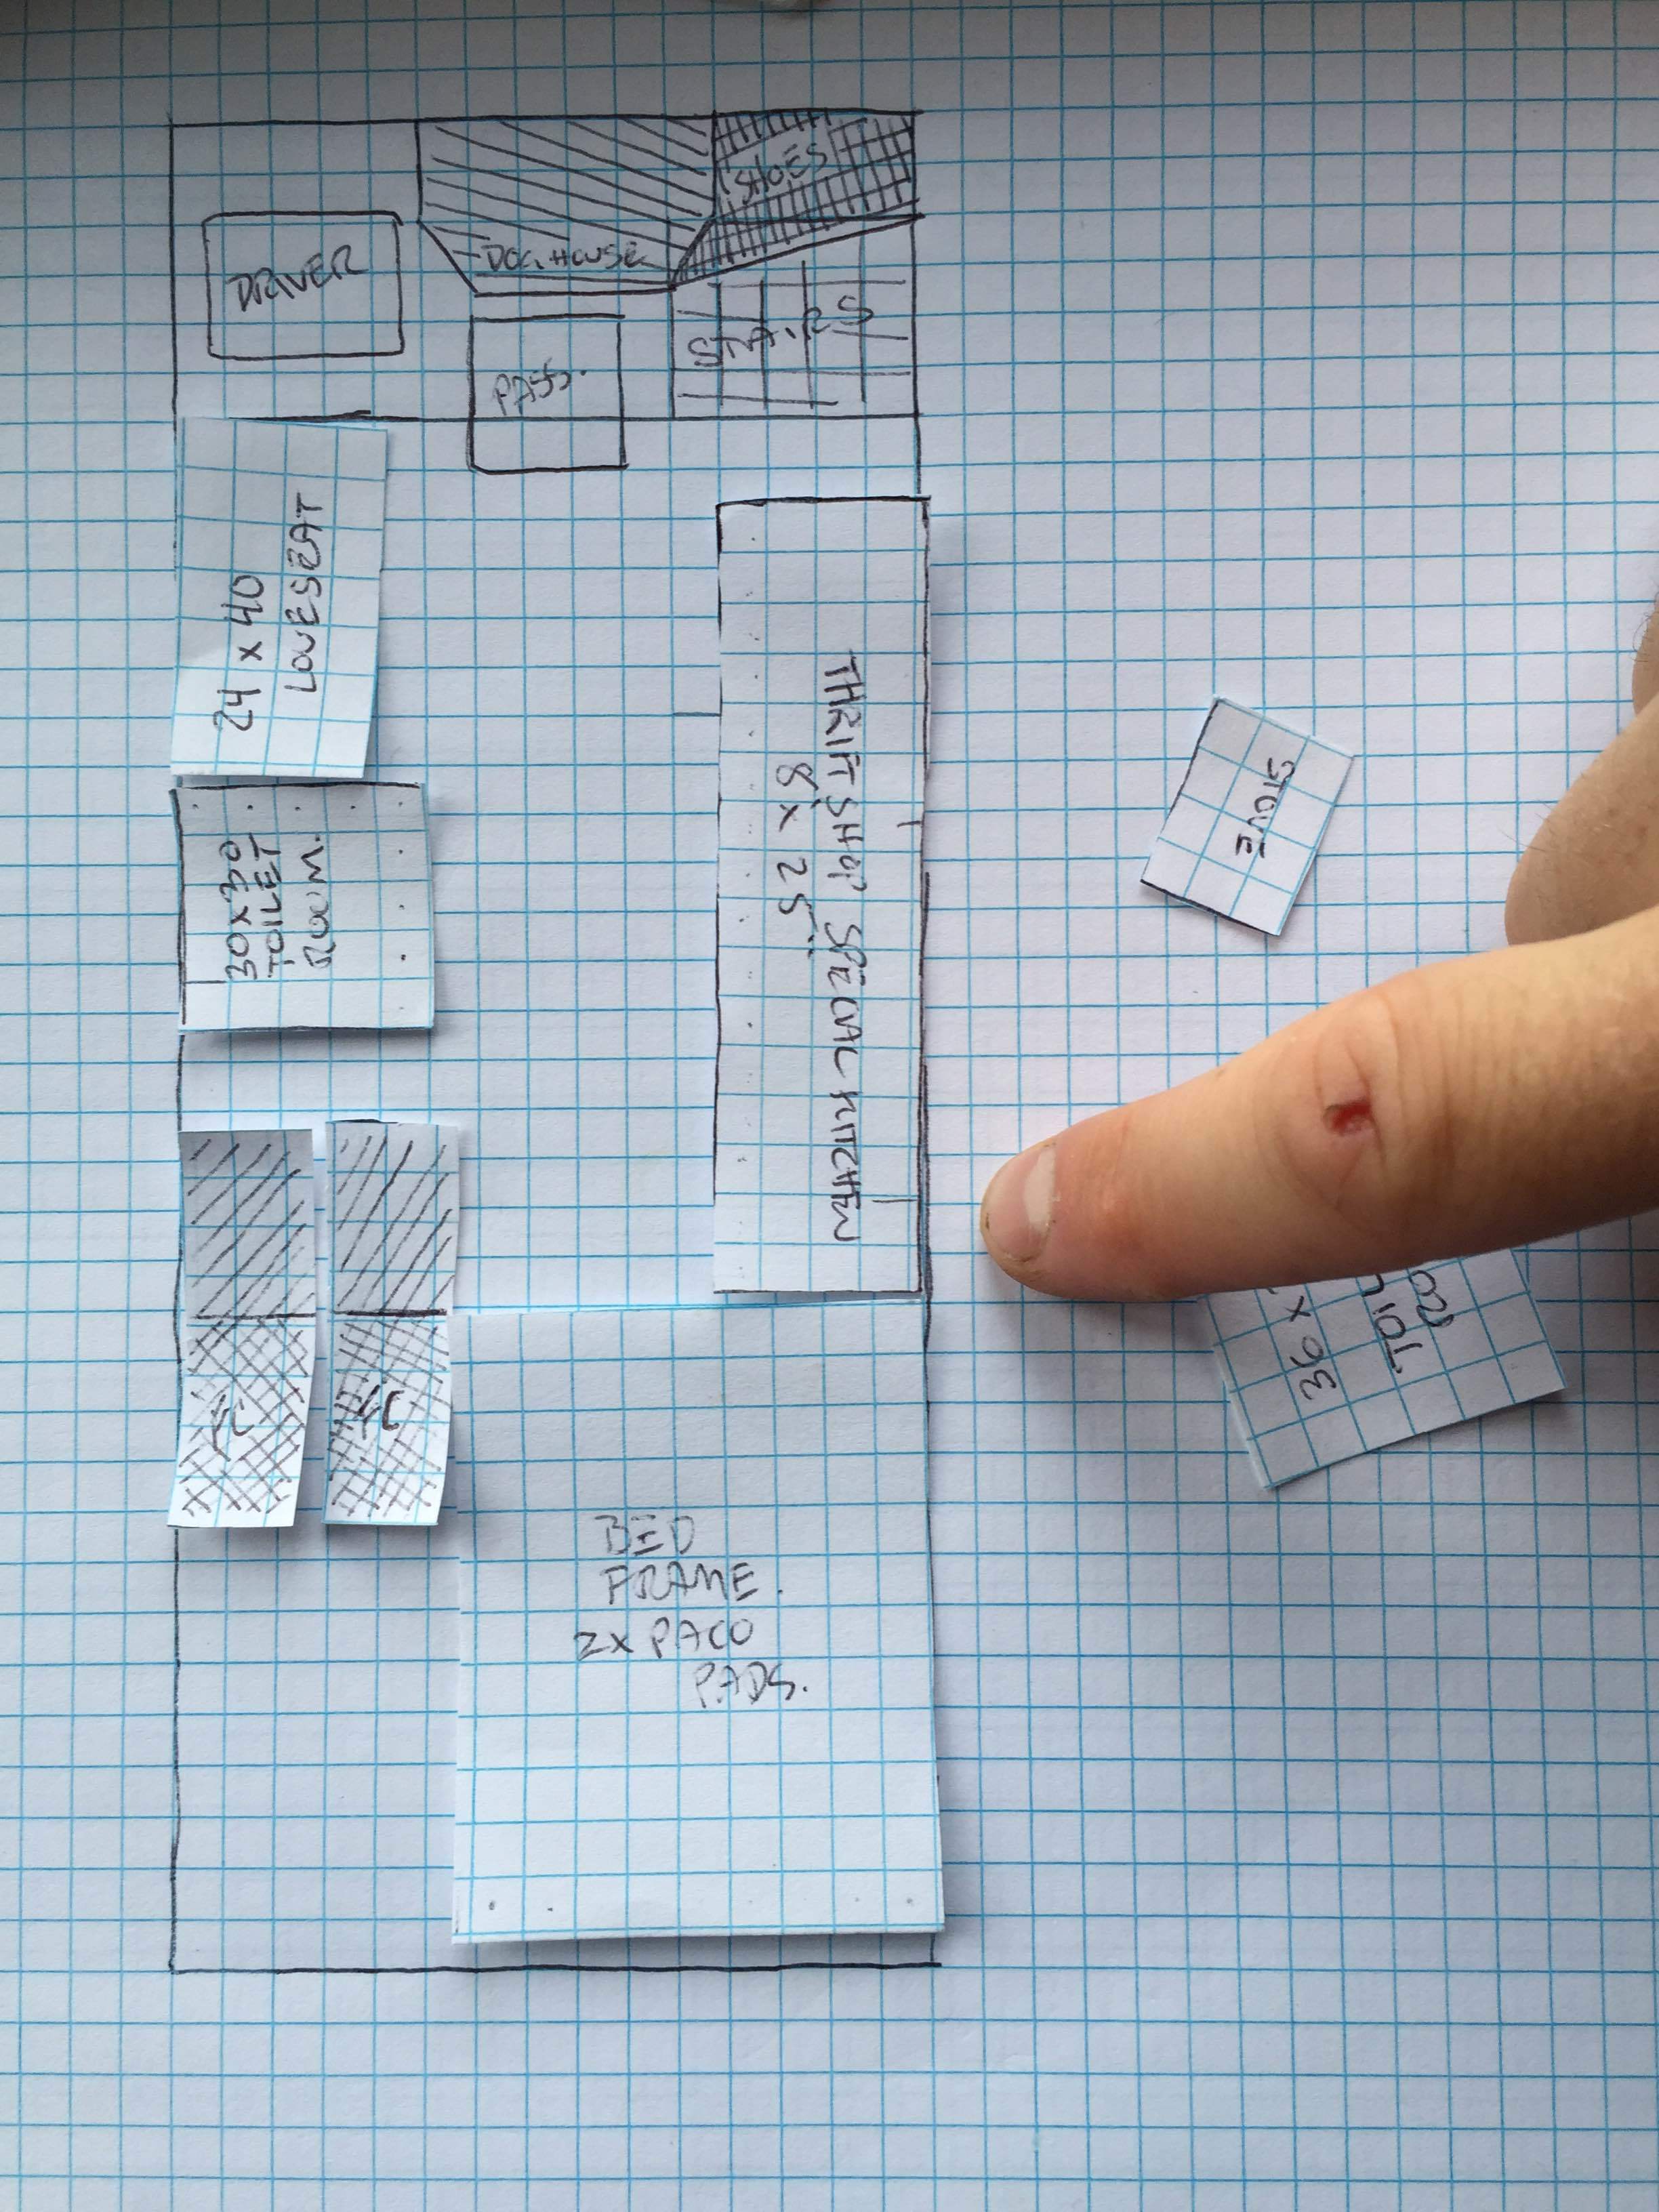
Since we never posted any "finished" photos of Stubbs on the blog, I wanted to include some in this post for those of you who stuck with us through that whole conversion in the hopes that we might actually reveal the end product. (Sorry guys!)
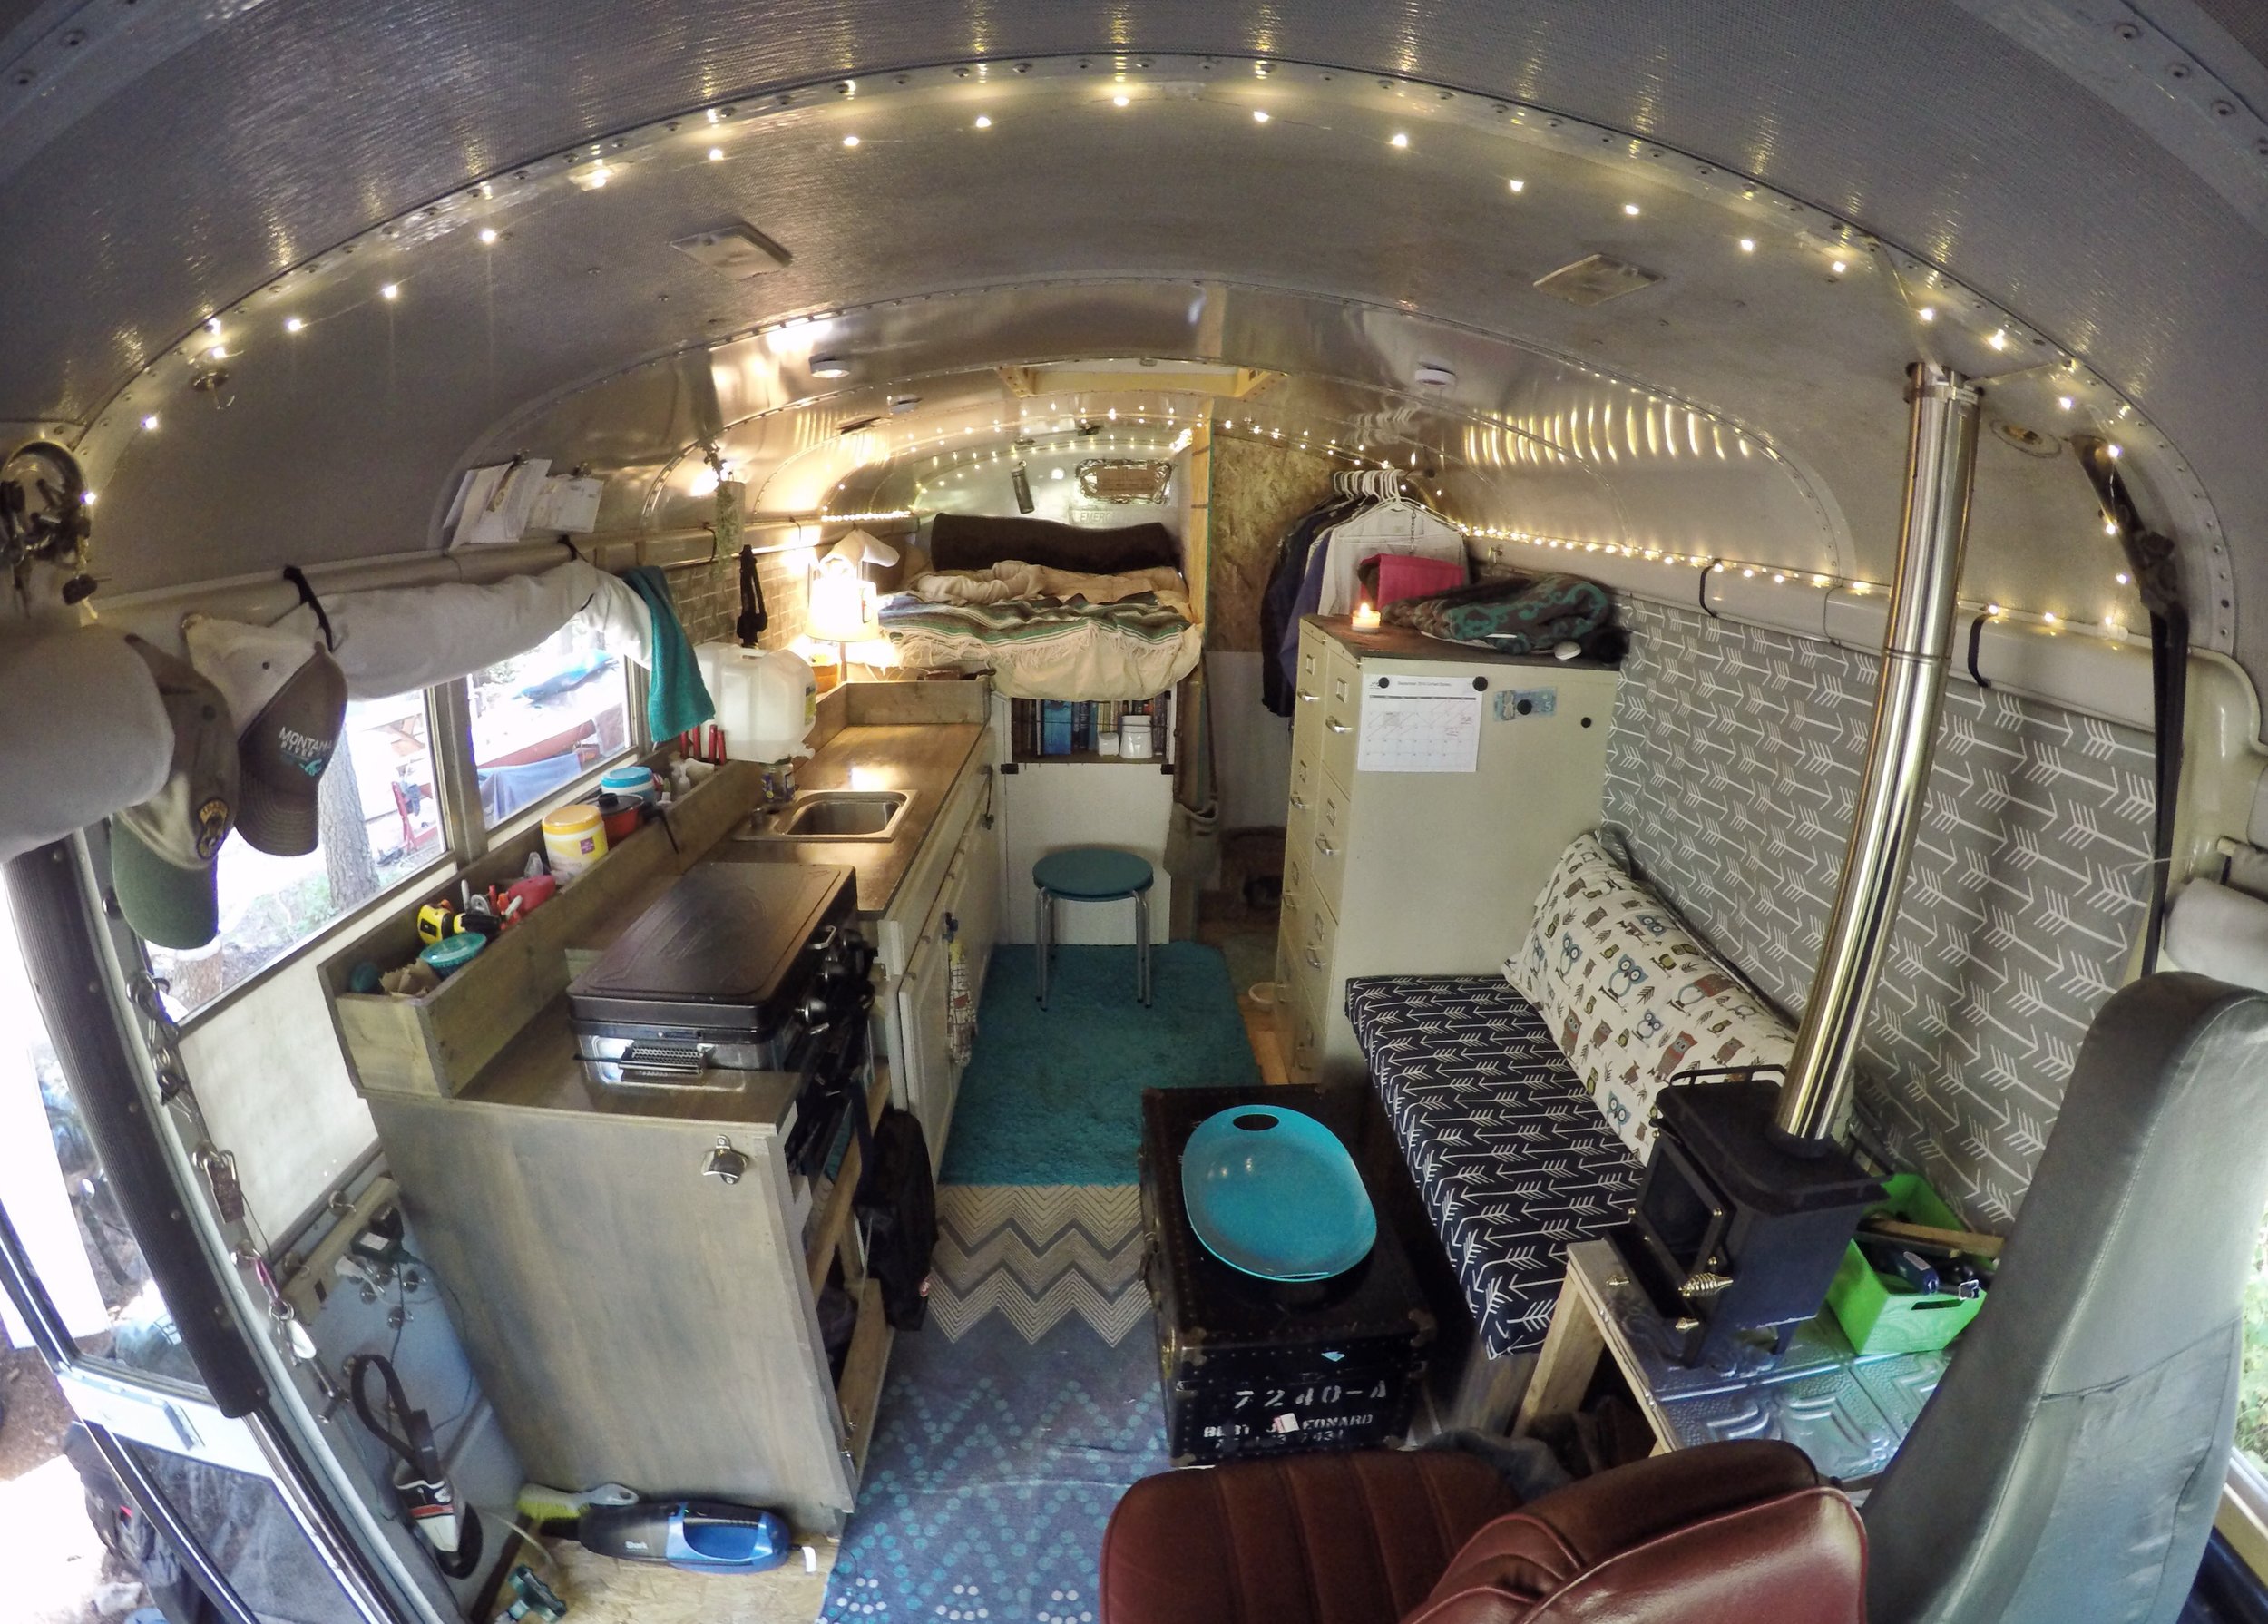
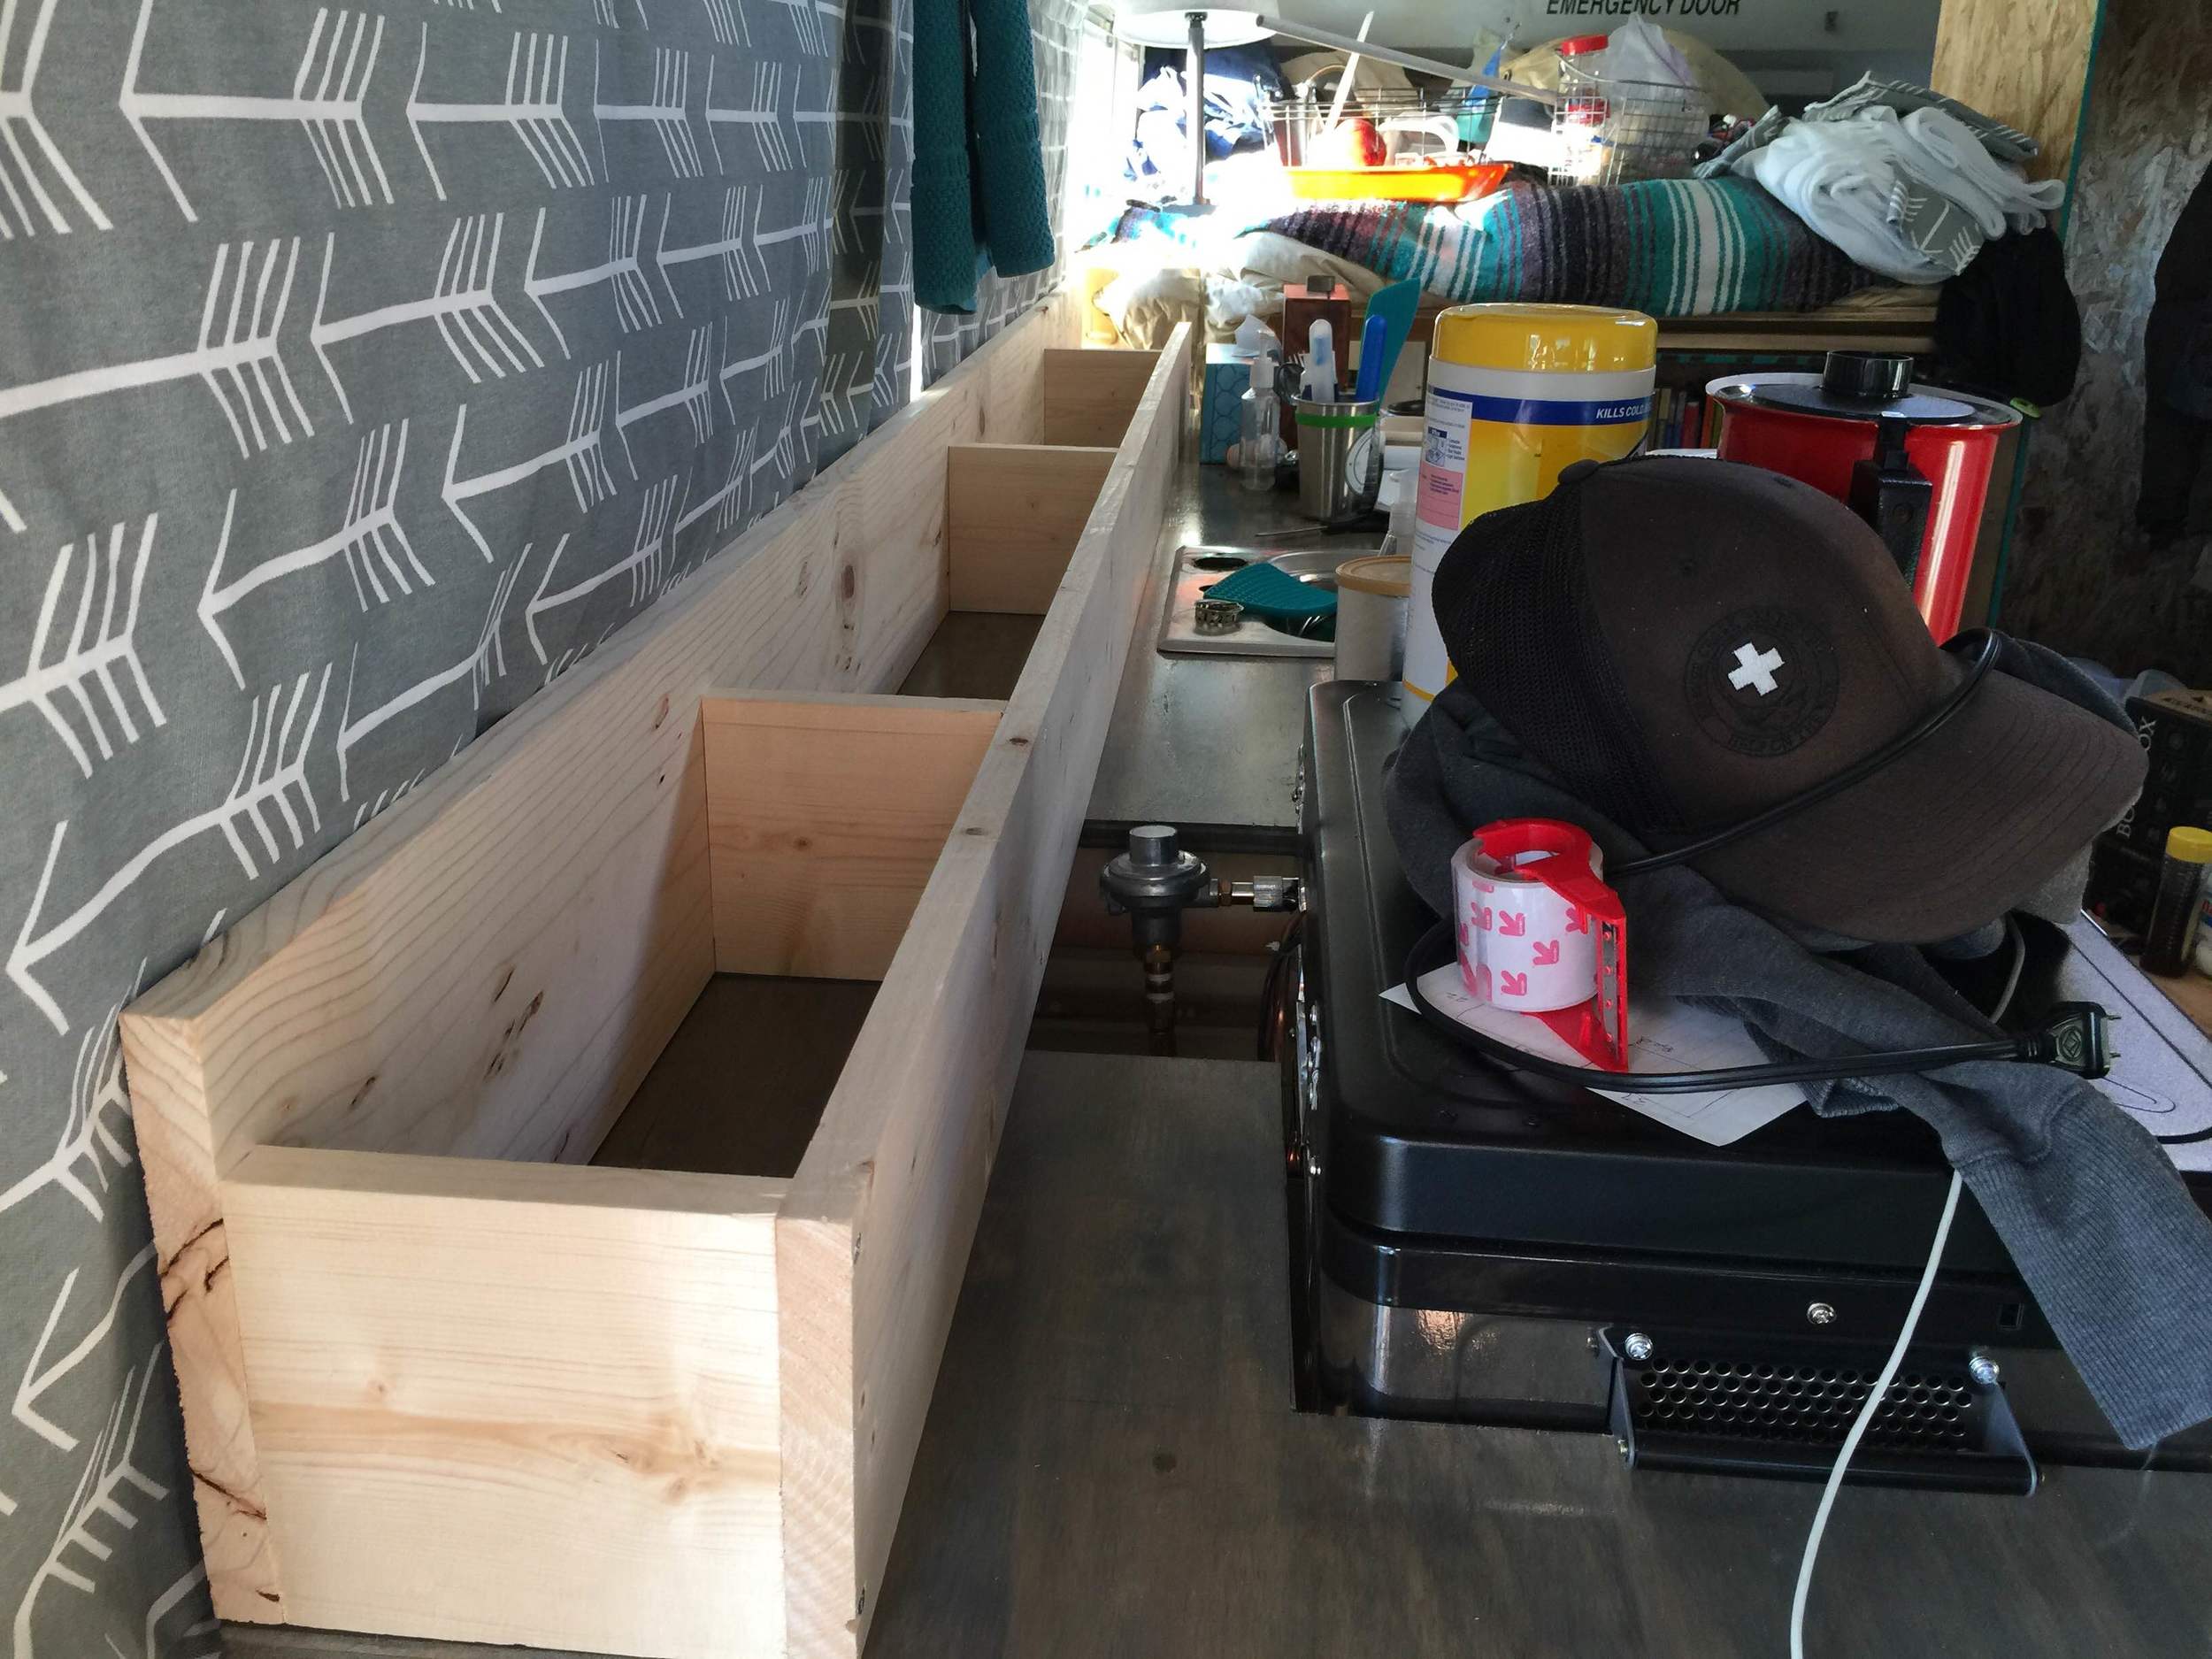
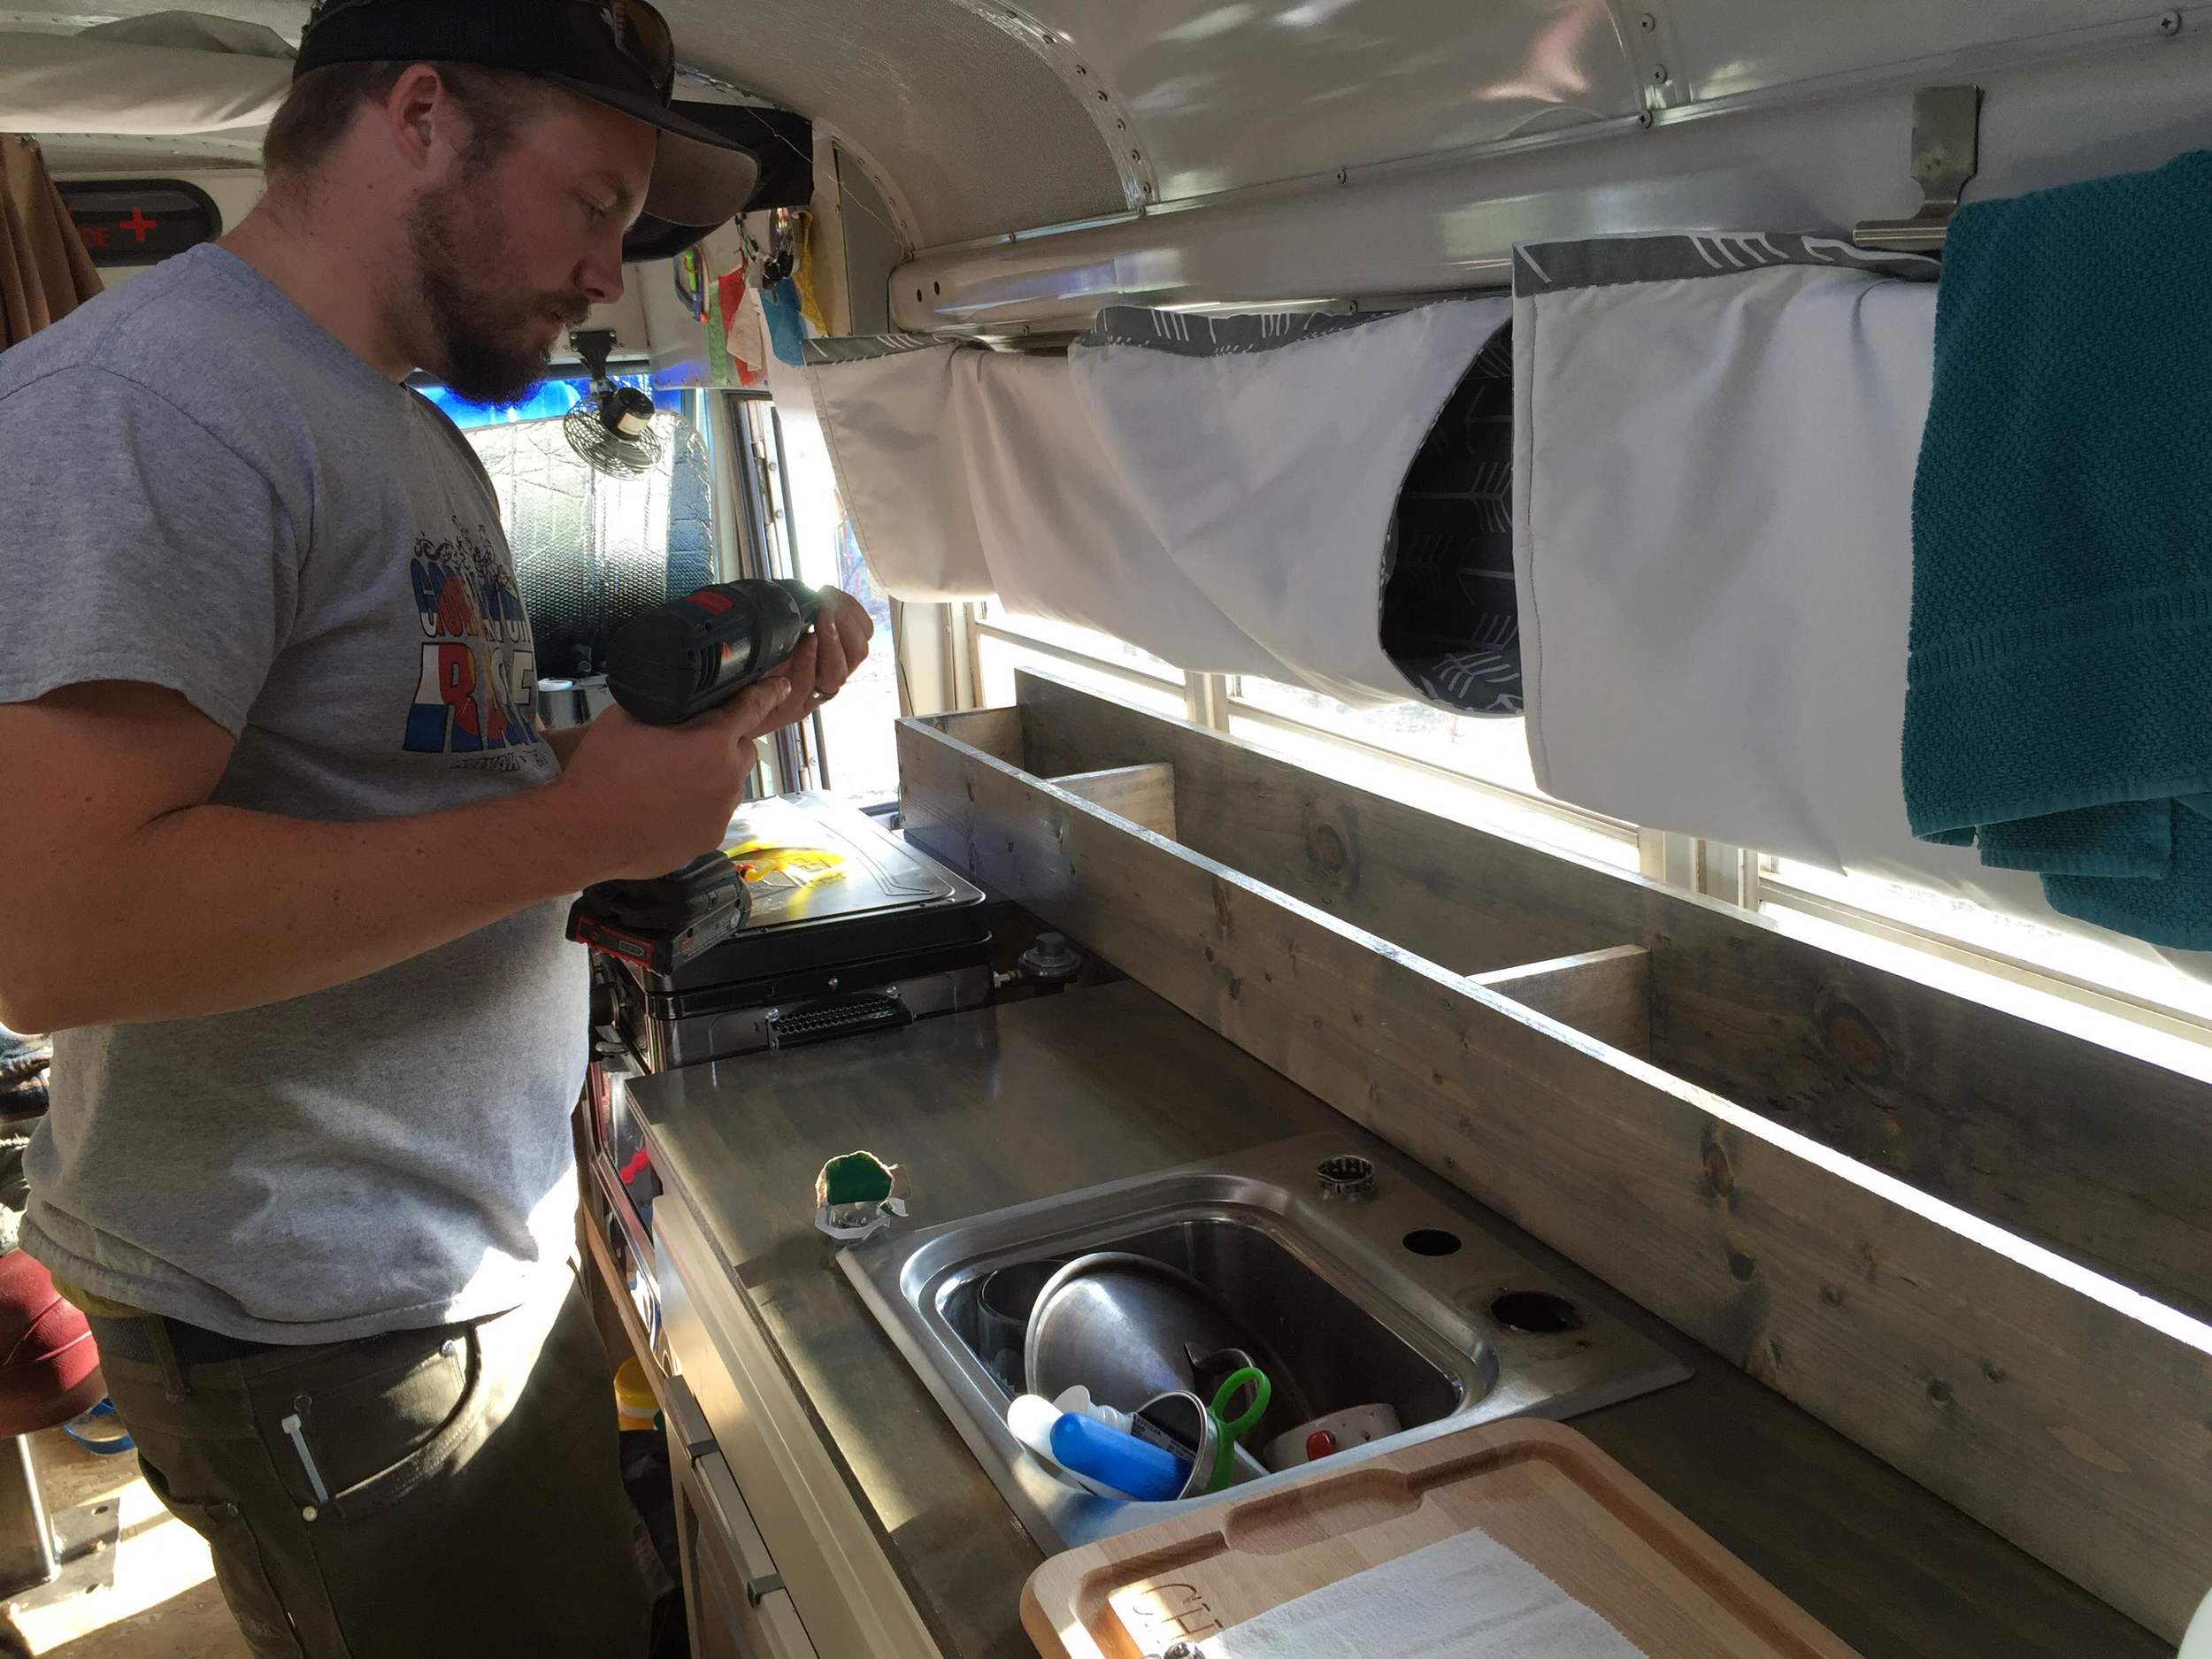
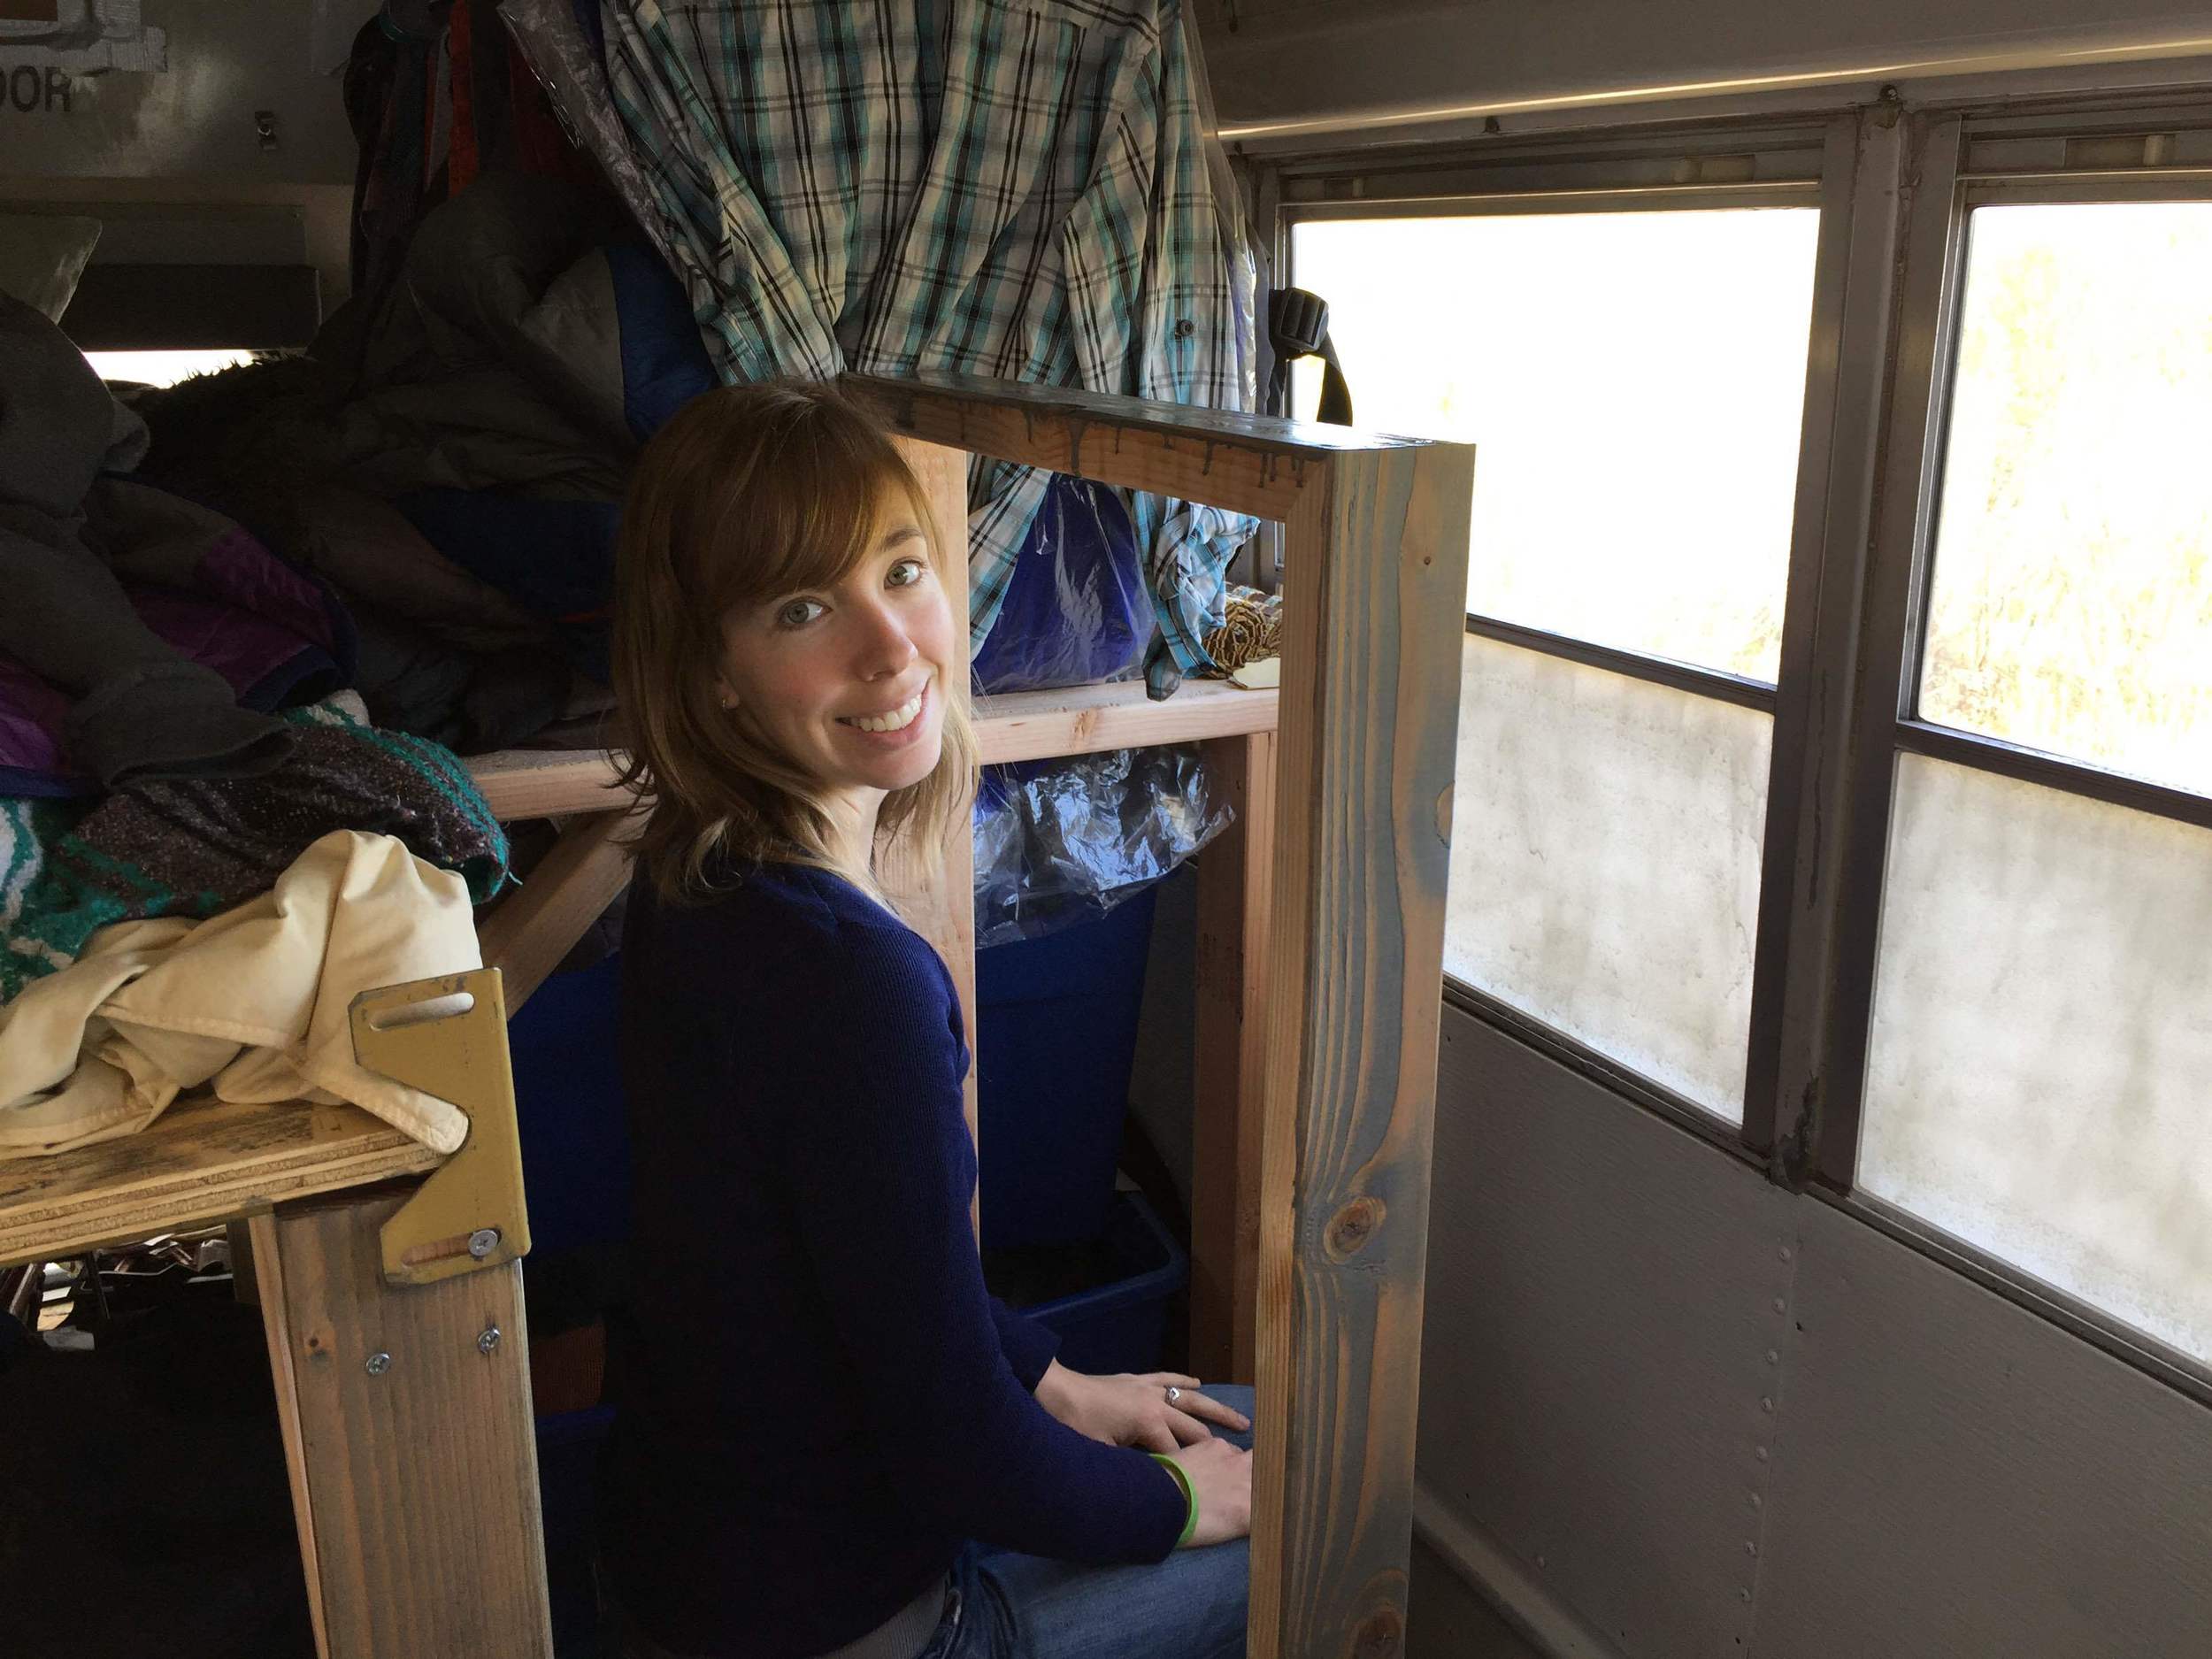
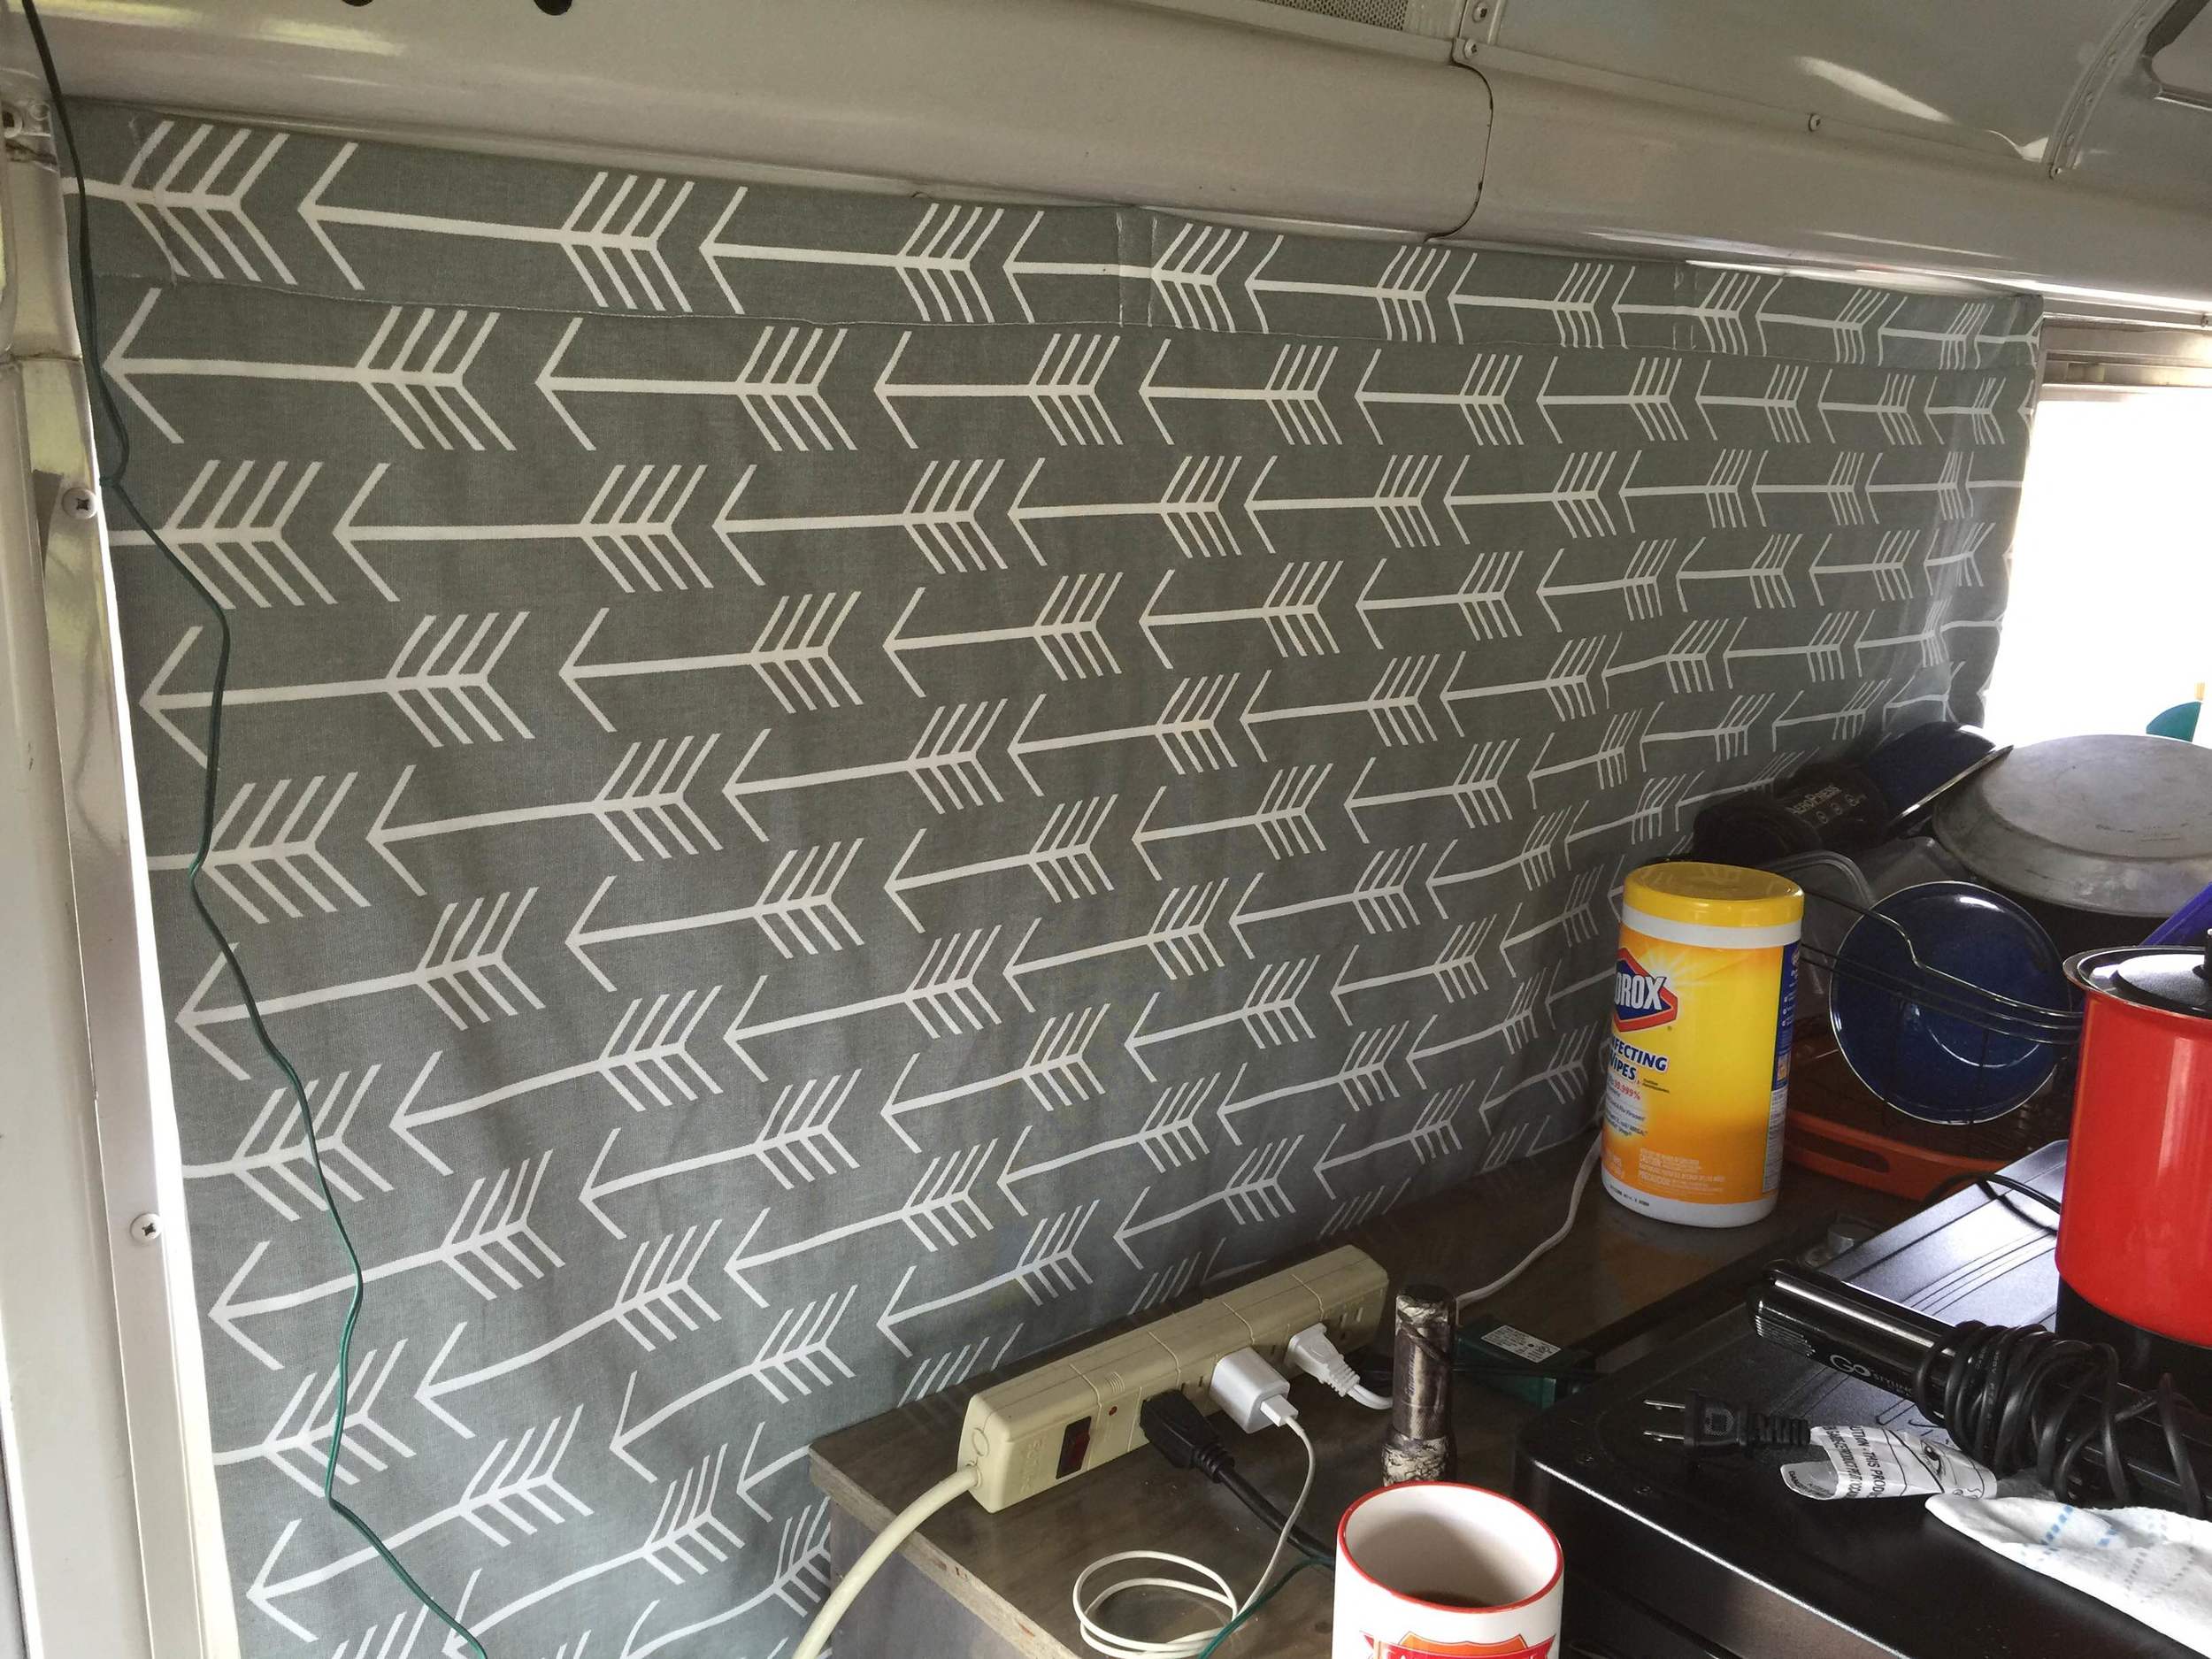
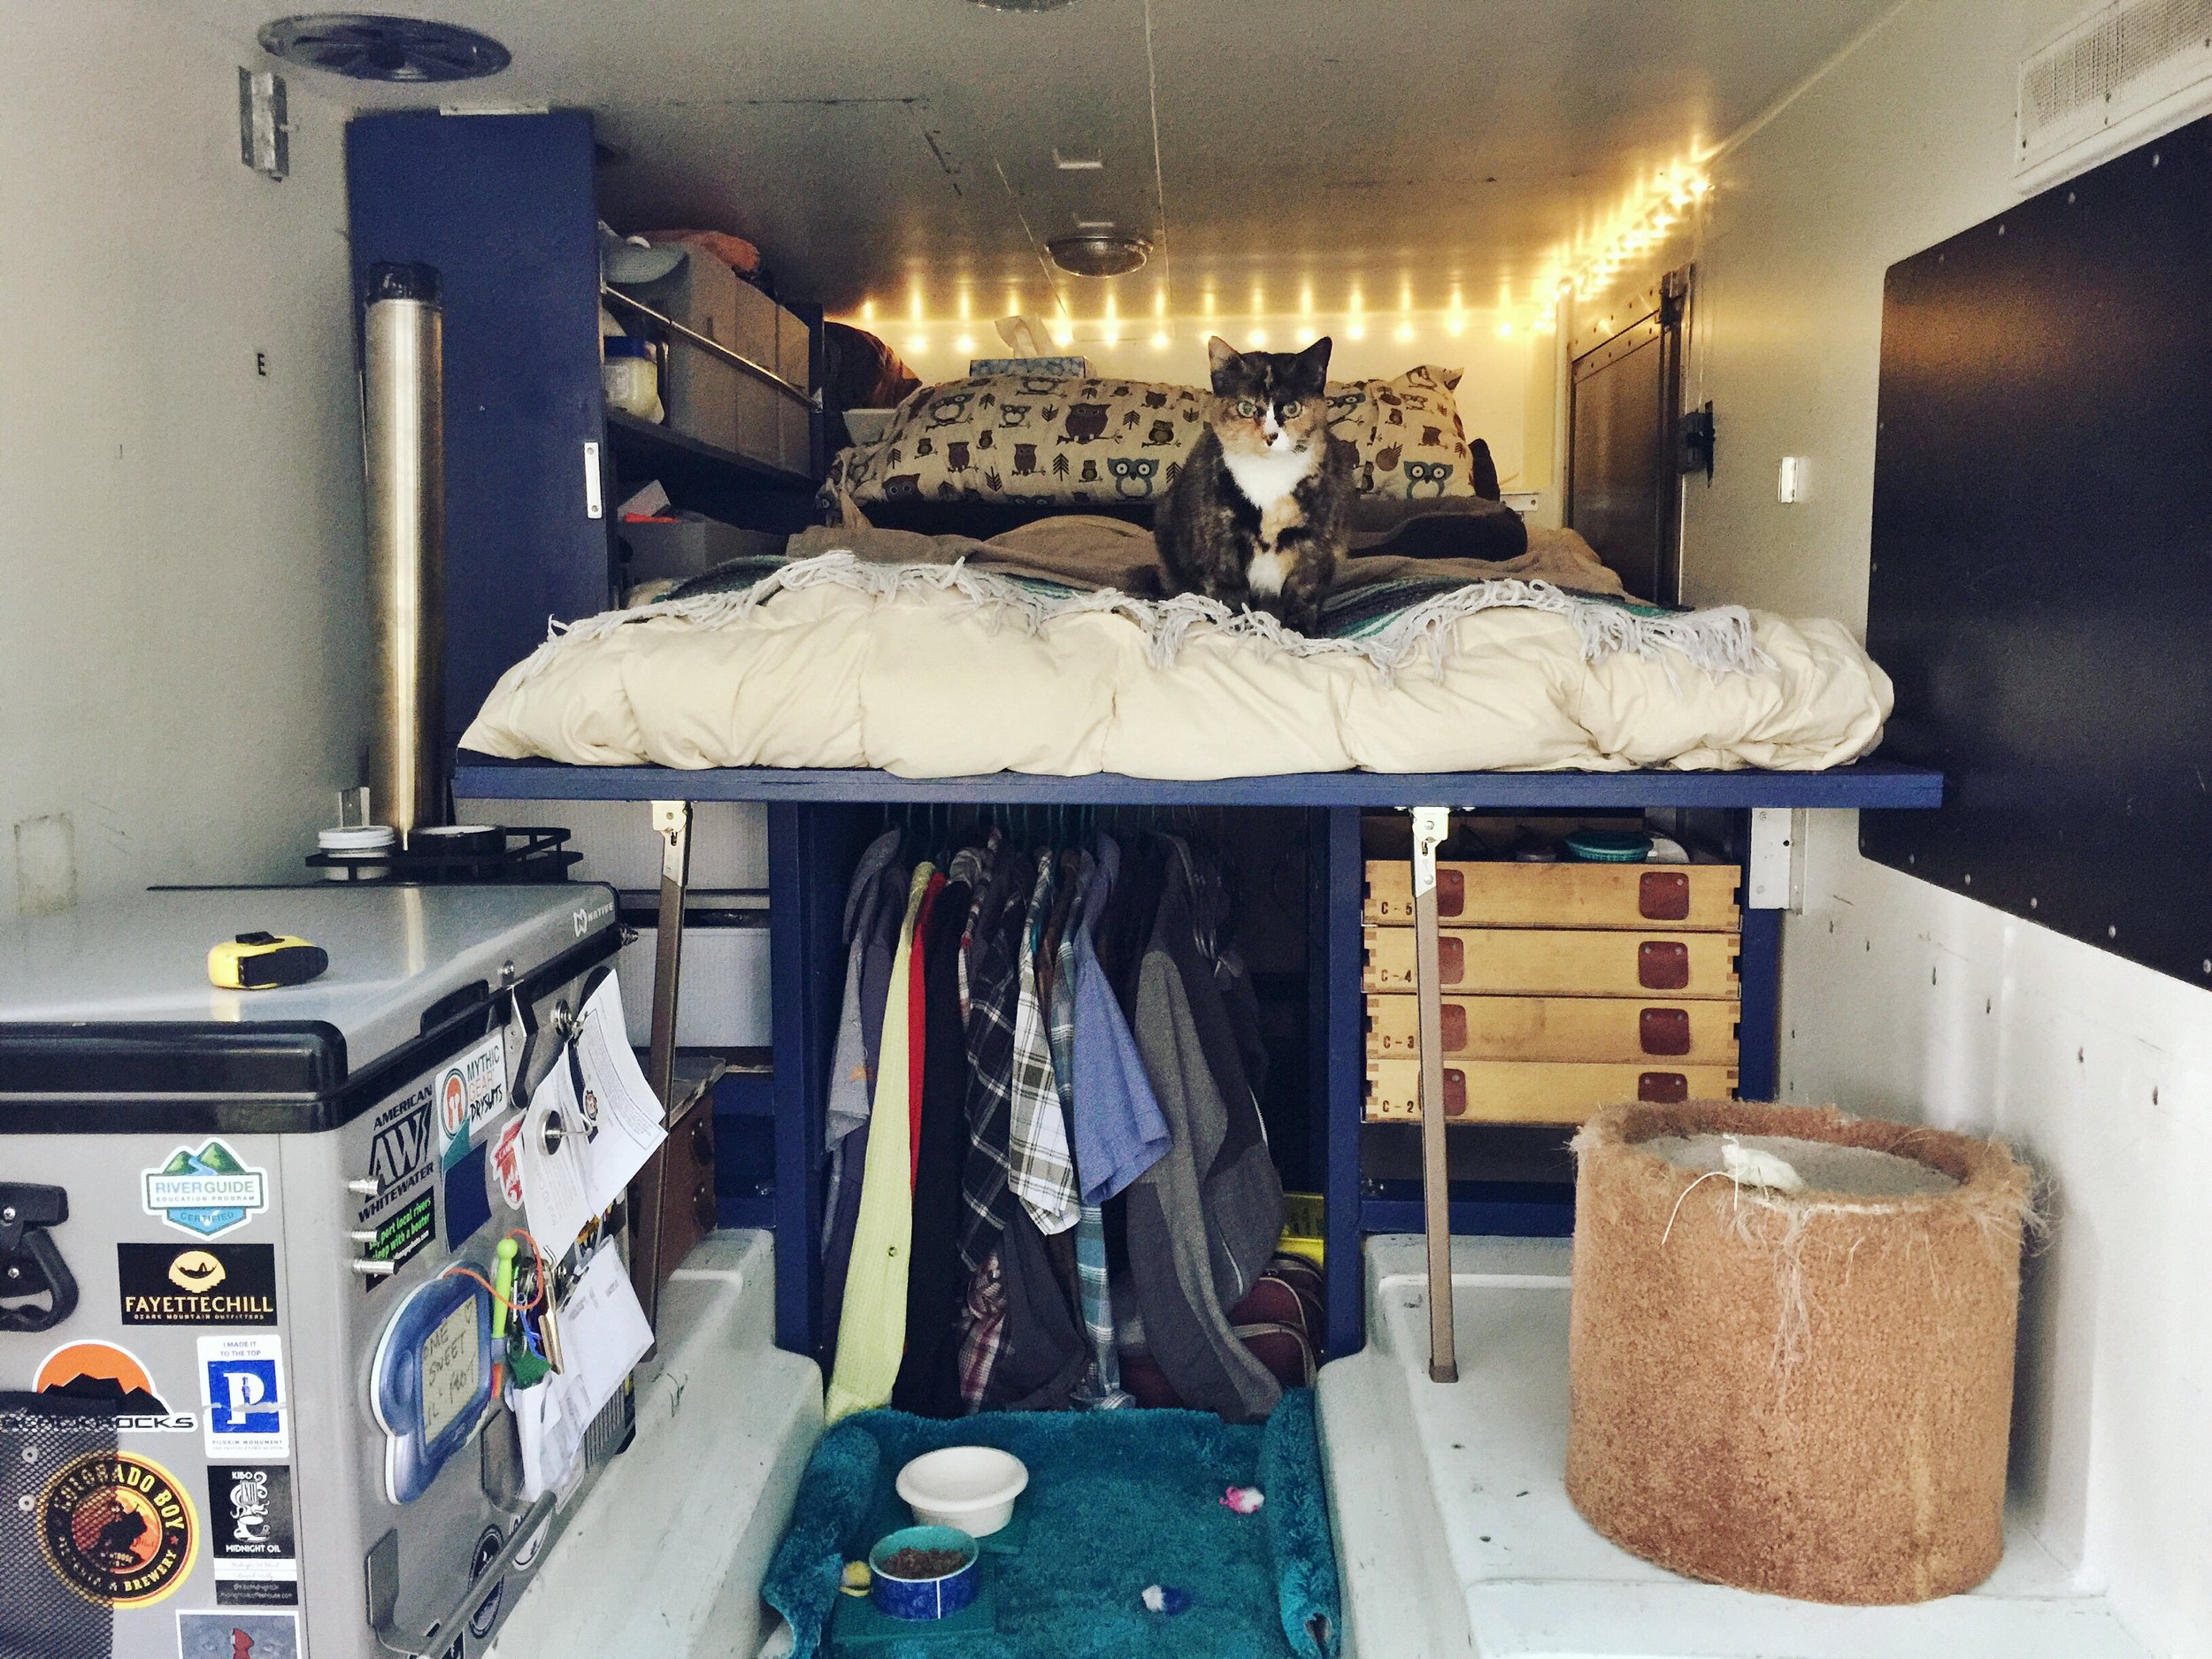
A view of the apartment.
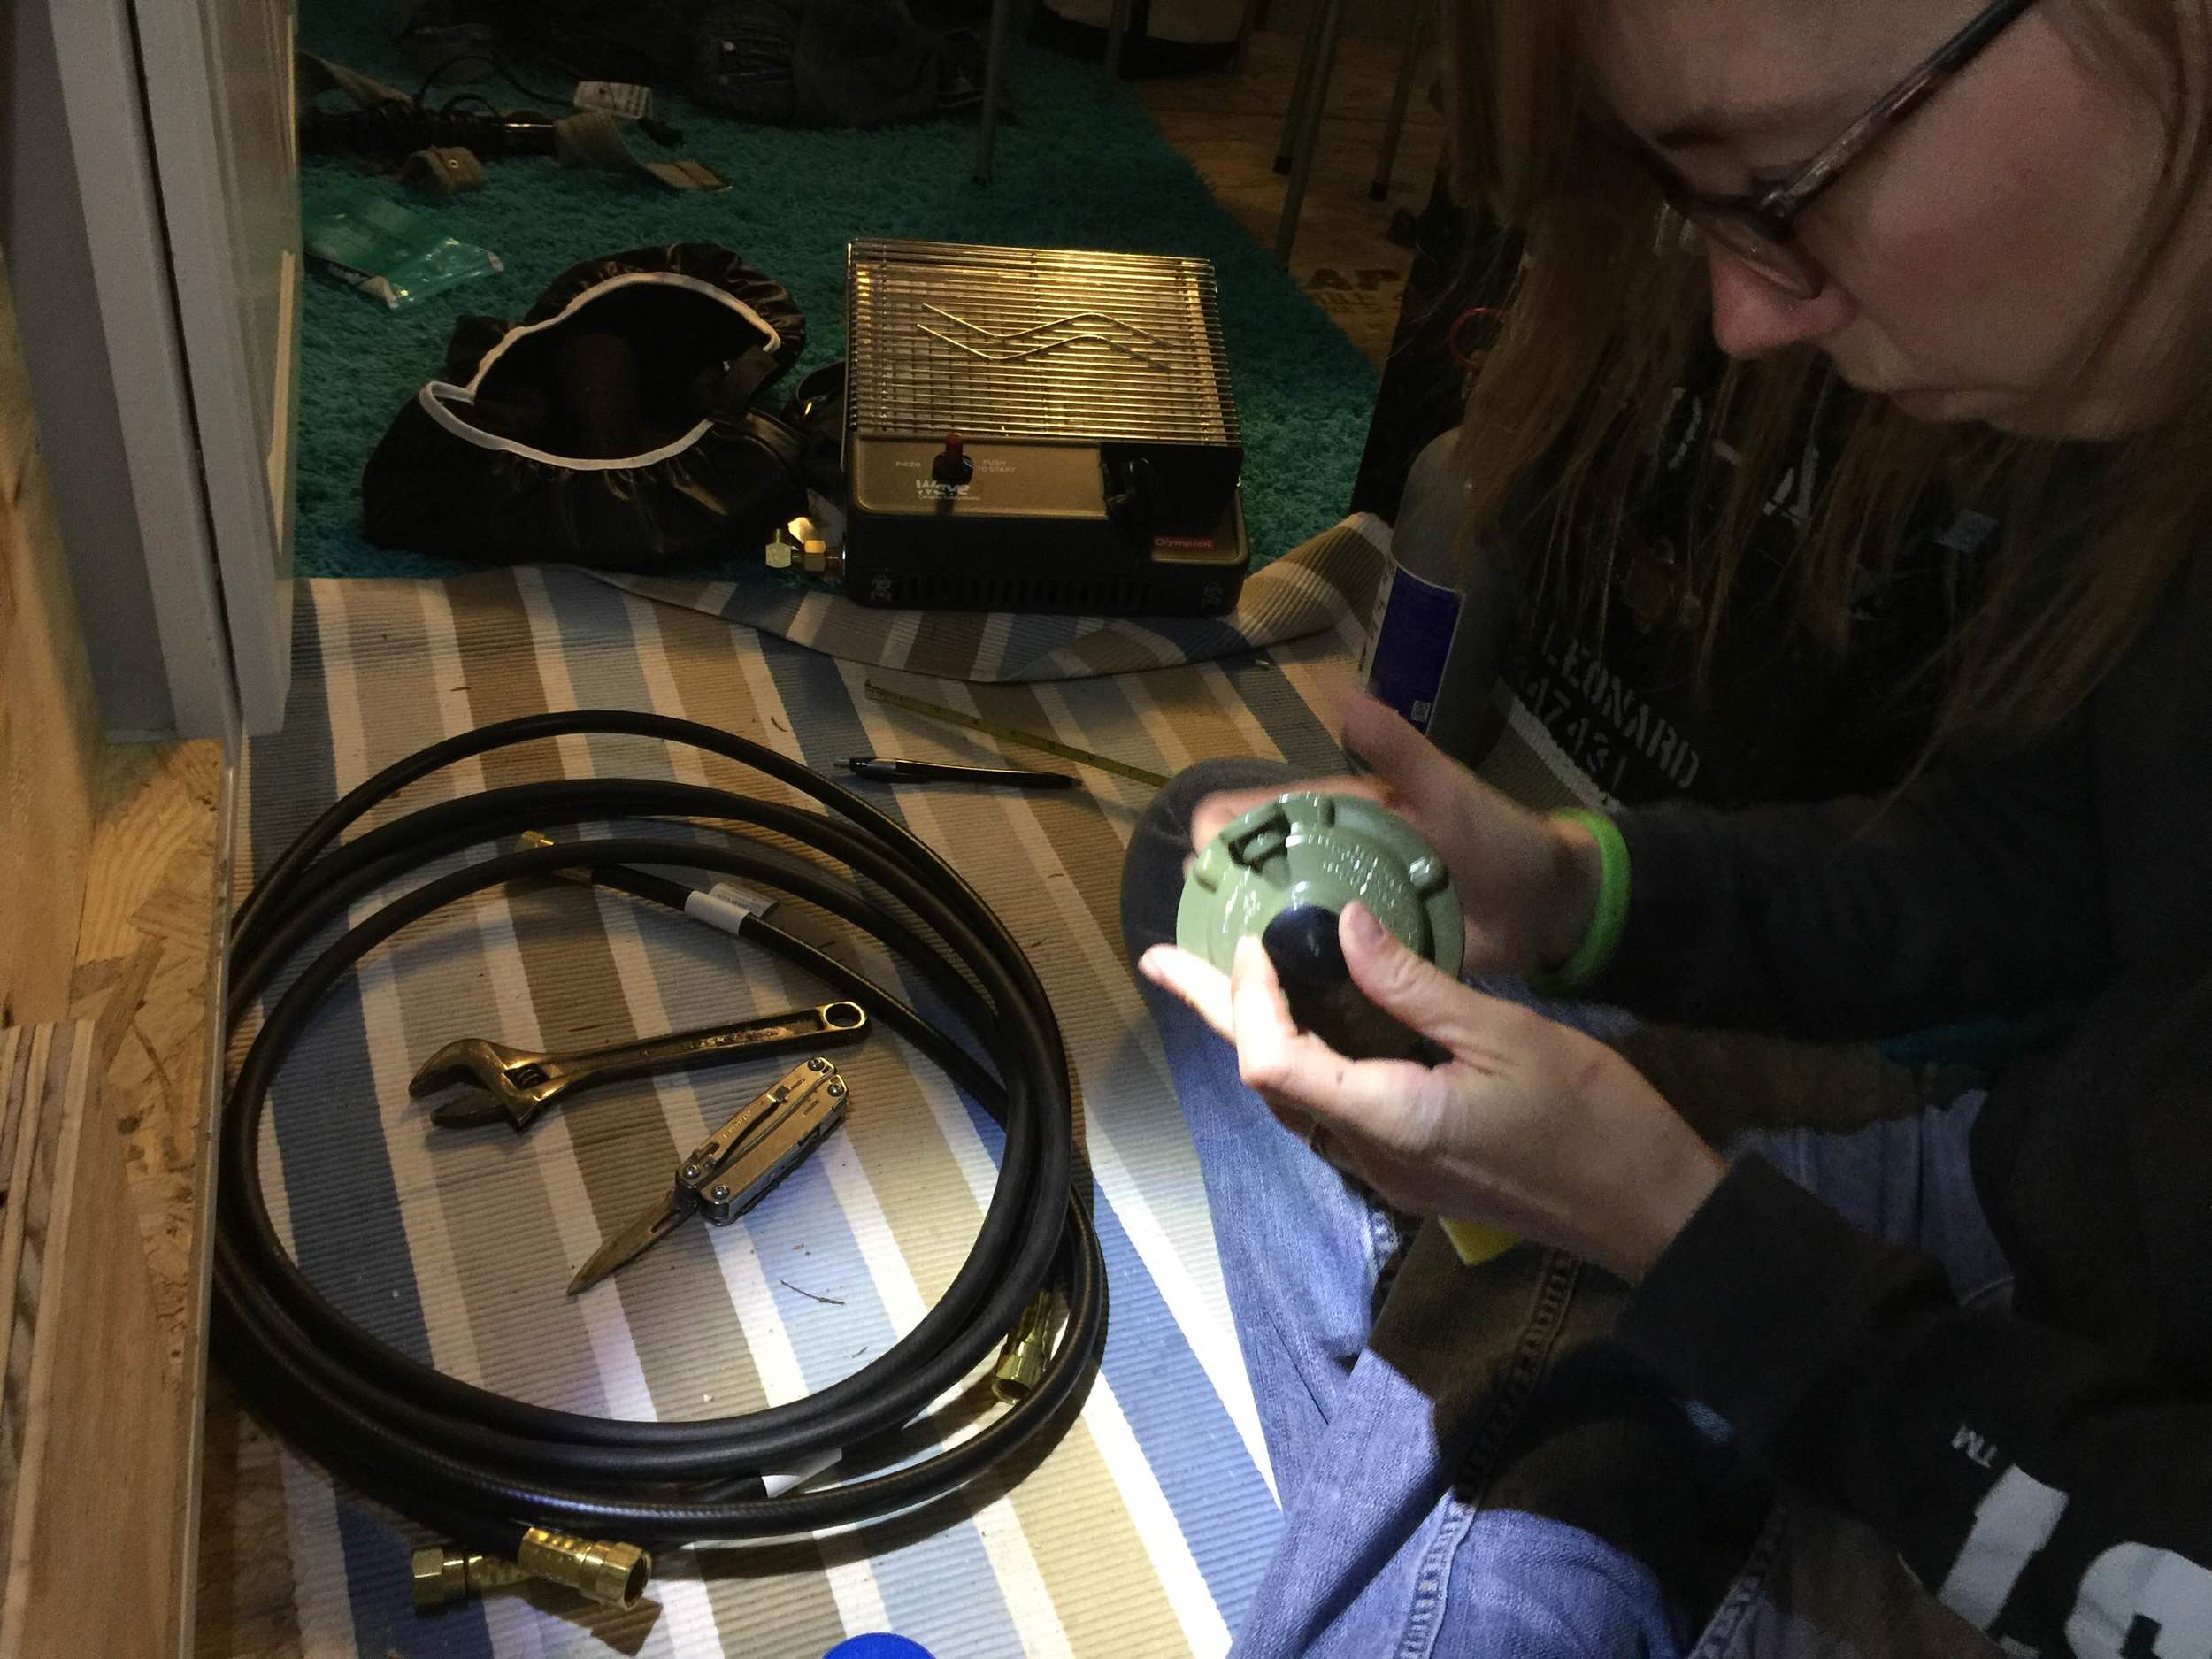
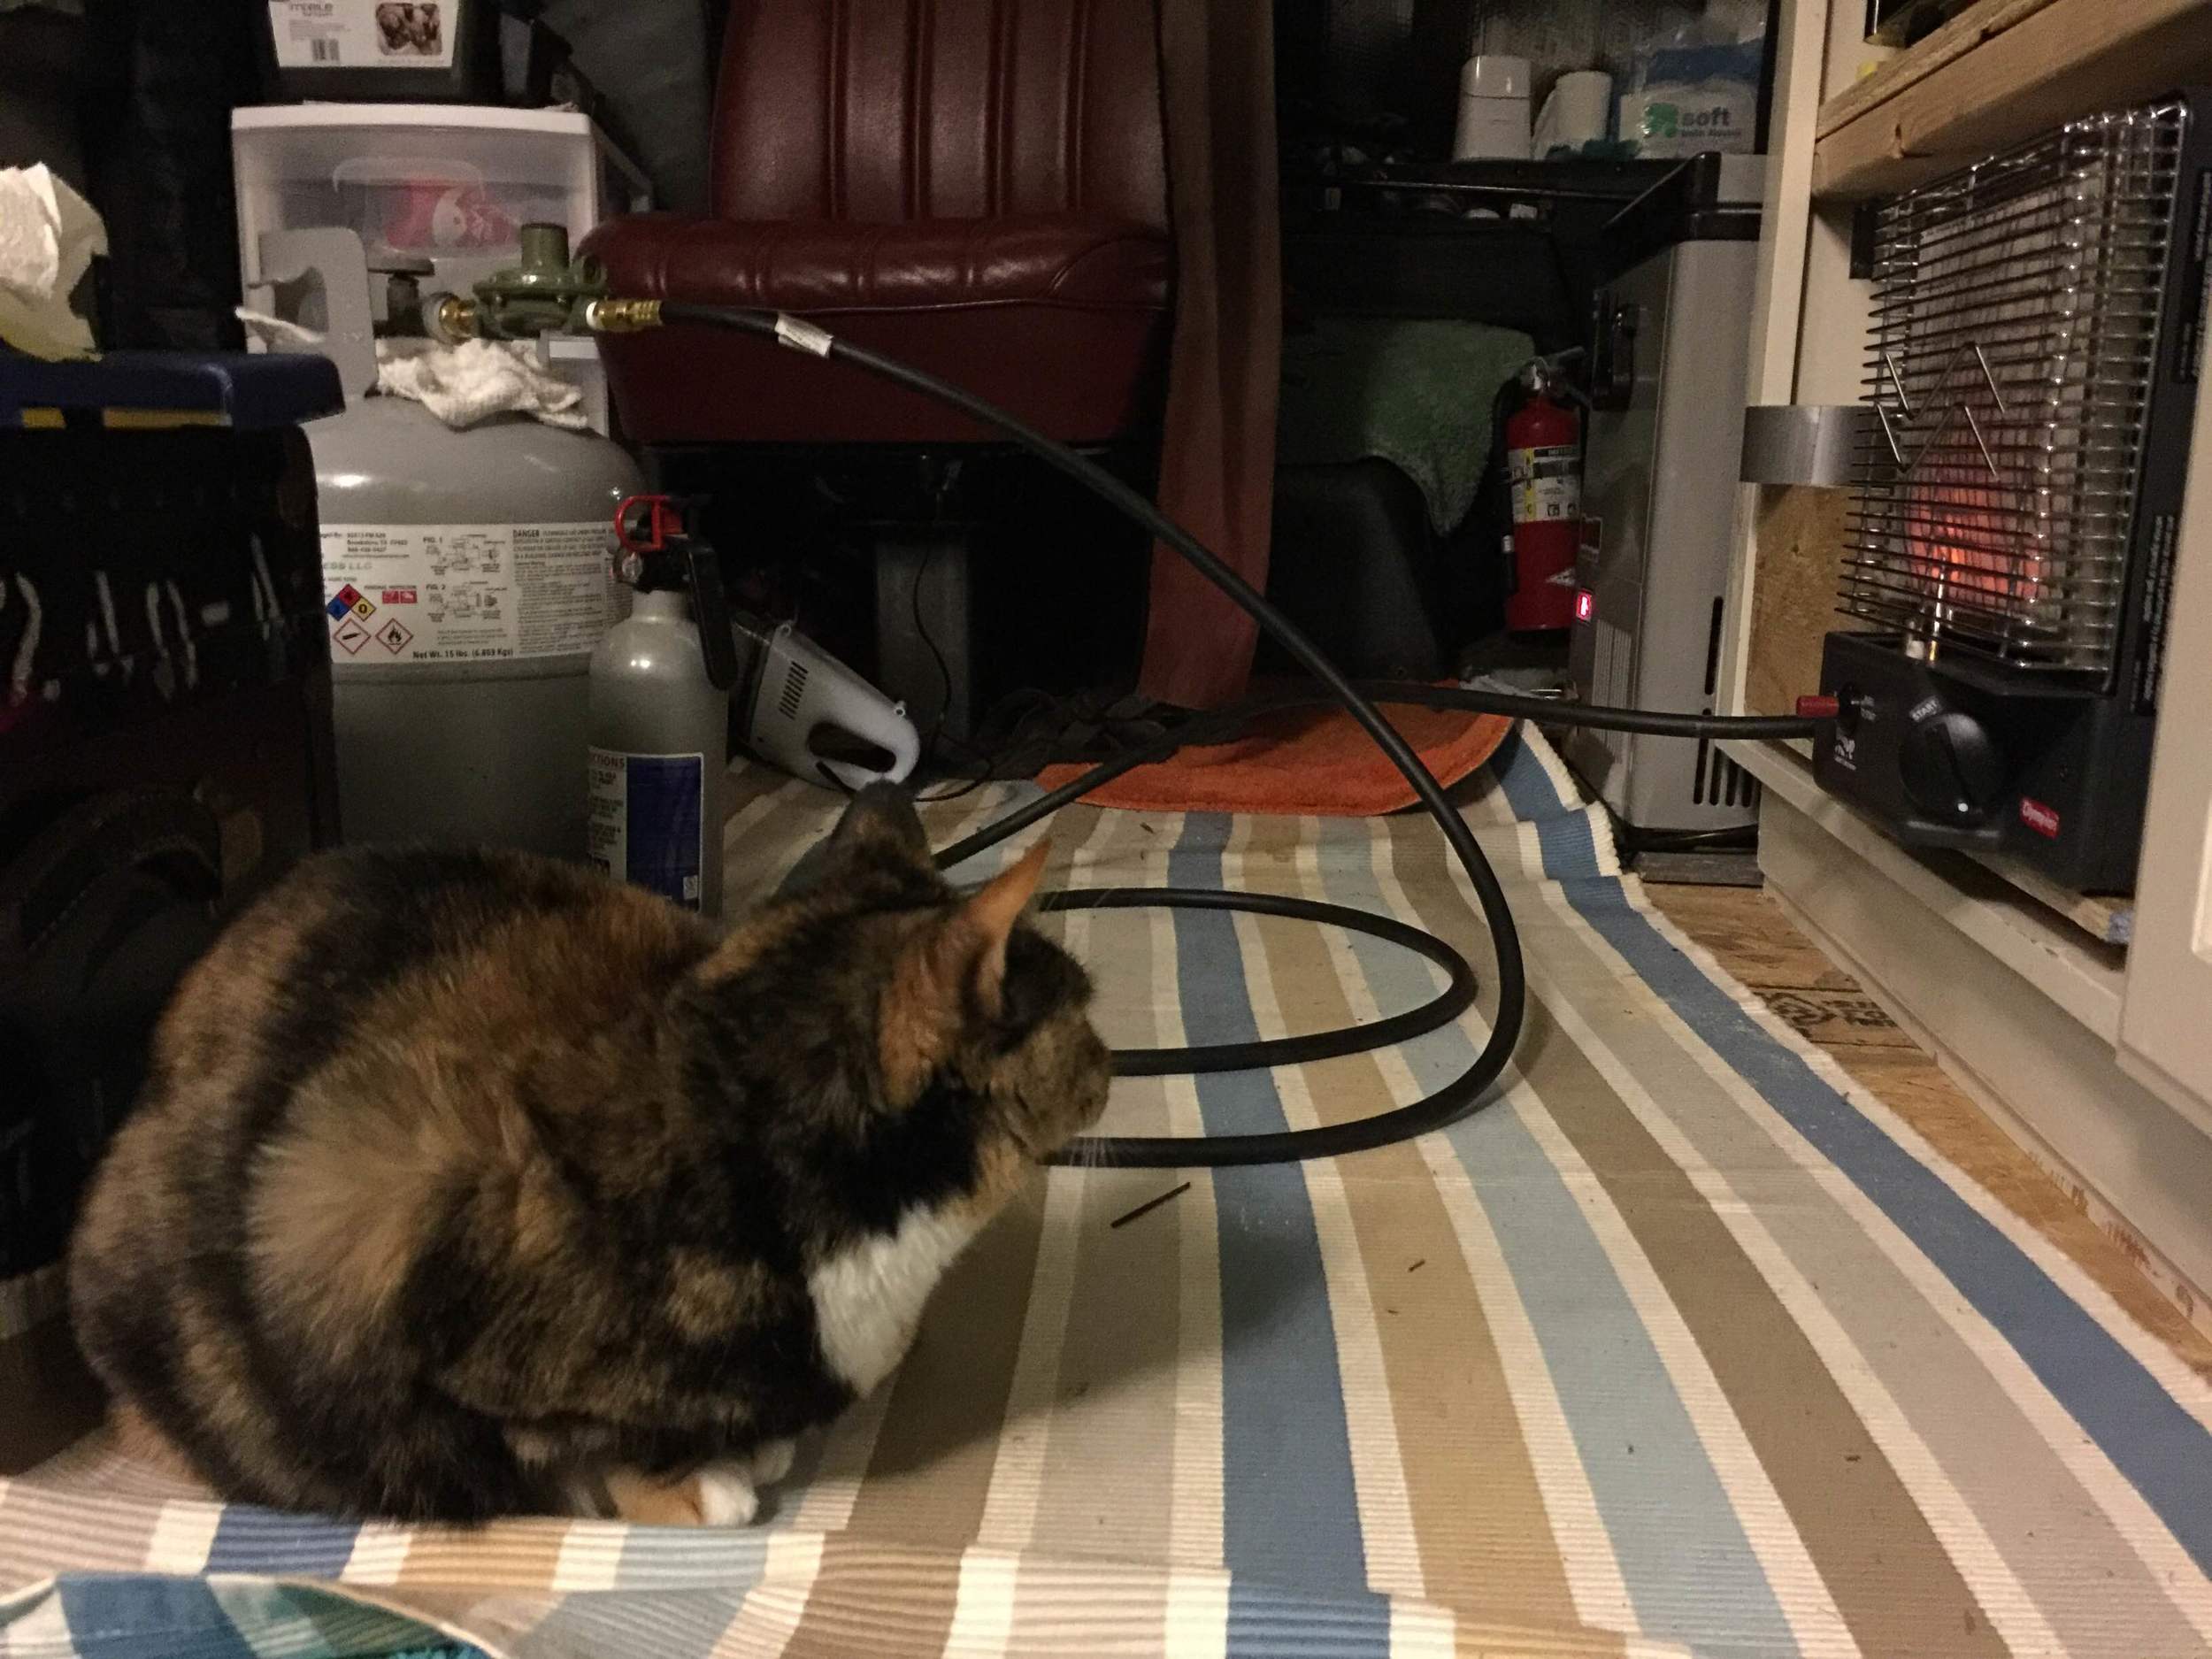
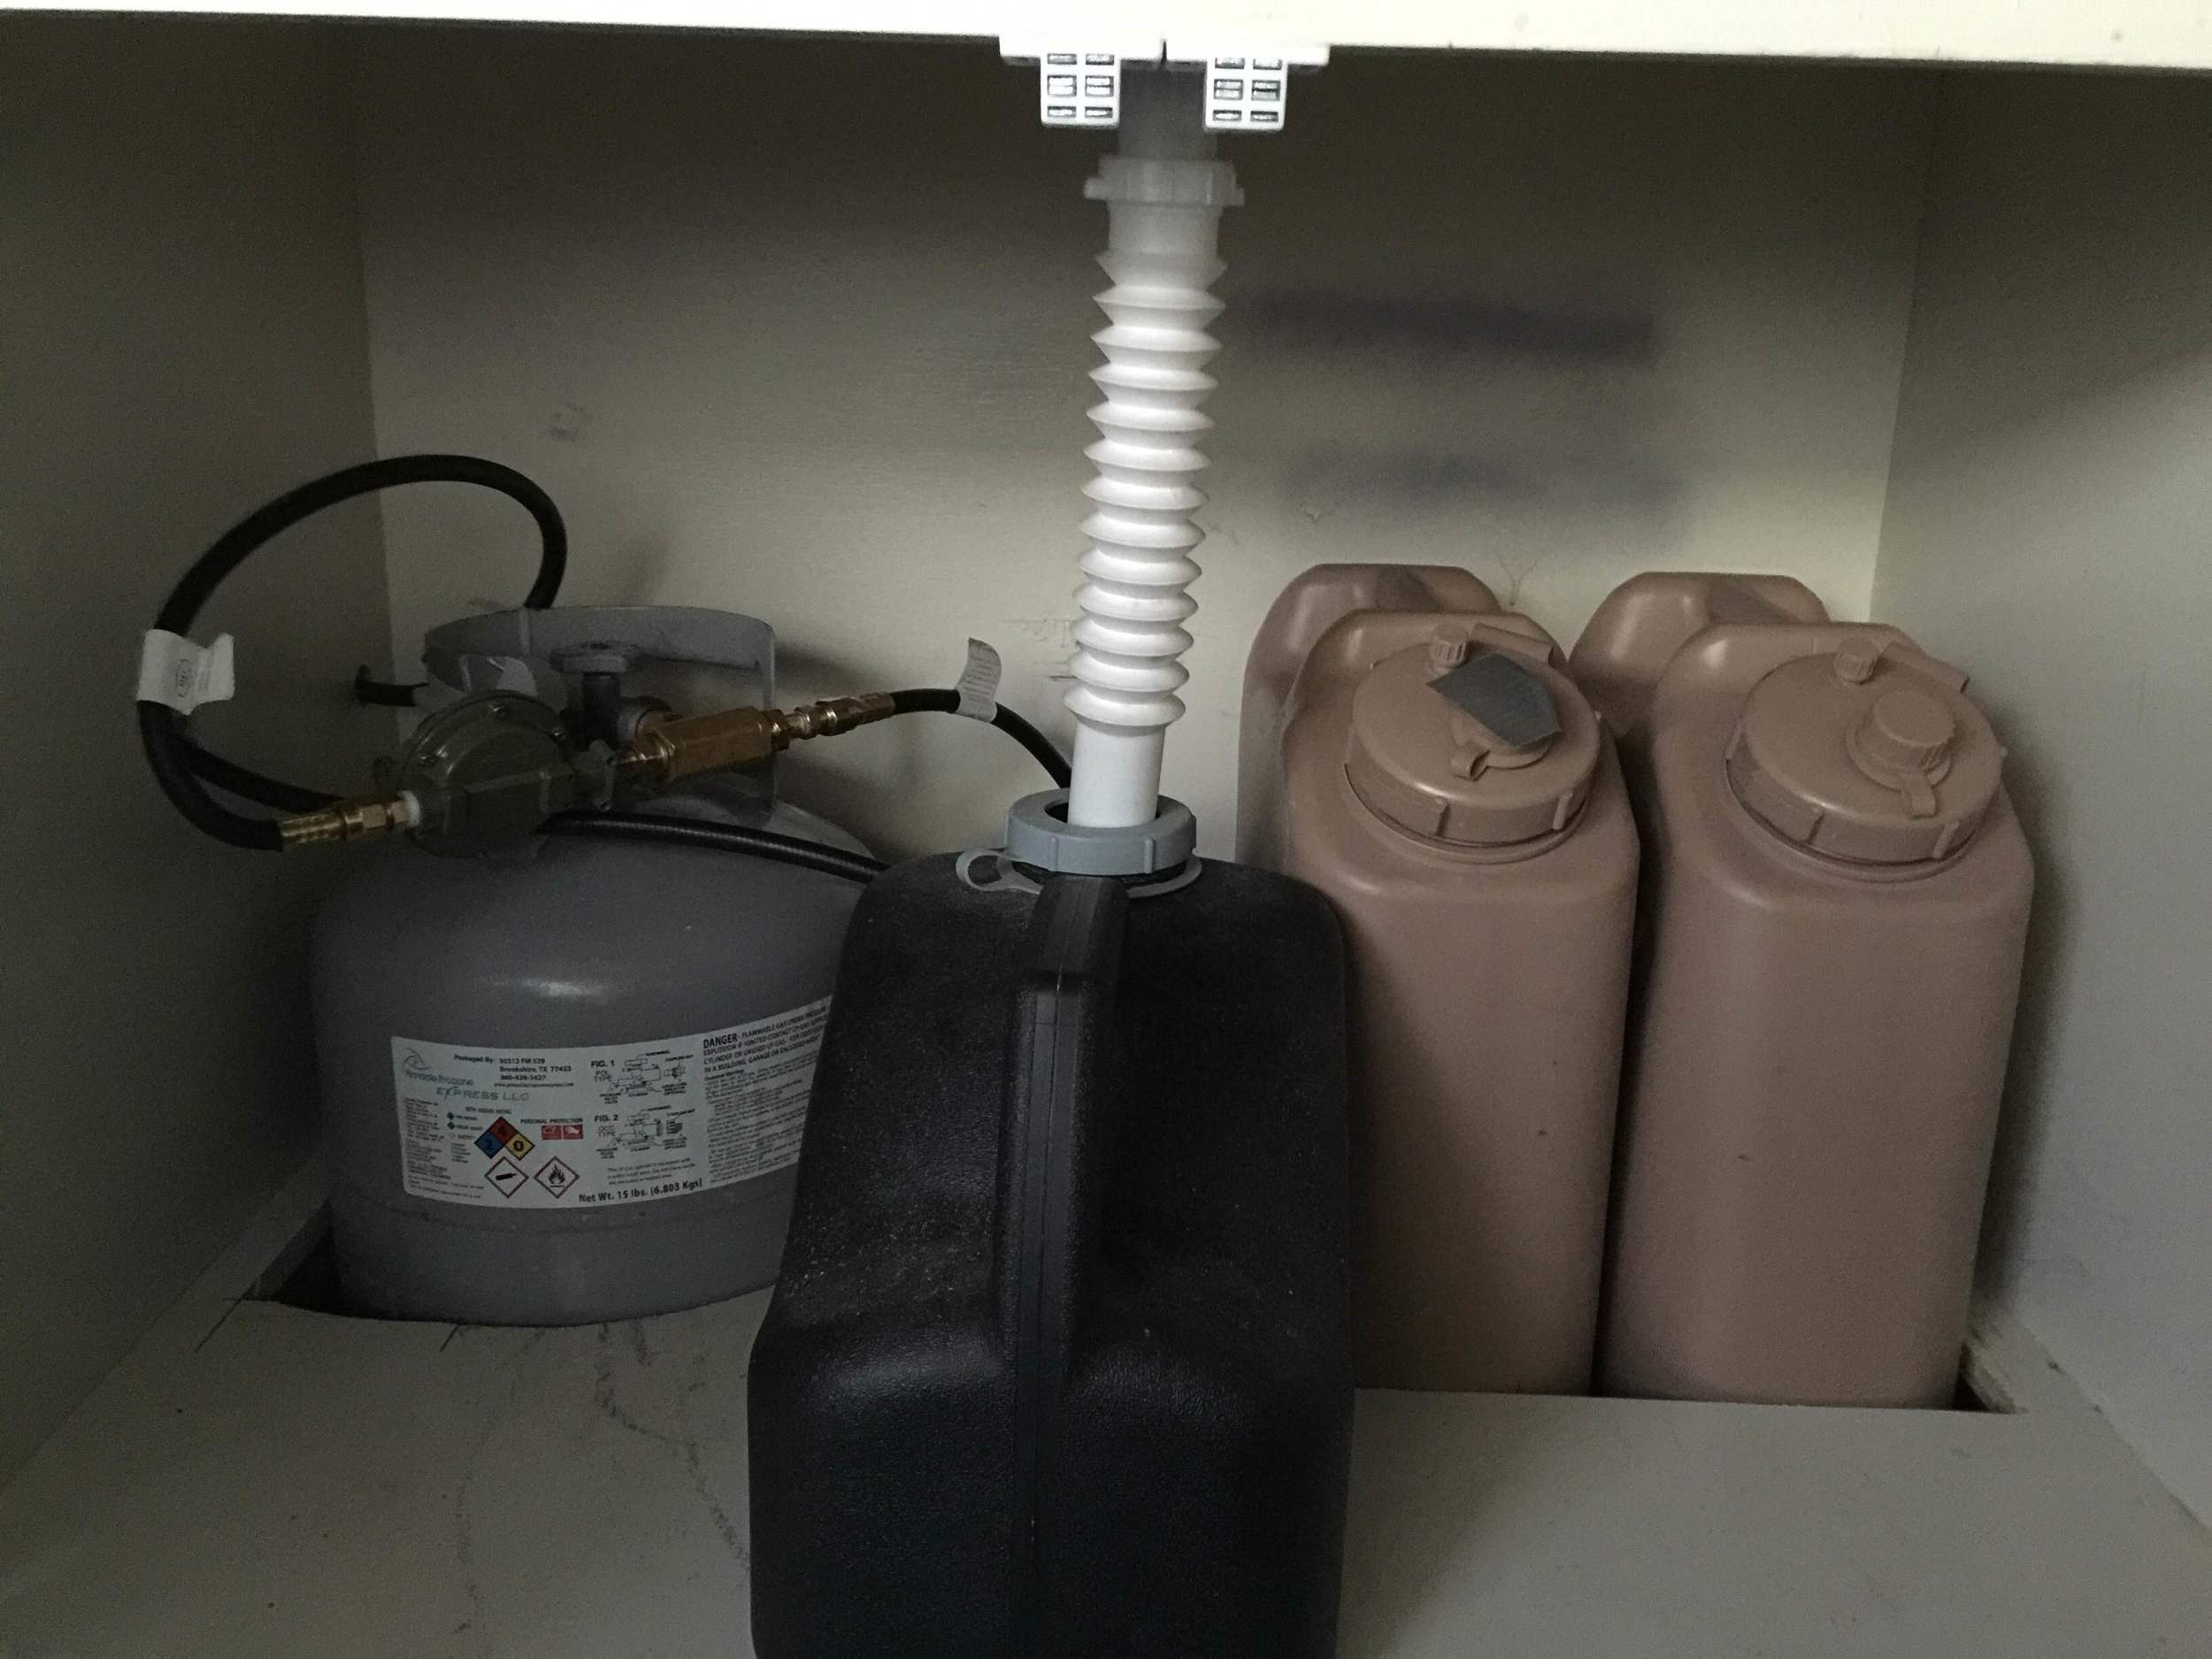
The top image is with all of our stuff inside (minus our fridge, which sat in the lower left corner where you can see the handheld vacuum), how we lived in it. Because we never did things like put down a permanent flooring over the plywood, we used rugs to cover it up, but they worked perfectly and I never noticed or minded the raw wood floors. If you look to the far back right you can see our hanging closet space, which is where we kept Loulou's litter box and my camp toilet (for those middle-of-the-night pee breaks). Our camp oven/stove was removable so we could use it indoors or outside, which was just awesome. And to the right on the bottom you can see our little wood stove (we took that with us into the Pinzgauer).
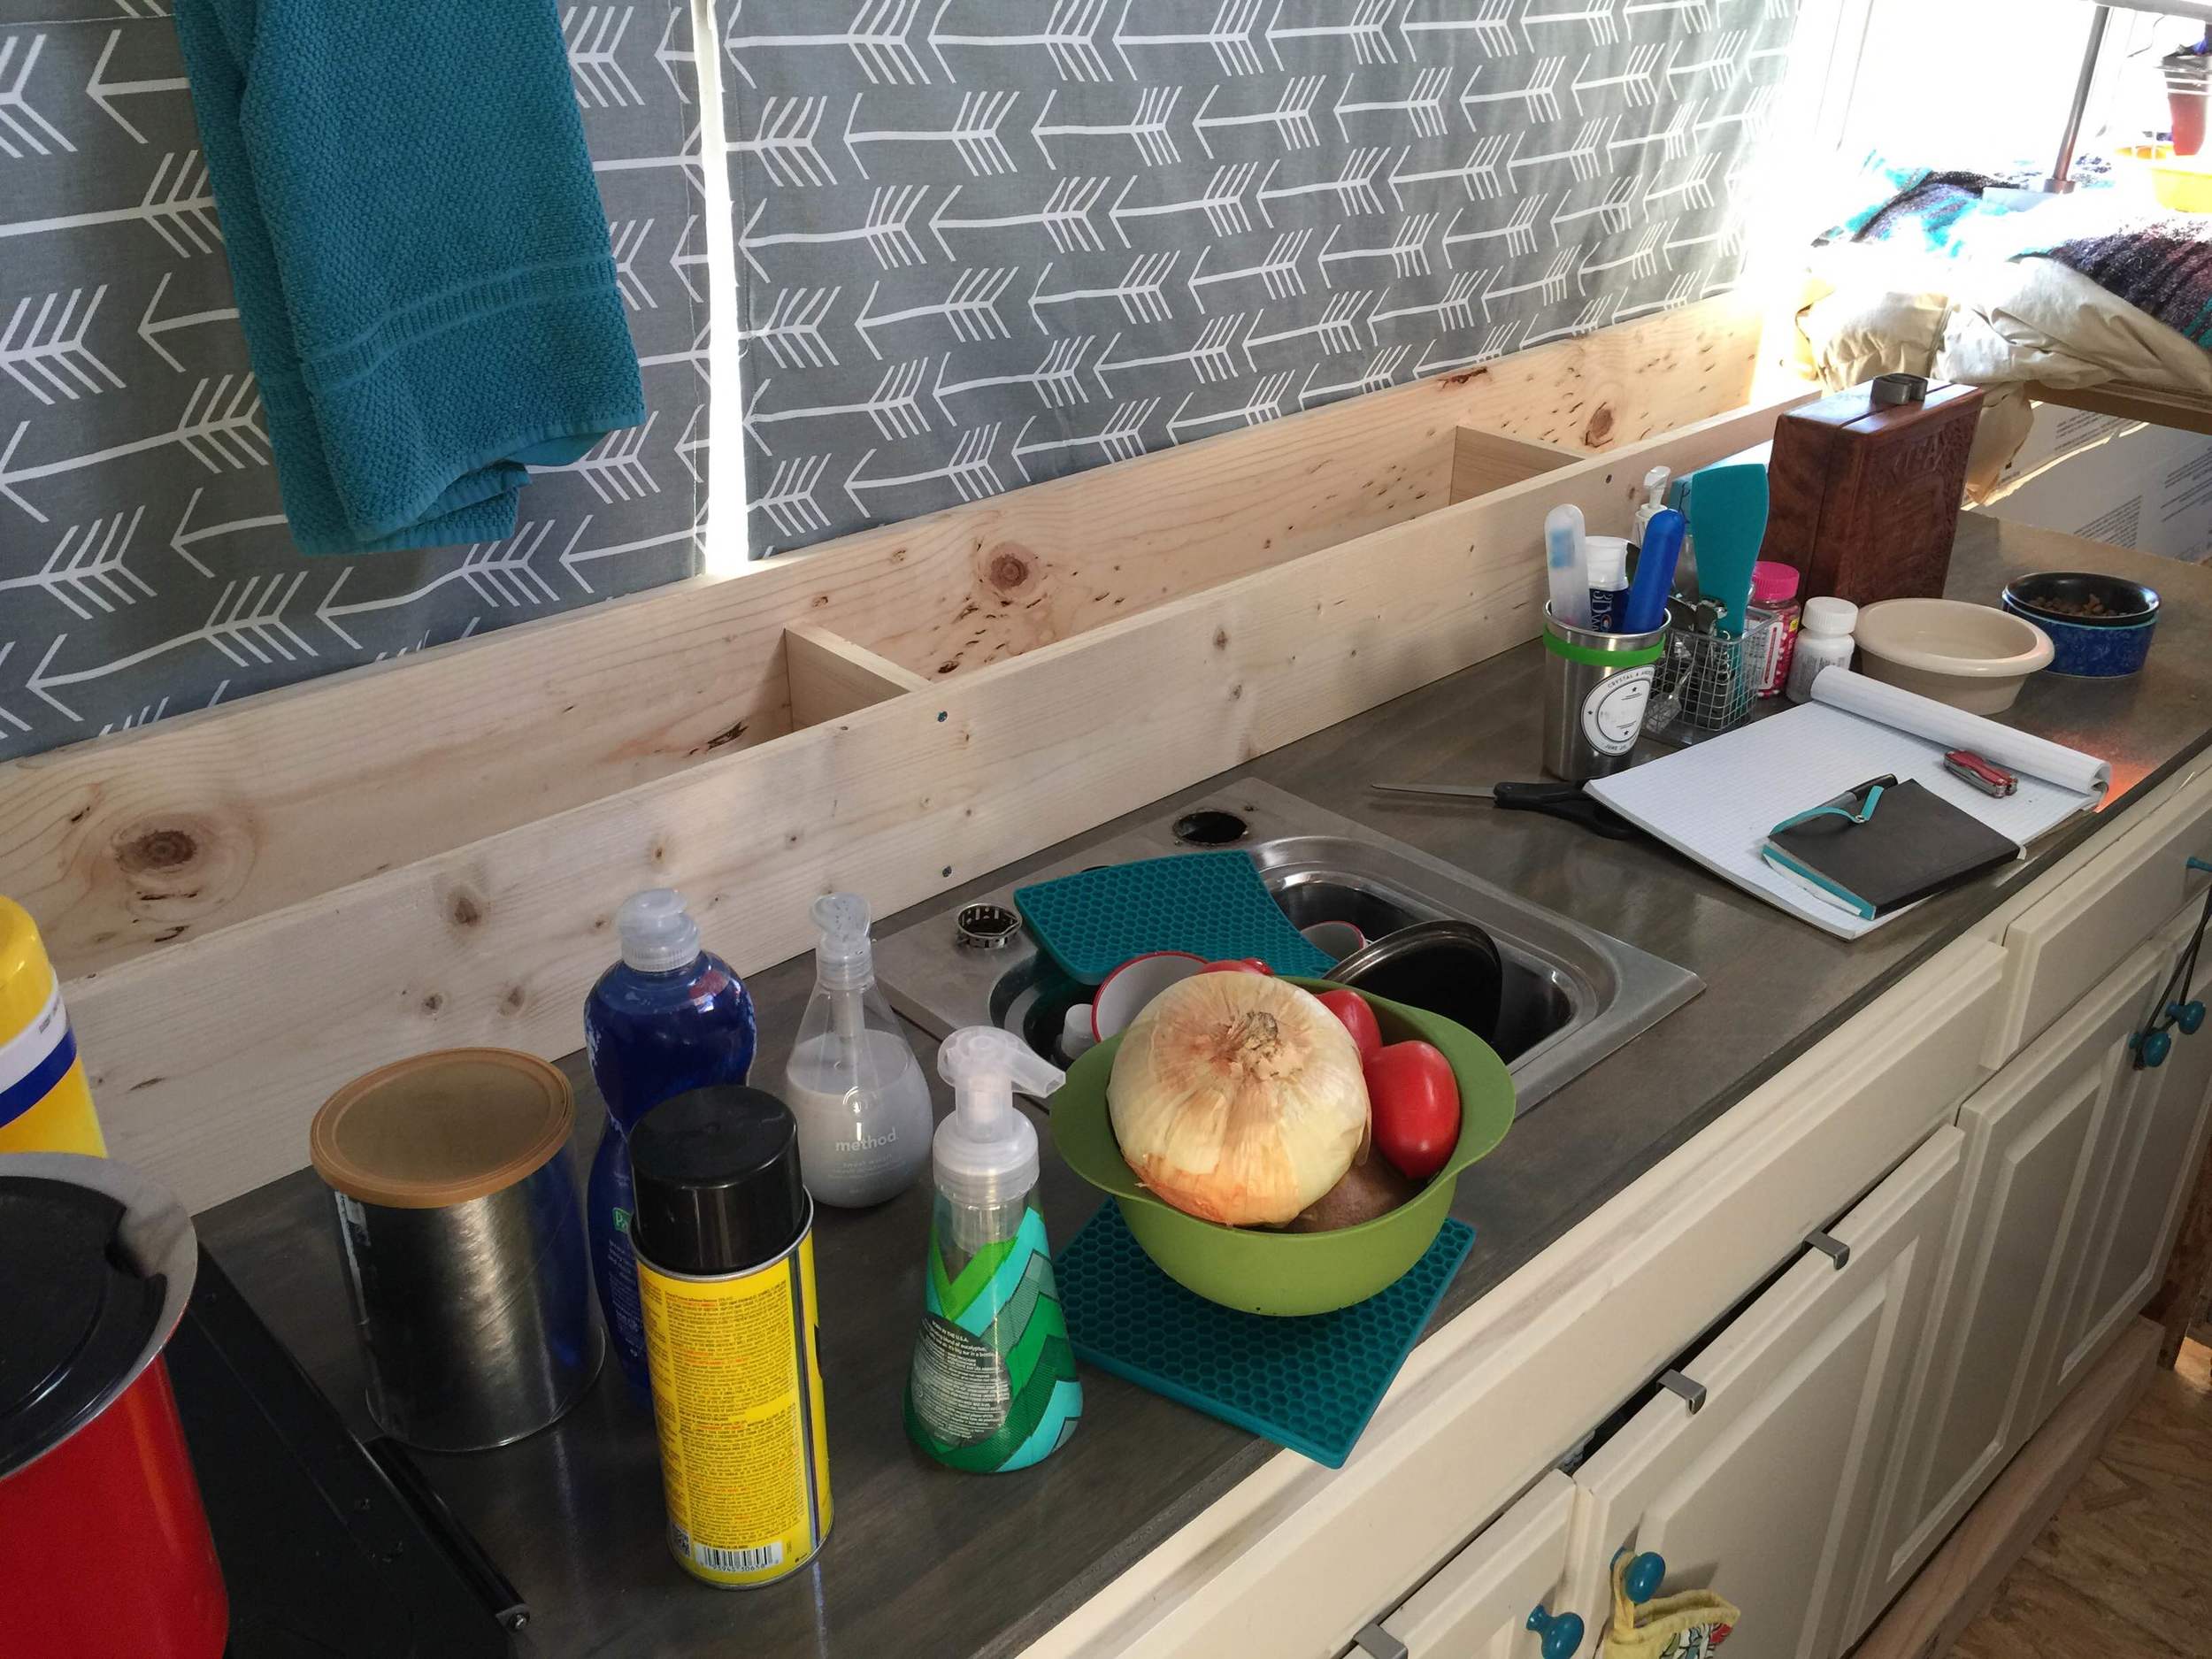
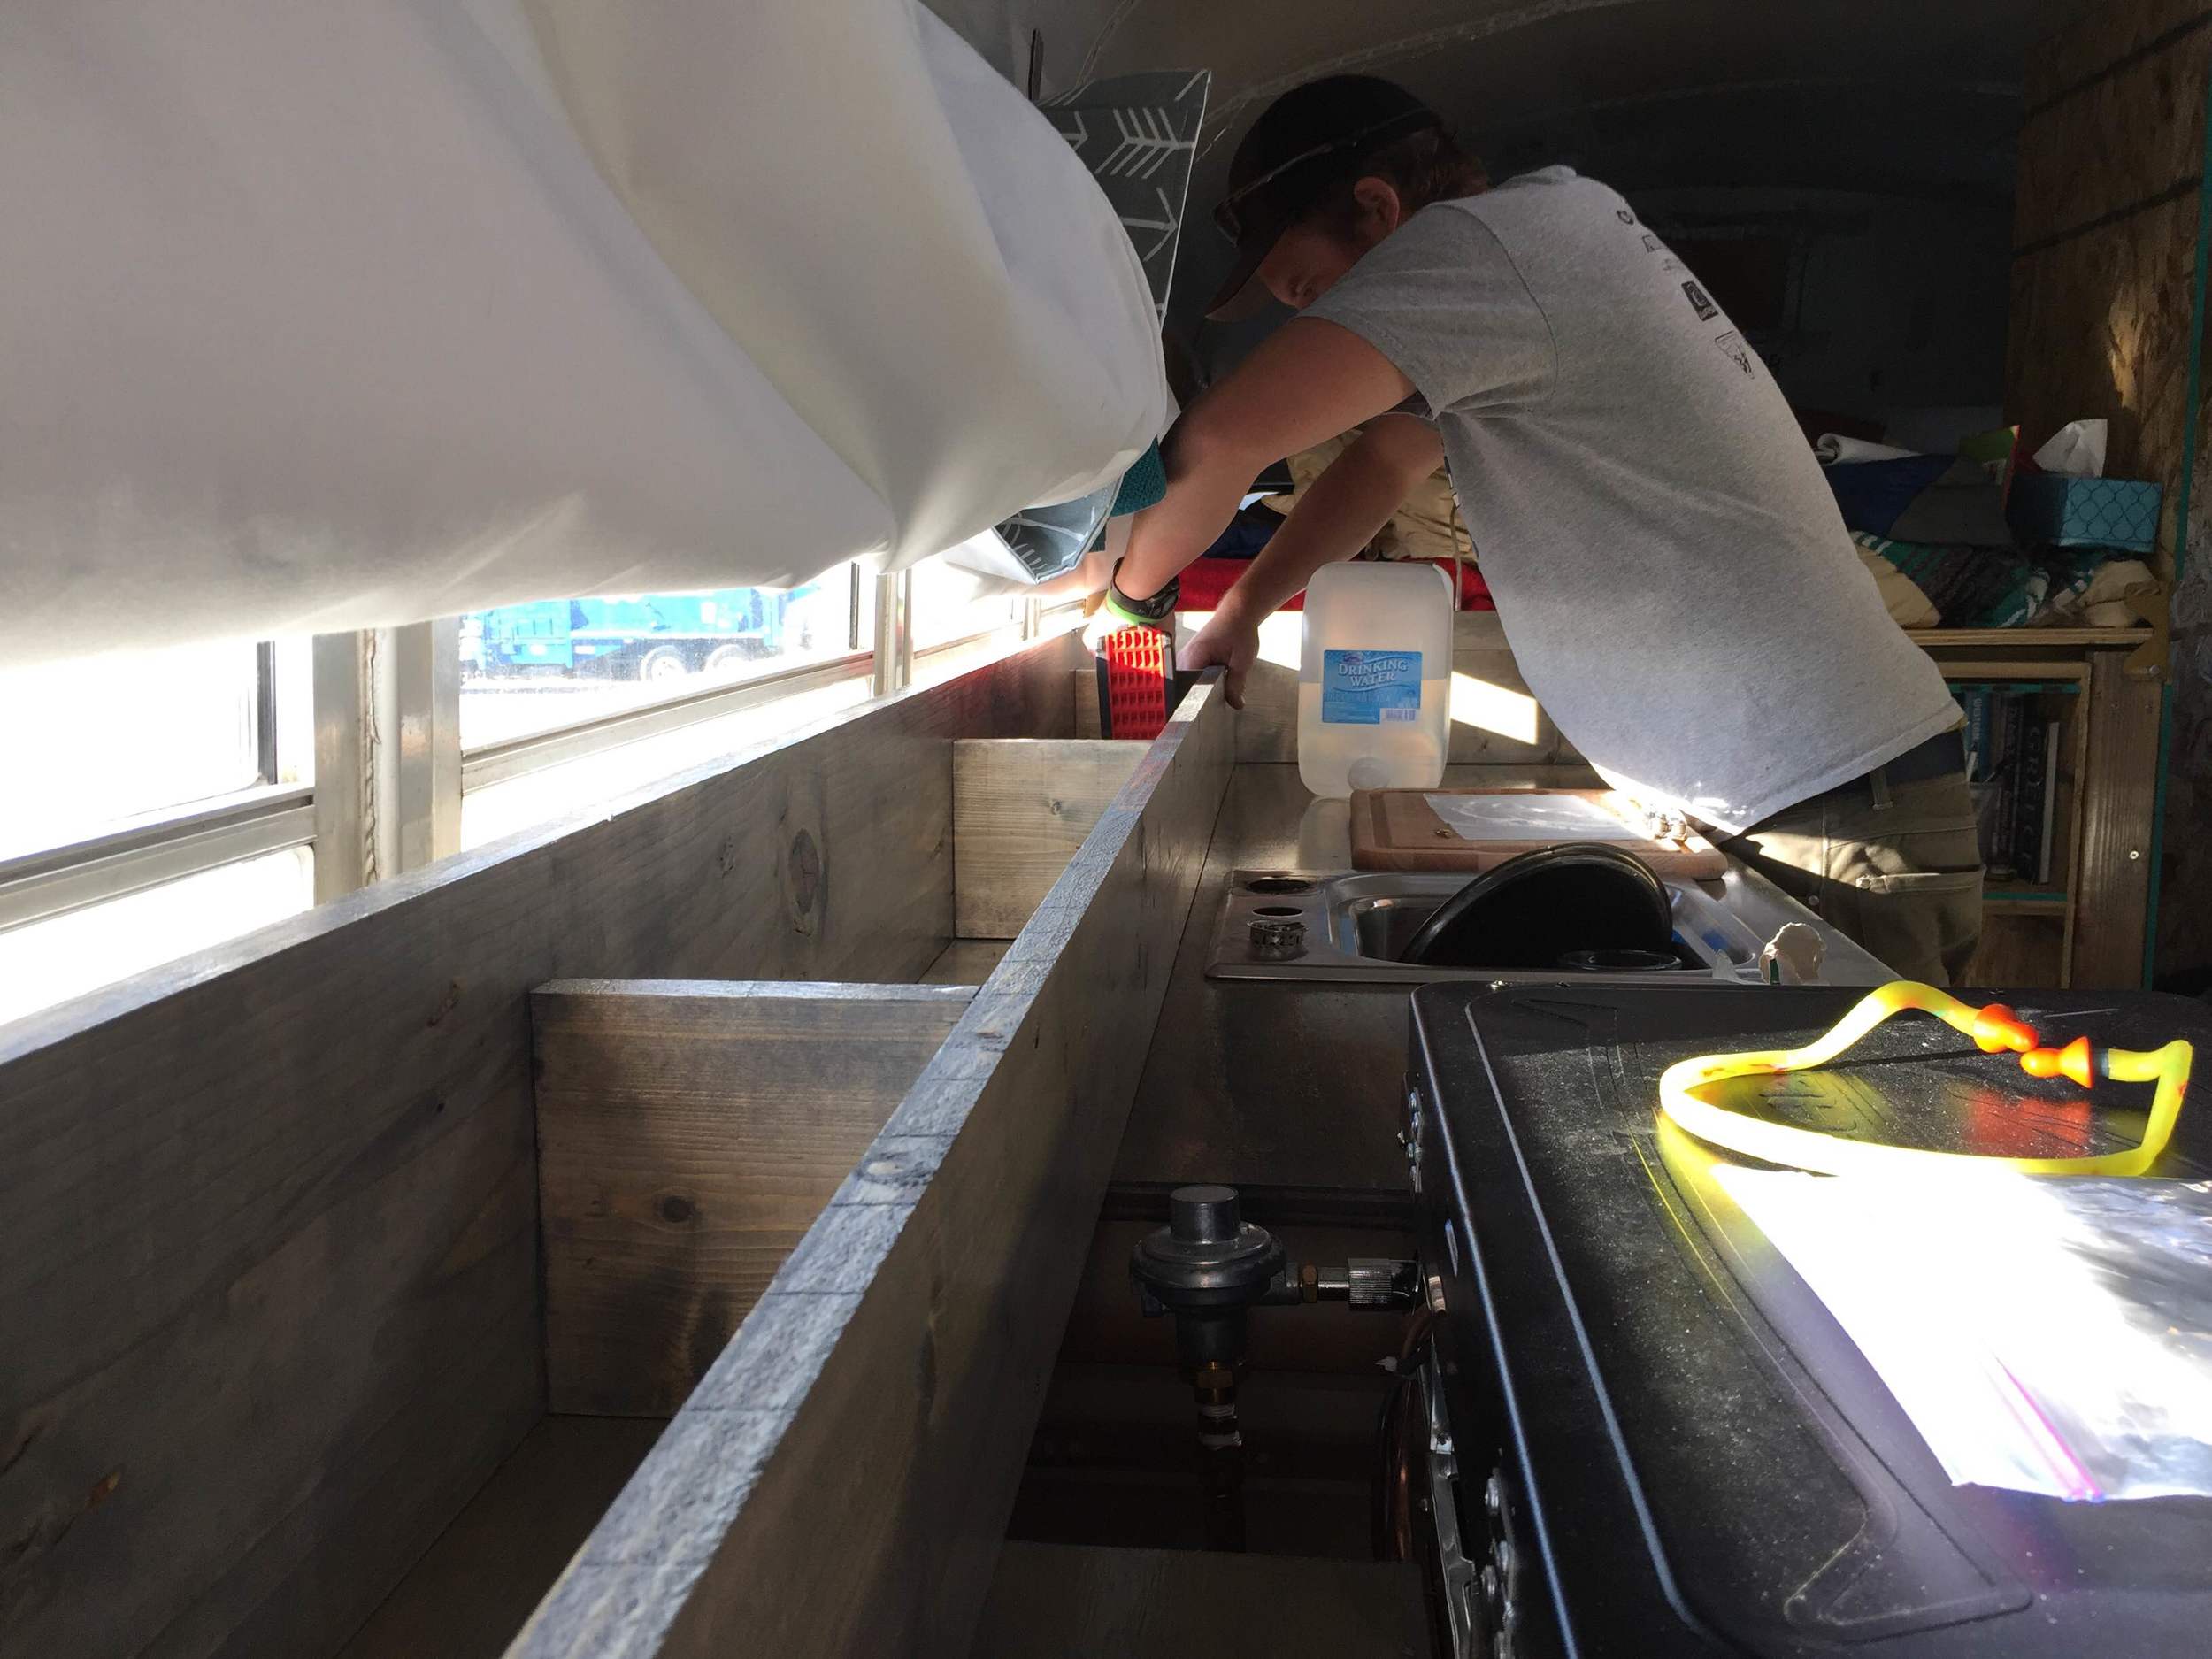
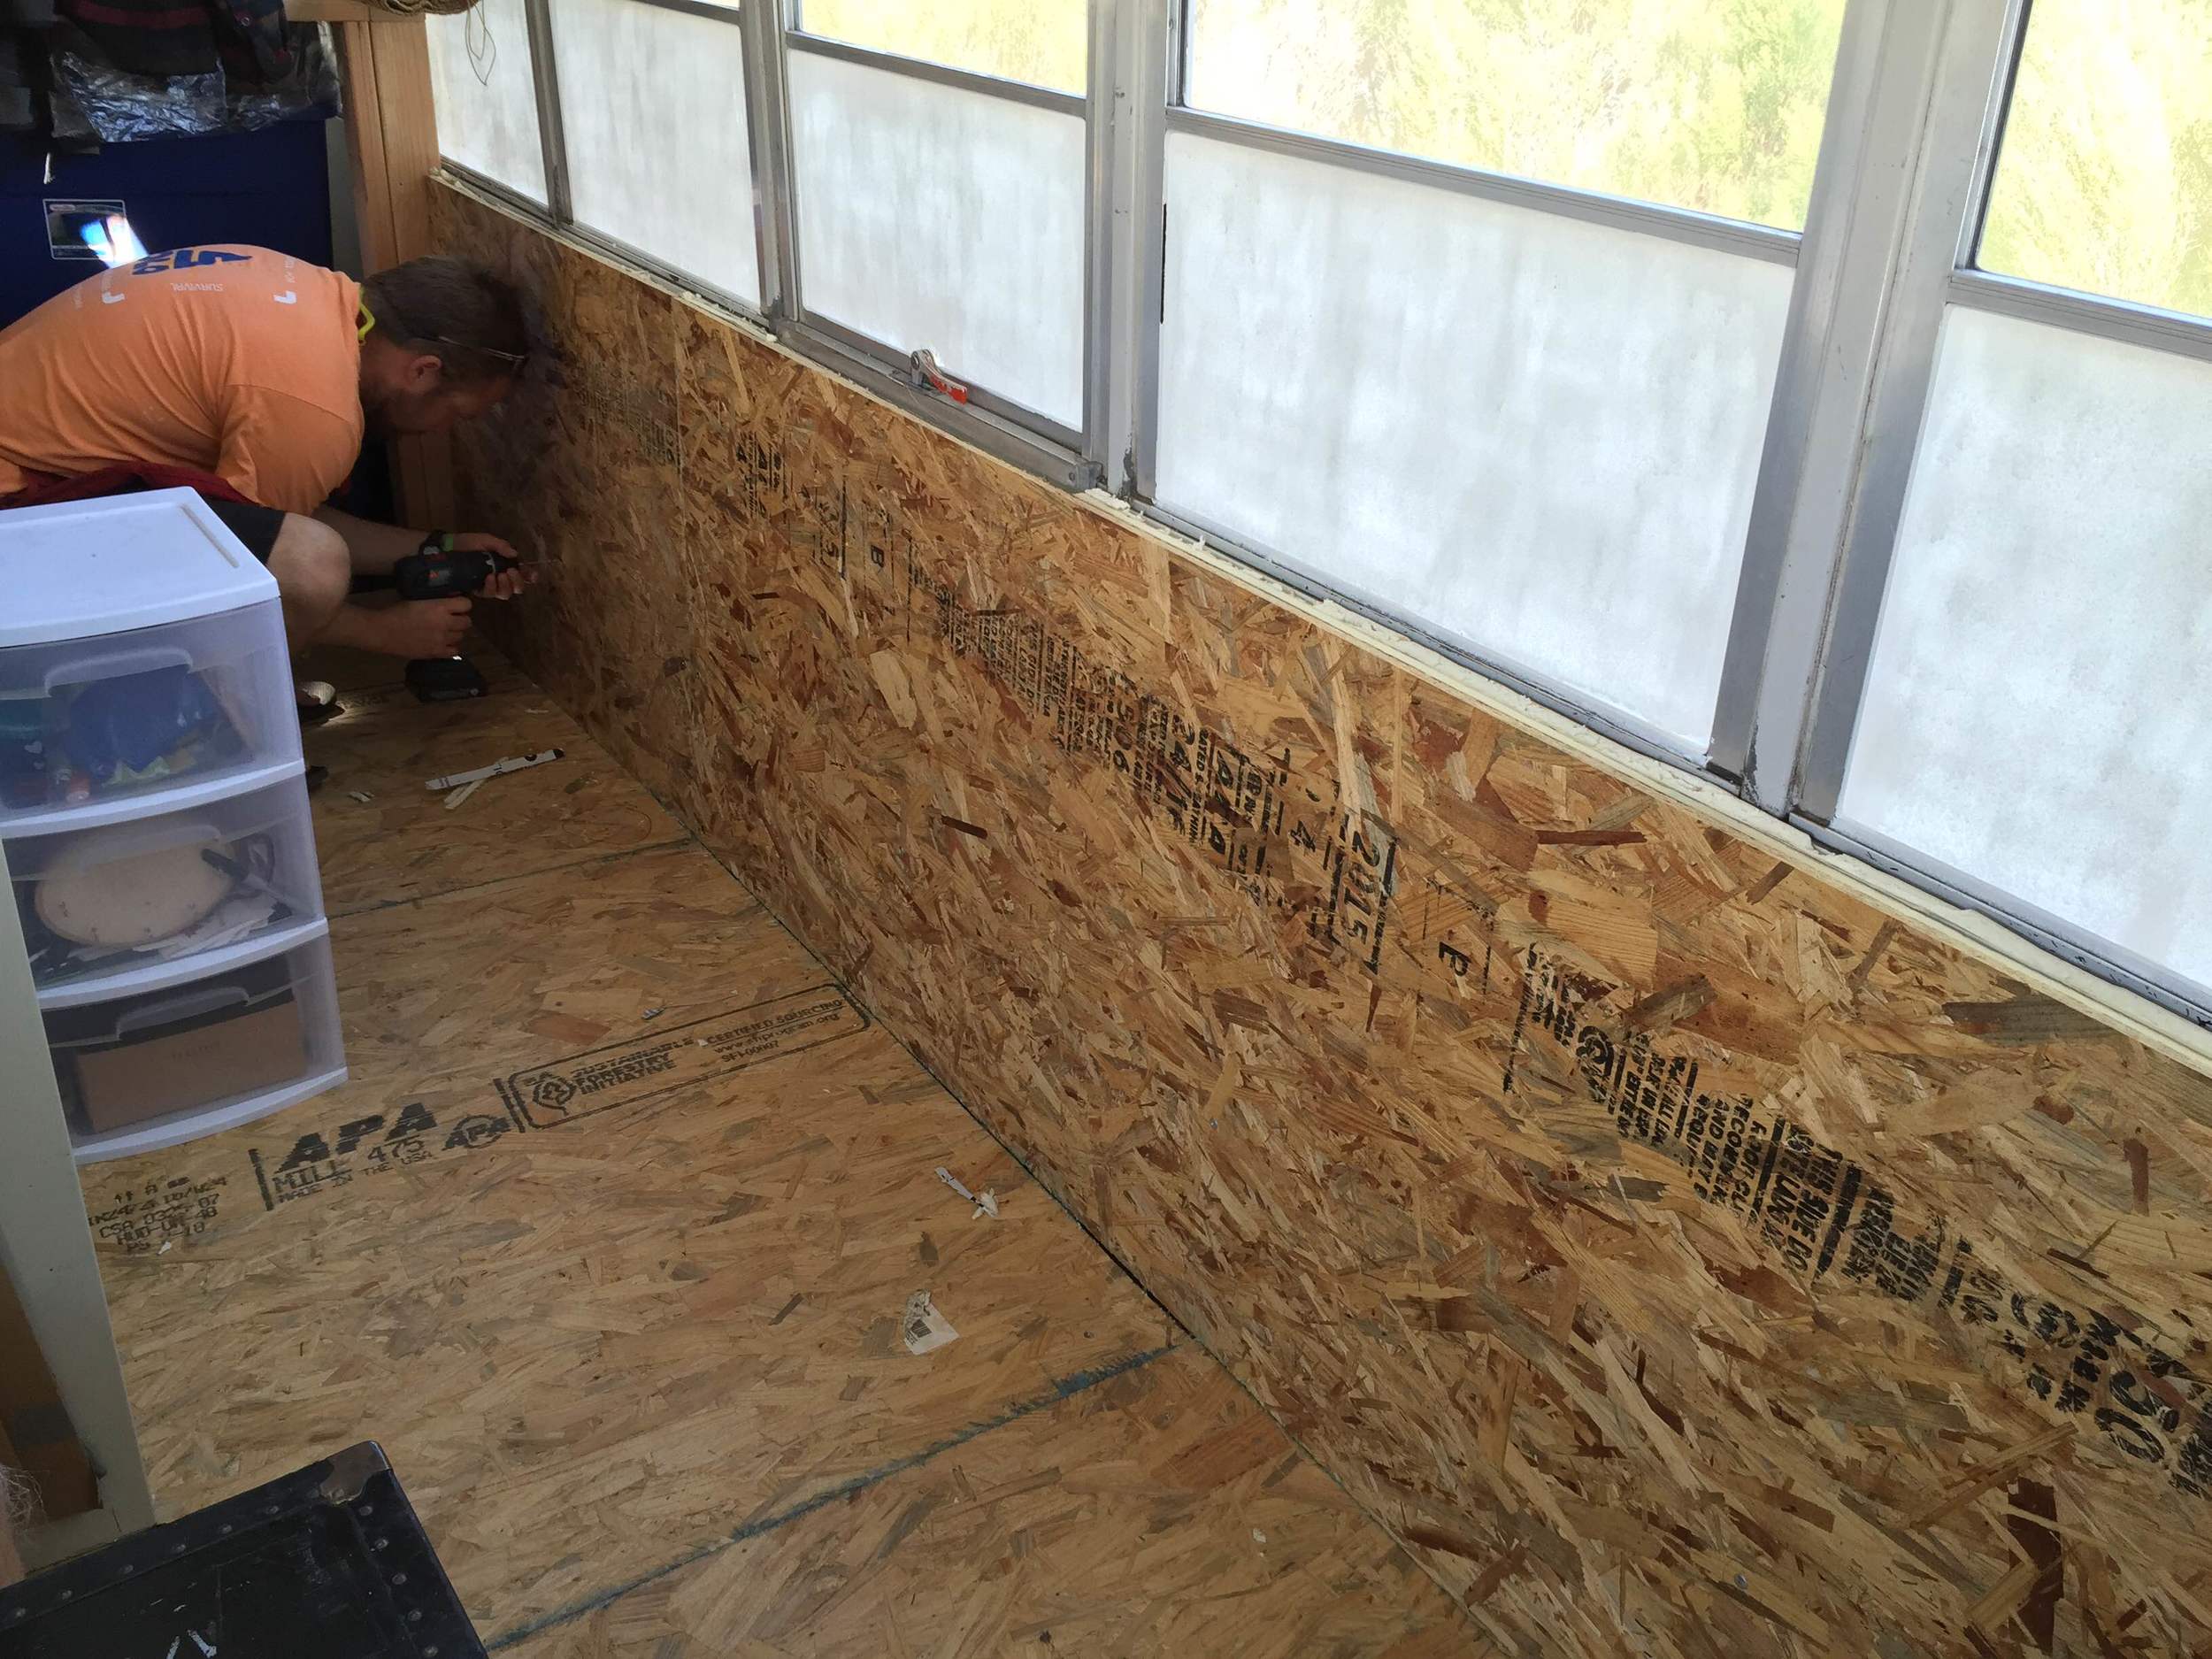
The next image is with everything completely emptied out and ready for the new owners to use it as their own nearly-blank slate.
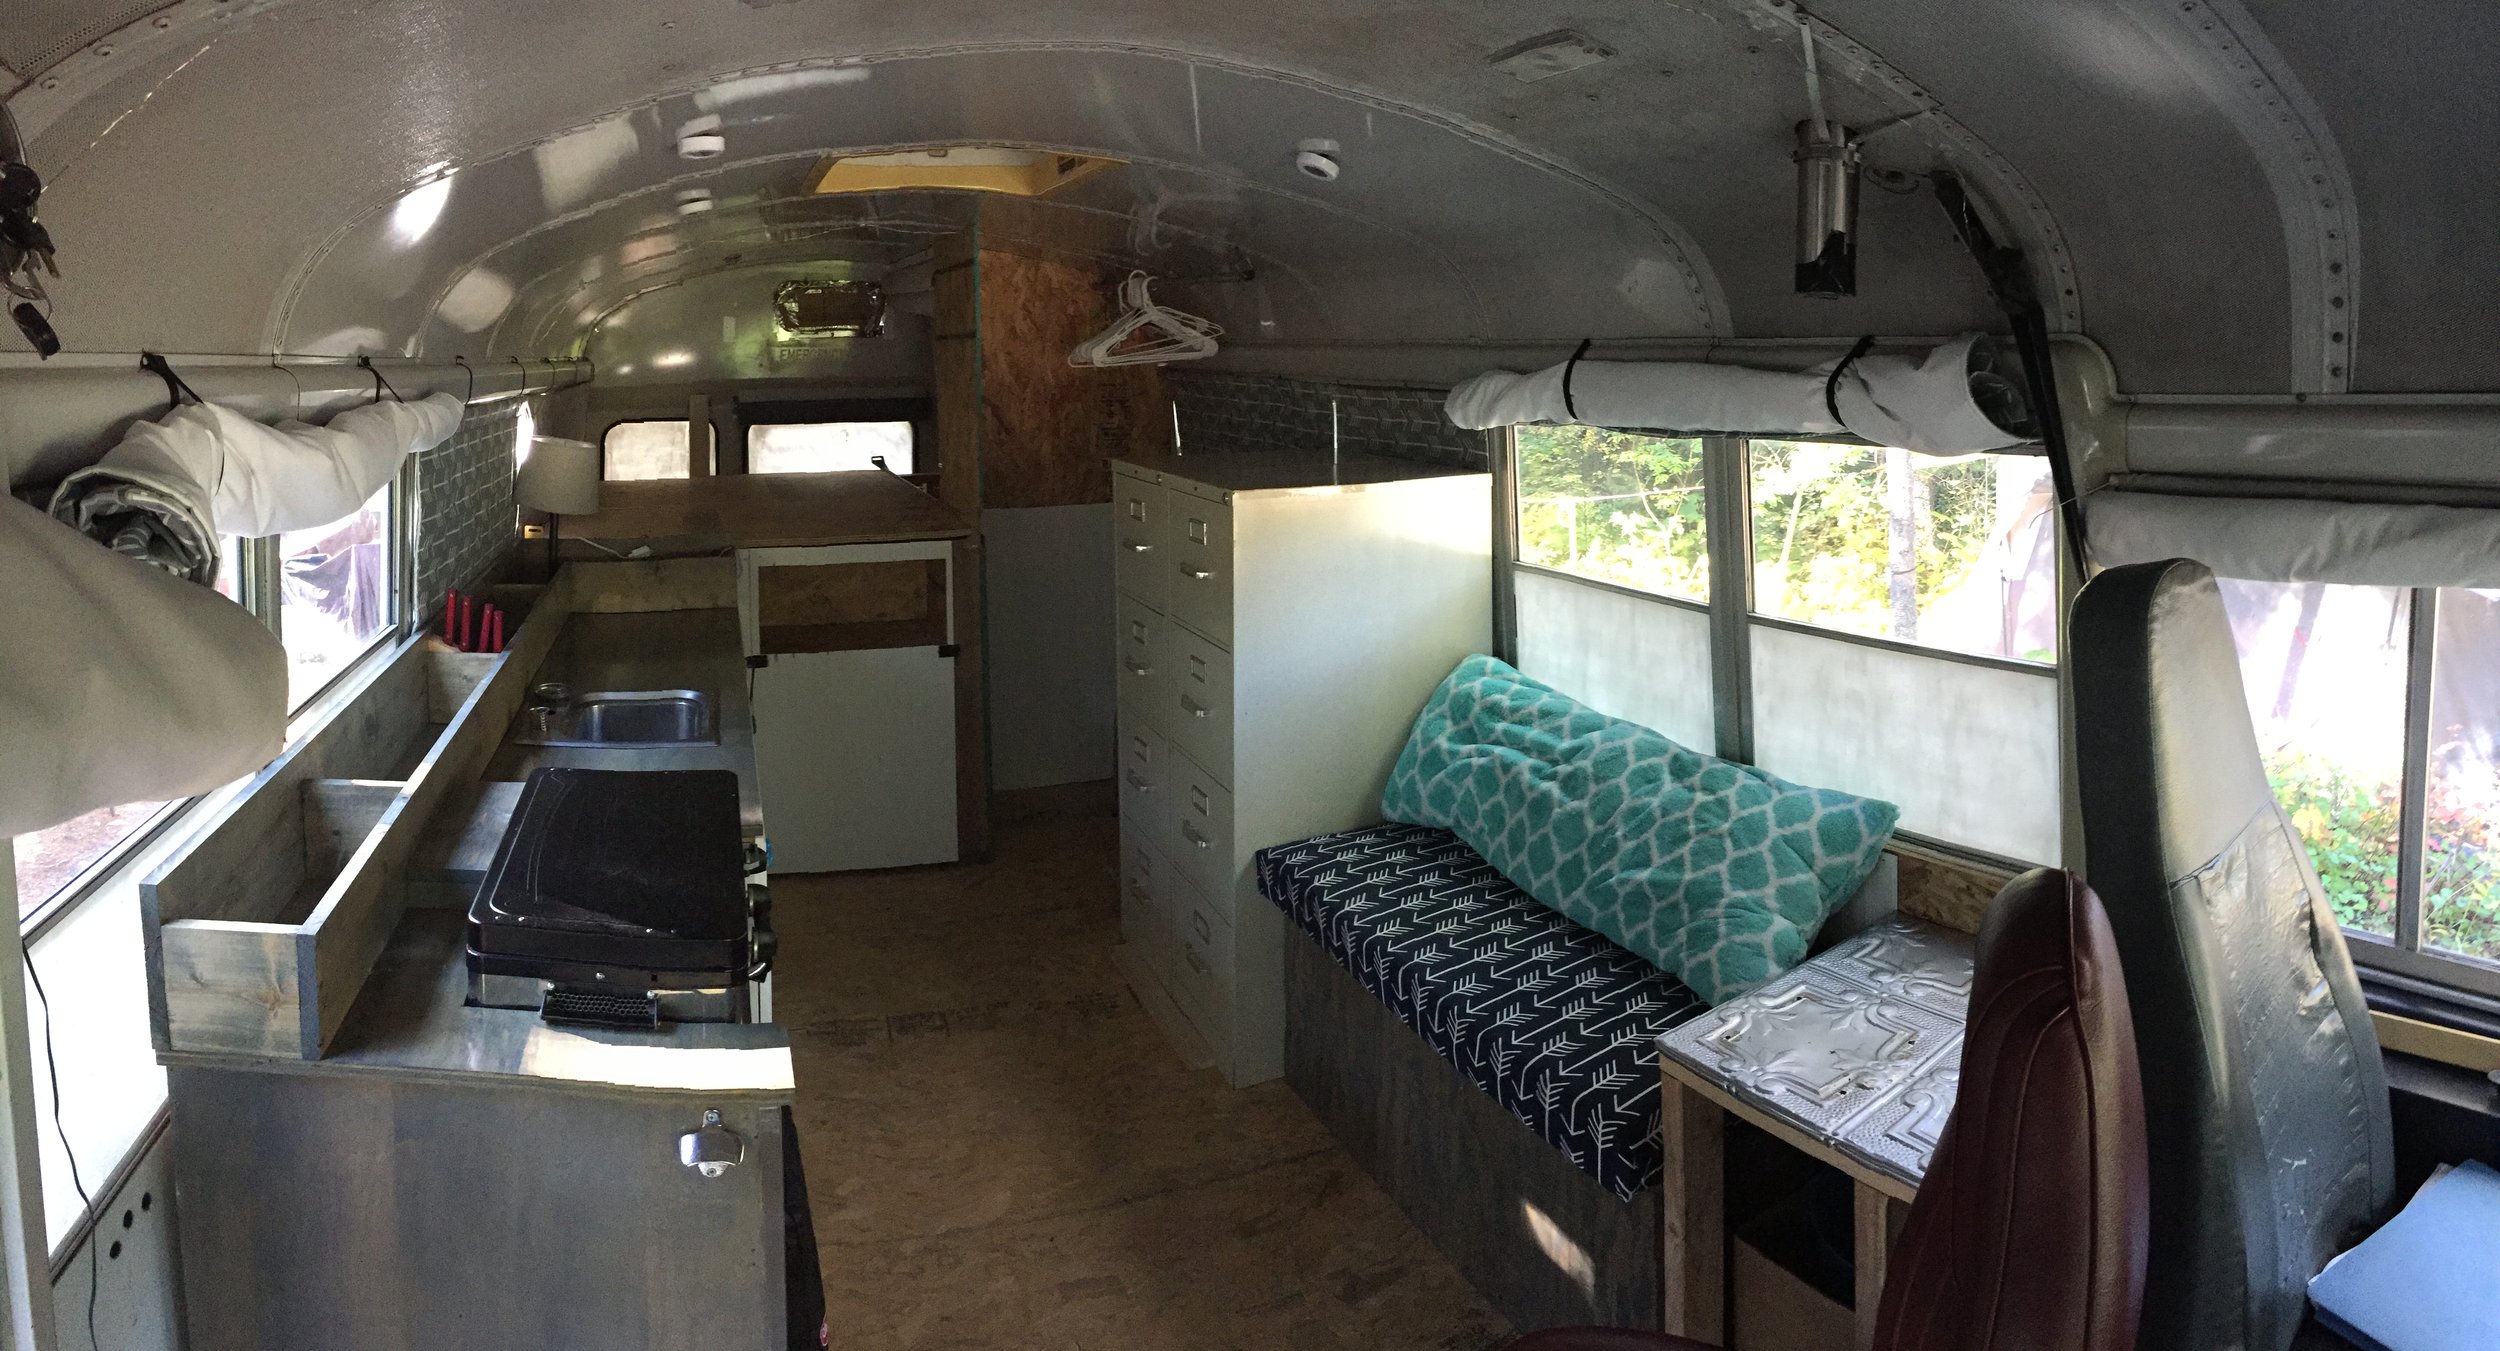
Move in ready.
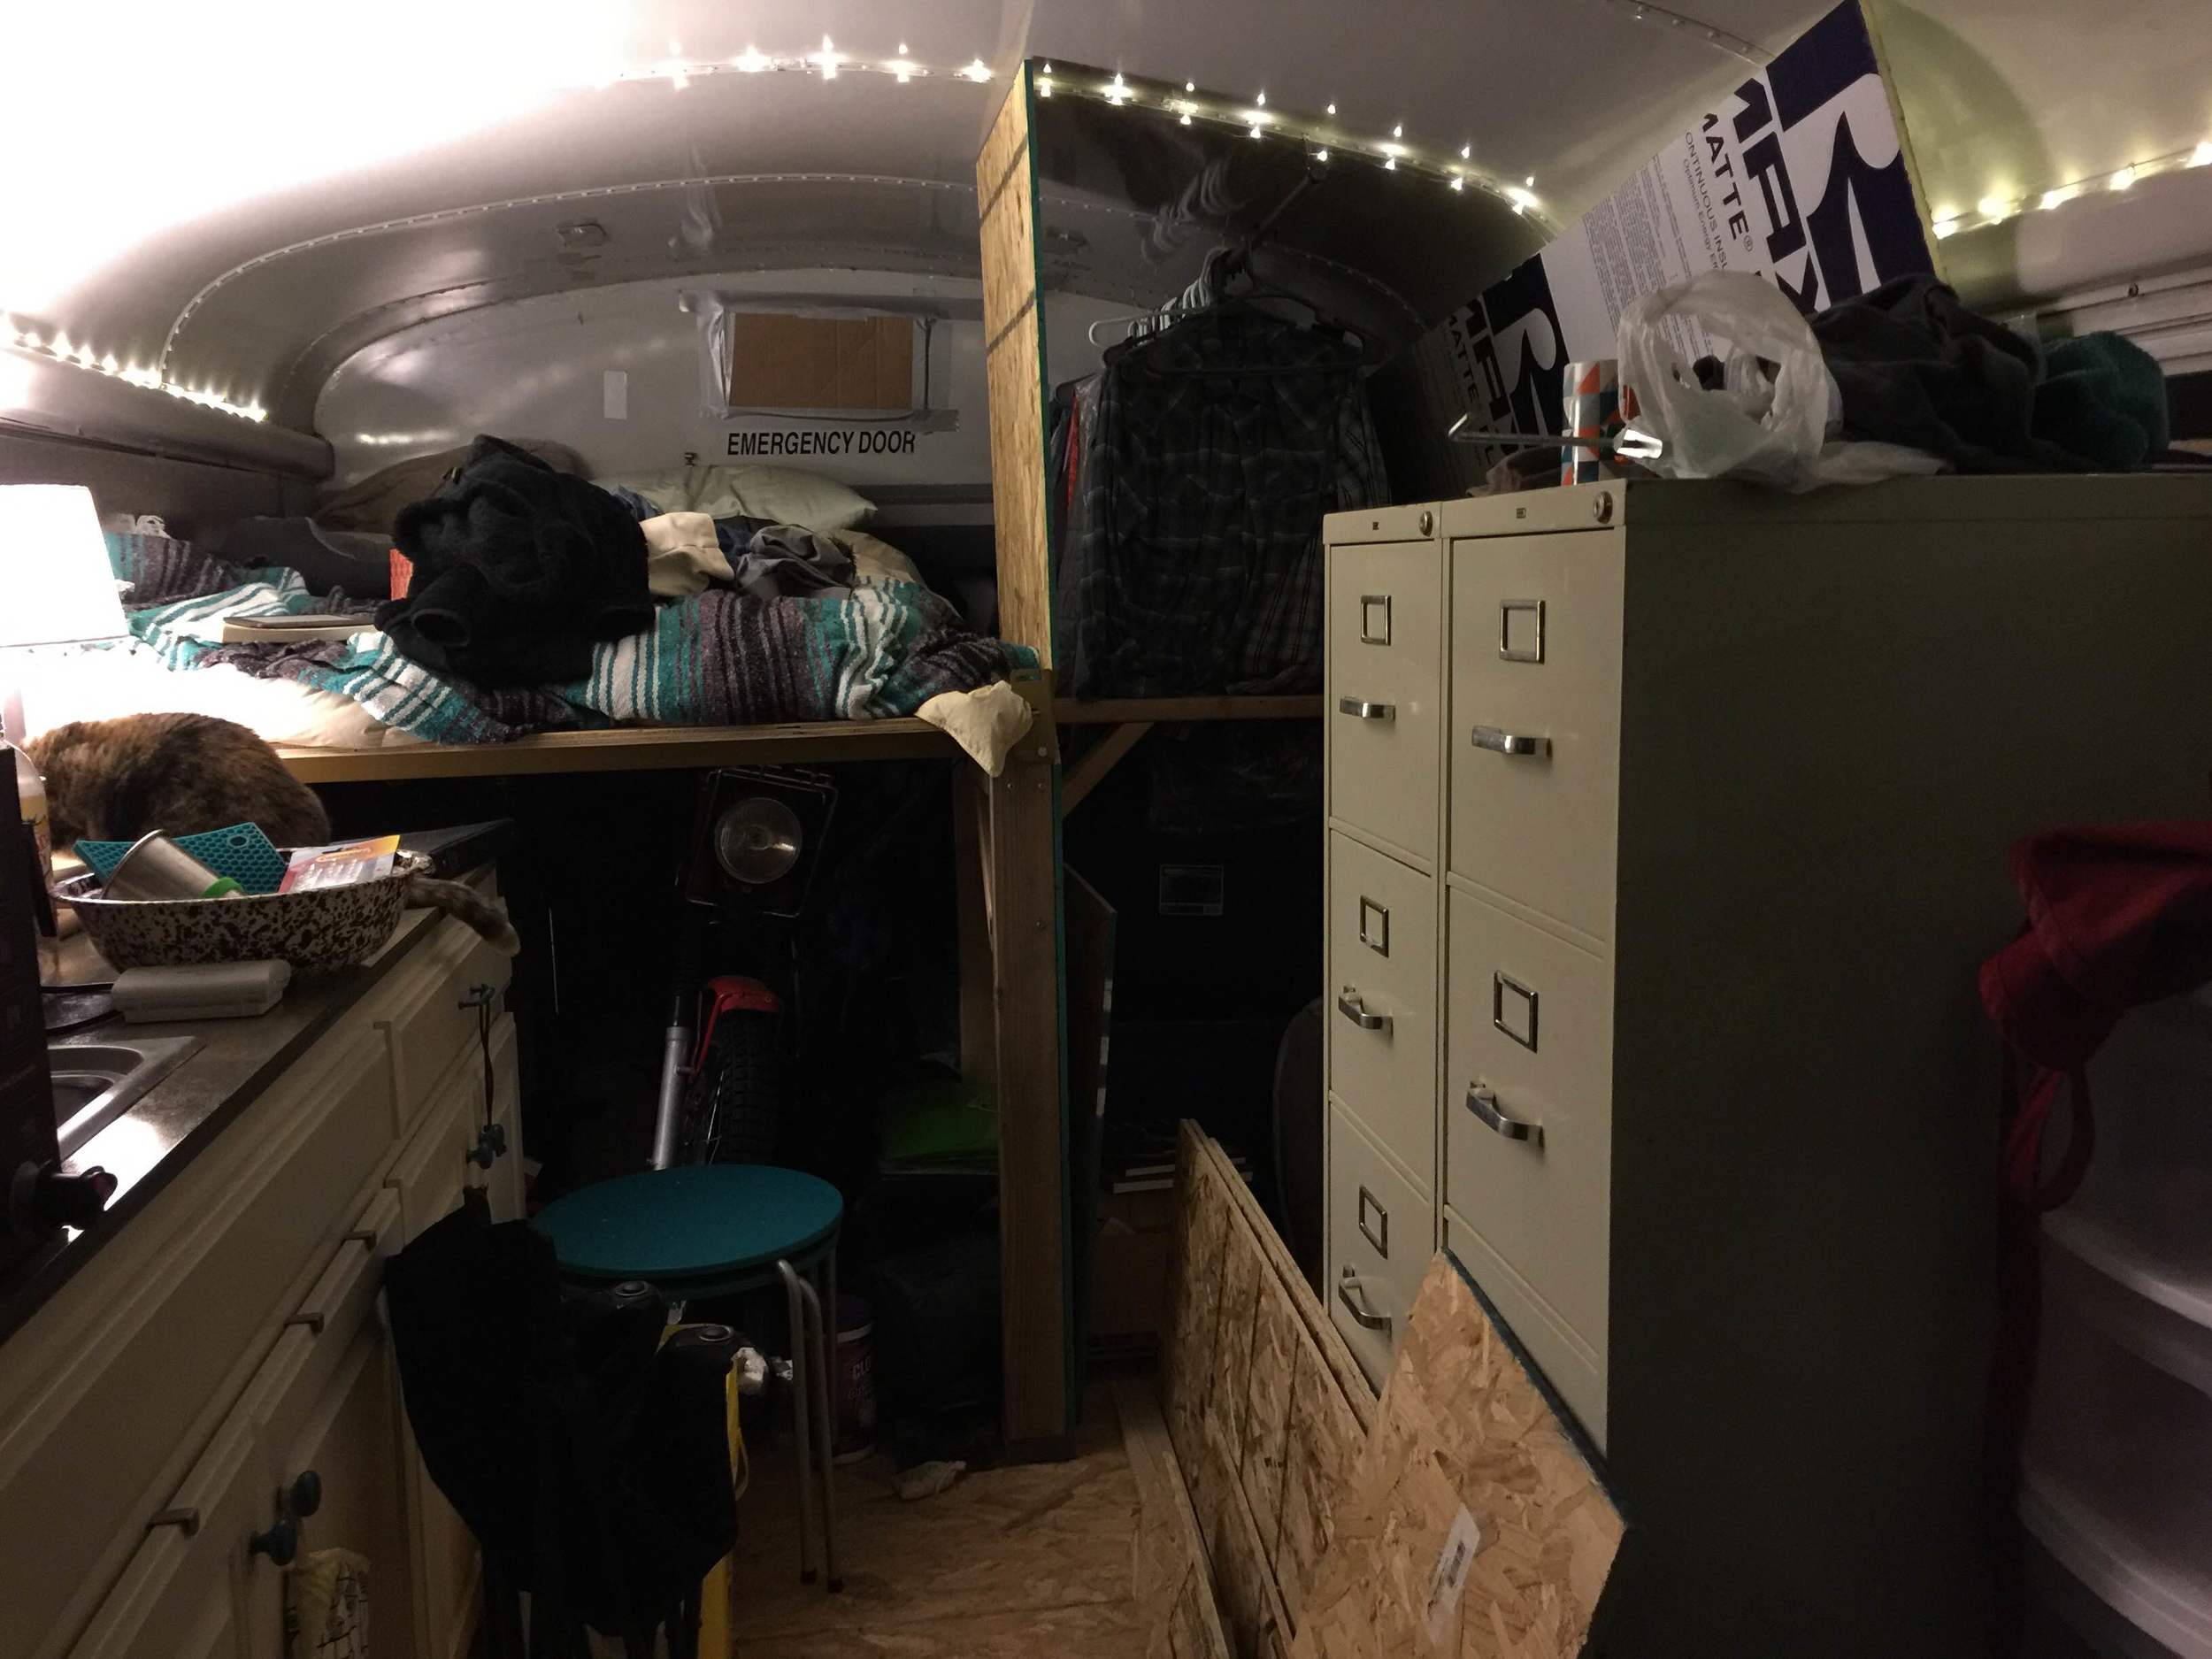
And because the night before we sold Stubbs marked our first night sleeping in Little Foot the Pinzgauer, I have to include a photo of the interior loaded up with our stuff! It's not finished by any means (you can see the stove pipe isn't rigged up through the roof yet), but it's livable! We find it to be very cozy (it's amazing how much warmer a small space like this gets with two people and a cat). Our hope is to wrap up the conversion in the next two weeks and head out of Northern Montana as winter creeps its way into the area.
A very comfortable new living space. Downsize, minimize, simplify.