11.05.15 - Subflooring and Insulation - Day 9.
/Today felt like far more progress than we've made over the course of the last eight days simply because we closed it out with a piece of furniture inside.
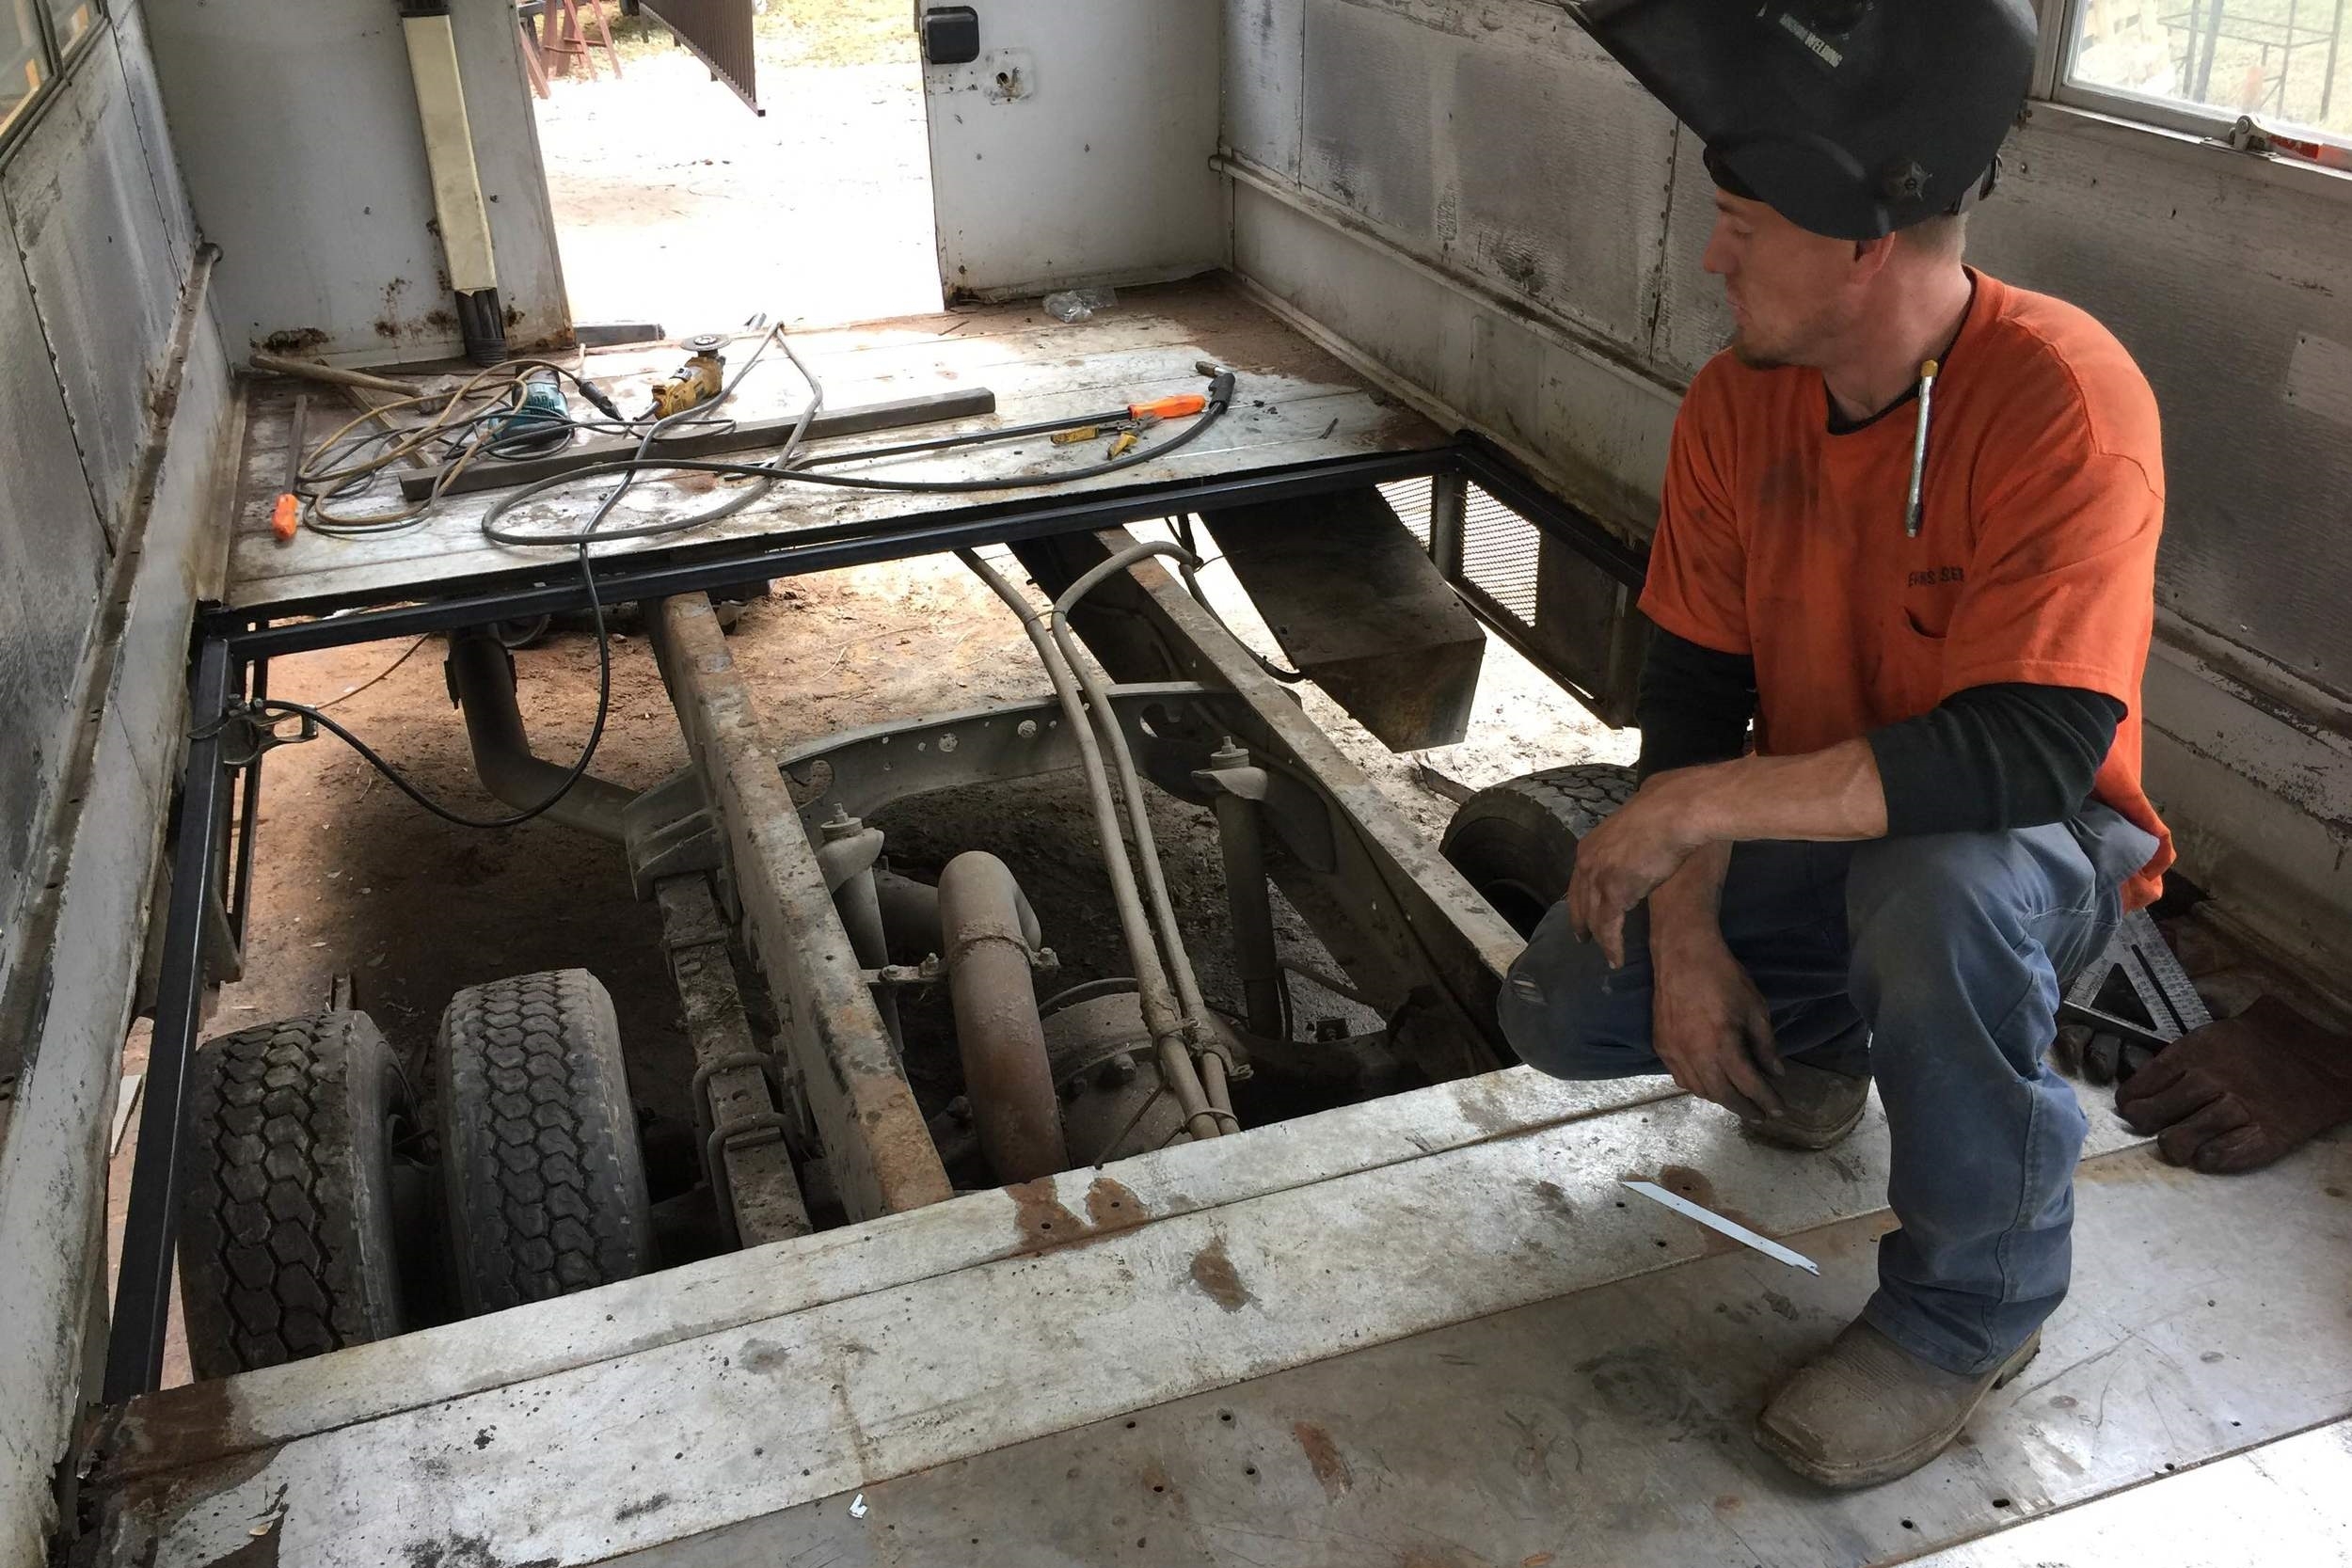
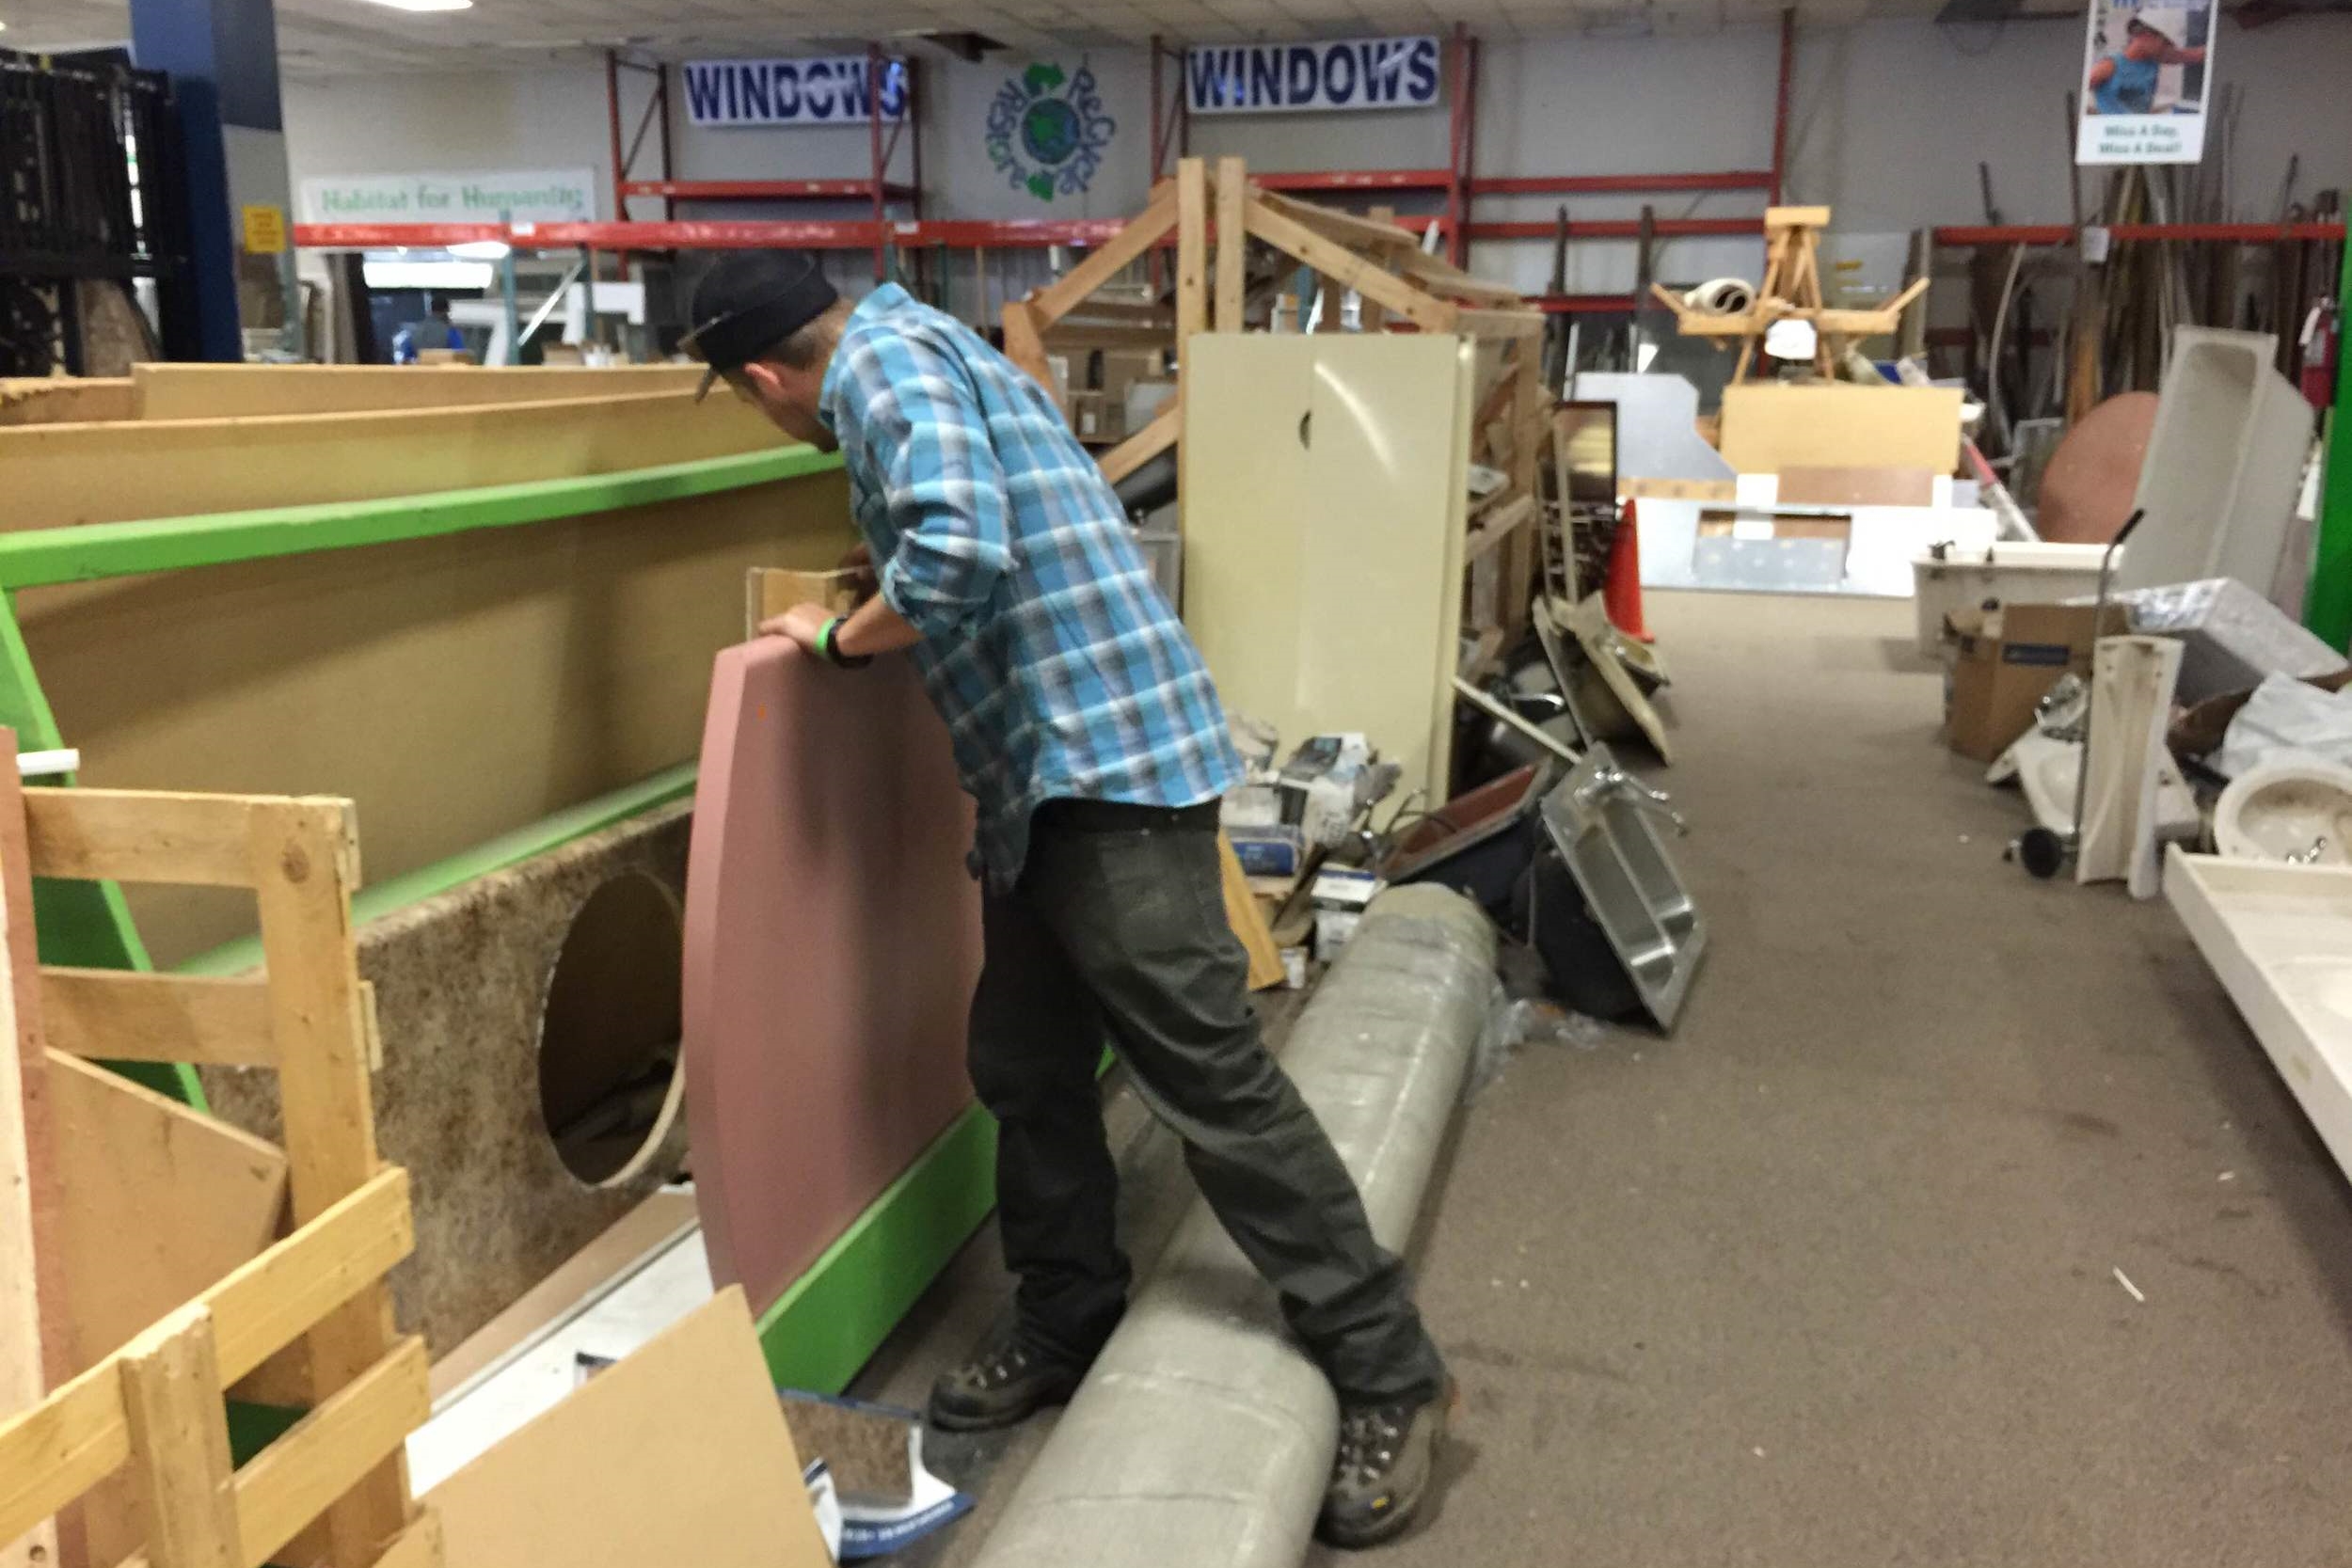
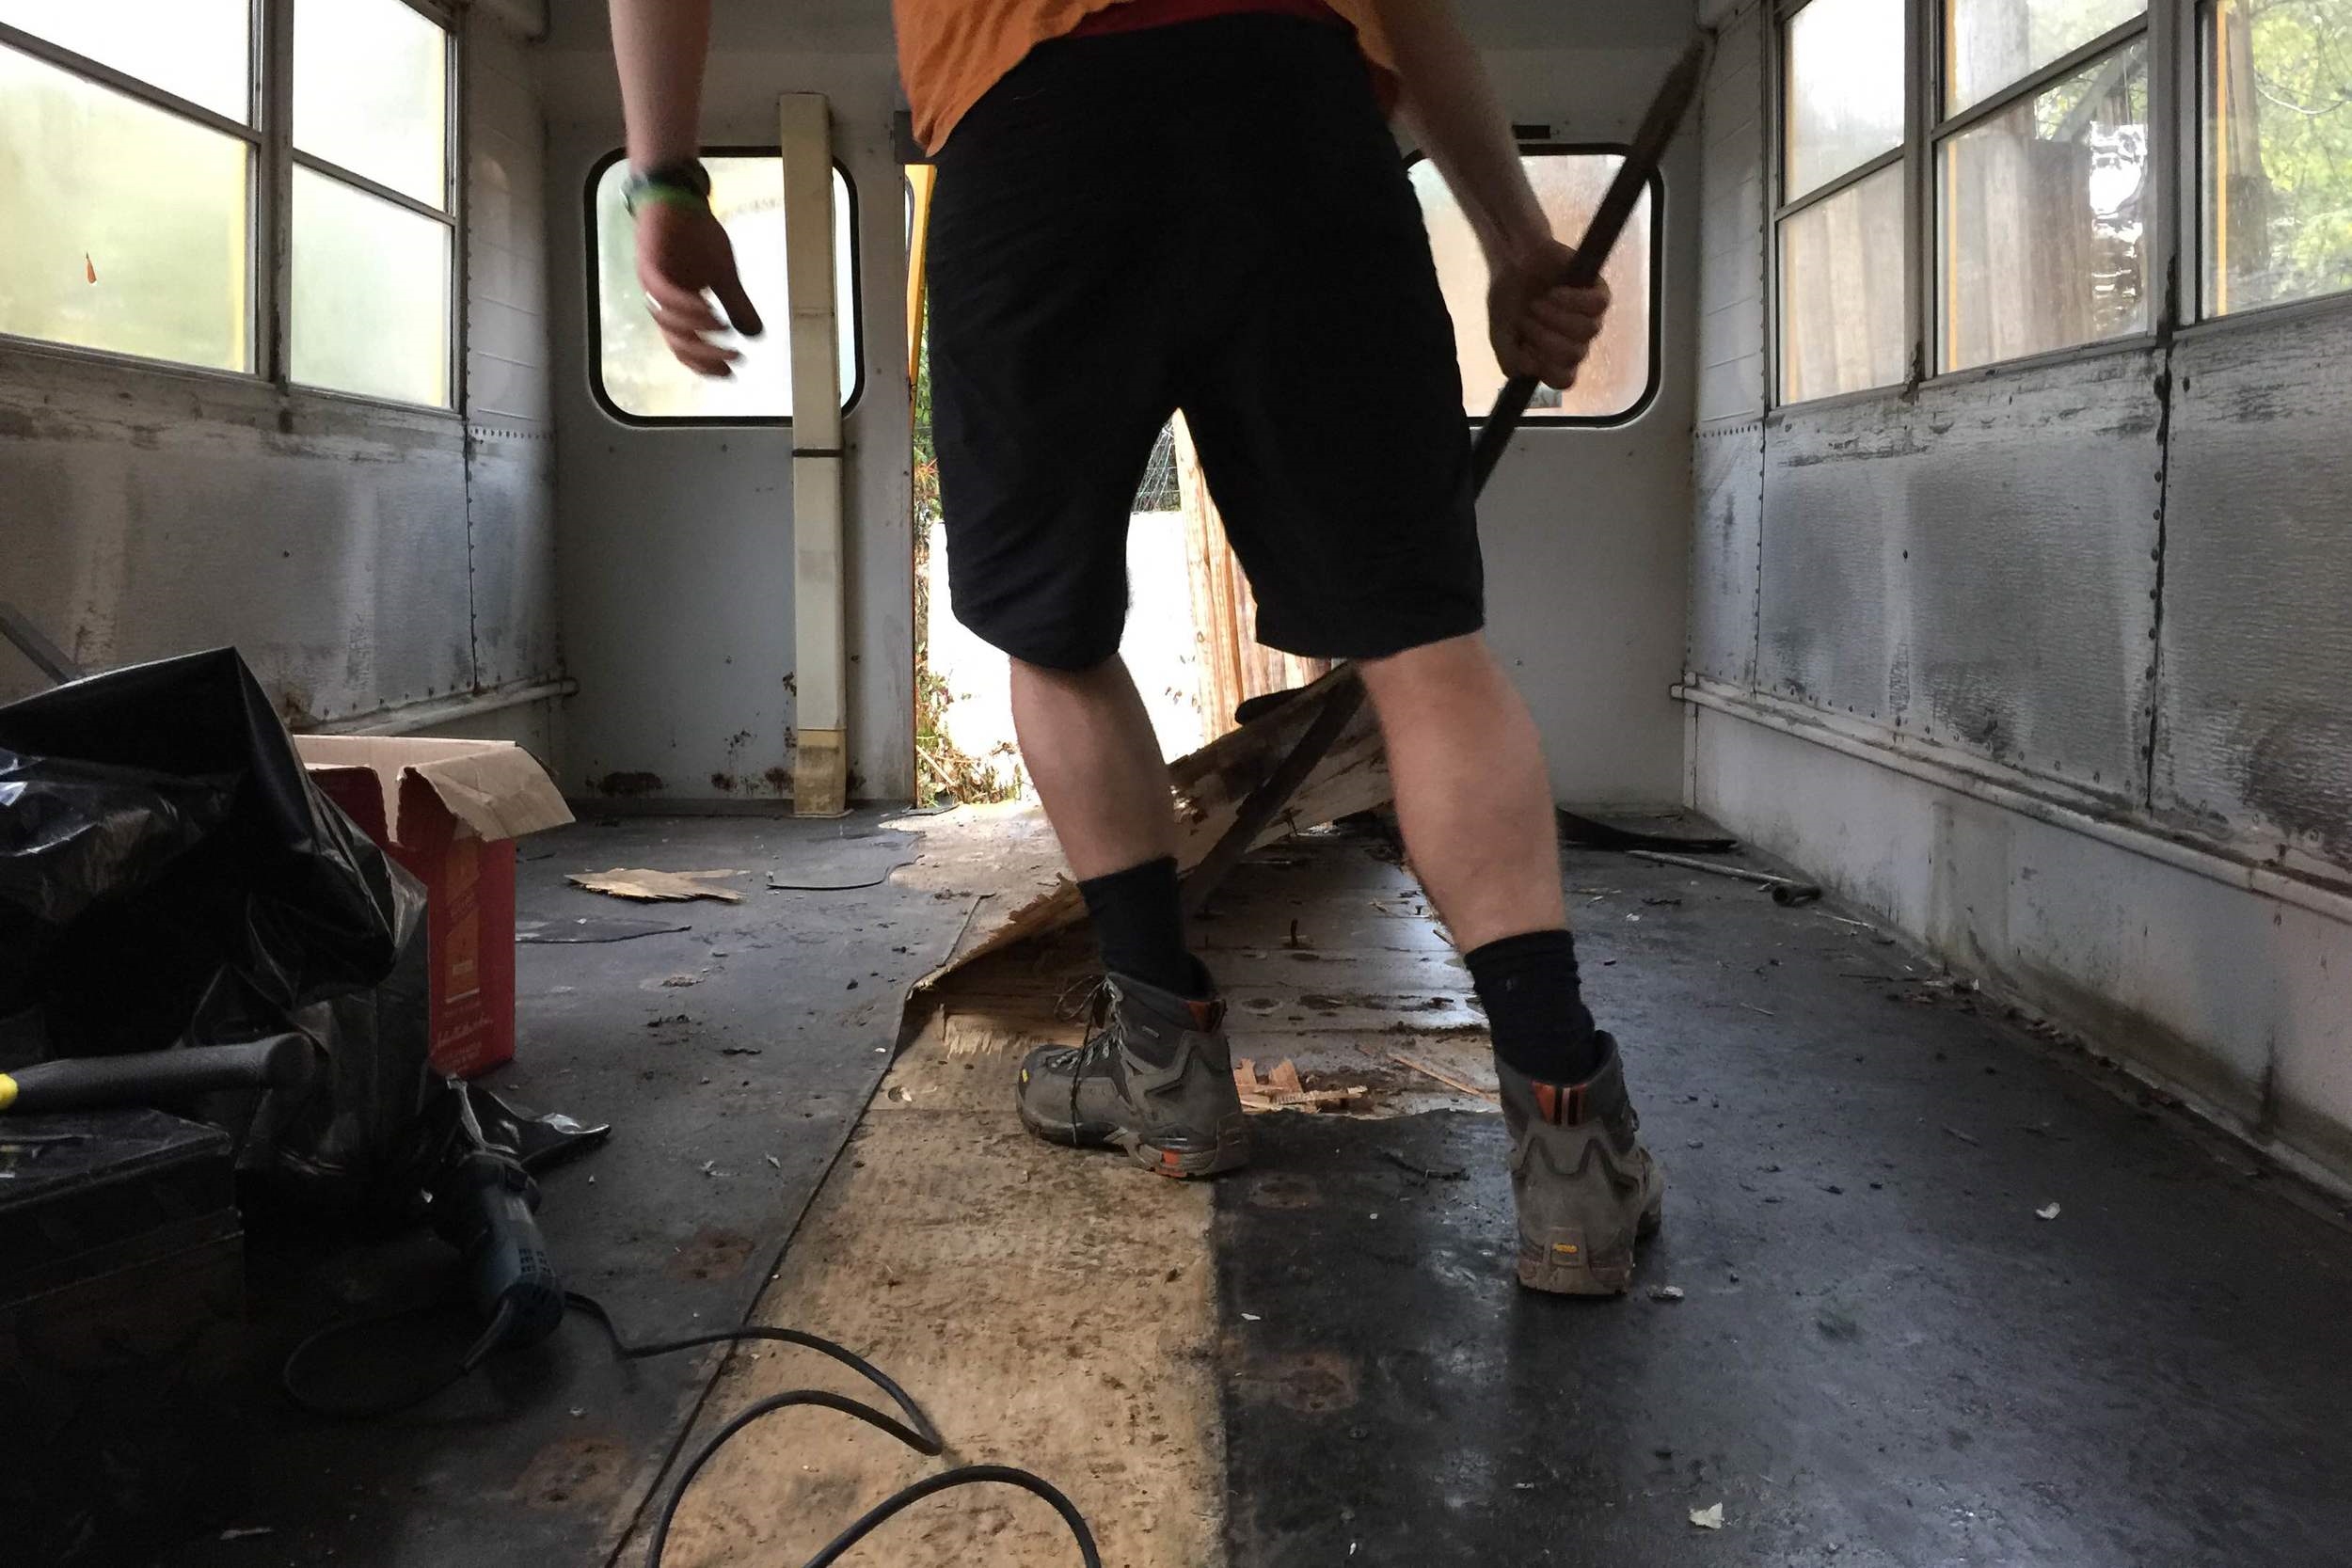
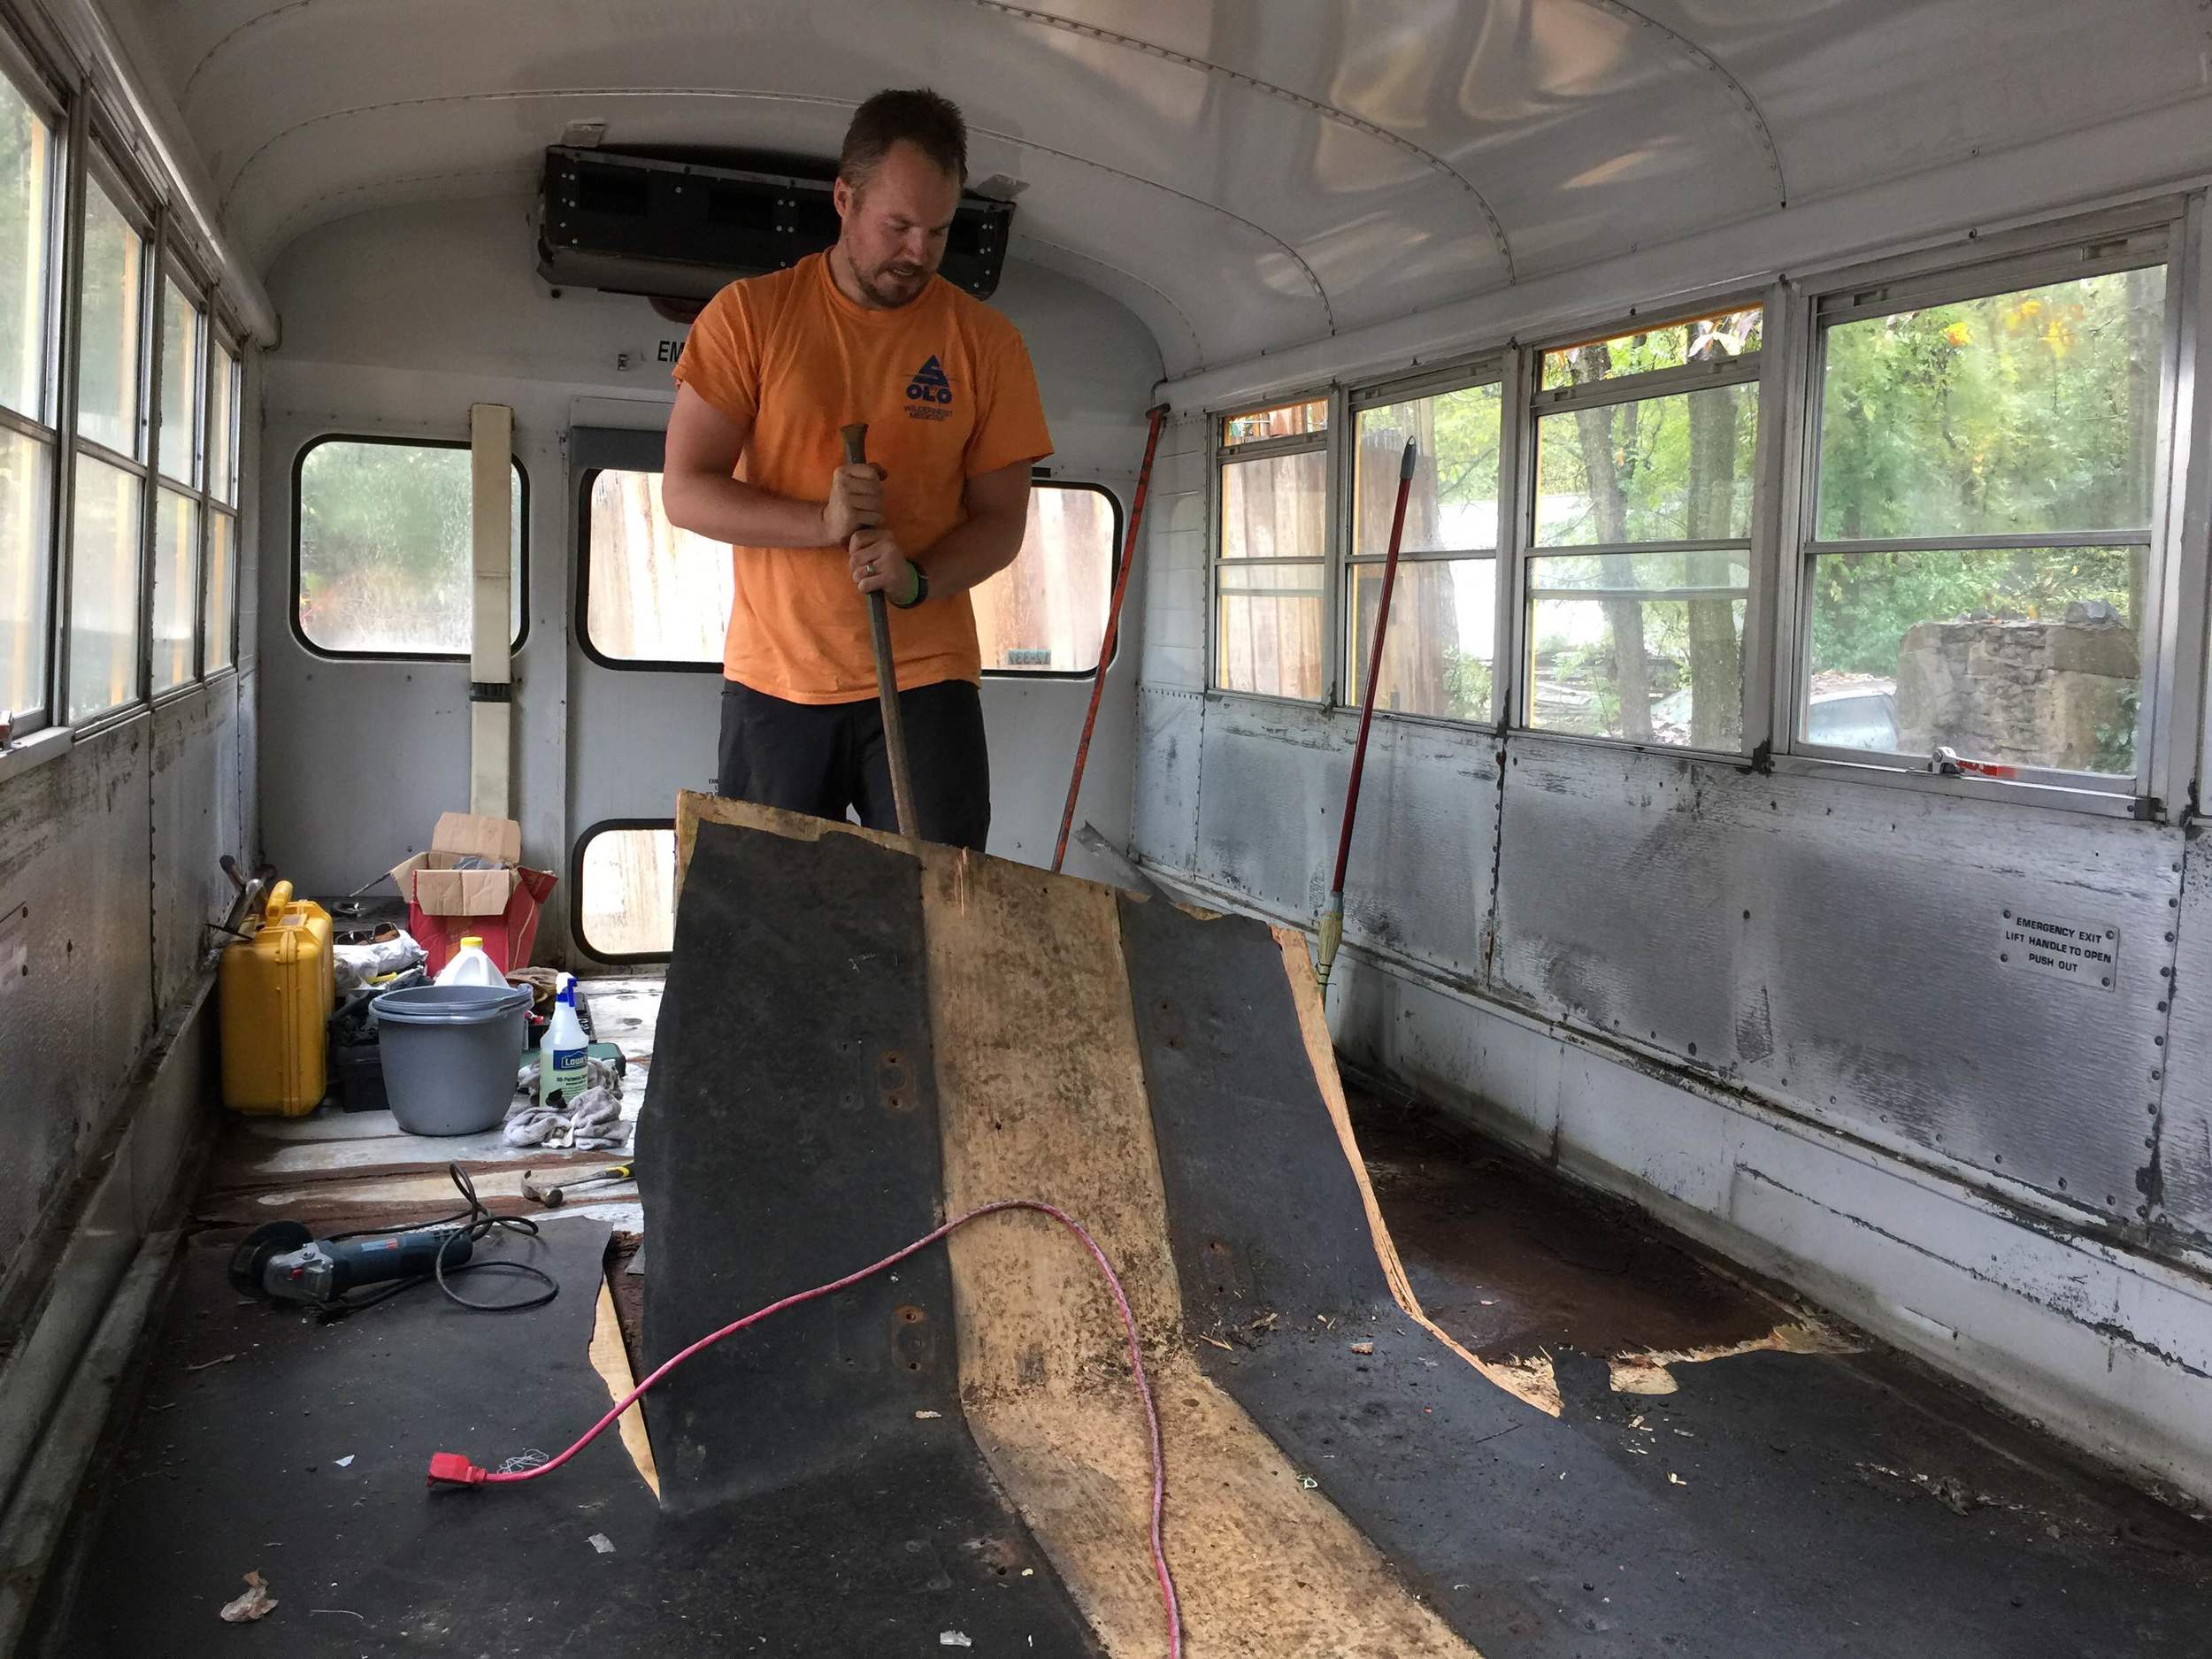
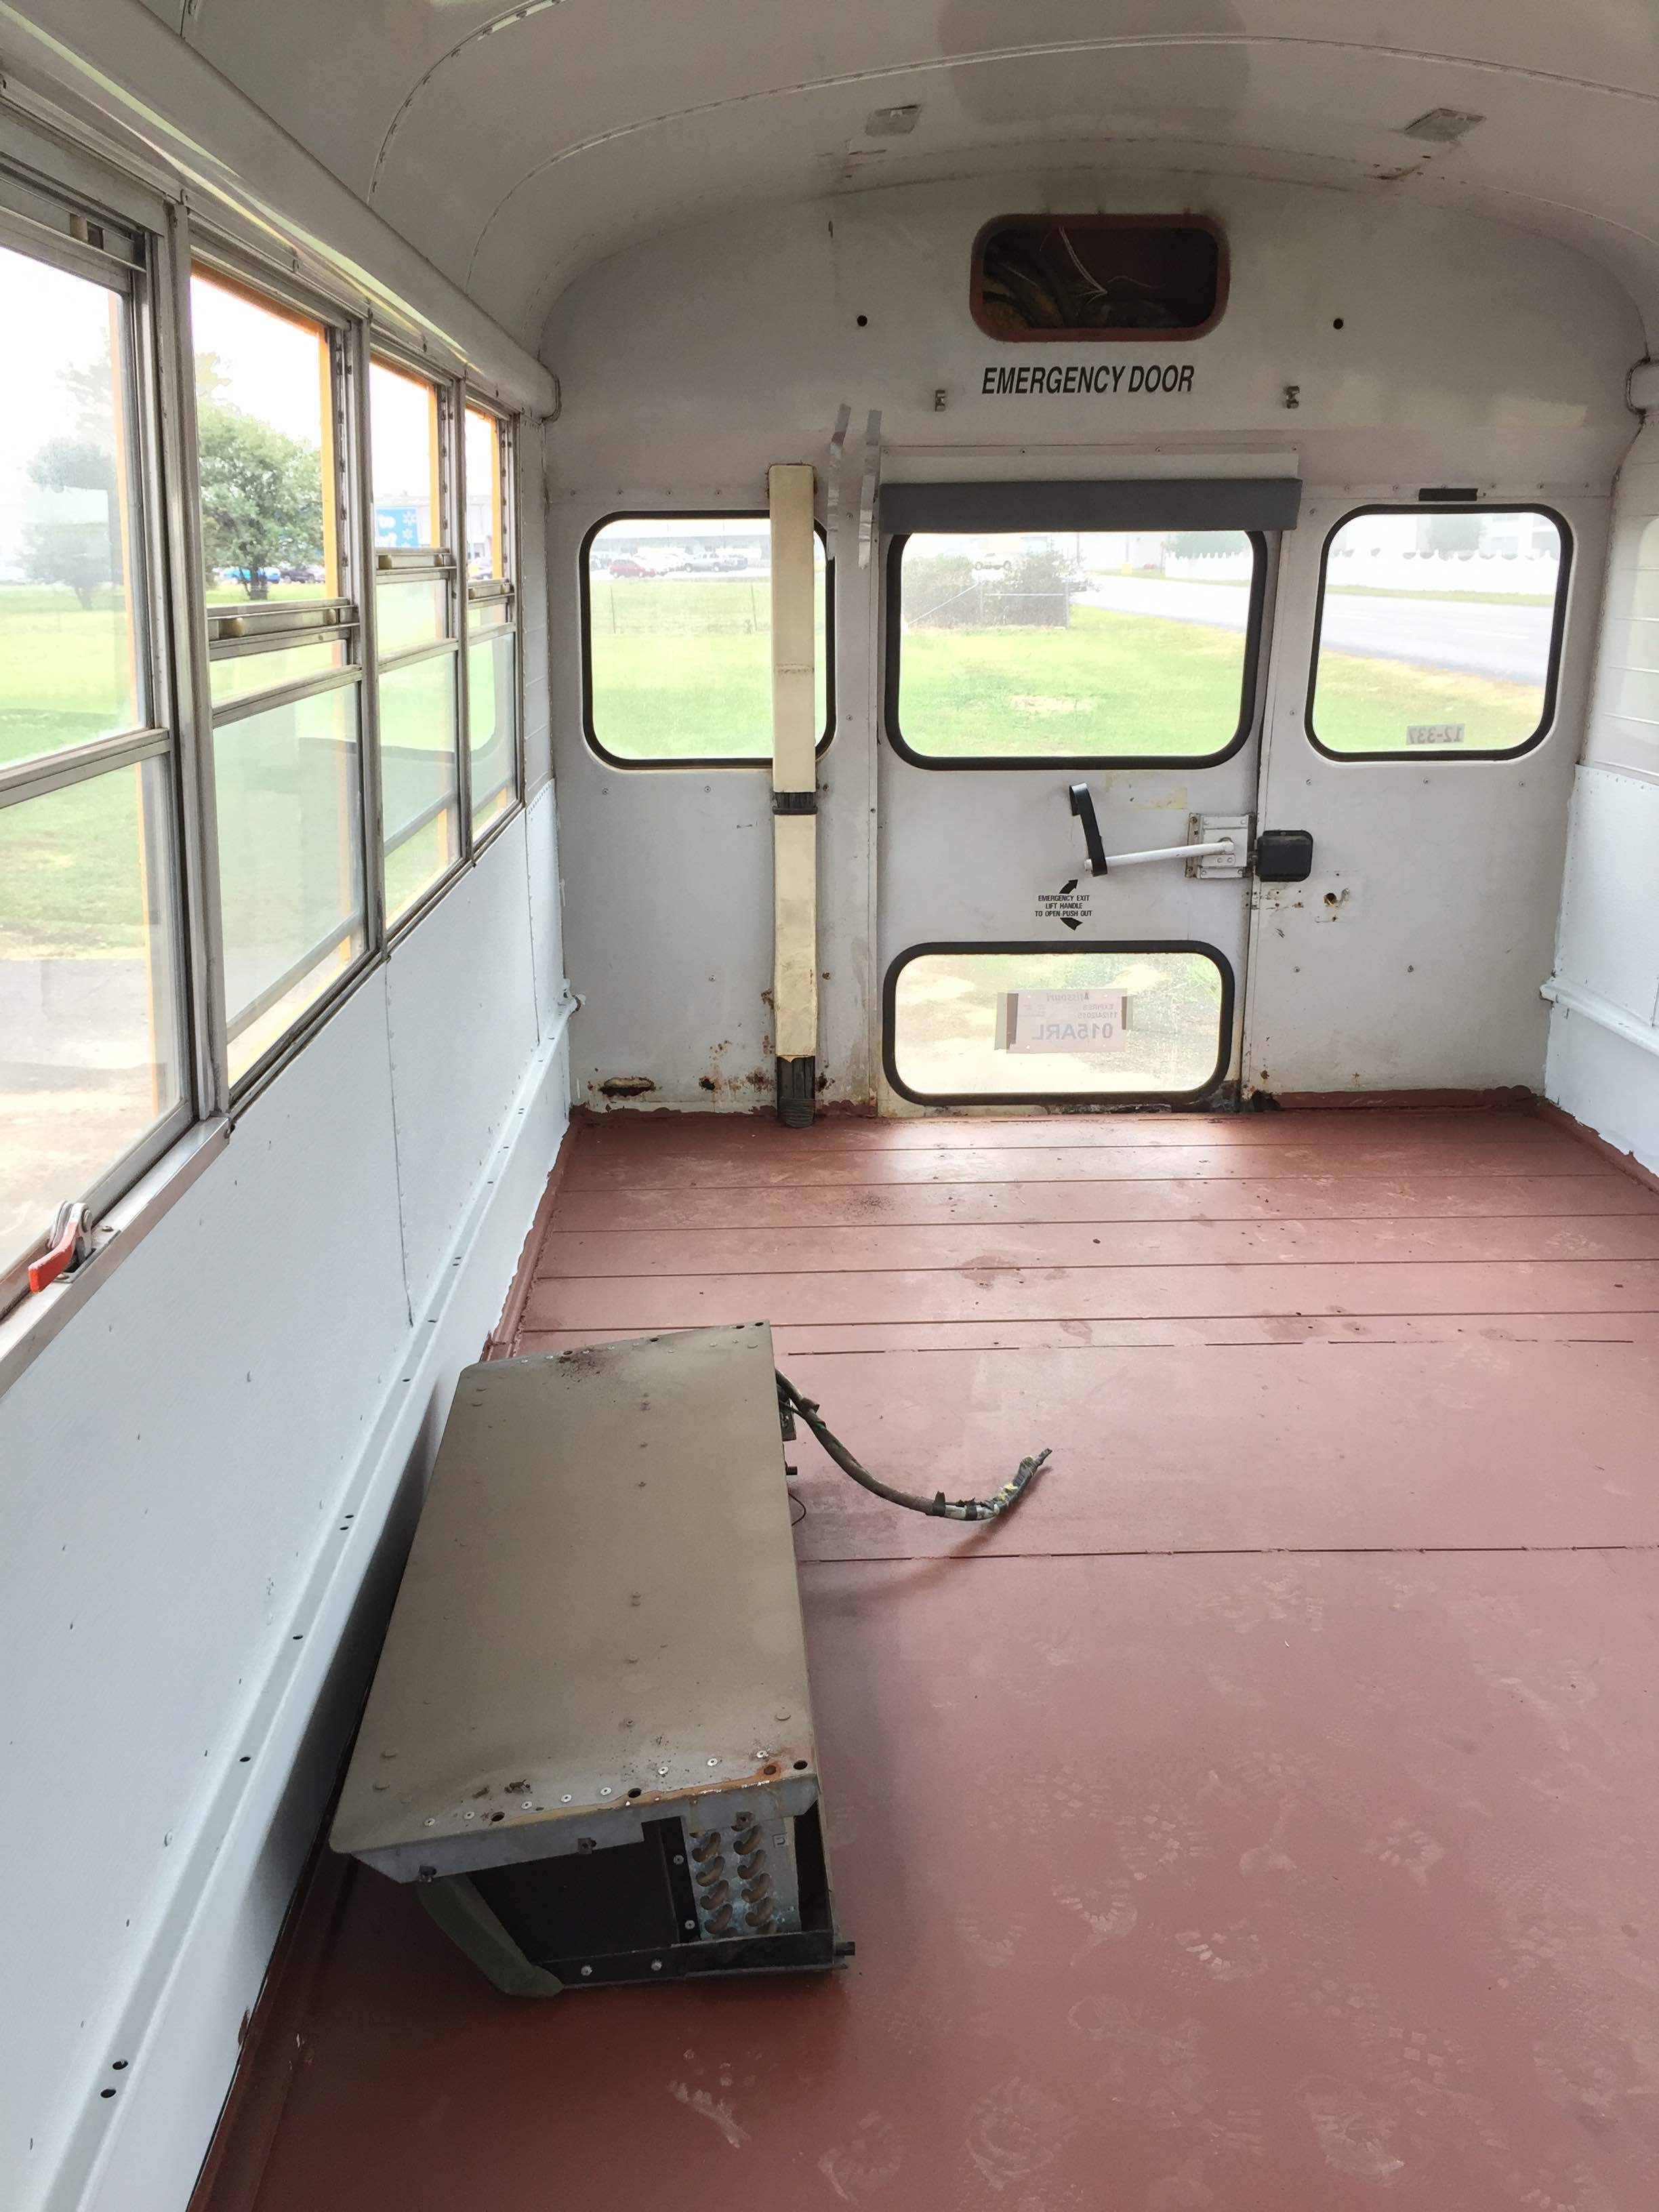
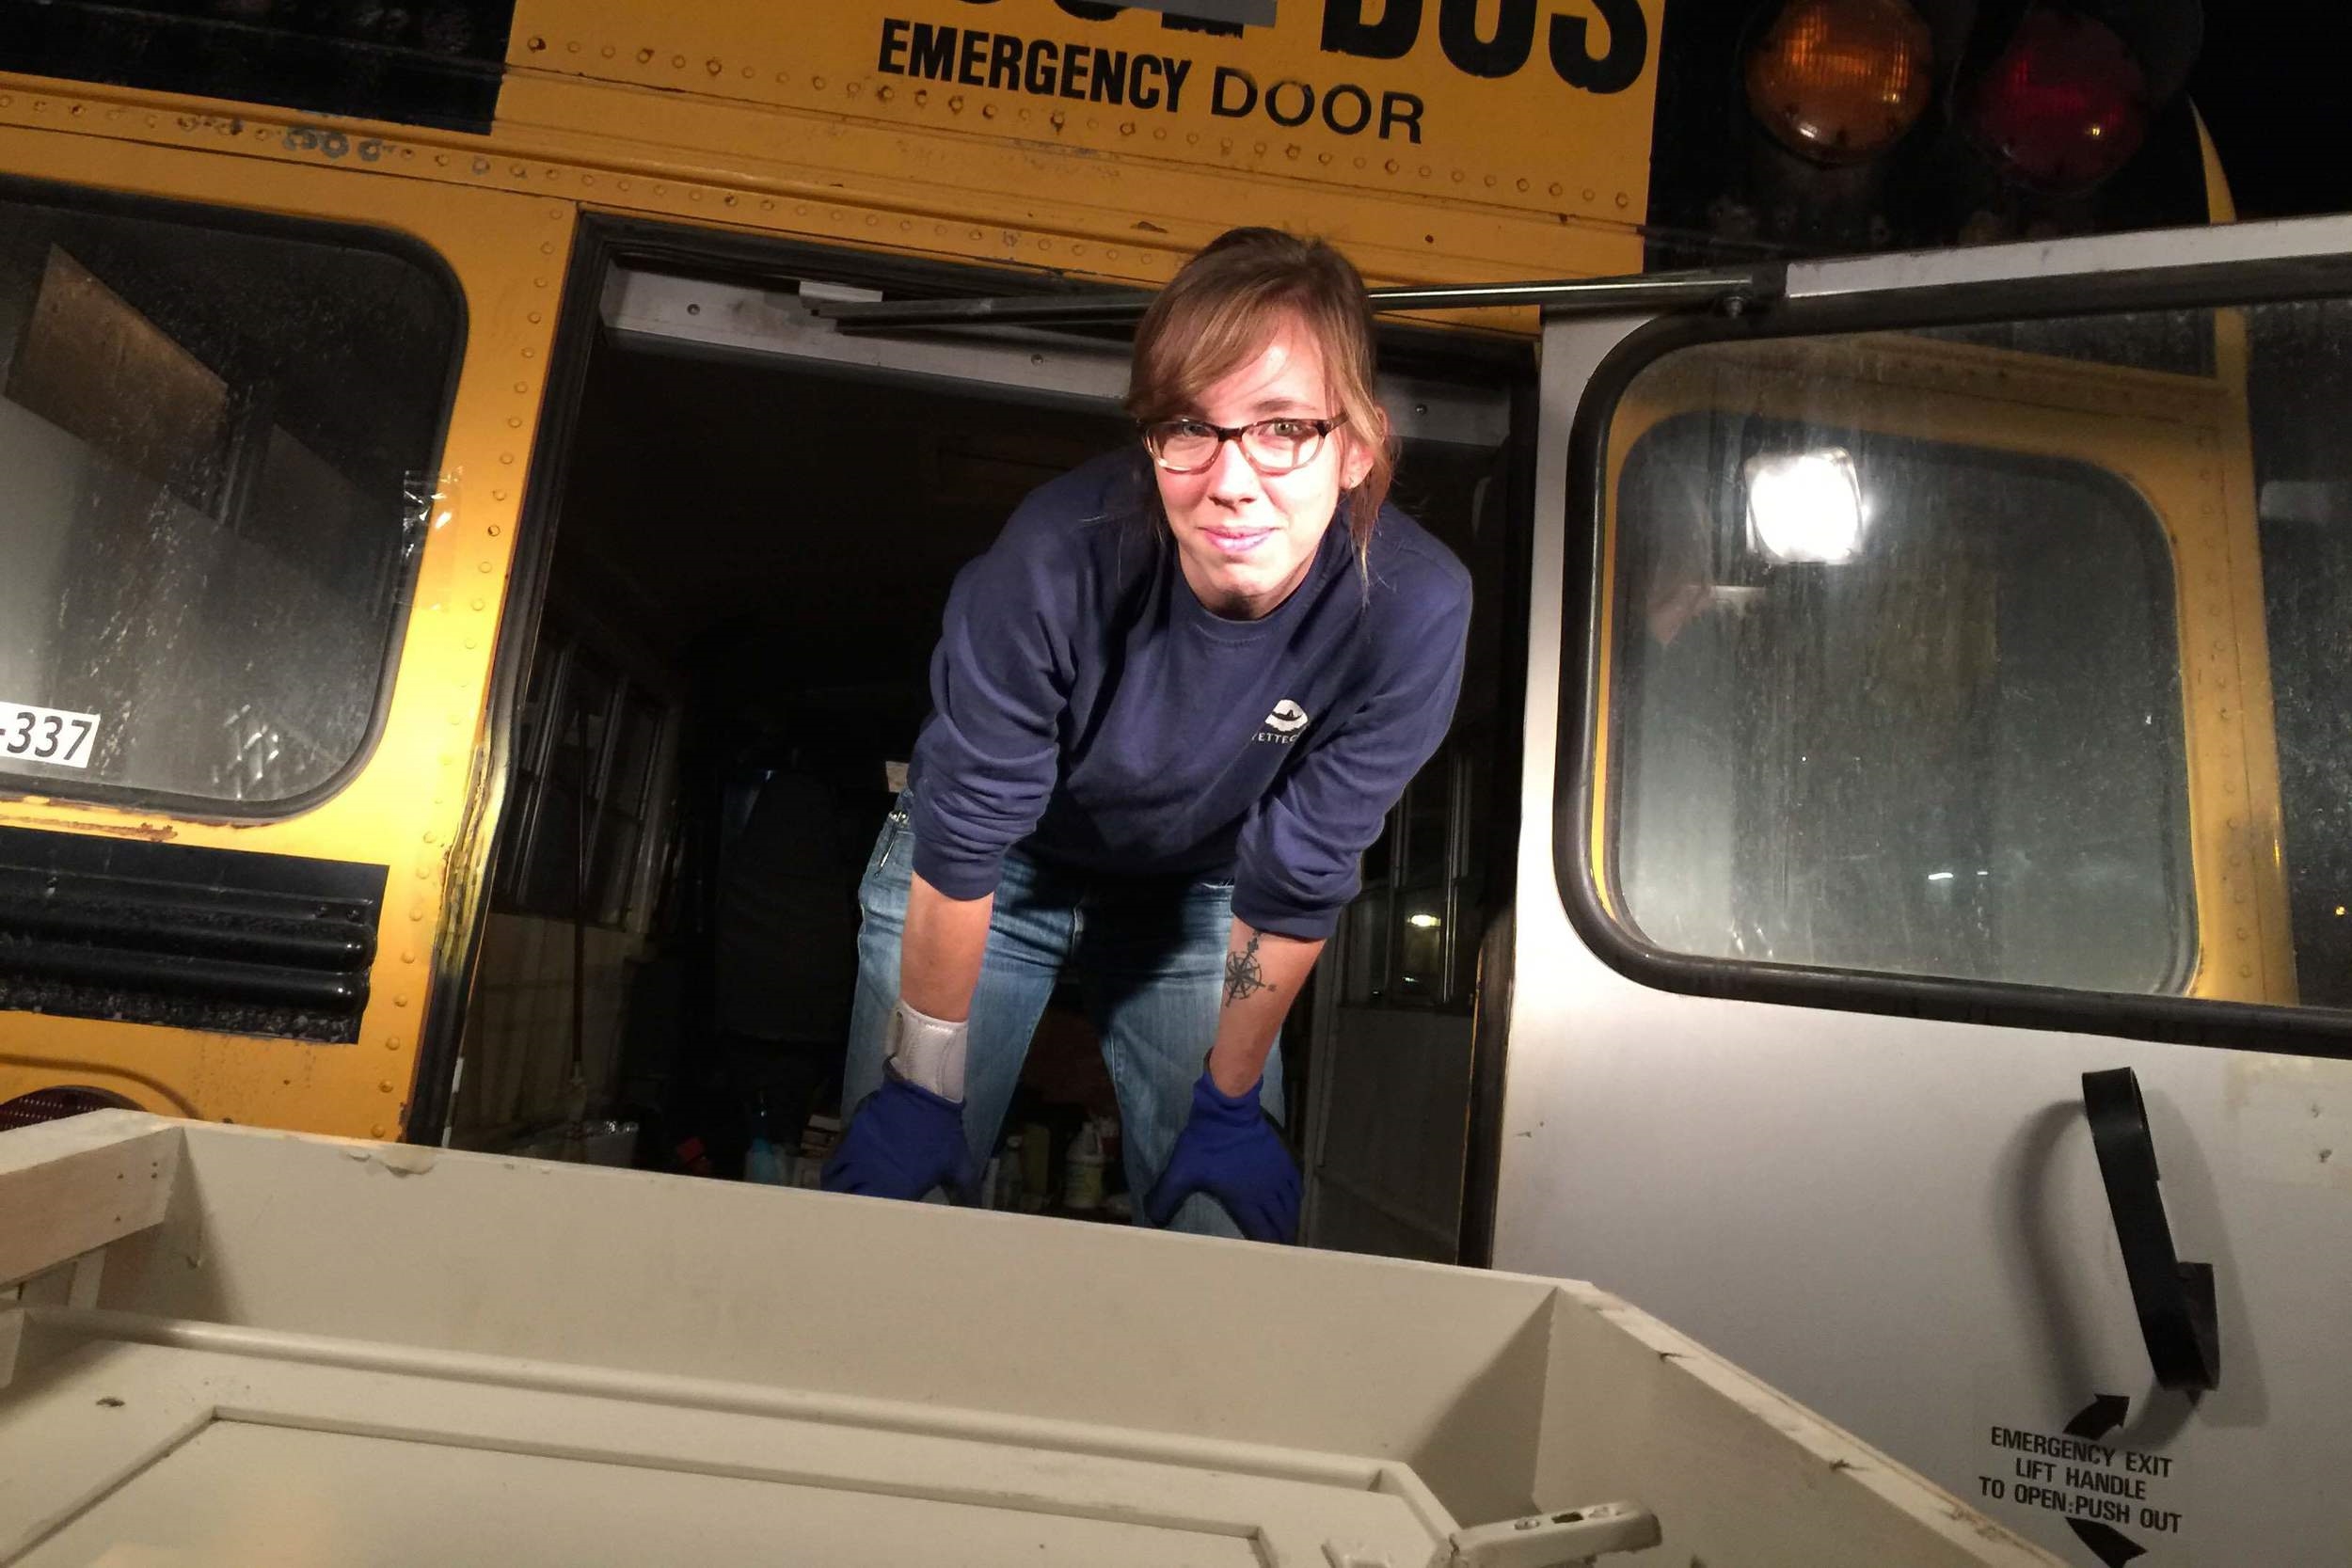
Our work was delayed because the heater was still being removed from the rear head space, so once we got Stubbs back in our possession, we hit the ground running.
Our first stop after the mechanic was Lowes for some foam insulation and 1/2 inch OSB plywood for flooring. No kidding, from the time we went to Lowes in the morning to price supplies out, to the time we went back just after noon to buy it, the cost of the lumber went up 80 cents. We chatted with one of the associates about it and they informed us that it always goes up this time of year, and quite quickly at that. Thankfully we only needed five sheets!

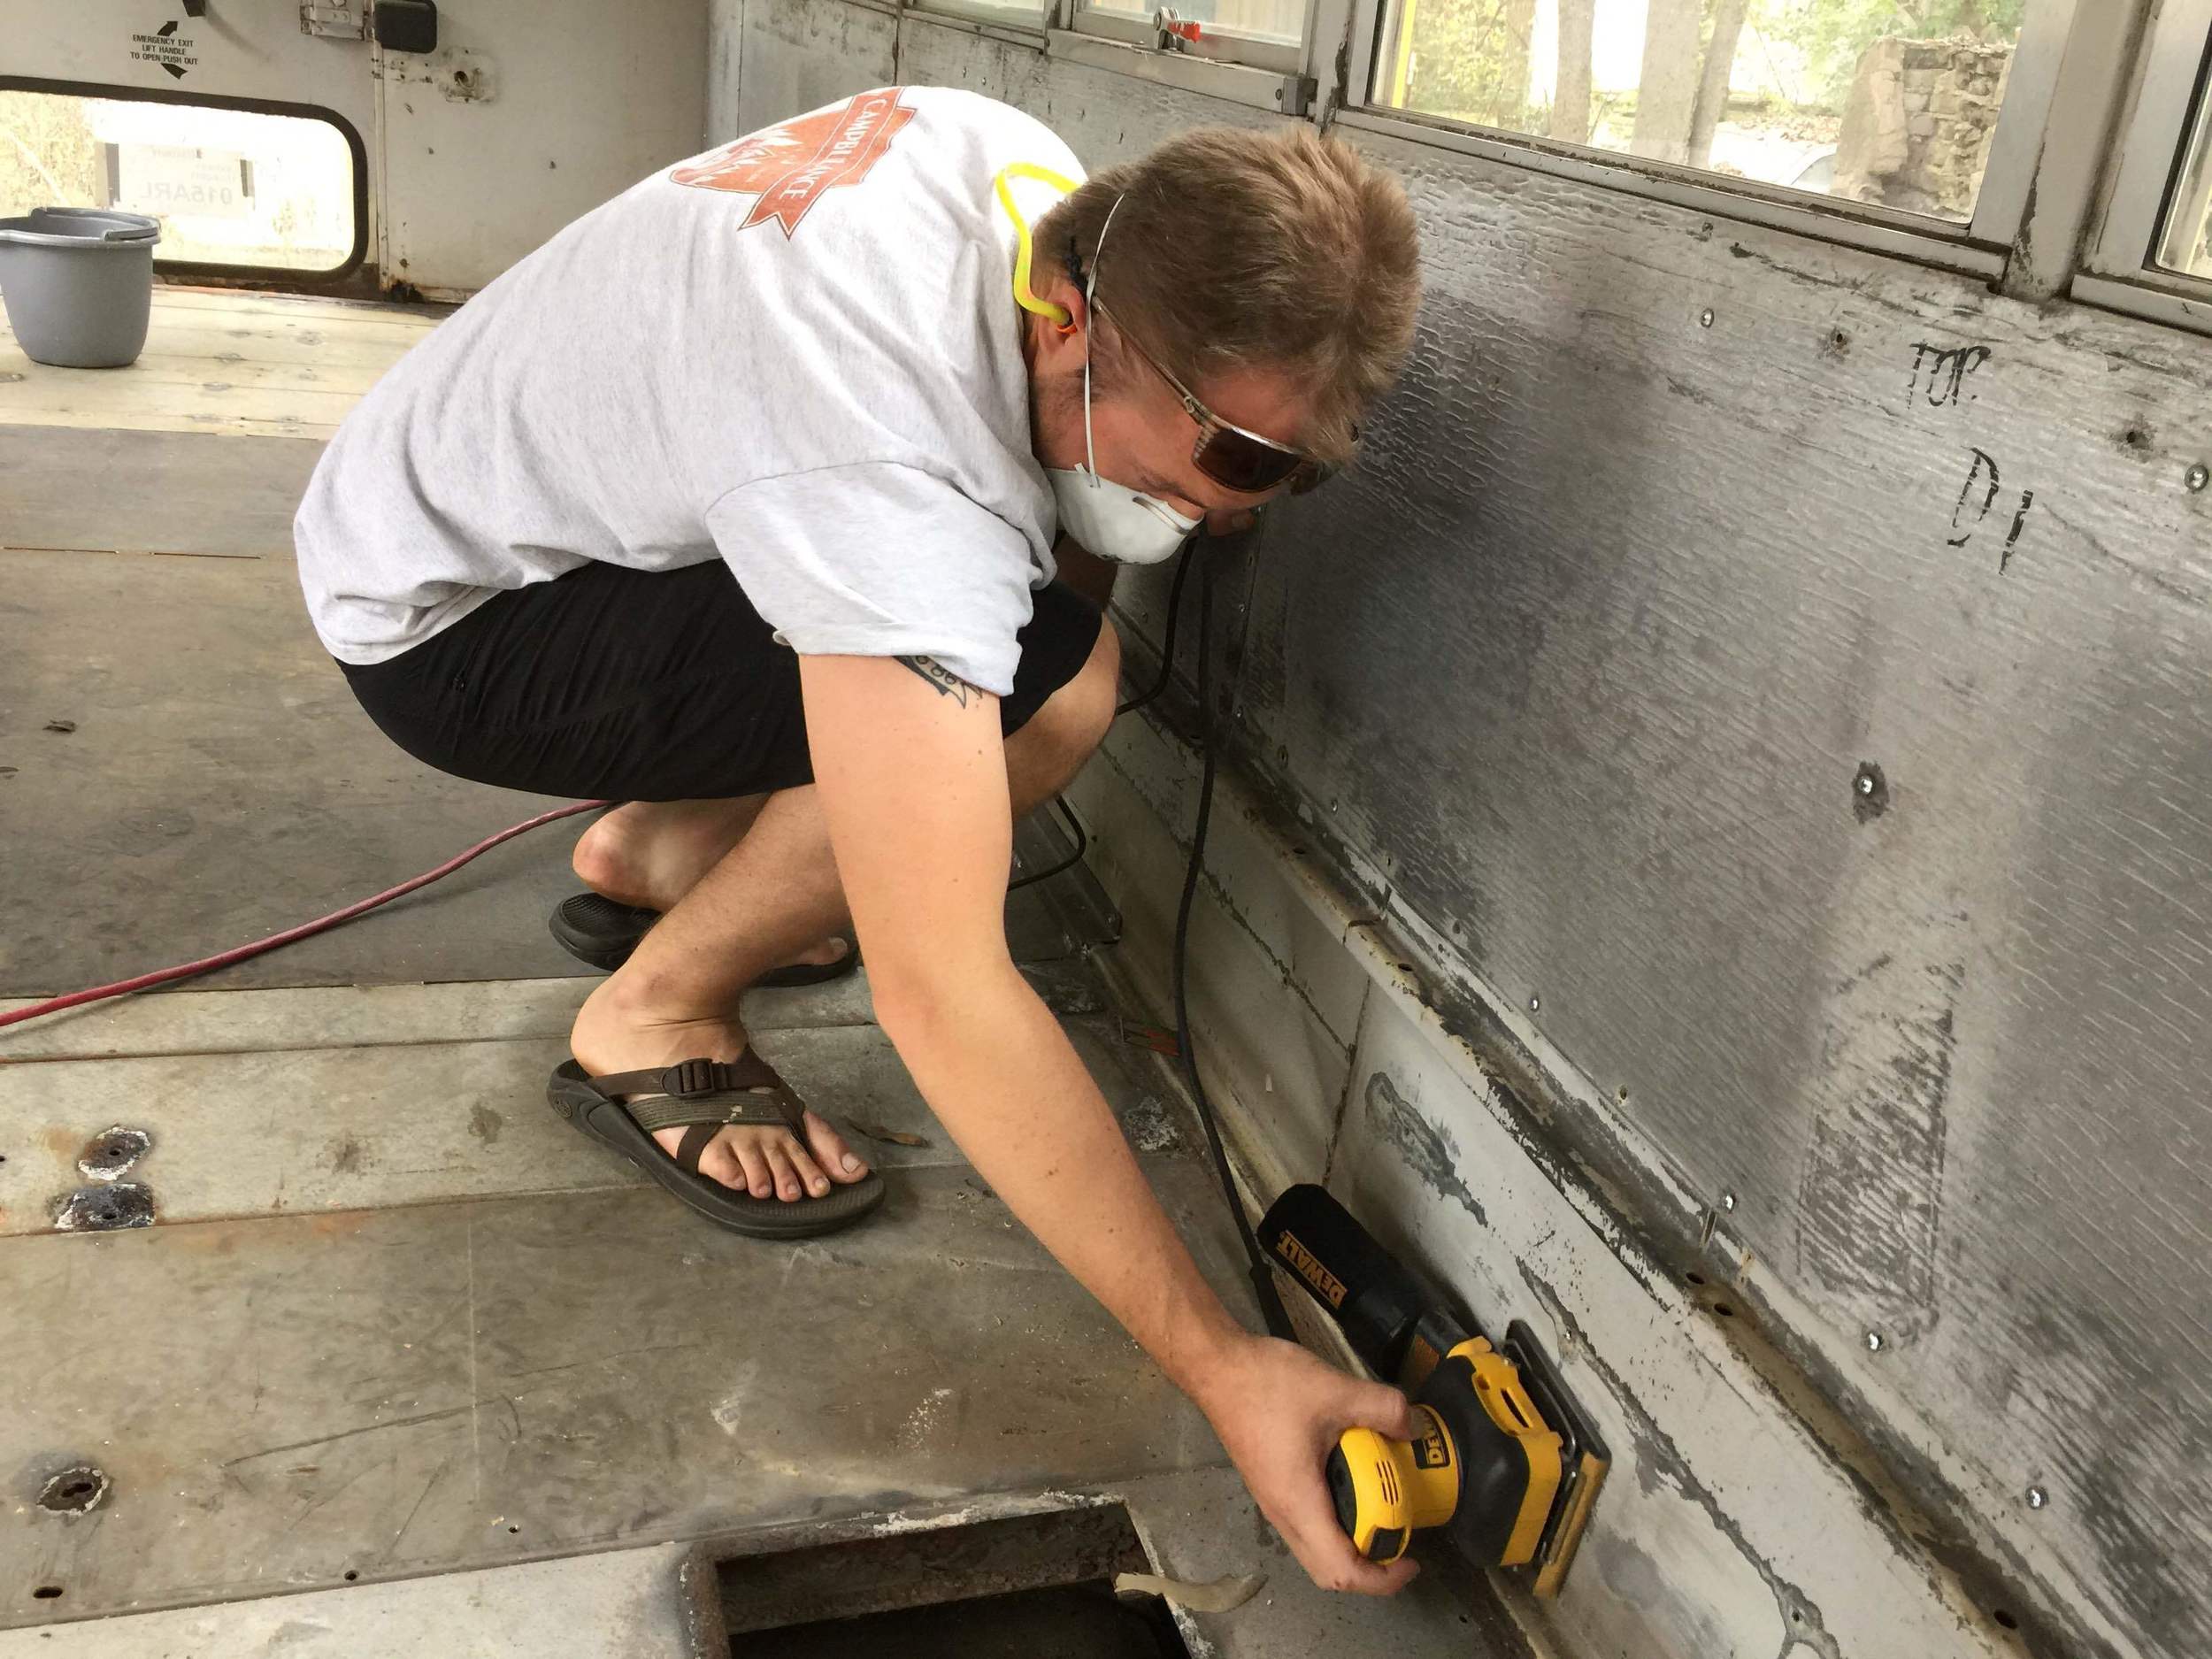
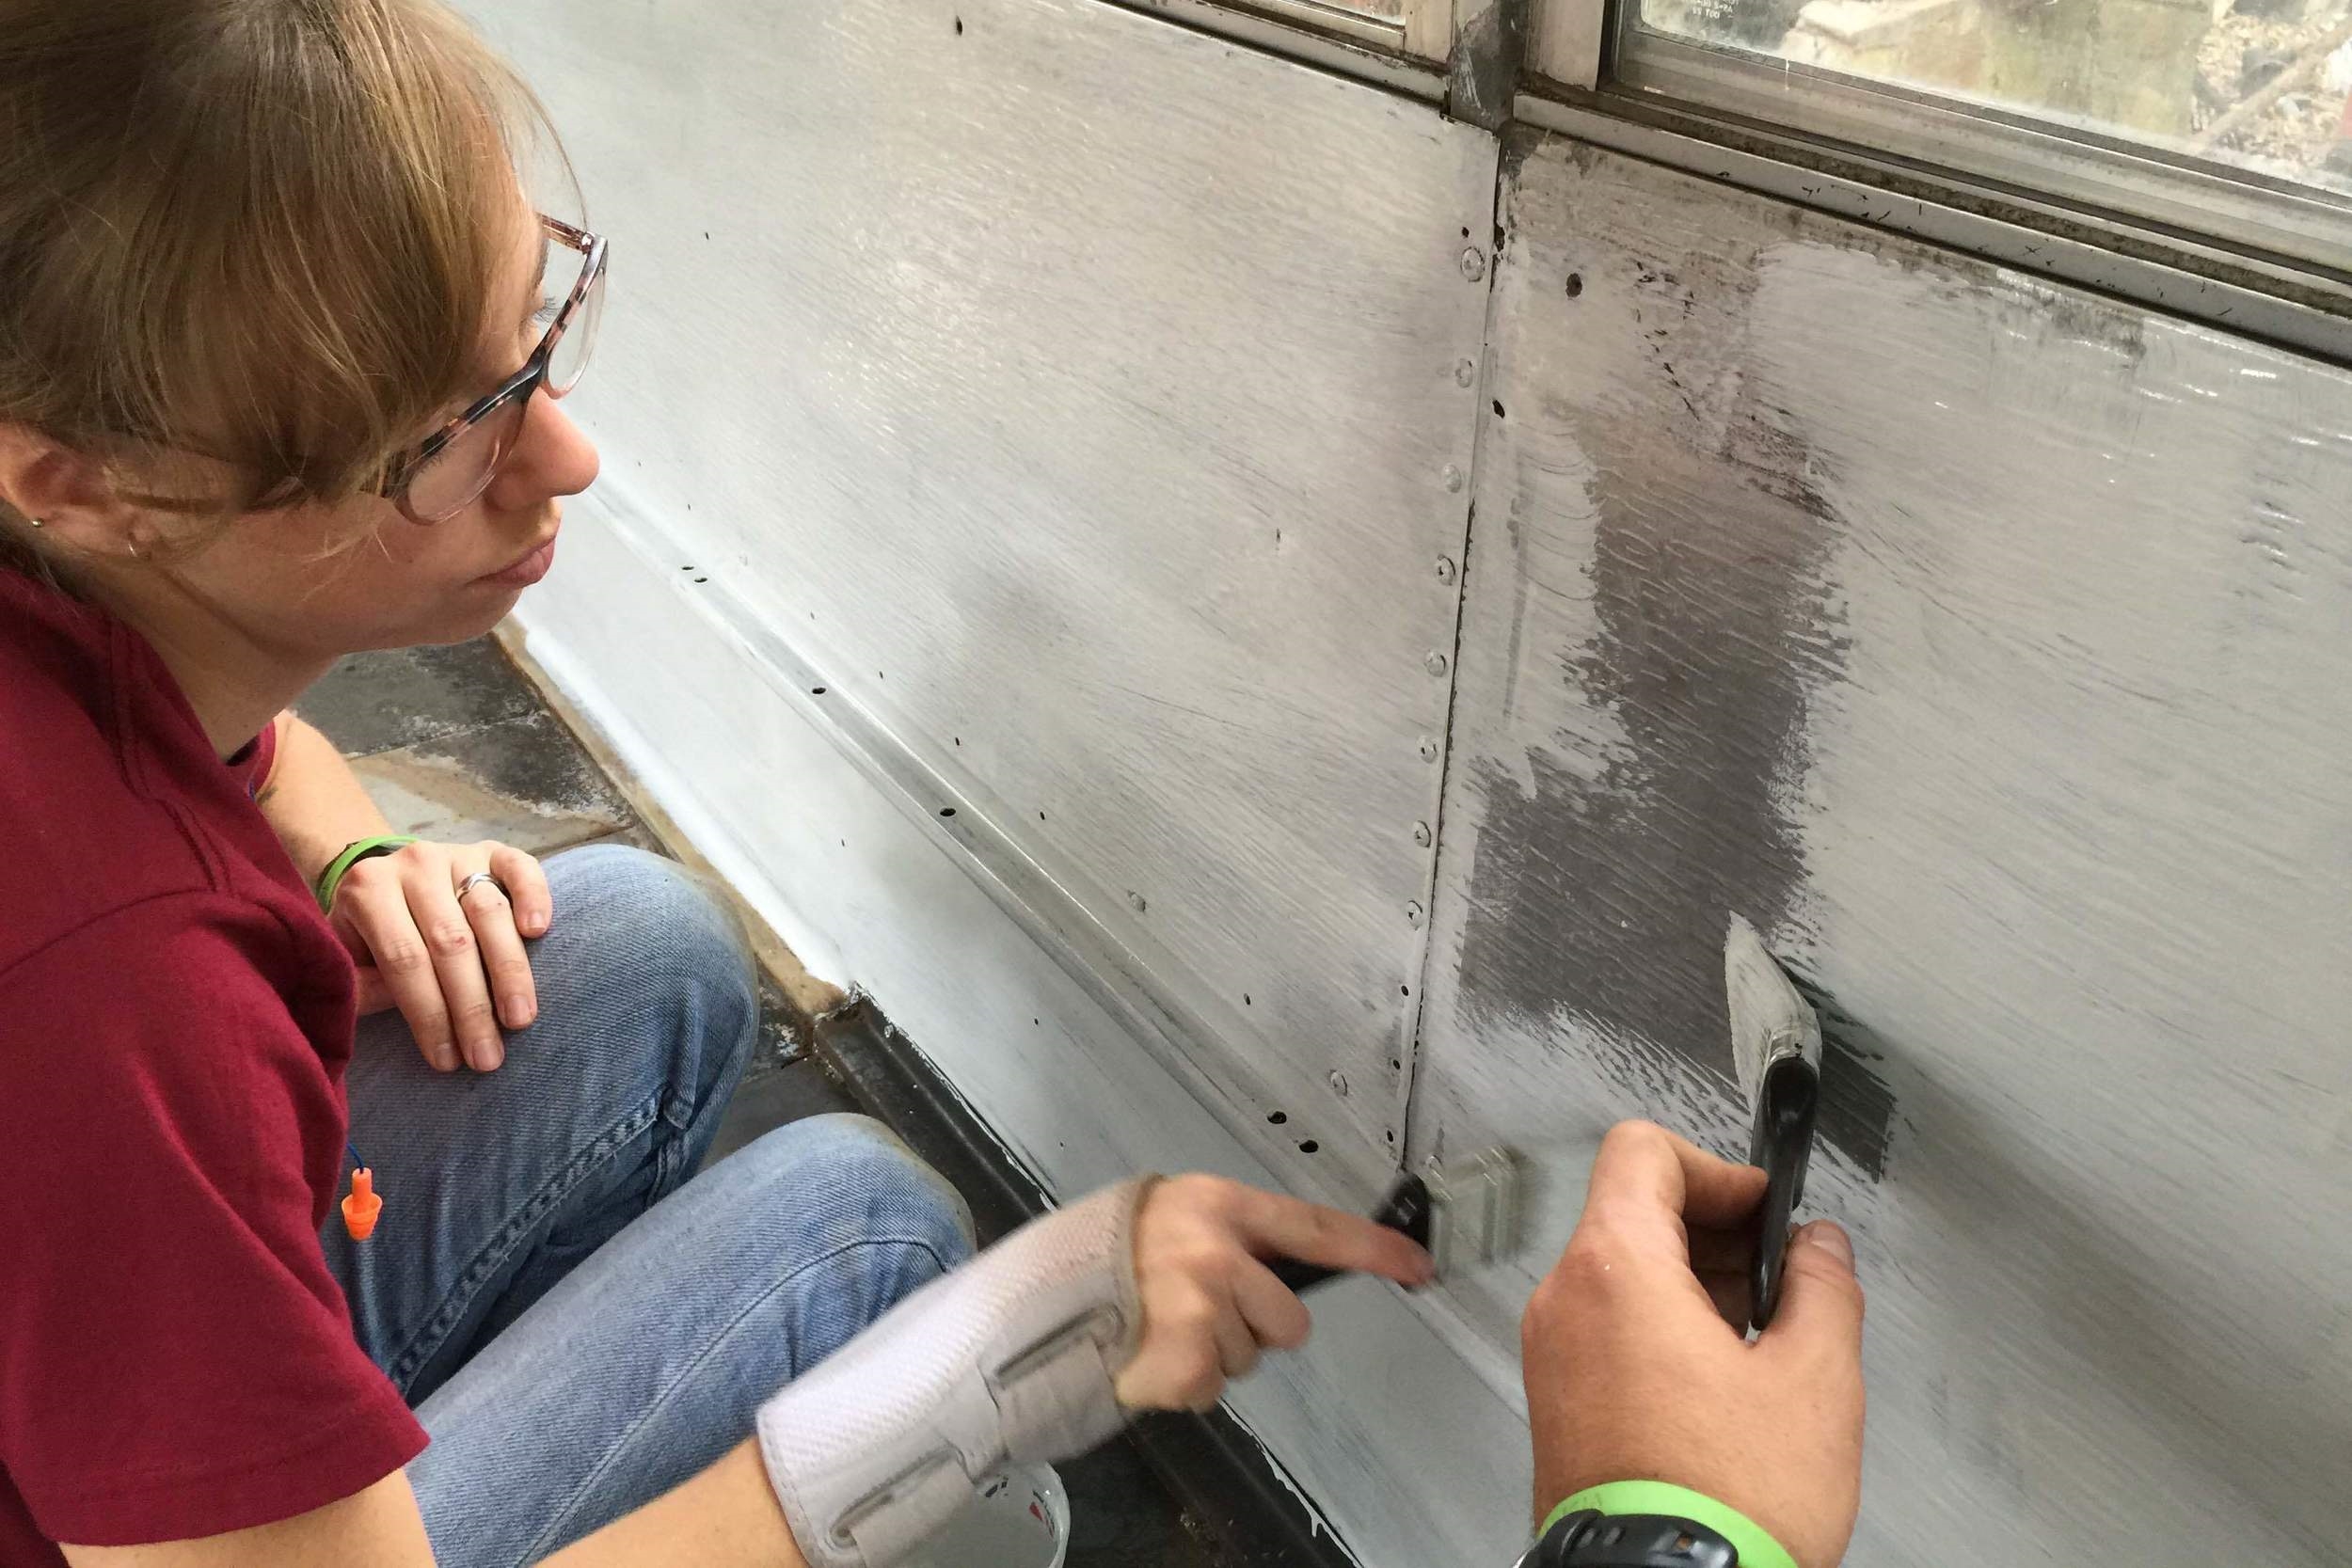
We put the 1/2 inch foam insulation in first, foil side down. We think that foil side down should keep more heat in, so remember these two tips if you're insulating a bus:
1. Foil acts as a barrier for heat. If you want to stay warm, put the foam between you and the foil Keep the heat in. If you want to stay cool, foil between you and the foam, keeping the heat out.
2. You're insulating a giant steel heat sink with single pane windows. None of this matters. If you want a comfortable home, buy a house.

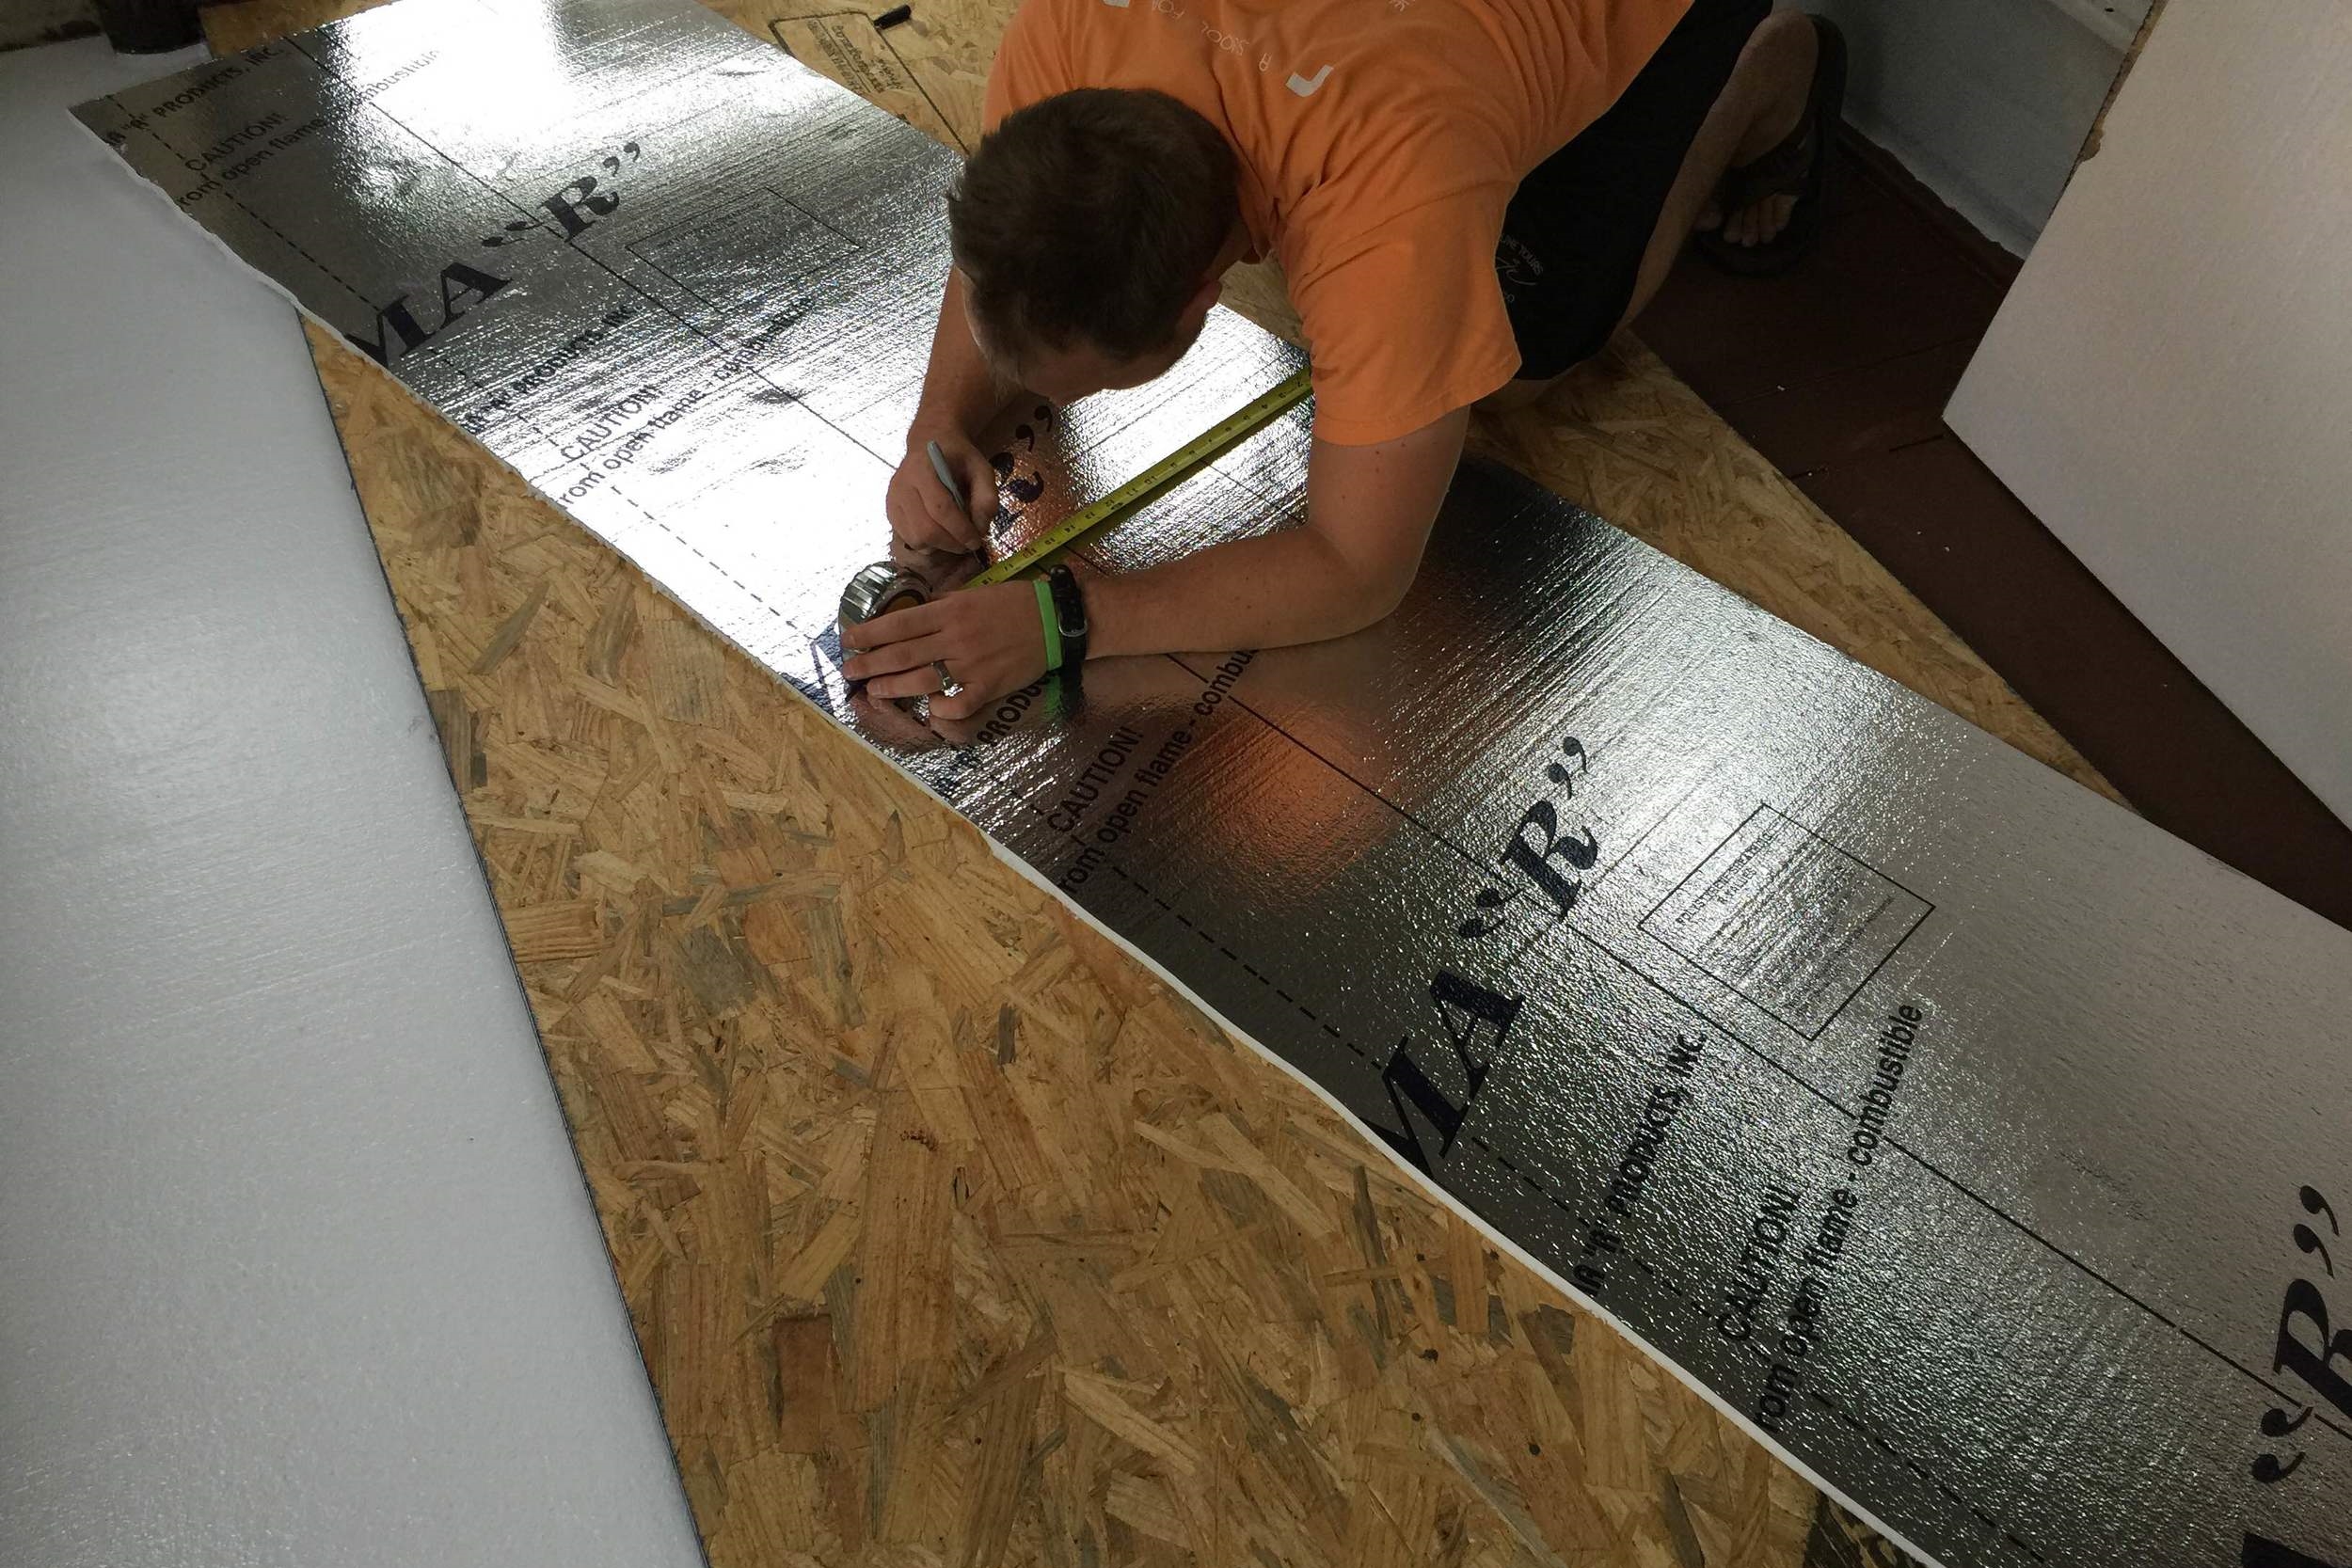
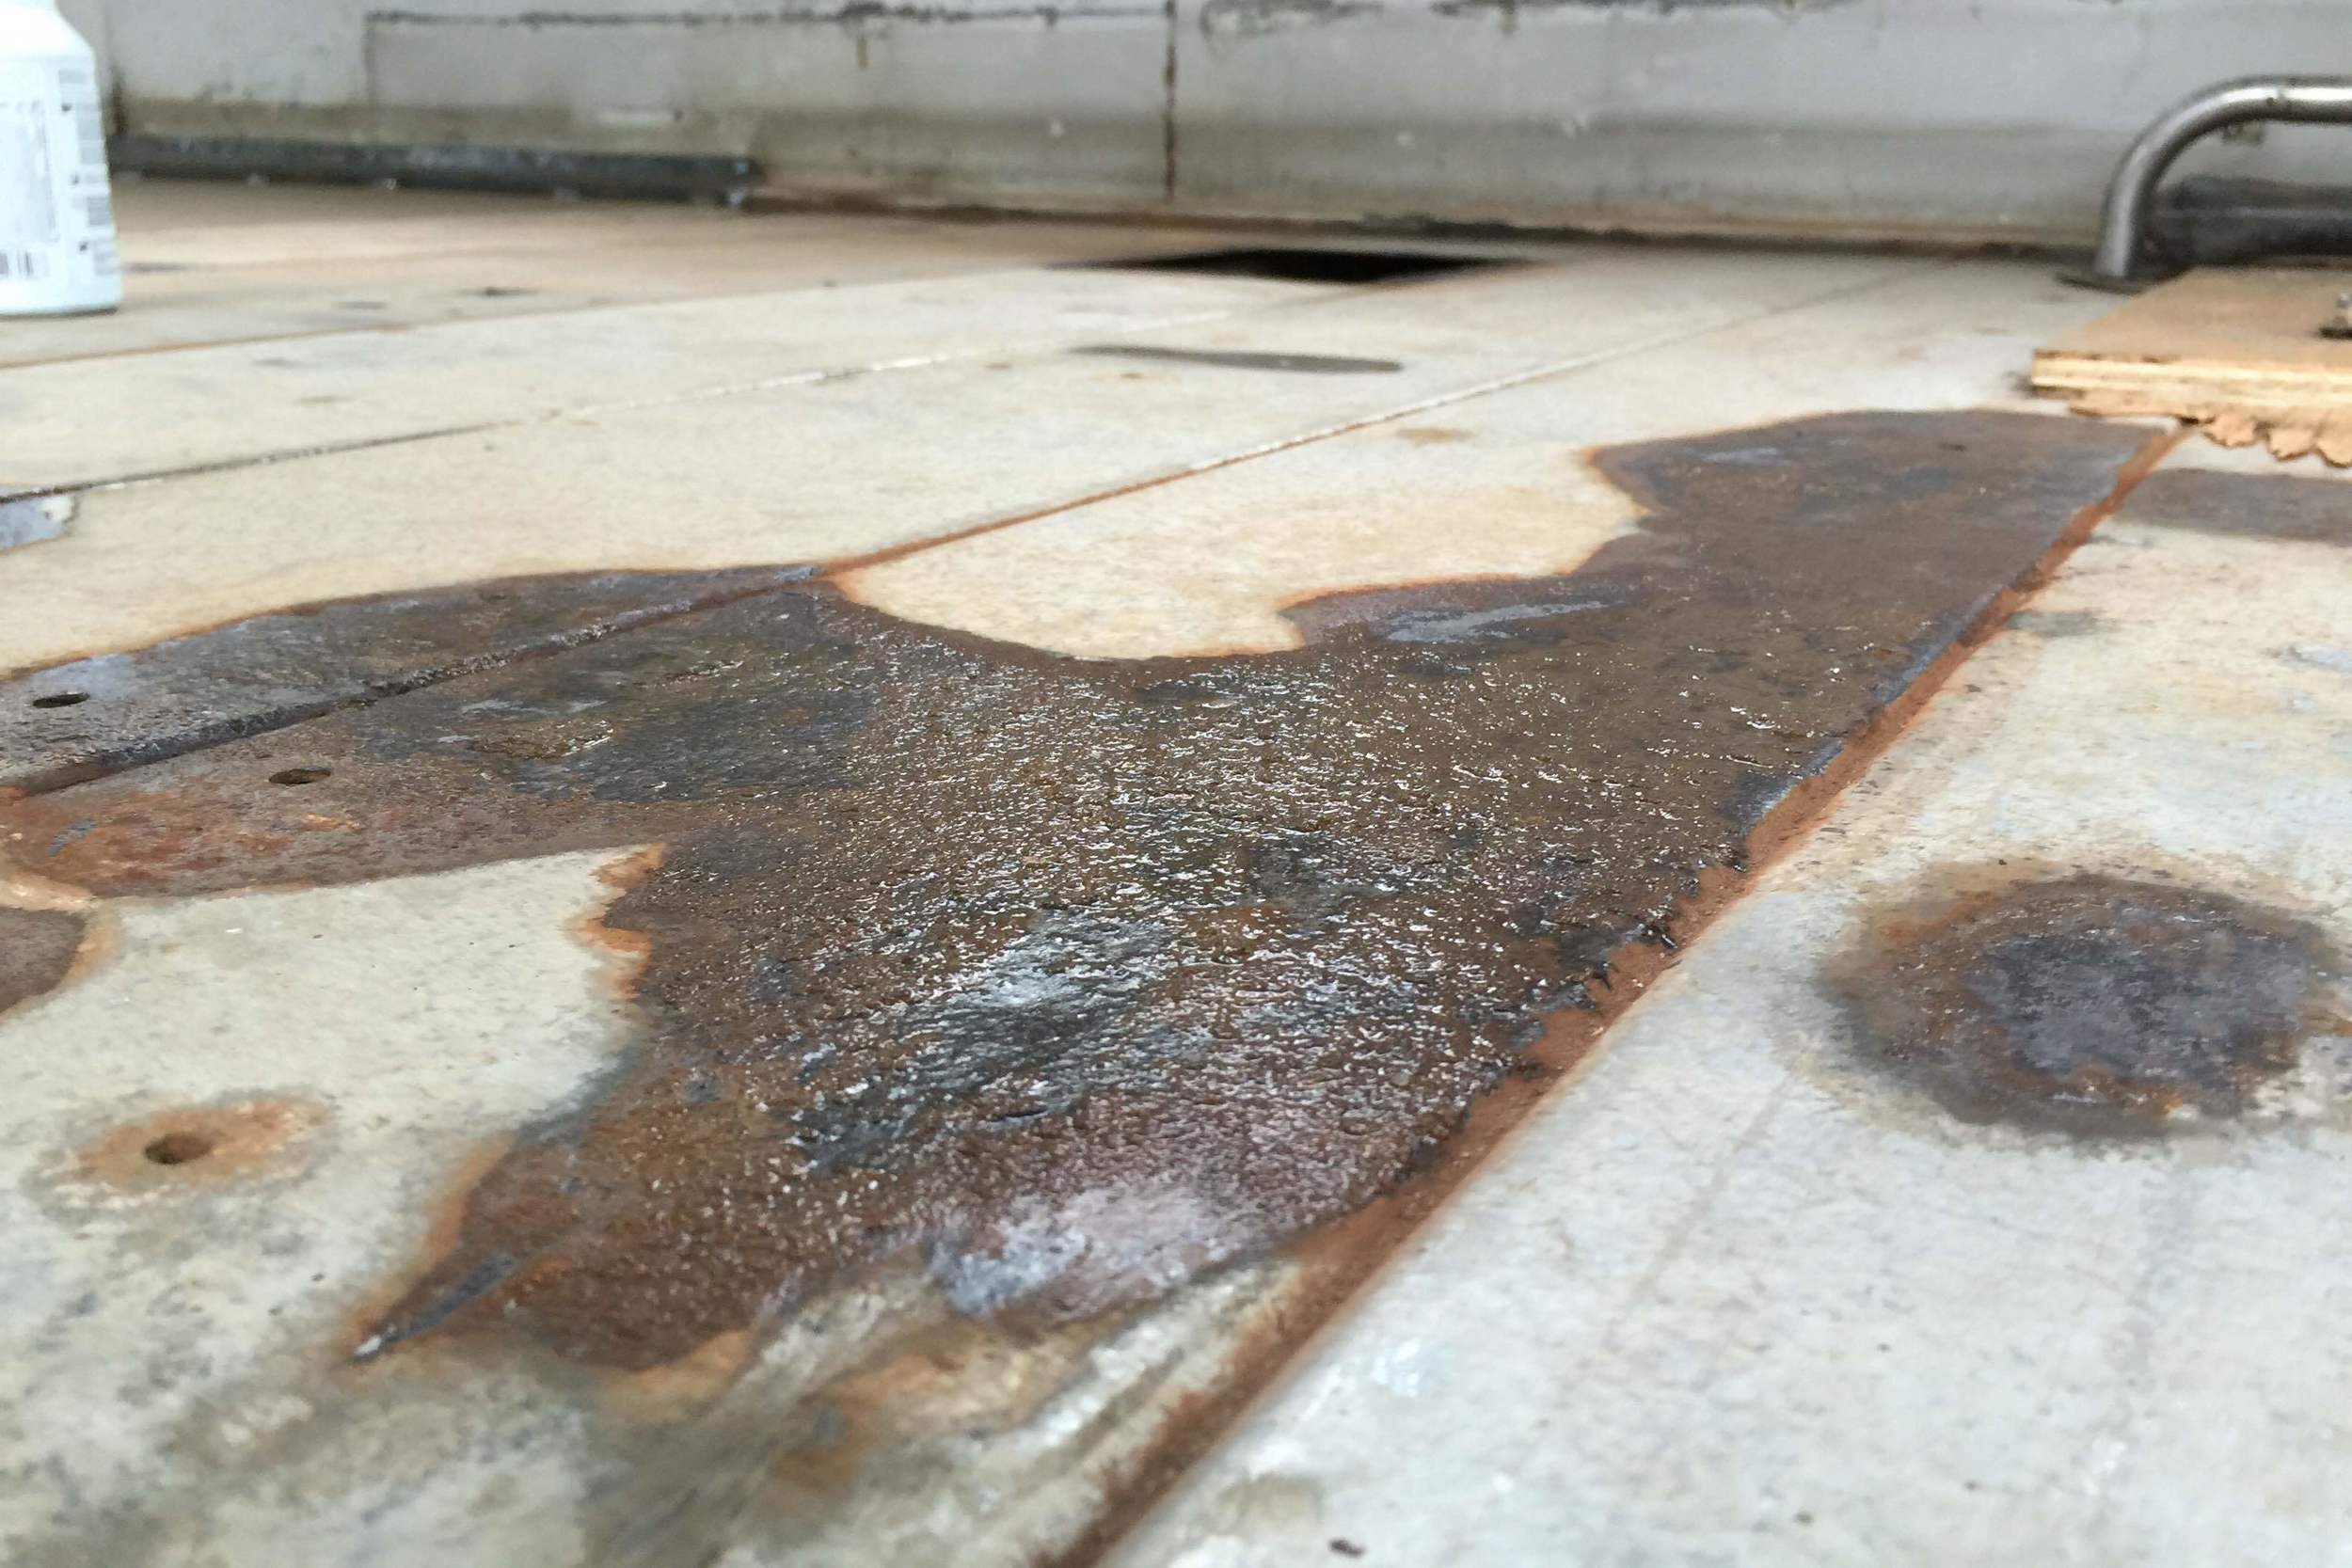
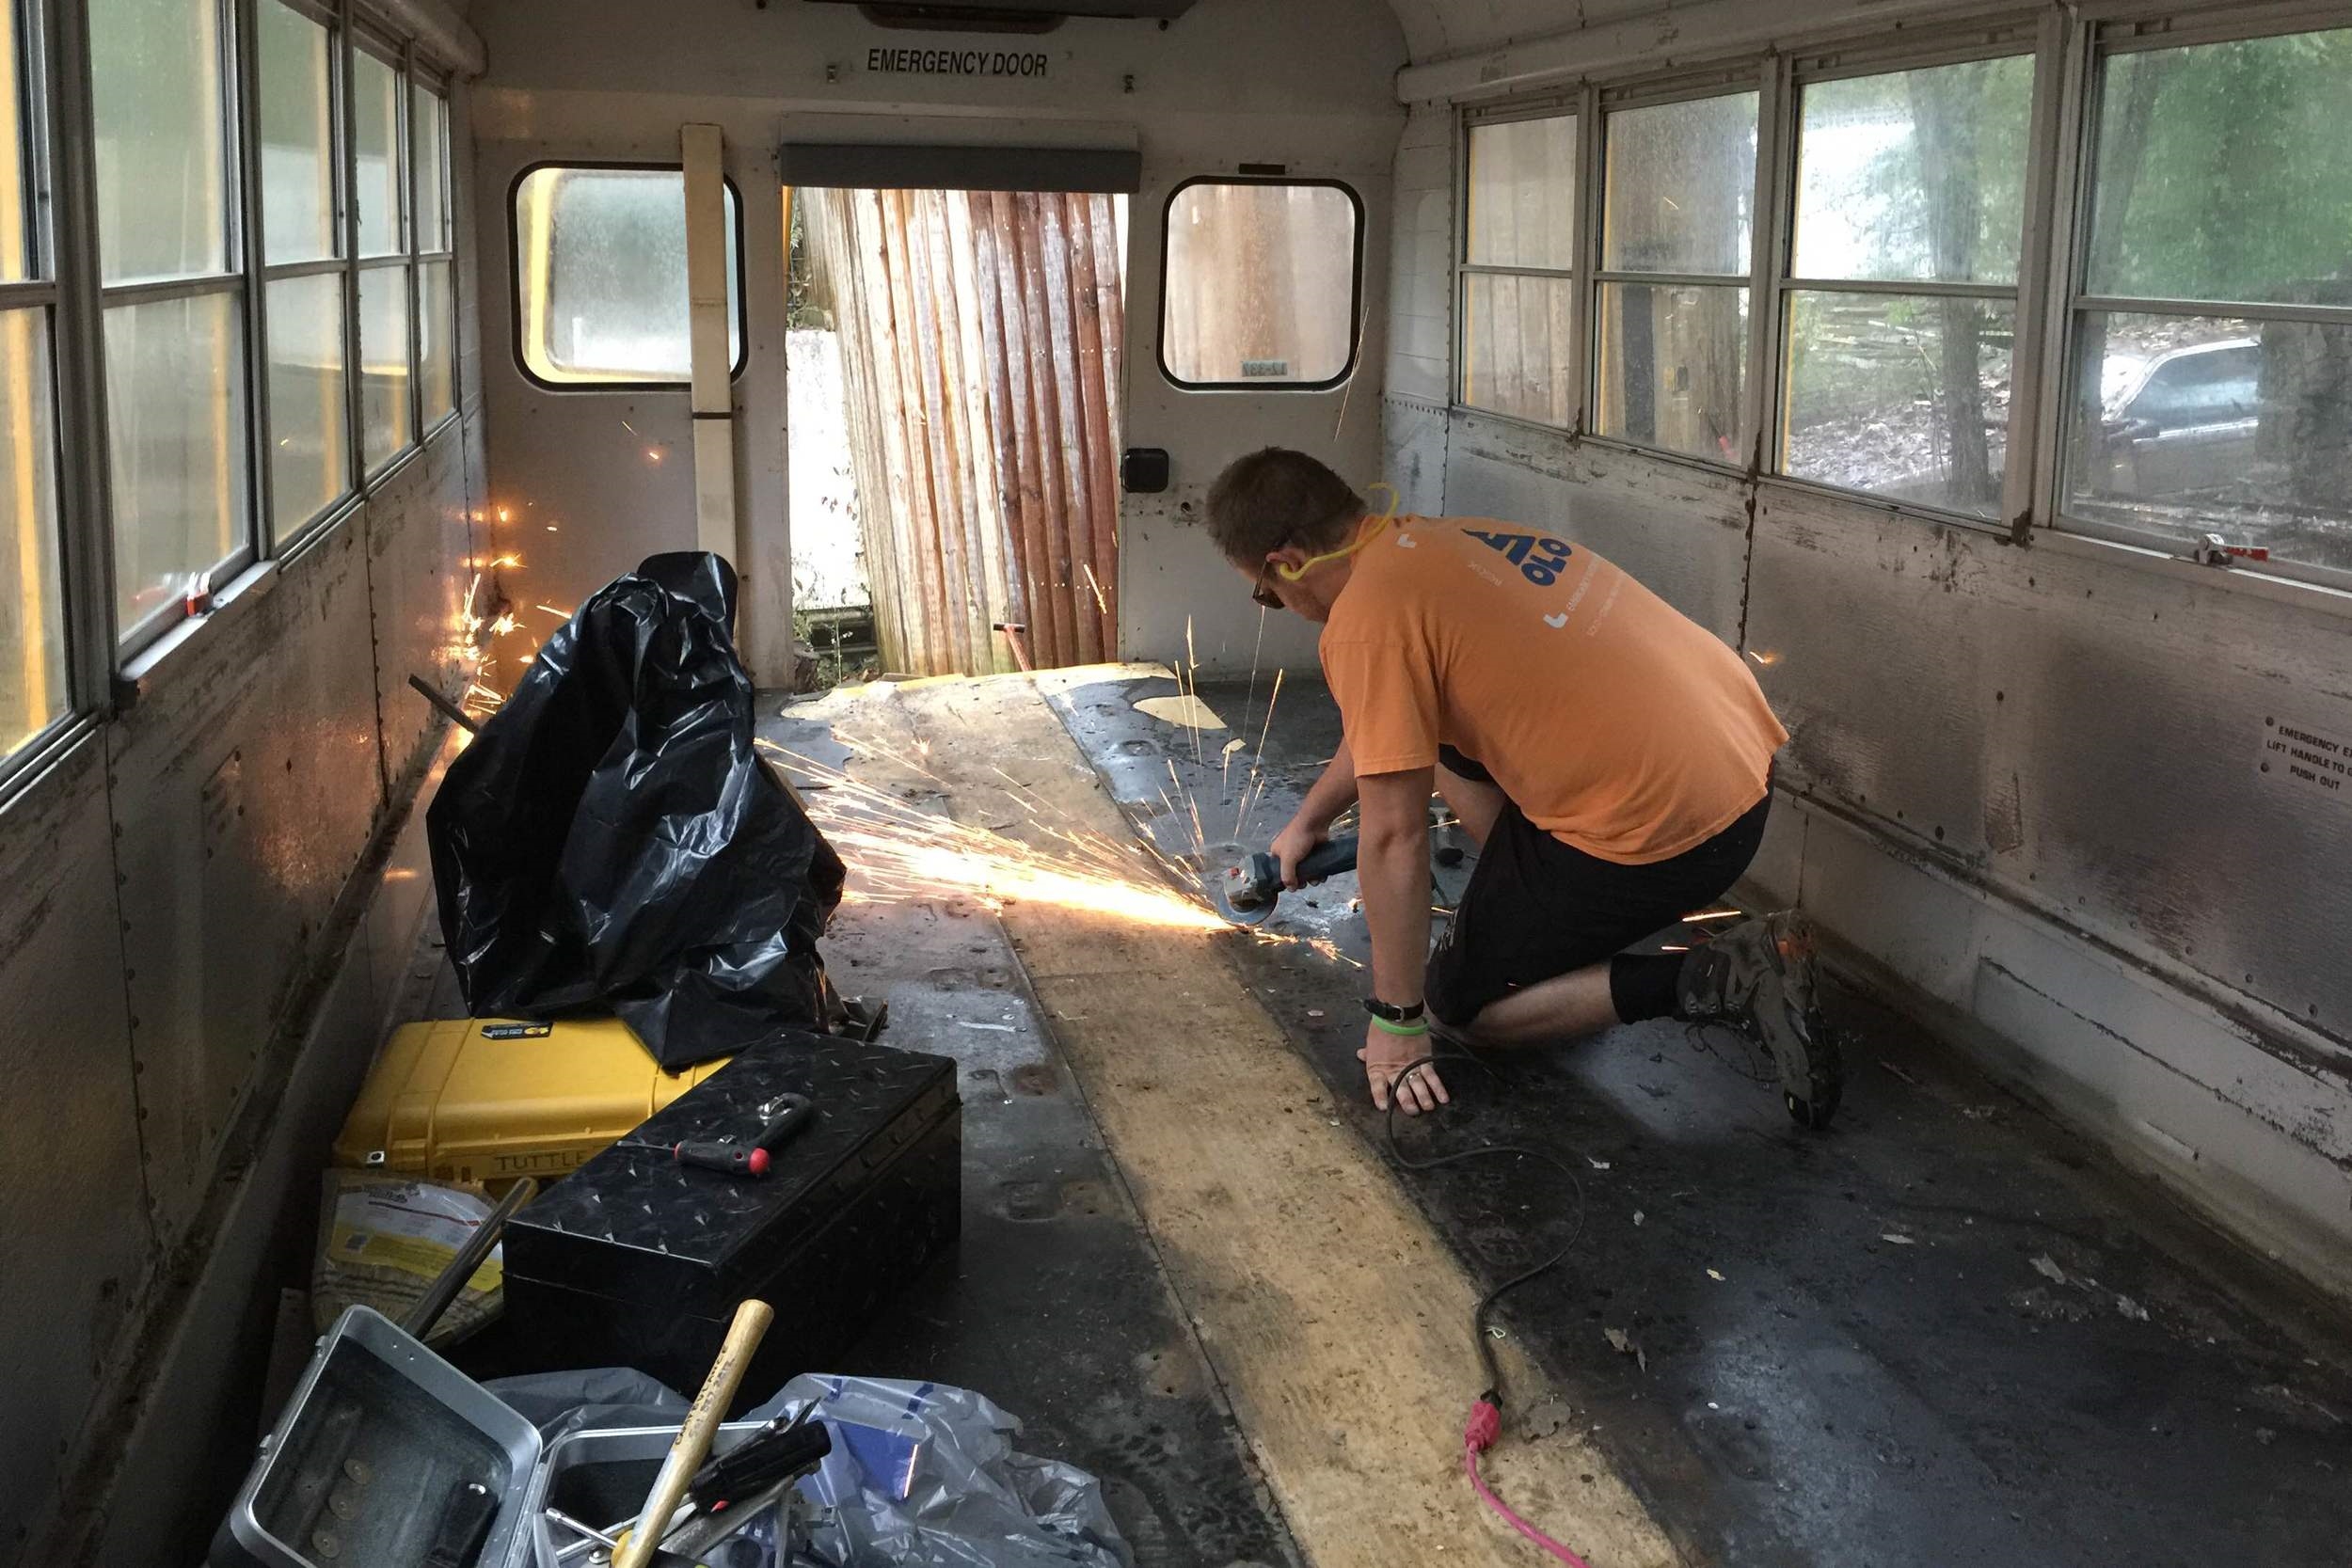
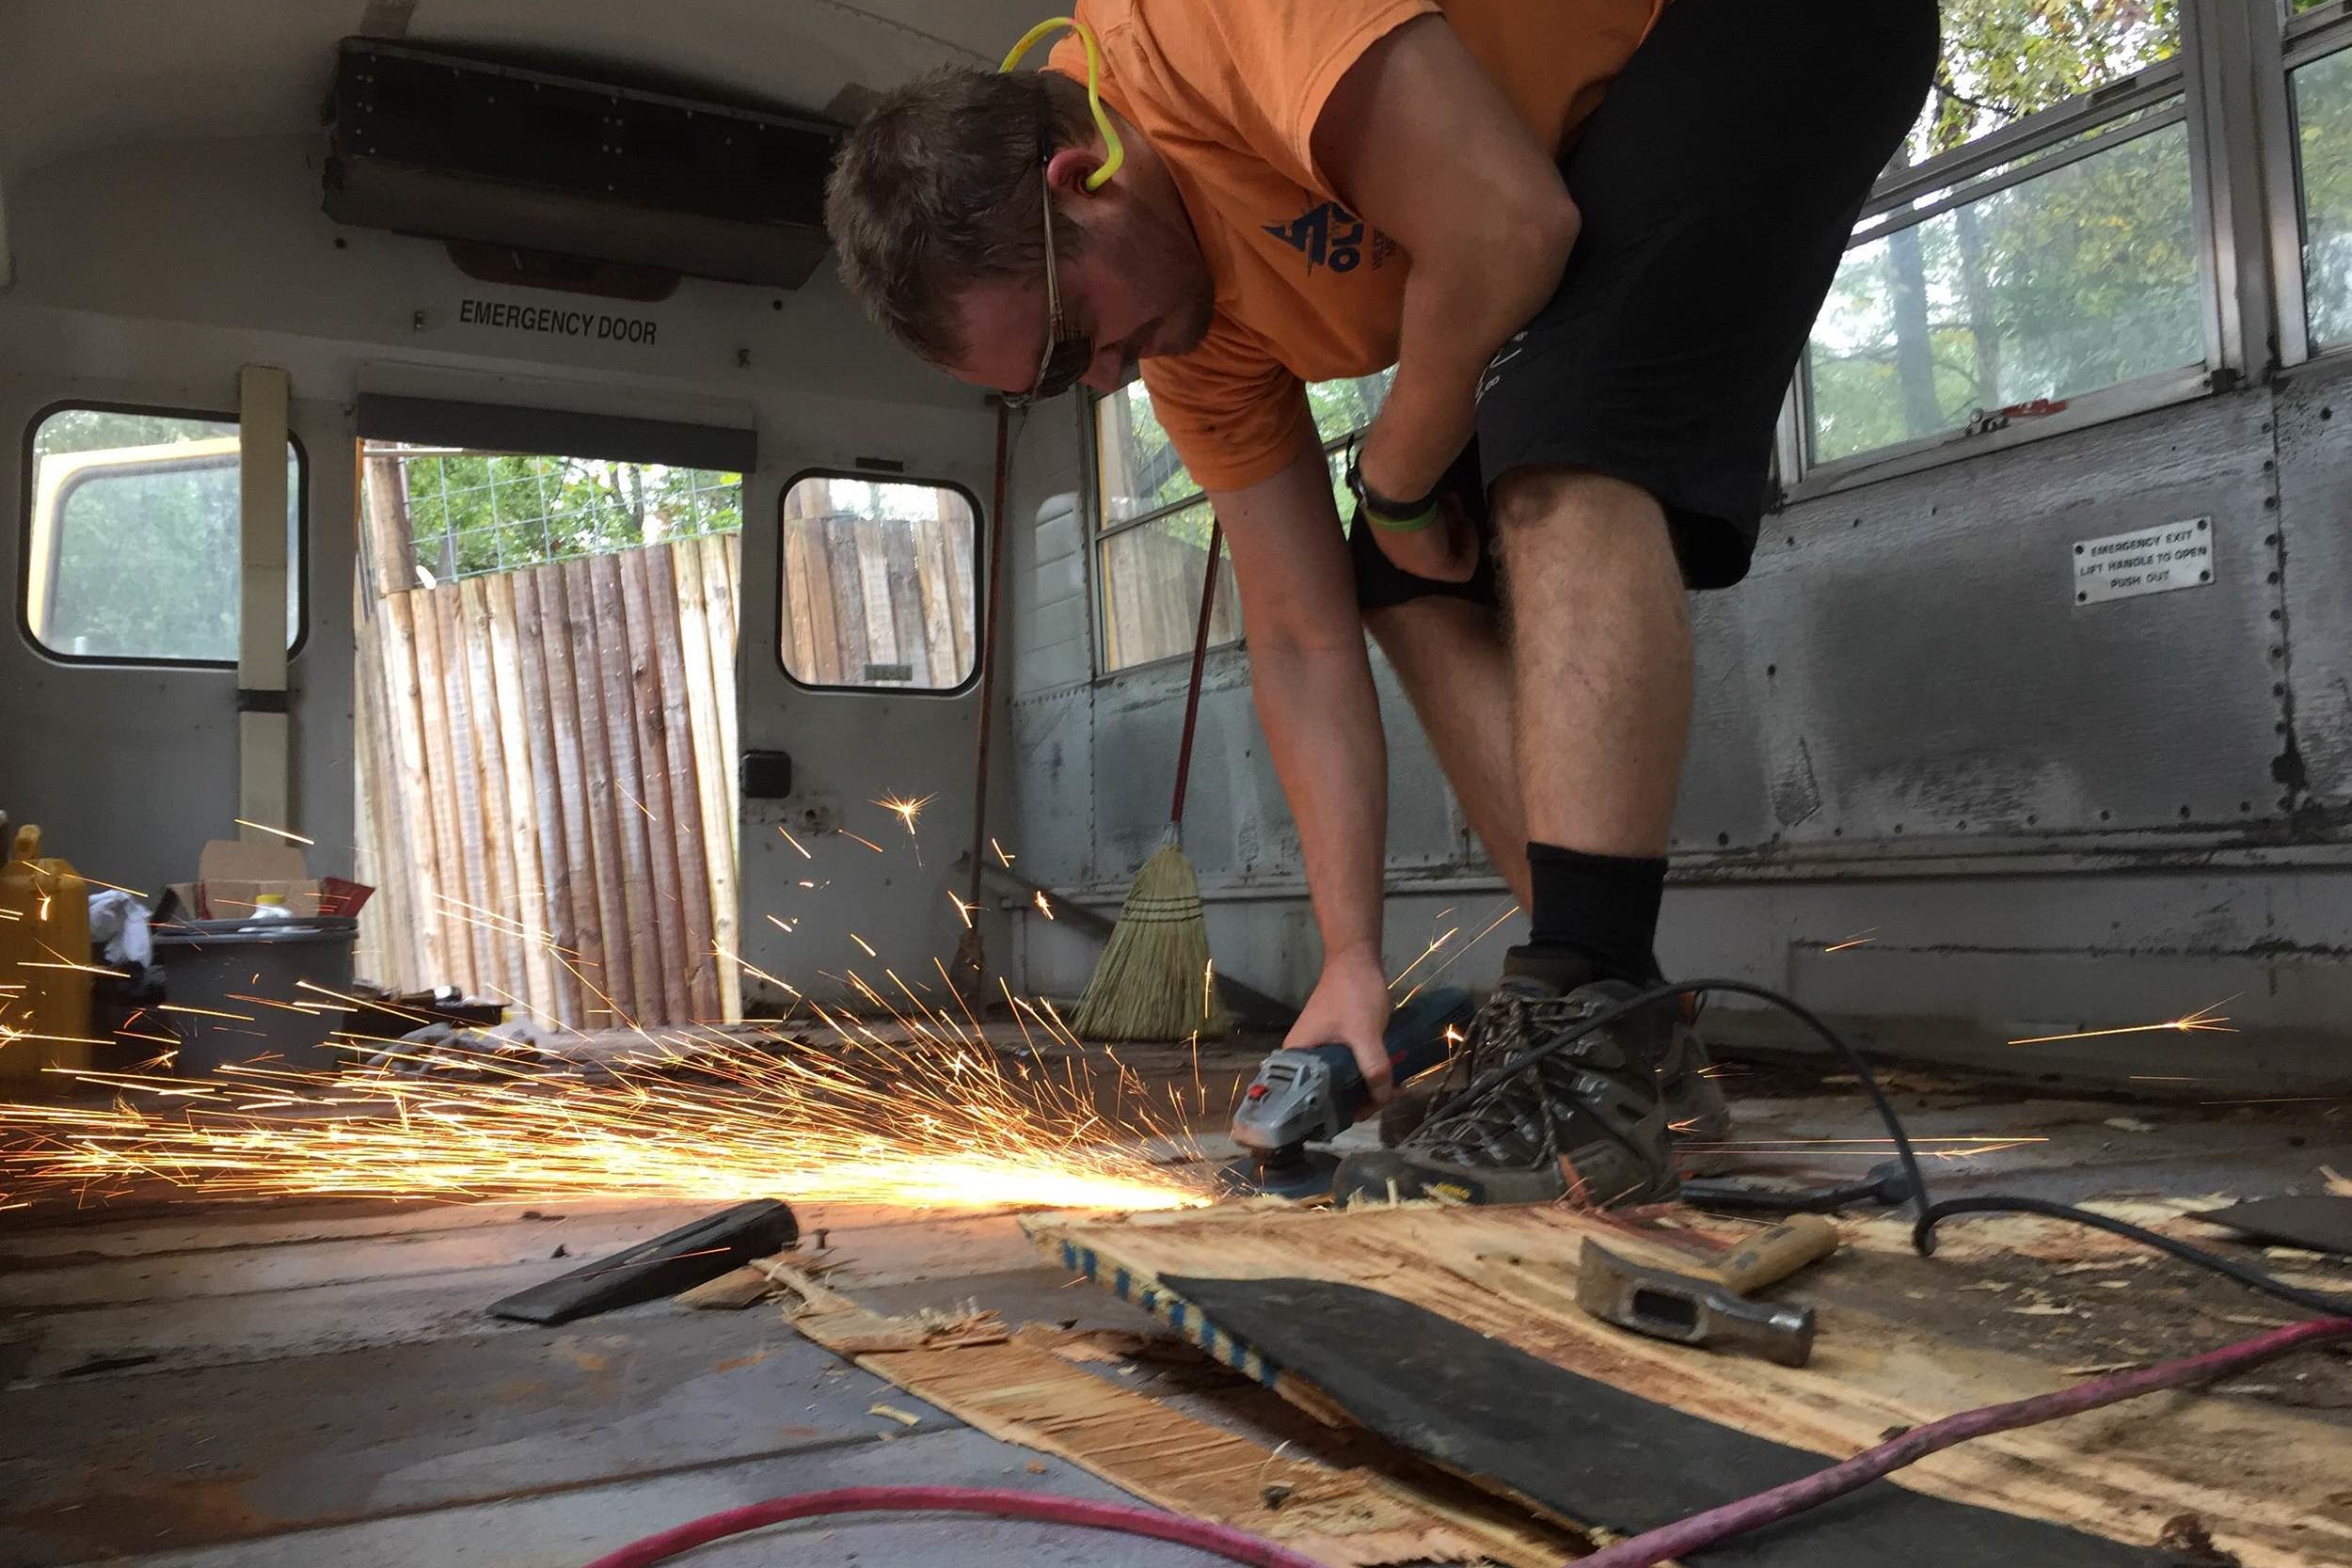
We cut and laid the foam insulation after filling in the holes from the old seats with silicon and then moved on to cutting the plywood flooring to fit in on top of it. We cut the foam with a box cutter, no problem. The plywood we orientated to minimize cuts, as our floor layout already minimized visible seams.
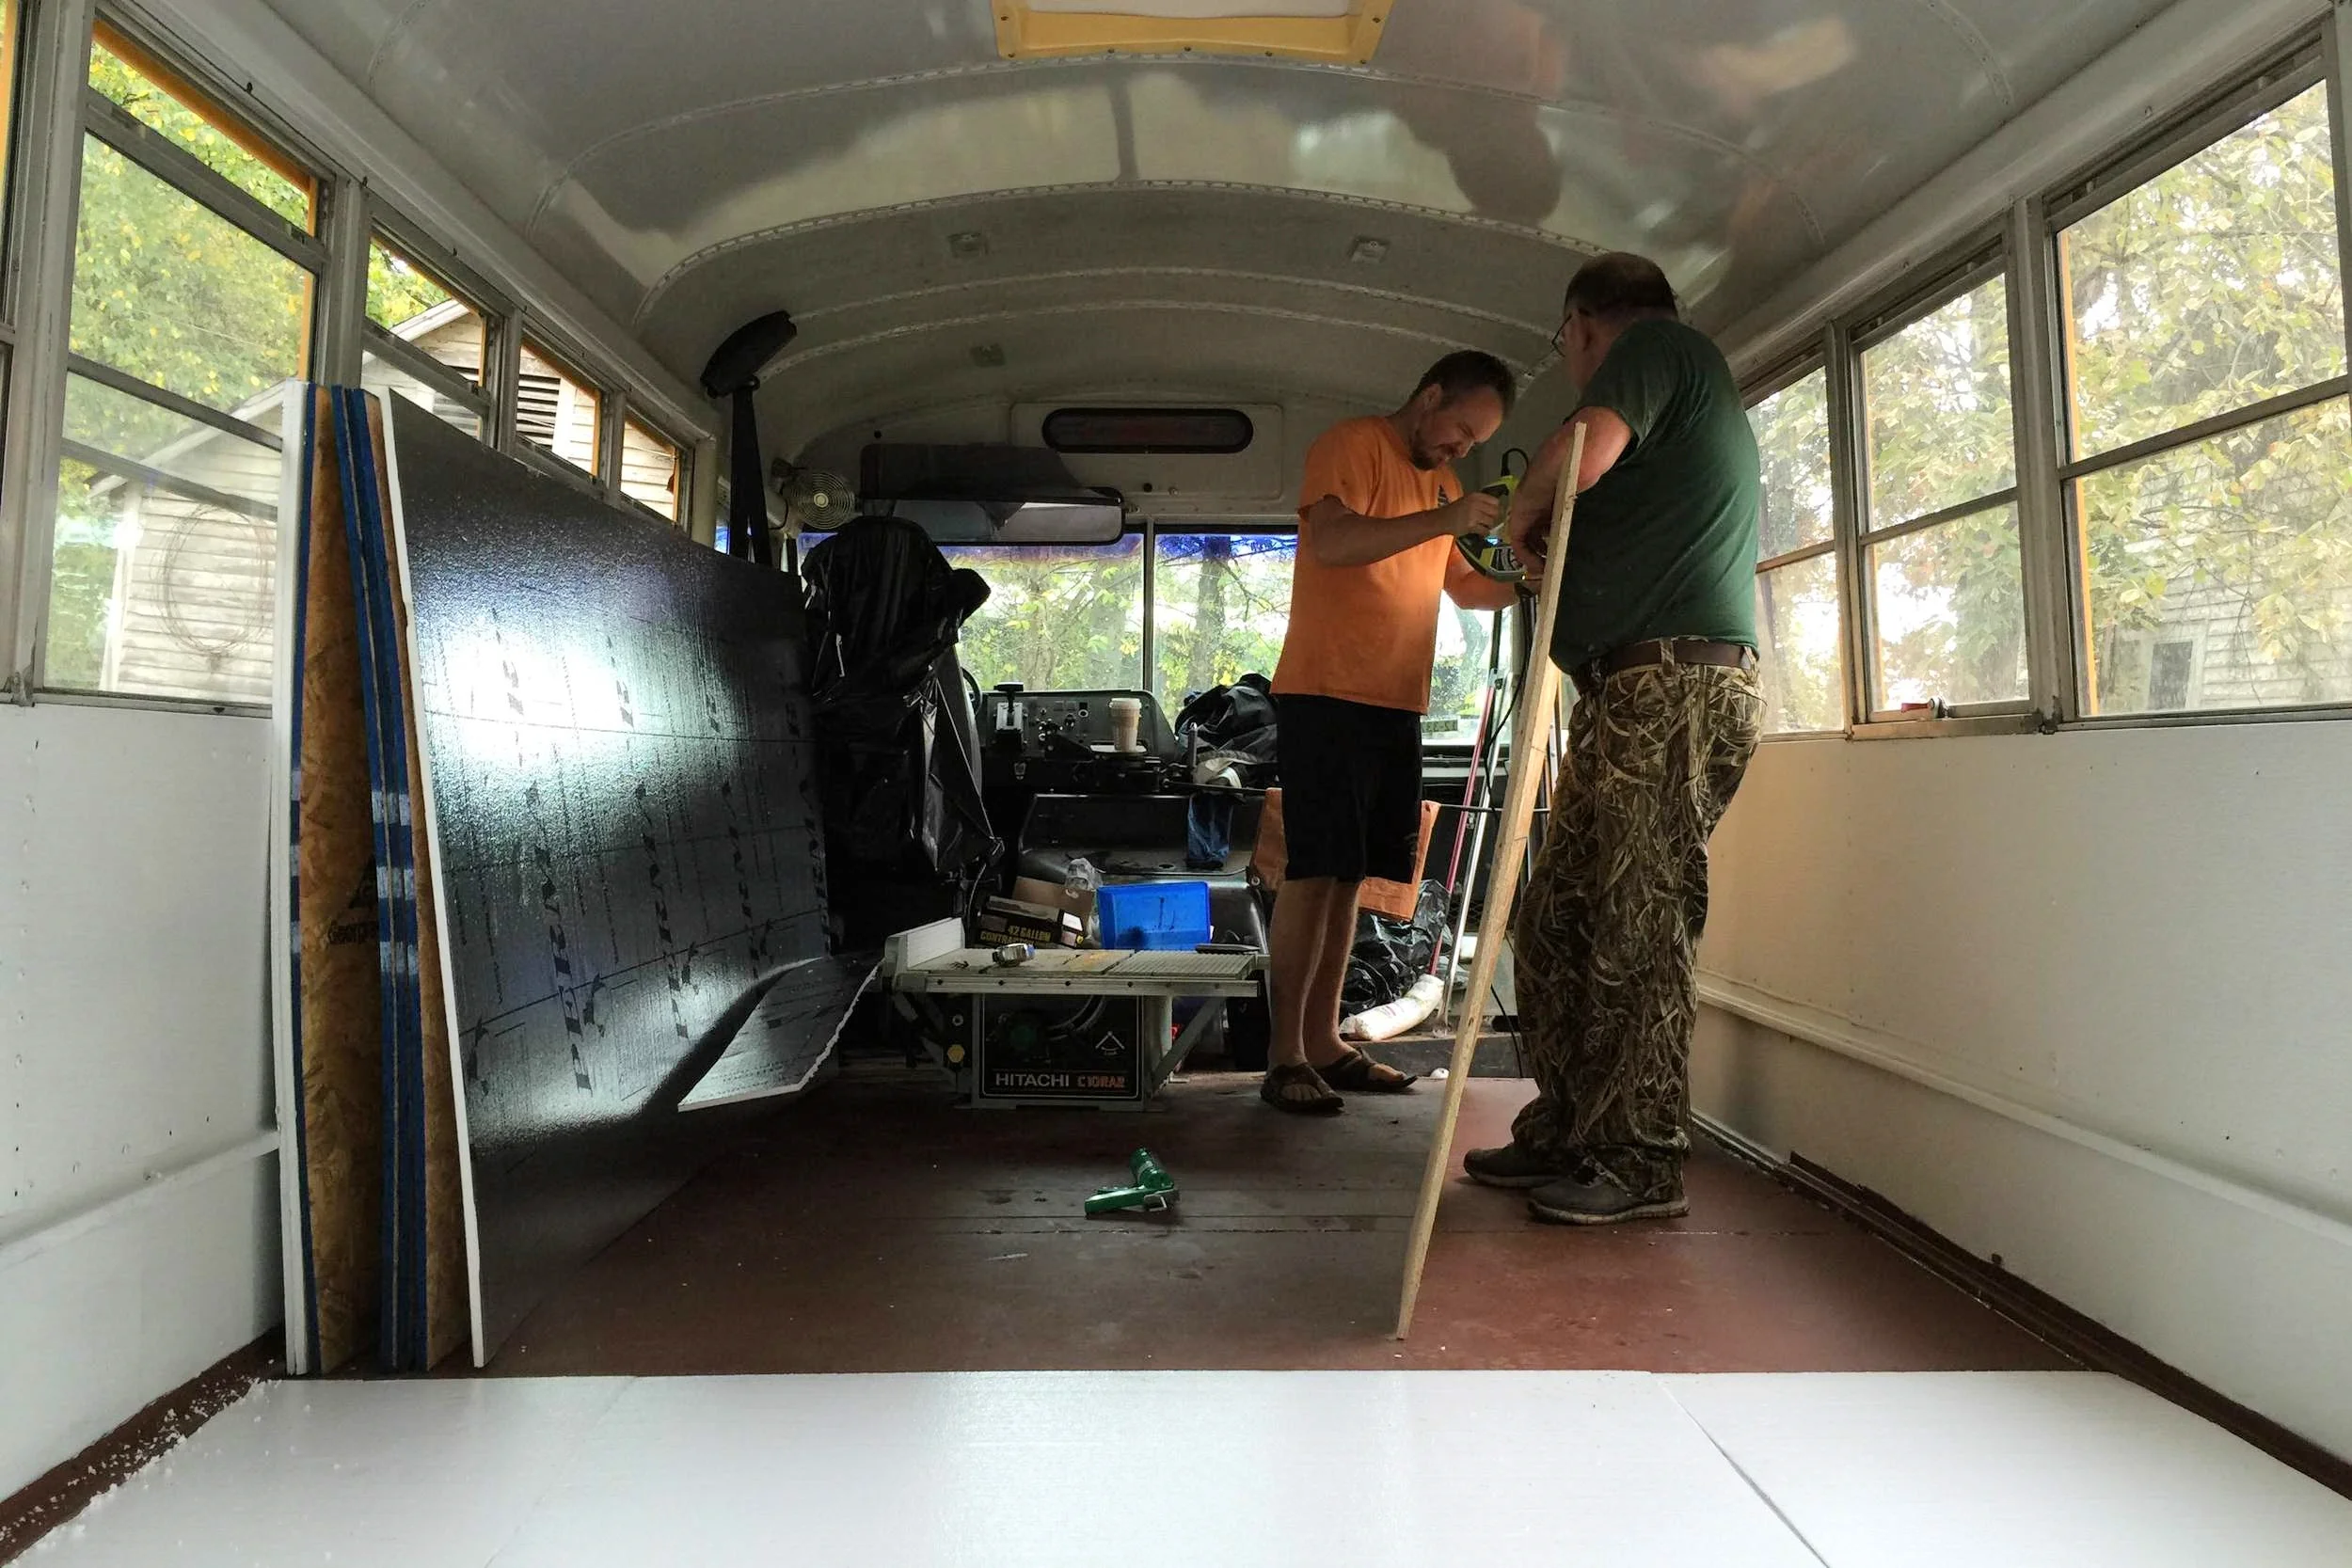
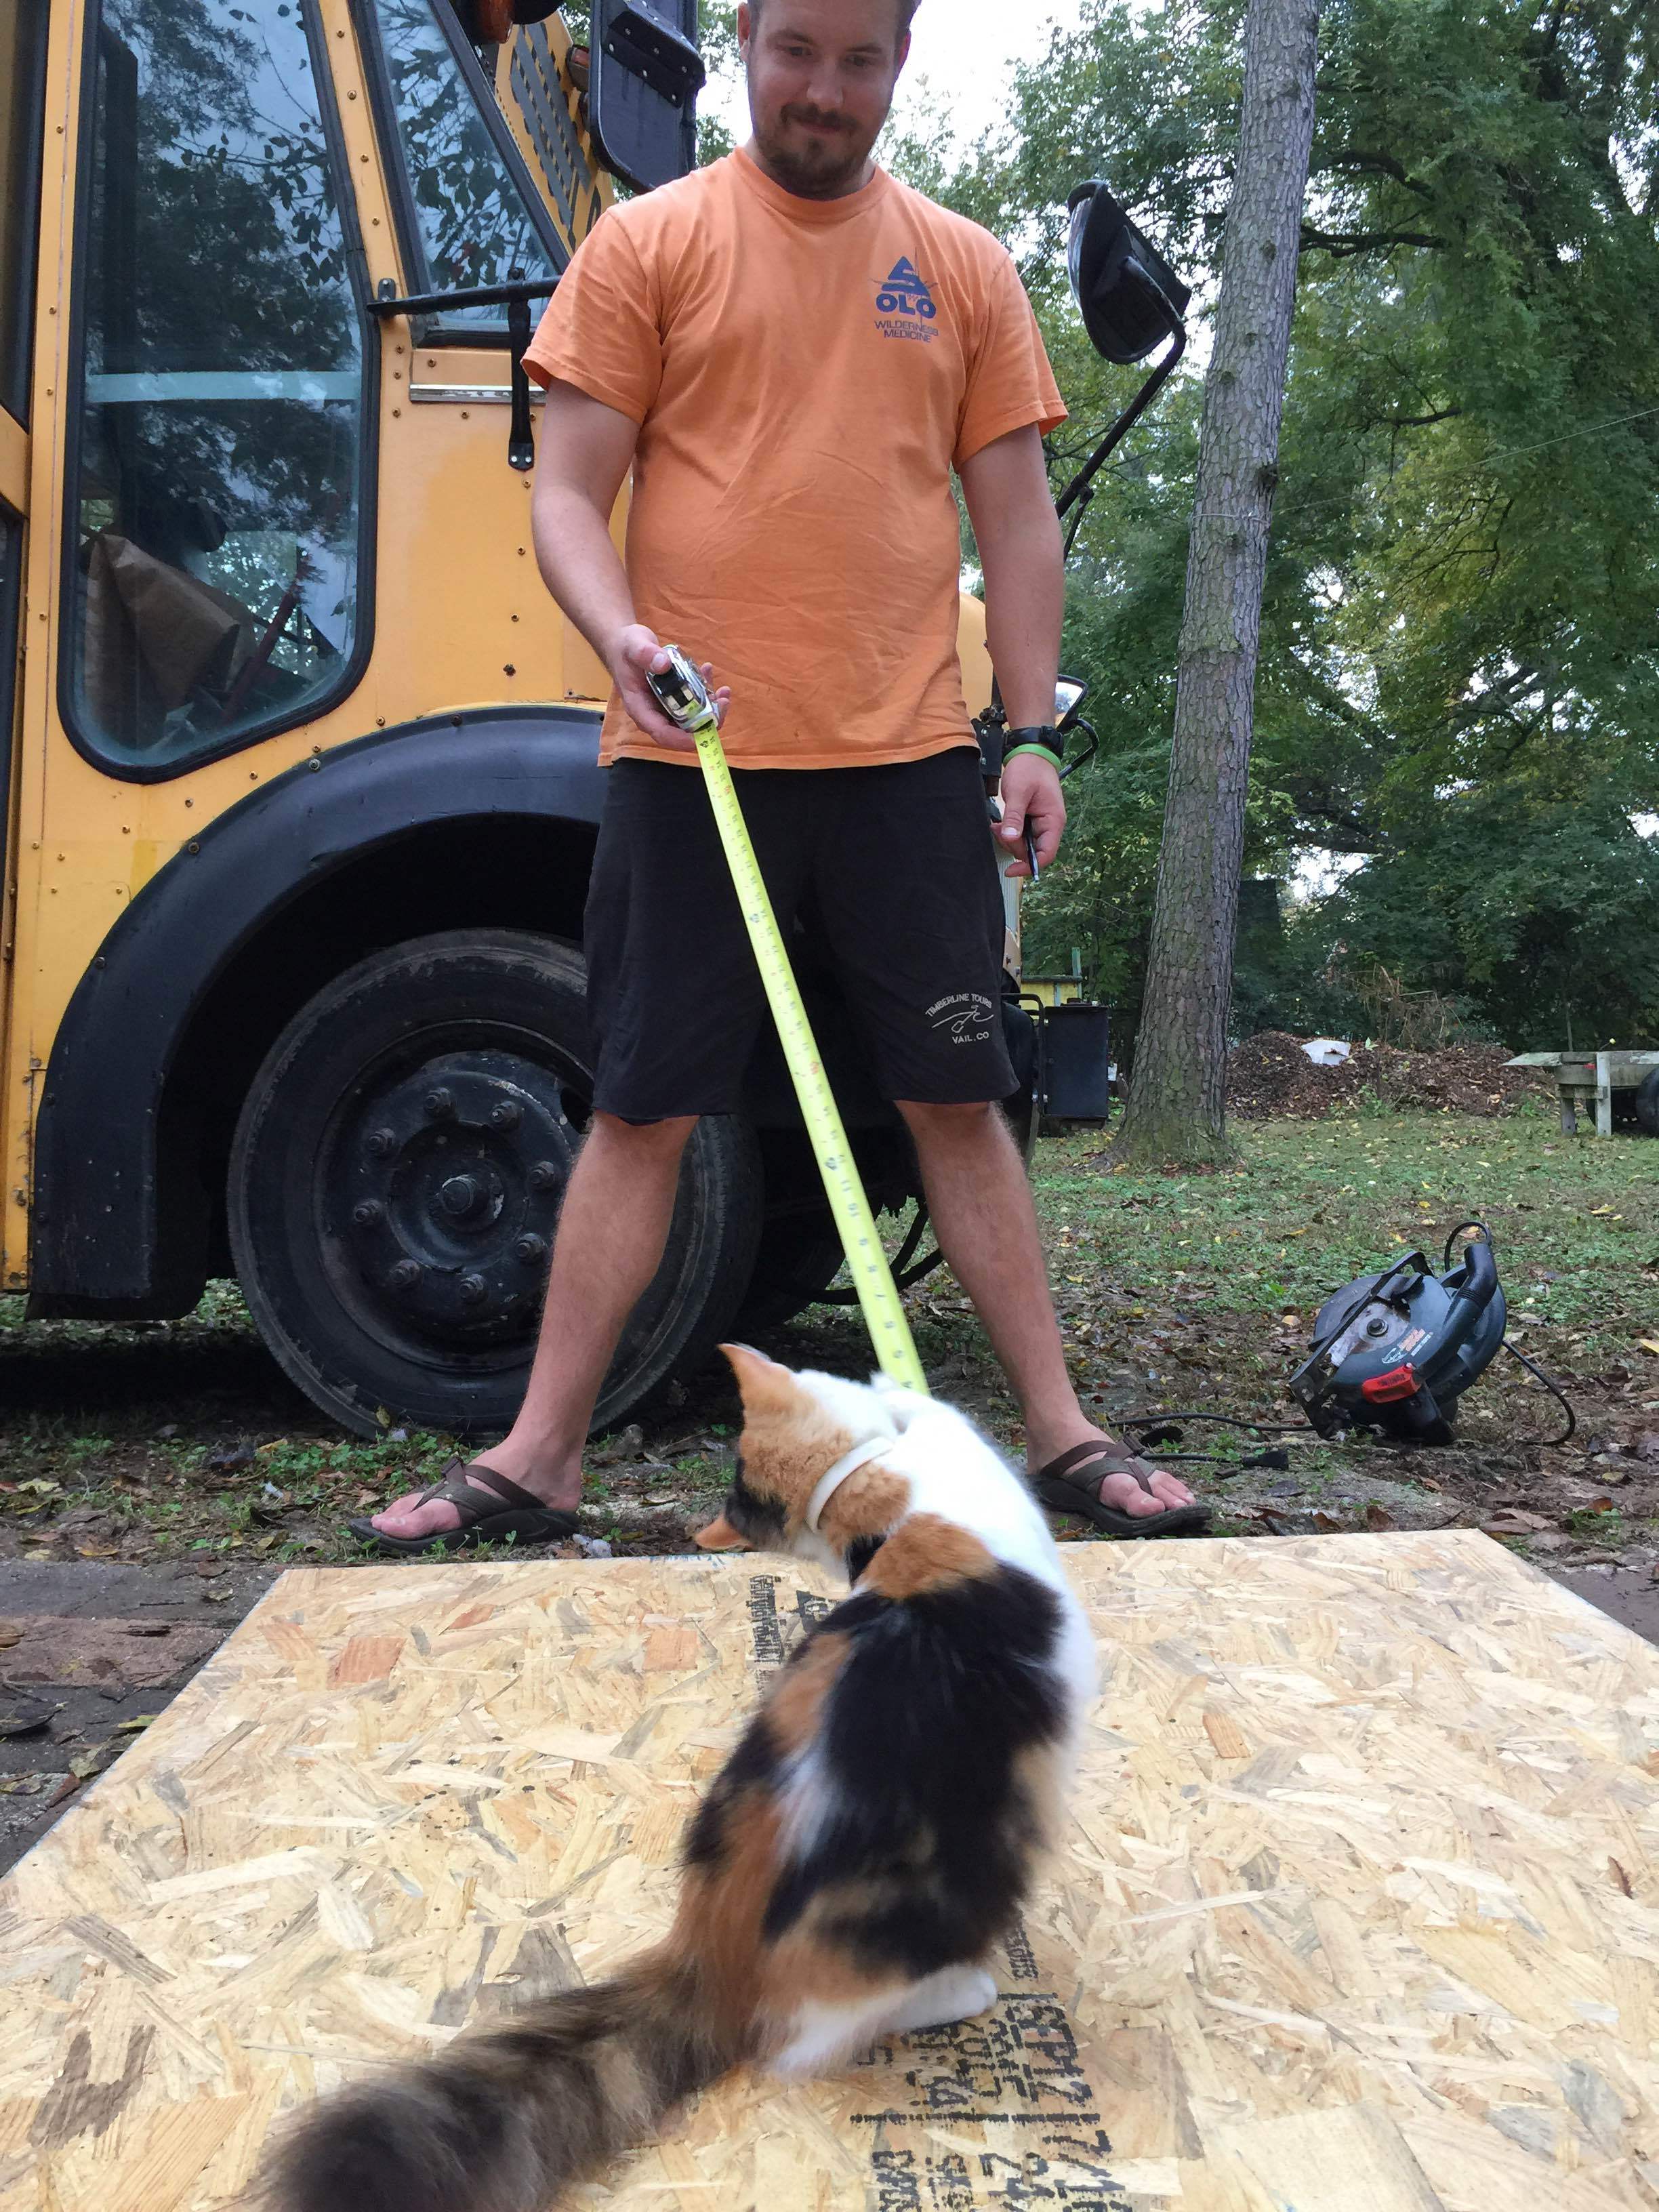
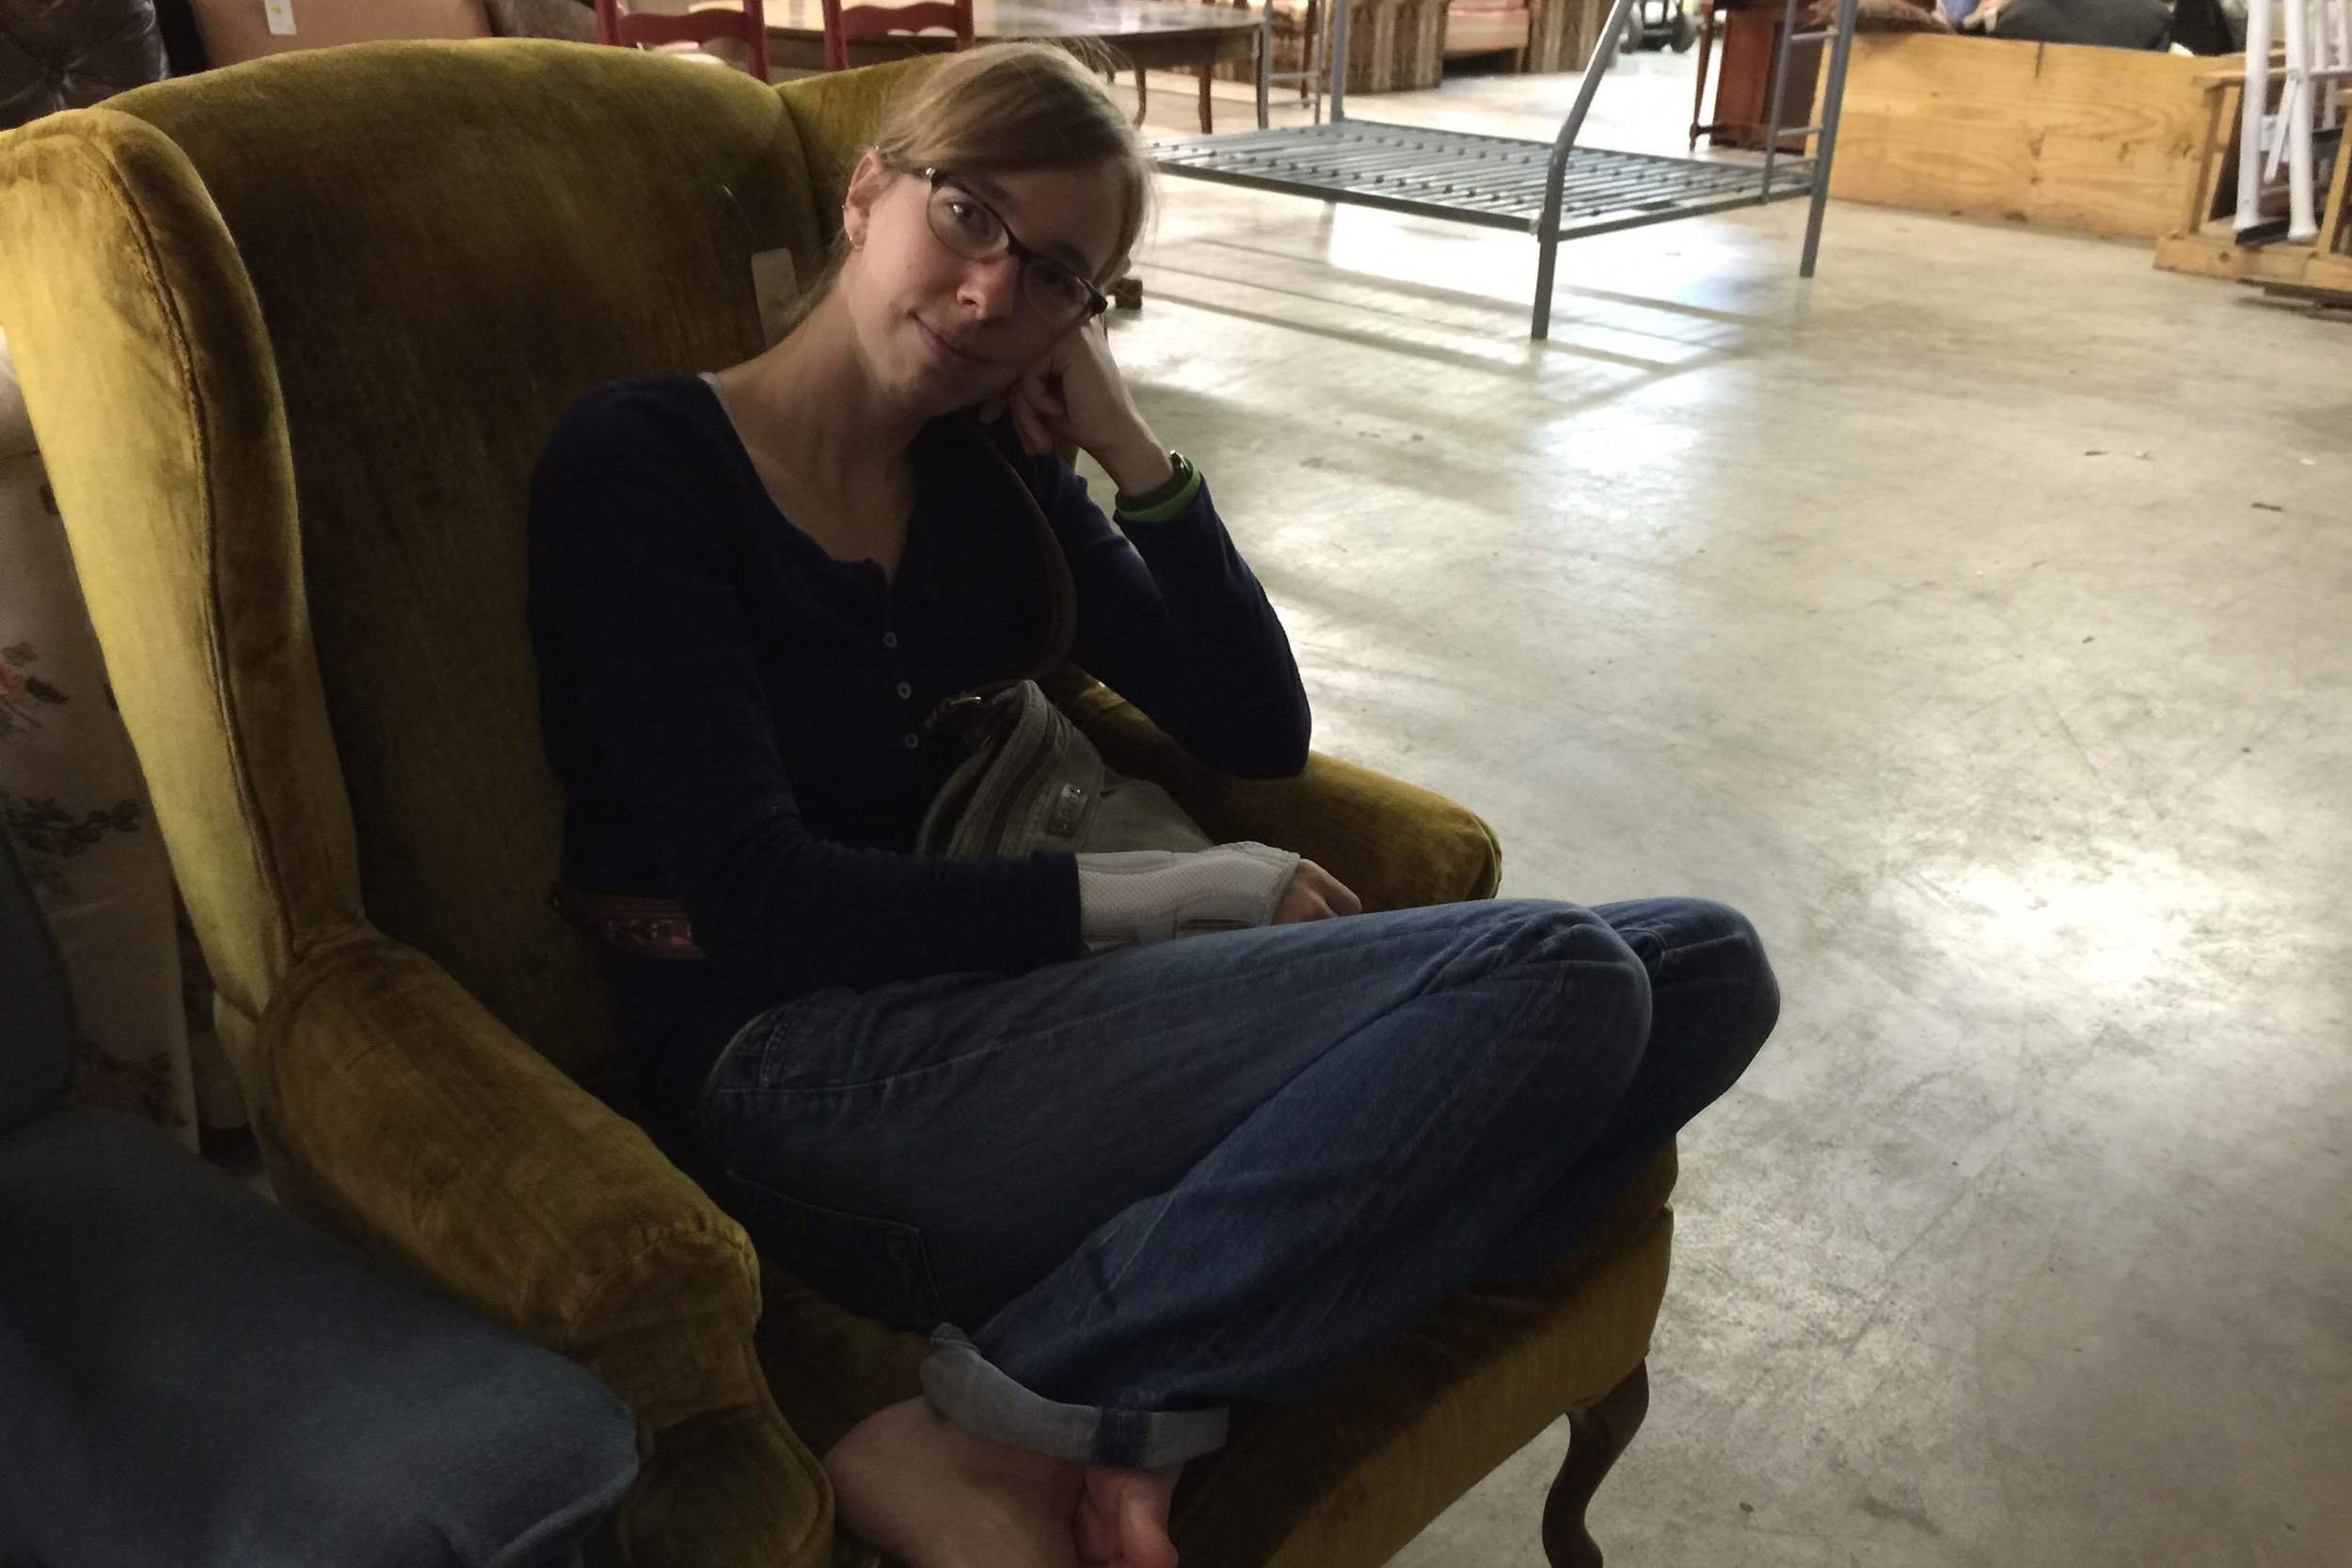
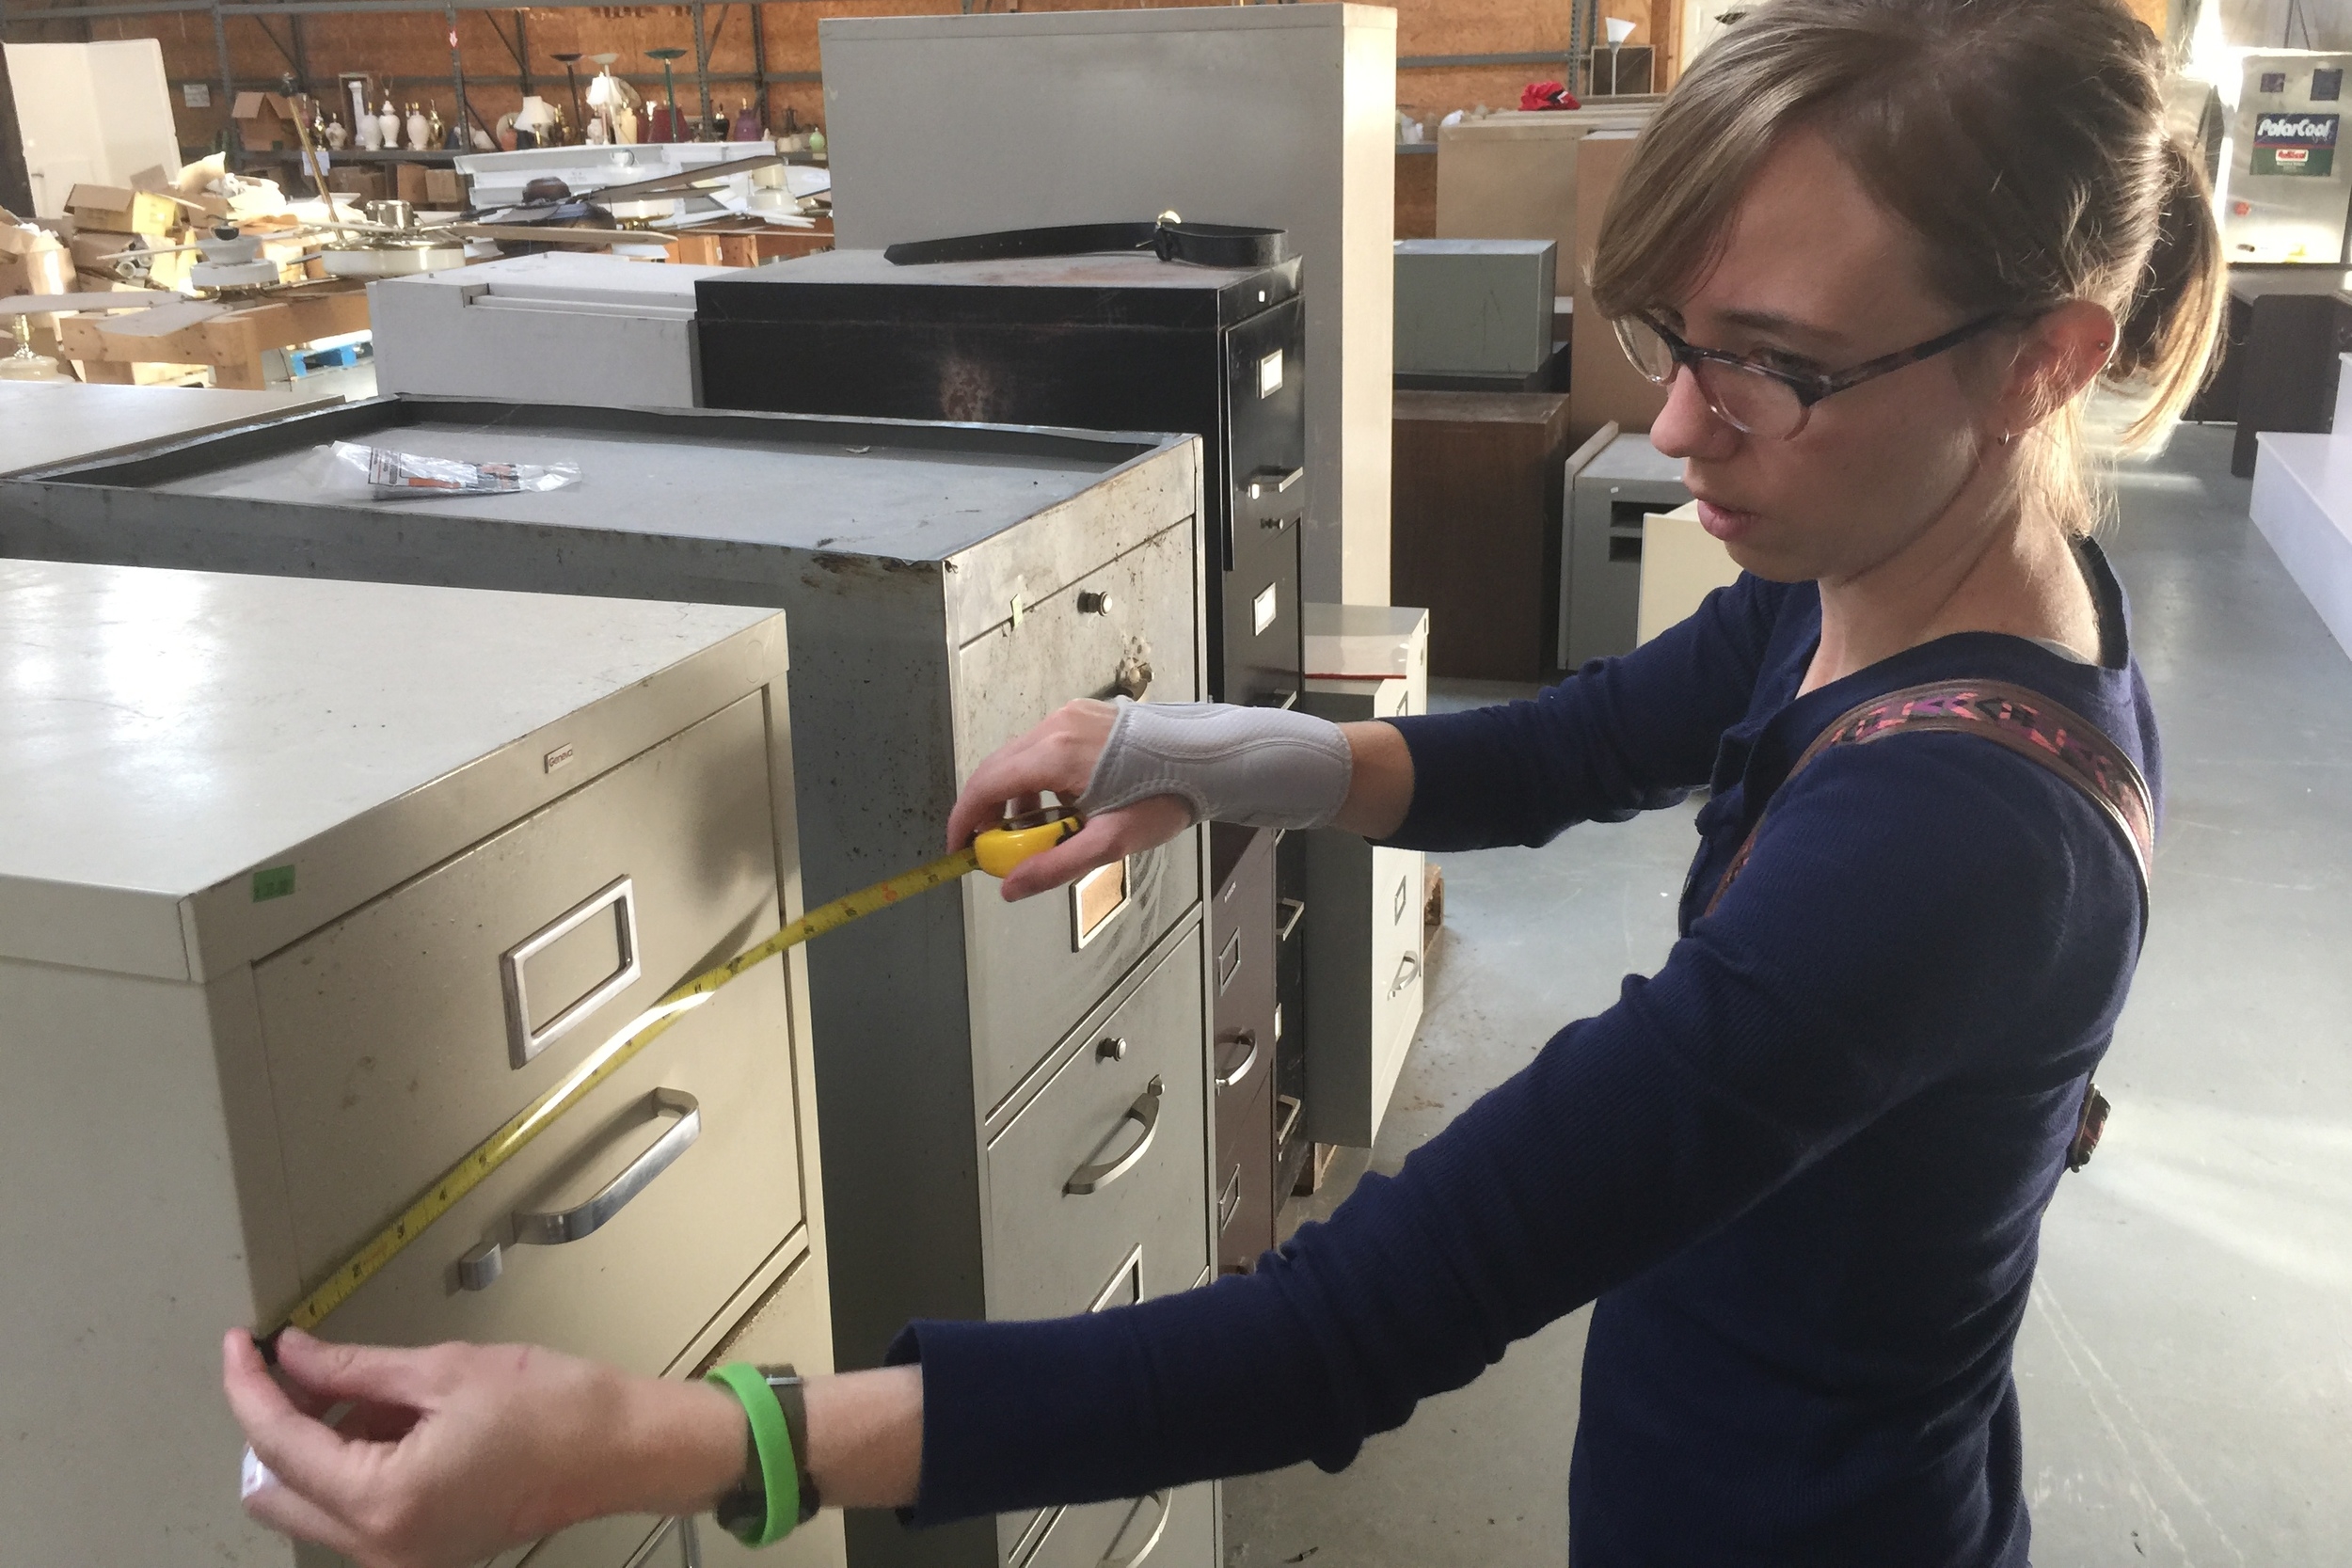
It's important to keep the supervisor happy, which sometimes means breaks to play with measuring tapes.

Christian let Willie show him how to cut a straight line with a skill saw.
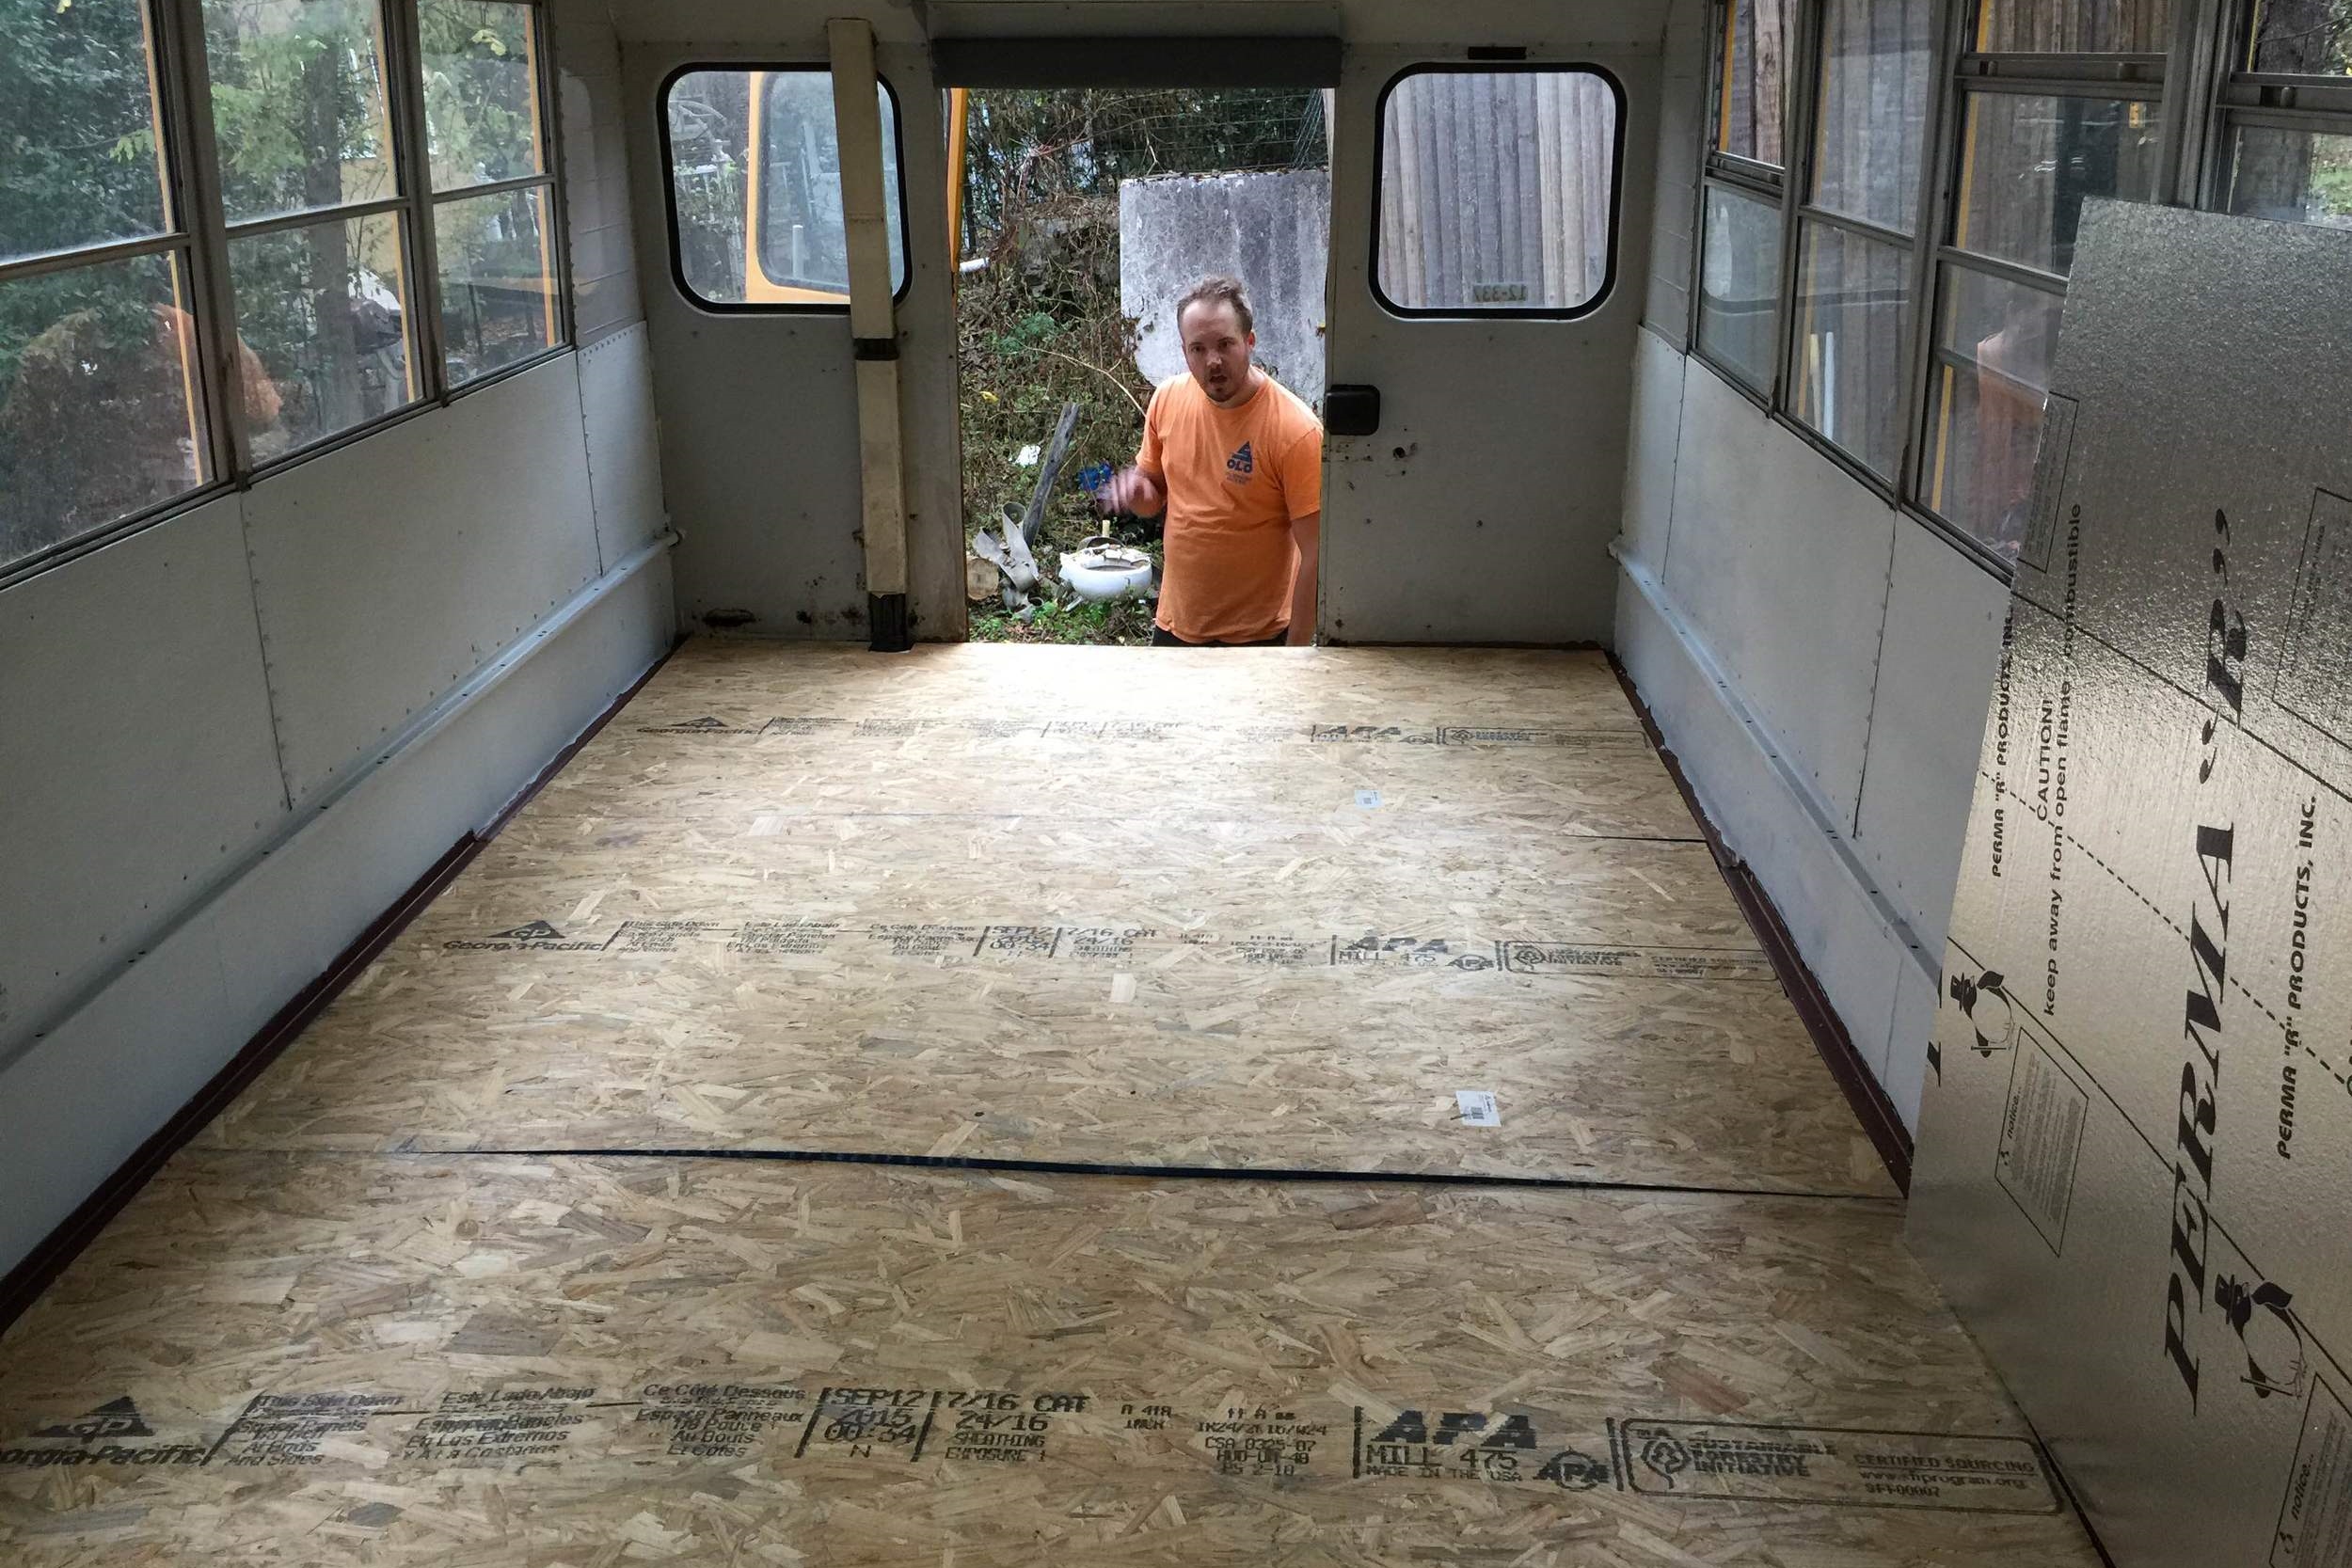
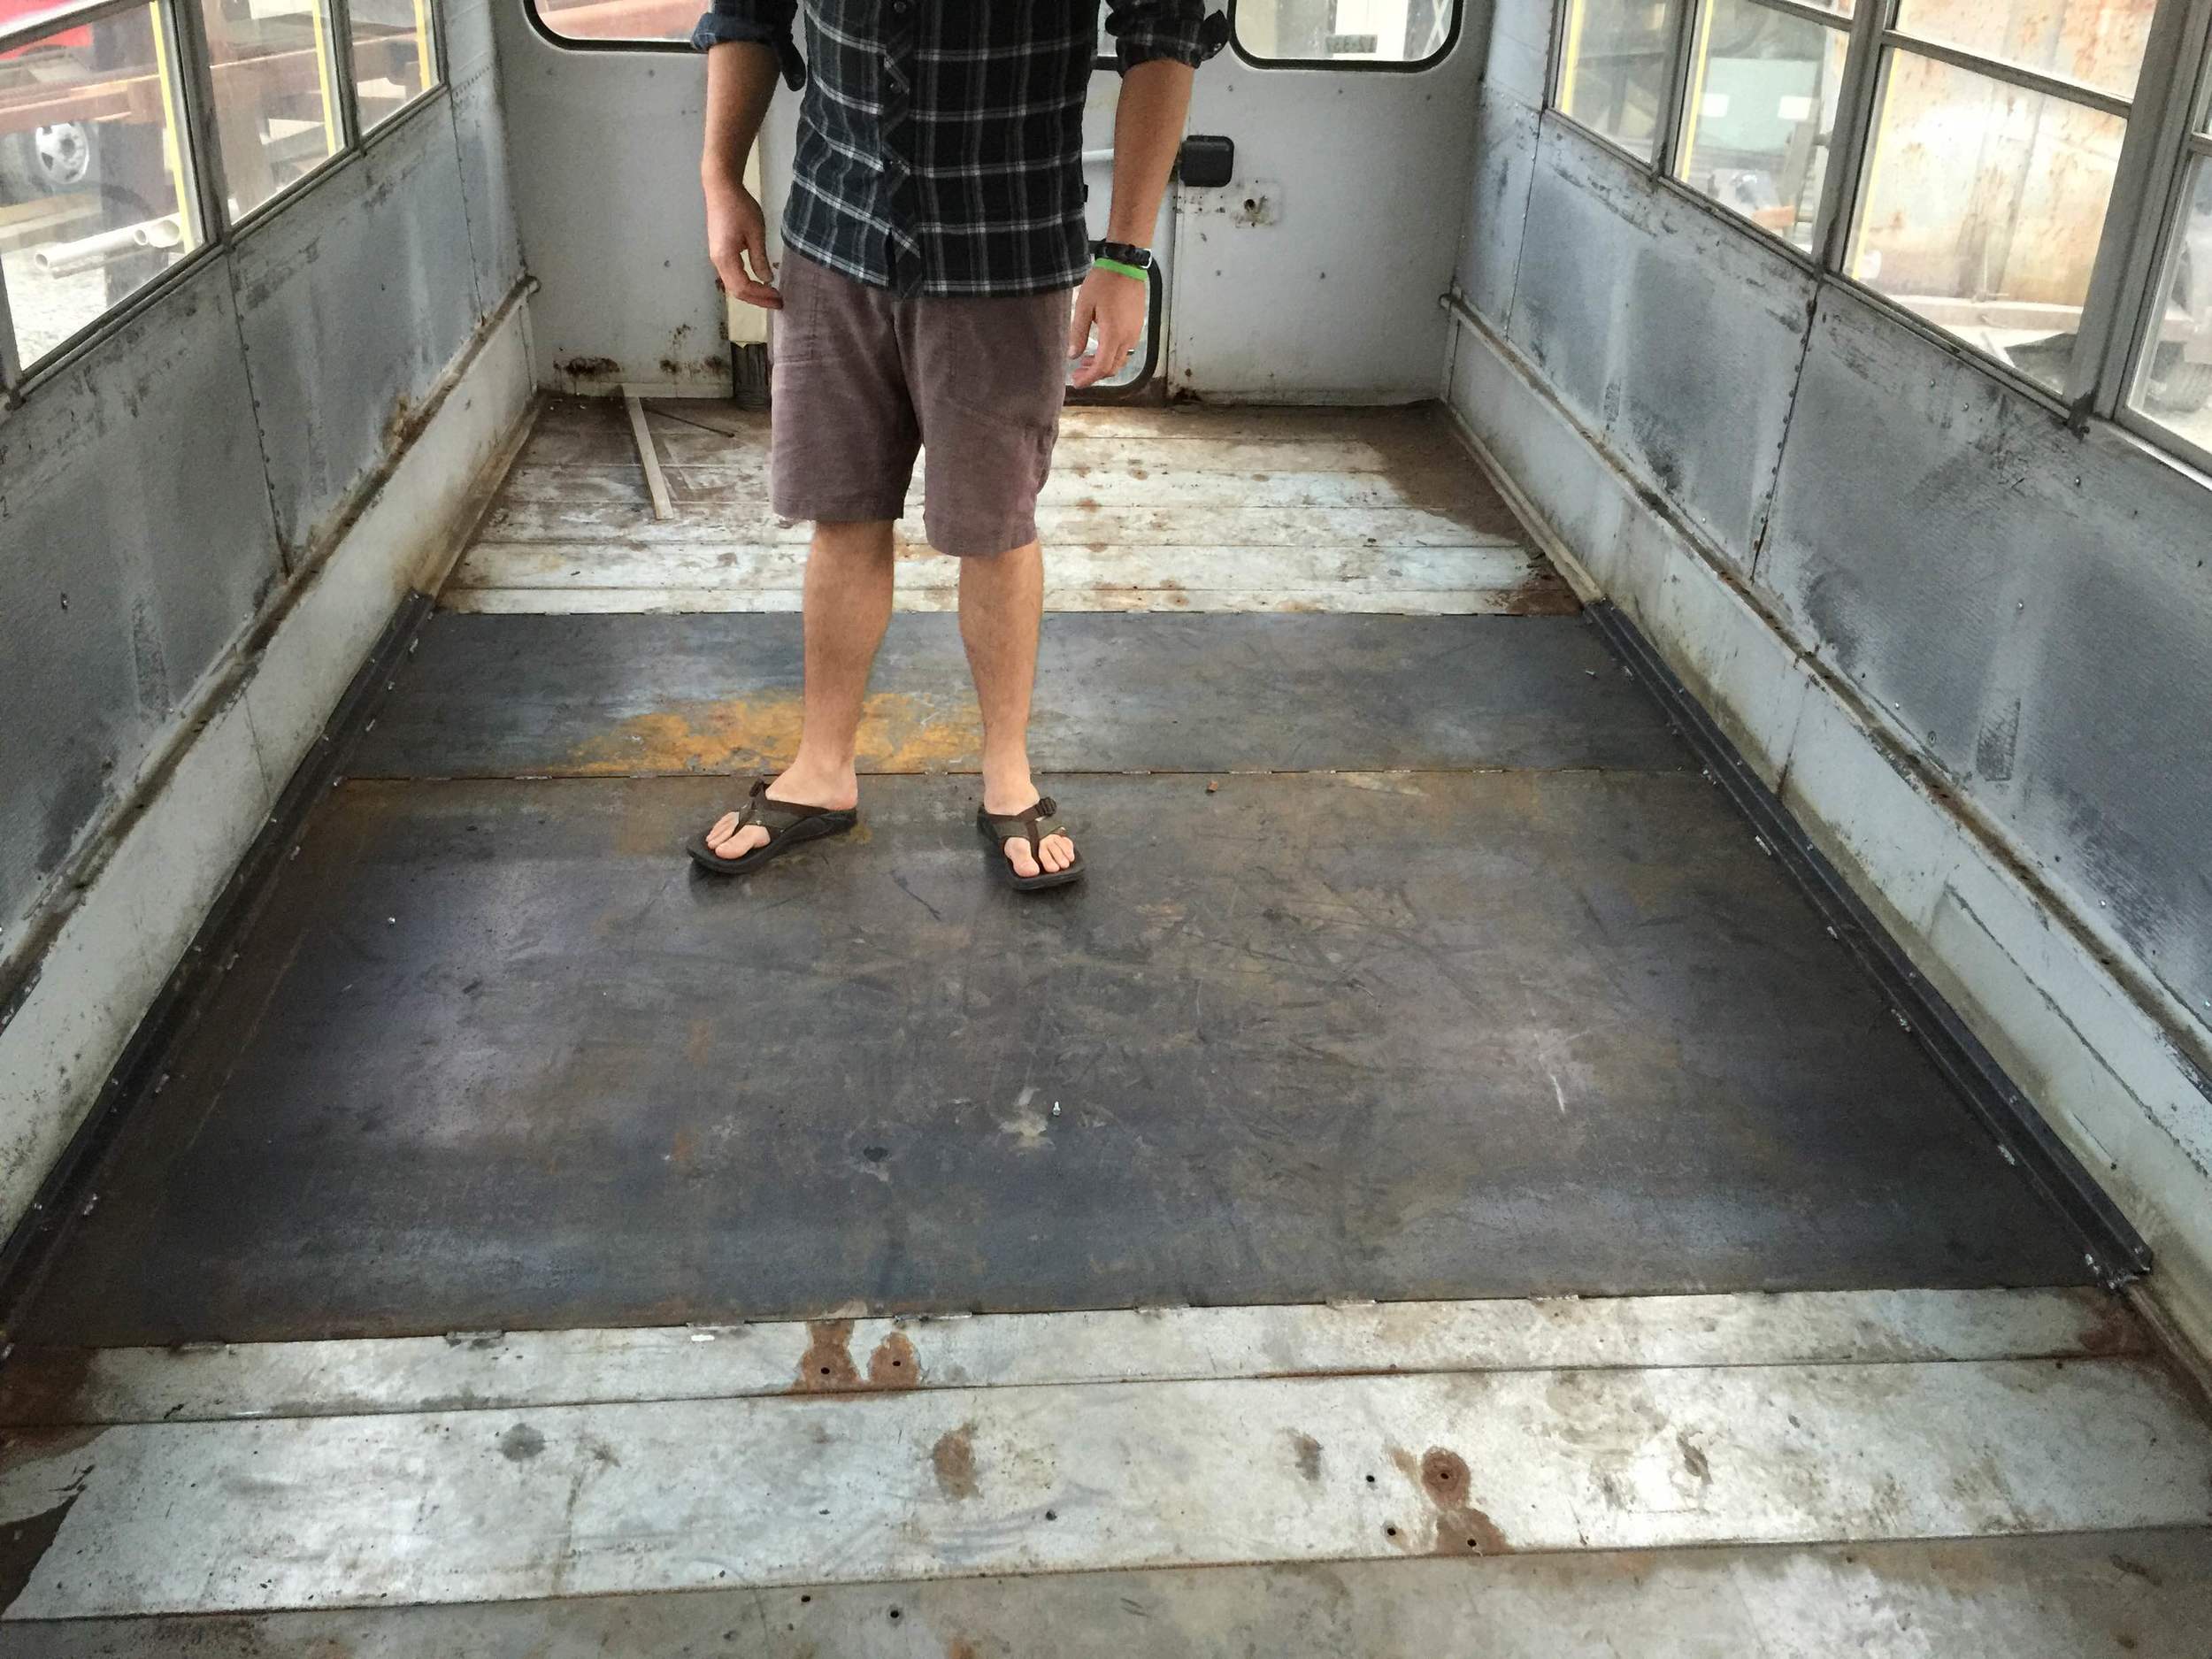
Flooring in and waiting to be attached via self-tapping screws!

Today was the first day we truly worked into the darkness because we had set ourselves the goal of getting all of the flooring down and the kitchen moved into place.
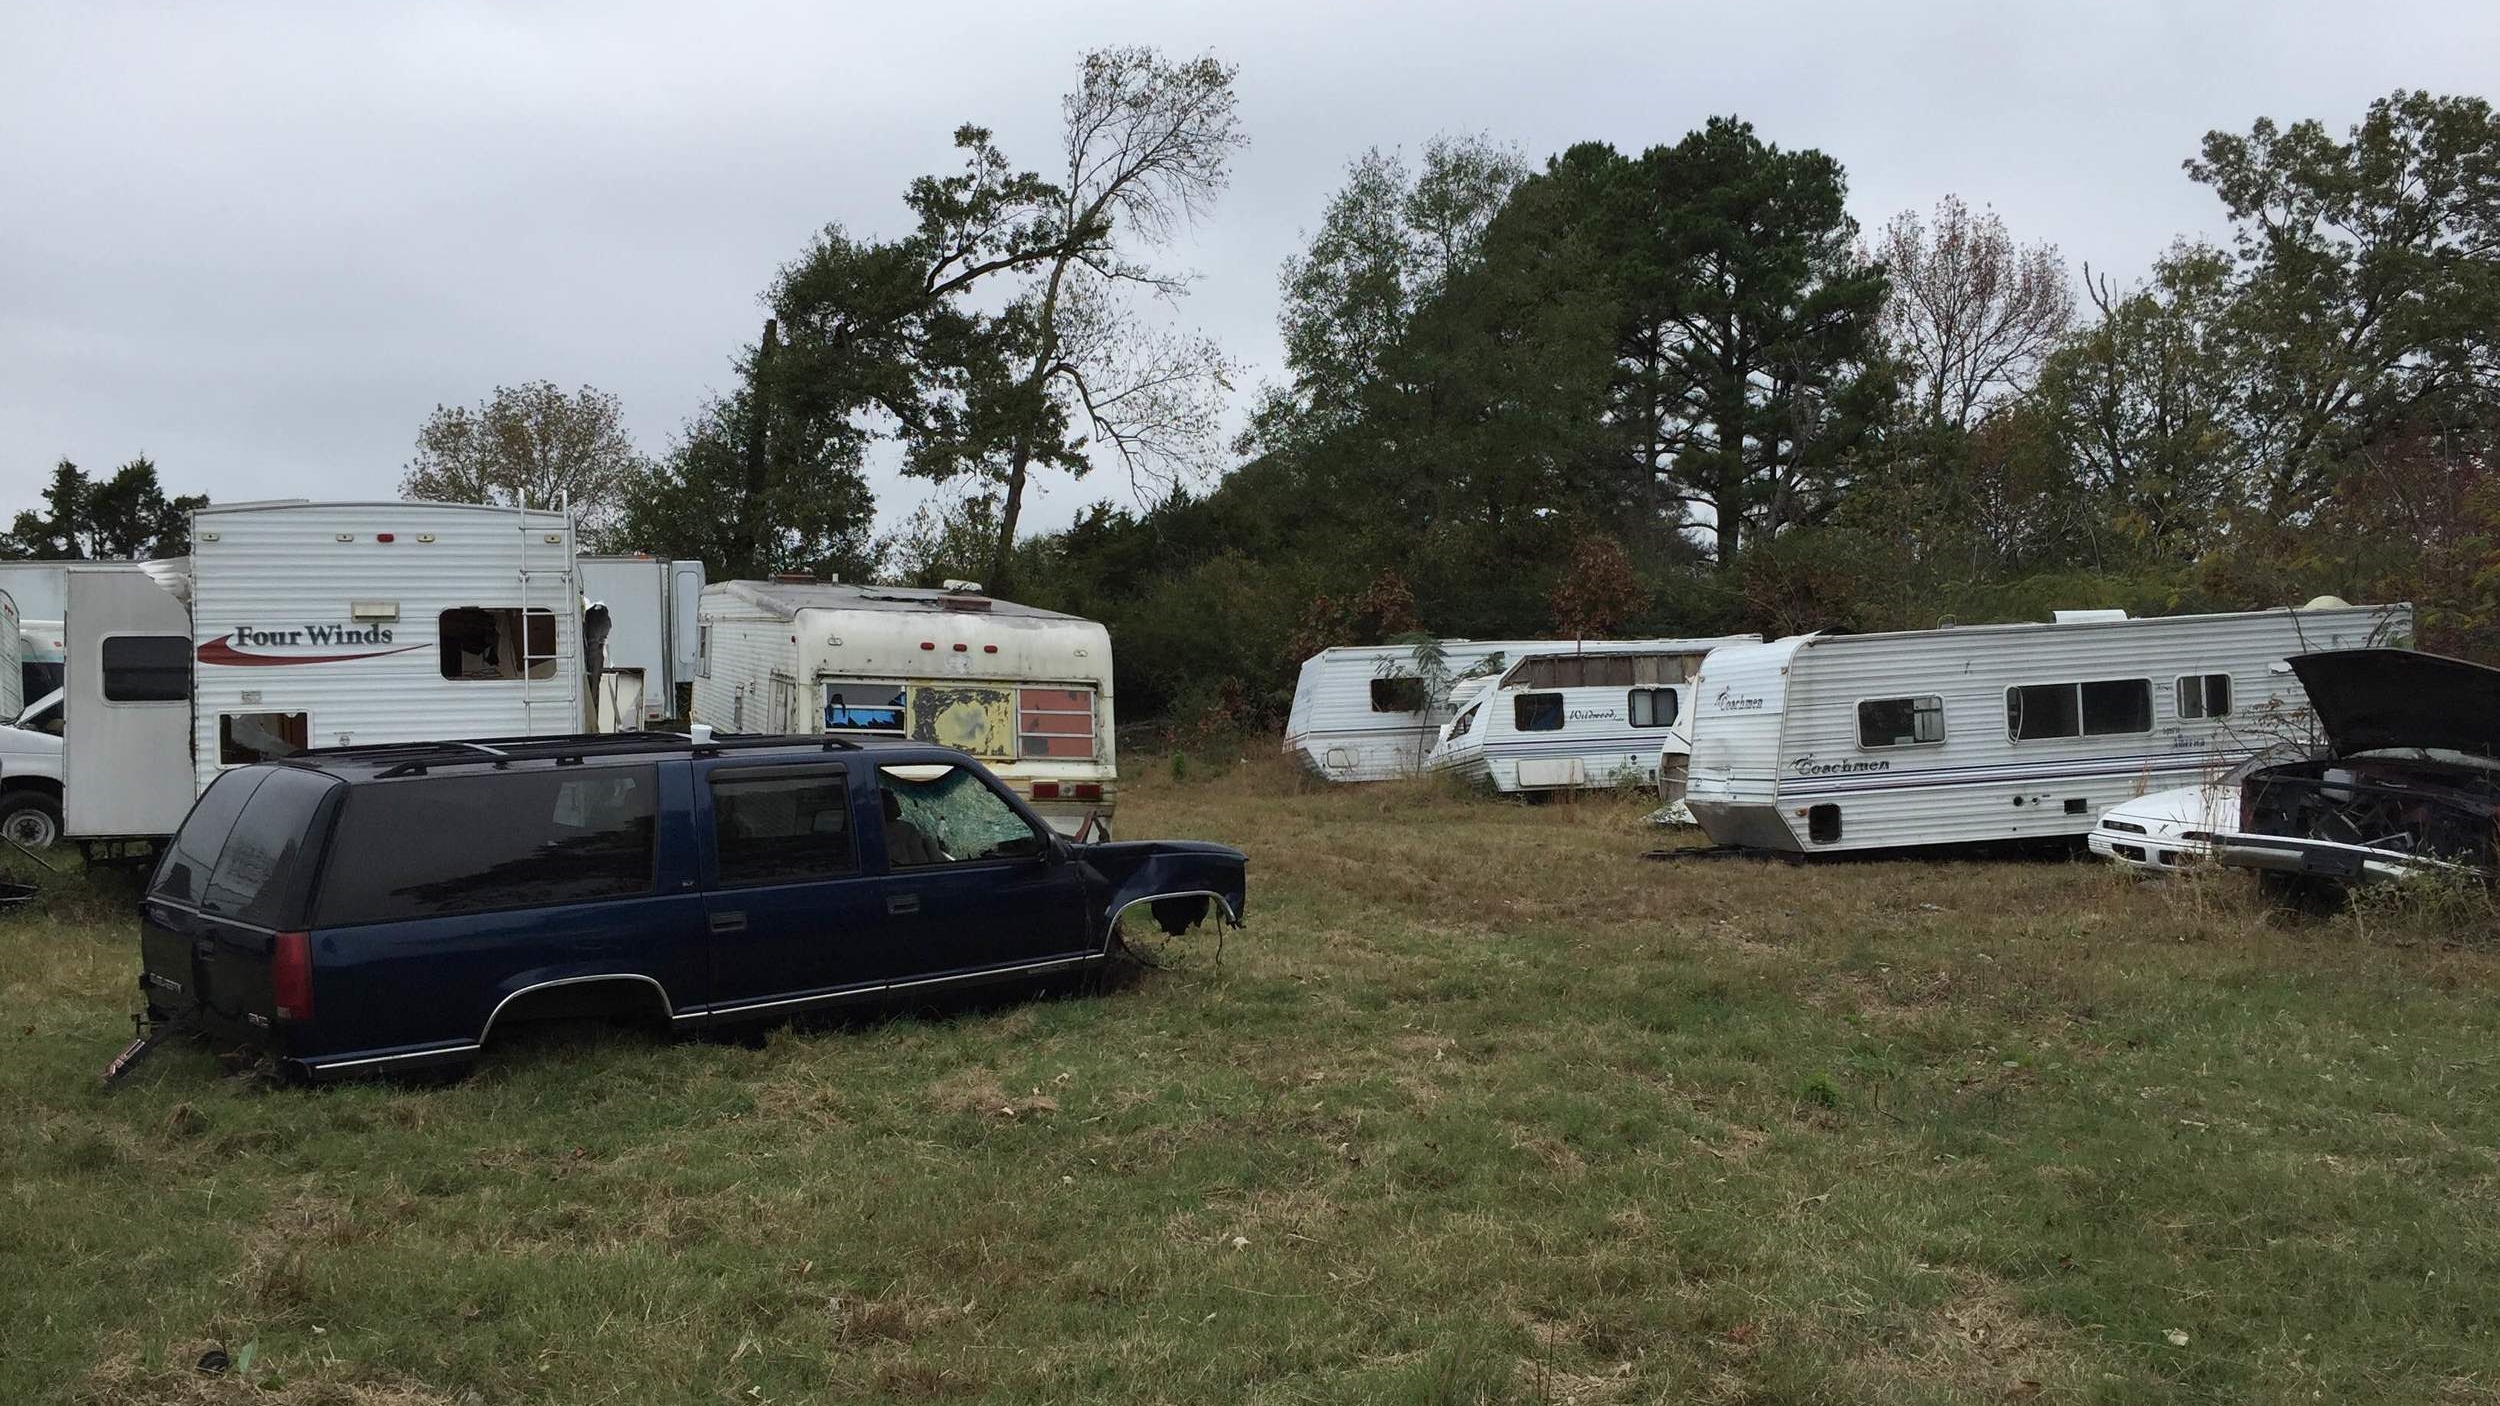
Once we were done attaching the flooring, we wanted to get the kitchen in, but between the two of us it was just too heavy to lug hundreds of feet from the Campbulance parked in front of the house to the back where Stubbs was. Our solution was an empty lot across the street, where we were able to back the vehicles up to one another and simply lift the kitchen into the bus and slide it in with ease. What resulted was a pretty suspiciously odd exchange in a dark abandoned lot.
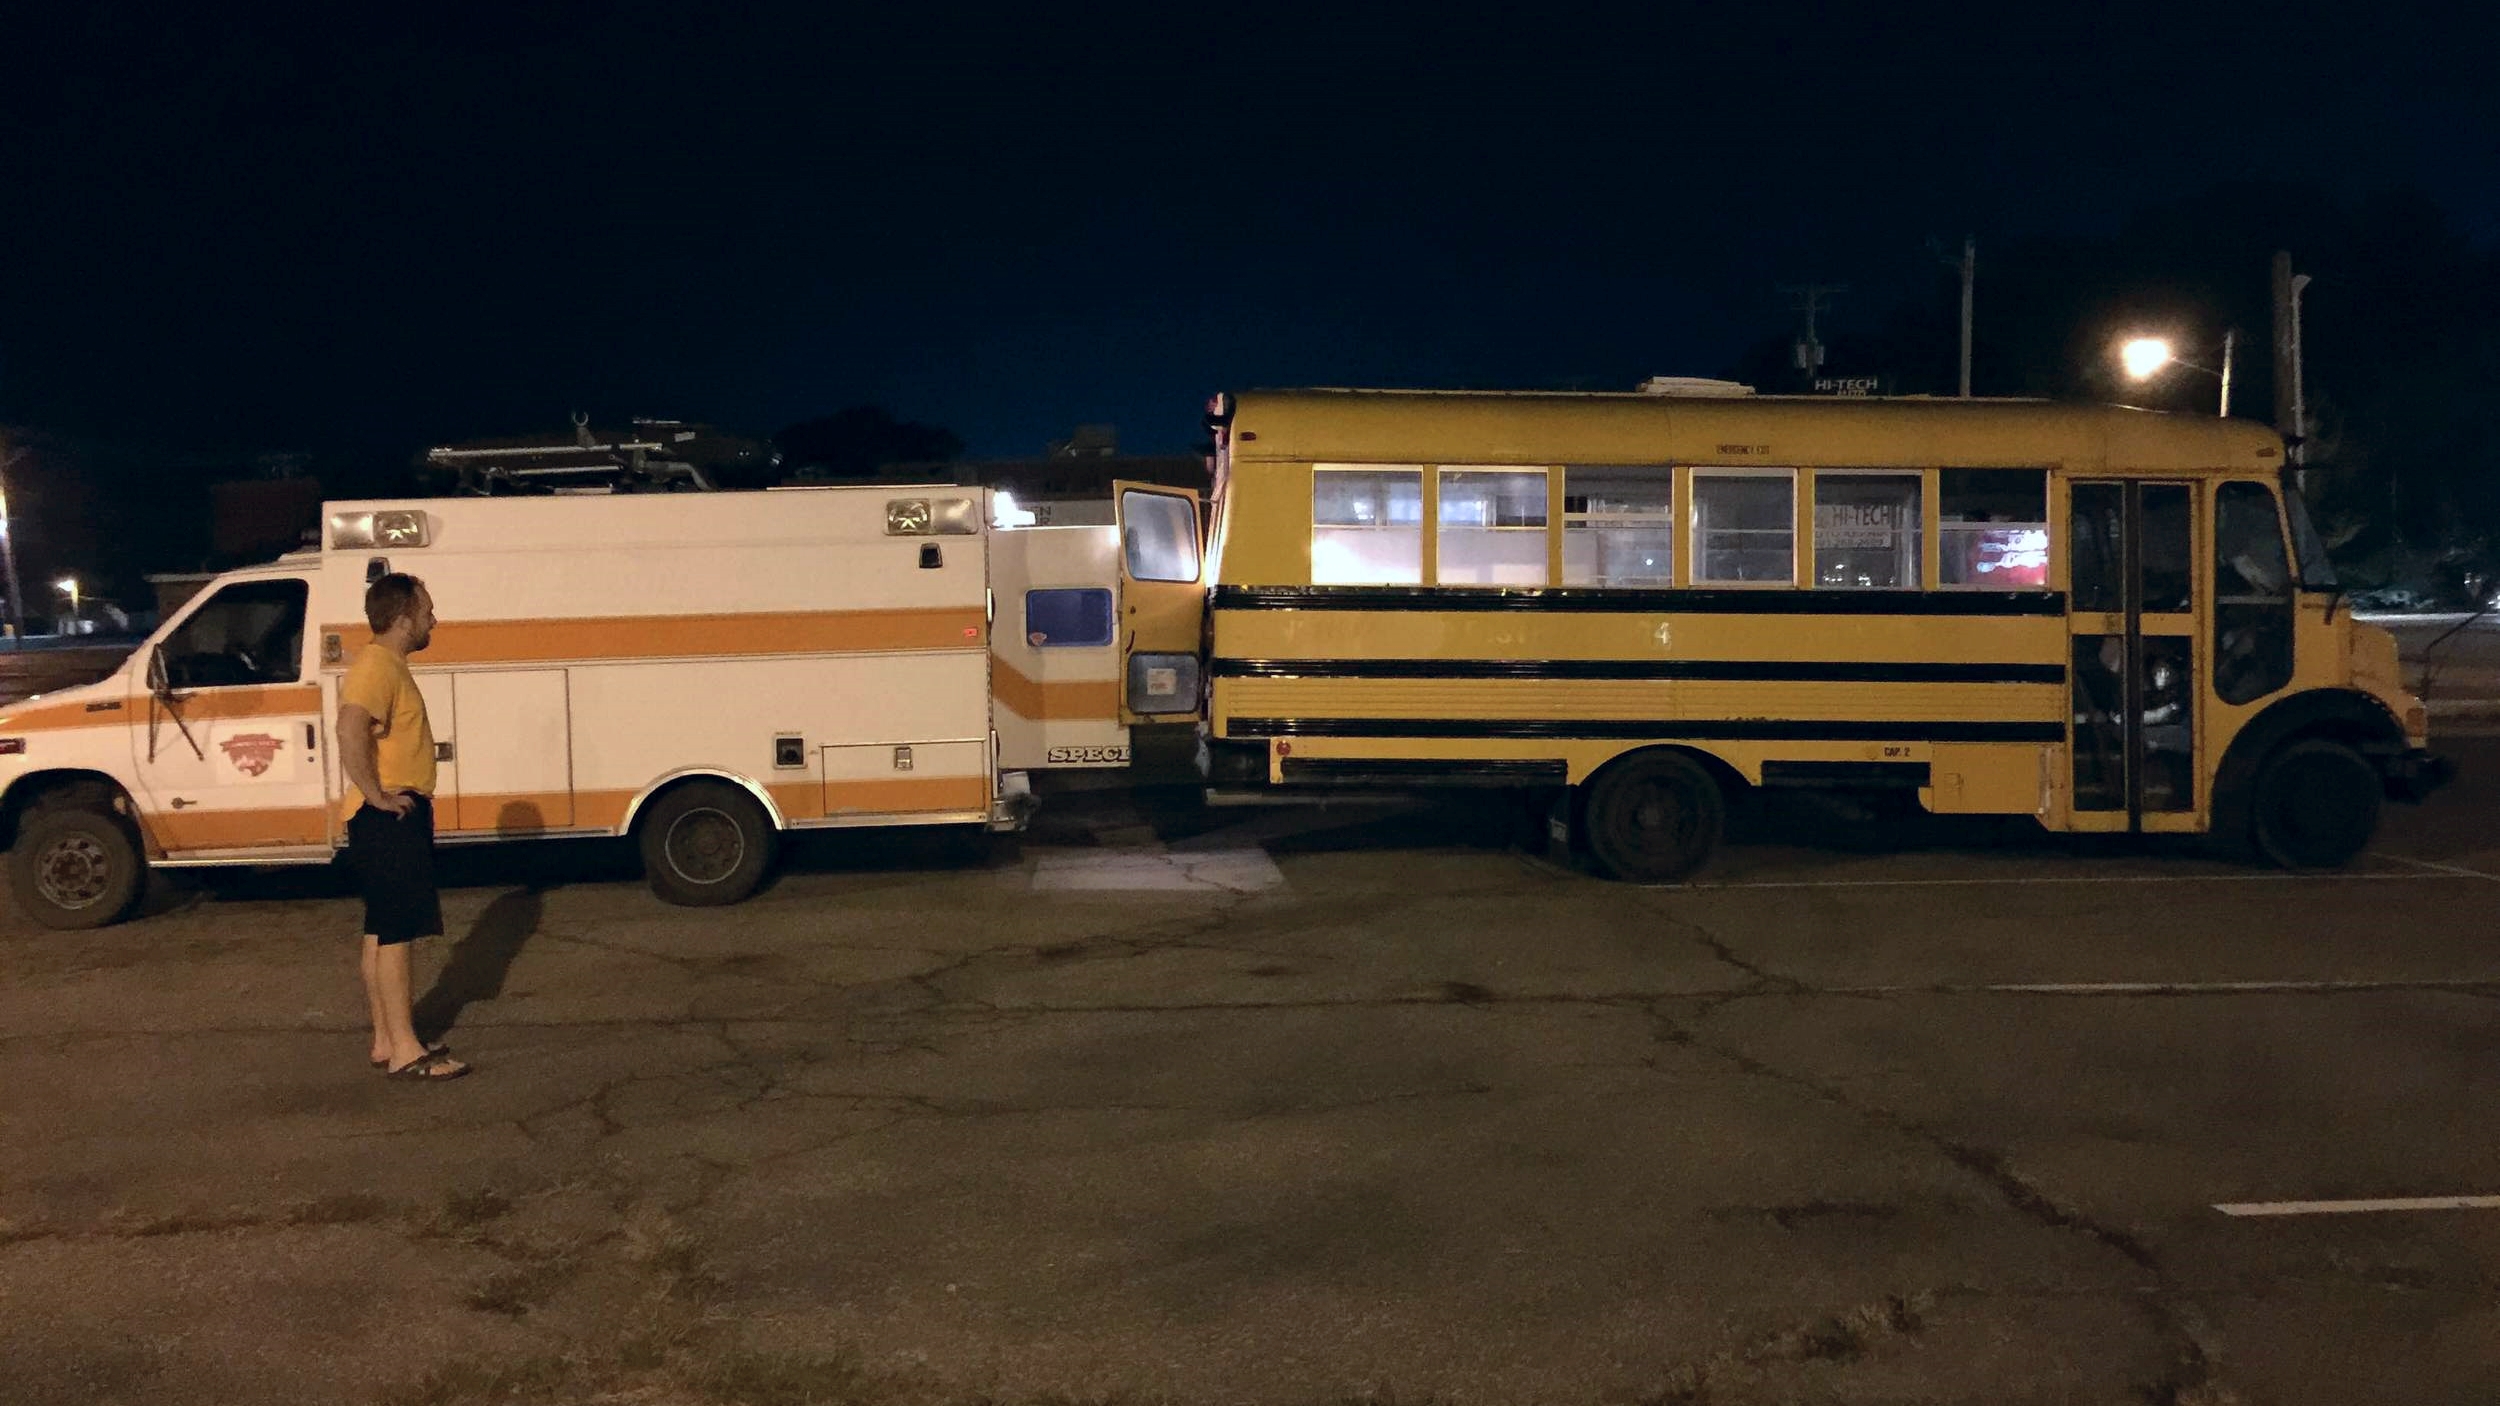
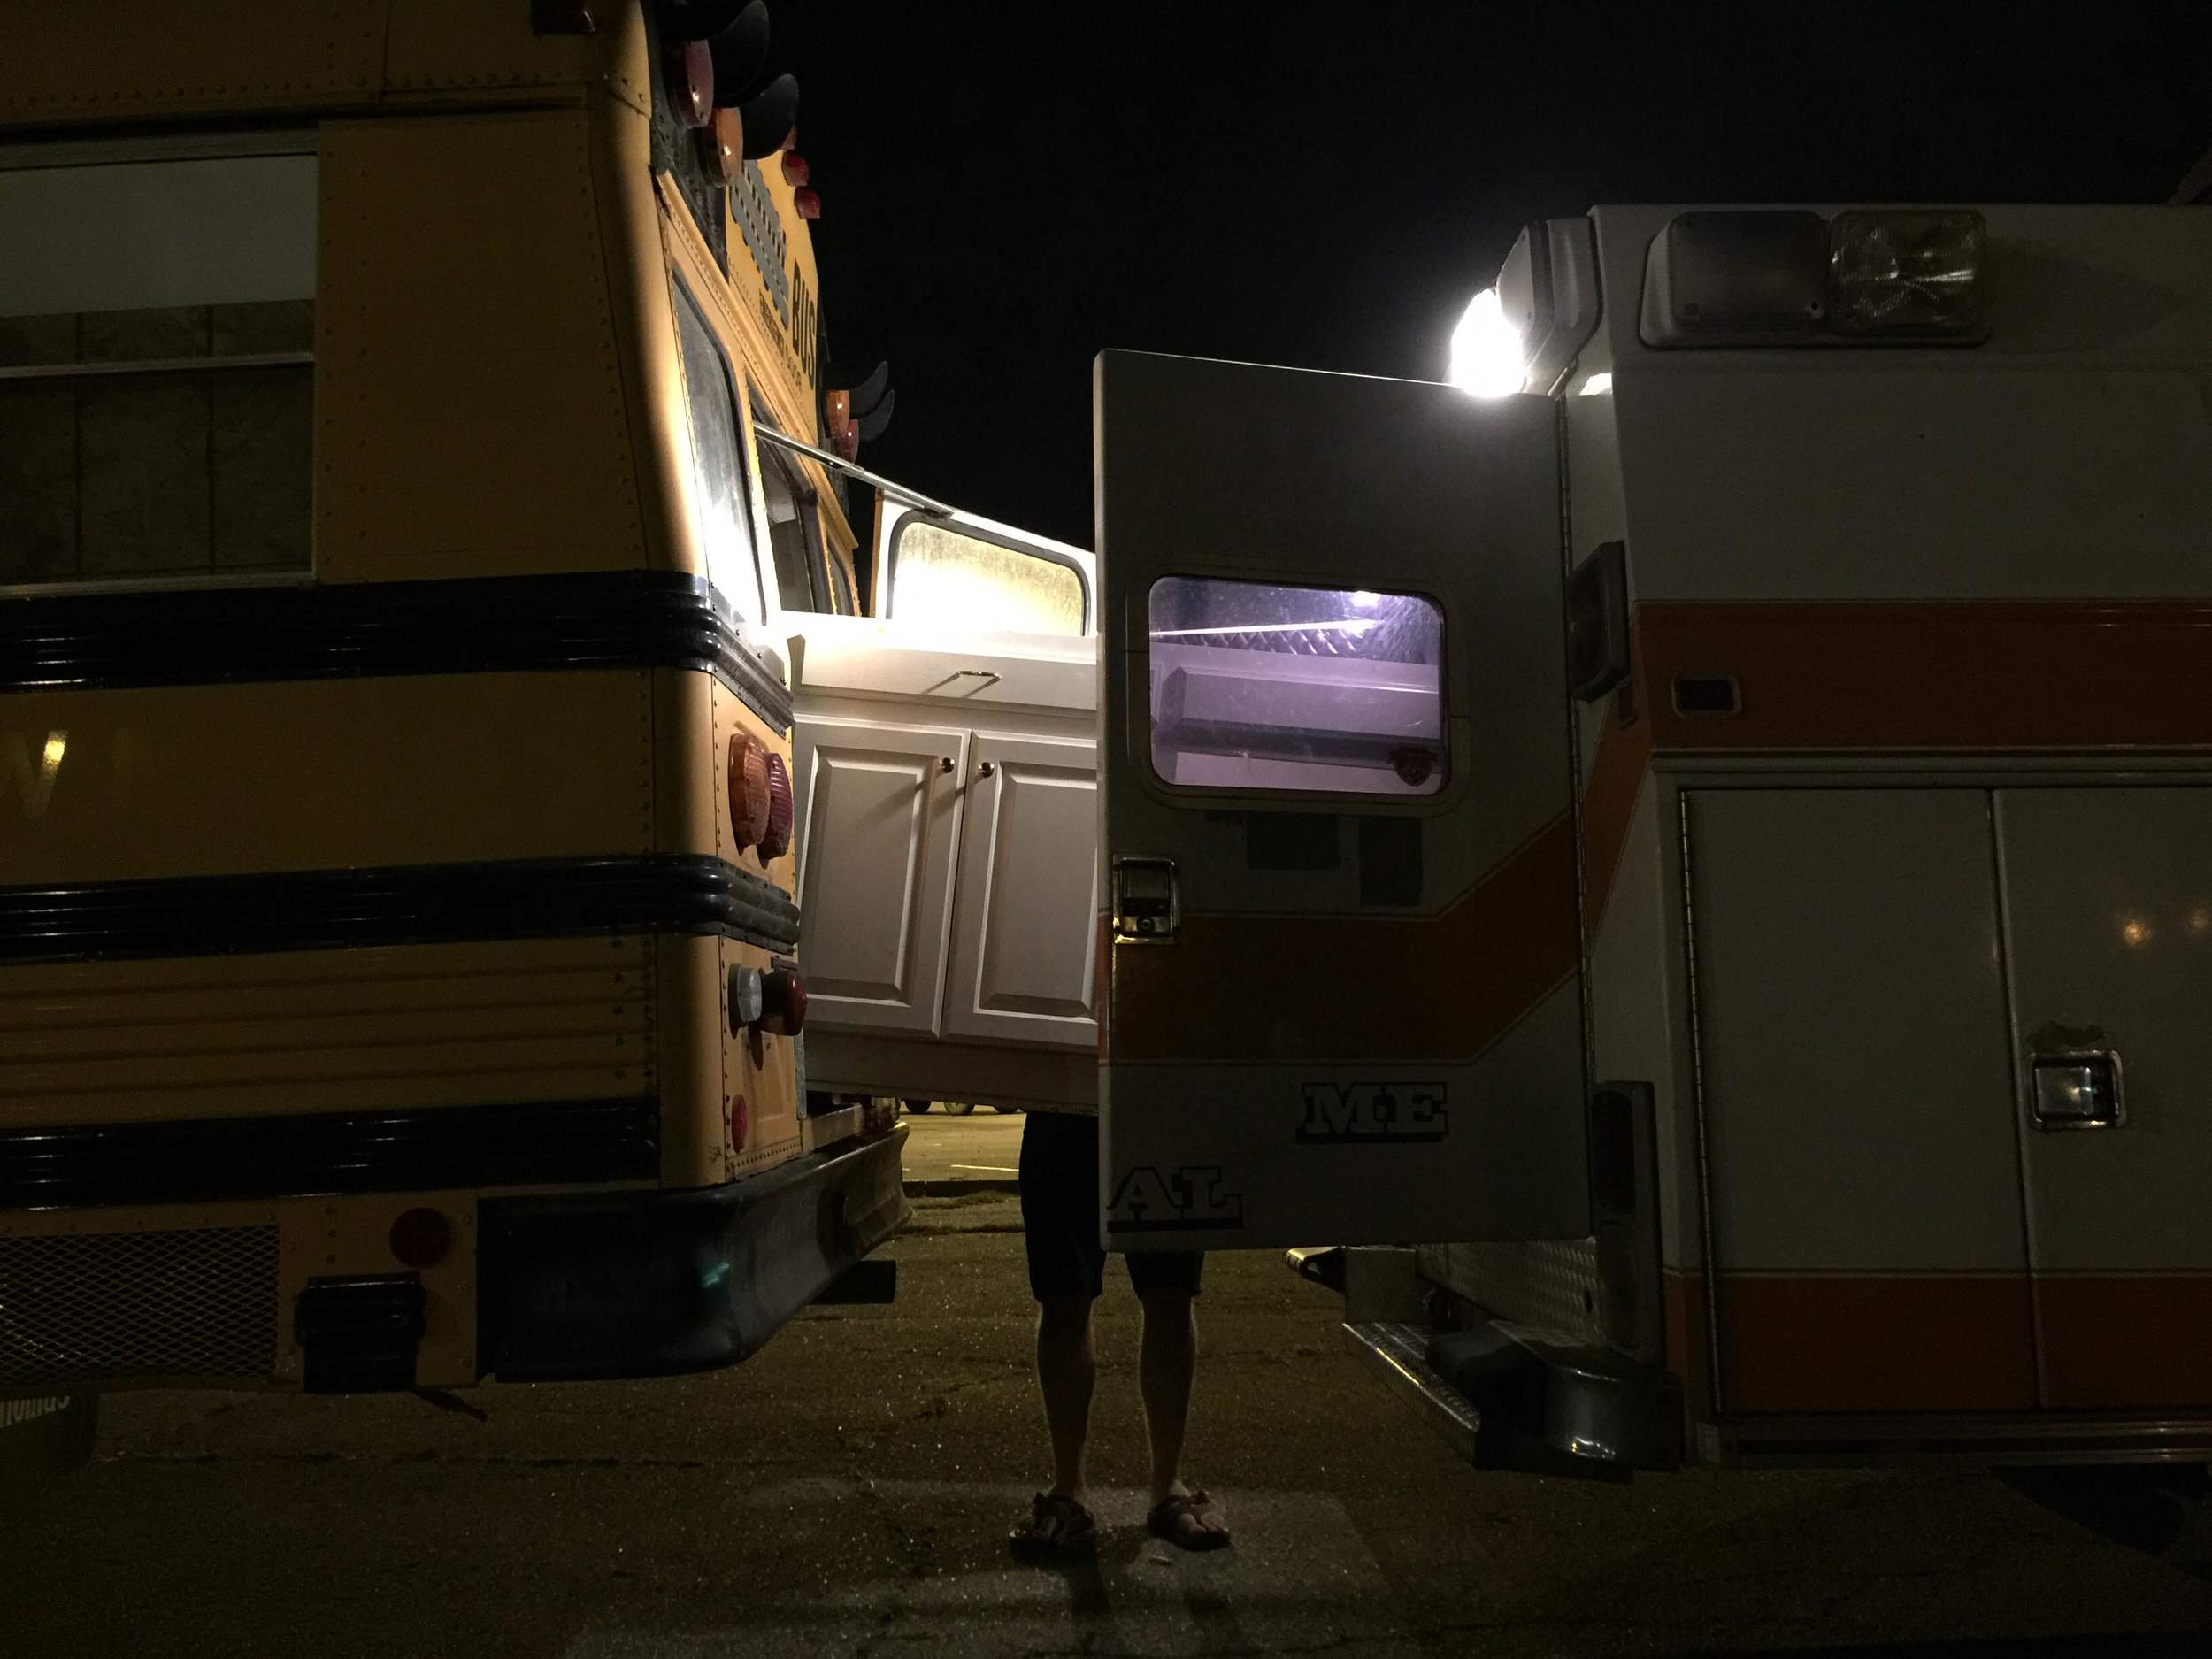
If only moving all furniture was this easy!
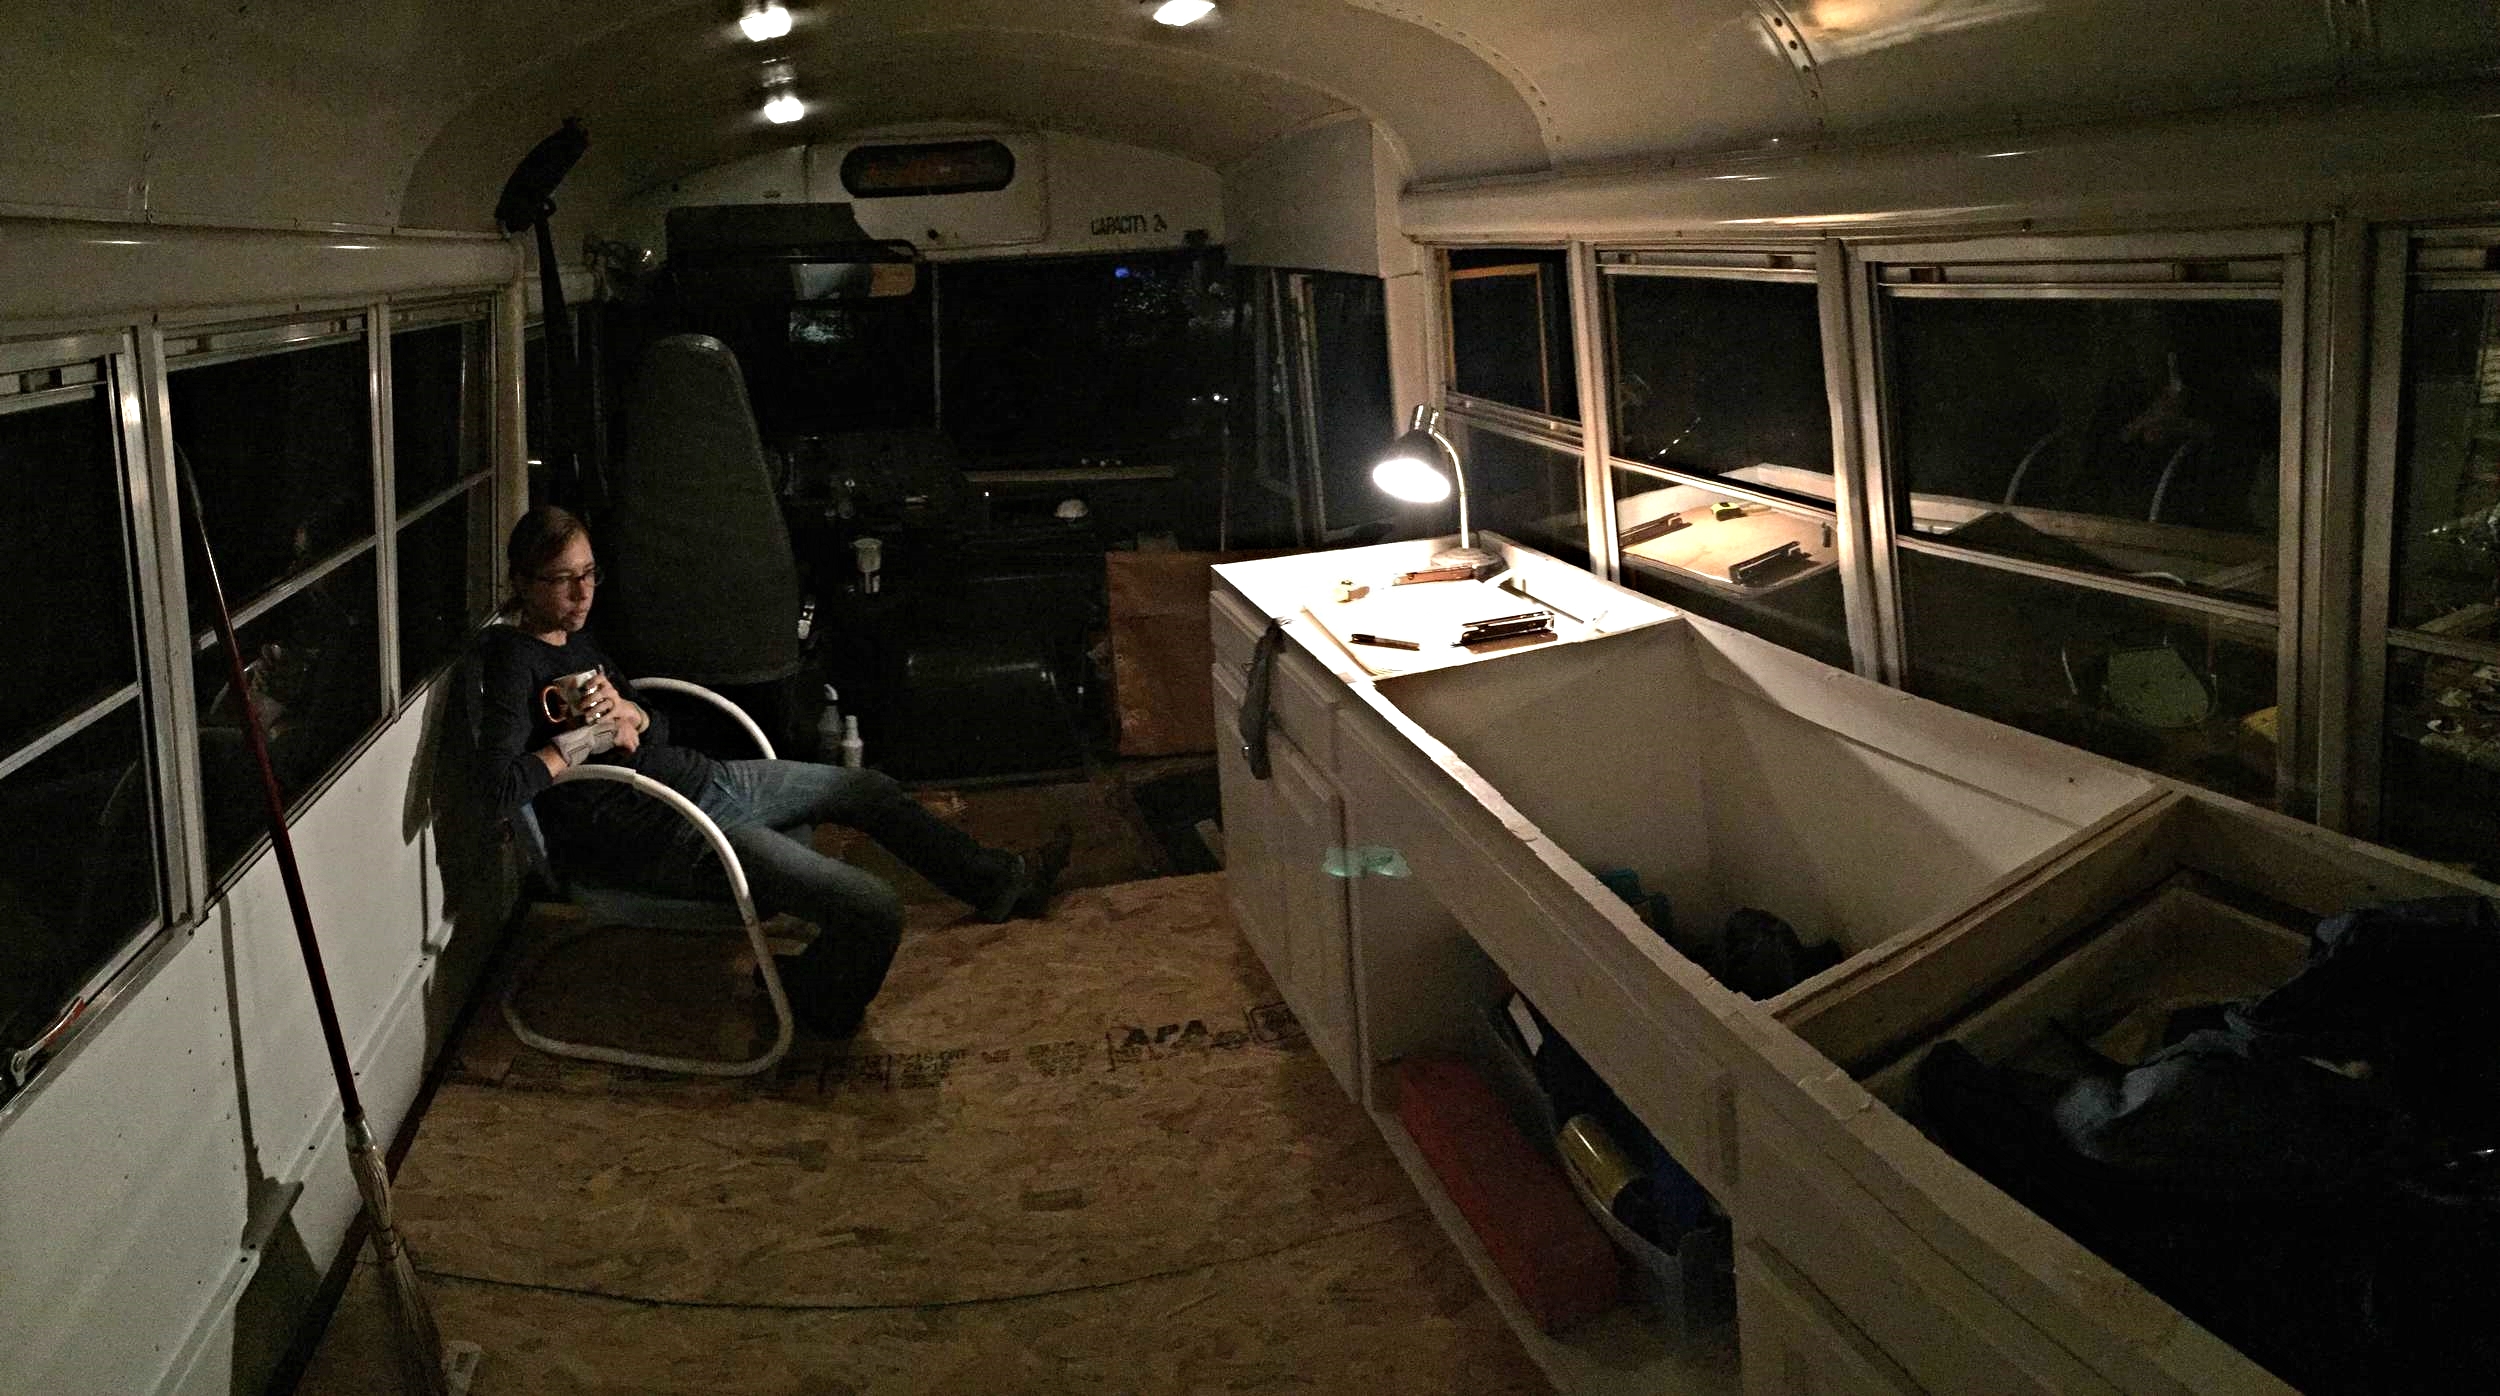
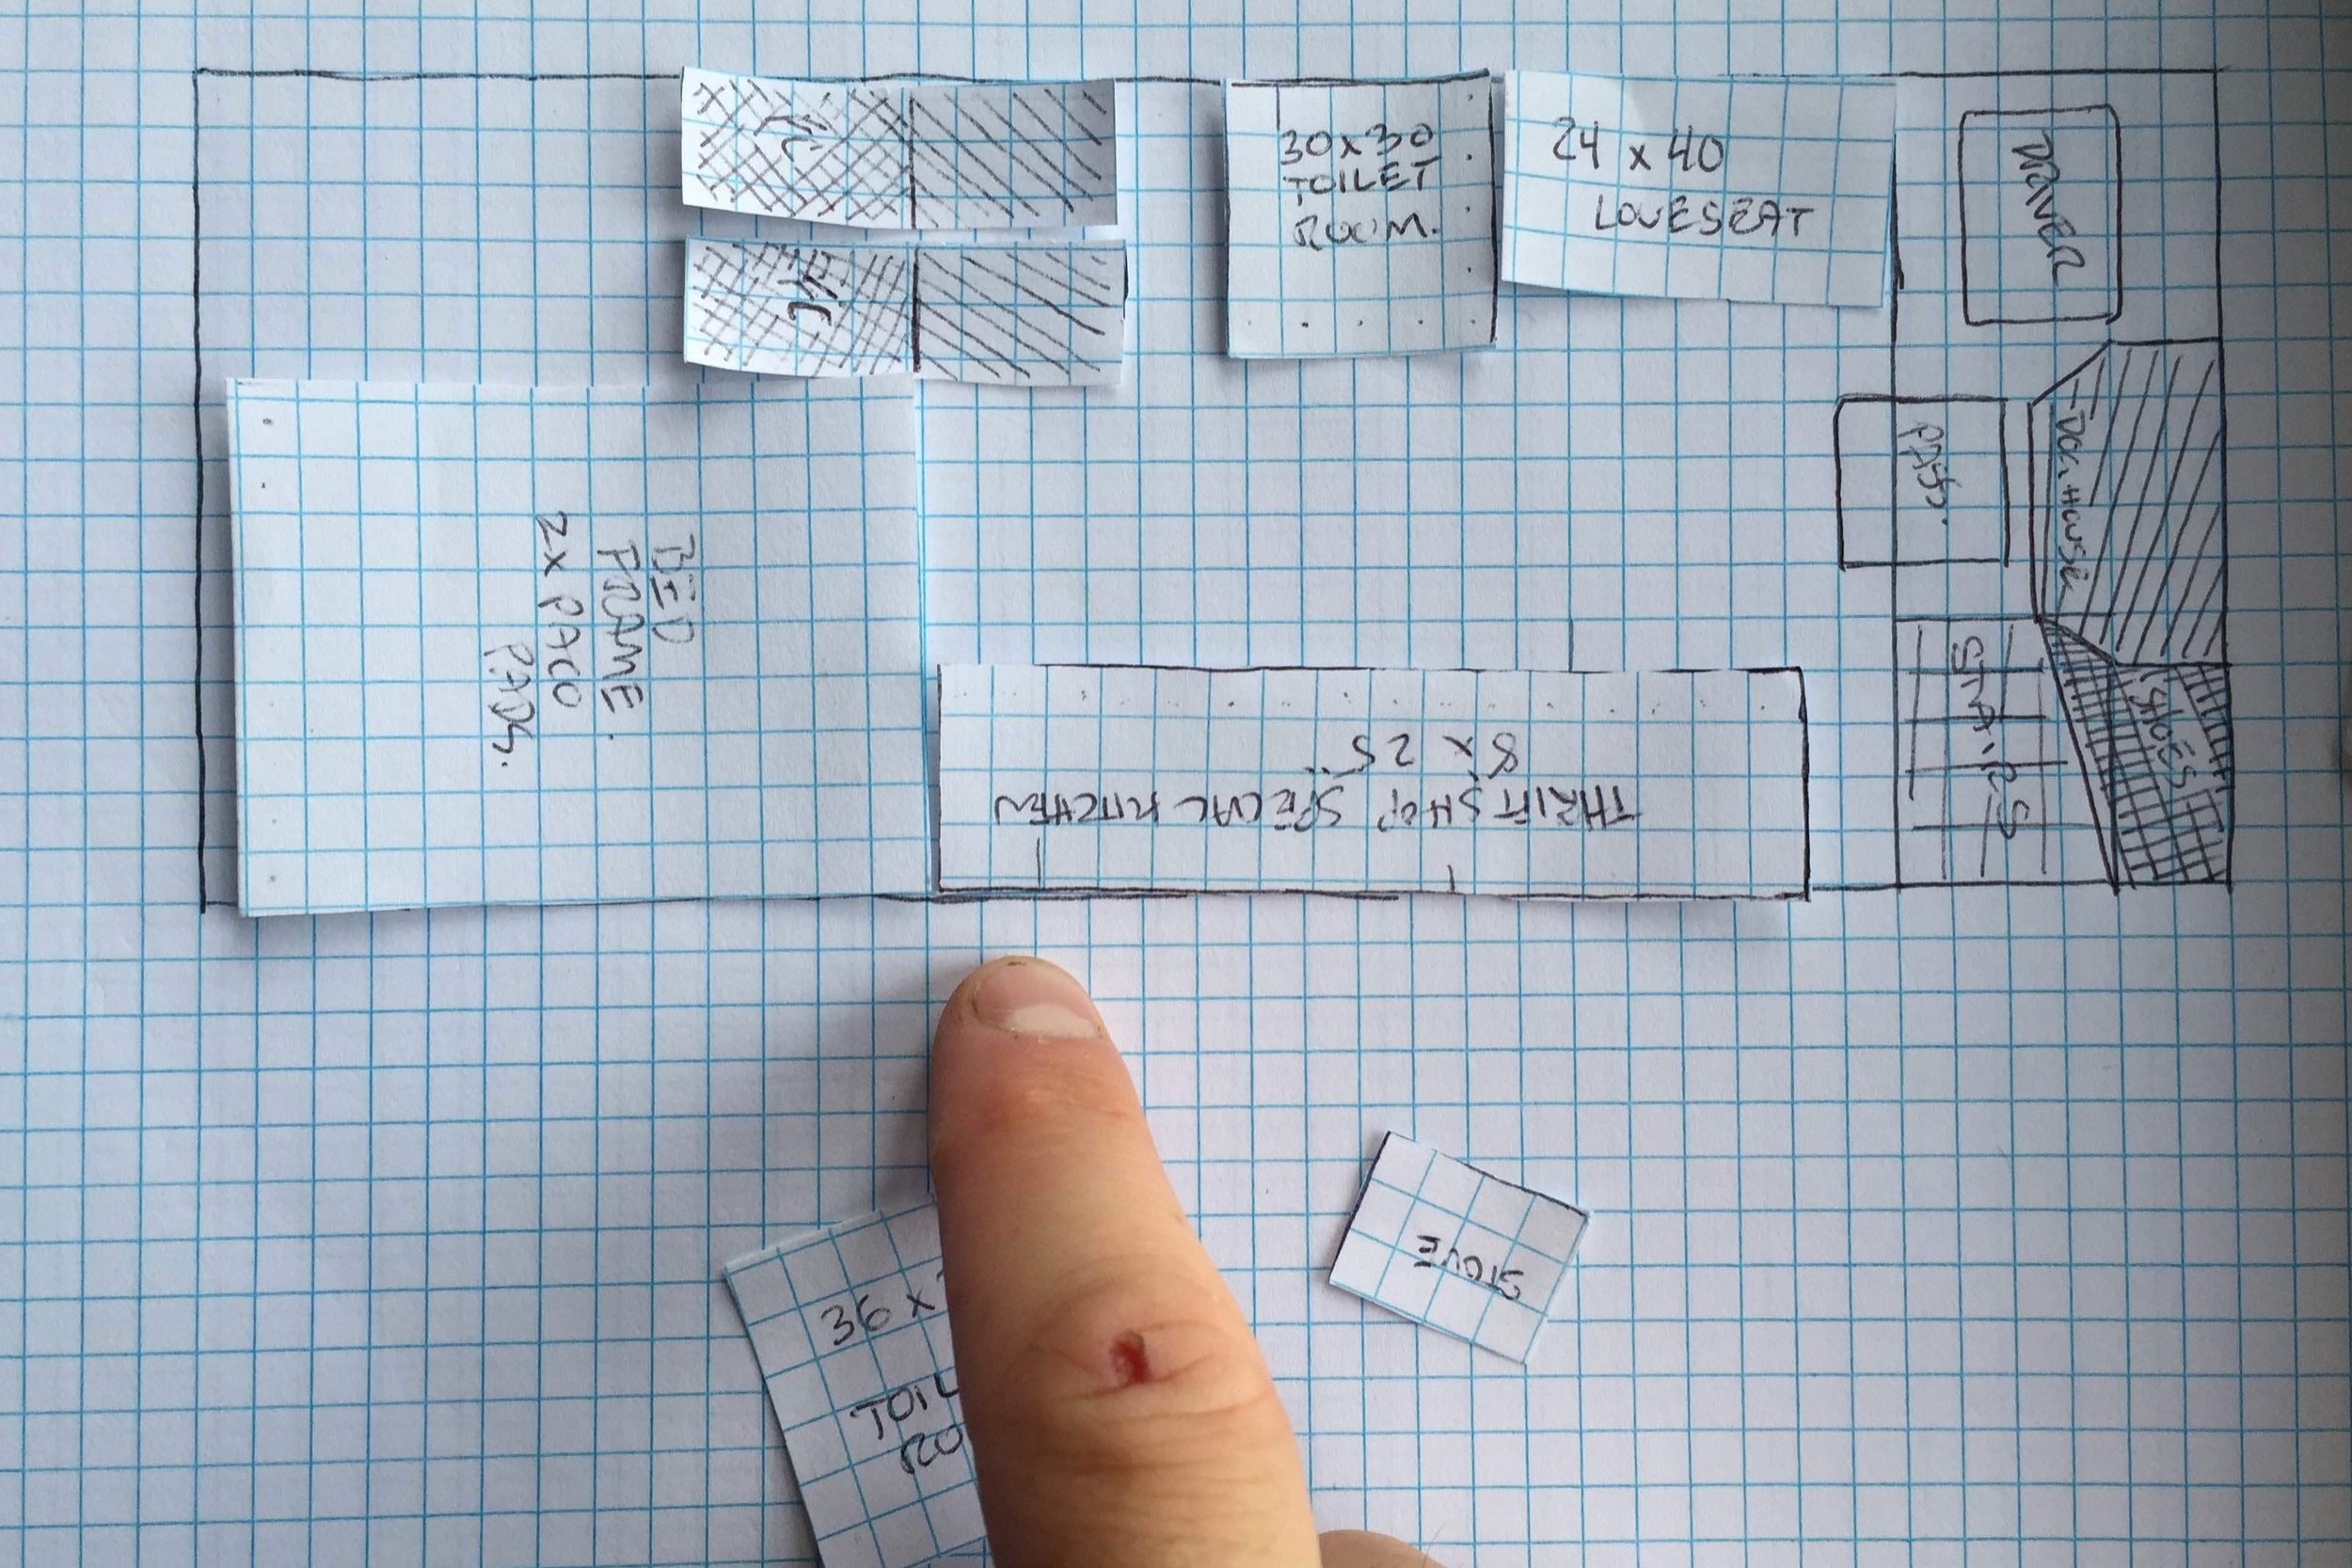
After getting the kitchen in, we took Stubbs the bus back to its spot and sat around contemplating our layout for a while since we now had a major piece of the puzzle on hand.
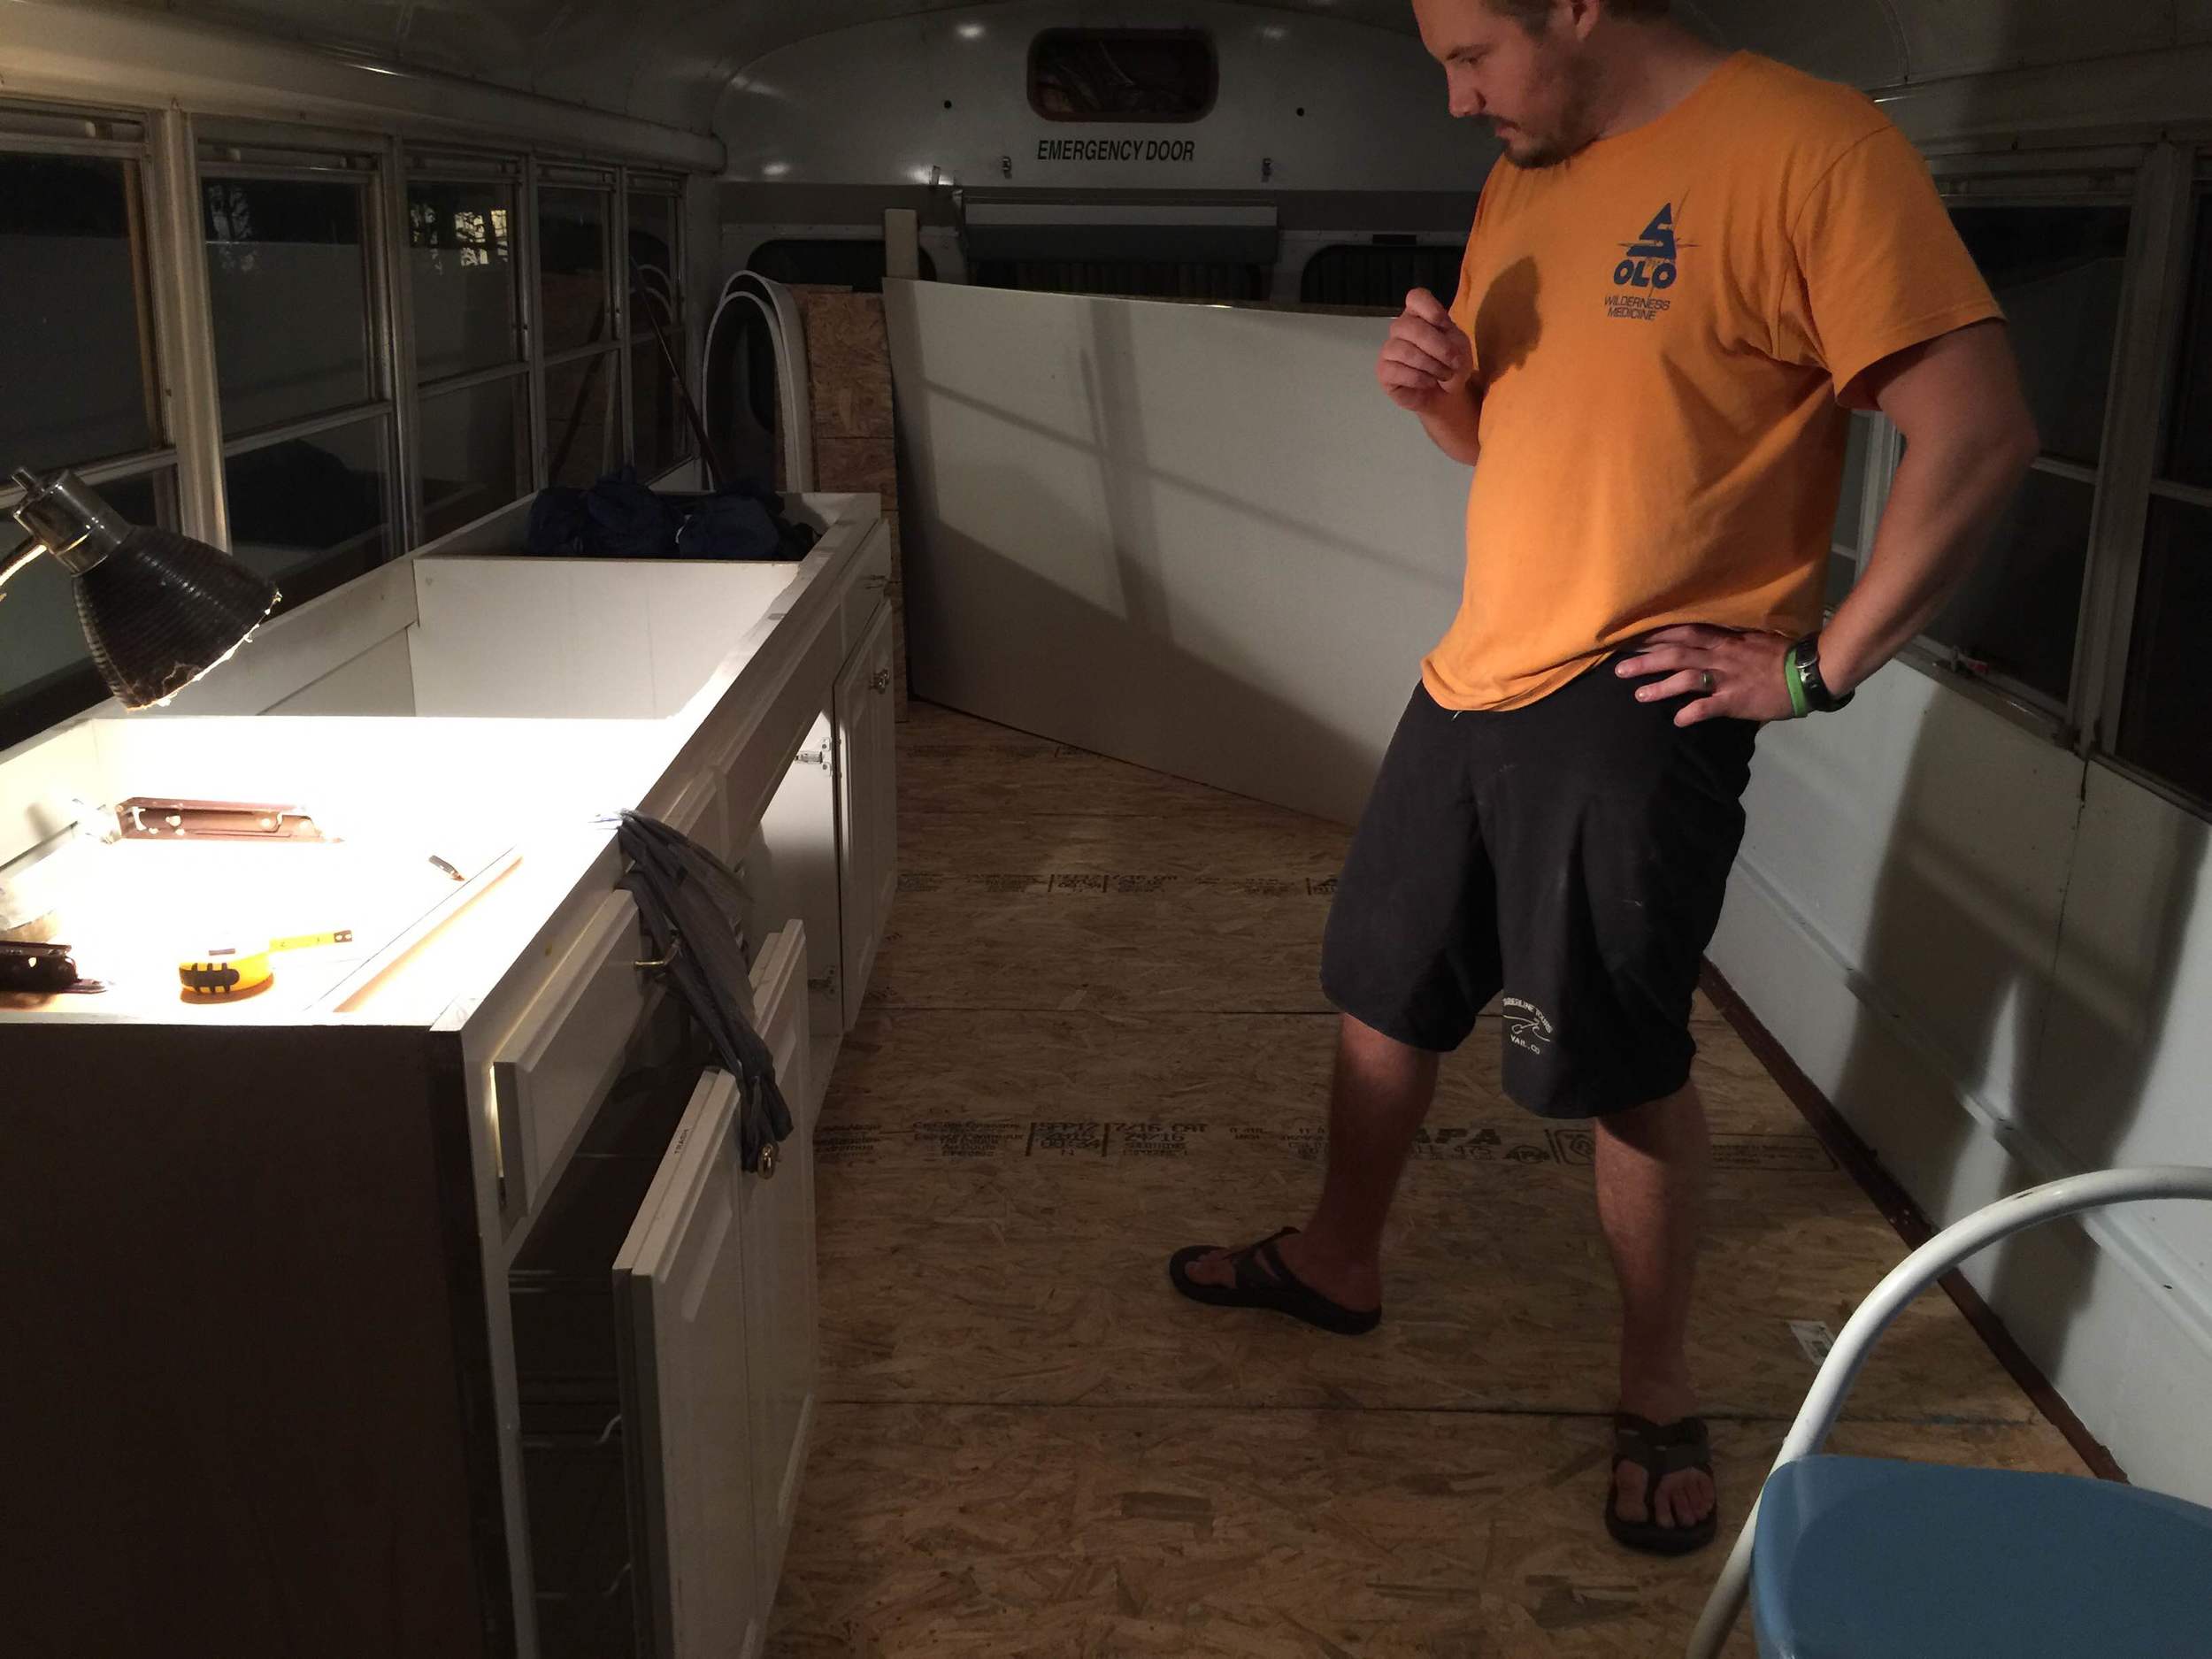
When all was said and done, we decided that the layout we'd been pretty set on via graph paper was exactly what we wanted, so tomorrow we plan to start framing out around the kitchen and building up the back bed/loft area!