11.07.16 - Painting - Day 11.
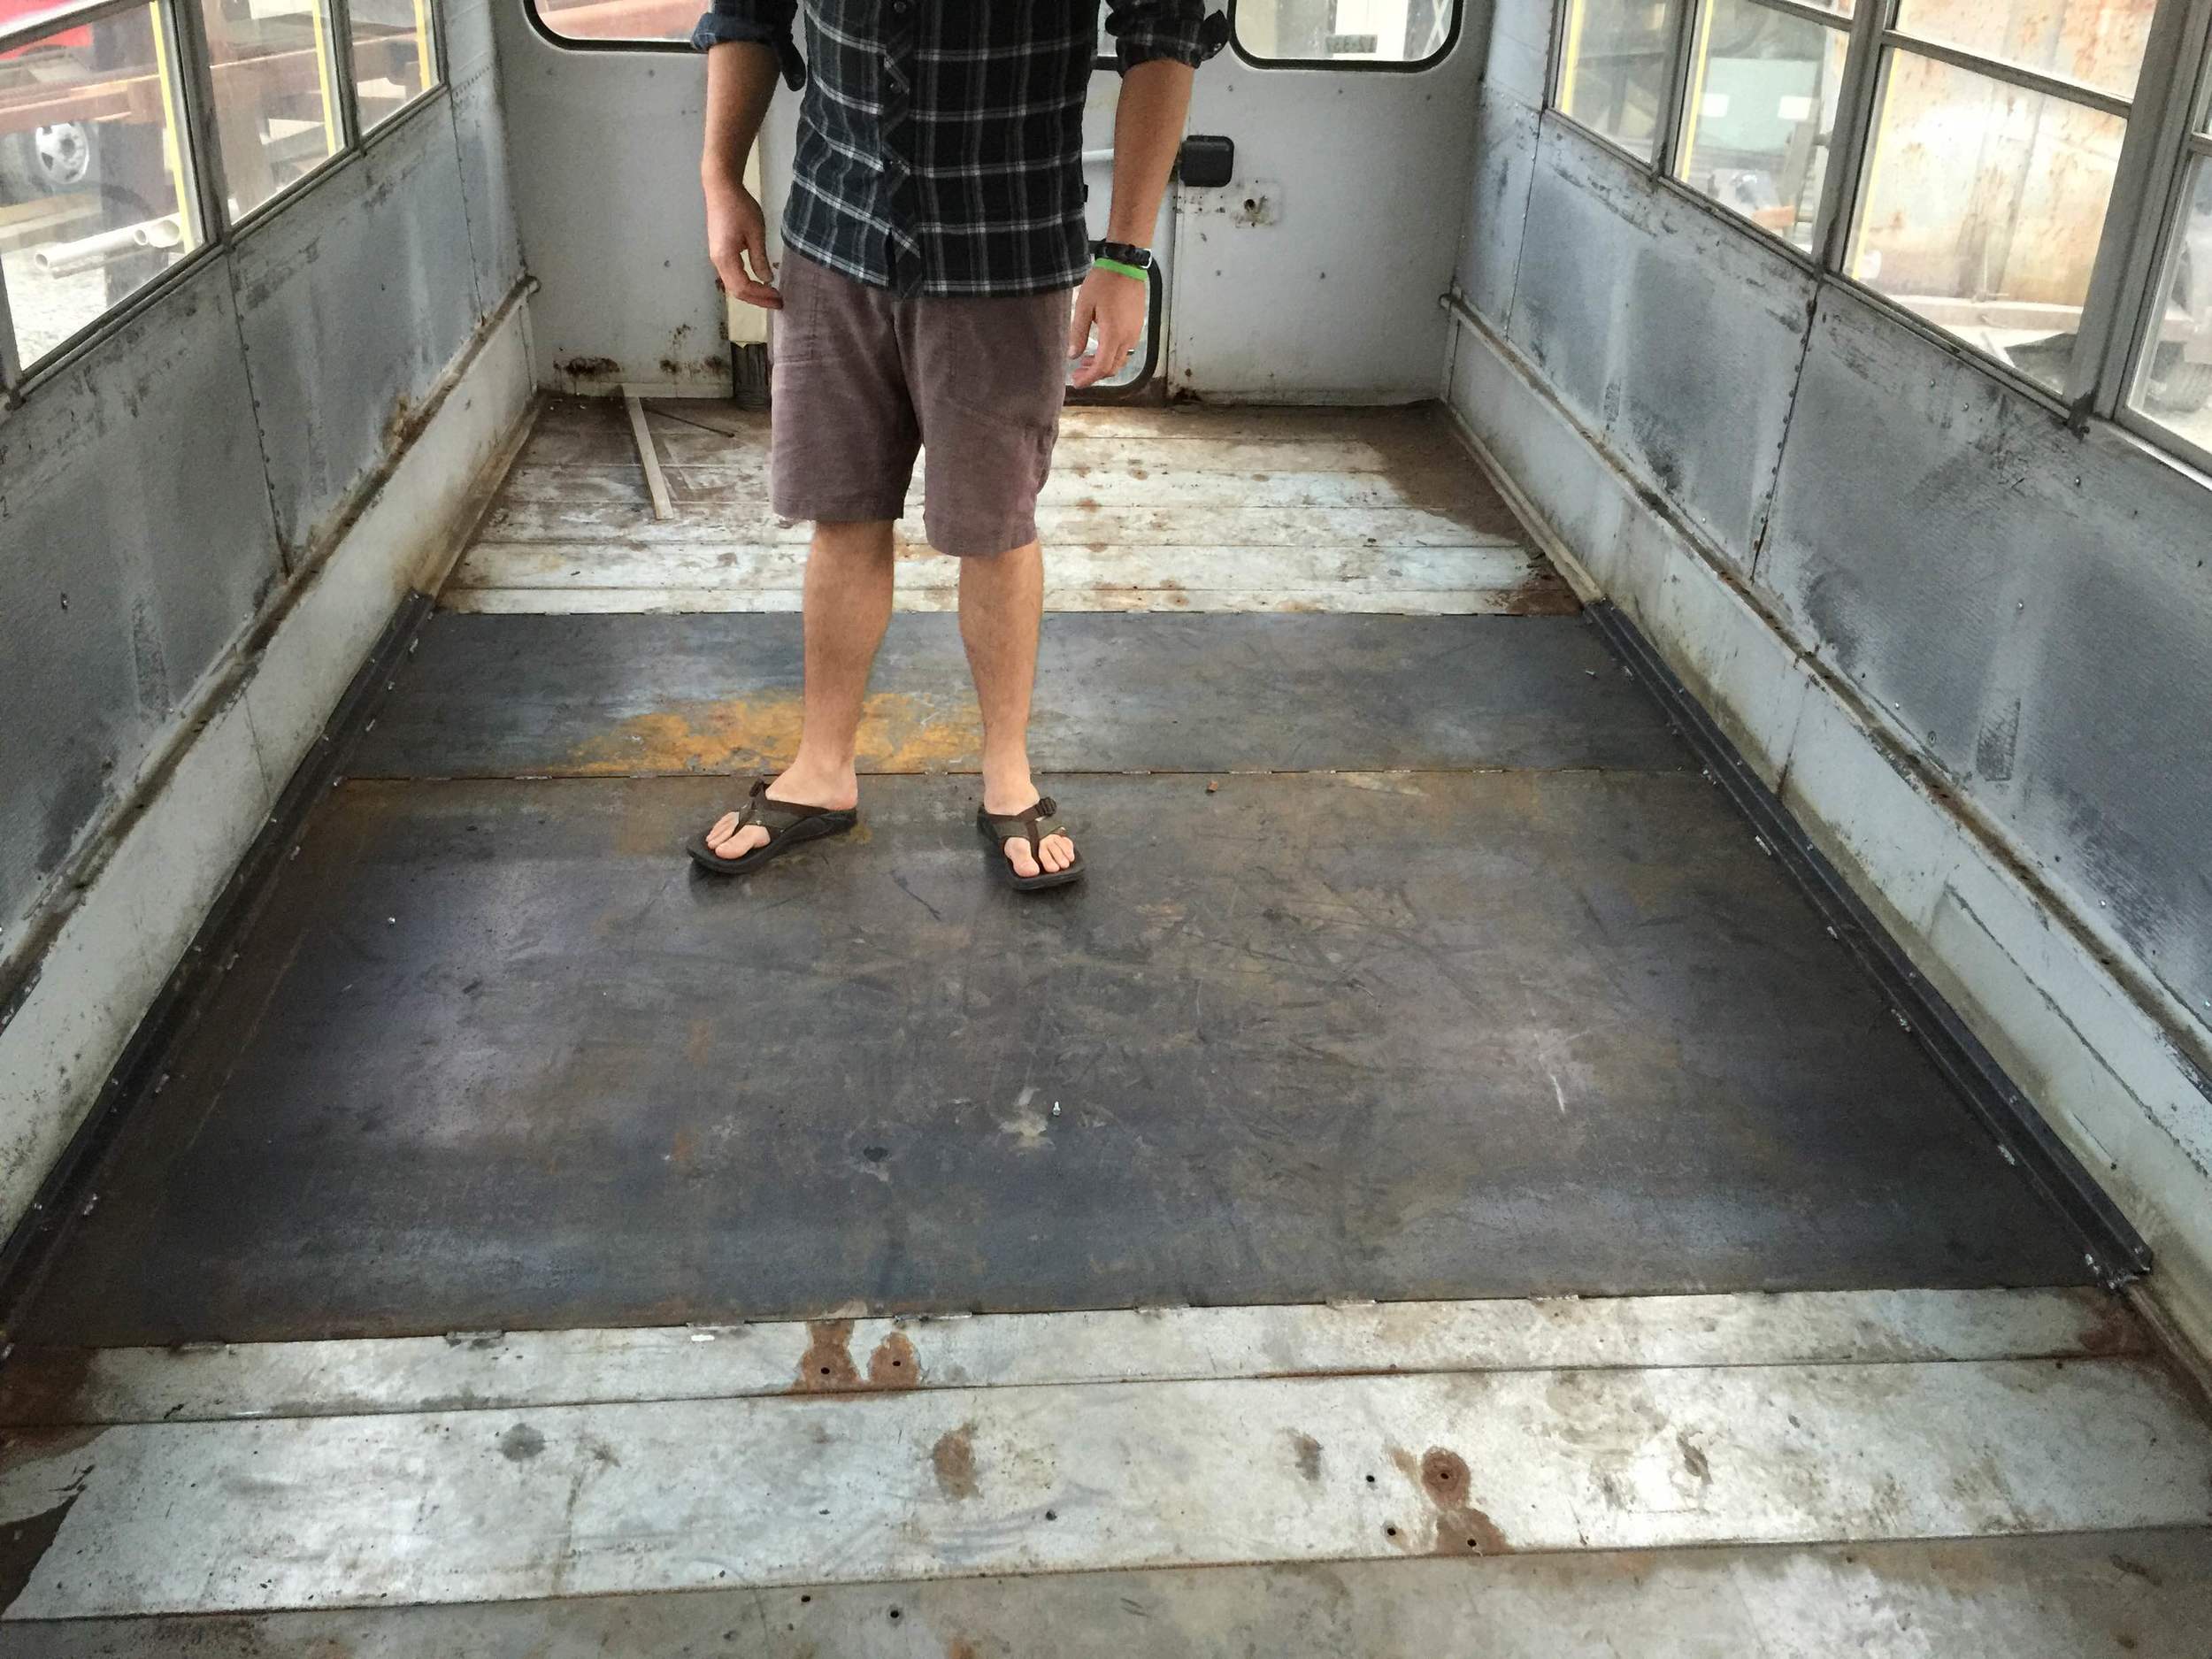
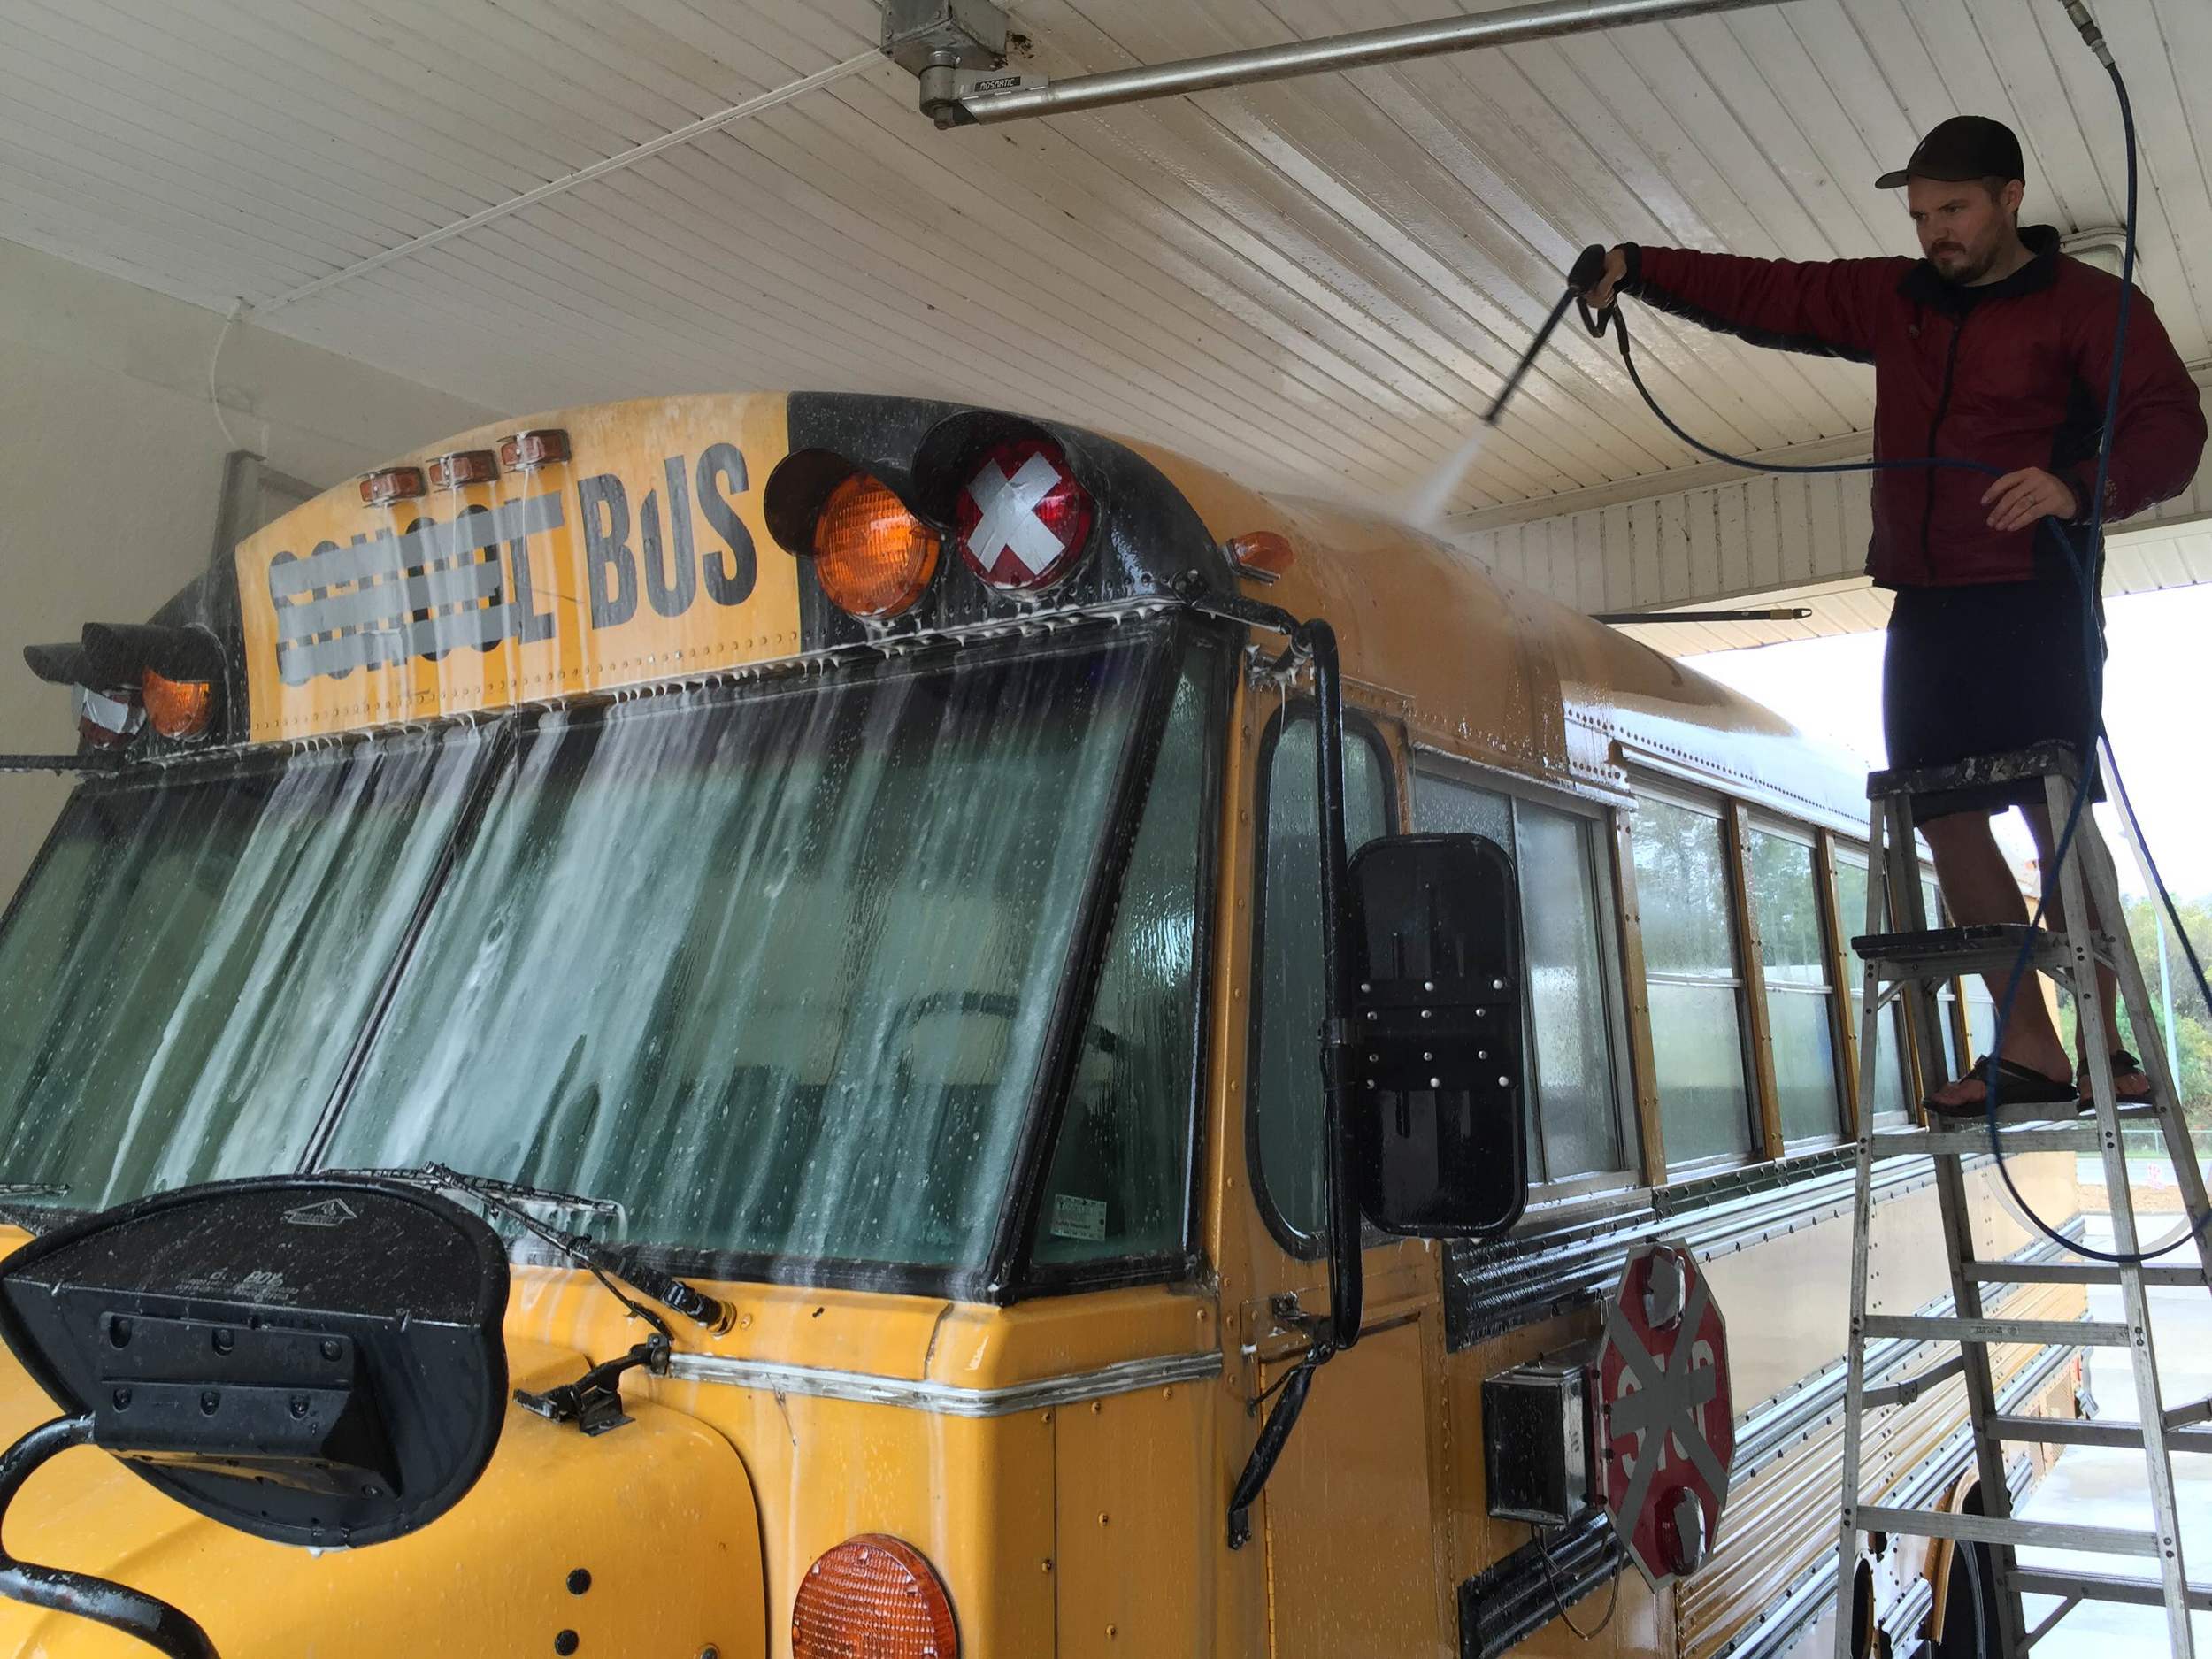
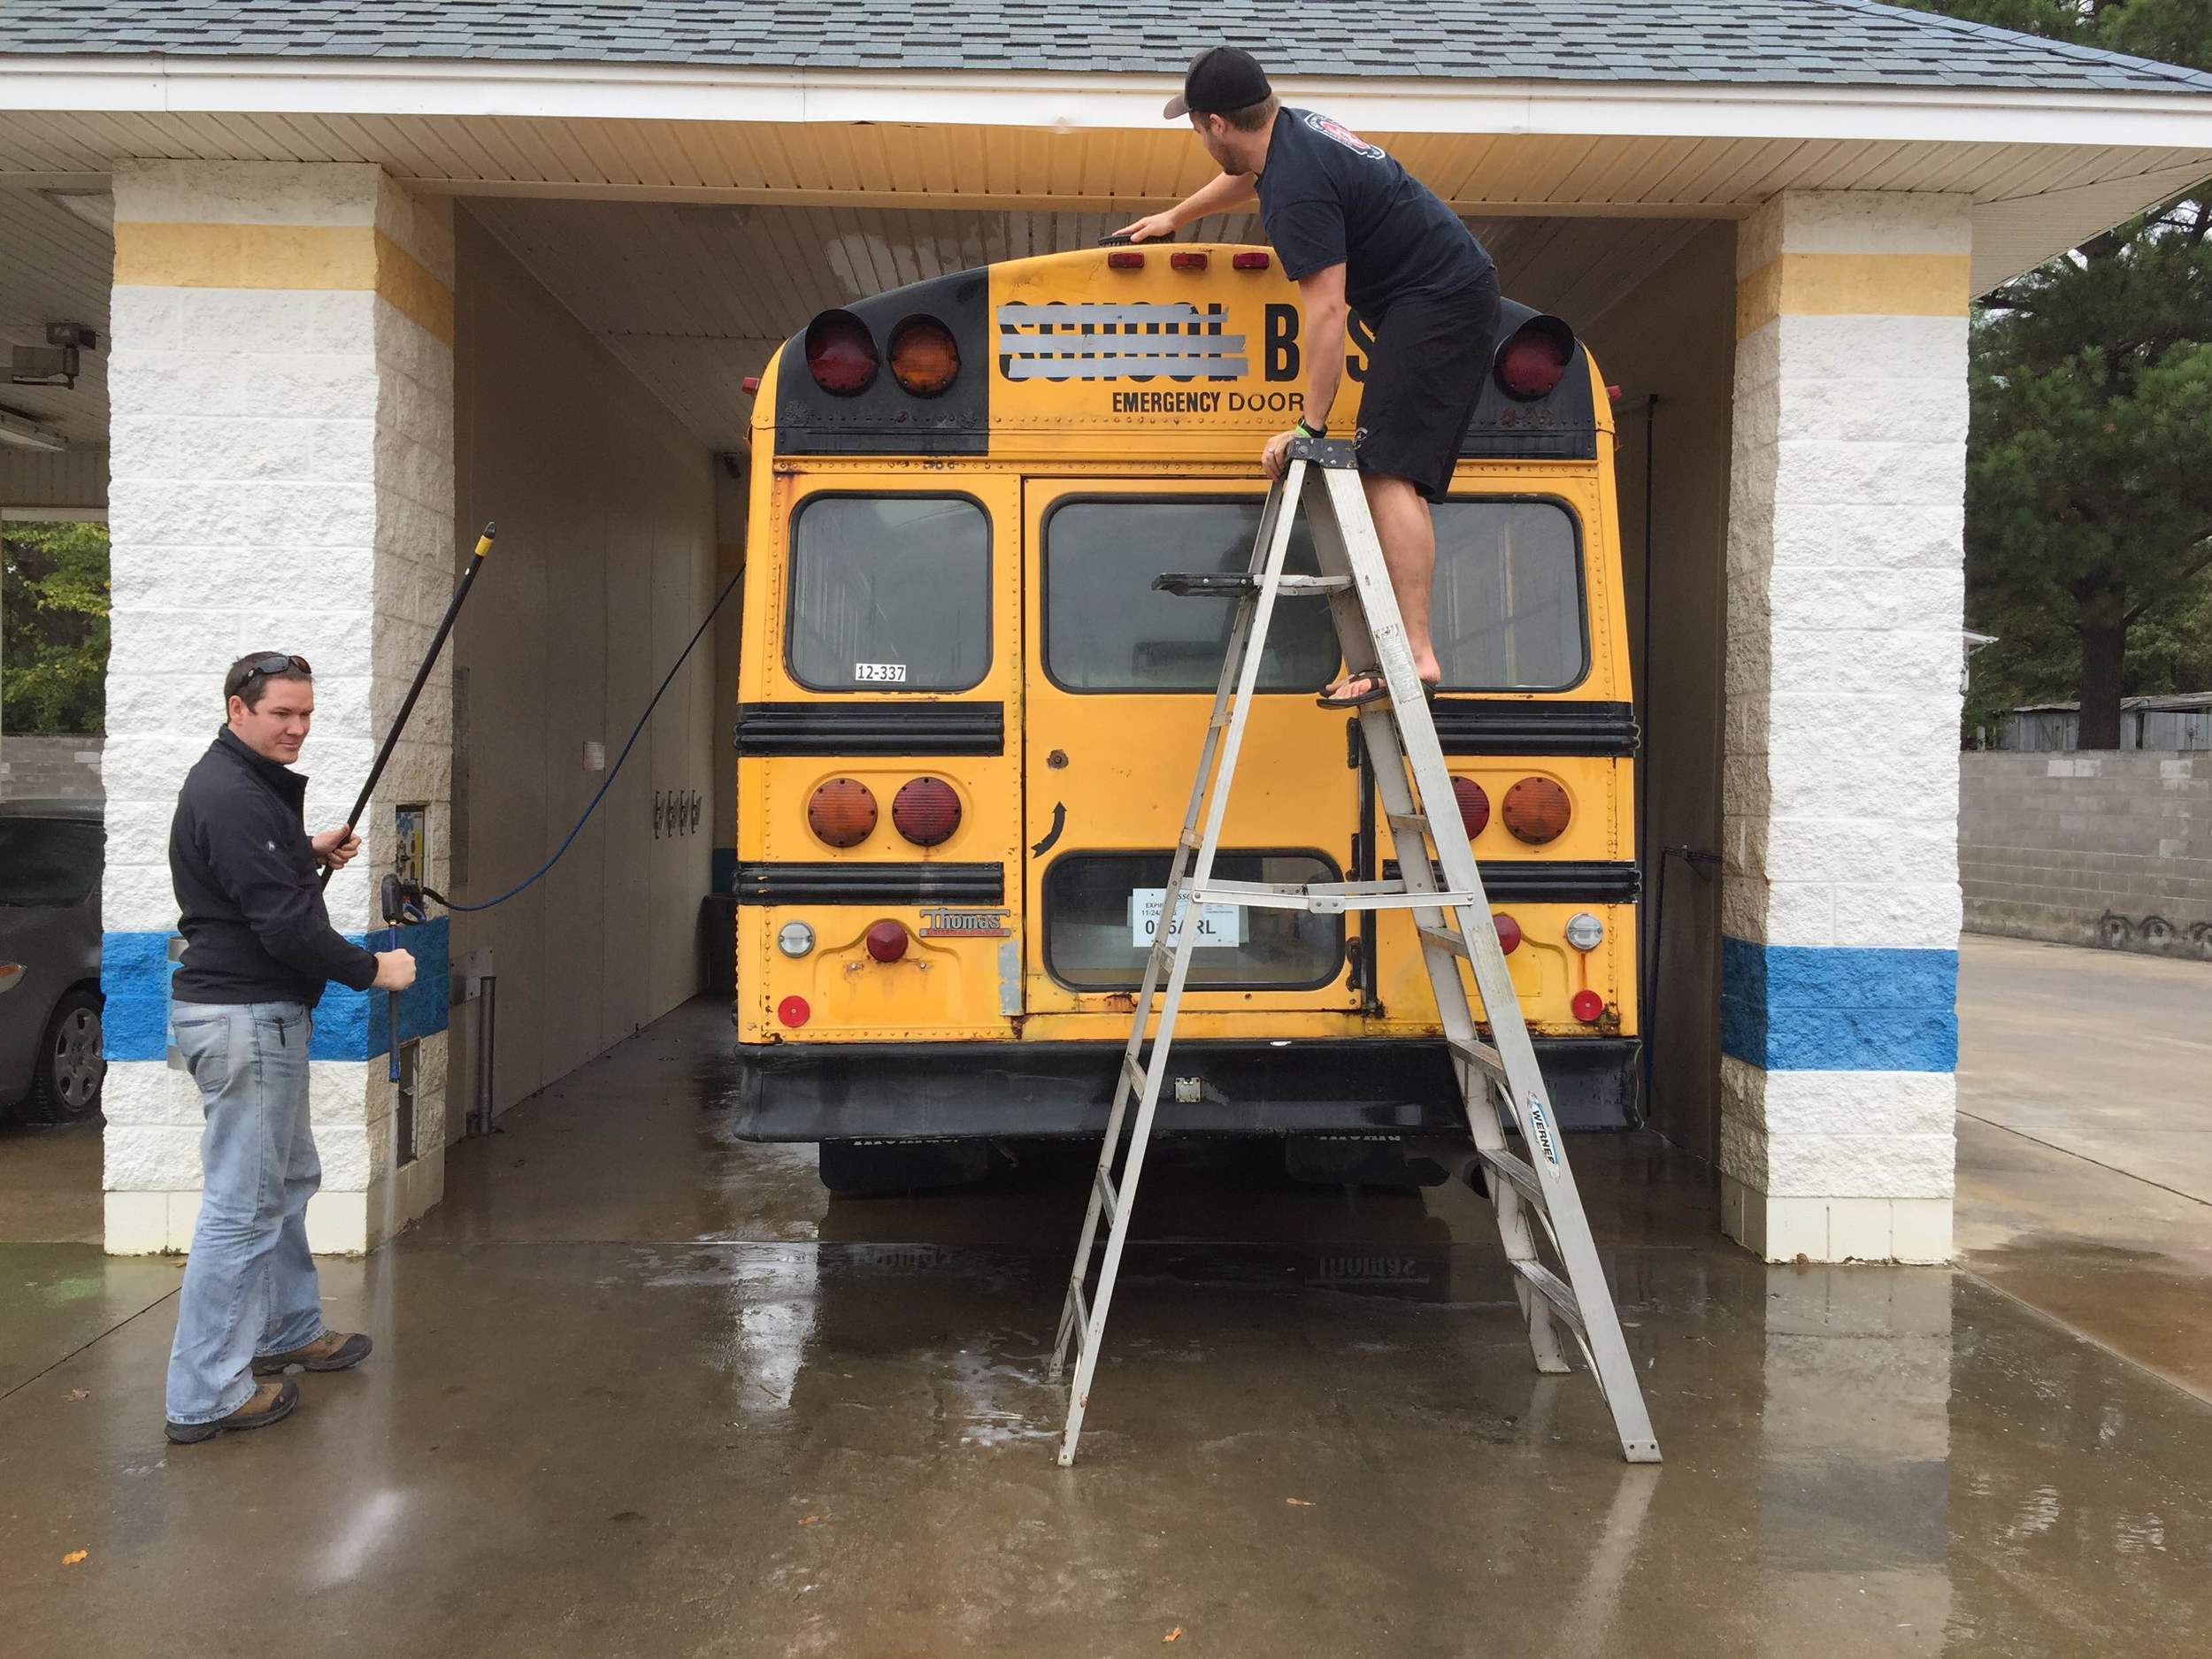
/Stubbs started the day with a bath. We planned on starting the paint process today, and she needed to be squeaky clean. The majority of the cleaning took place on her roof, with me on my hands and knees, scrubbing and spraying away years of greasy grime

Roughly $15 in quarters, in case you're wondering.

Two new friends found us at the carwash. Zach and Annie of Natural State Nomads stopped by to help for the day. They are doing their own conversion, and are planning on going full-time as well. Check out their blog HERE.
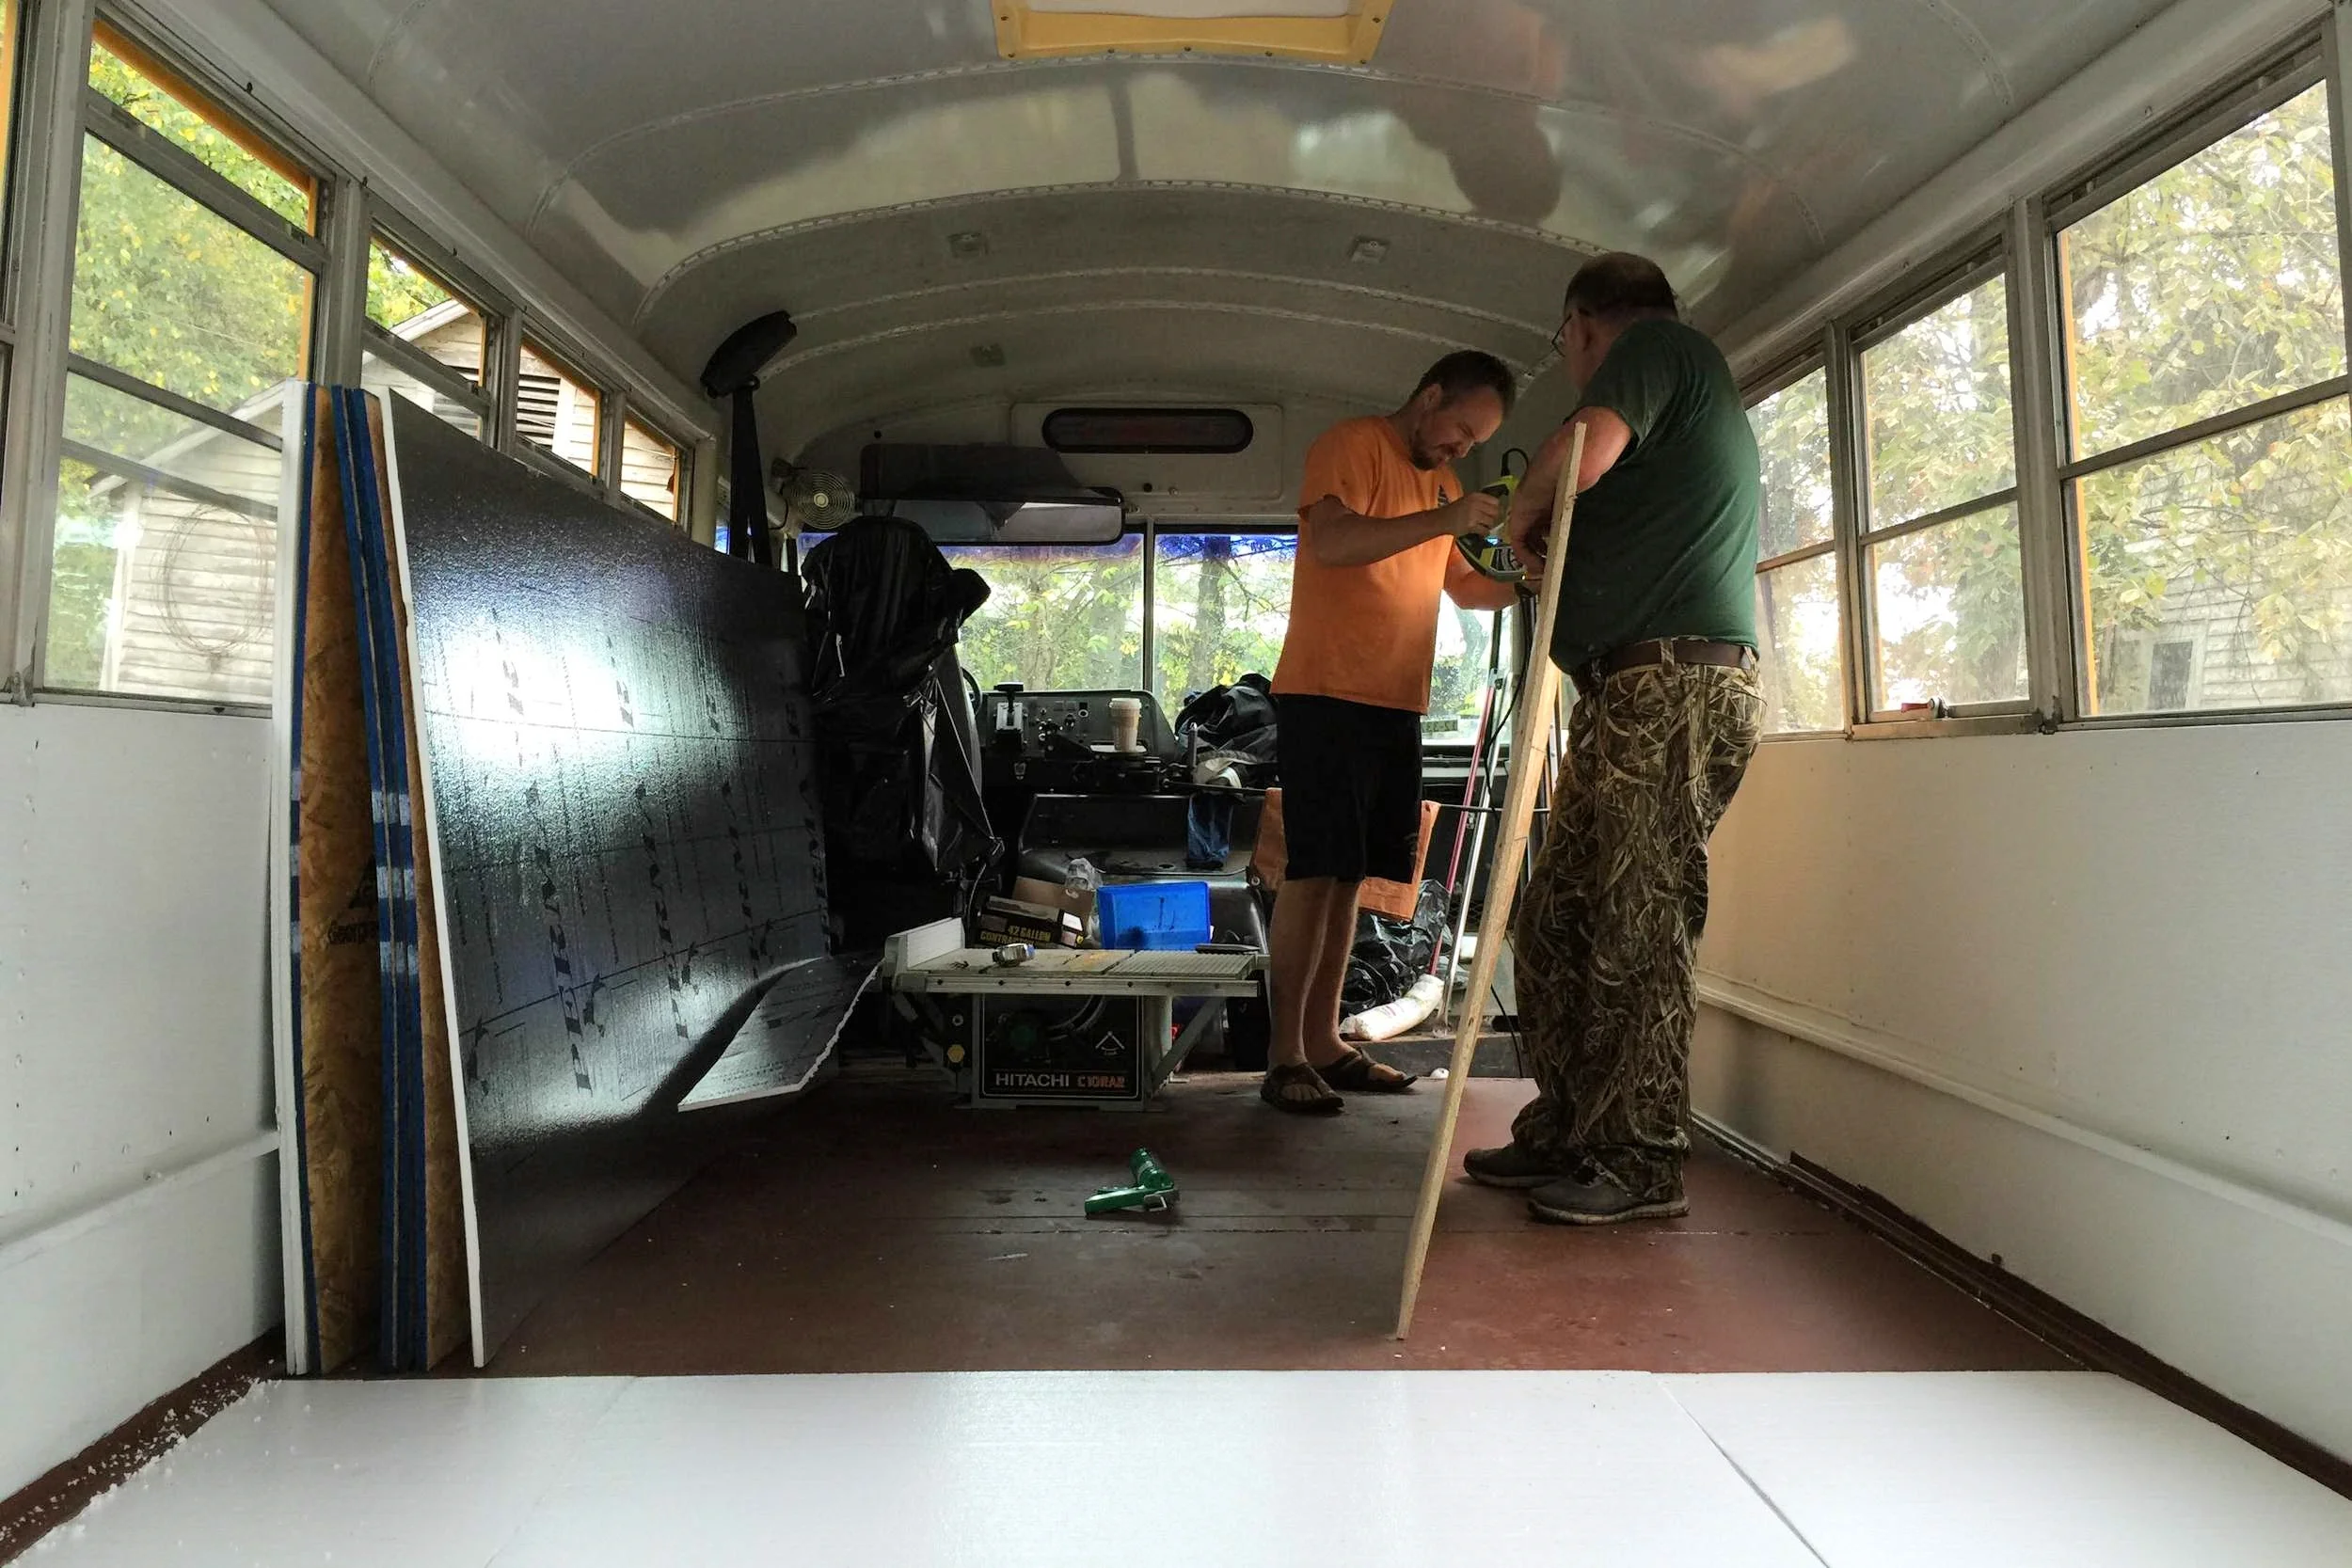
We couldn't have gotten as much done as we did today without them. They were such a huge help.
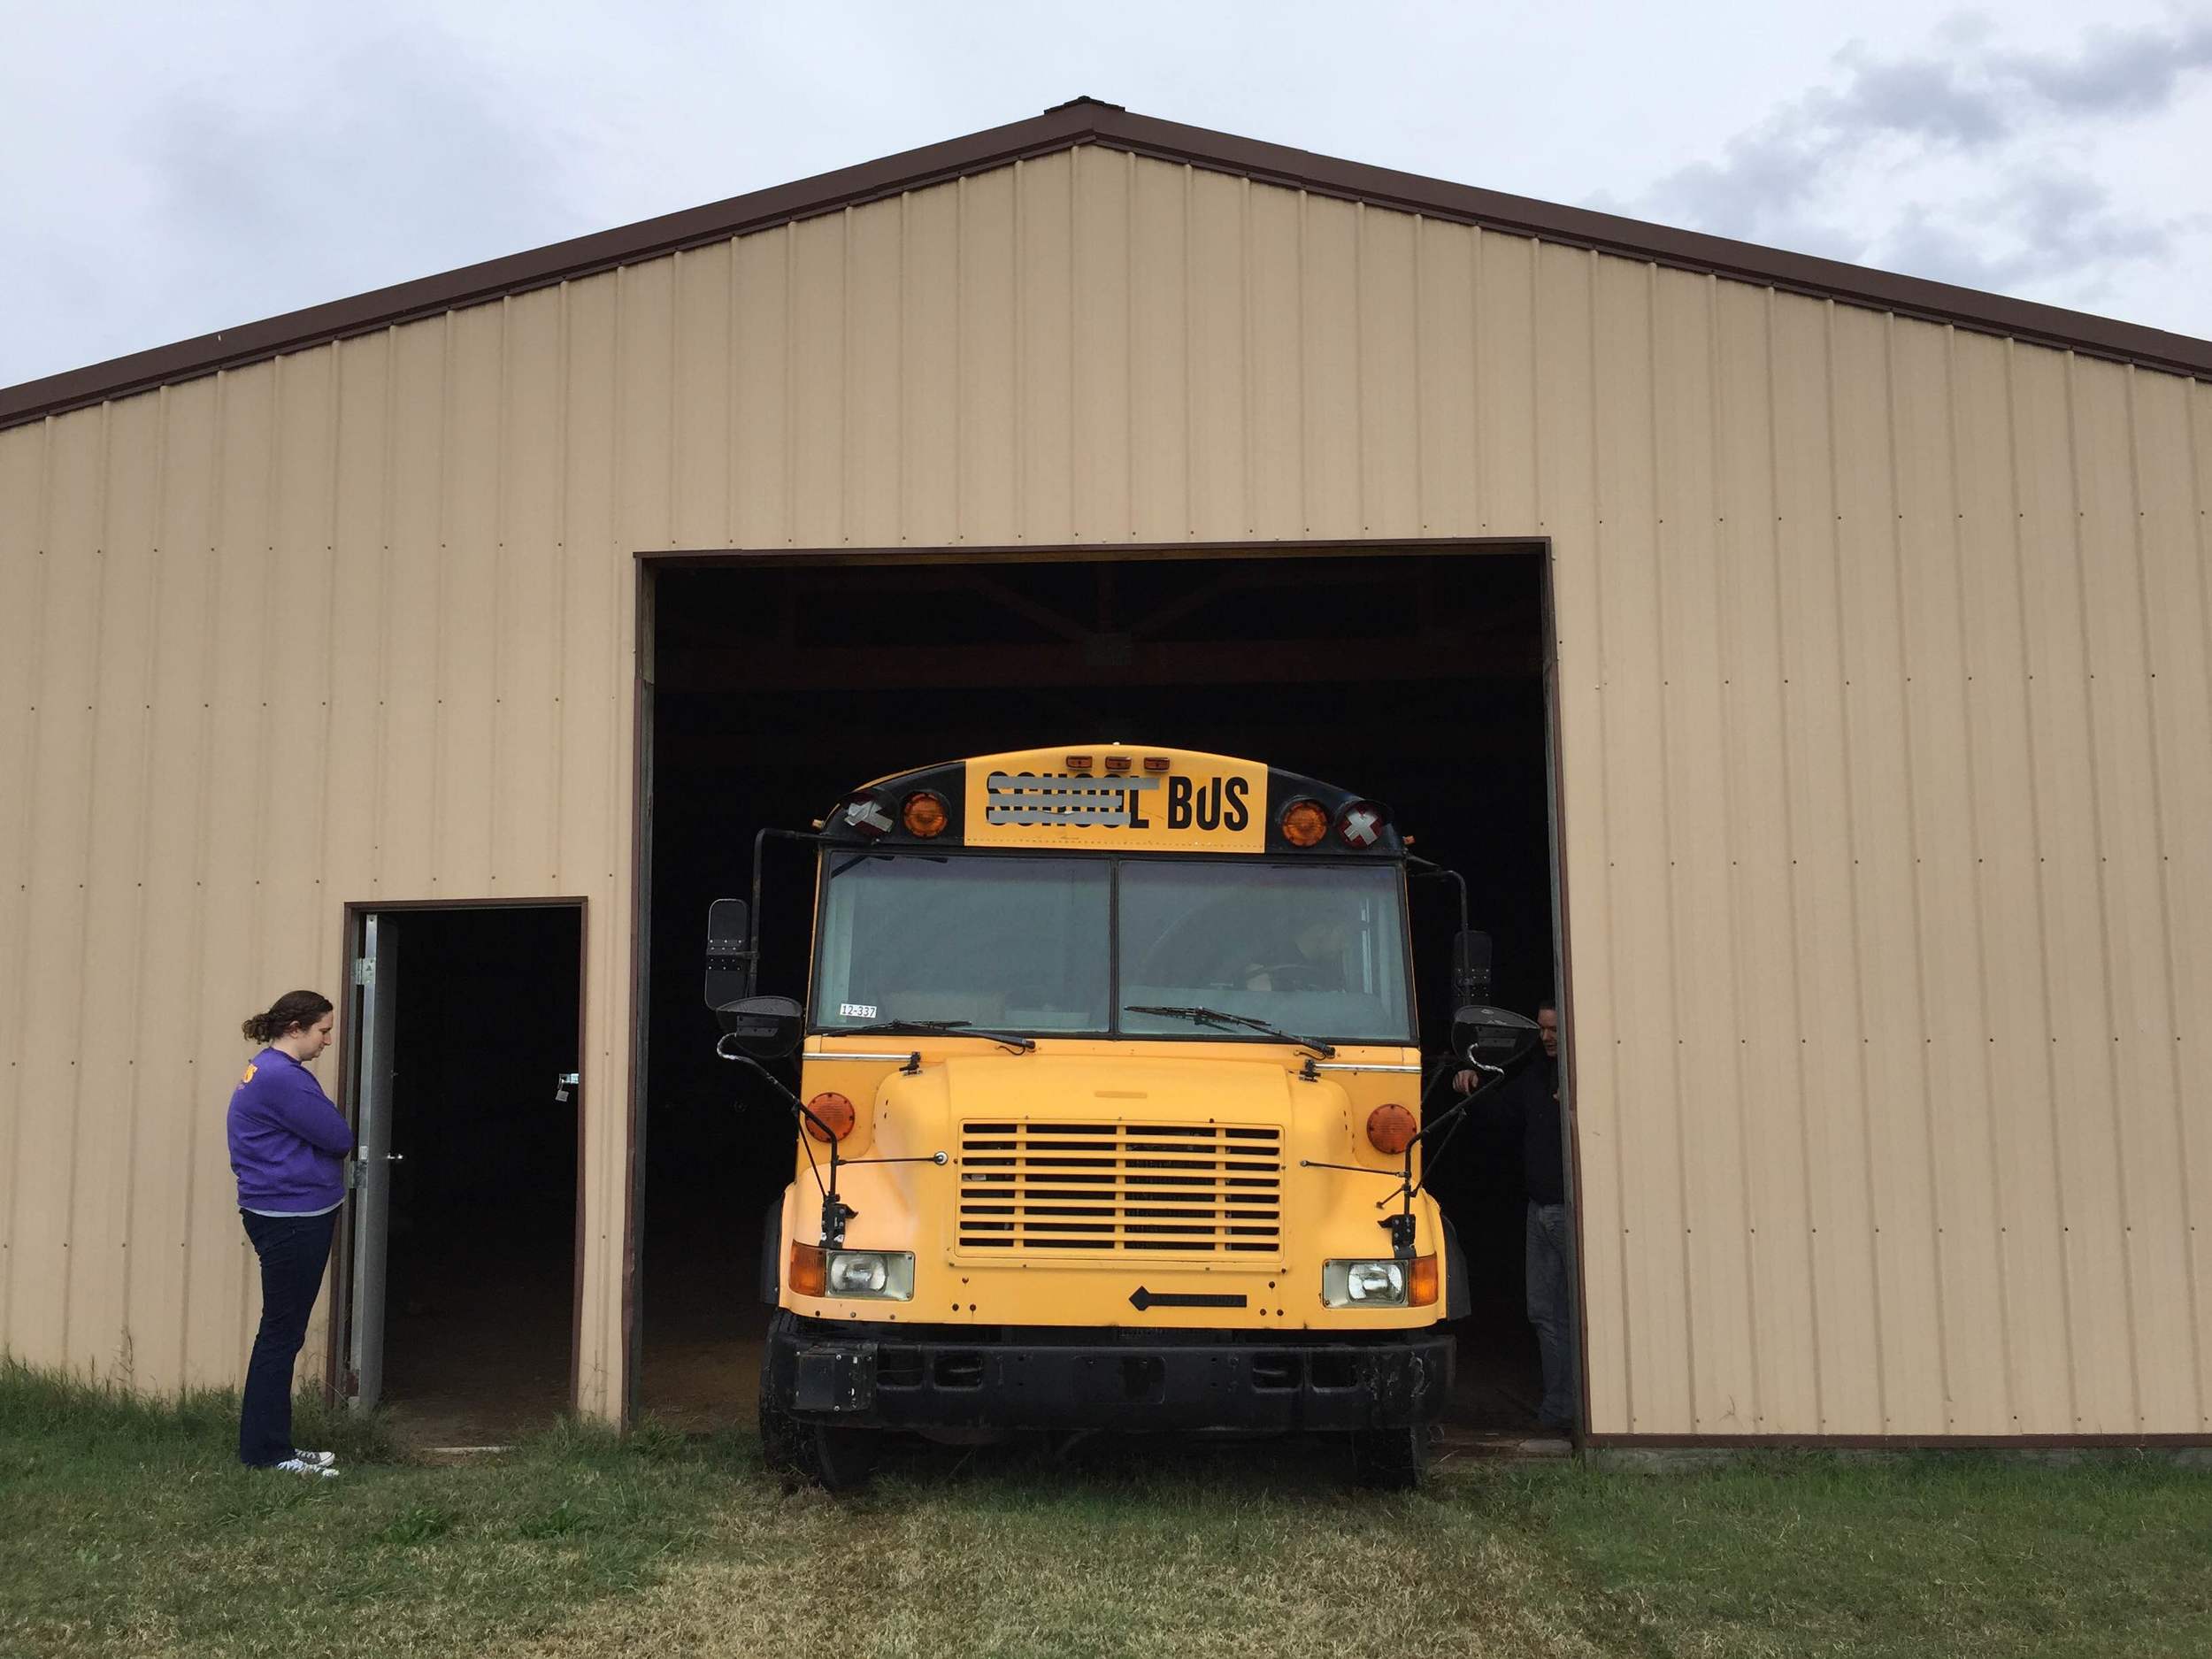
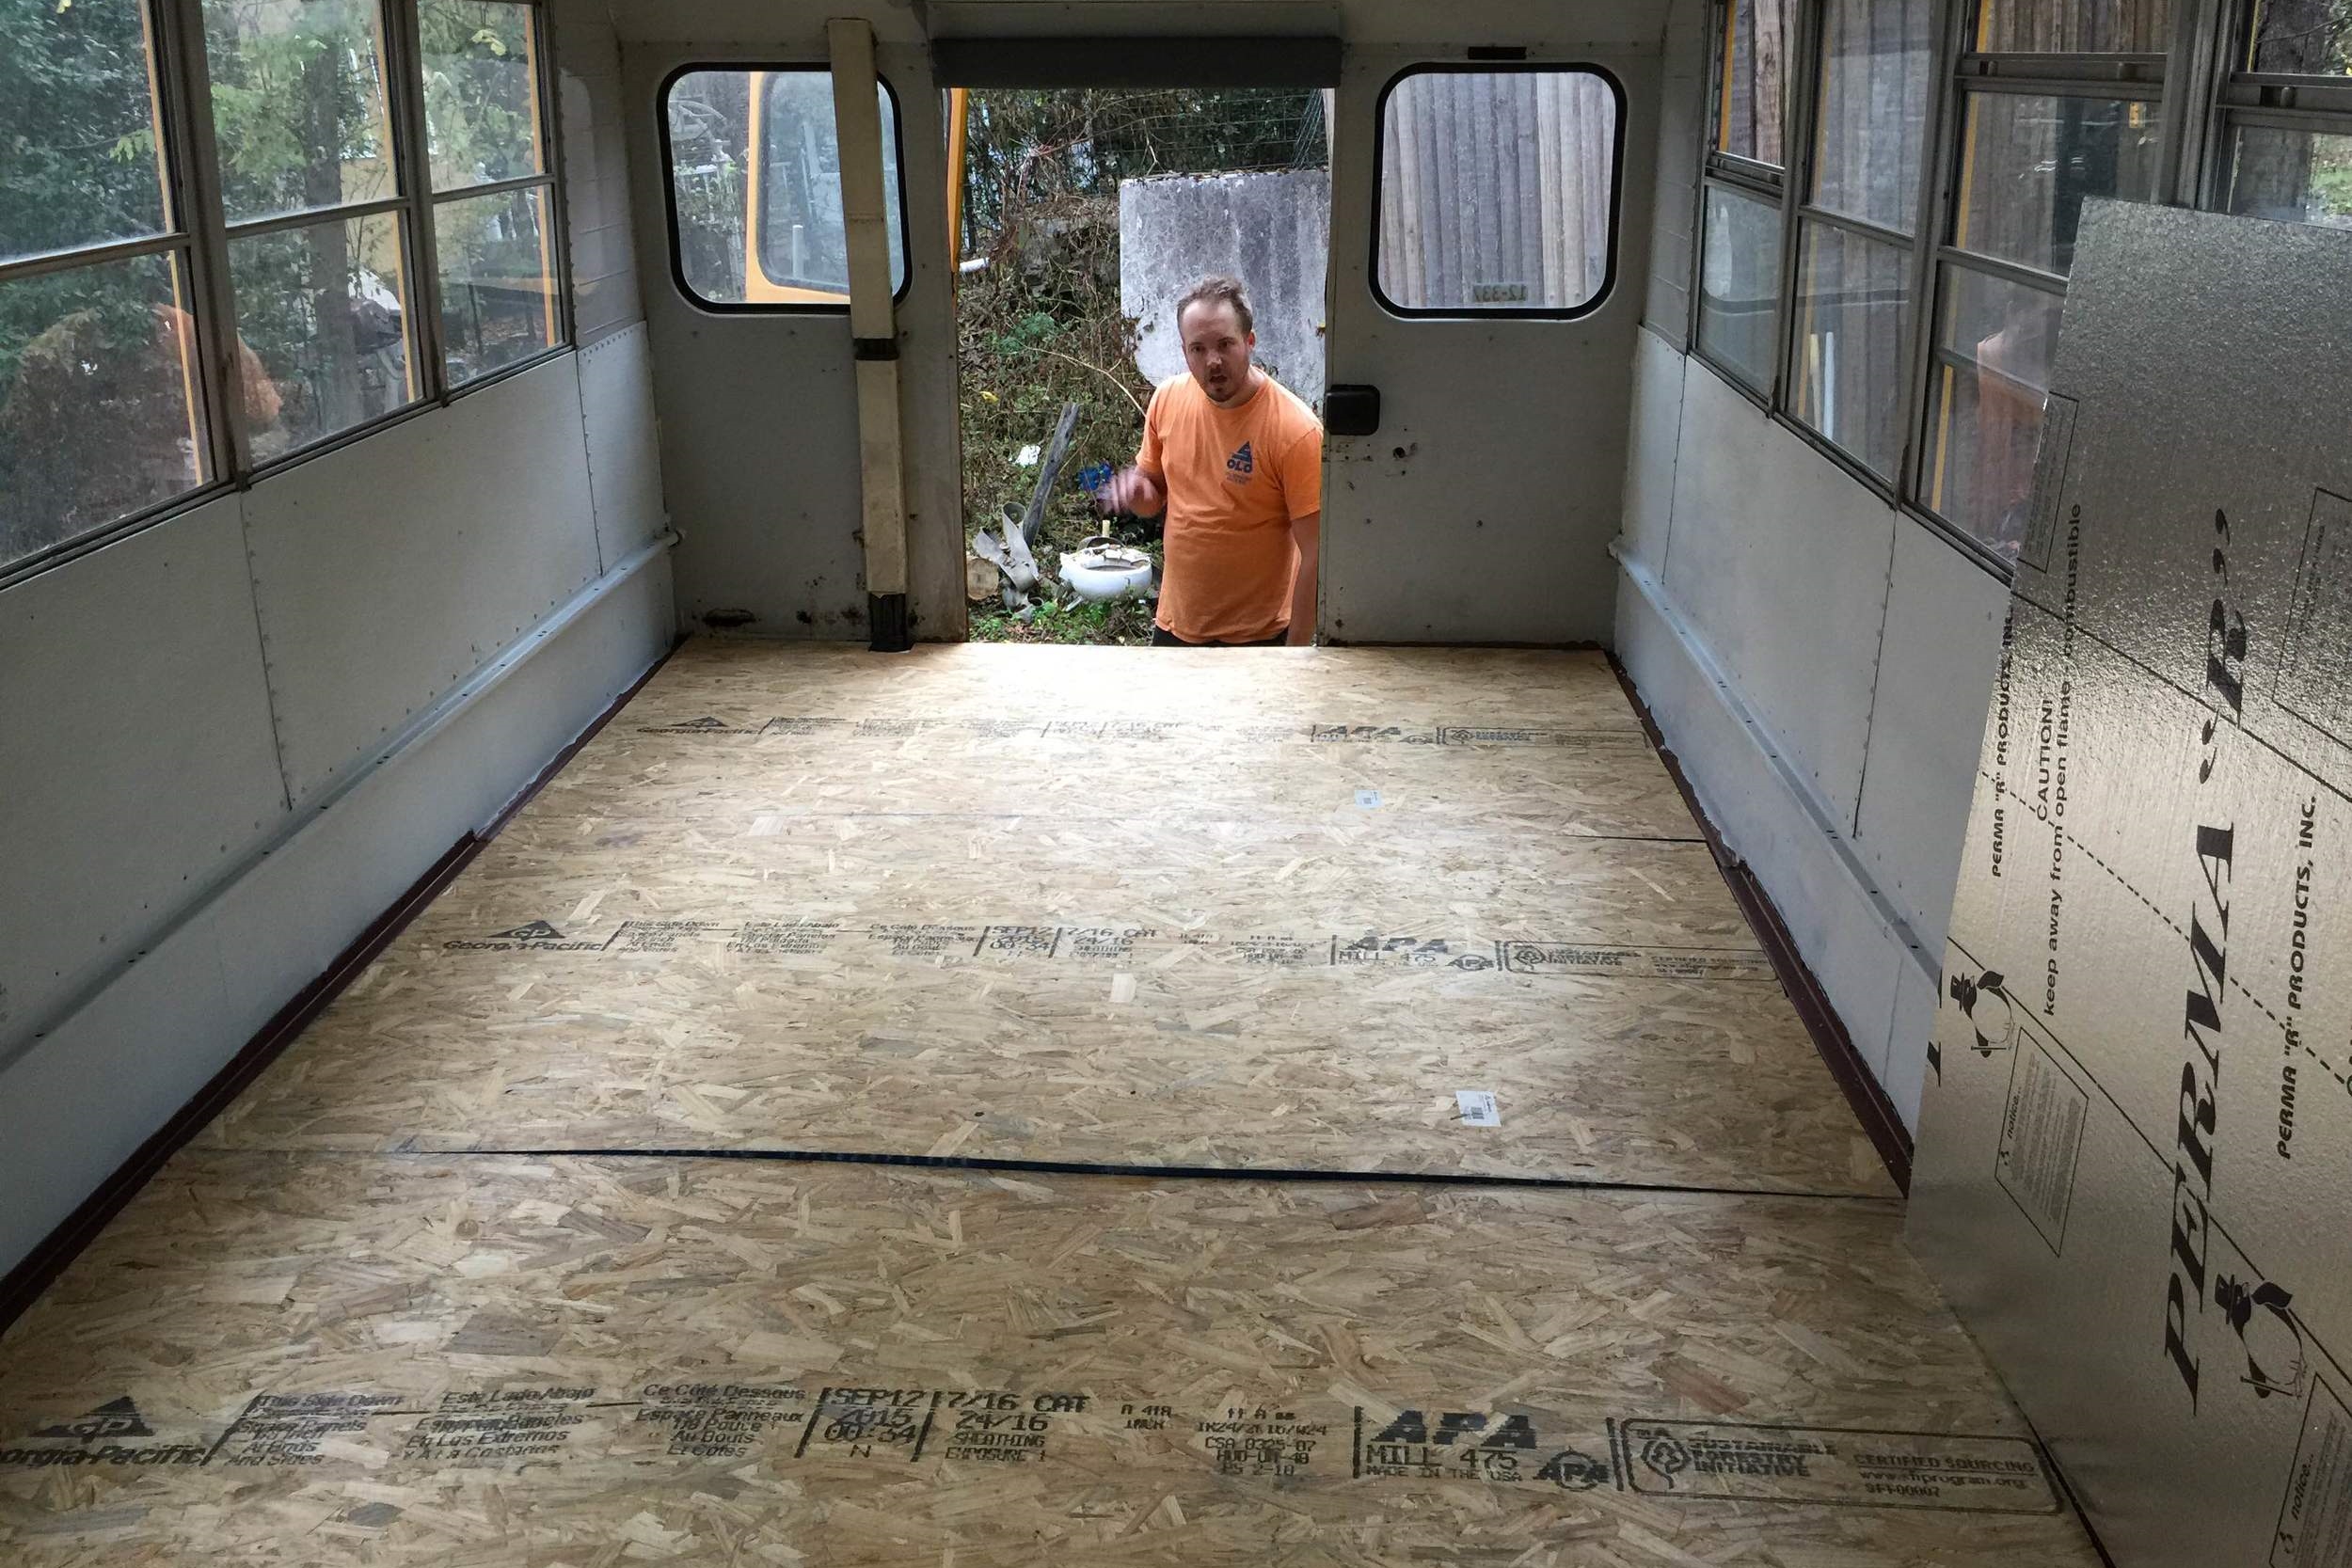
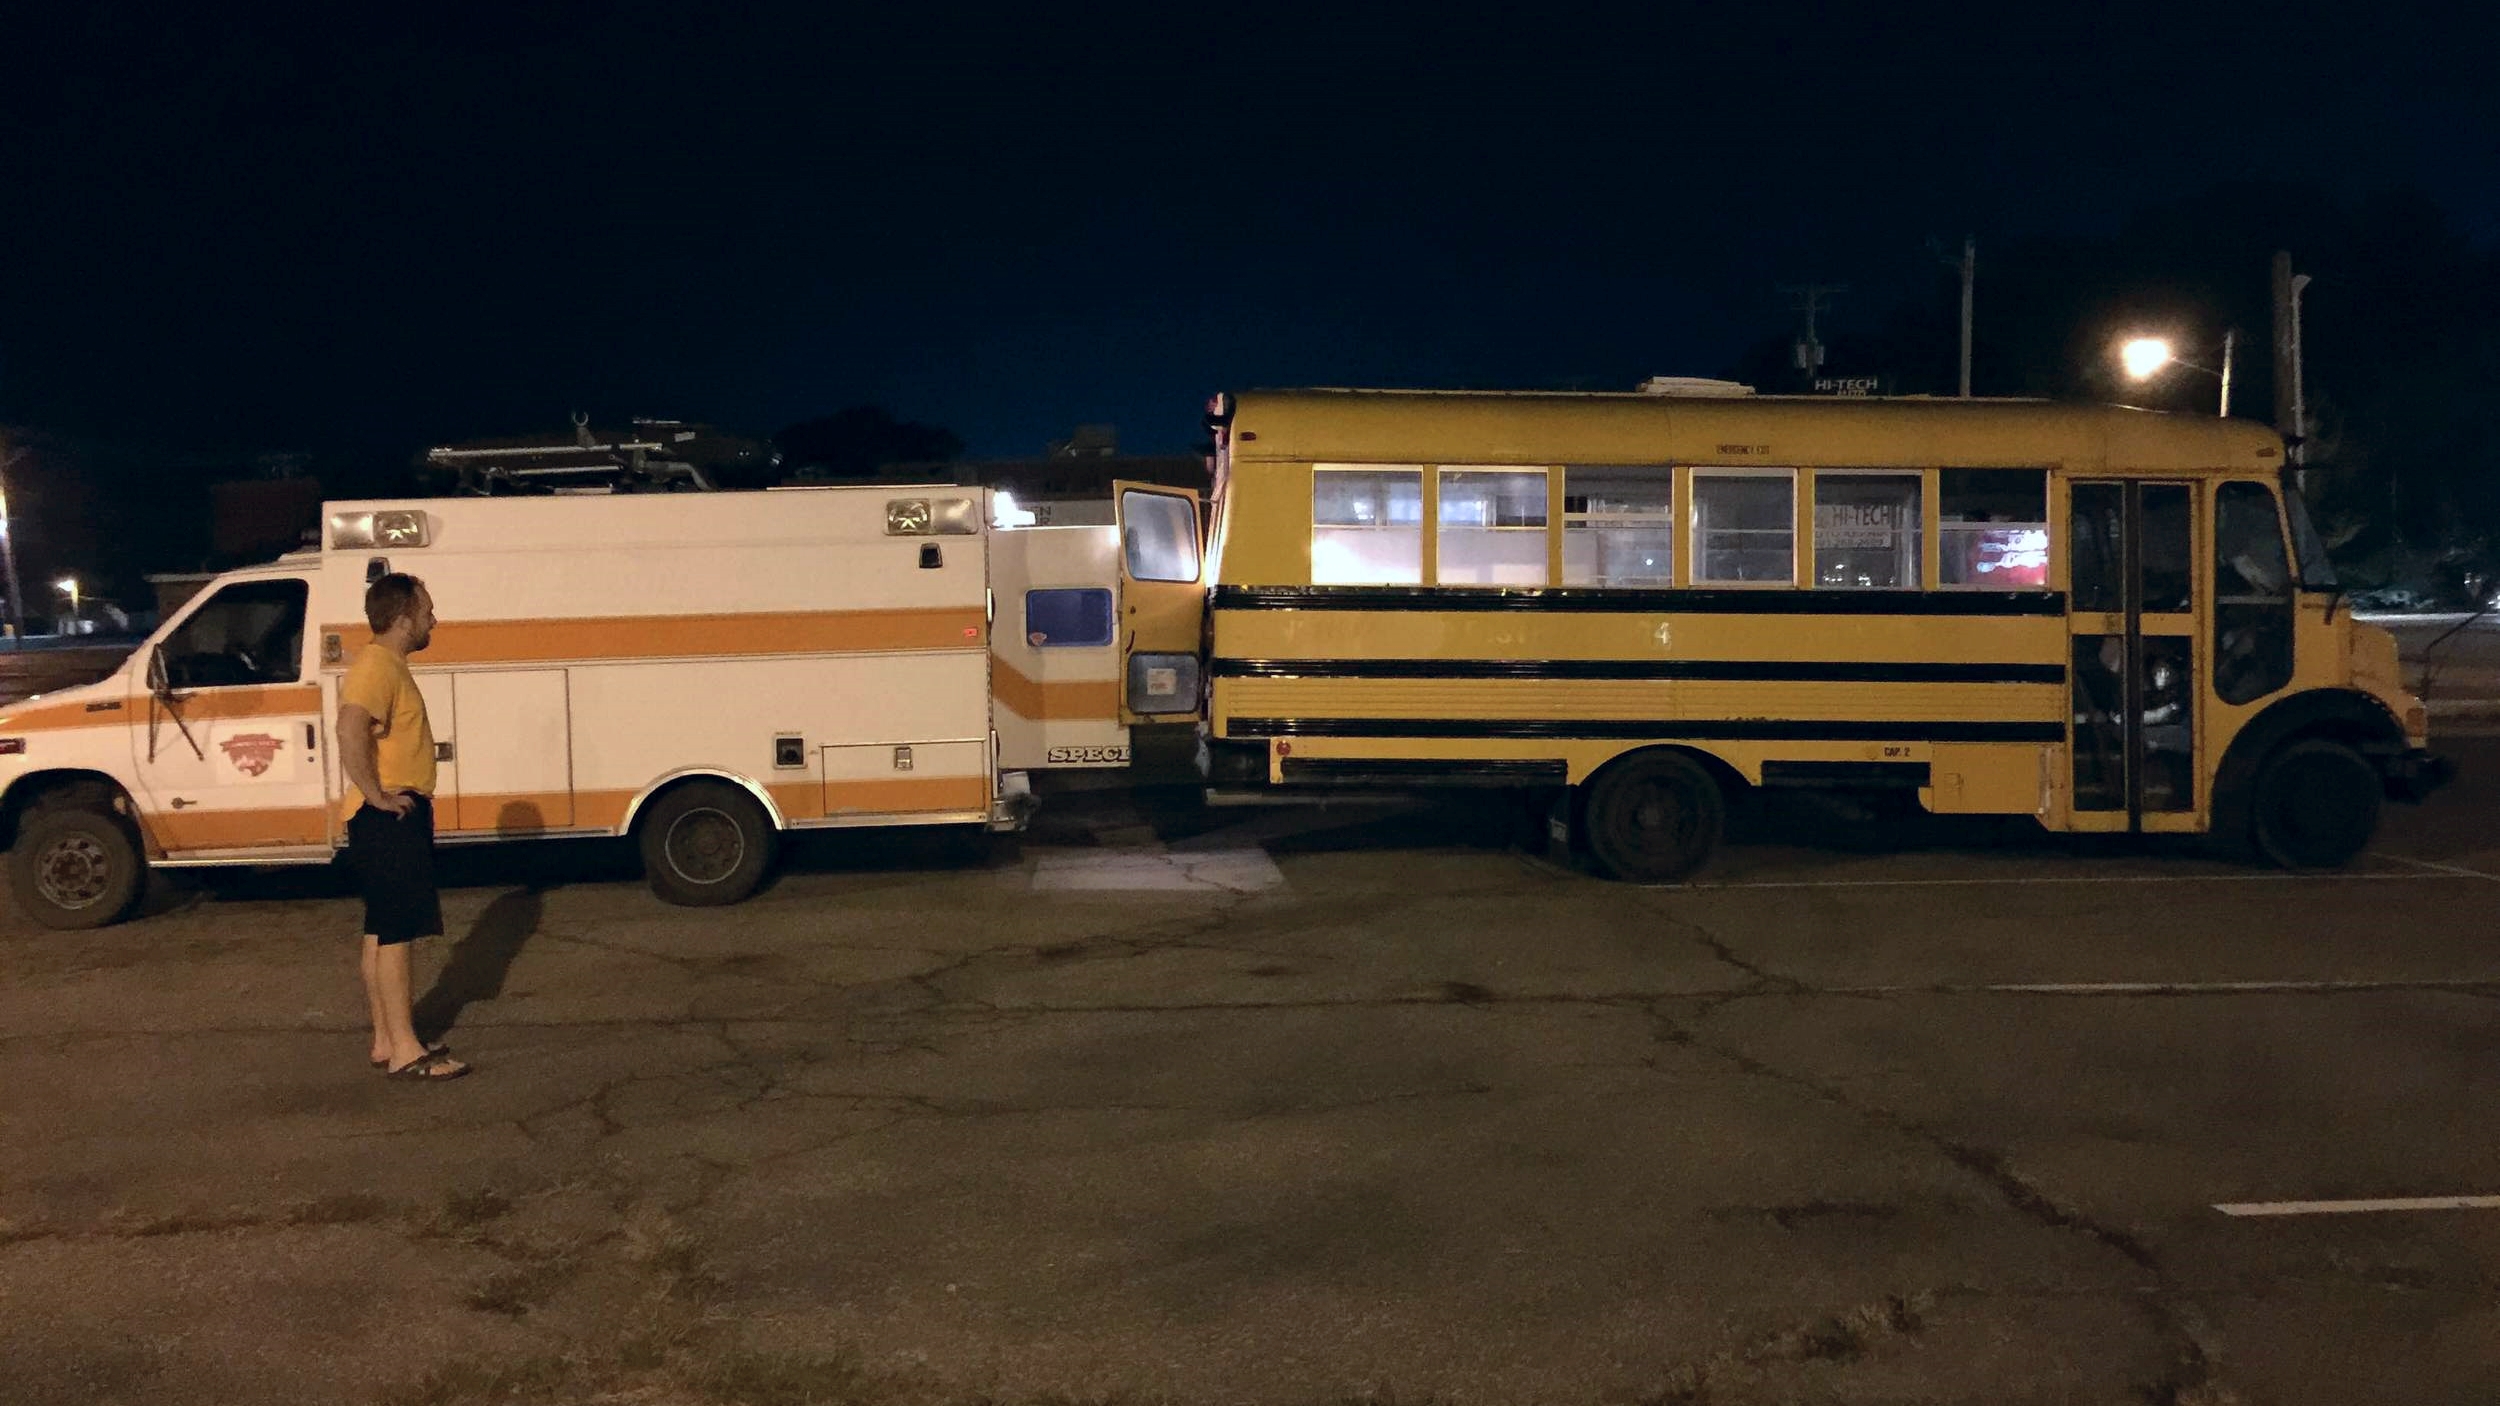
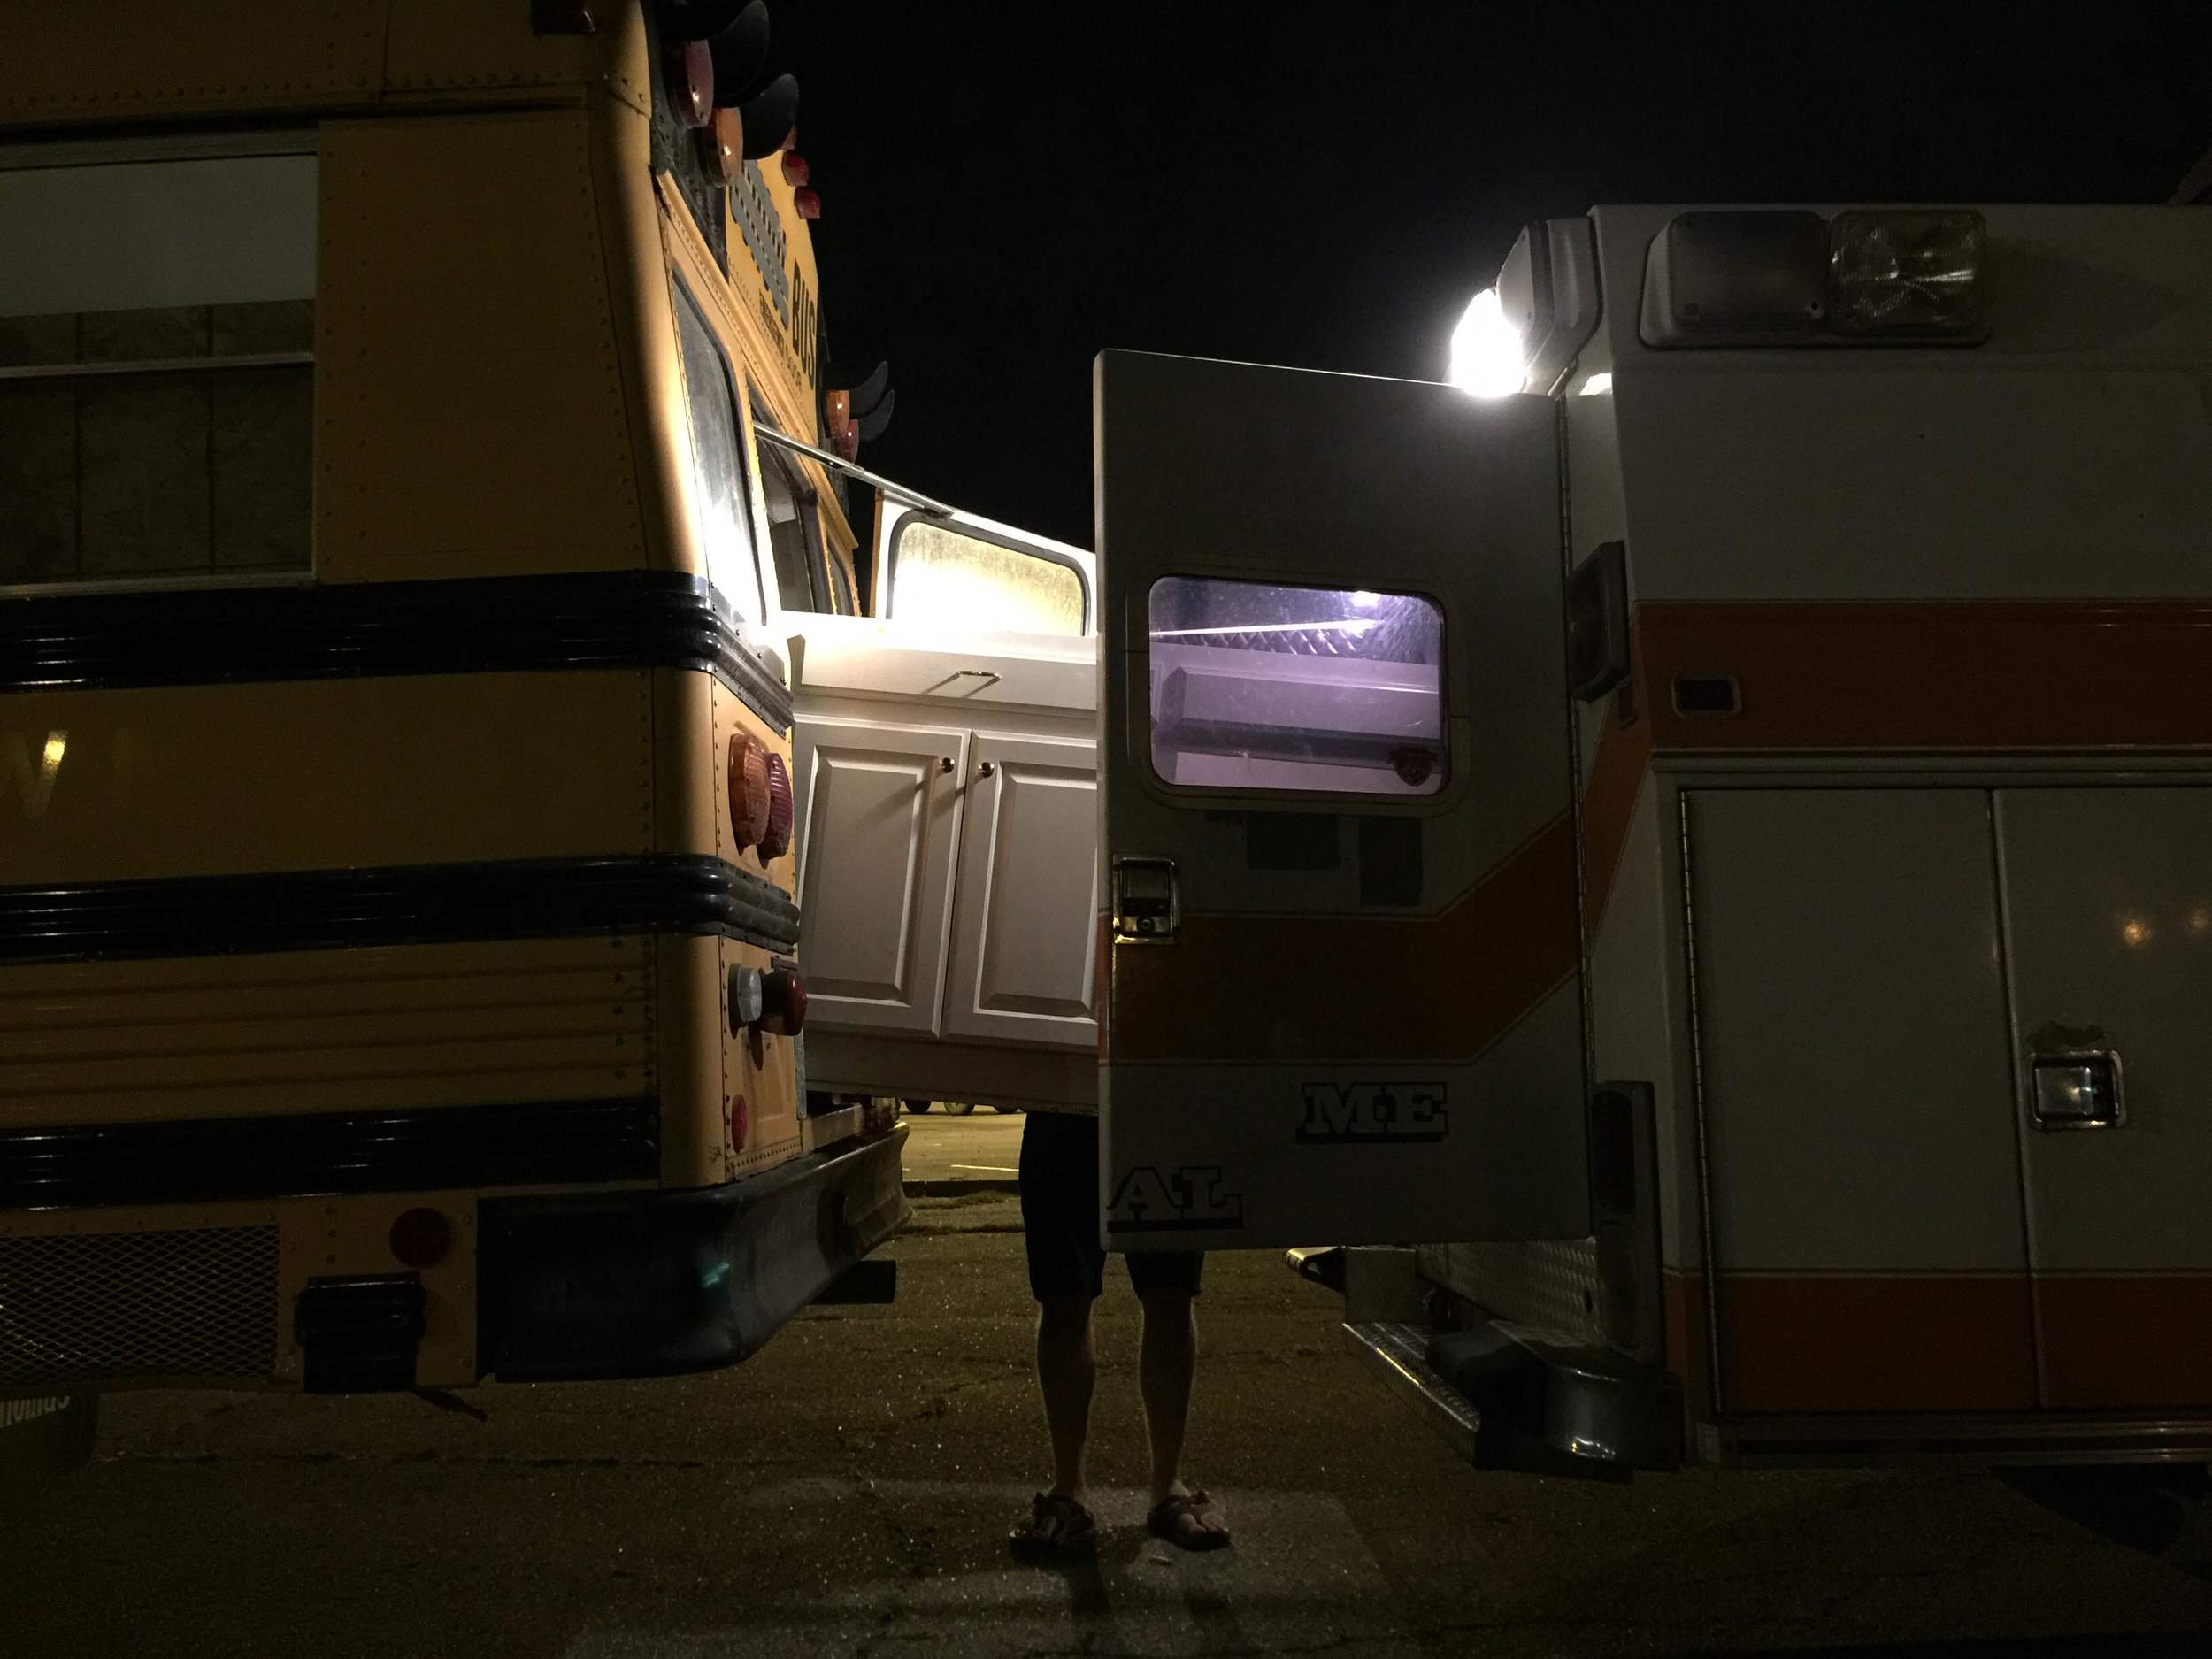
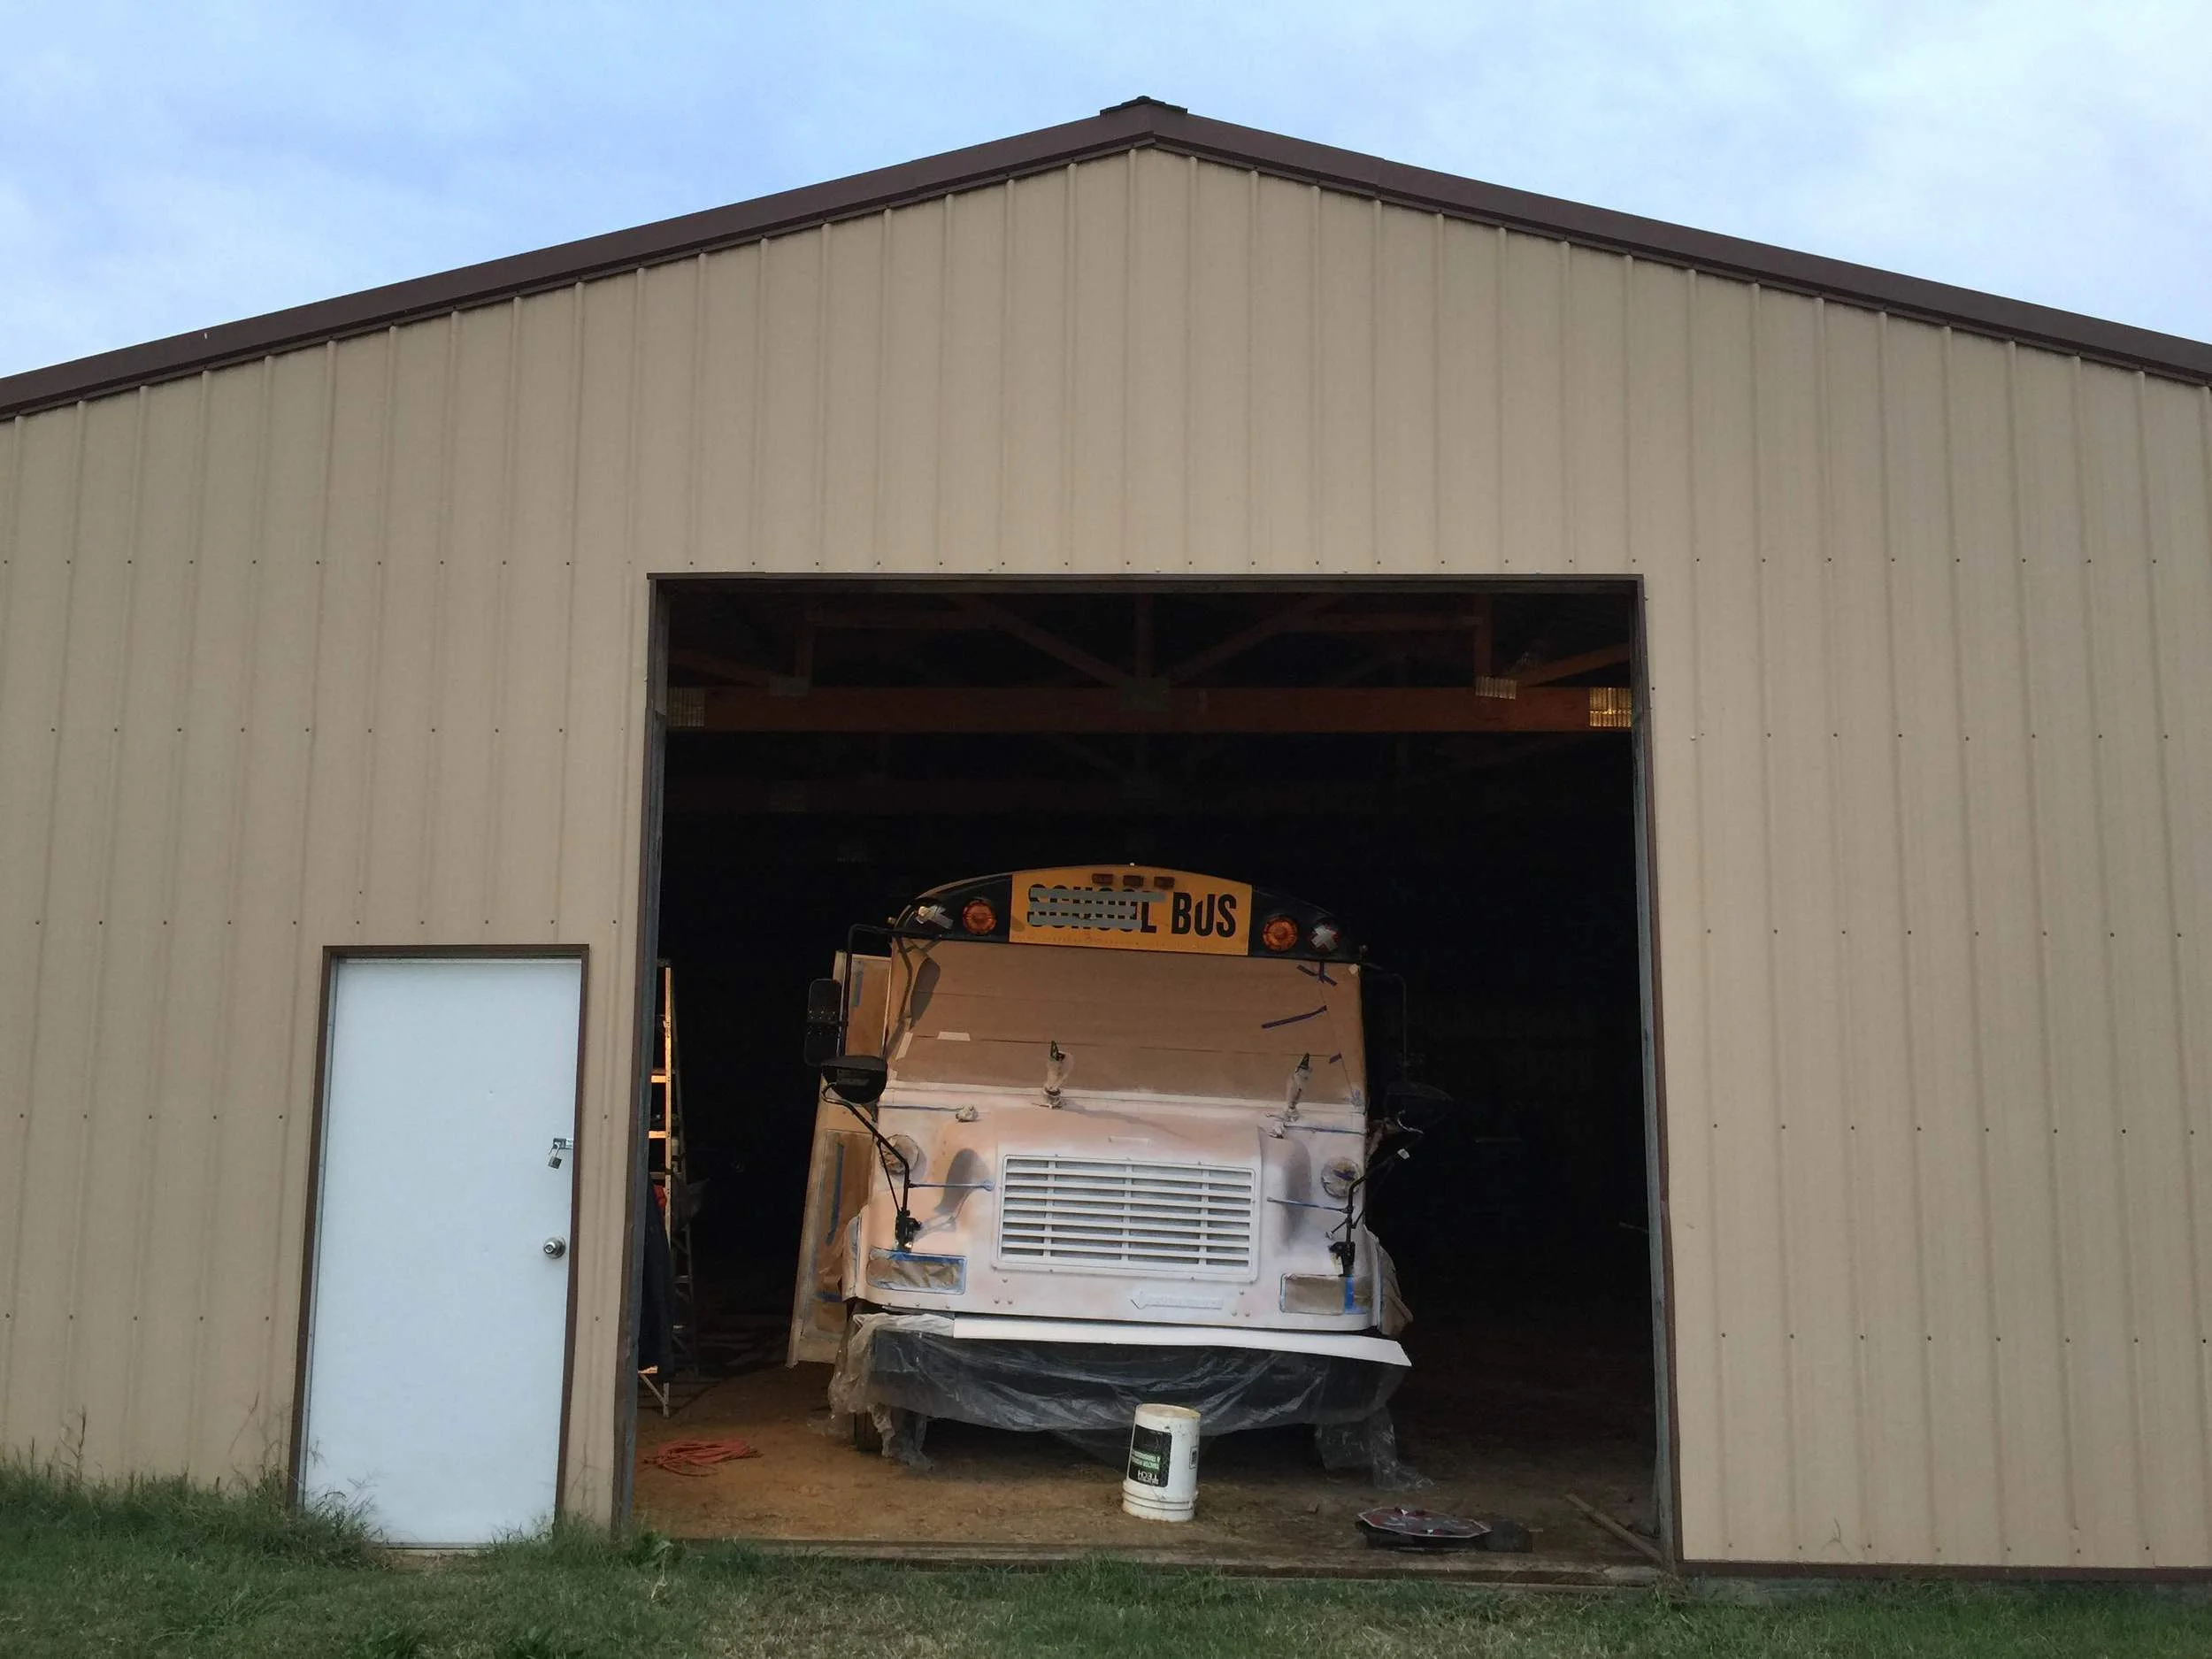
We backed Stubbs into her temporary home, a roofed barn that would protect her fragile new paint from the elements until it fully dries. Working at Willy's backyard has been excellent, but for this stage we needed protection.
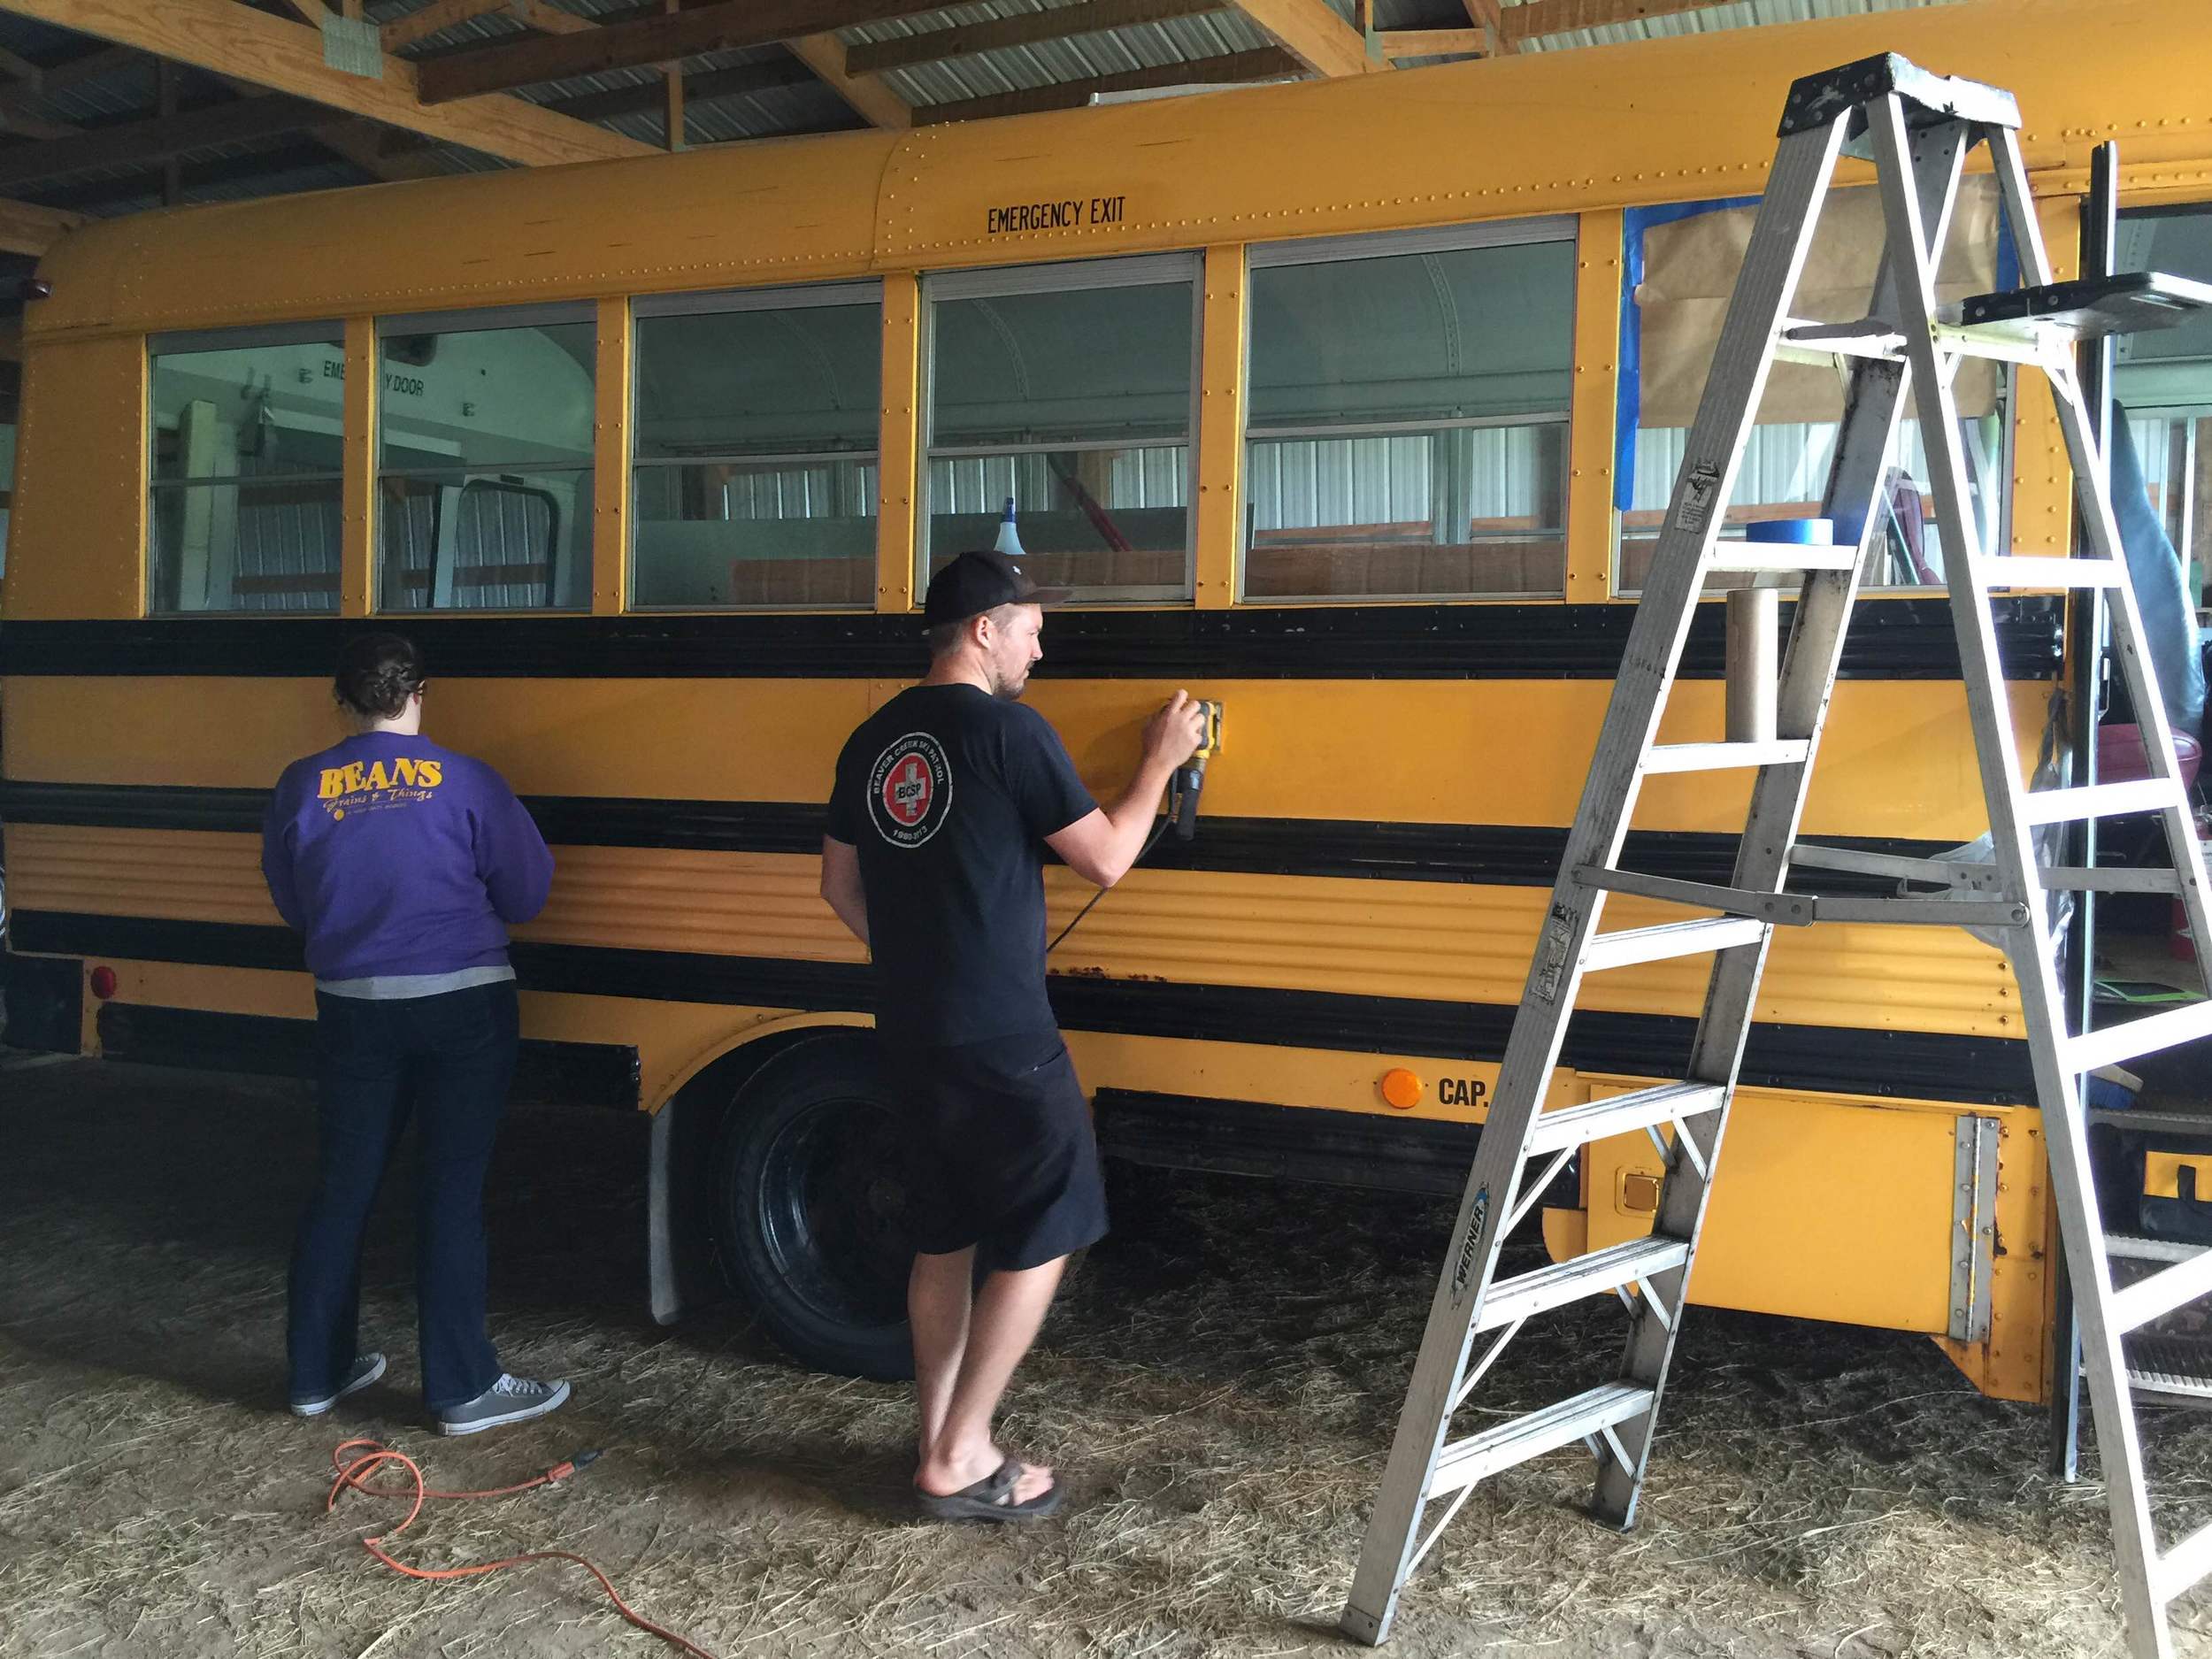
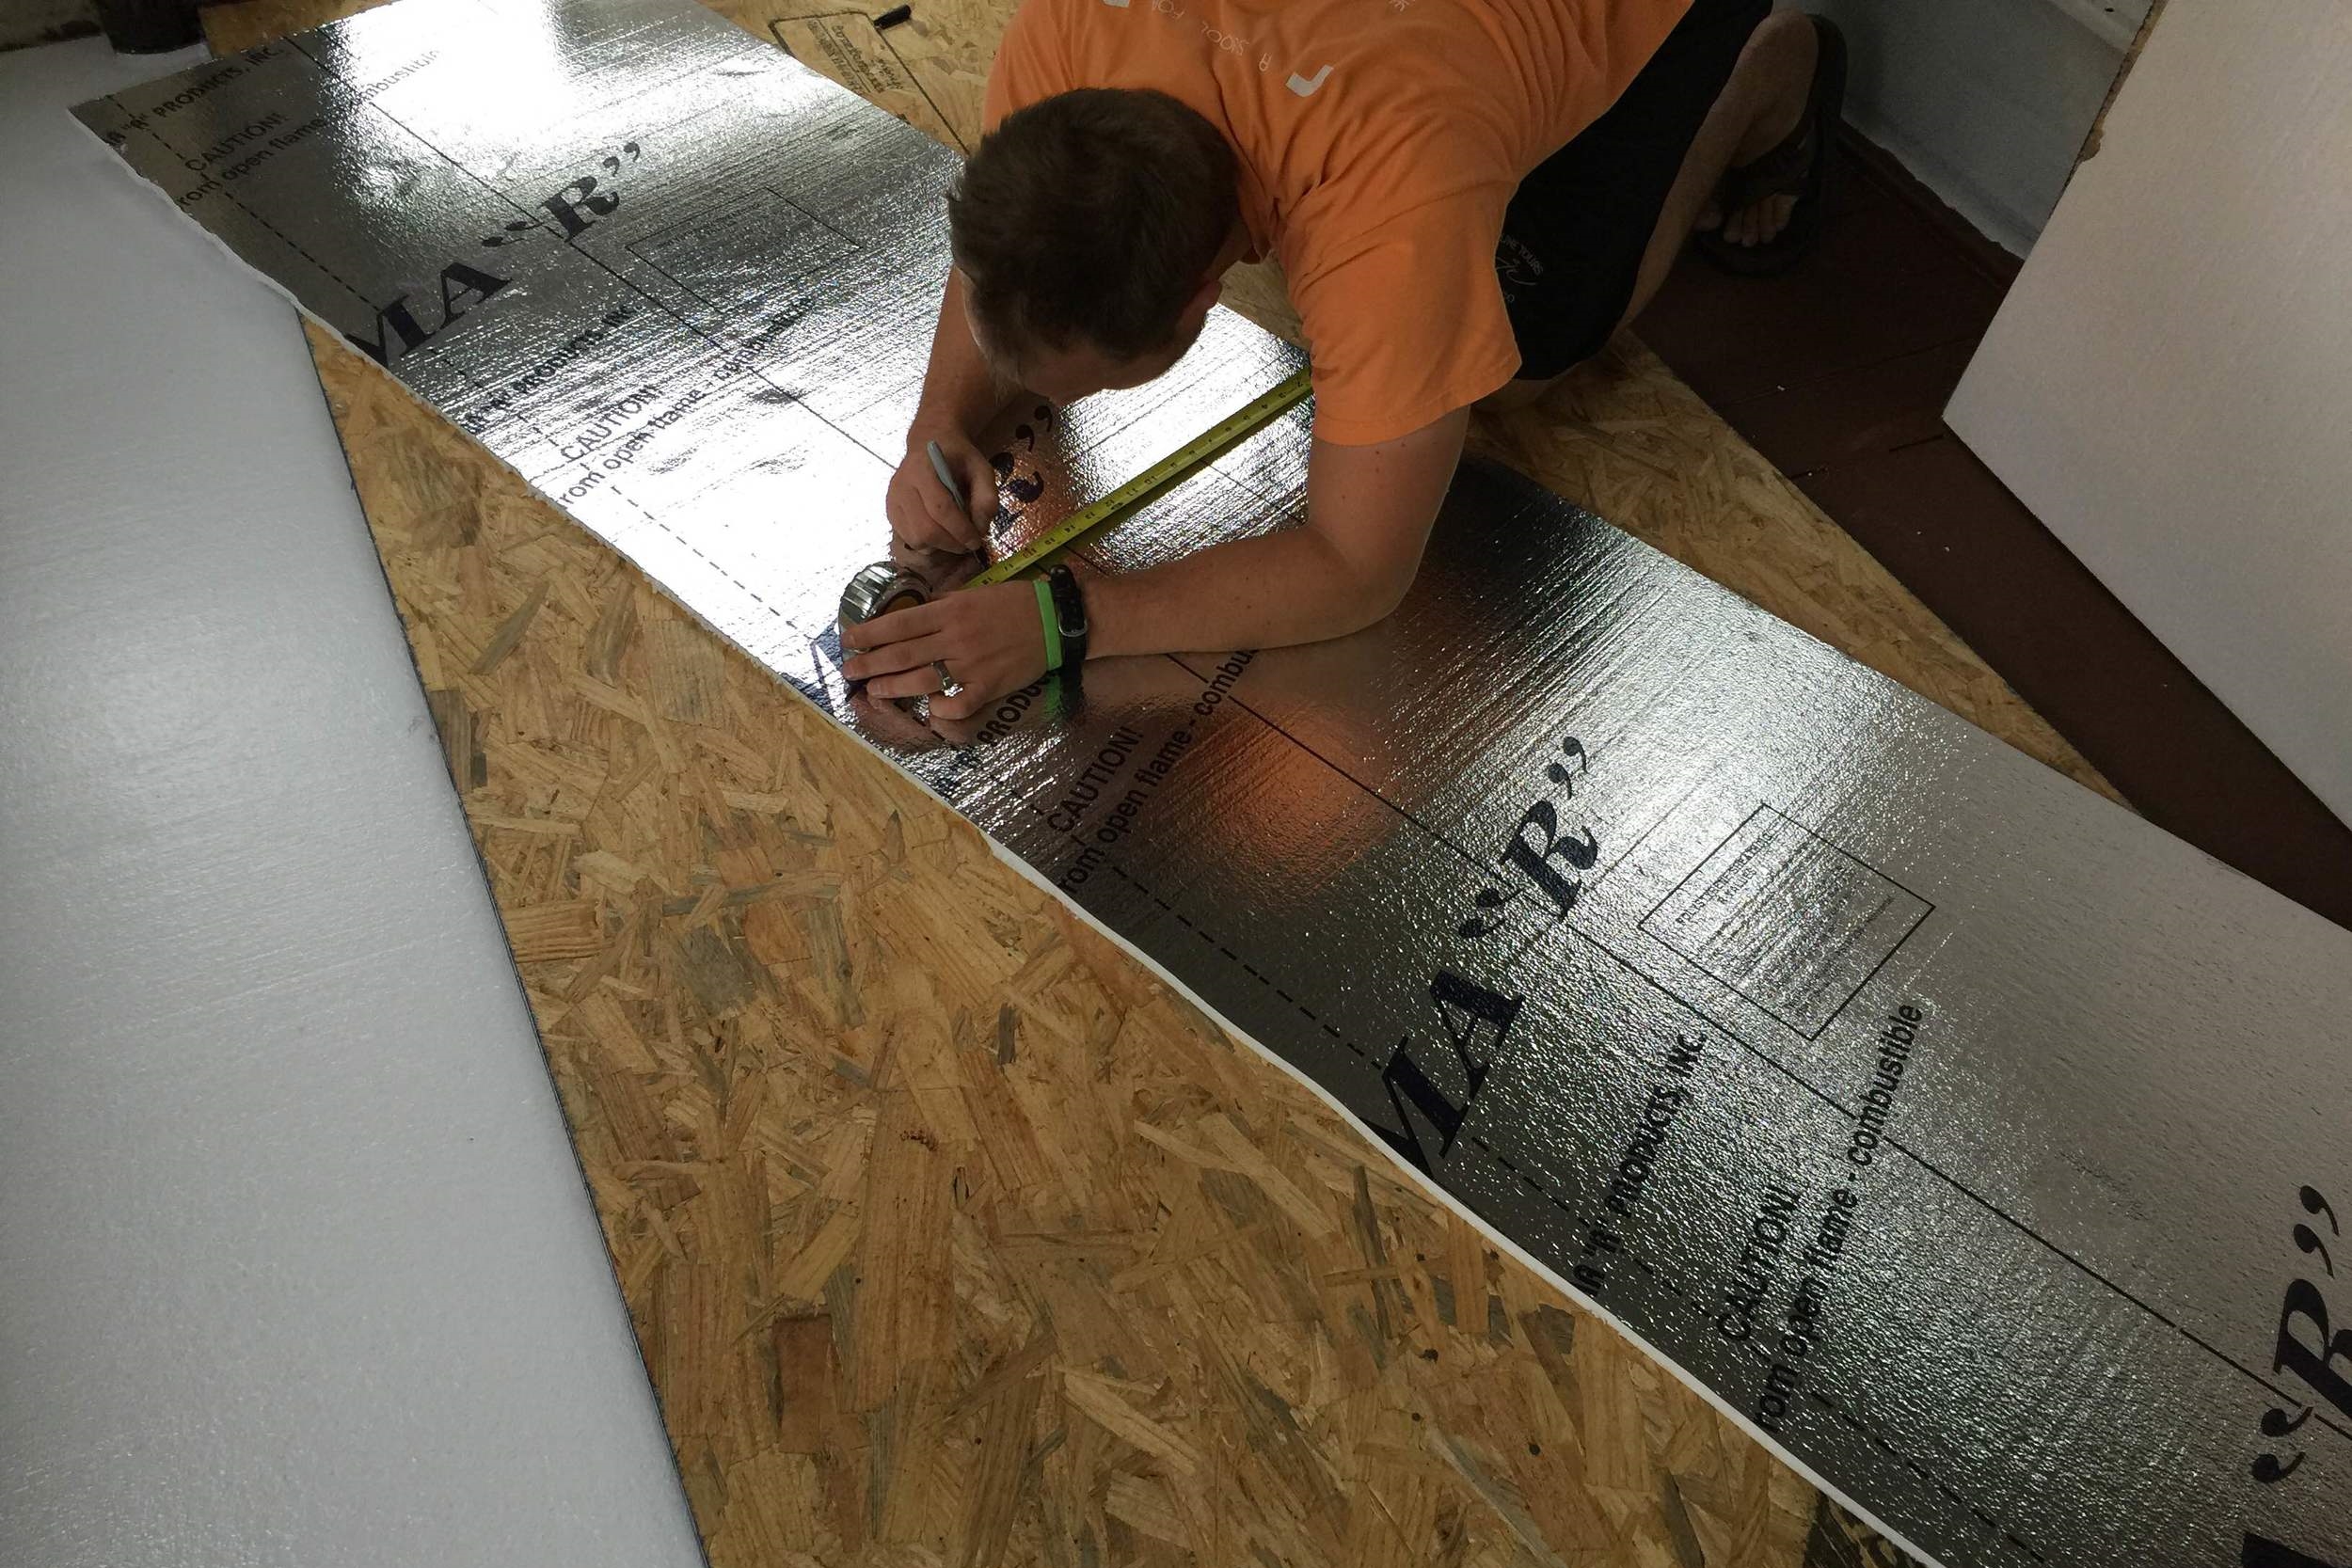
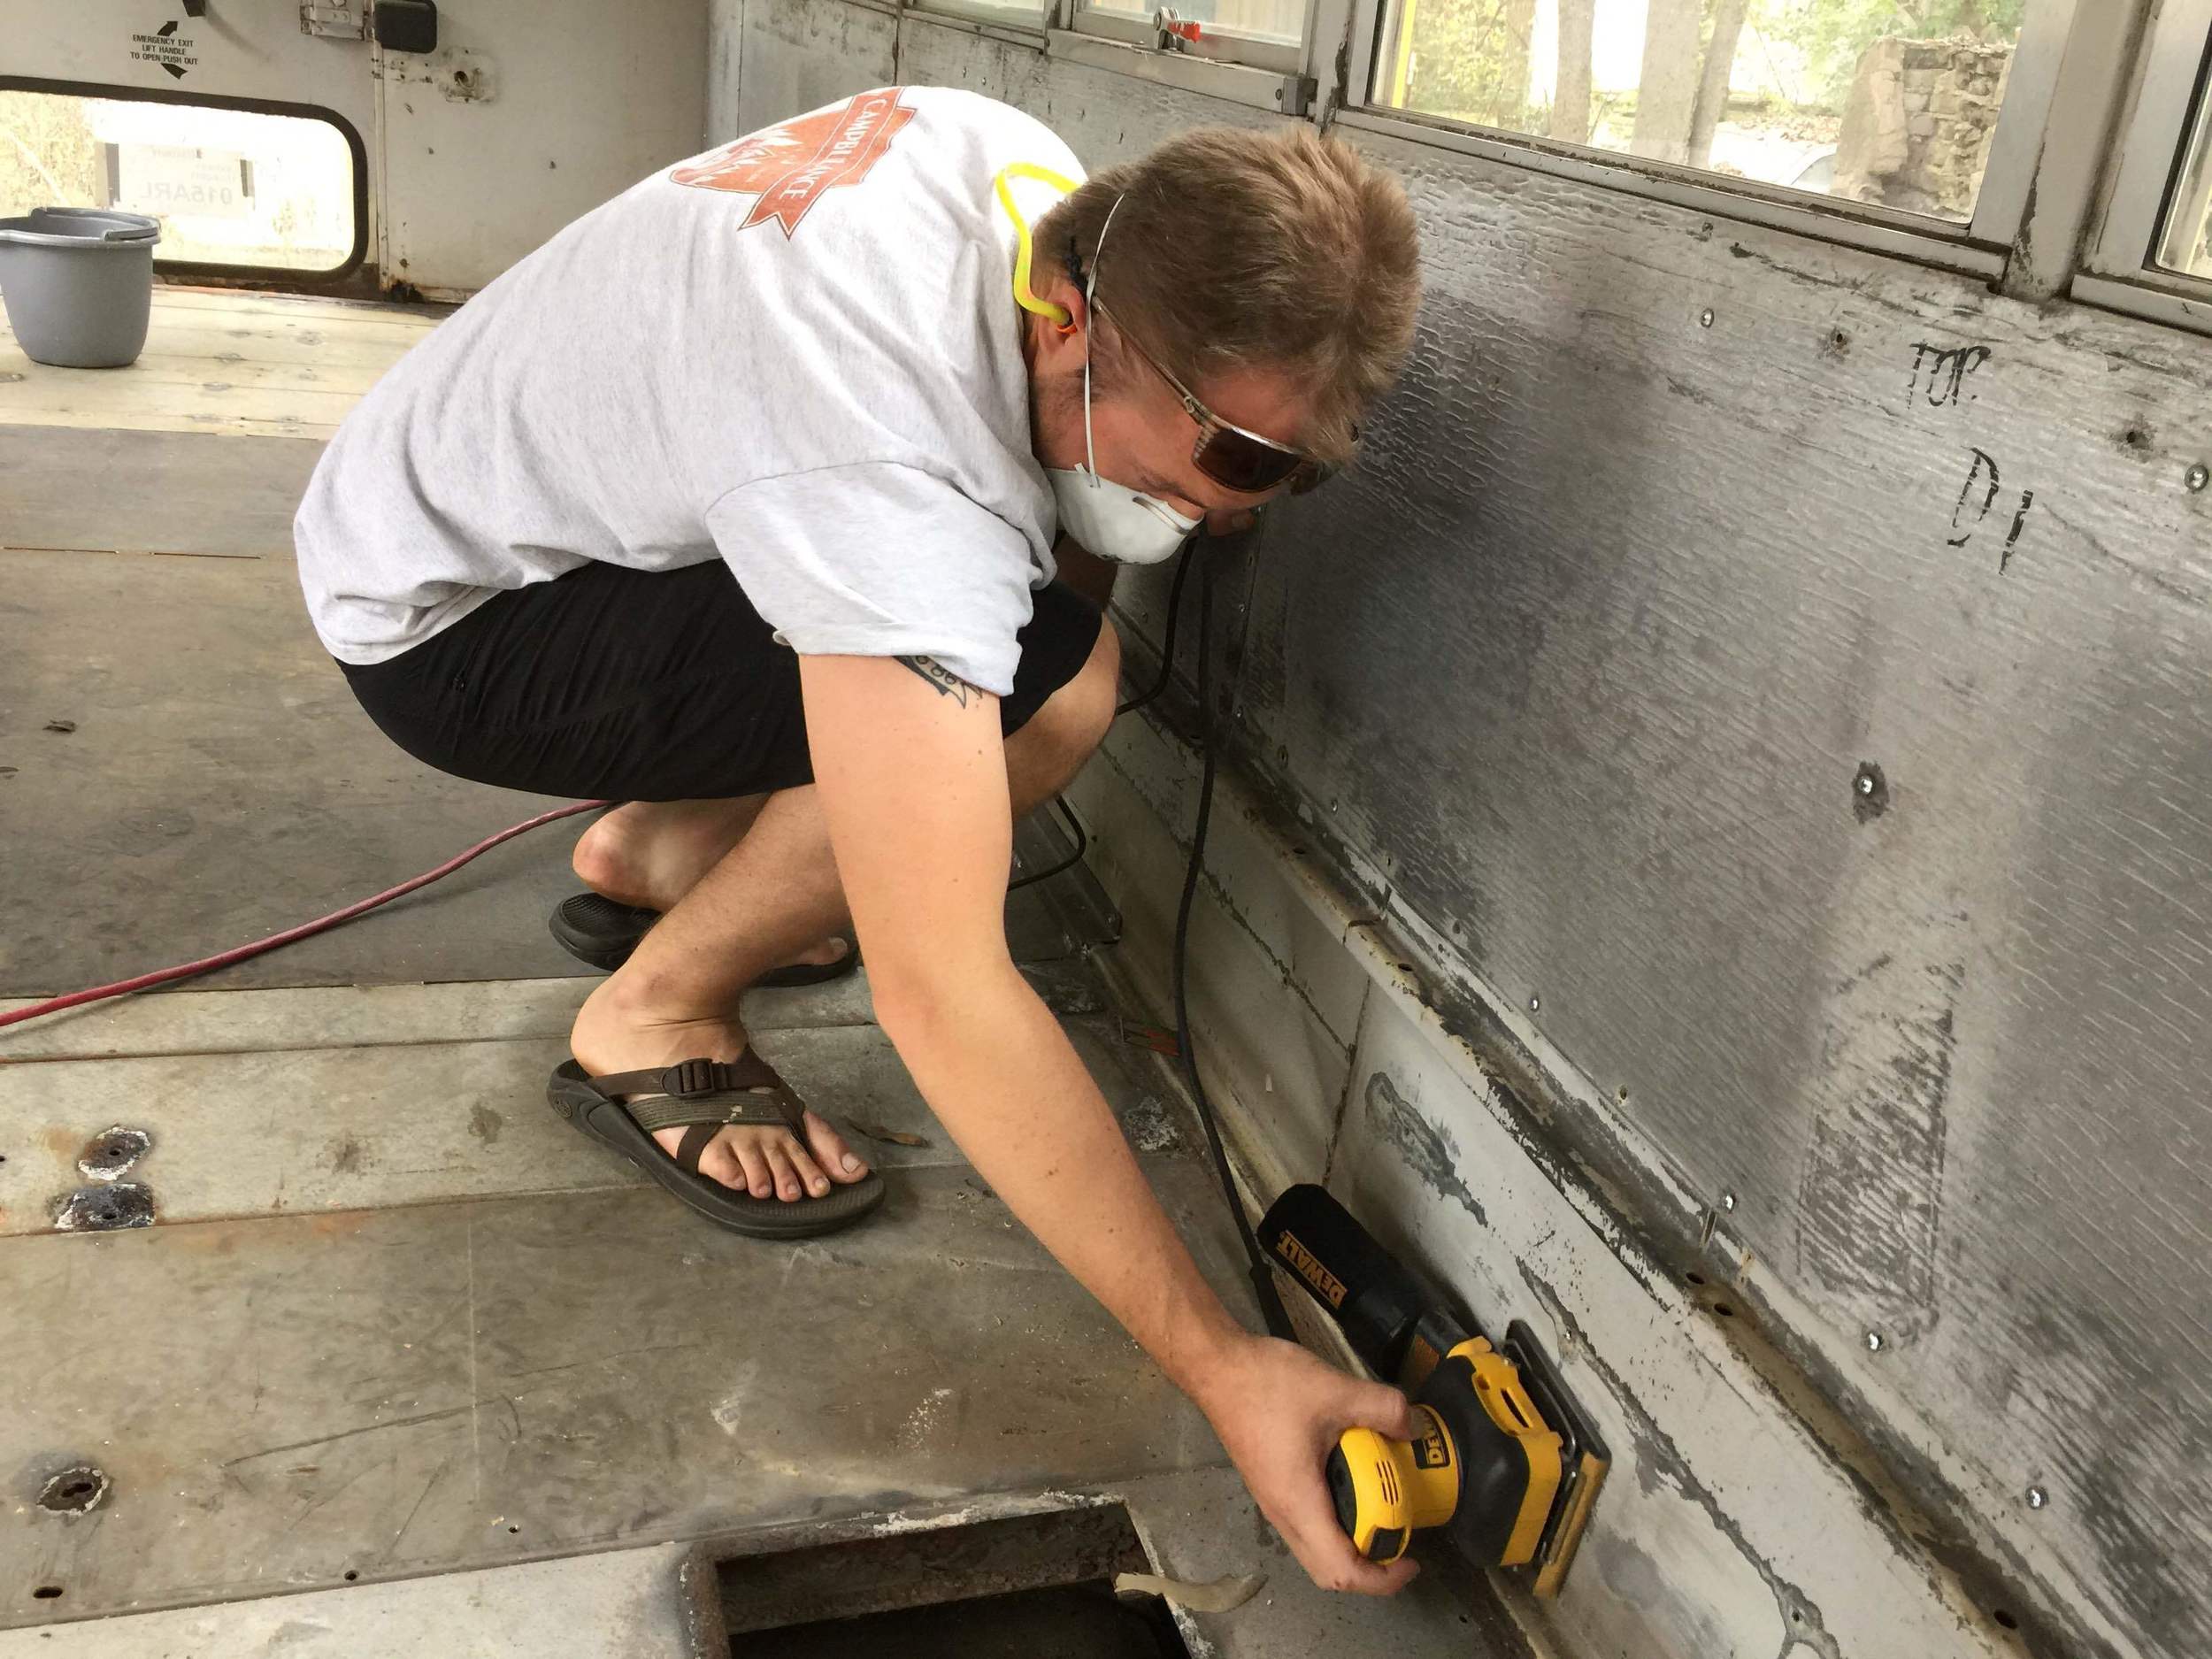
Ask anyone who has painted anything well, and they'll tell you: prep is 90% of the work in painting. We washed earlier, and then it was time for sanding the glossy black rub rails and taping off the windows and trim. These two jobs took a long time.
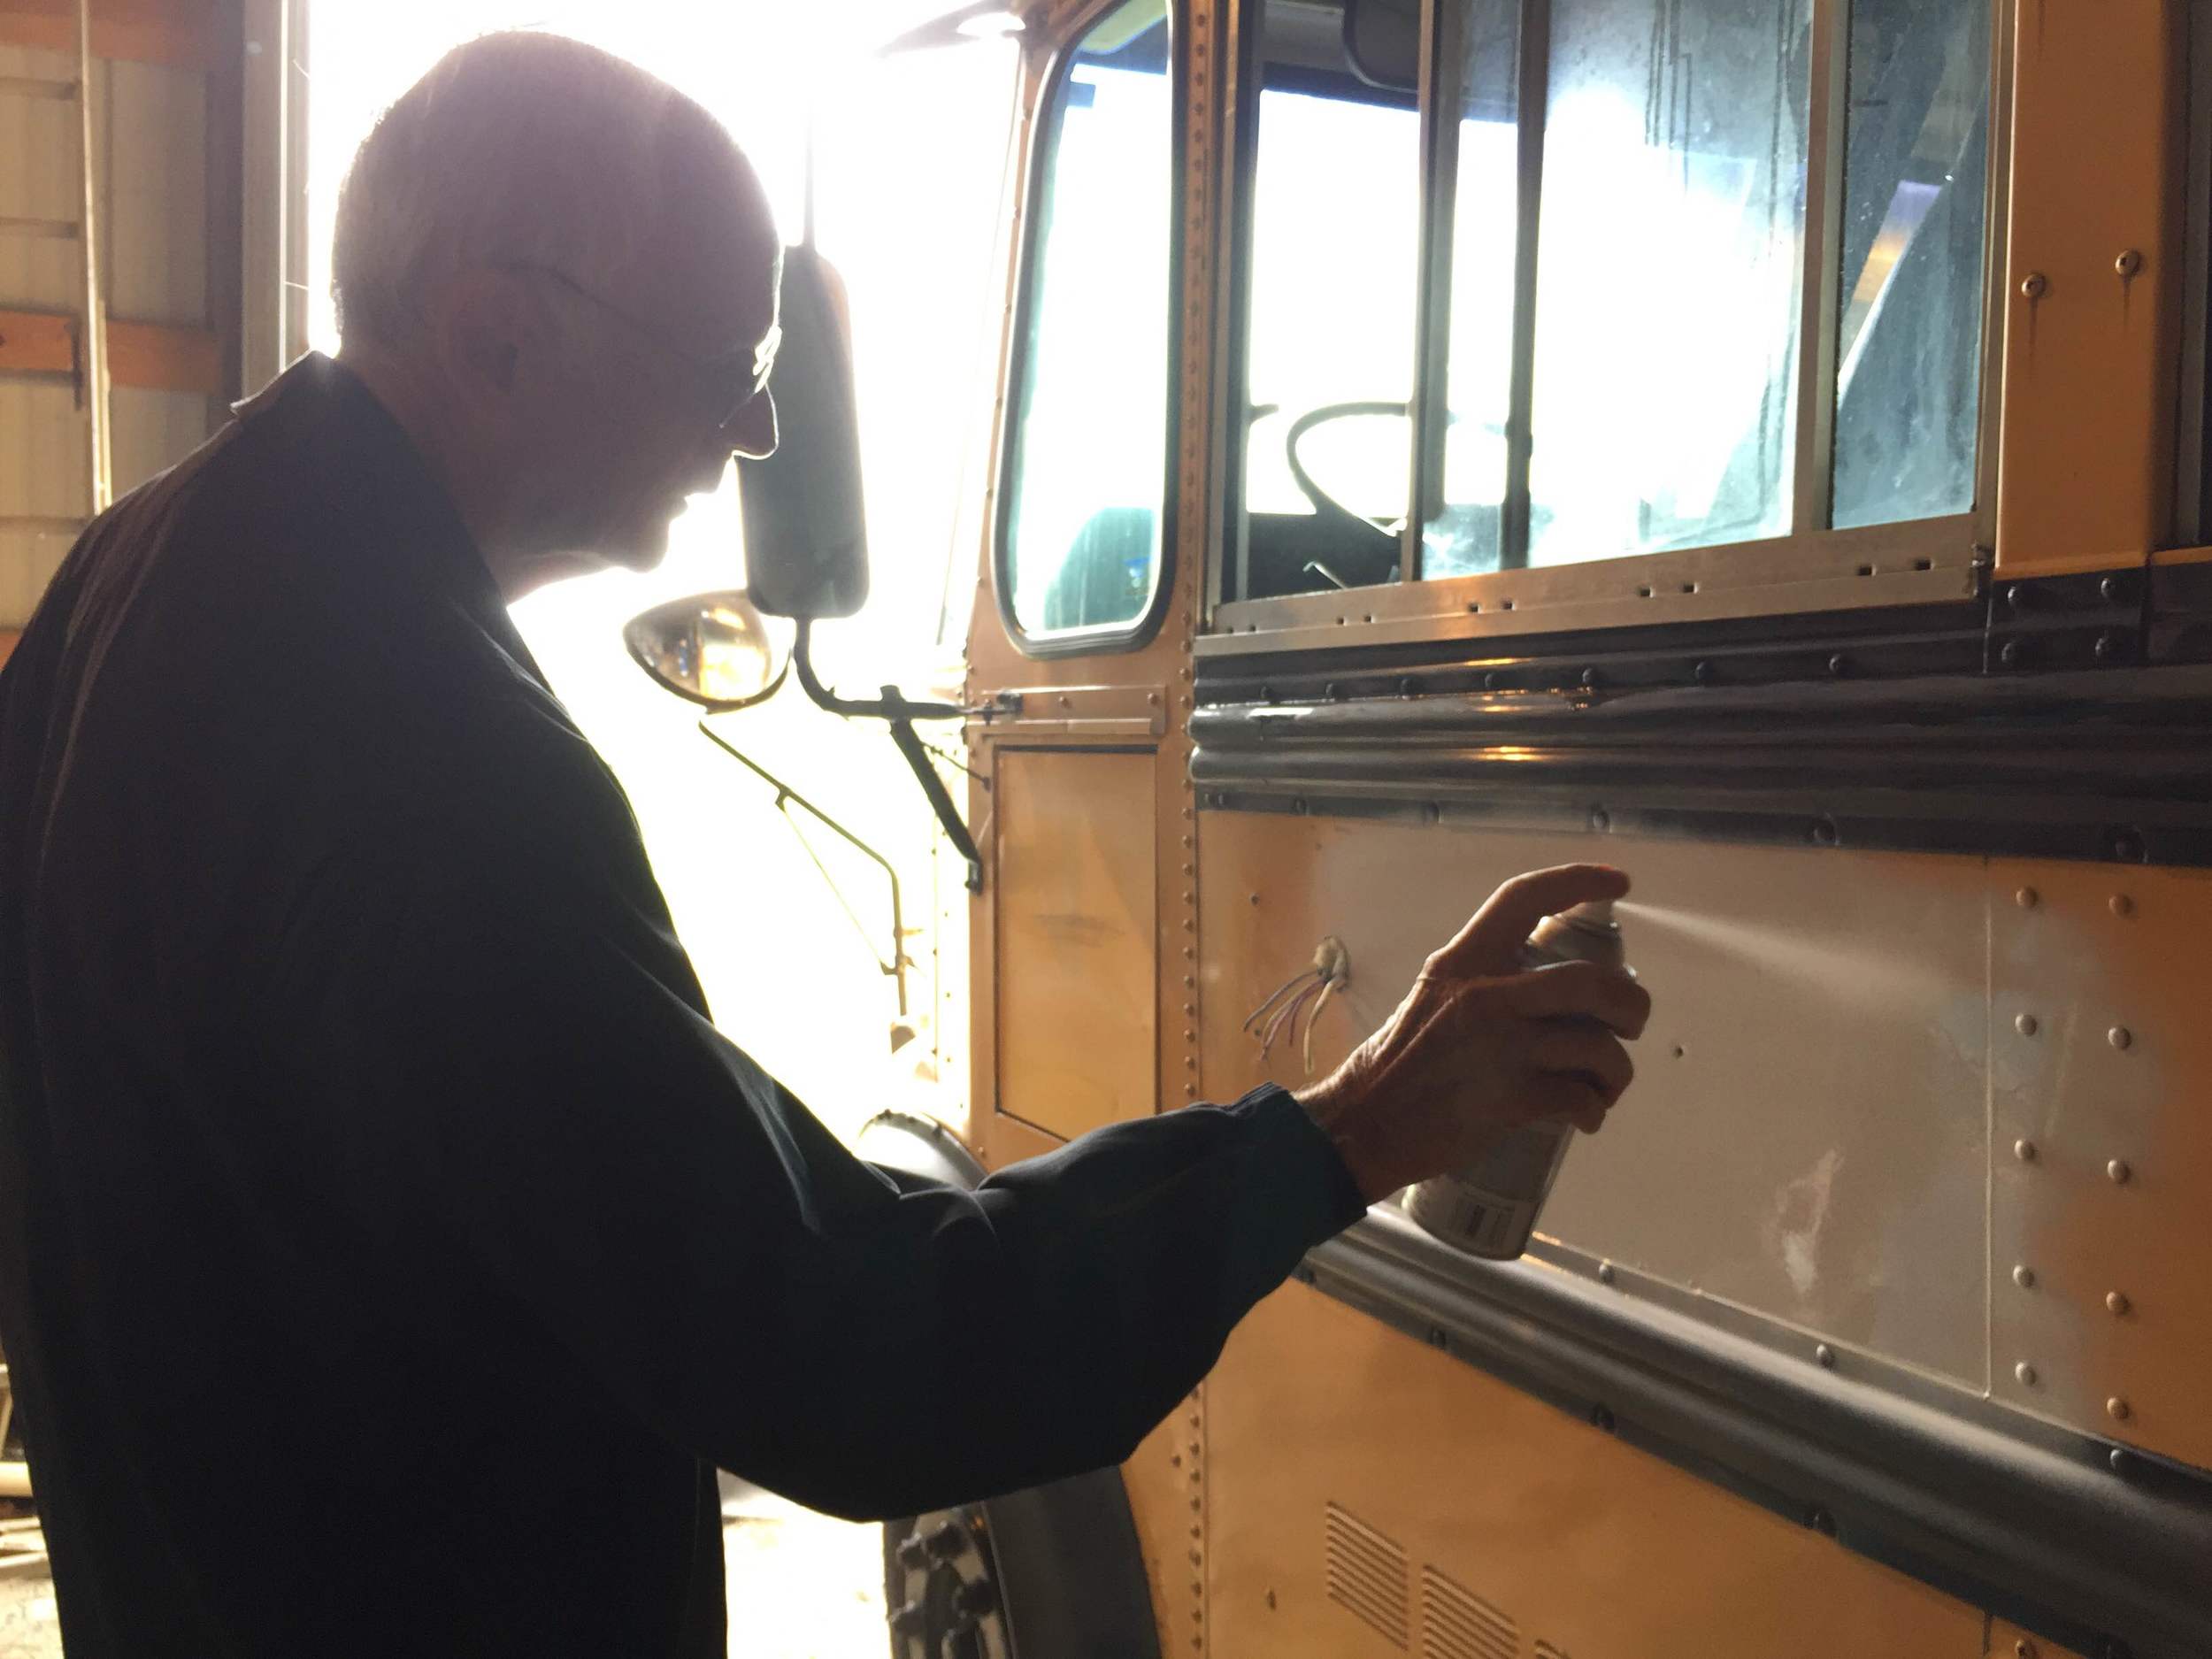
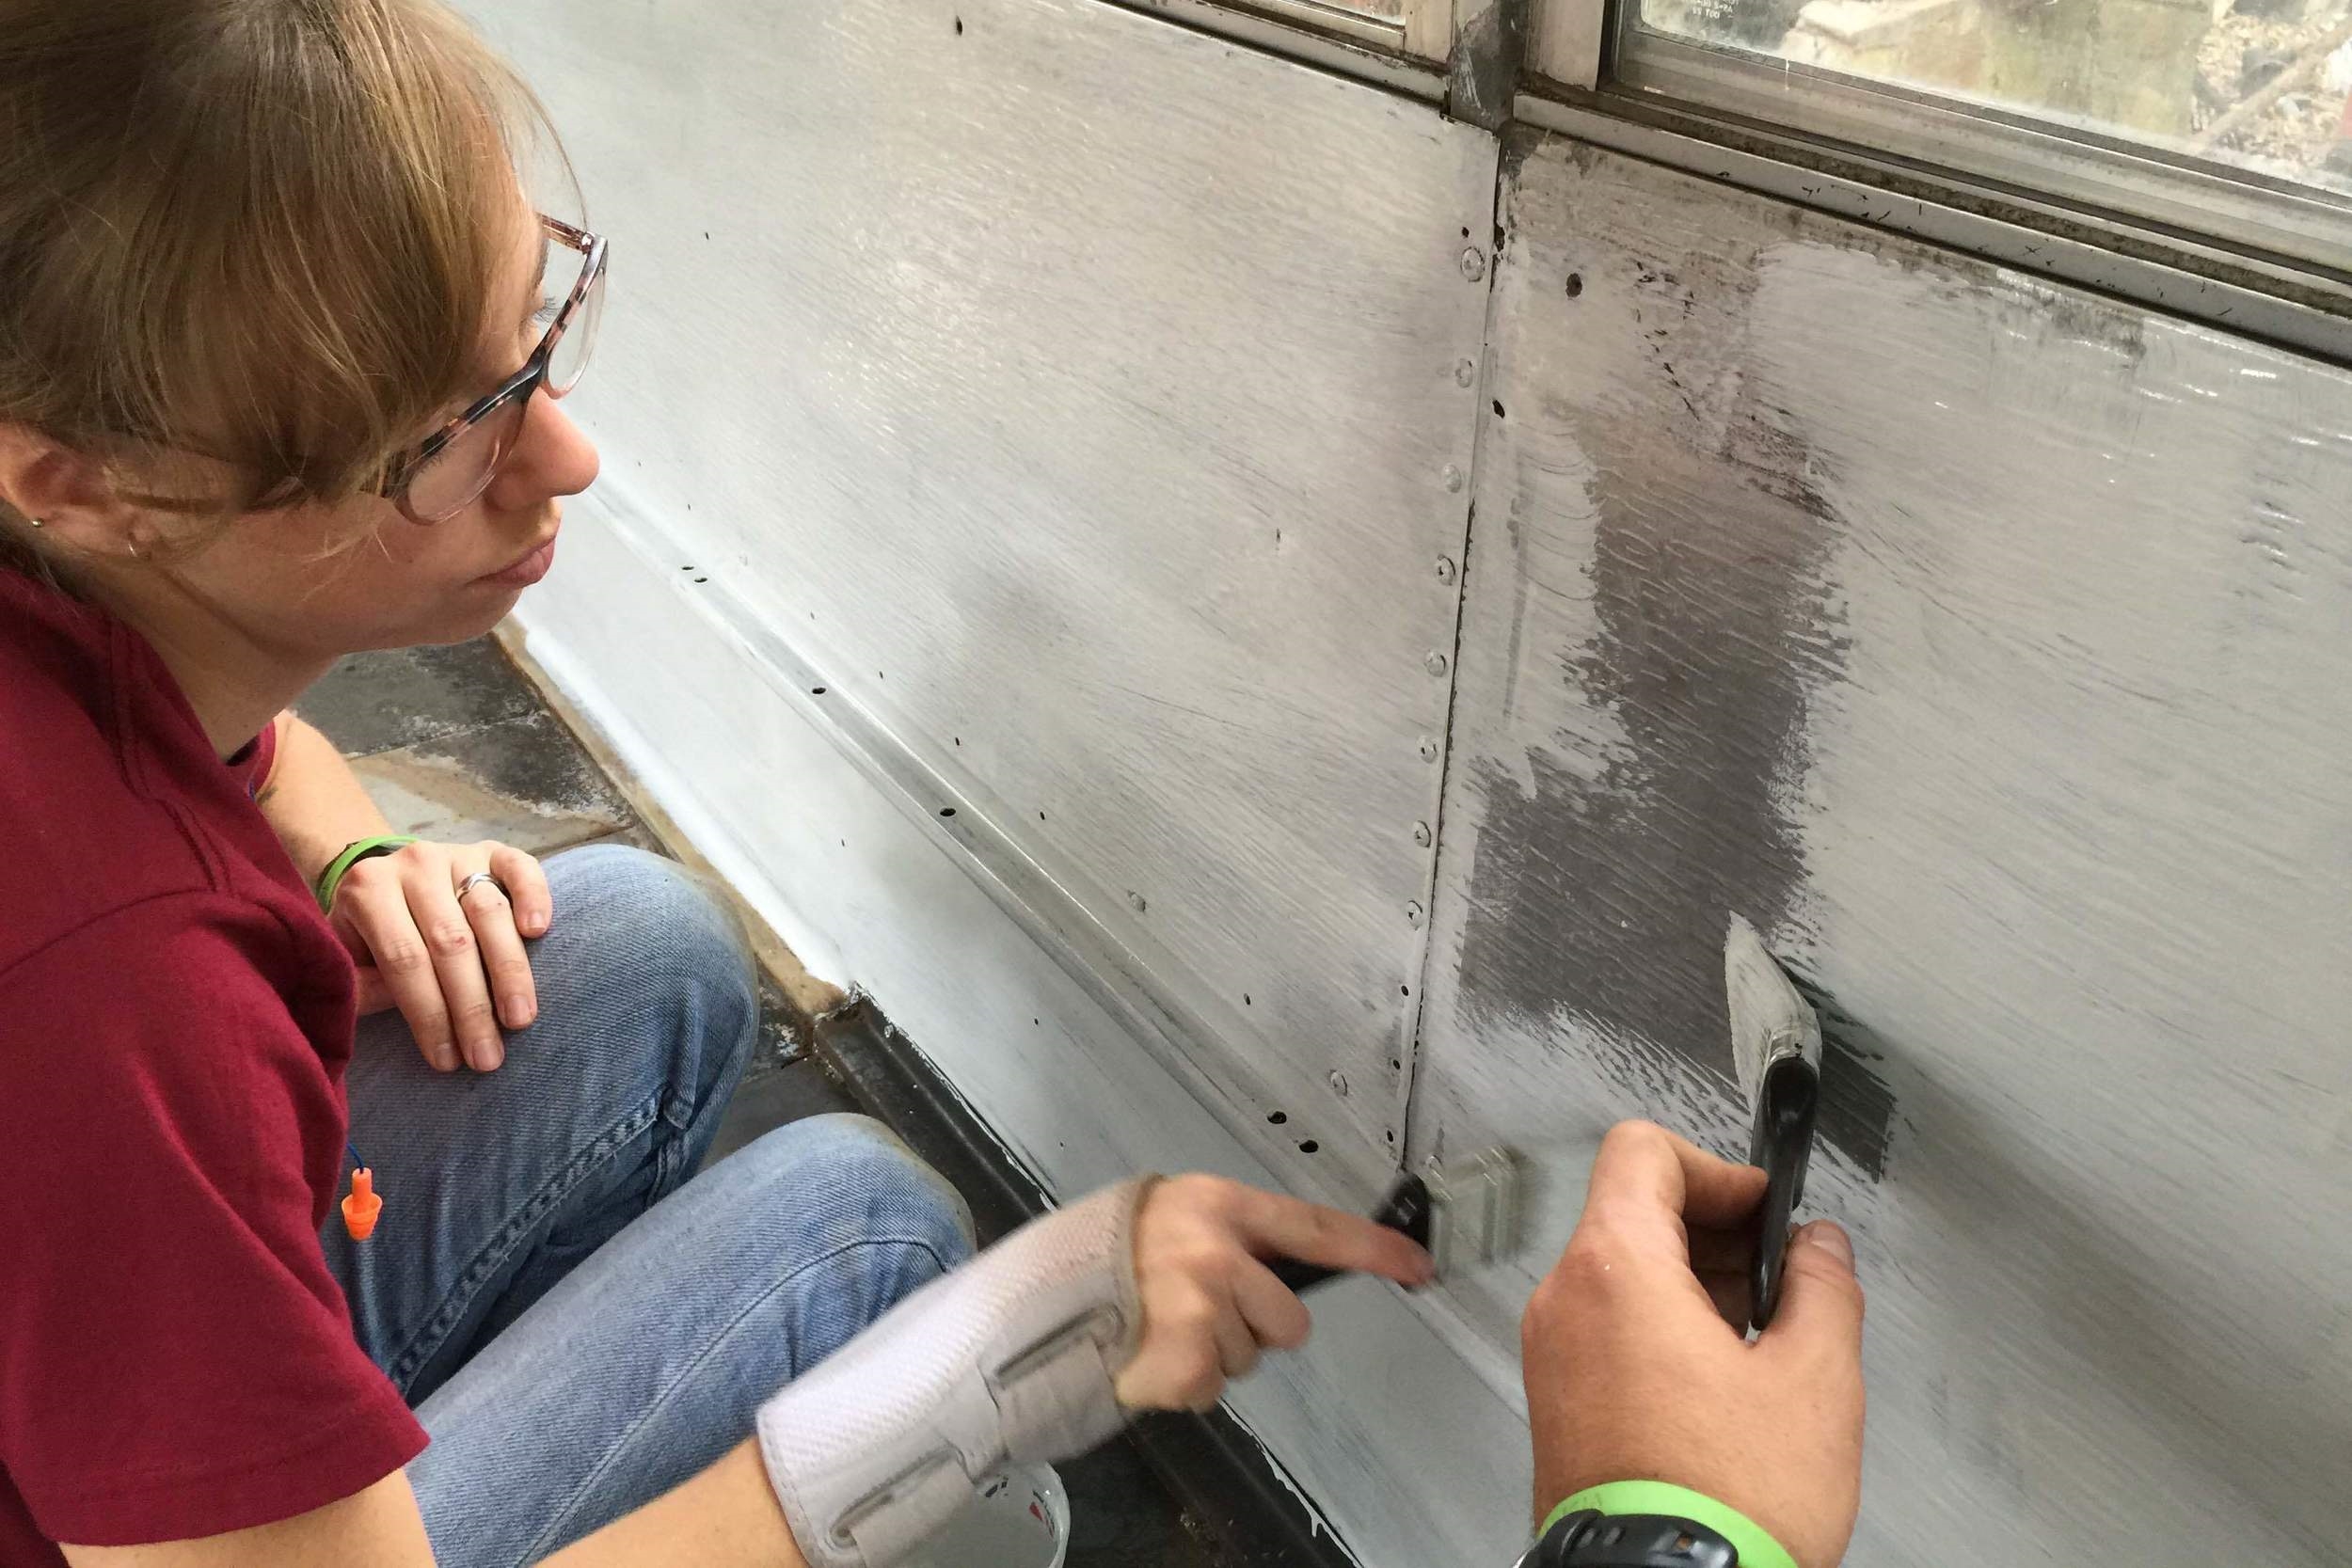
Chelsea's Grandpa Bert came by and laid the first few passes of Rustoleum spray primer. Stubbs' main color will be white, and we plan to add racing stripes later. (Dealing with color right now is just far too much work and we don't have the time.) The spray primer allowed us to lay down a heavy white color beneath the finish coat, which will be rolled on.
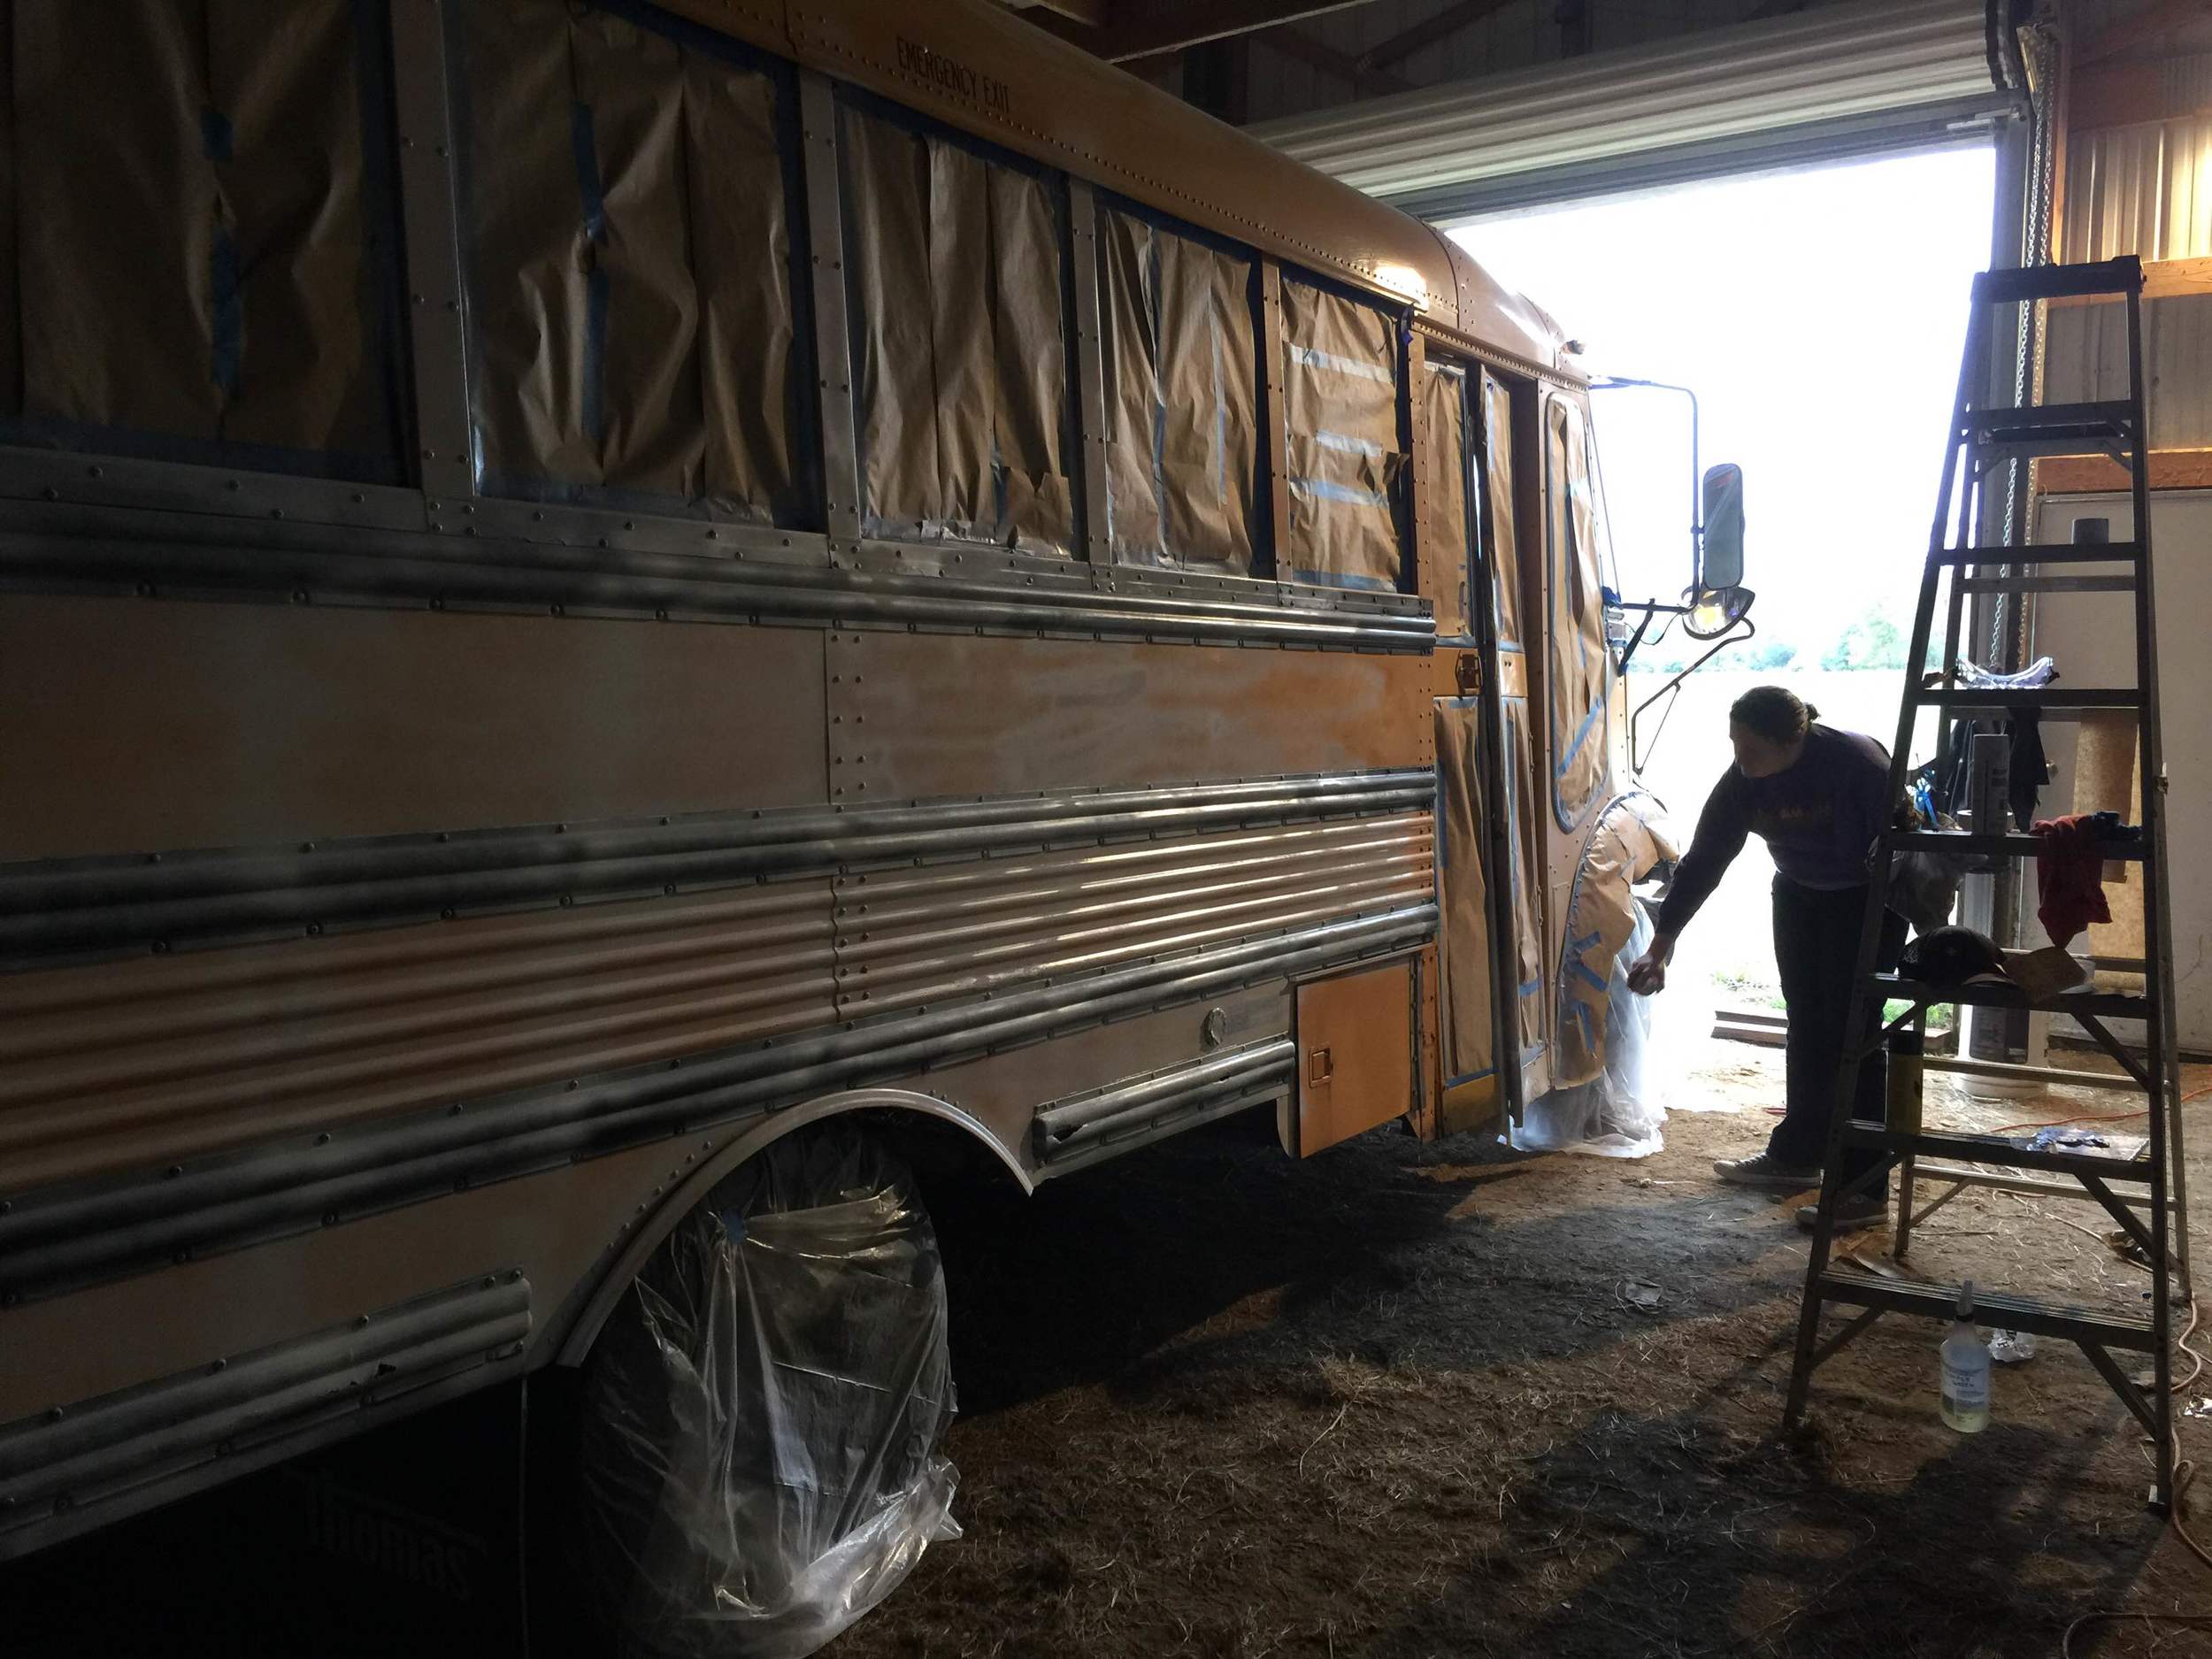
Some paint being applied as we finished taping windows on the other side.

Zach proved to be a window taping wizard. Without him it would have taken us hours more to prep the bus. He even went as far as to give Stubbs a temporary name badge.


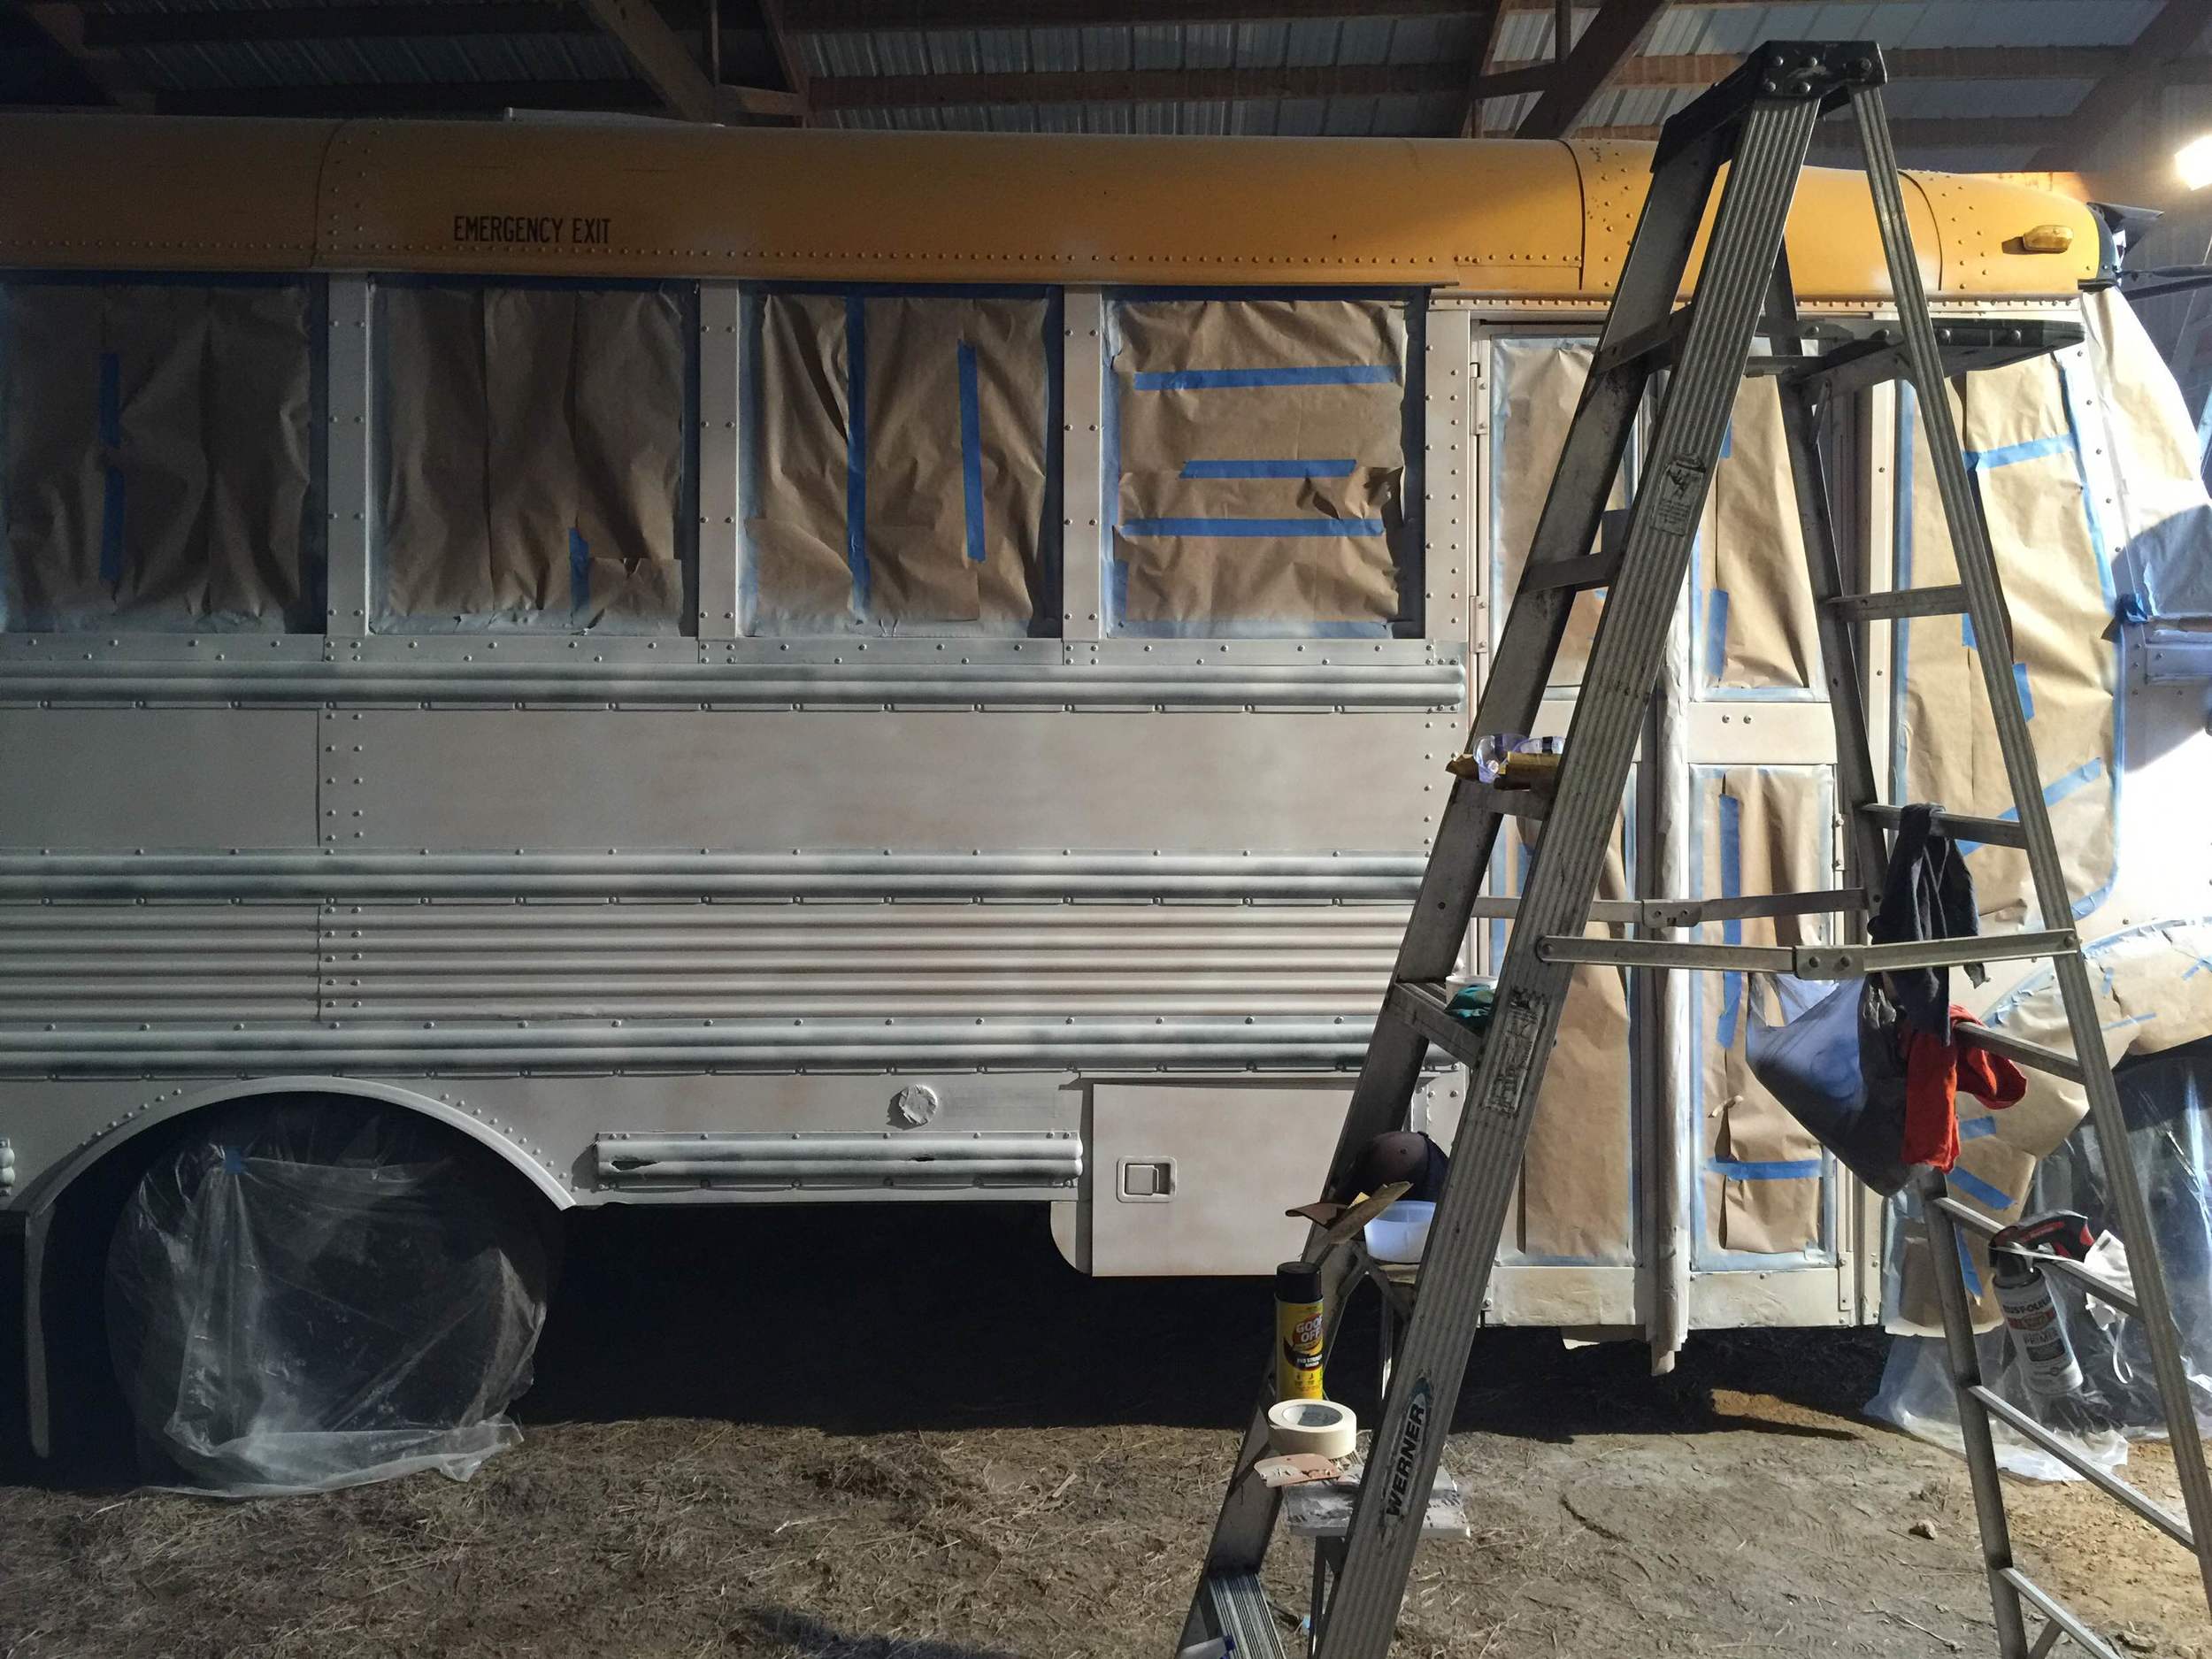
With her front all taped up, we could carefully apply primer. You can see some school bus yellow poking through, but we hope to double the amount of primer we have applied before rolling on the finish coats.

We put her to bed feeling like we might just be able to tackle this project before we leave.