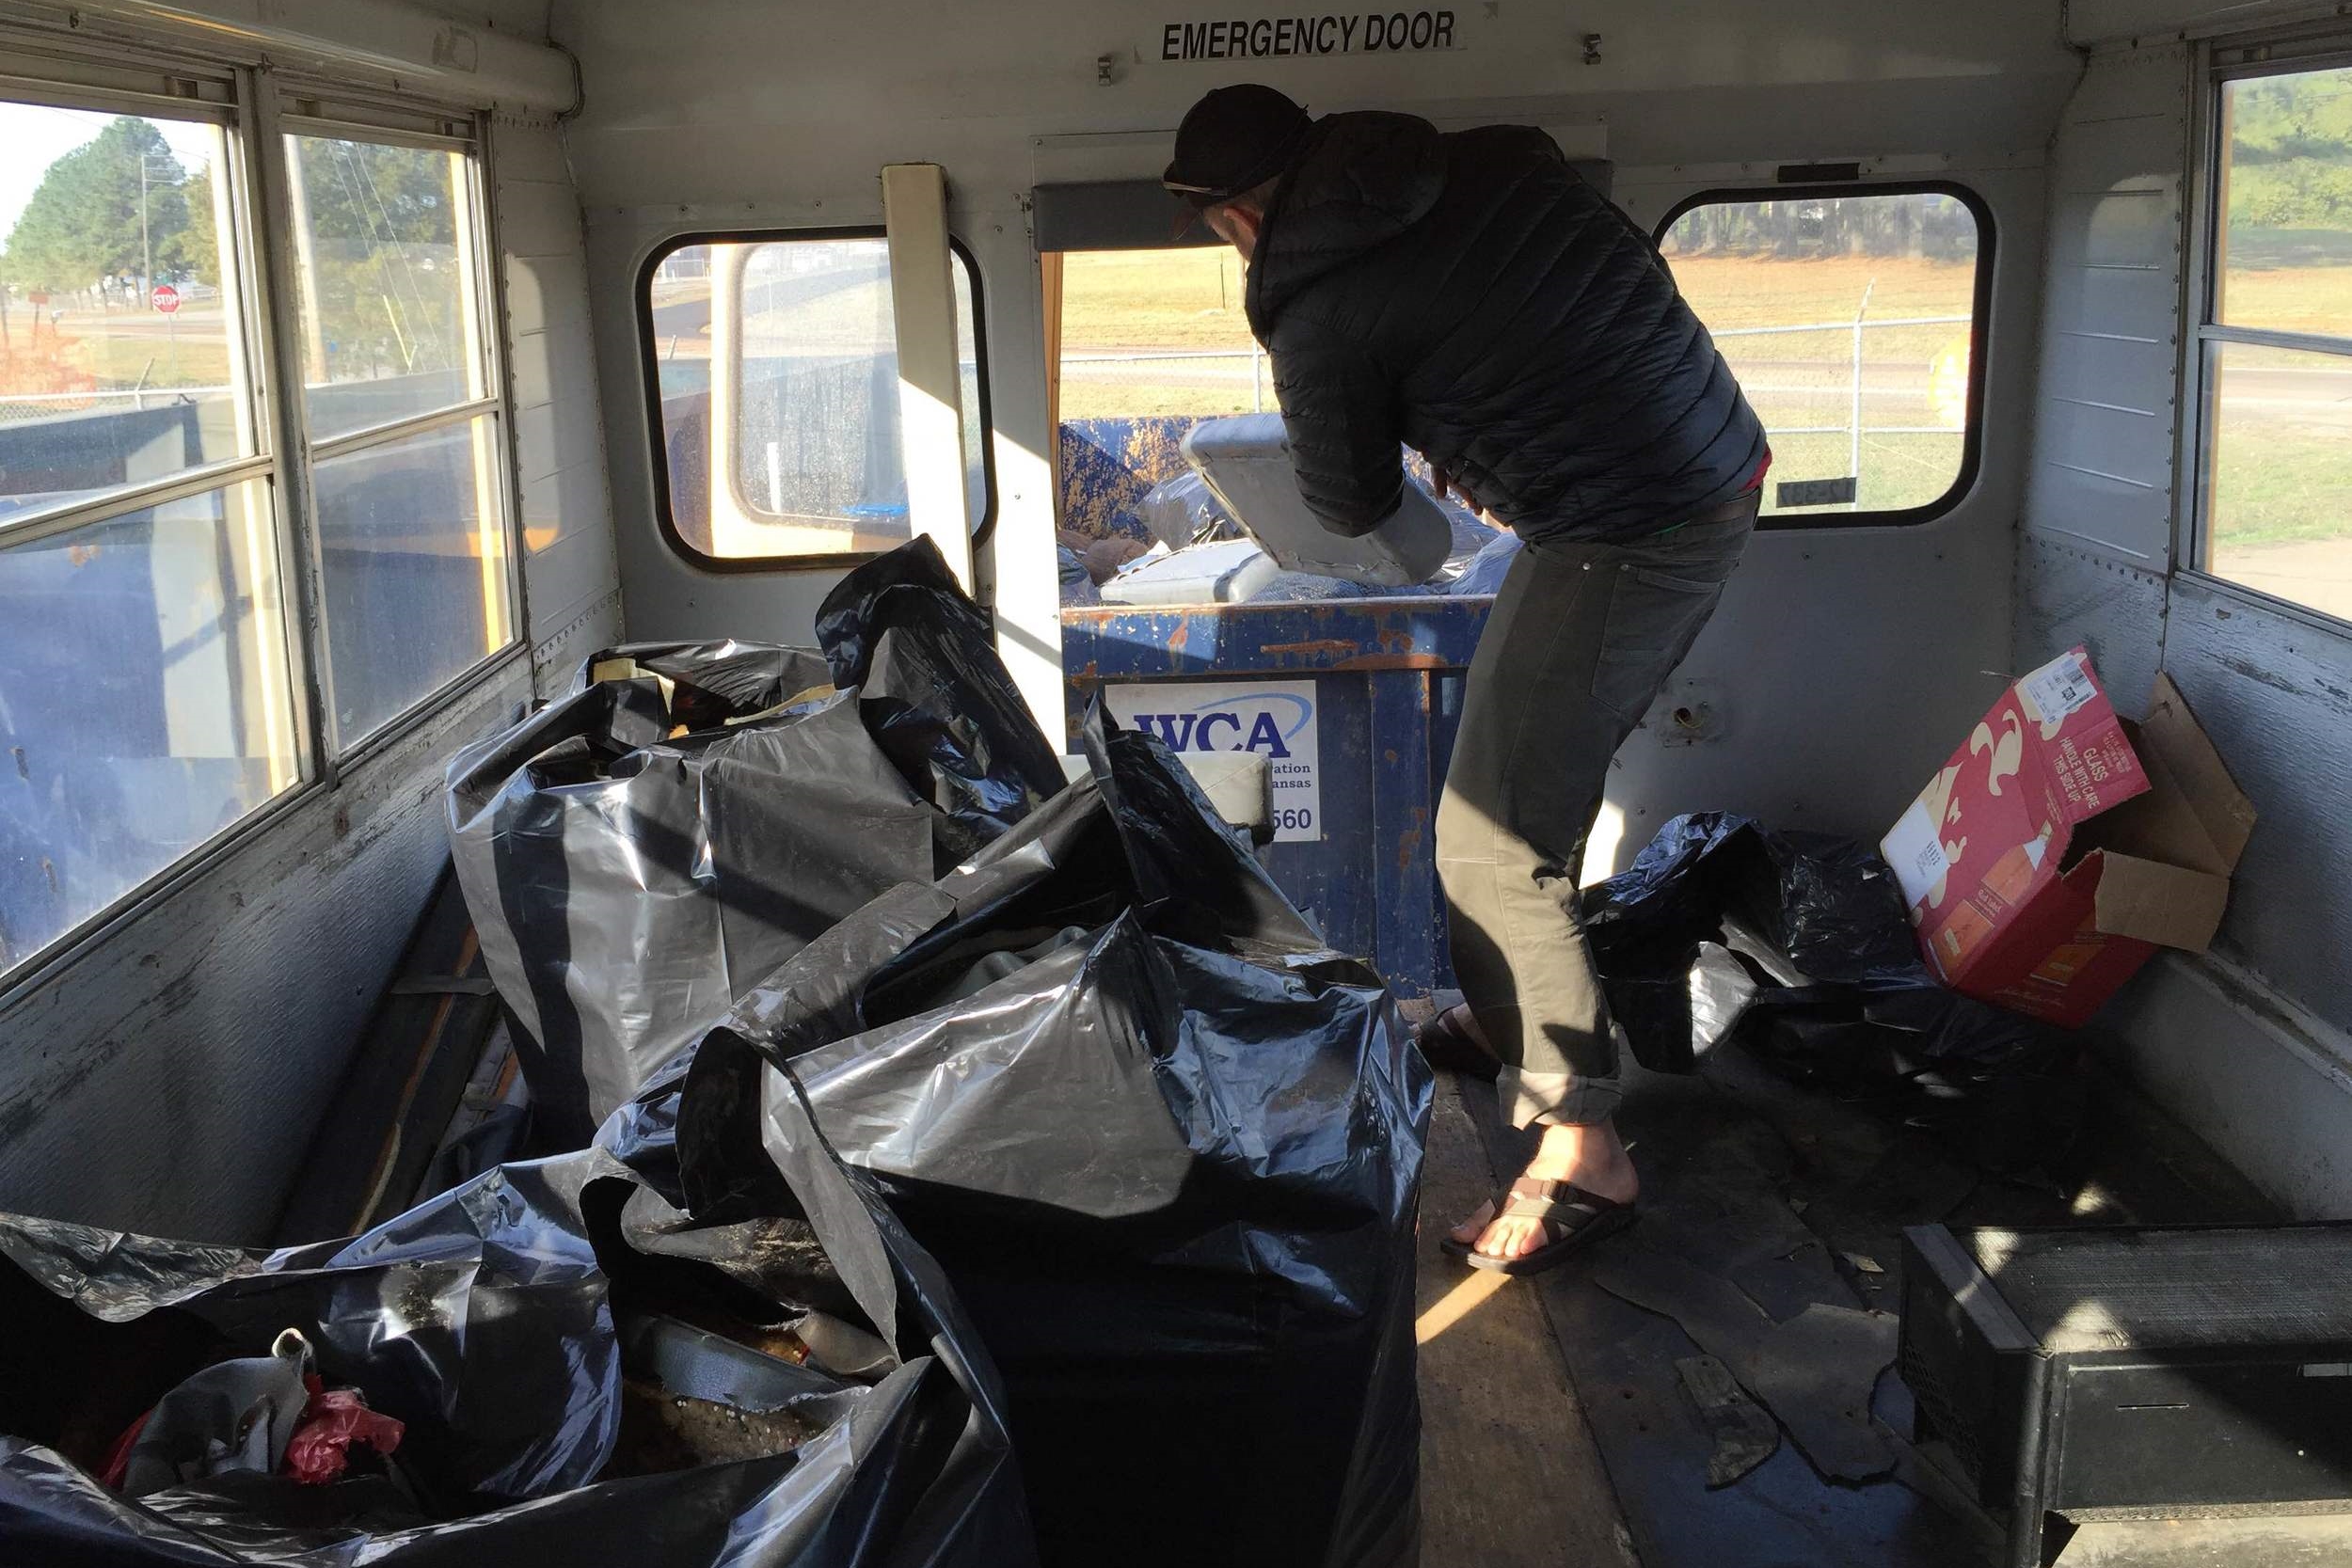
11.02.15 - Pickin and Pullin - Day 6.

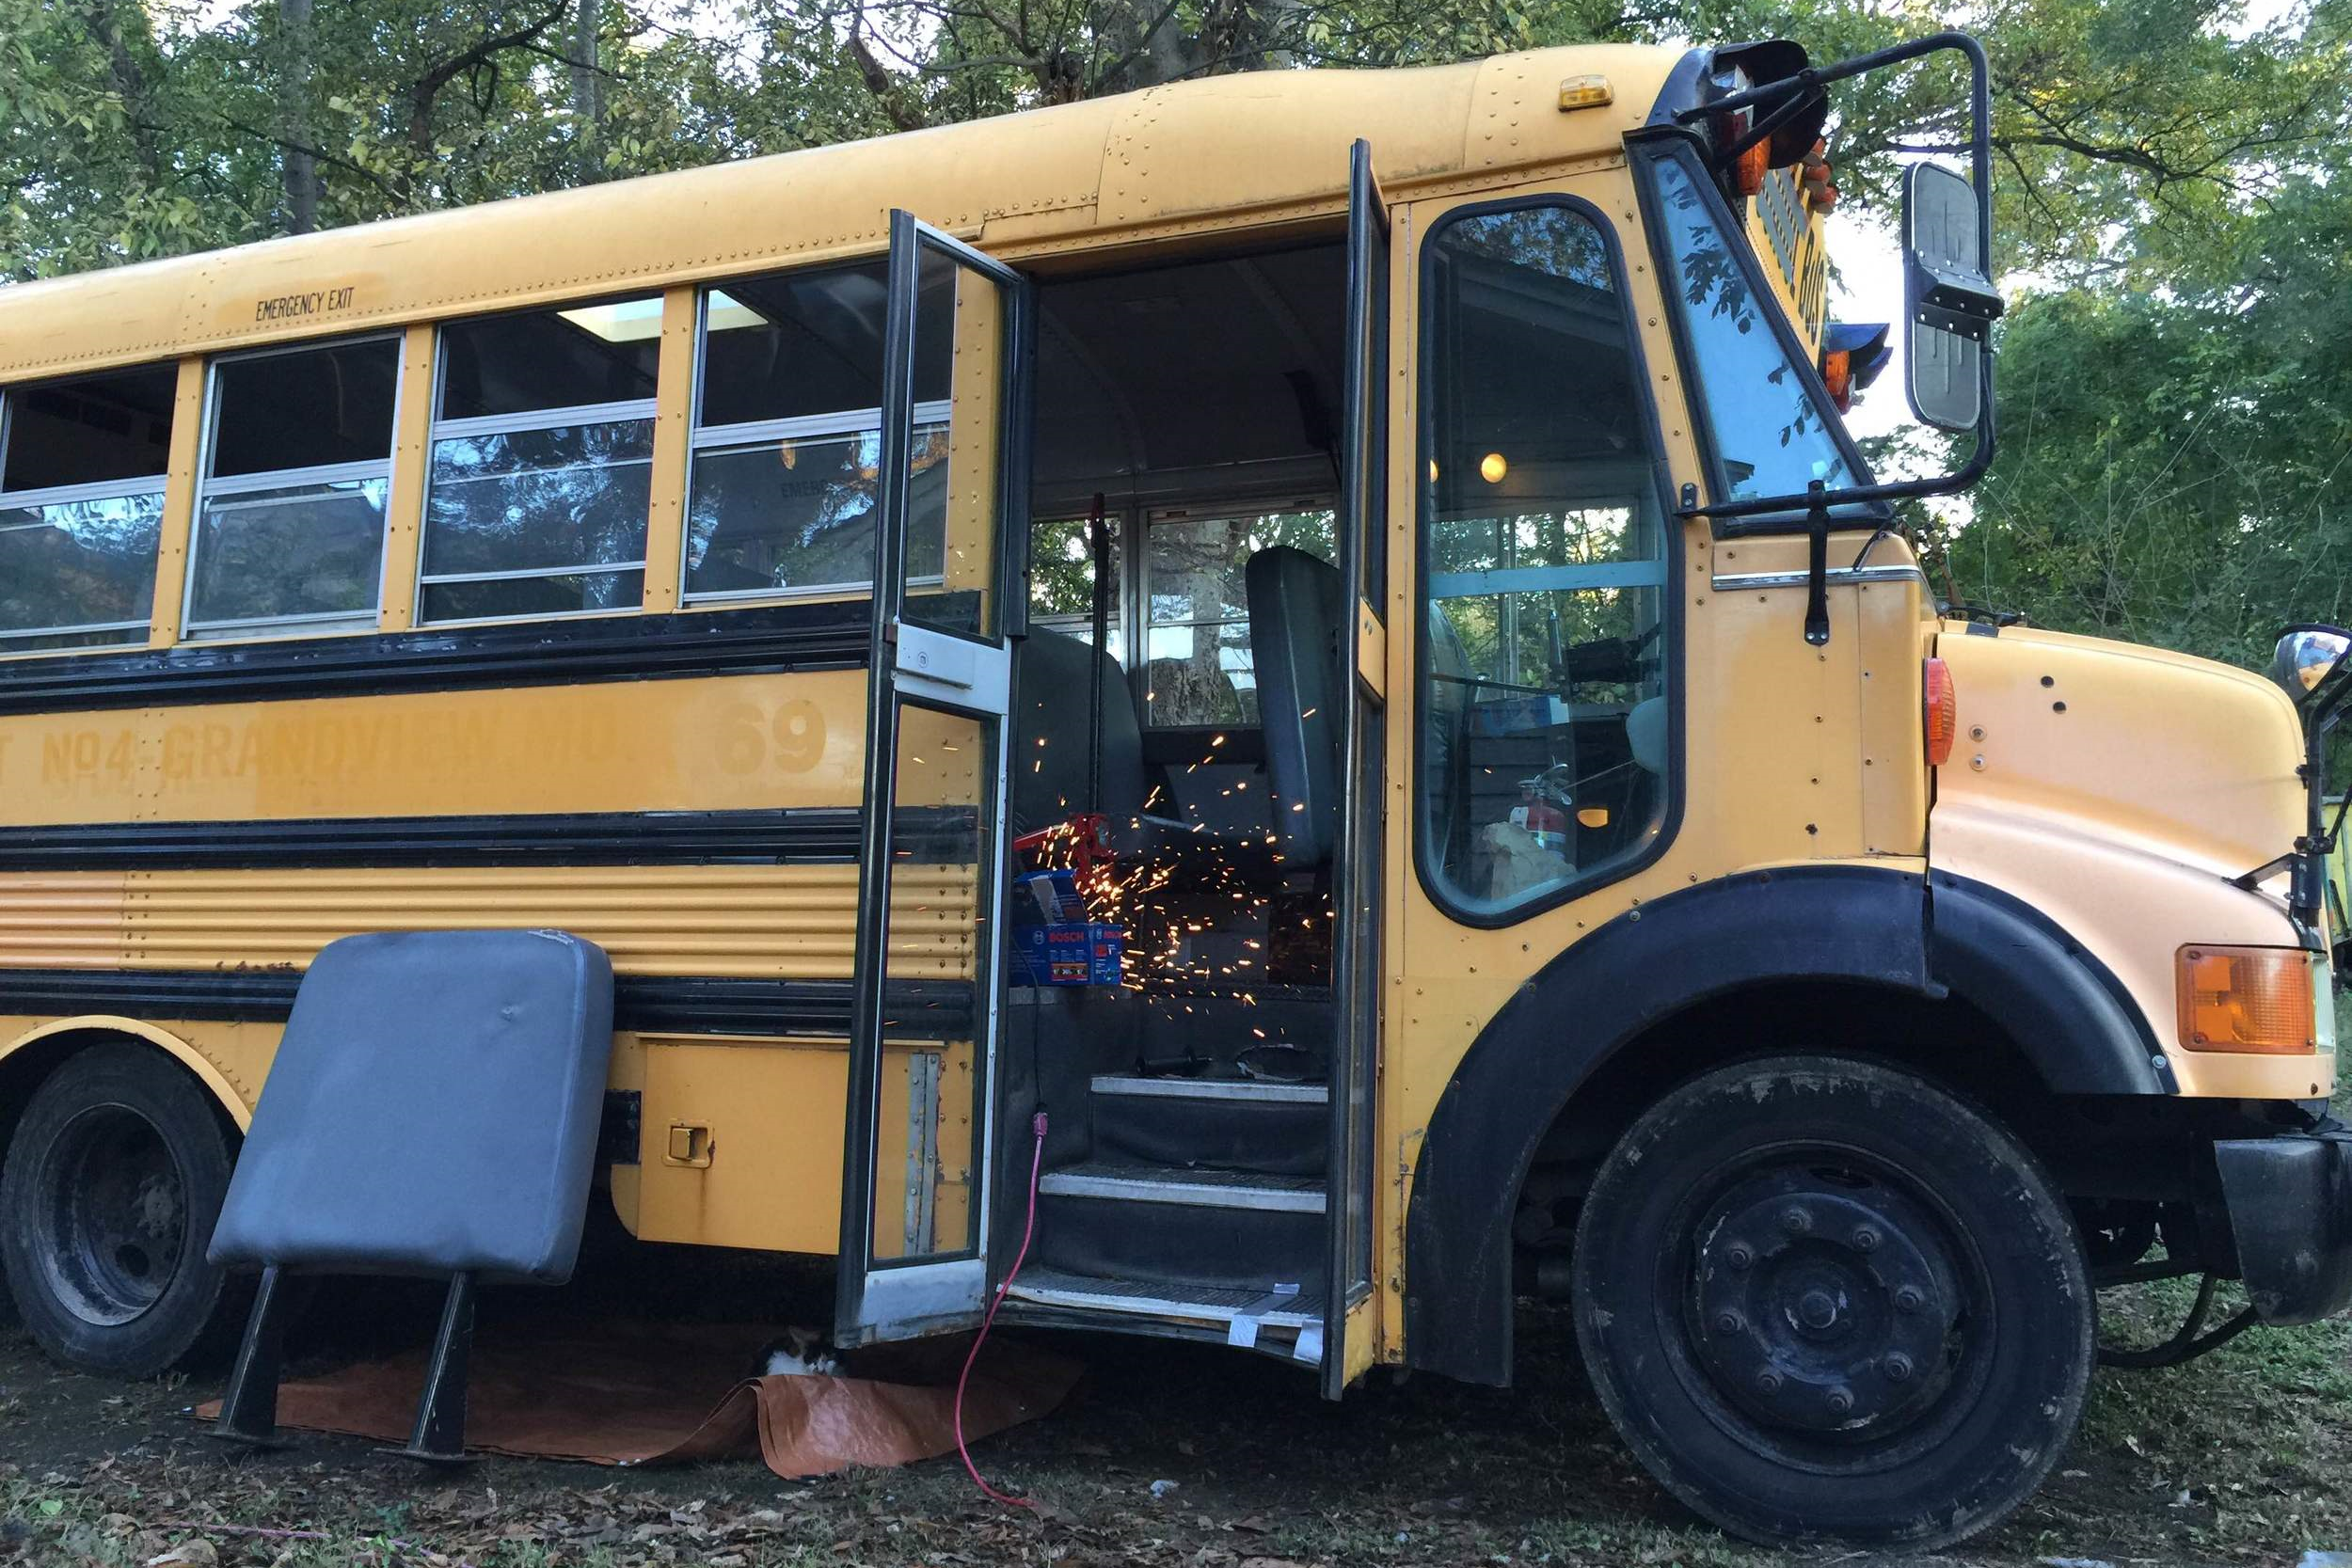
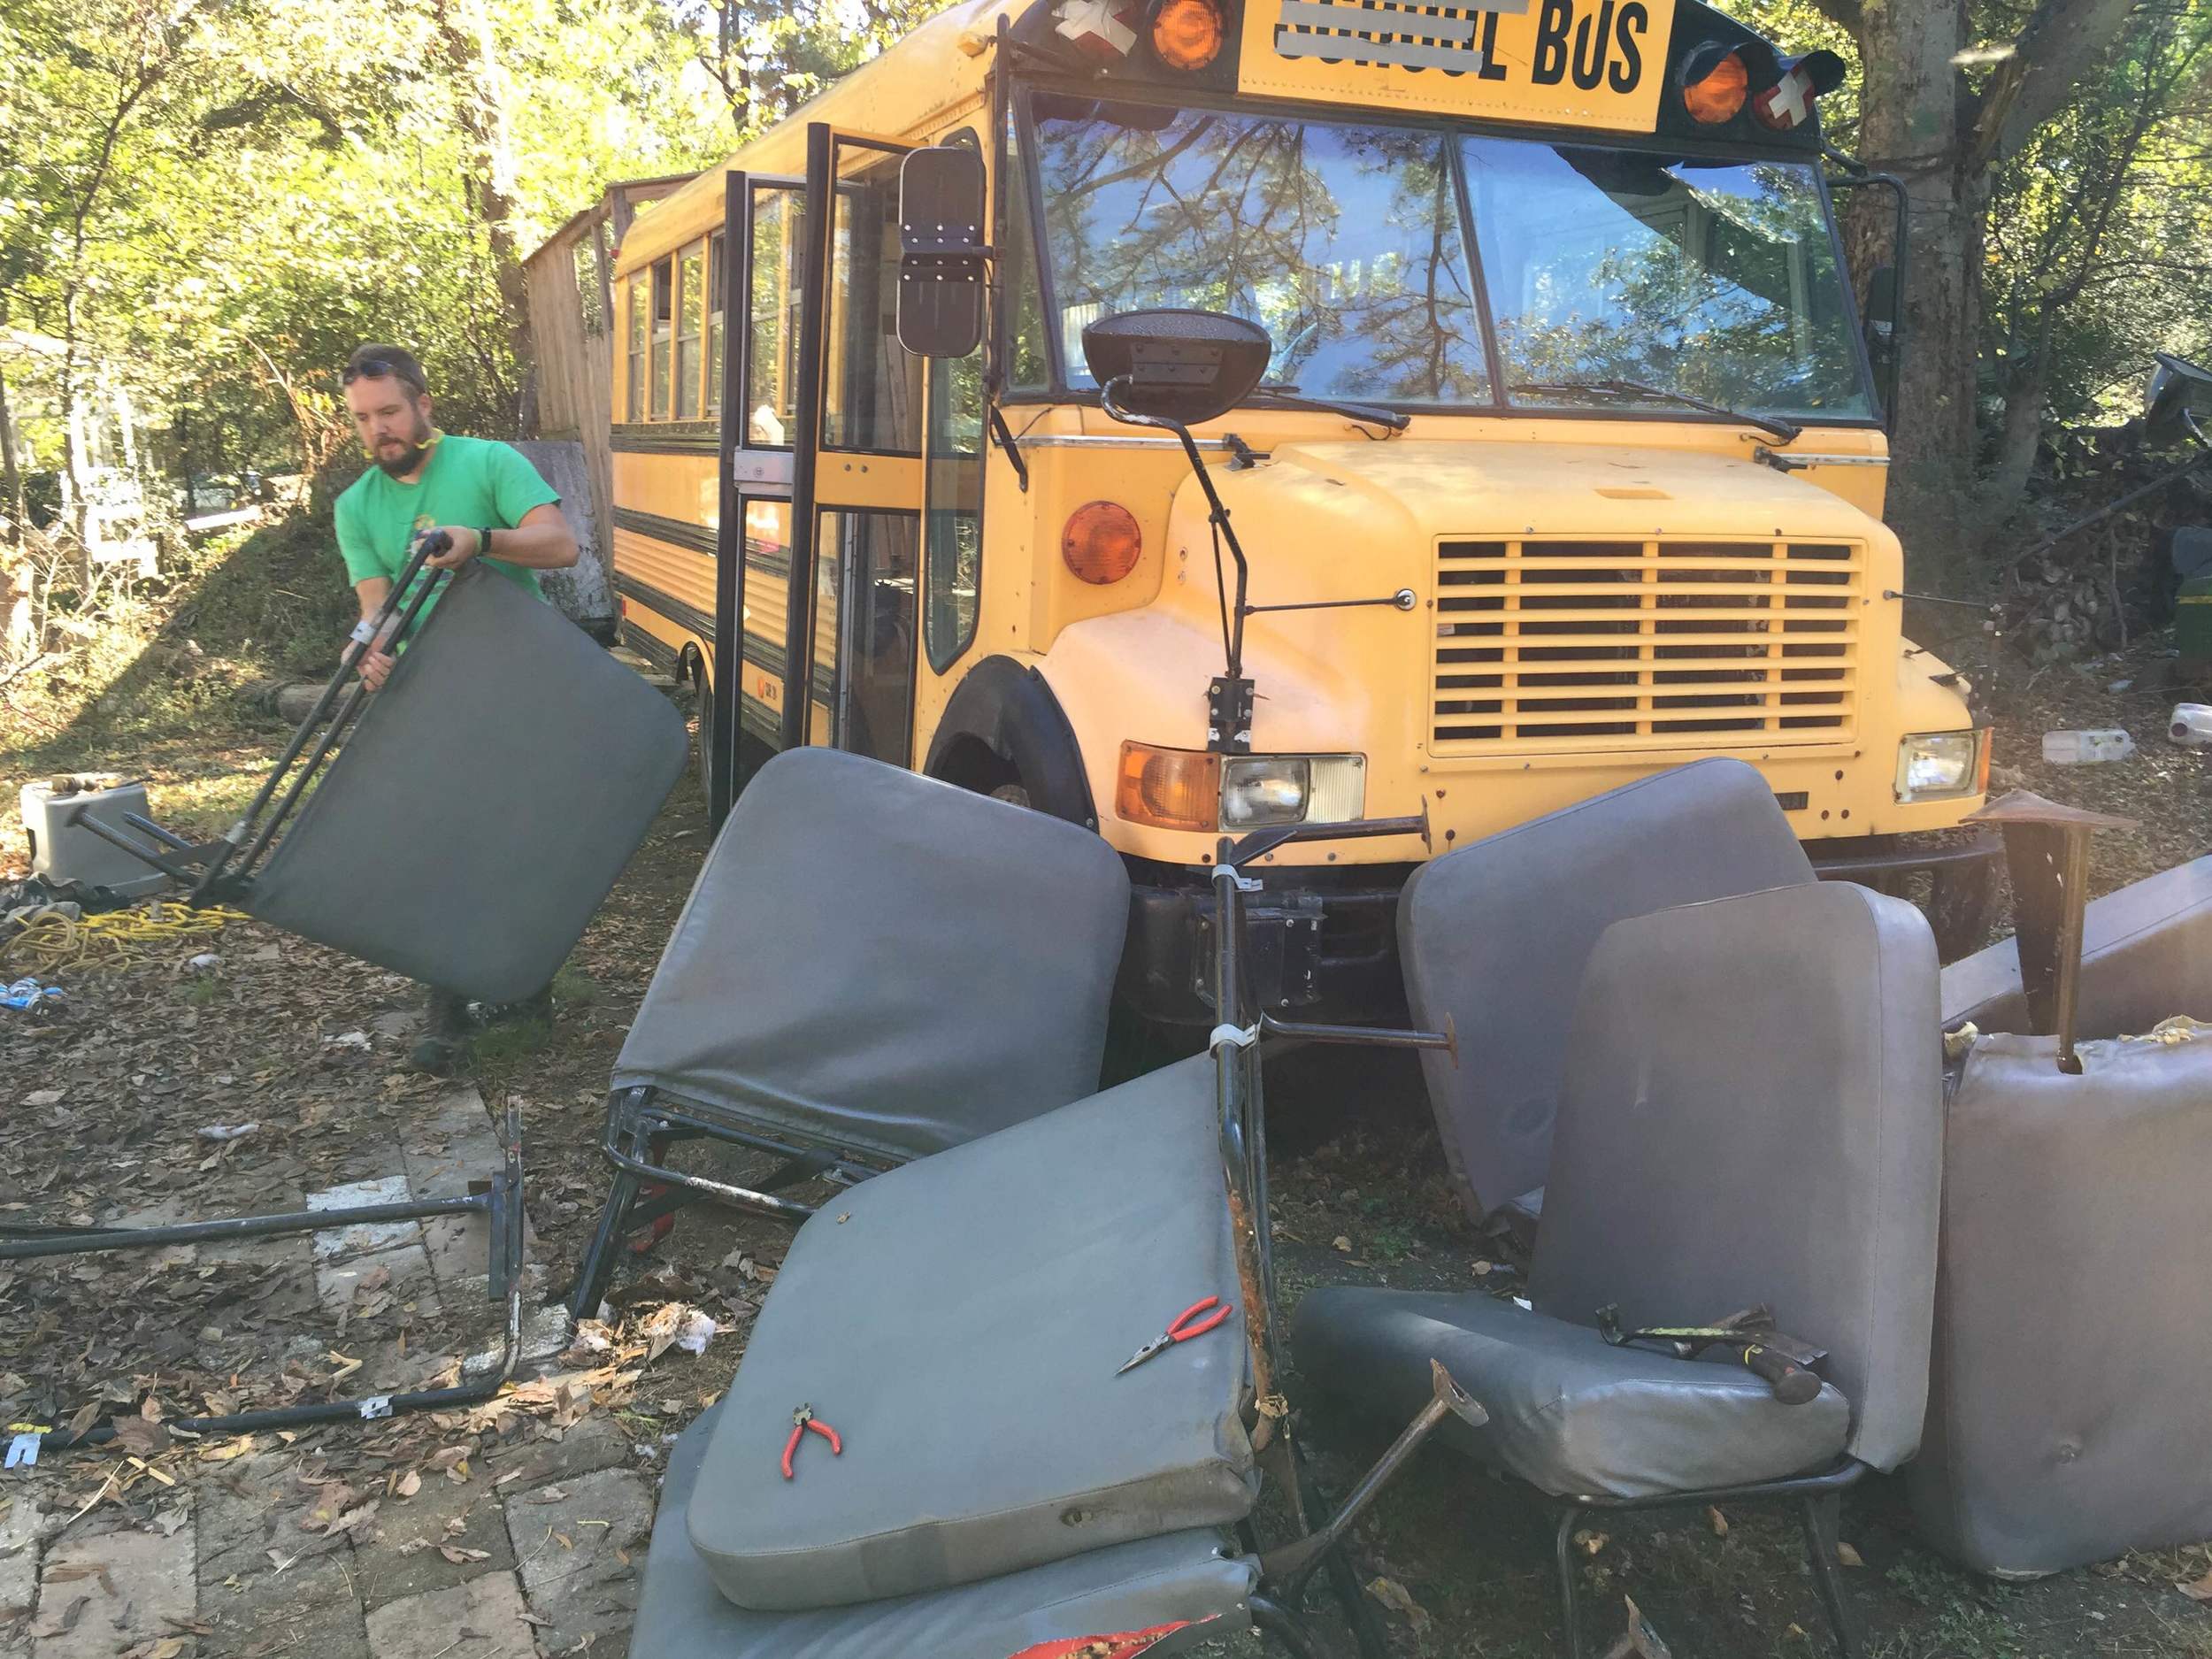
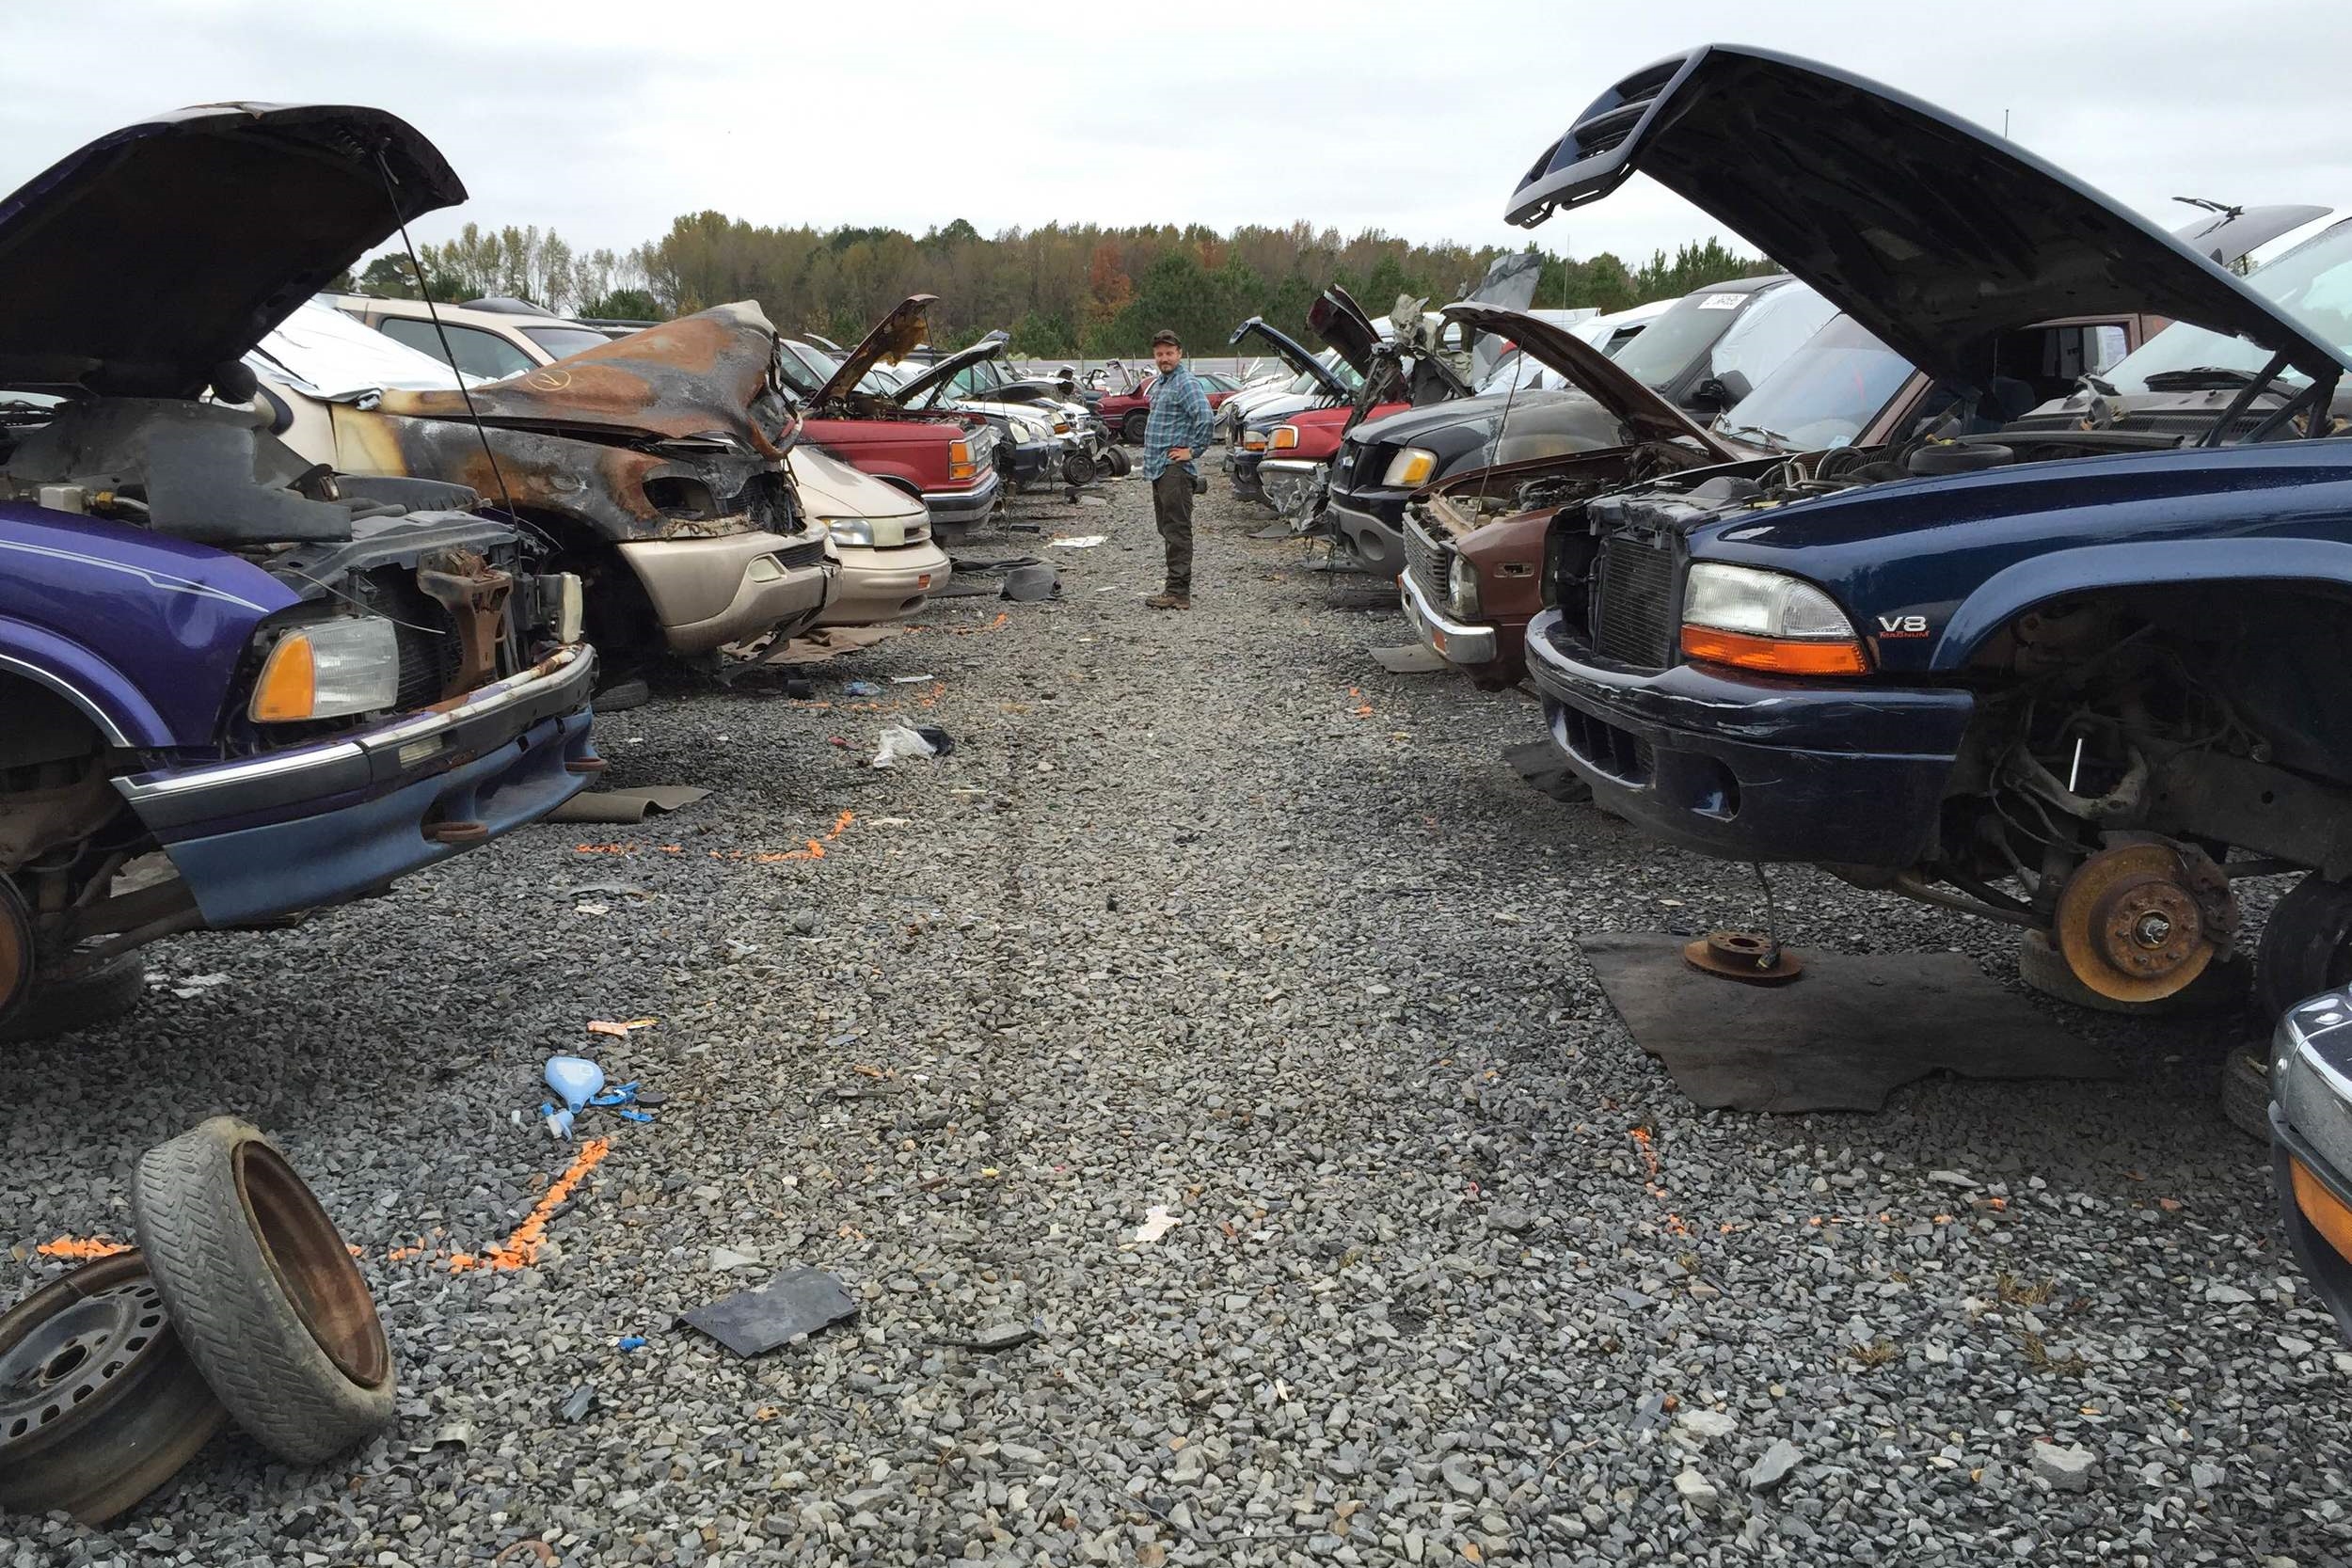
While Stubbs sat in the shop at Ace Muffler and Welding in Searcy for some floor repair, we ventured out for some shopping for the conversion project. We NEED another seat, a passenger/copilot/navigator seat for the bus, and we'd really like it to spin and be usable as a dining room seat, so we visited not one but three Pick-N-Pull junkyards today to look for a rotating captains chair. New ones go for upwards of $600, but we're hoping to get done with this part of the project for under a $100.

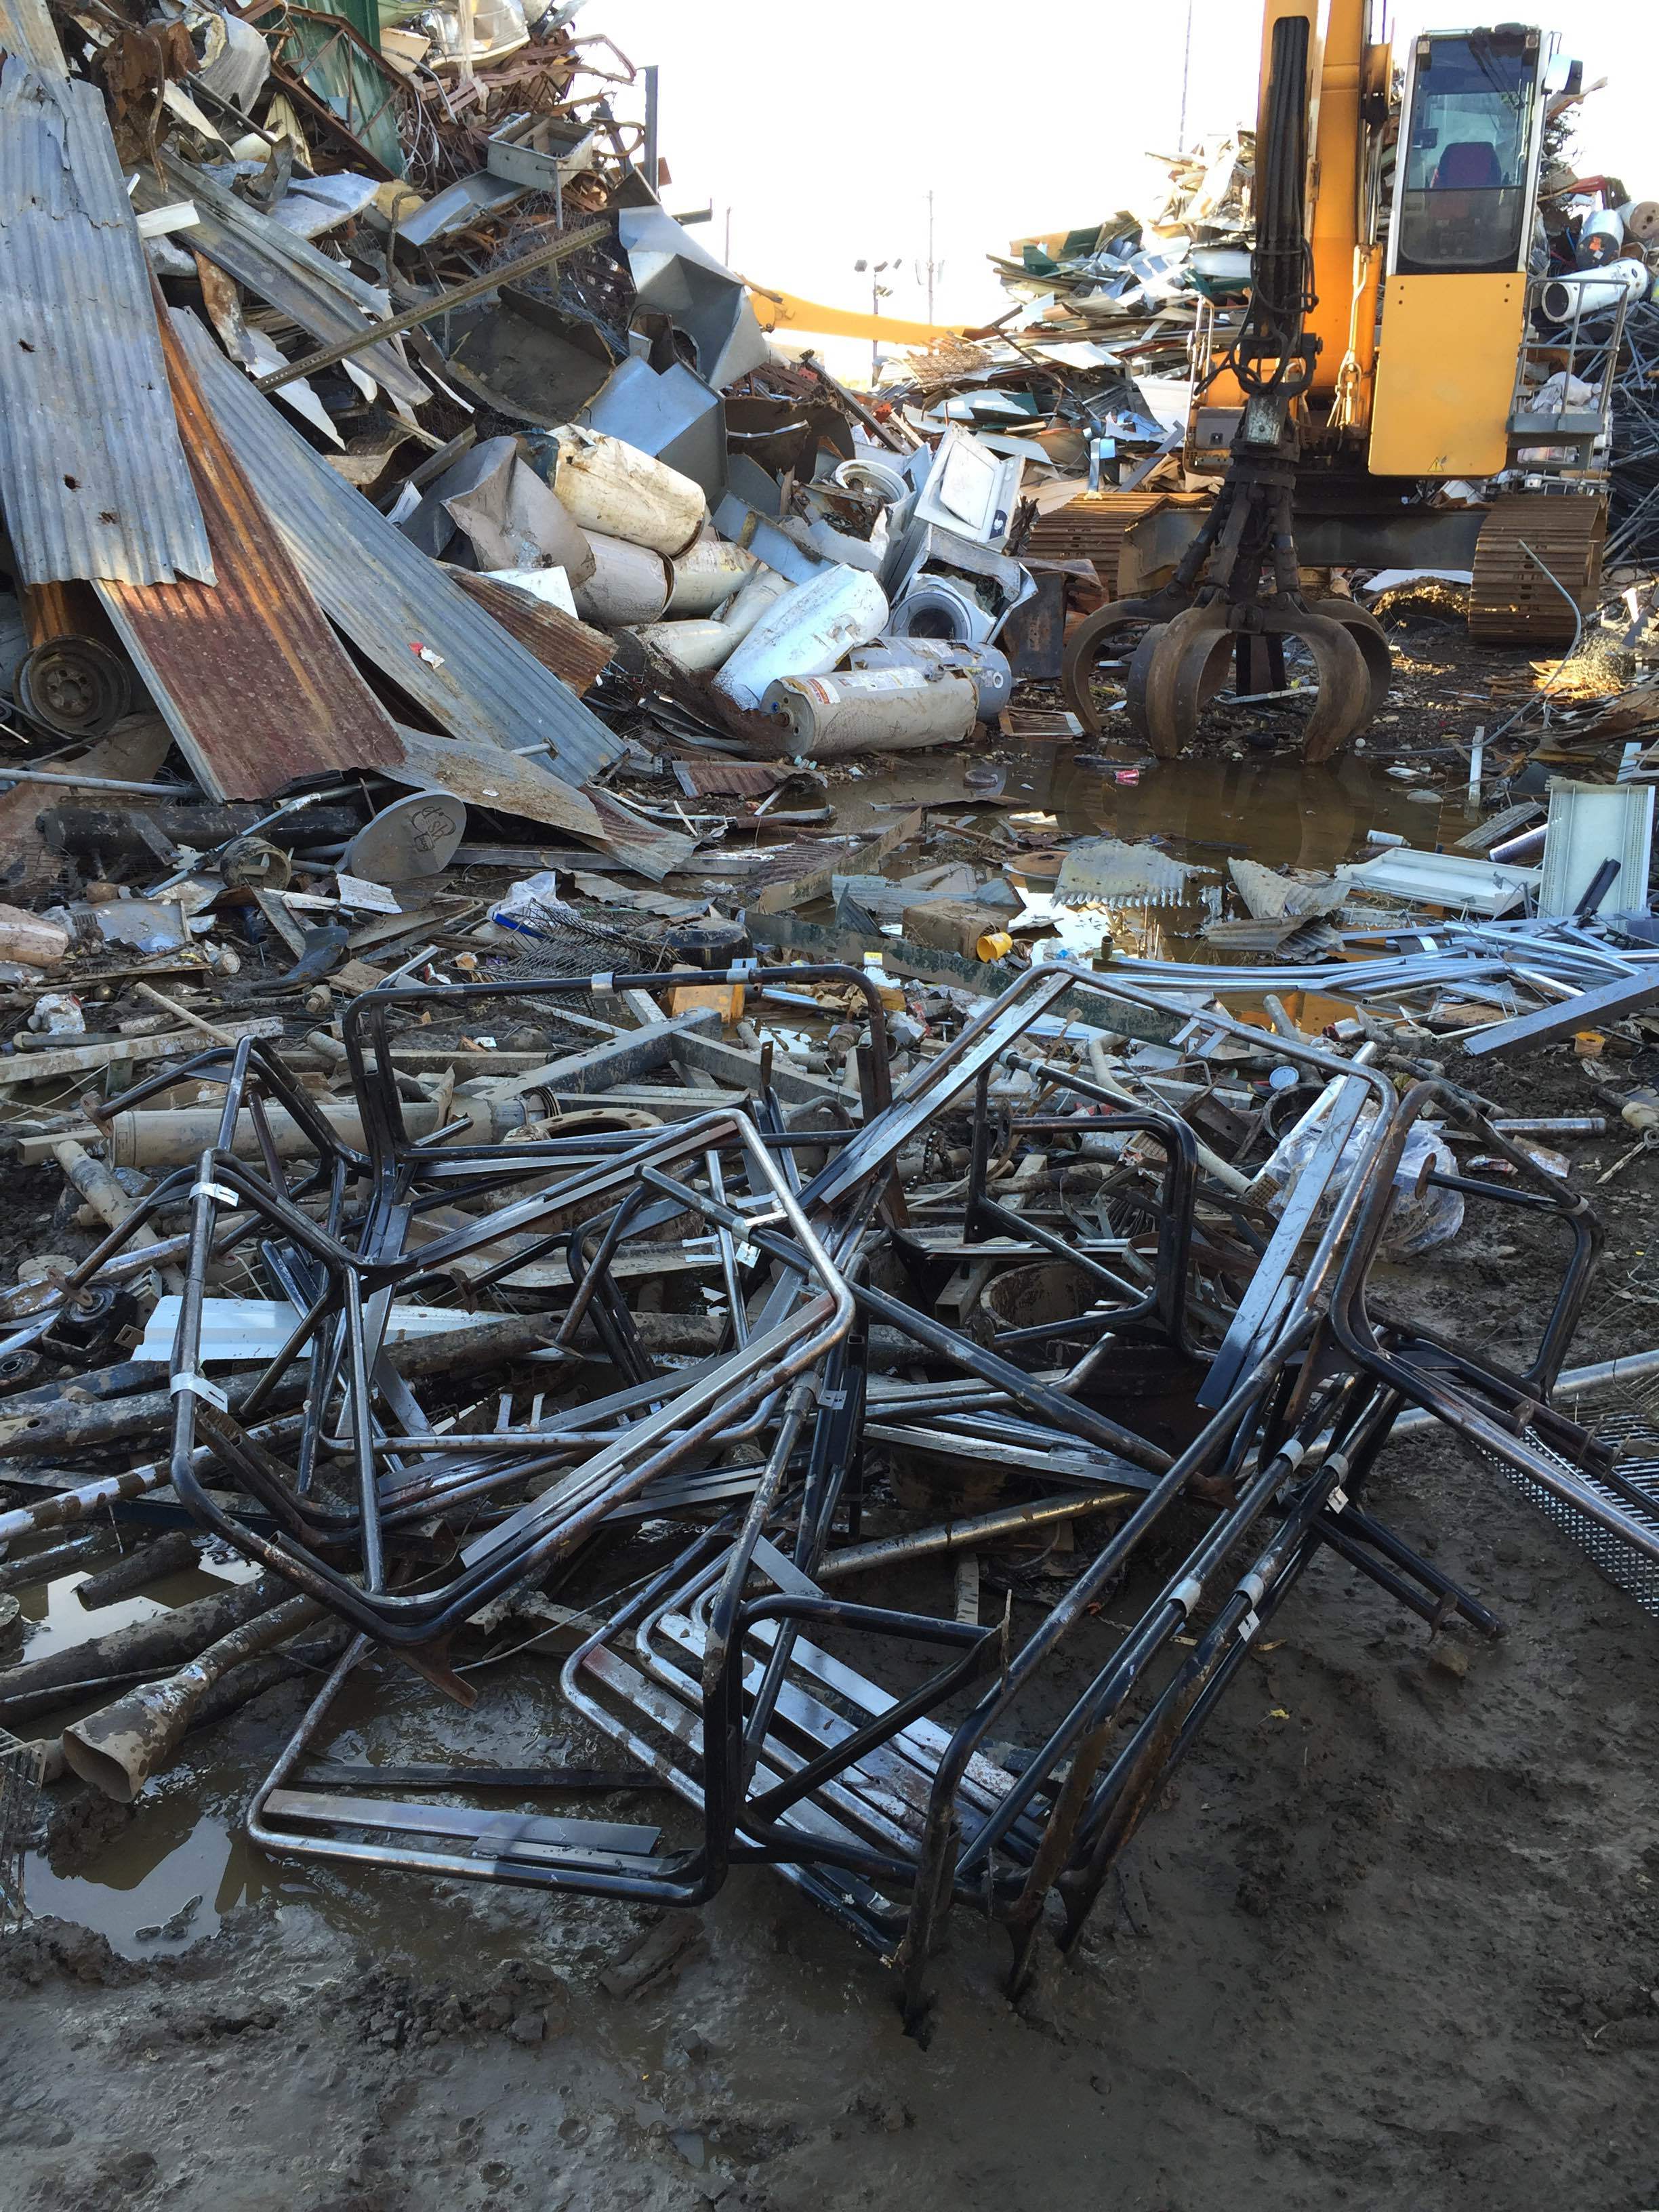
For those of you not familiar with a Pick-N-Pull, or any other choose-your-own-adventure junkyard, let me explain how they work. You show up with your own tools (and a whole-new-world grin) and scour rows upon rows of totaled vehicles looking for the part you want. Anything from door handles to engine blocks are available, and you're responsible for pulling the part from the vehicle. Then you drag the part up to the checkout window, pay the nice folks who own the junkyard, and haul the goods away.

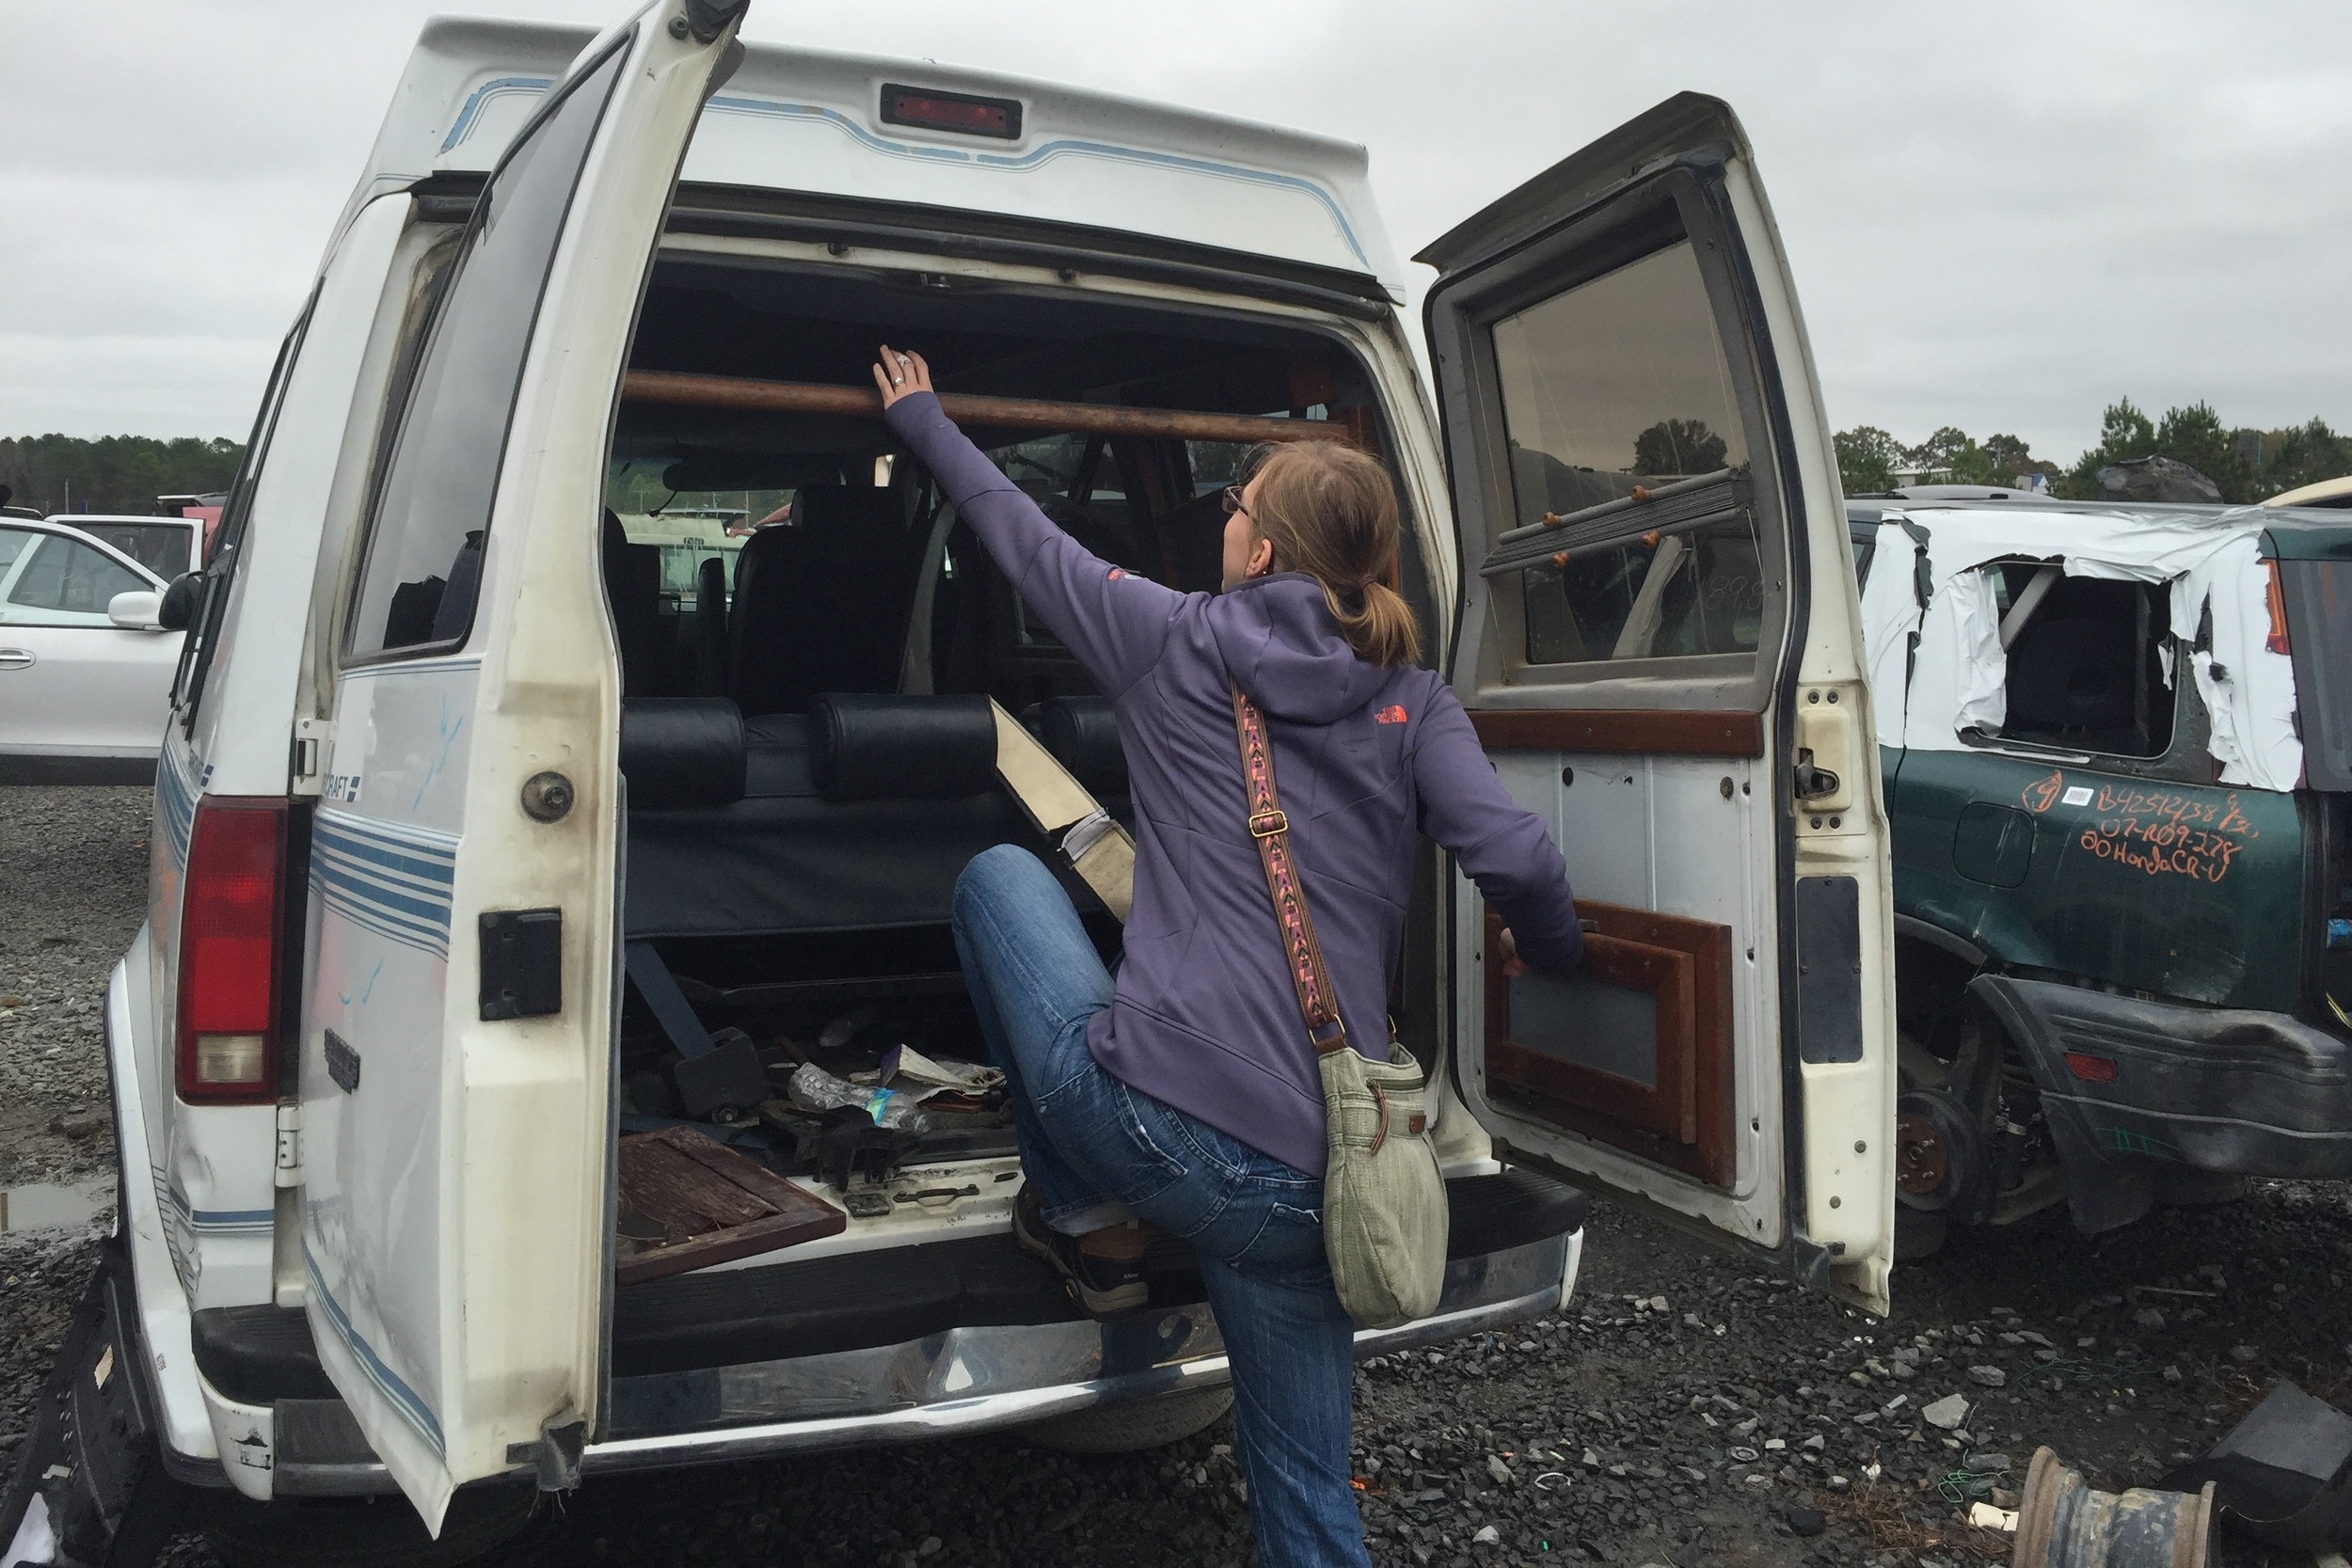
We found two rotating plates that once attached captains' chairs to the body of an early '90's Chevy Astro EXT. Hopefully, some light fabrication and welding will help us create a passenger's seat that will rotate 180 degrees to function as a dining room seat for when Stubbs is parked. We'll see.

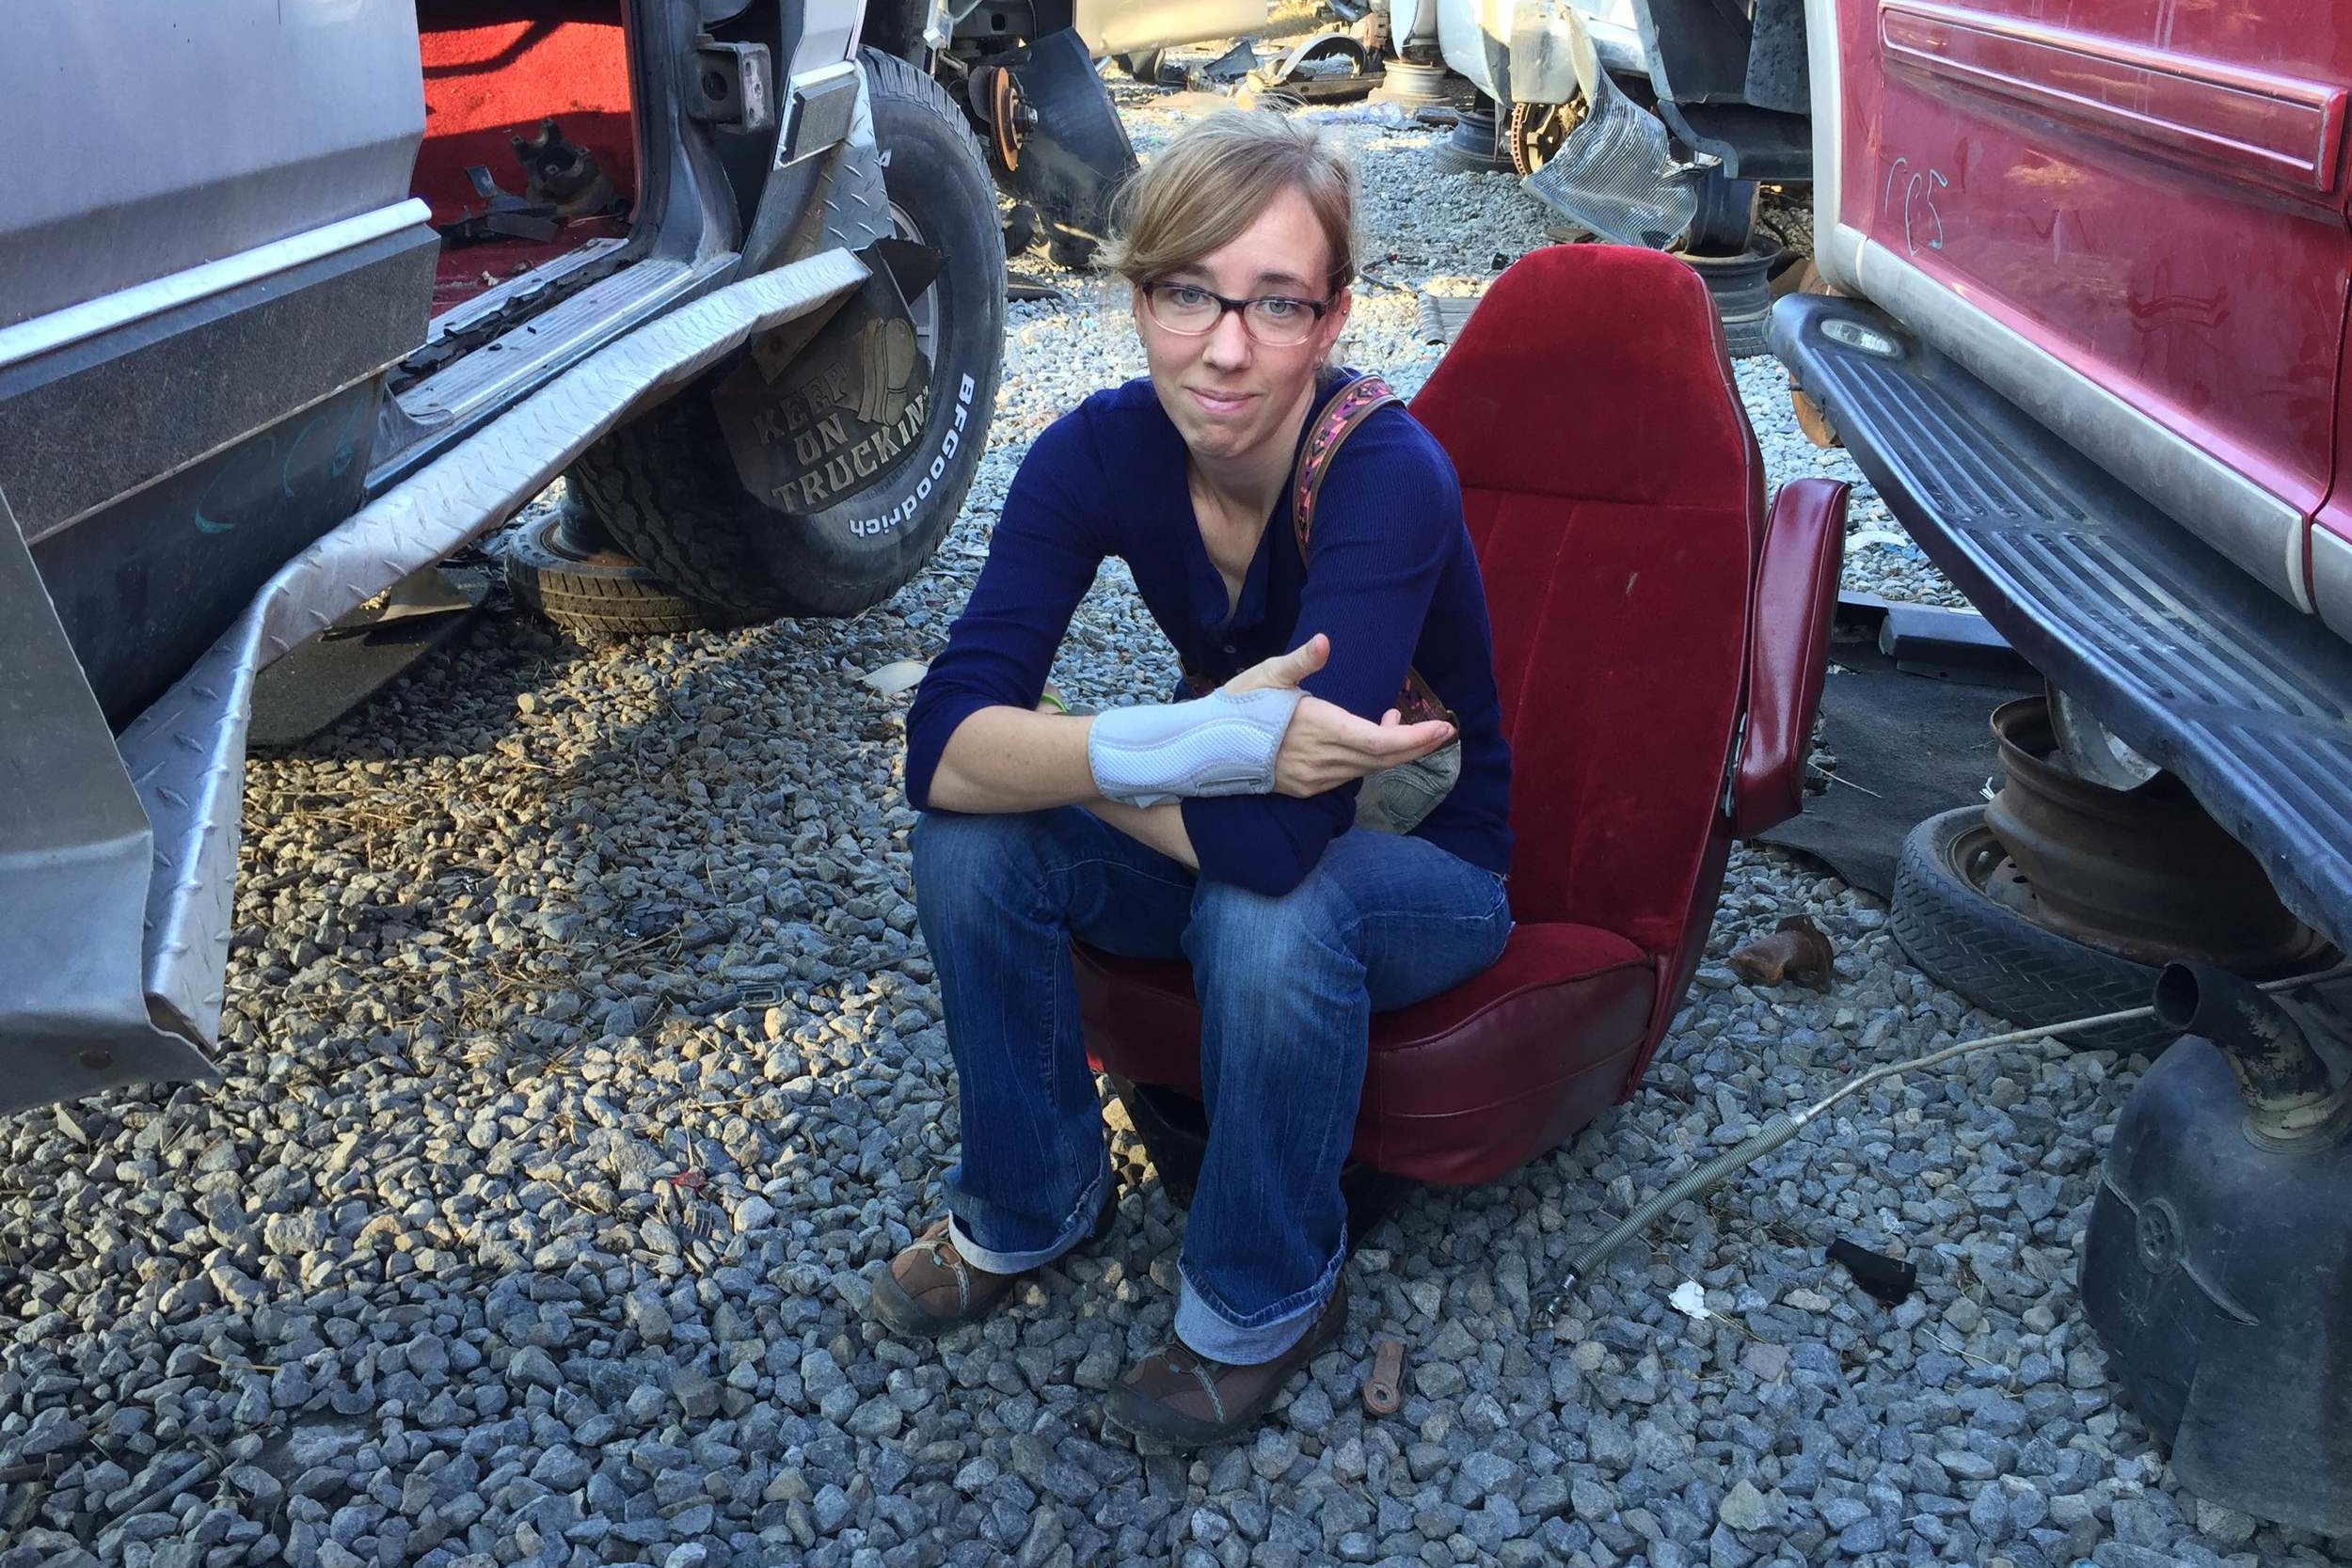
We haven't found a seat to attach to the rotating plate yet, but there was one that interested us at the 1st junkyard we visited, and we may return for it soon. This is not it, but rather its runner-up. No merlot velour for us today.

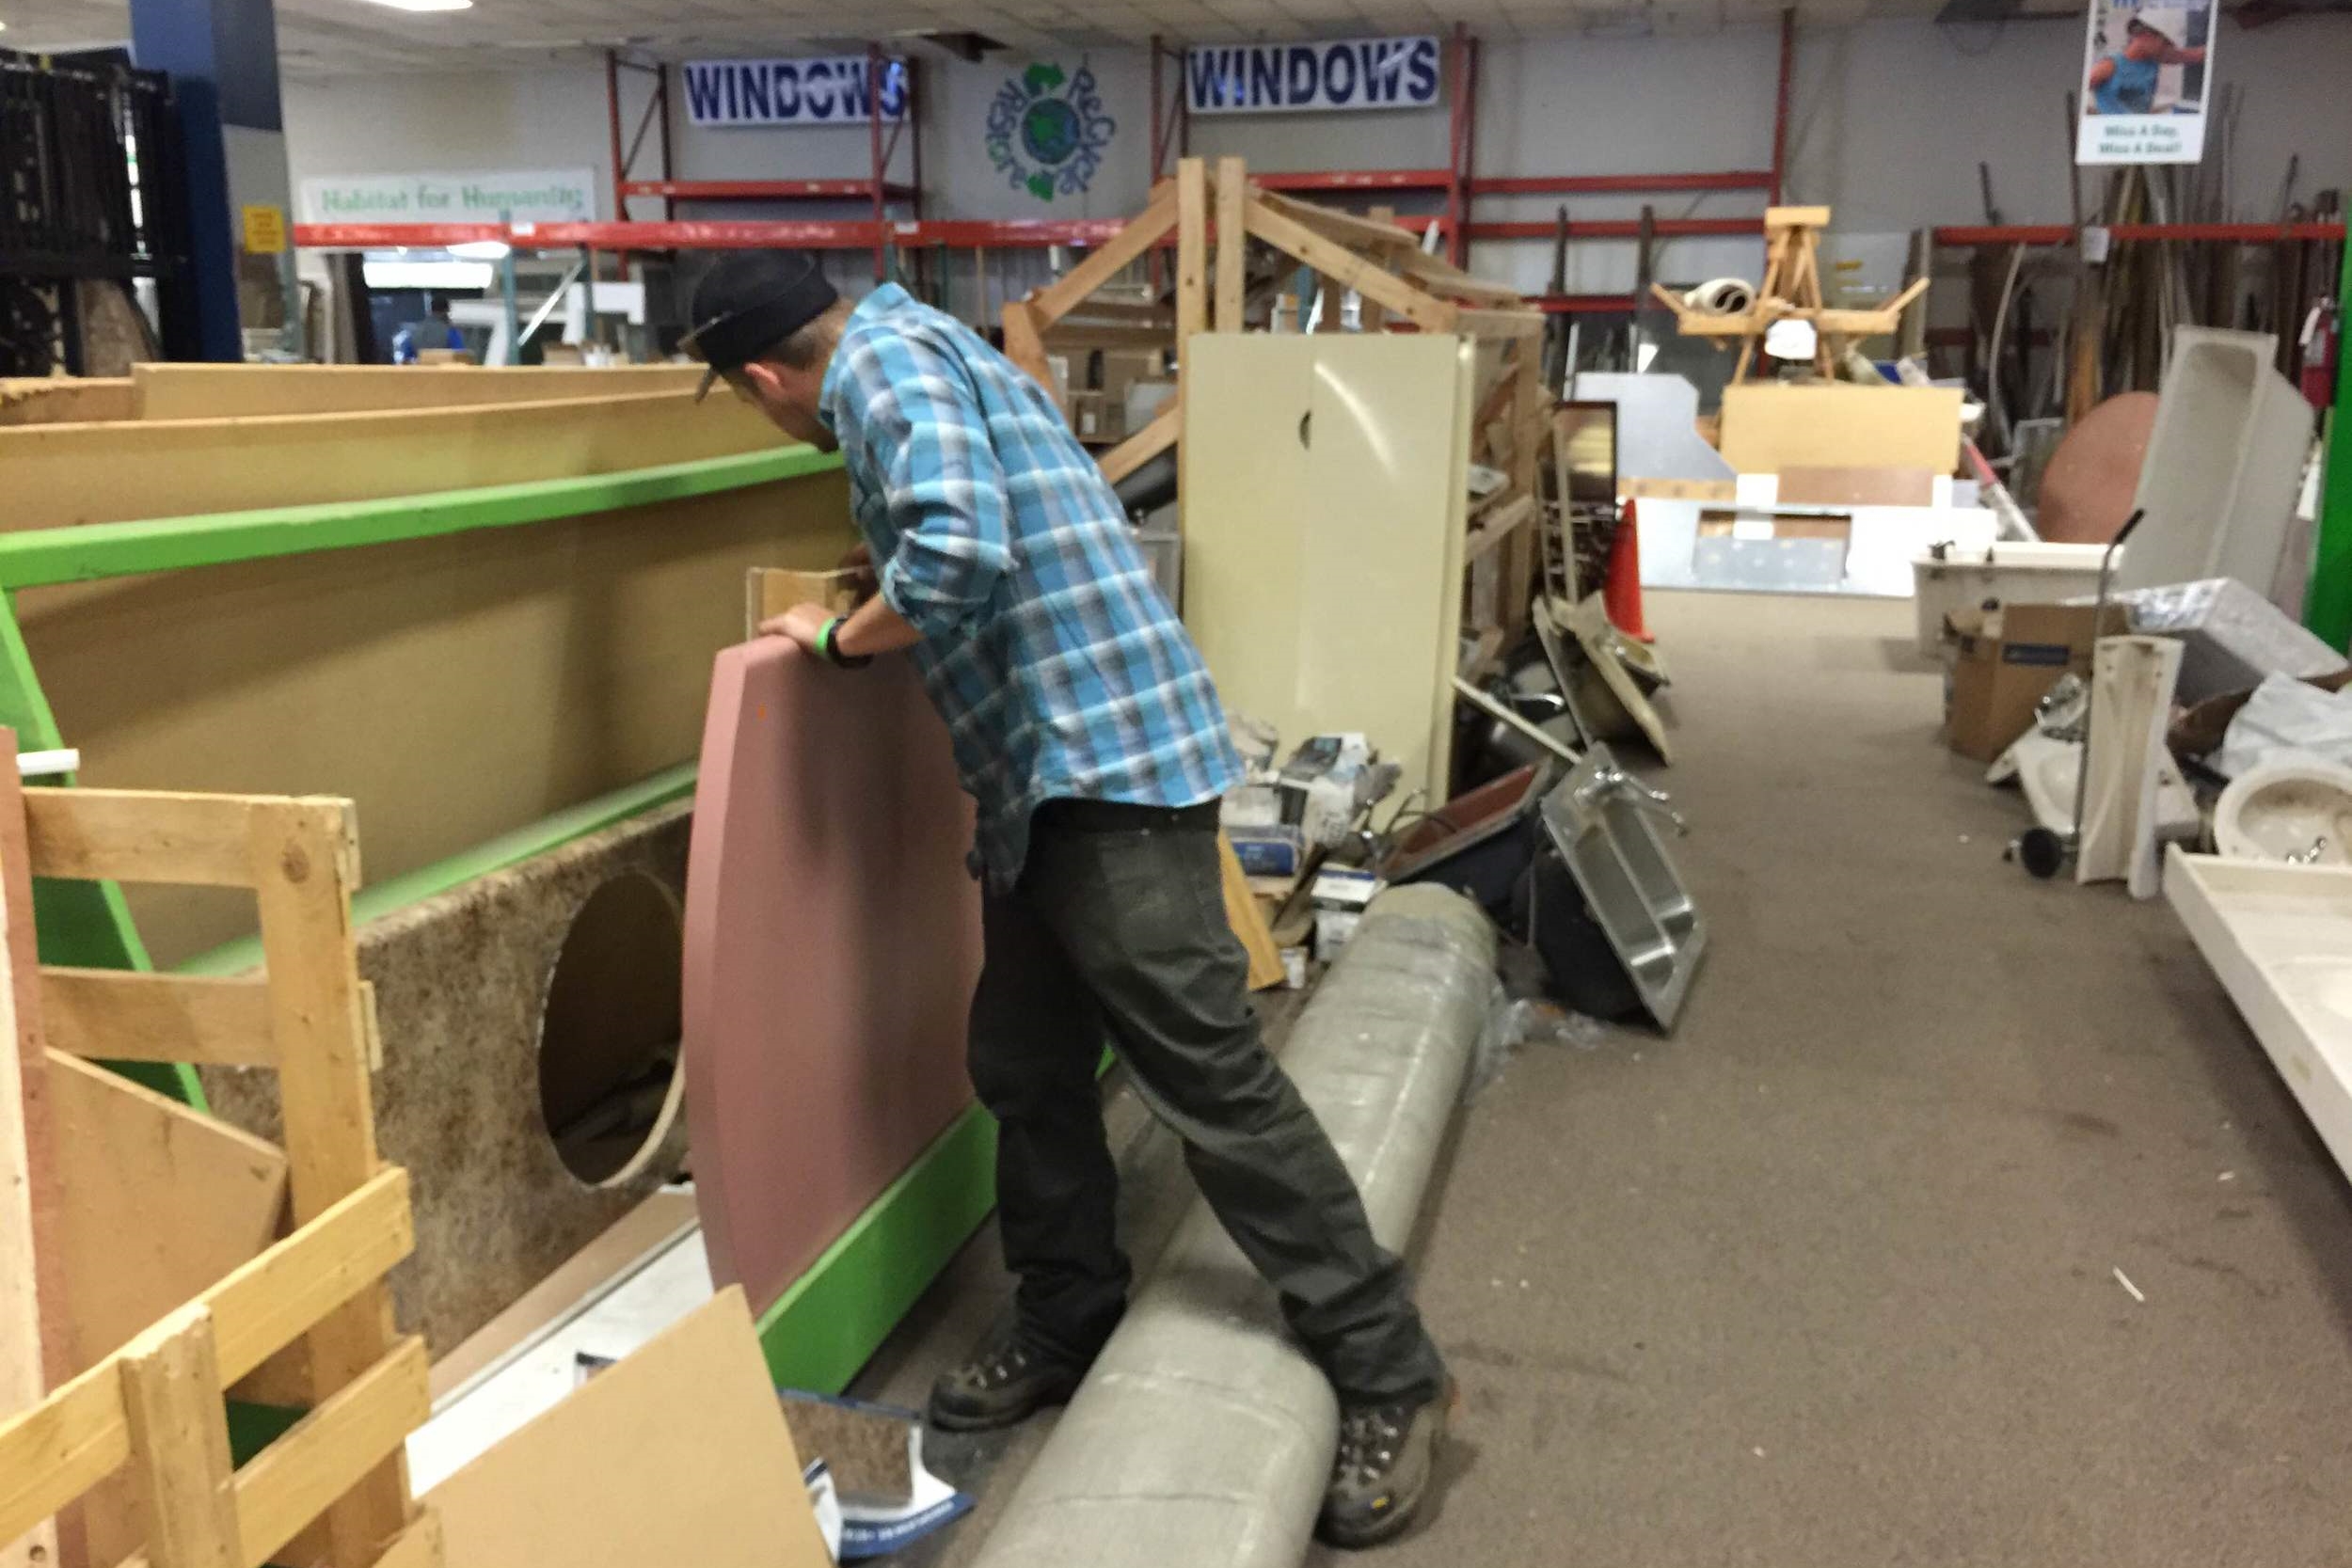
In between the junkyards we visited two Habitat for Humanity Restore... stores. If you've never been, go. They are totally helpful and fun, and offer all sorts of home goods at super low prices, like a Goodwill/thrift-shop for remodel supplies.

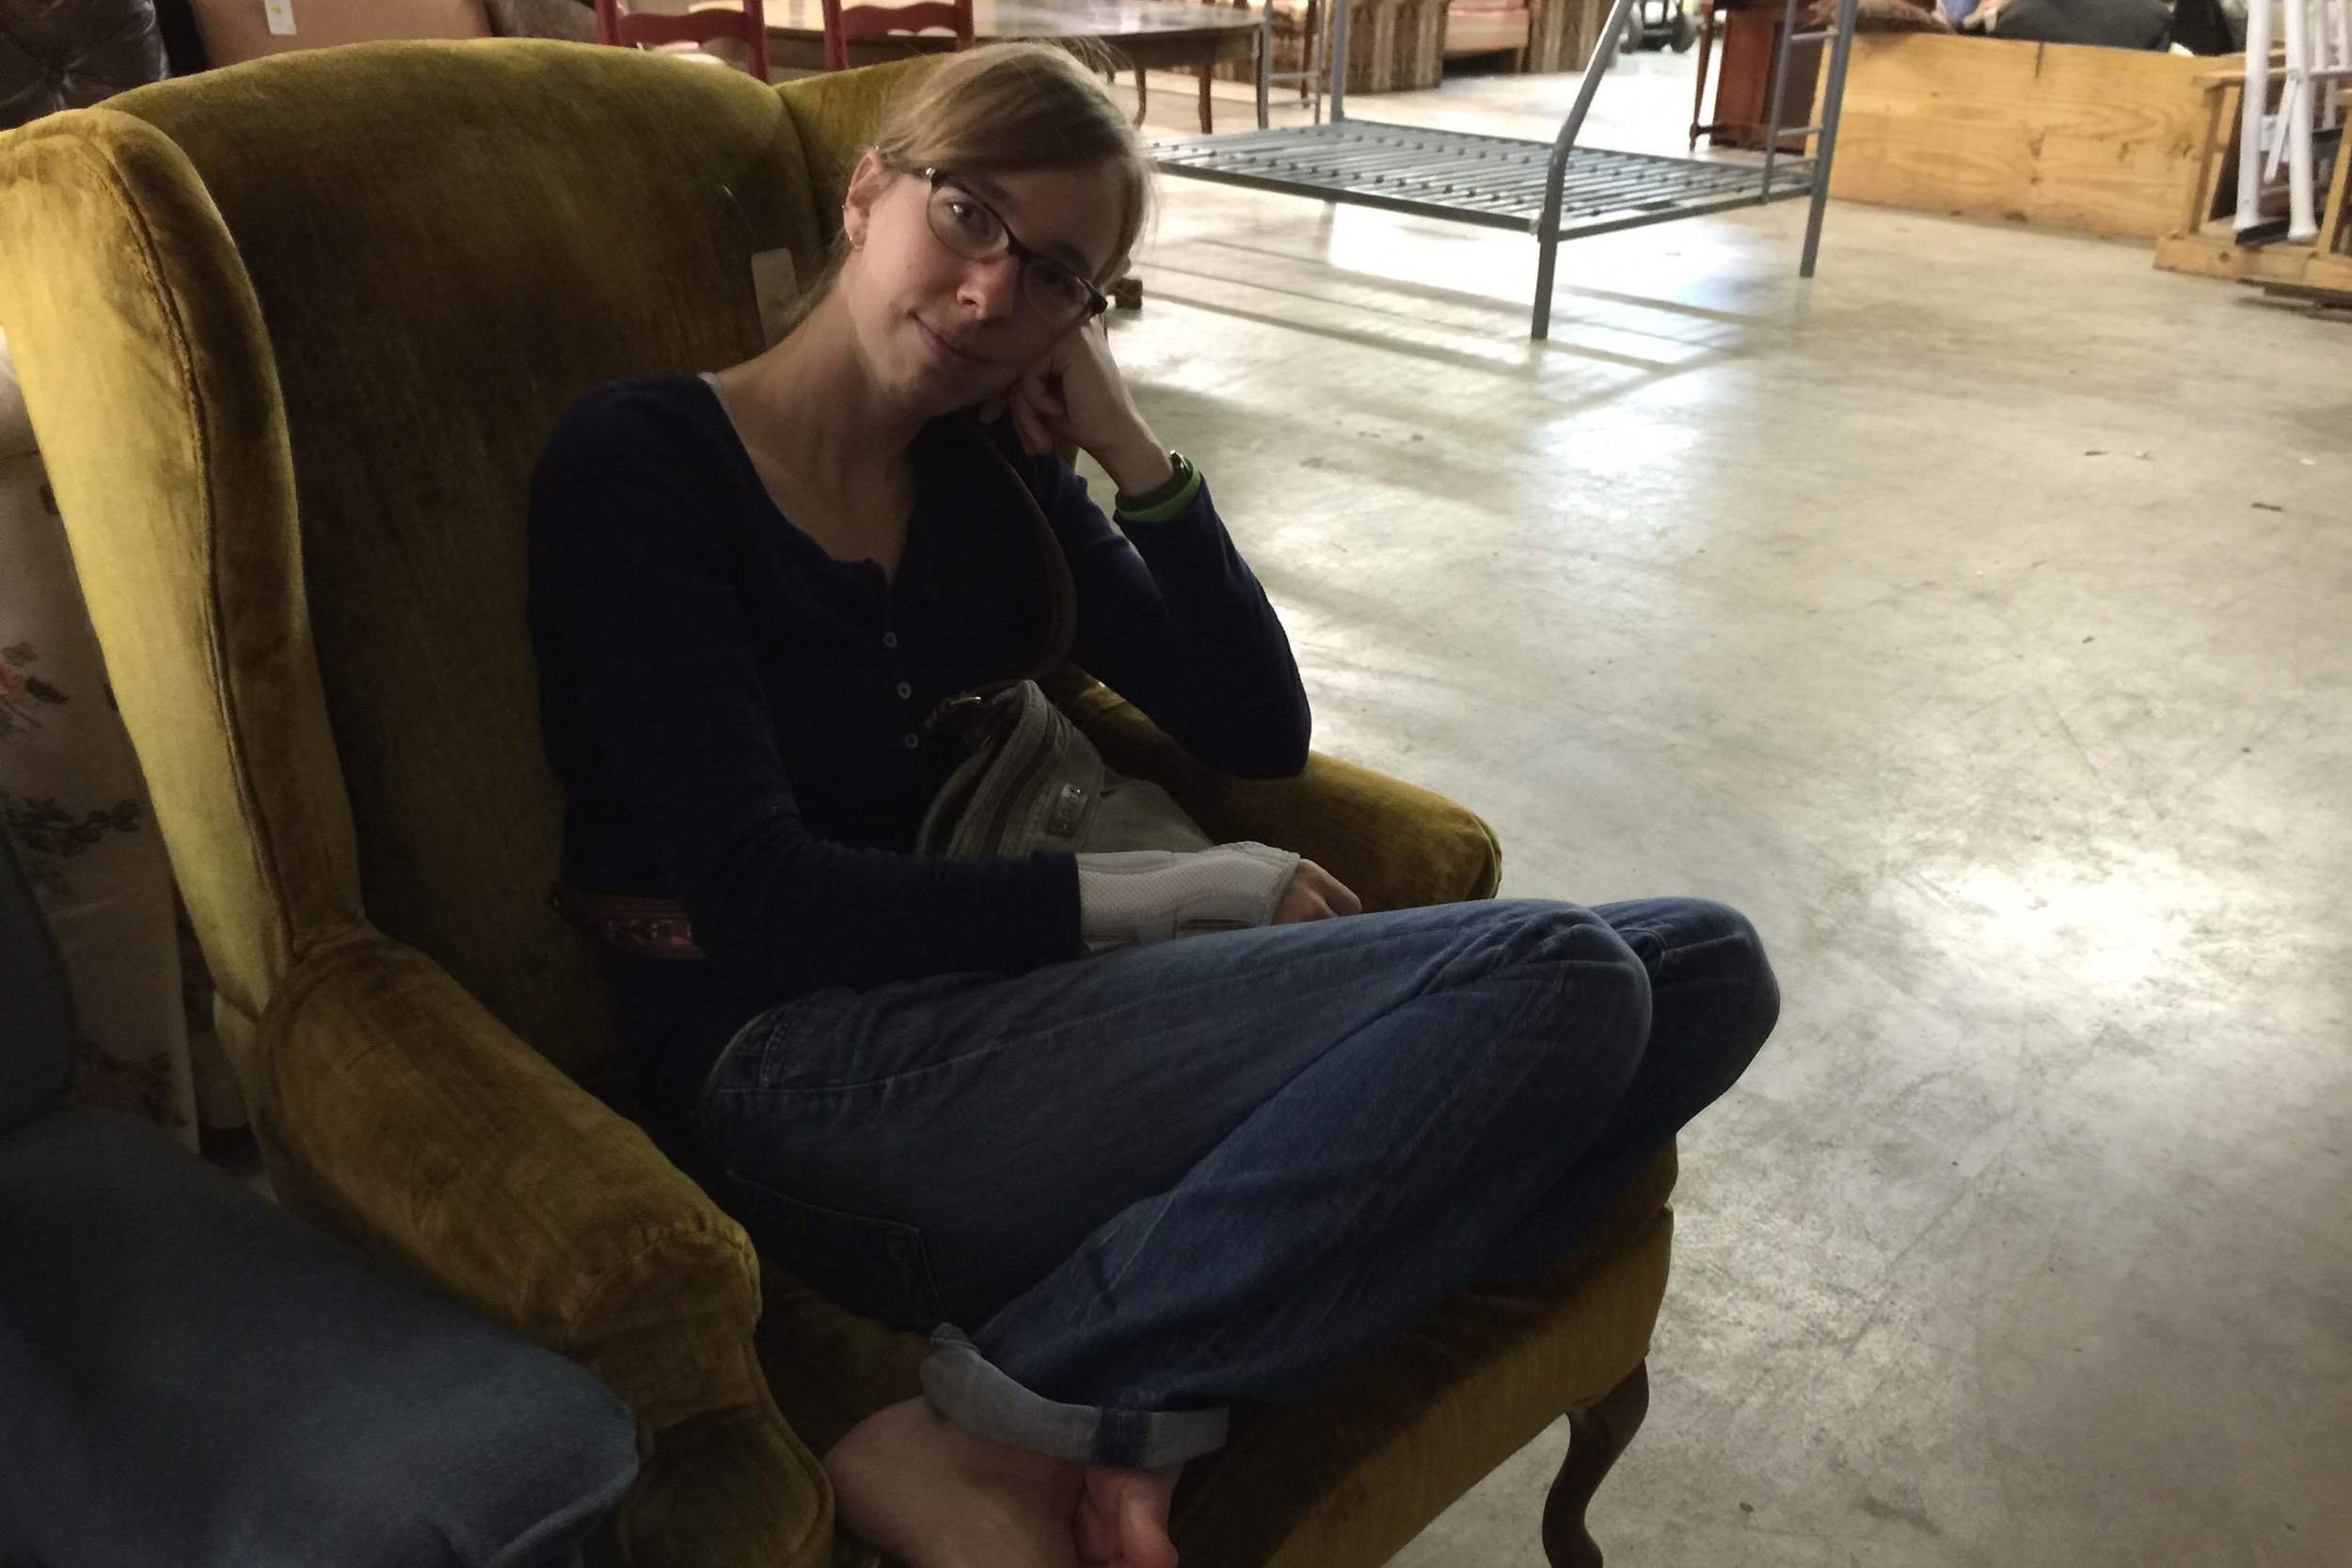
Chelsea nearly had to be dragged away from this wingback chair. She was convinced we could make it work as a copilot's chair. (I think she just really liked how nap friendly it was.)

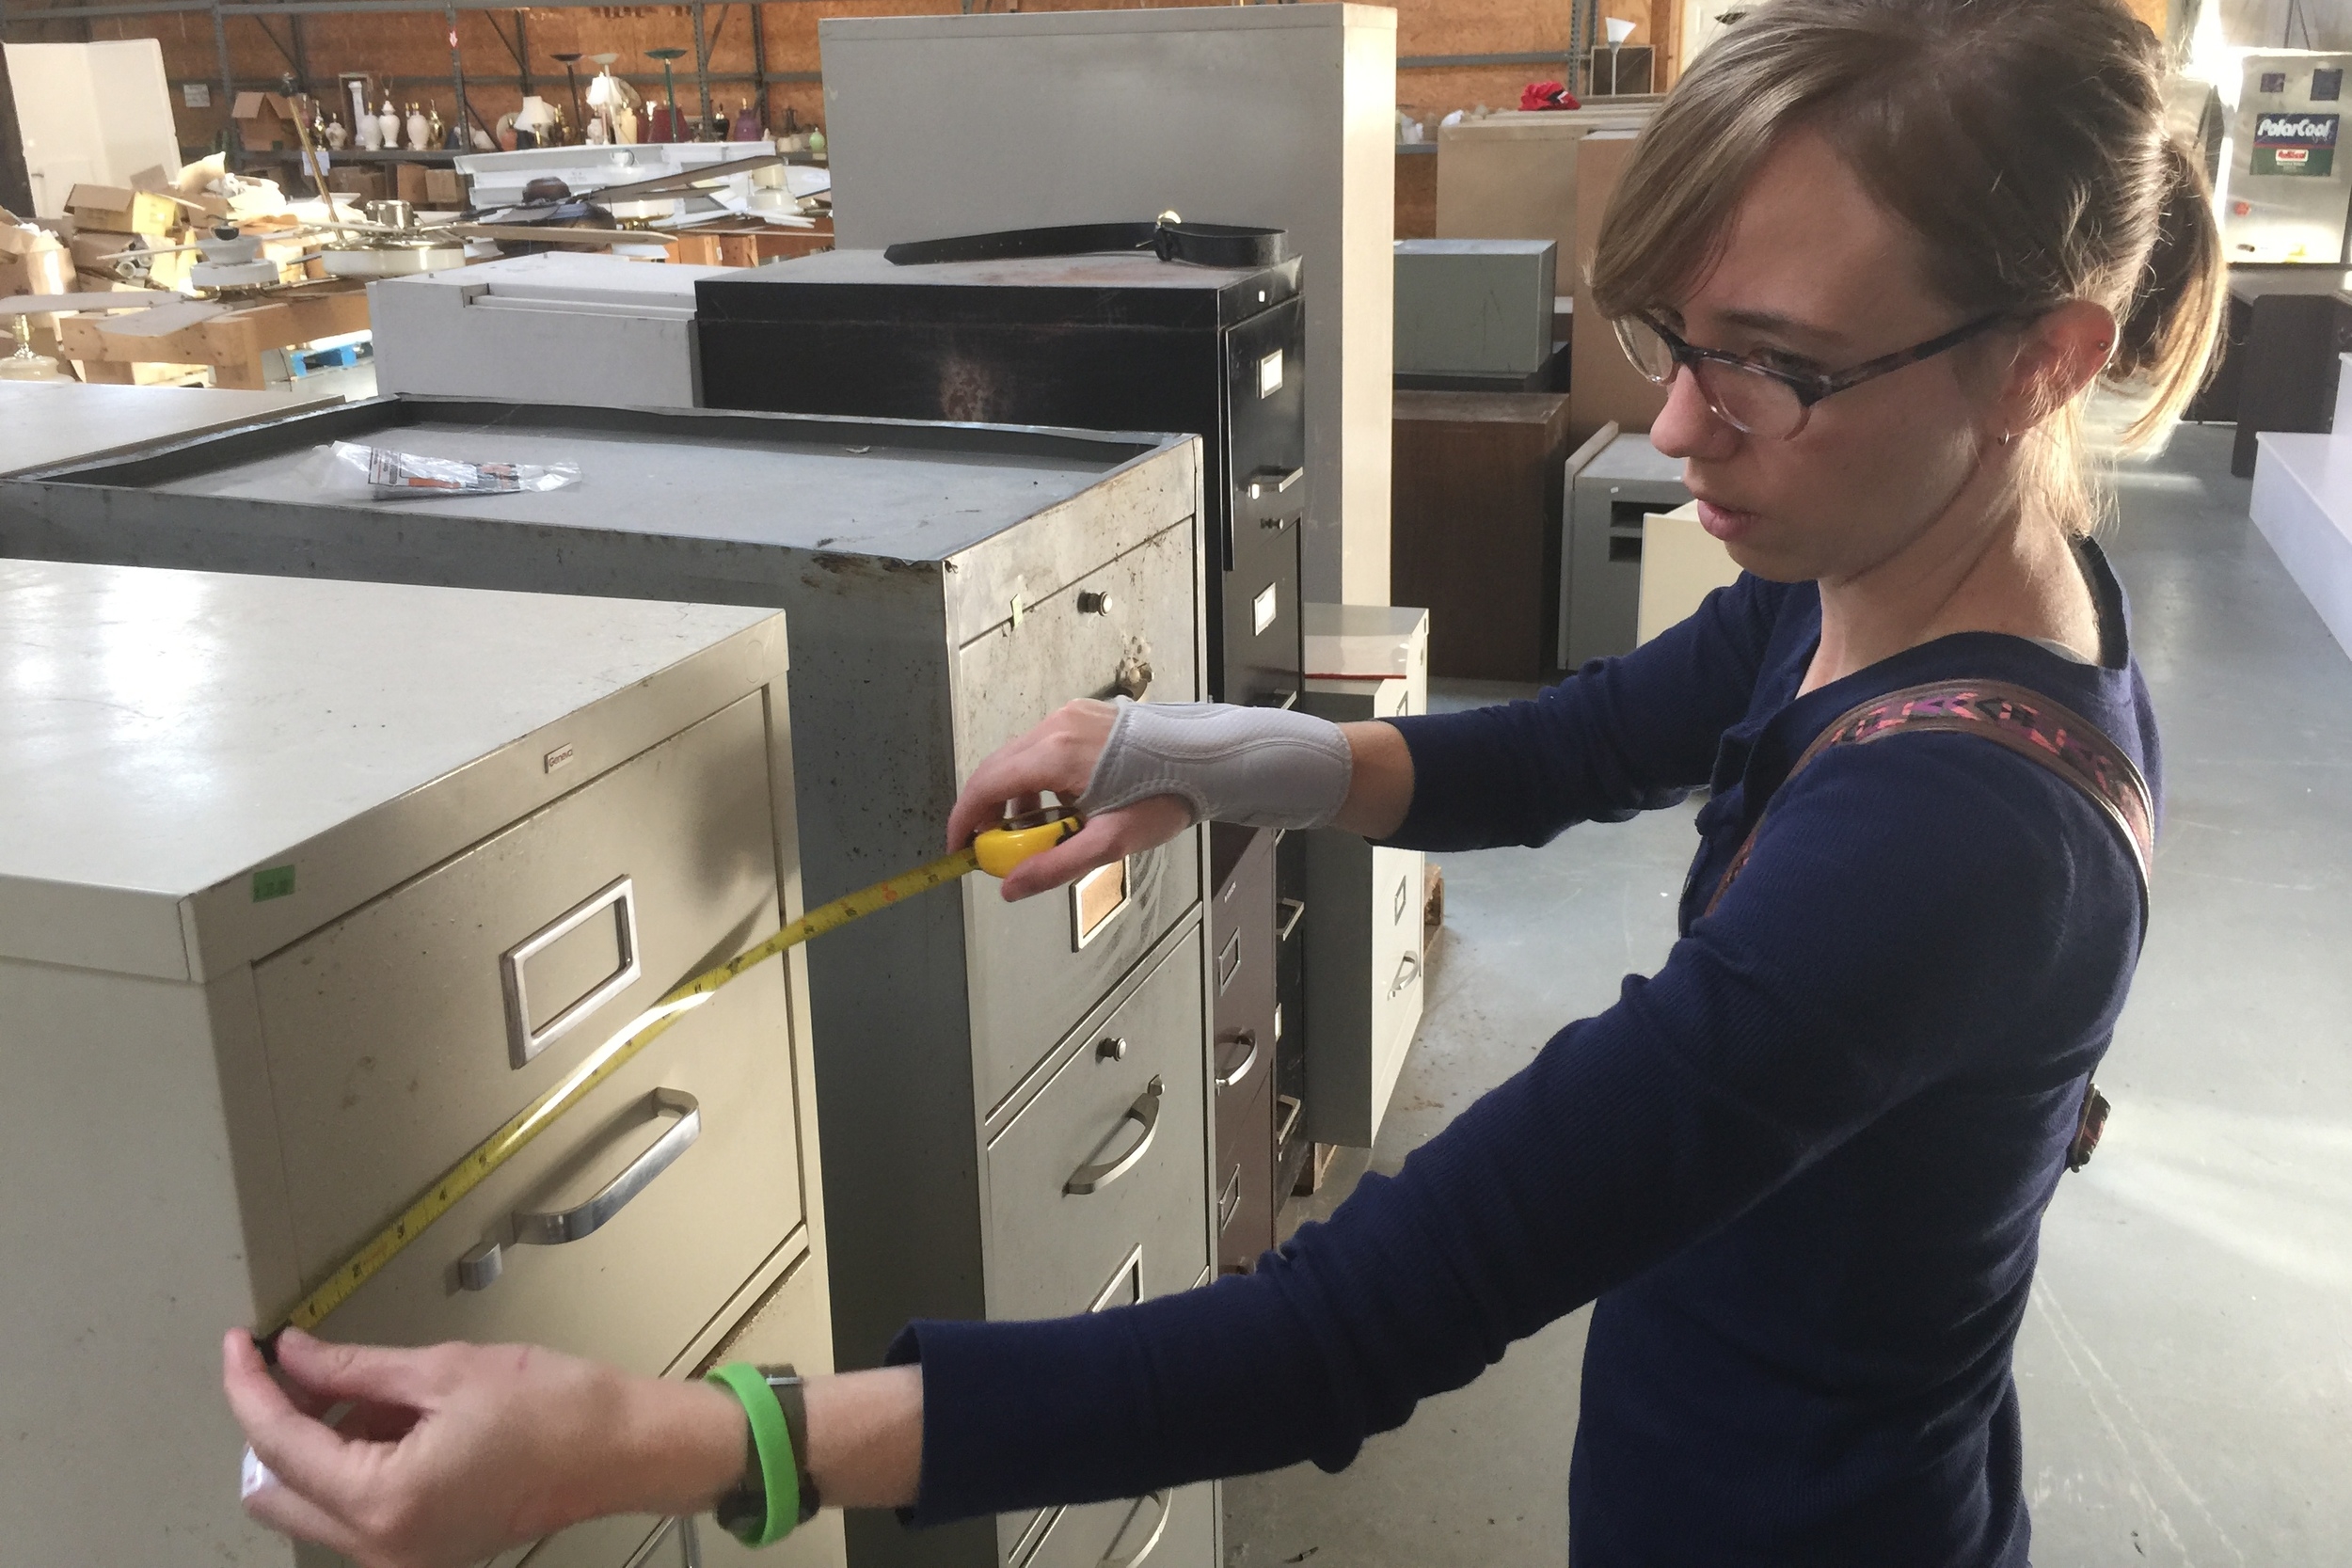
We also had some ideas about using abandoned filing cabinets as storage. Maybe some fancy painter's tape work and some spray paint will give us the look we want? Stay tuned!

10.31.15 - Floor Removal - Day 4

(Quick apology before we dive into today's post: I accidentally deactivated our MailChimp subscription newsletter yesterday while trying to edit it. I'm not sure that it will send out yesterday's blog post, so here's a quick link for those interested that might have missed it: Stubbs' Conversion Day 3)

Now, on with the show!

...

What's the scariest thing at Traveling Tuttle's this Halloween? Widespread, cancerous rust eating through Stubb's floor and body, that's what.

We tore up the 1/2 plywood underlayment today, which sat on top of the metal body/floor of the bus. It was held to the metal floor with 1 inch Torx headed self tapping screws, most of which didn't want to spin. We ended up using a combination of hammers, a splitting wedge, and a 5 foot pry bar to coerce the floor up. The wood itself was in decent condition for a twenty year old vehicle, but the floor beneath it is in disrepair, to the point of us needing an expert opinion to see if its even fixable.

In addition to the floor demolition, we also scrubbed the ceilings and walls, removing a decent amount of residue from tape and labels that had formerly graced the walls. When all was said and done, the walls and ceilings looked pretty good. At least we've got that going for us…

We're definitely not discouraged by the floor. It just gives us a lot of relief that we ended up going through the trouble of pulling up the plywood to check underneath before building up a home on top of it. We'll get Stubbs to a body shop next week and go from there!

10.30.15 - Stubbs' Conversion - Day 3.

Today was a slow day in the way of progress because we had a 9am appointment at a local mechanic to do some of the more complicated removal work for us (two heaters and an AC unit from the rear). Since we'd already separated and organized all the seat cushions from the steel bench seat skeletons, we headed over to the scrap metal recycling center first thing in the morning.

The guy at the scrap metal place was very impressed with how organized we'd made everything in preparation for disposal.

The guy at the scrap metal place was very impressed with how organized we'd made everything in preparation for disposal.

Sorry seats, it was time to go!

Sorry seats, it was time to go!

300 lbs lighter and 9 whole dollars richer (apparently scrap steel doesn't go for much these days), we were headed towards the mechanic to drop off Stubbs

Sadly, there was an unexpected funeral for some of the good folks at the shop, so Stubbs wouldn't be free until the afternoon. We took the opportunity to drive over to the transfer station to dump the trashed seat cushions before dropping her back off at the mechanics.

We're finding that the rear door comes in quite handy for disposal purposes!

We're finding that the rear door comes in quite handy for disposal purposes!

Bye bye bus seats!

Bye bye bus seats!

The day wasn't wasted after that, as we had an entire Campbulance to empty out and prep for possible sale. Ideally, we'd like to get her cleaned out and washed up to looking a bit nicer before we post photos online and officially list her.

Because they weren't able to start work until much later than planned, only one of the heaters was fully removed with its lines capped off. We'll take Stubbs back on Monday to have that work completed as well as *hopefully* getting an alternator switch put in for the deep cycle batteries. We have far too much work to get done with a short timeline, so we picked Stubbs up this evening and will take her back after the weekend.

Rear floor heater and elements removed, making way for us to tear out the flooring tomorrow!

Rear floor heater and elements removed, making way for us to tear out the flooring tomorrow!


Stubbs' conversion: Day 1 & 2

10.28.15 - Day 1.

Our biggest challenge once getting Stubbs back to Searcy, AR, was finding a place to do the conversion. We'd foolishly counted on a solution we'd come up before we went up to look at the bus, but it fell through. With a quickly dwindling timeframe, we had to hustle to find a solution.

The perfect solution came in the form of an old friend of mine named Willie that I knew well from frequenting a coffee shop called Midnight Oil in Searcy while I was attending college at Harding University. He owns a house just down the road and offered up his backyard to us. It is perfect. Stubbs fits just fine and not only did Willie run a power cord out to us, but he enjoys the entertainment of us working enough to sit outside and give us tips and help us out when the mood strikes him.

With a spot to work all lined up, we dug into the first project late yesterday afternoon: removing the seats.

The barriers in the front were held in by screws, which gave us a false sense of hope regarding the remaining 24 seats. It wasn't until the next day that we realized they were indeed bolts and needed to have someone bracing a wrench underneath the bus while the person above went at the bolt with a socket wrench.

The front barrier came out easily, as it was held in by screws and not bolts with nuts below.

The front barrier came out easily, as it was held in by screws and not bolts with nuts below.

This led us to the wrong assumption that the rest of the seats were held in by screws, so we spent a decent amount of time trying to remove the seats the wrong way.

This led us to the wrong assumption that the rest of the seats were held in by screws, so we spent a decent amount of time trying to remove the seats the wrong way.

We had a furry supervisor join in the fun.

We had a furry supervisor join in the fun.

The supervisor gave up on us.

The supervisor gave up on us.

"Let's just jack it out of the floor!" Ten minutes later, we'd bent the handle on the jack. Oops.

"Let's just jack it out of the floor!" Ten minutes later, we'd bent the handle on the jack. Oops.

Christian finally resorted to an angle grinder to grind away the screws.

Christian finally resorted to an angle grinder to grind away the screws.

One seat removed! Only 11 more to go!!!

One seat removed! Only 11 more to go!!!

10.29.15 - Day 2.

We got an early start today, knowing our goal was to get all of the seats out. My grandpa was excited to see the bus and interested in helping, so he showed up with us to get to work. With the new knowledge of the nuts beneath the bus, Christian and I swapped out laying on a tarp underneath while someone used a socket inside.

About half of the bolts were a total pain to get out. Christian and I did most of the grunt work, but when one was too much for me to get started, Willie and my grandpa would step in and give me a break.

While the bolts were being undone one by one, we worked on the seats as well. We could unscrew the bases and pull those off, making the bolts easier to access. Plus, we had a pretty nice pile of scrap metal starting from all the hardware, so we wanted to pull all the cushions off of the seats so we could scrap that metal as well.

Willie on the left and my grandpa on the right, helping me with a bolt I couldn't get to break.

Willie on the left and my grandpa on the right, helping me with a bolt I couldn't get to break.

Prying the aisle runner up. The bolts were so rusted we just used hammers and a pry bar to pop the tops off one by one.

Prying the aisle runner up. The bolts were so rusted we just used hammers and a pry bar to pop the tops off one by one.

A nice pile of bus seats forming.

A nice pile of bus seats forming.

I've had a few people ask if we're going to keep any seats to use in the future layout. The answer is no. If you saw the foam inside those suckers you'd throw them out too. If there's one thing Christian and I learned while converting the Campbulance, it's that you're better off starting from scratch with most everything when it comes to a heartily used 20-year-old vehicle.

Slowly, but surely, the seats finally came out.

Slowly, but surely, the seats finally came out.

Pulling up the remaining aisle runner.

Pulling up the remaining aisle runner.

Pulling up the aisle vinyl to check out the wood underneath.

Pulling up the aisle vinyl to check out the wood underneath.

We worked until dark to get the seats taken apart and ready to haul to the scrap metal place and dump in the morning. Willie came in incredibly handy once again when he three-pointed Stubbs into position to pull out of the yard in the morning.

On the docket for tomorrow is a 9 am appointment at a mechanic to remove the heater element from the back of the bus and hopefully wire up a switch to the alternator for a bay of deep cycle batteries that will serve as our house power. After that, it'll be the dump and scrap metal place, then back to Willie's to continue demolition on the plywood floor (which we plan to replace with new plywood + some insulation).