Let there be light (and heat)!
/We've fallen behind on blog posts yet again, but of course, you've probably all come to expect that. Our last week and a half in West Glacier was a scramble to finish the projects we wanted to get done on Little Foot, transition our extra belongings into storage in Idaho and wrap up our life there in an effort to prepare to hit the road.
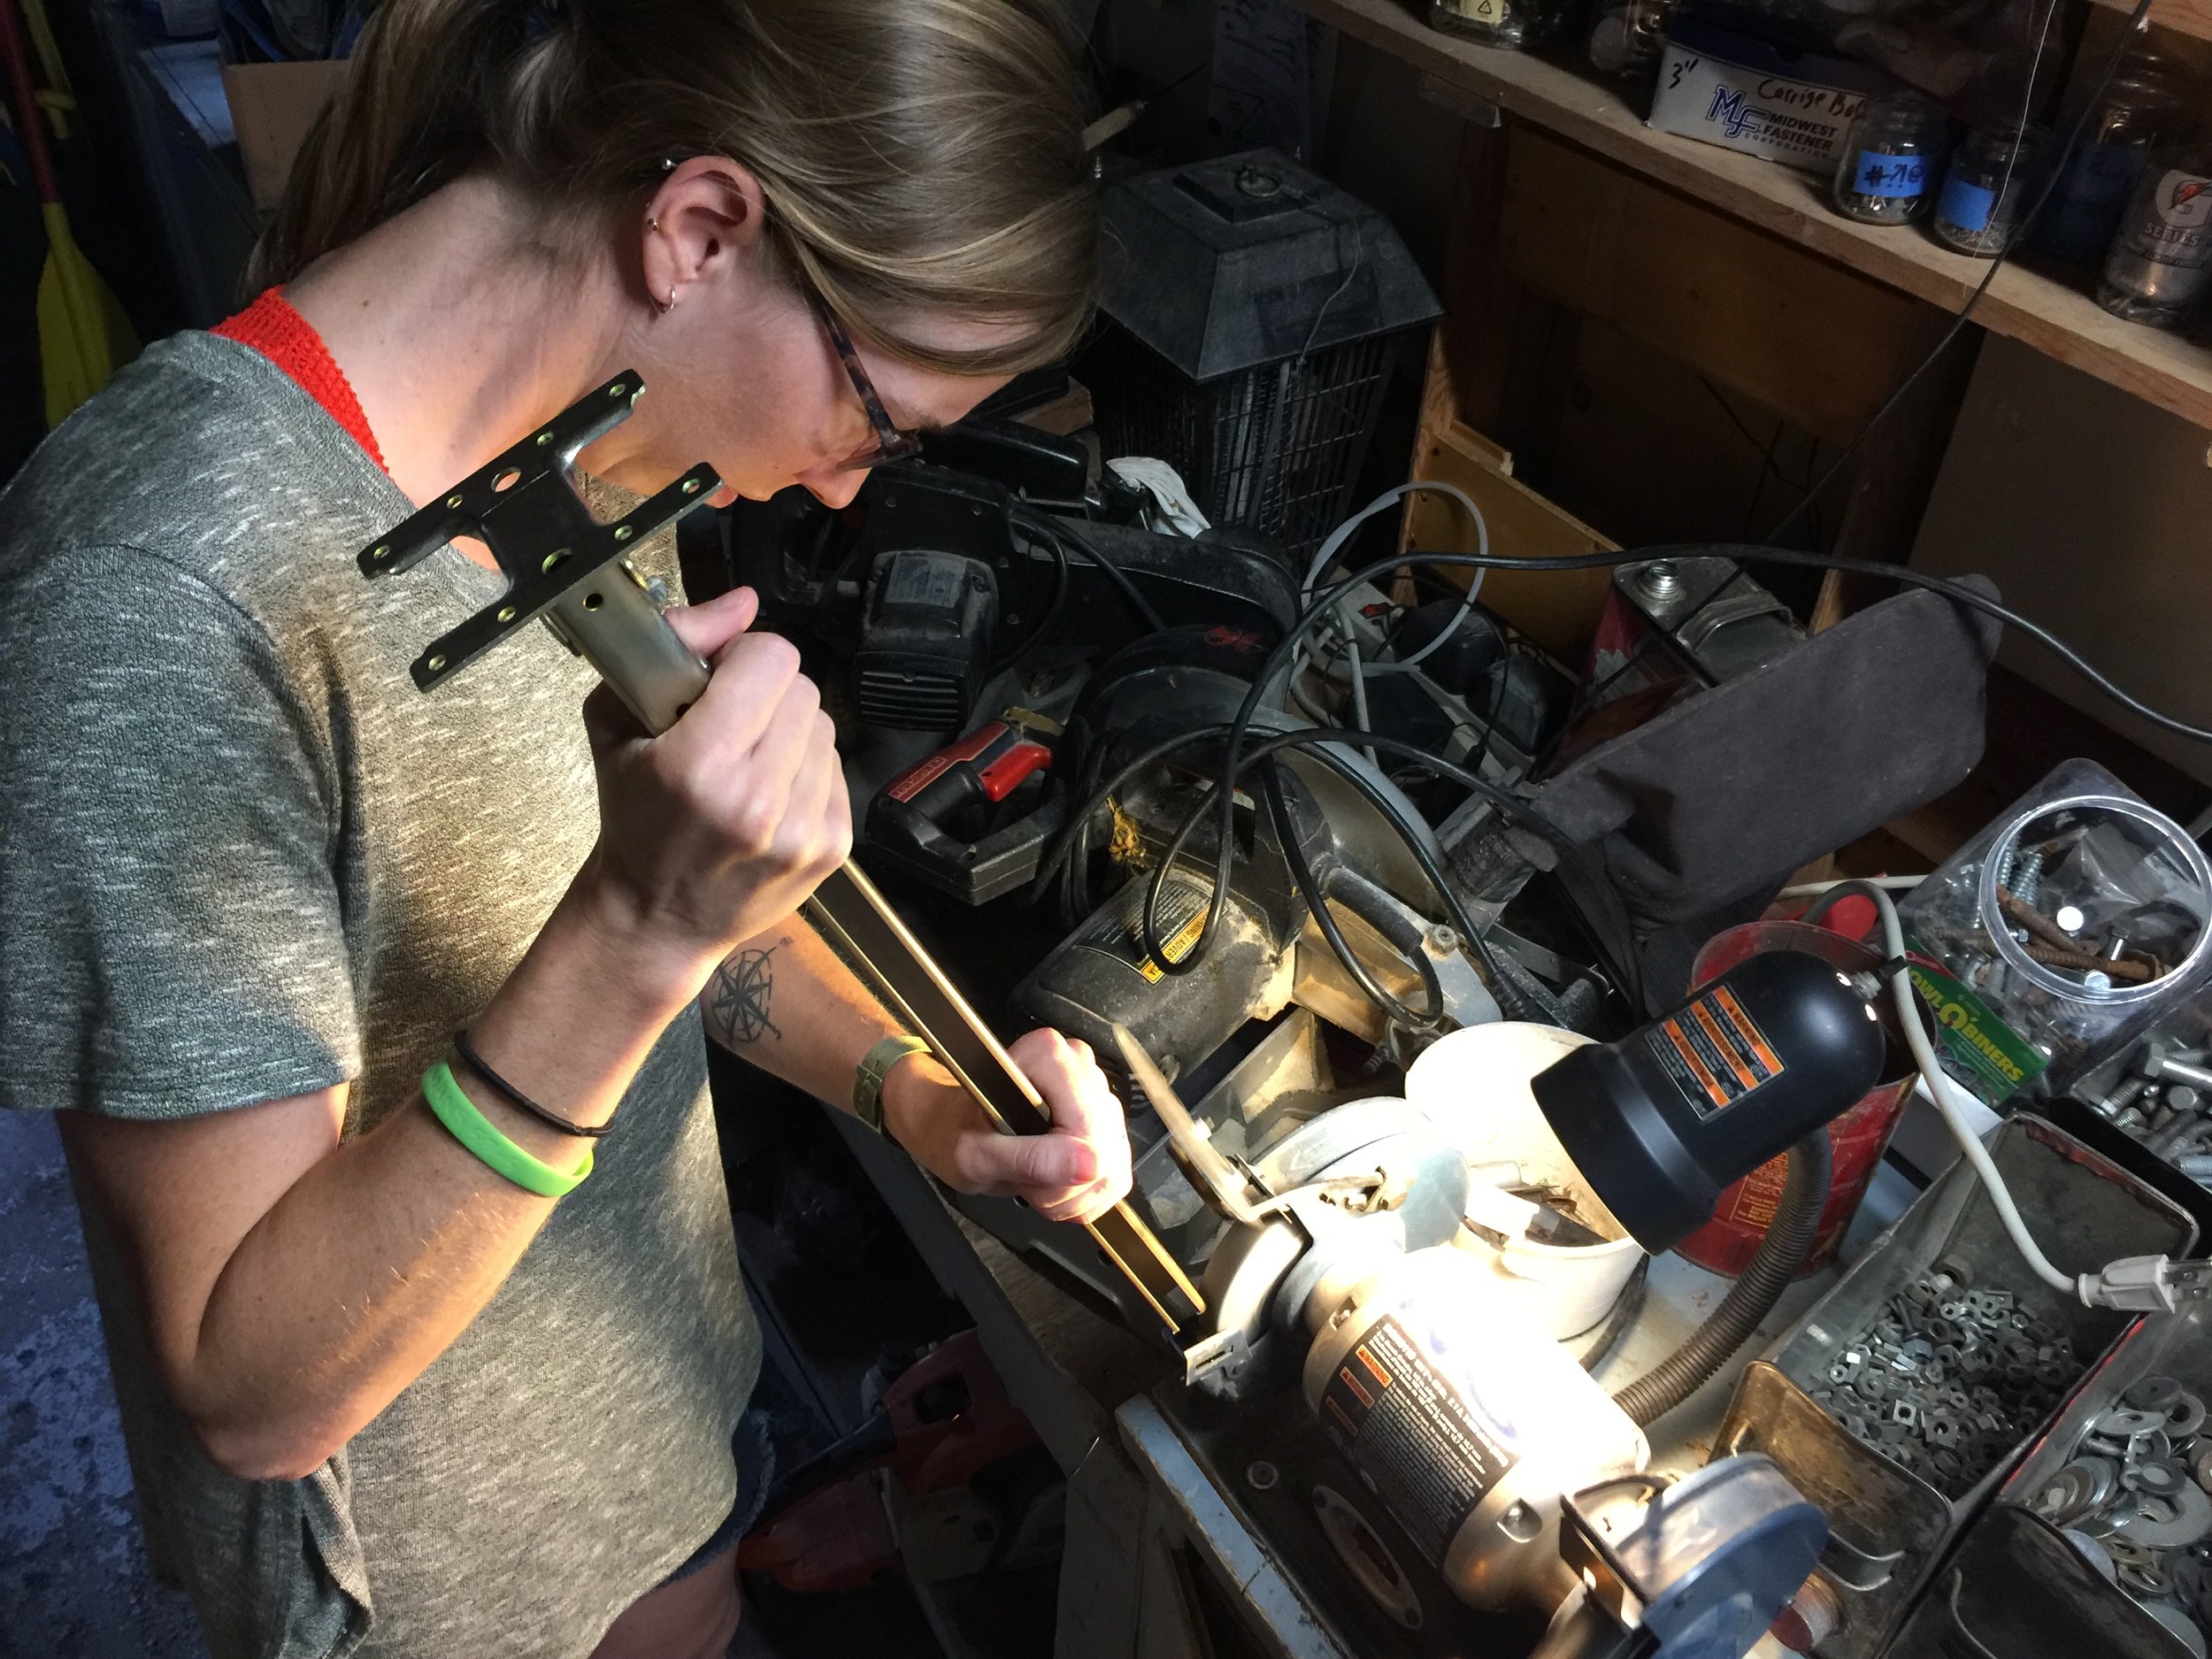
Installing our wood stove was a priority, as it's fairly useless if we can't make a fire in it. Luckily, the box came with two vents in the roof, one of which was conveniently located directly above where the stove would sit, allowing us to run the pipe through it. It was too large for the stove pipe and the deck fitting we already had for it, so there were some alterations and patches that had to be made to accommodate it correctly.

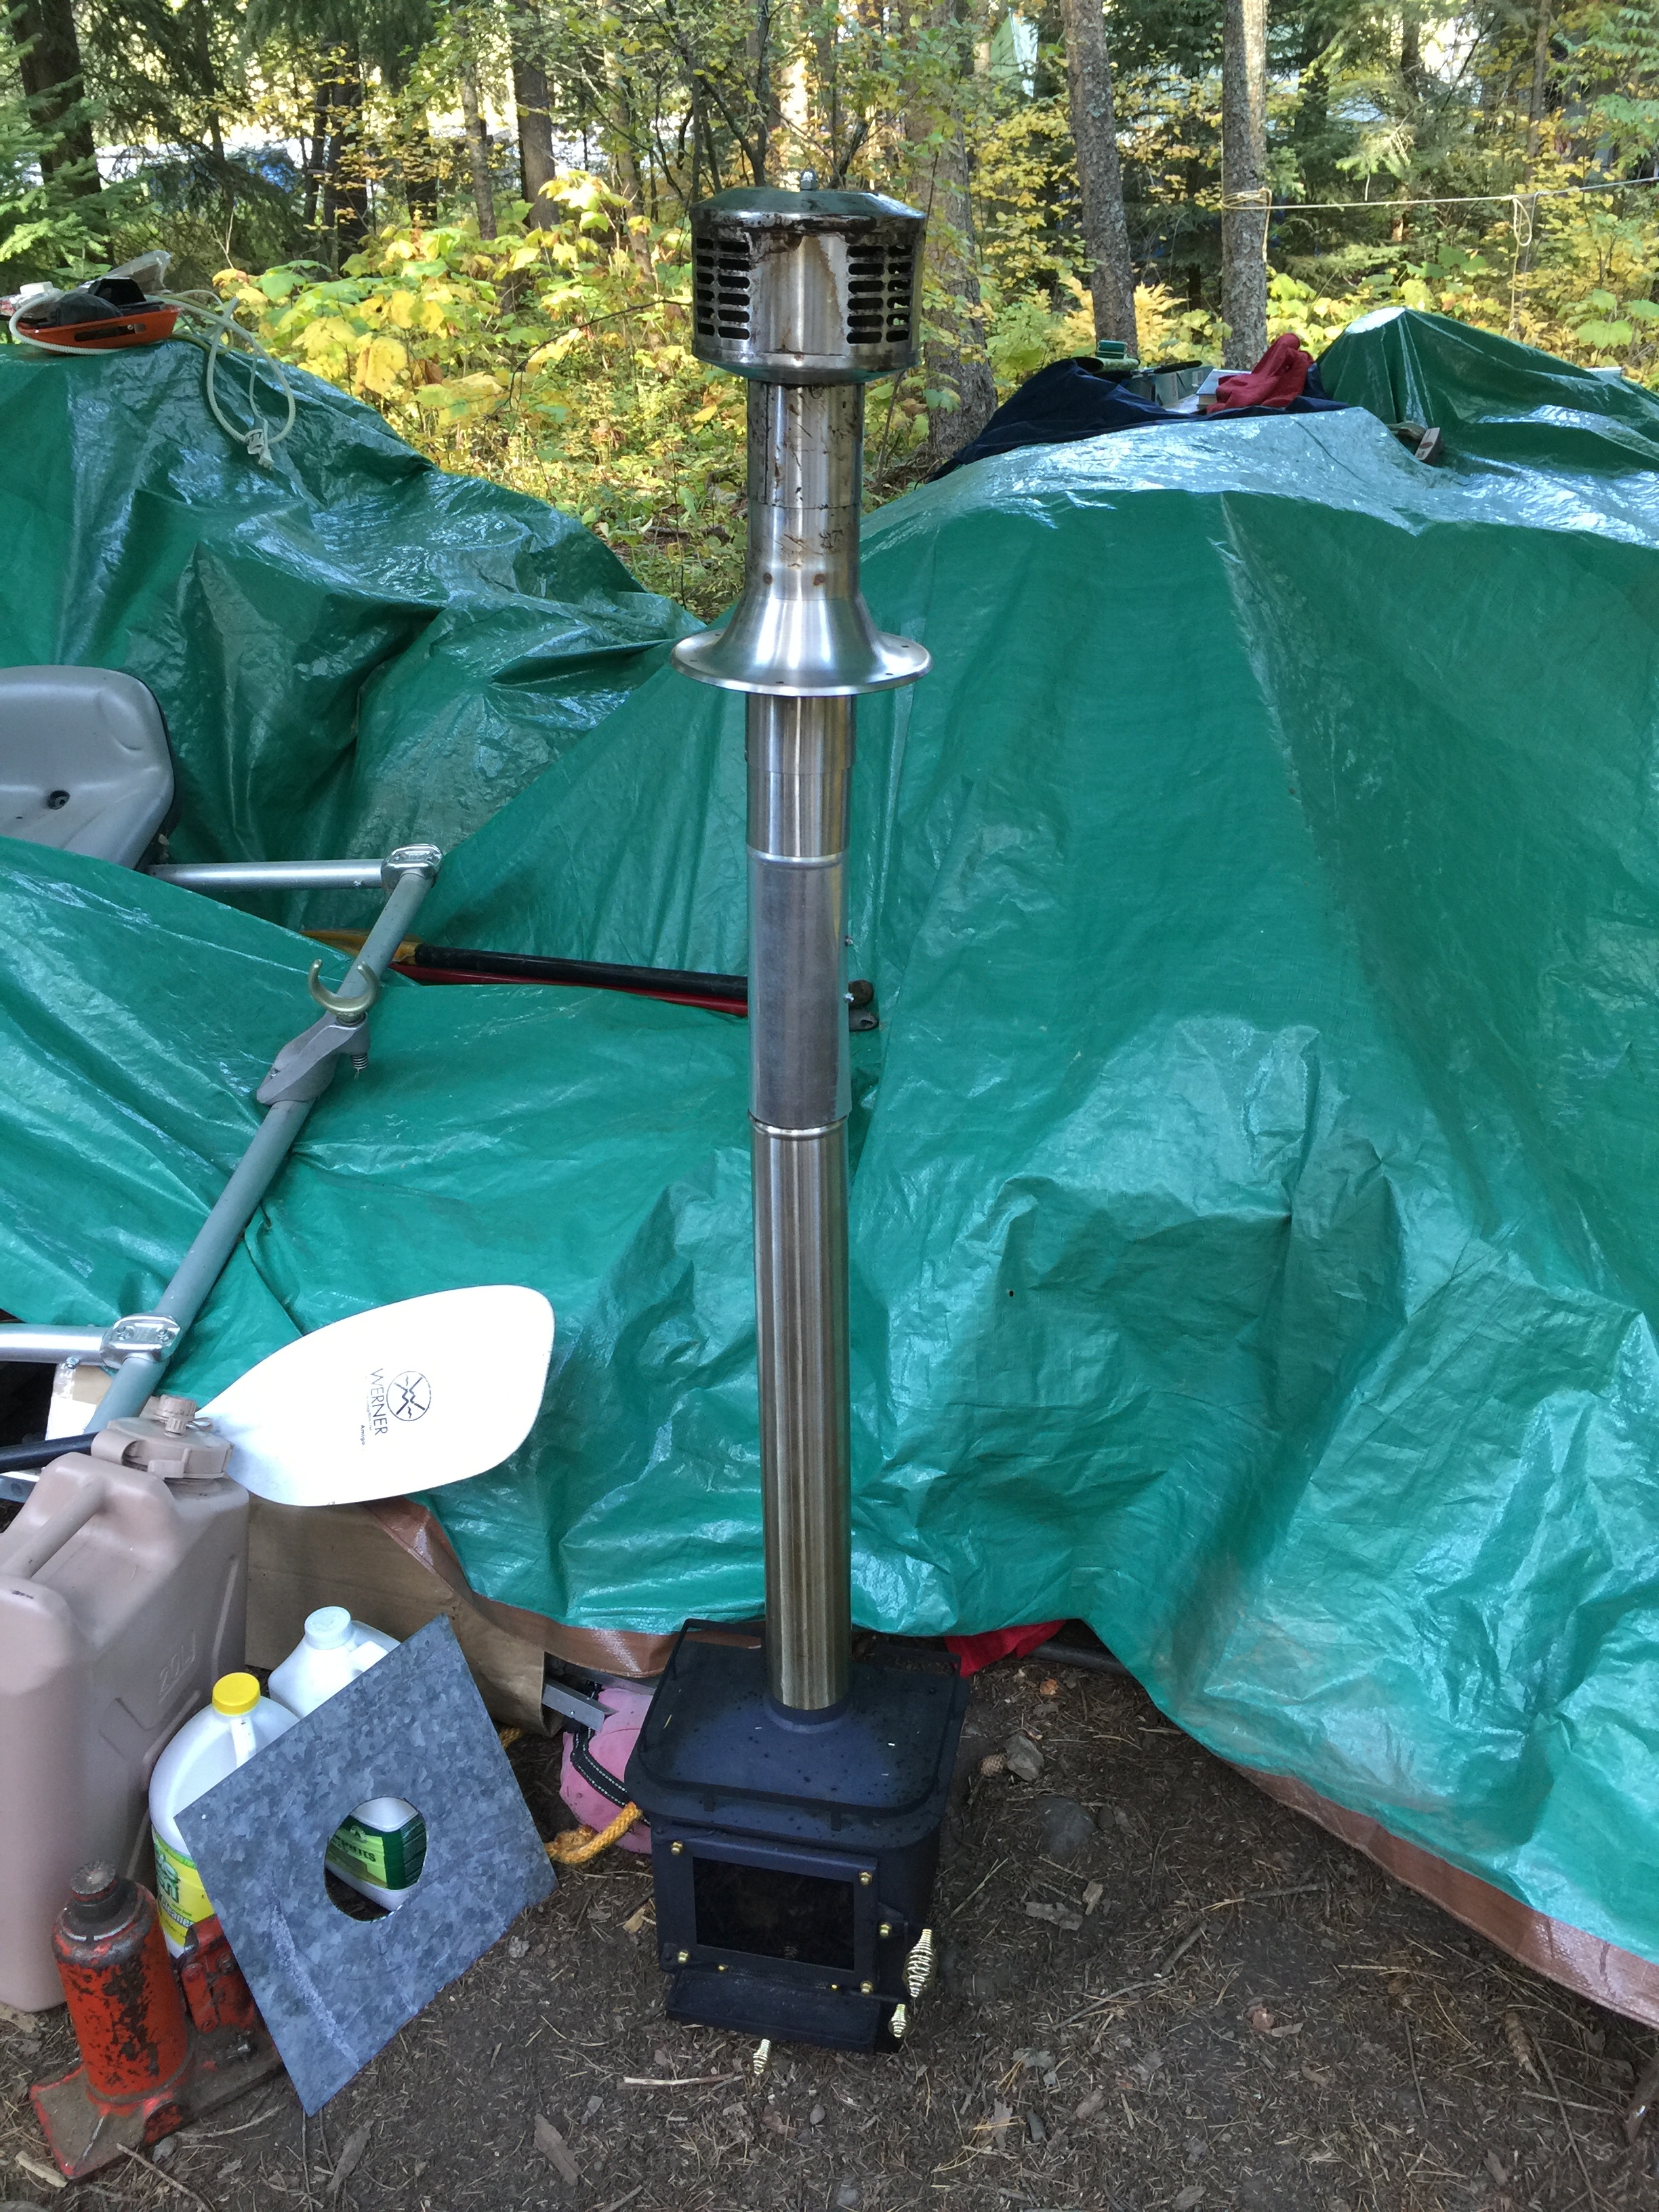
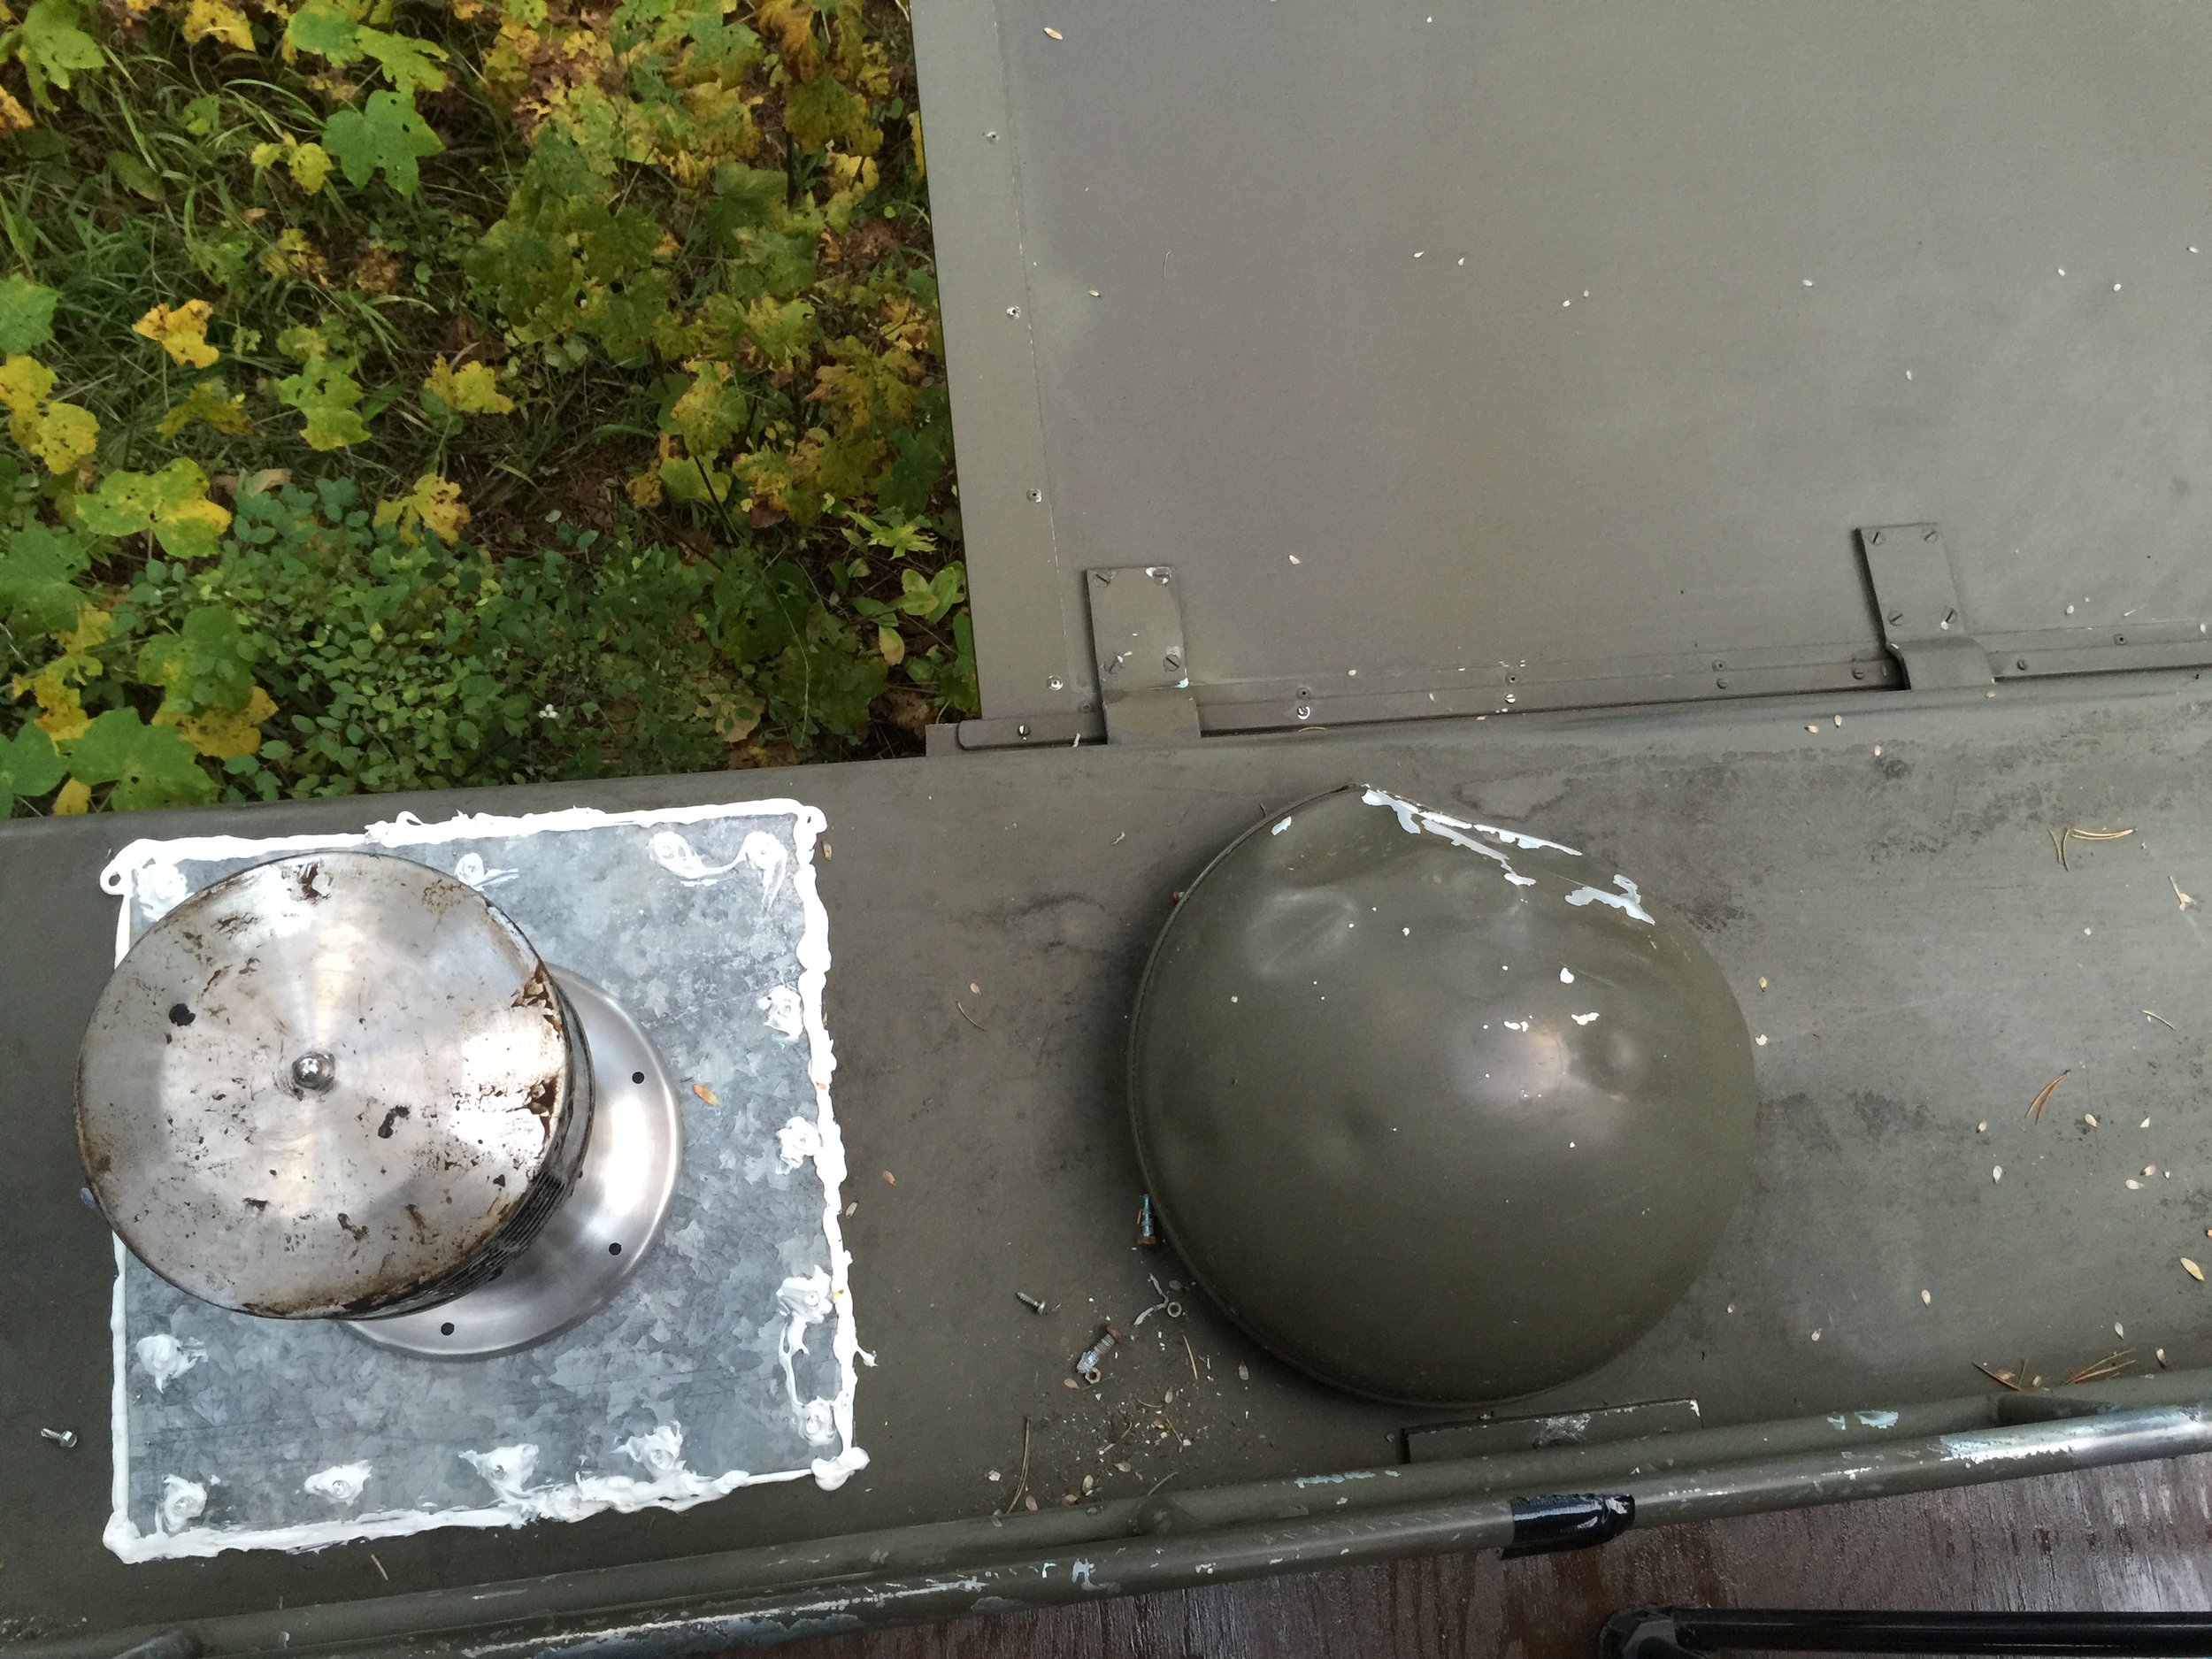
The stove assembled with a piece of galvanized steel beside it that would make the vent hole the correct size.

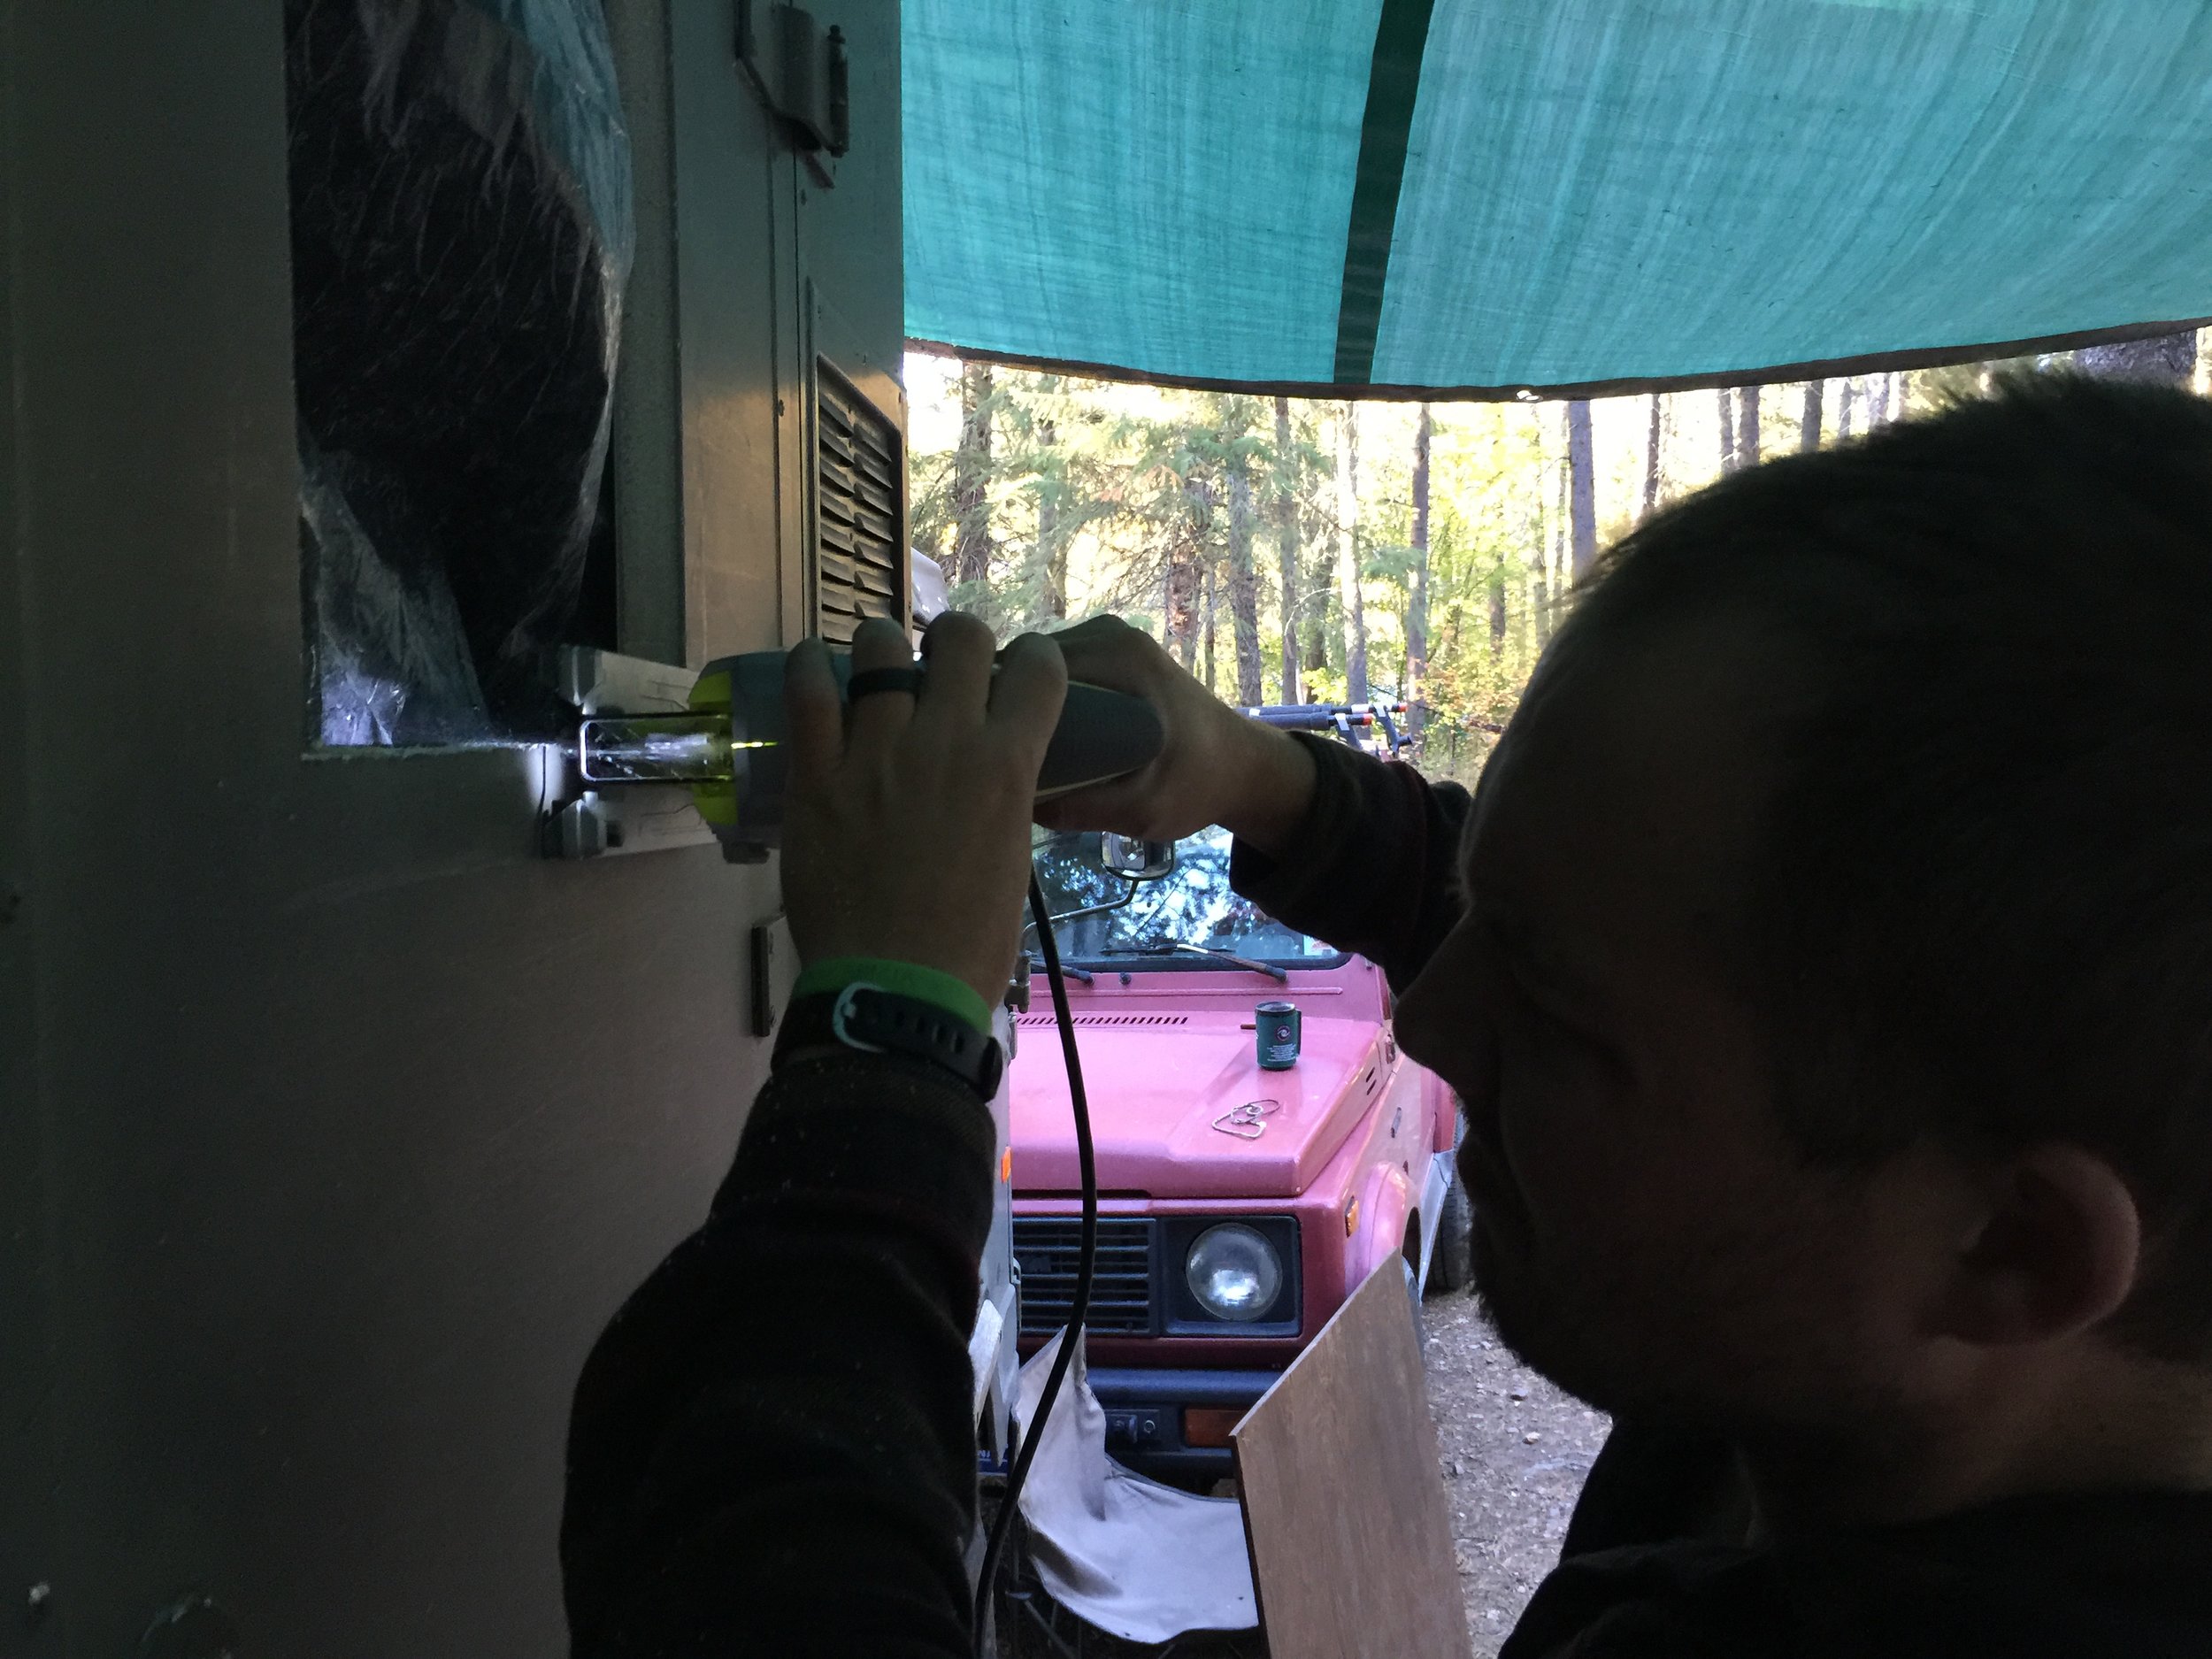
One of the other biggest (and scariest) projects that we'd been avoided was installing two windows in the side of Little Foot. Our friend (and resident company mechanic) Bill had procured a perfectly sized window from a dumpster a while back. He didn't have a use for it, but couldn't stand to see a perfectly good window go to waste, so when we told him we were on the hunt for a window he handed it over with pride.

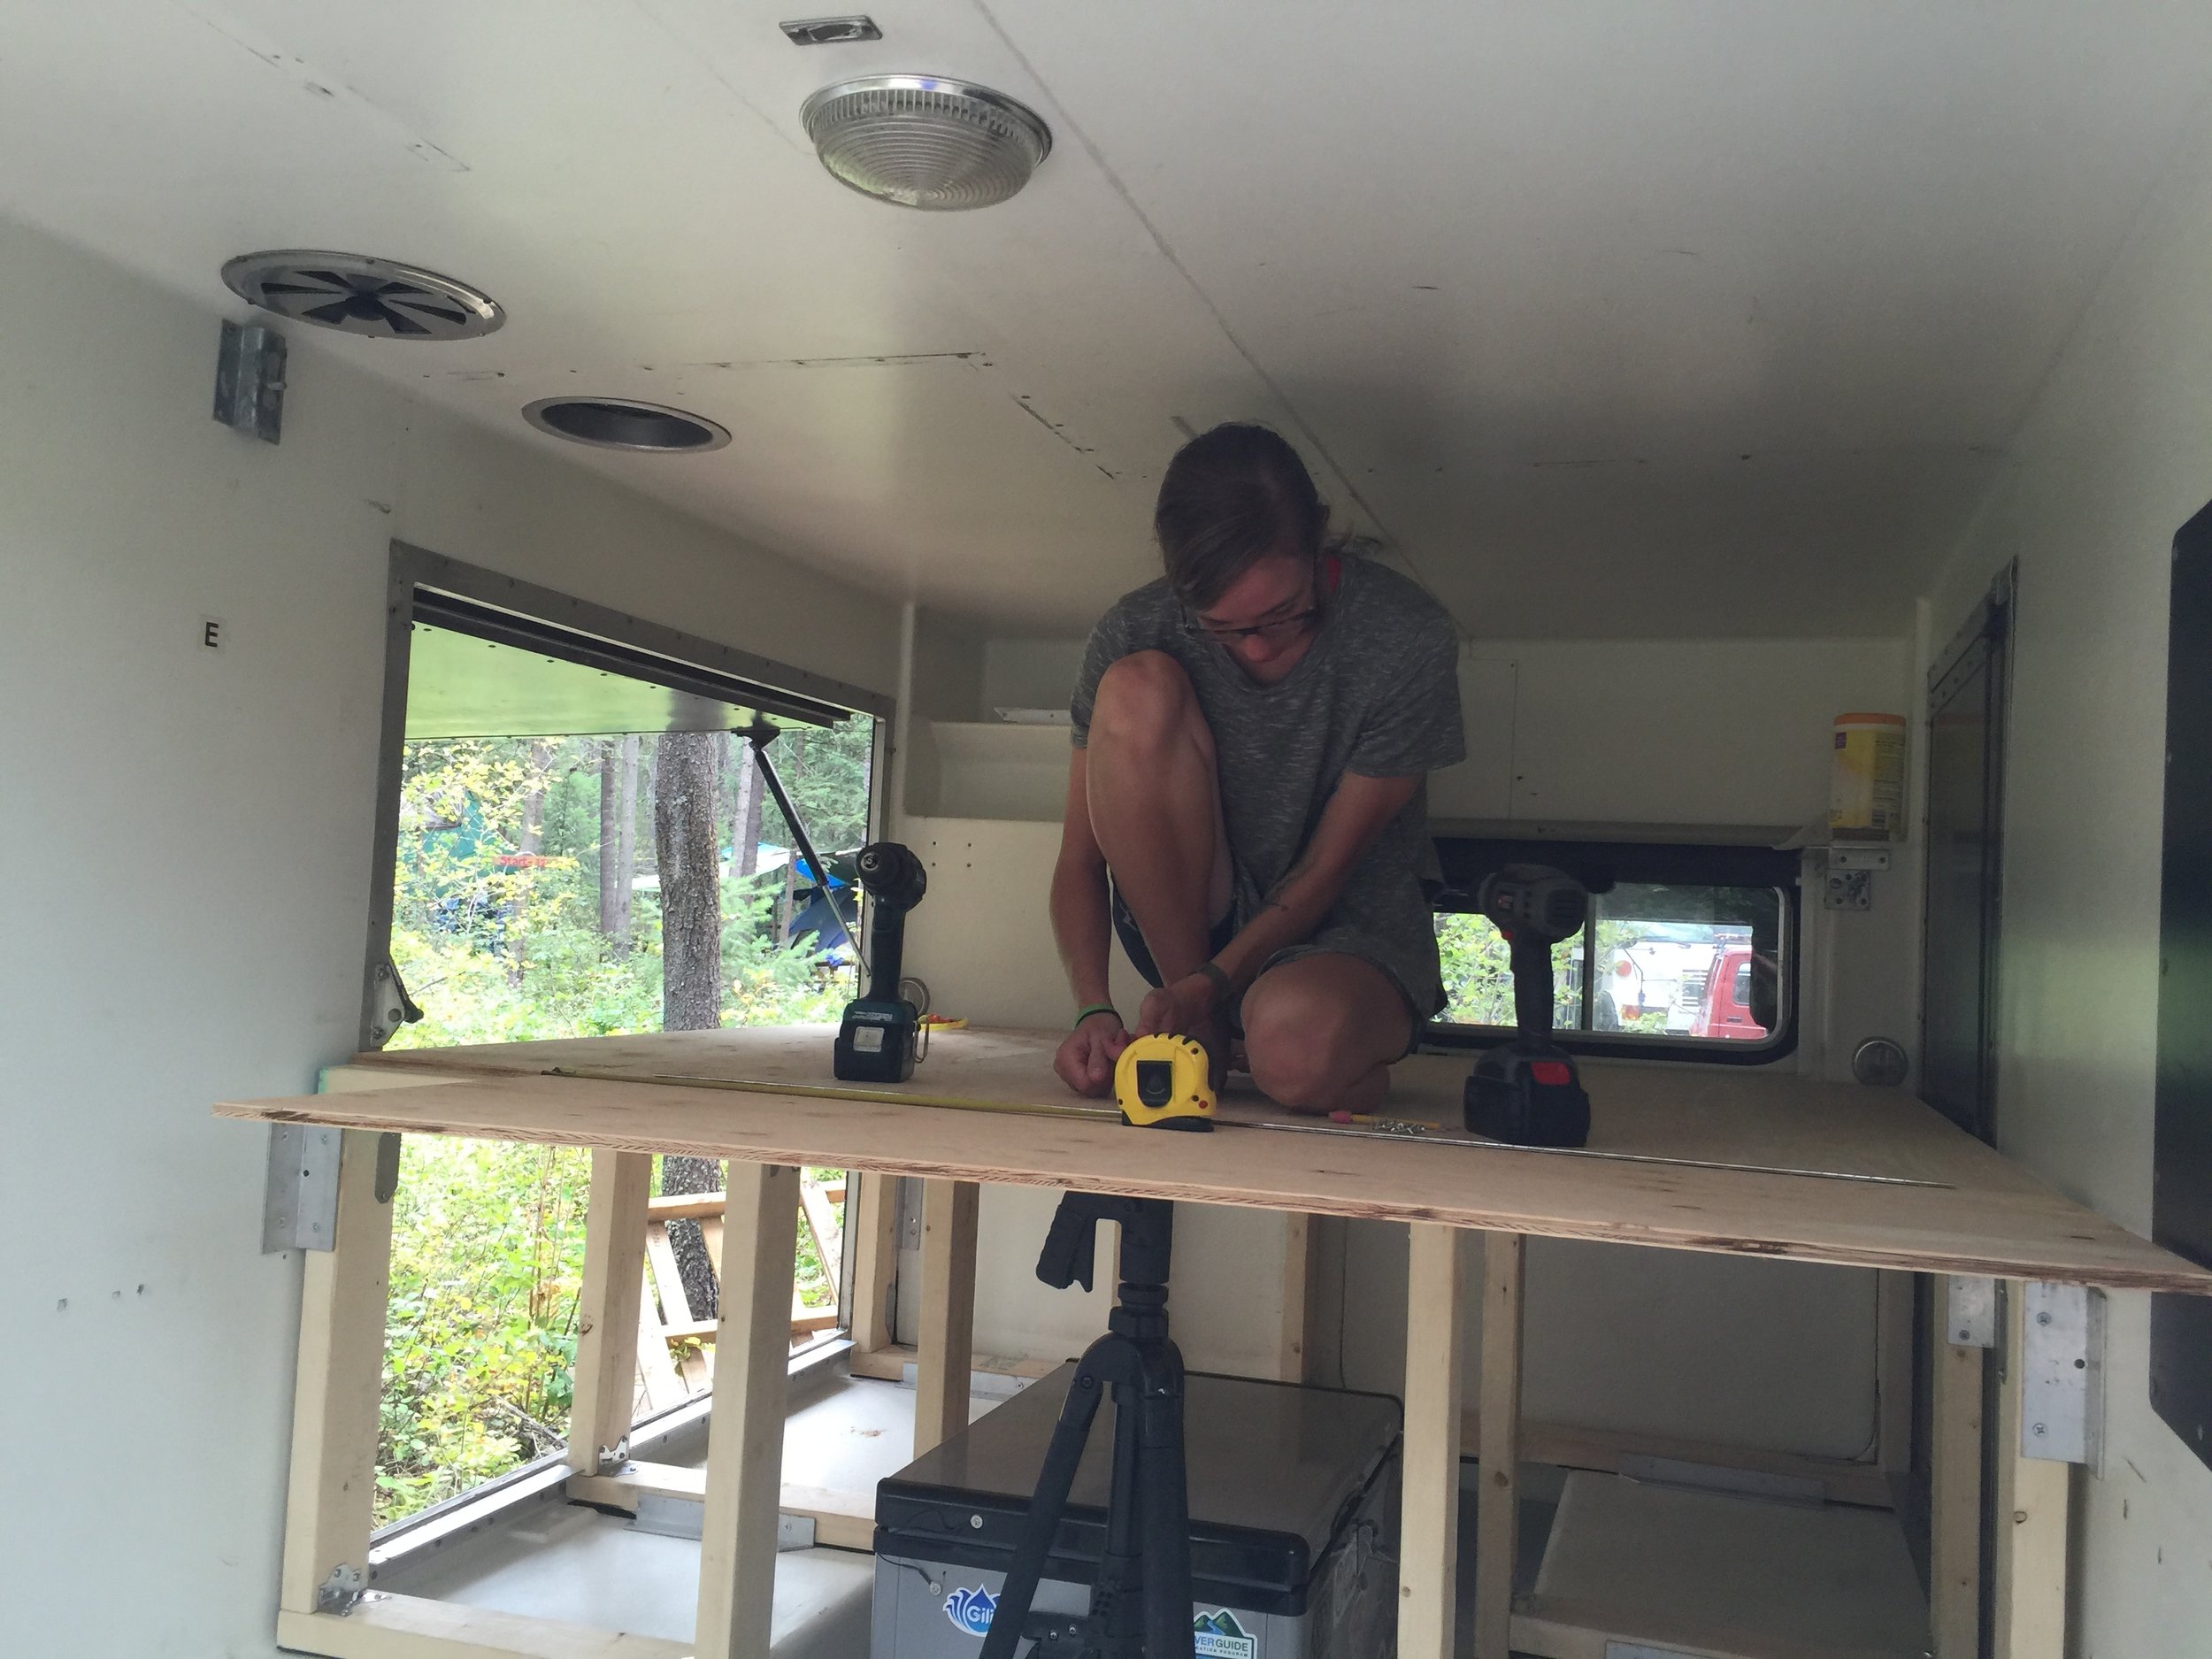
The windows were a necessity for us, as the box only has one small one into the cab (only large enough for Loulou our cat to get through) and the two rear ones in the doors that don't open. We wanted more light and more importantly, ventilation.

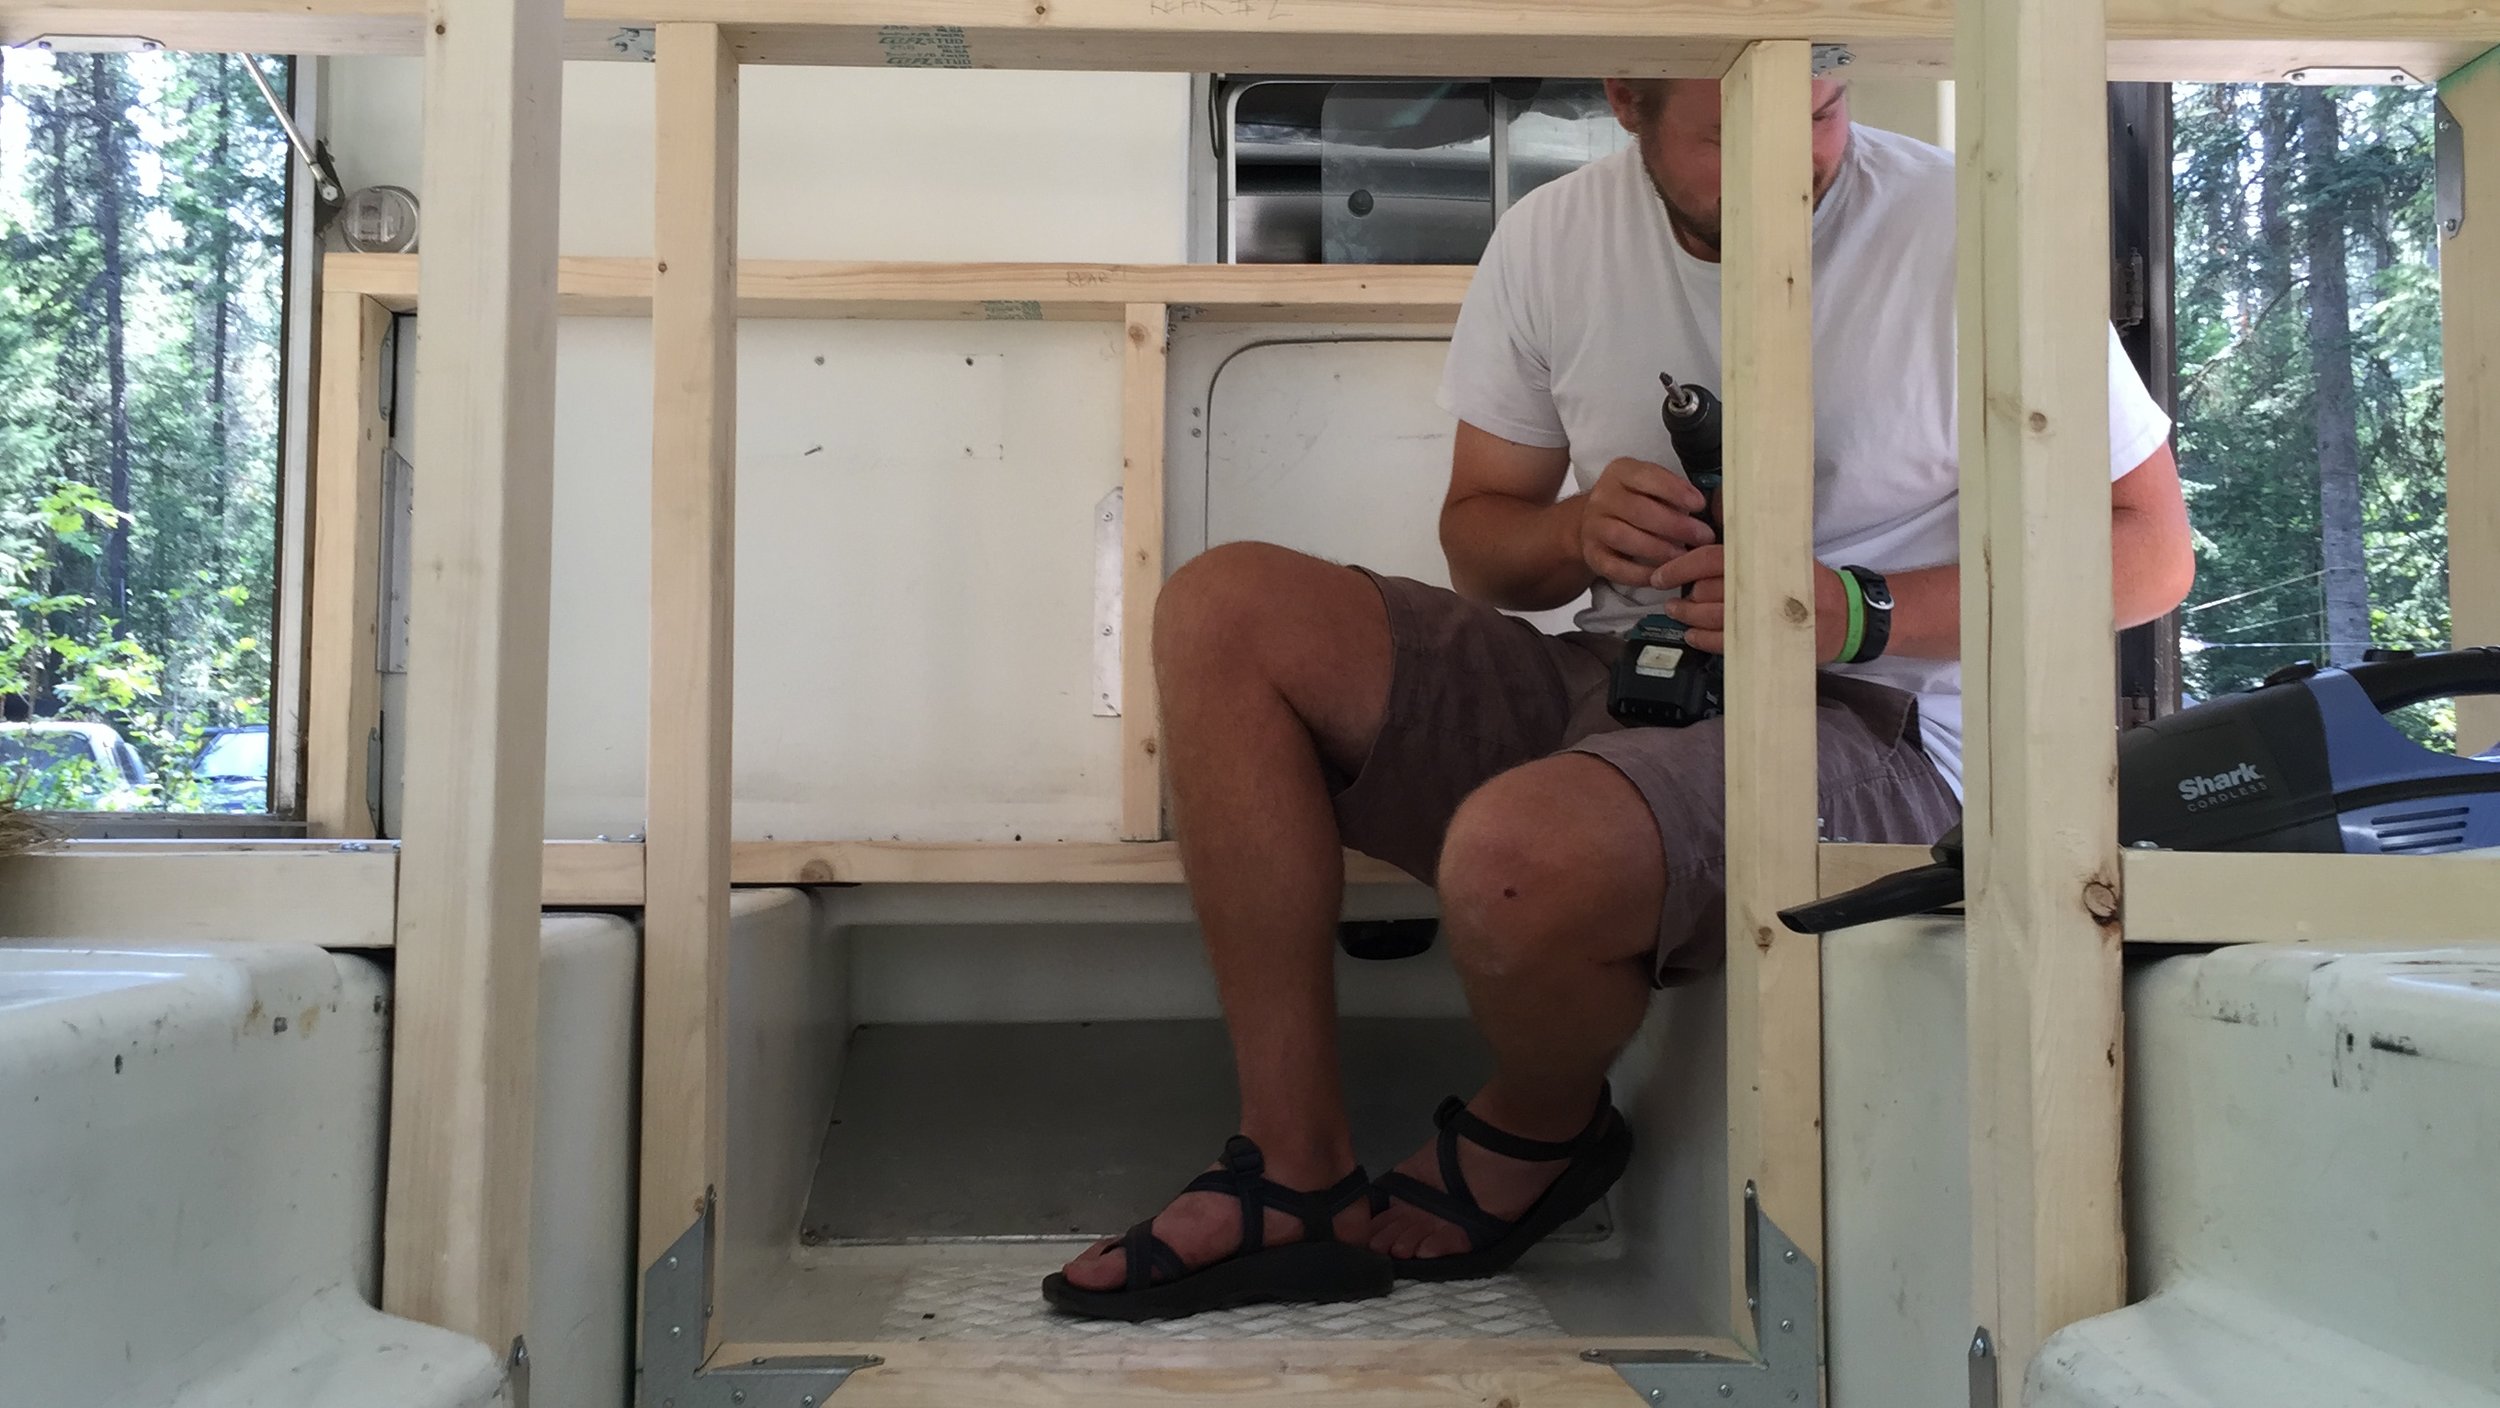
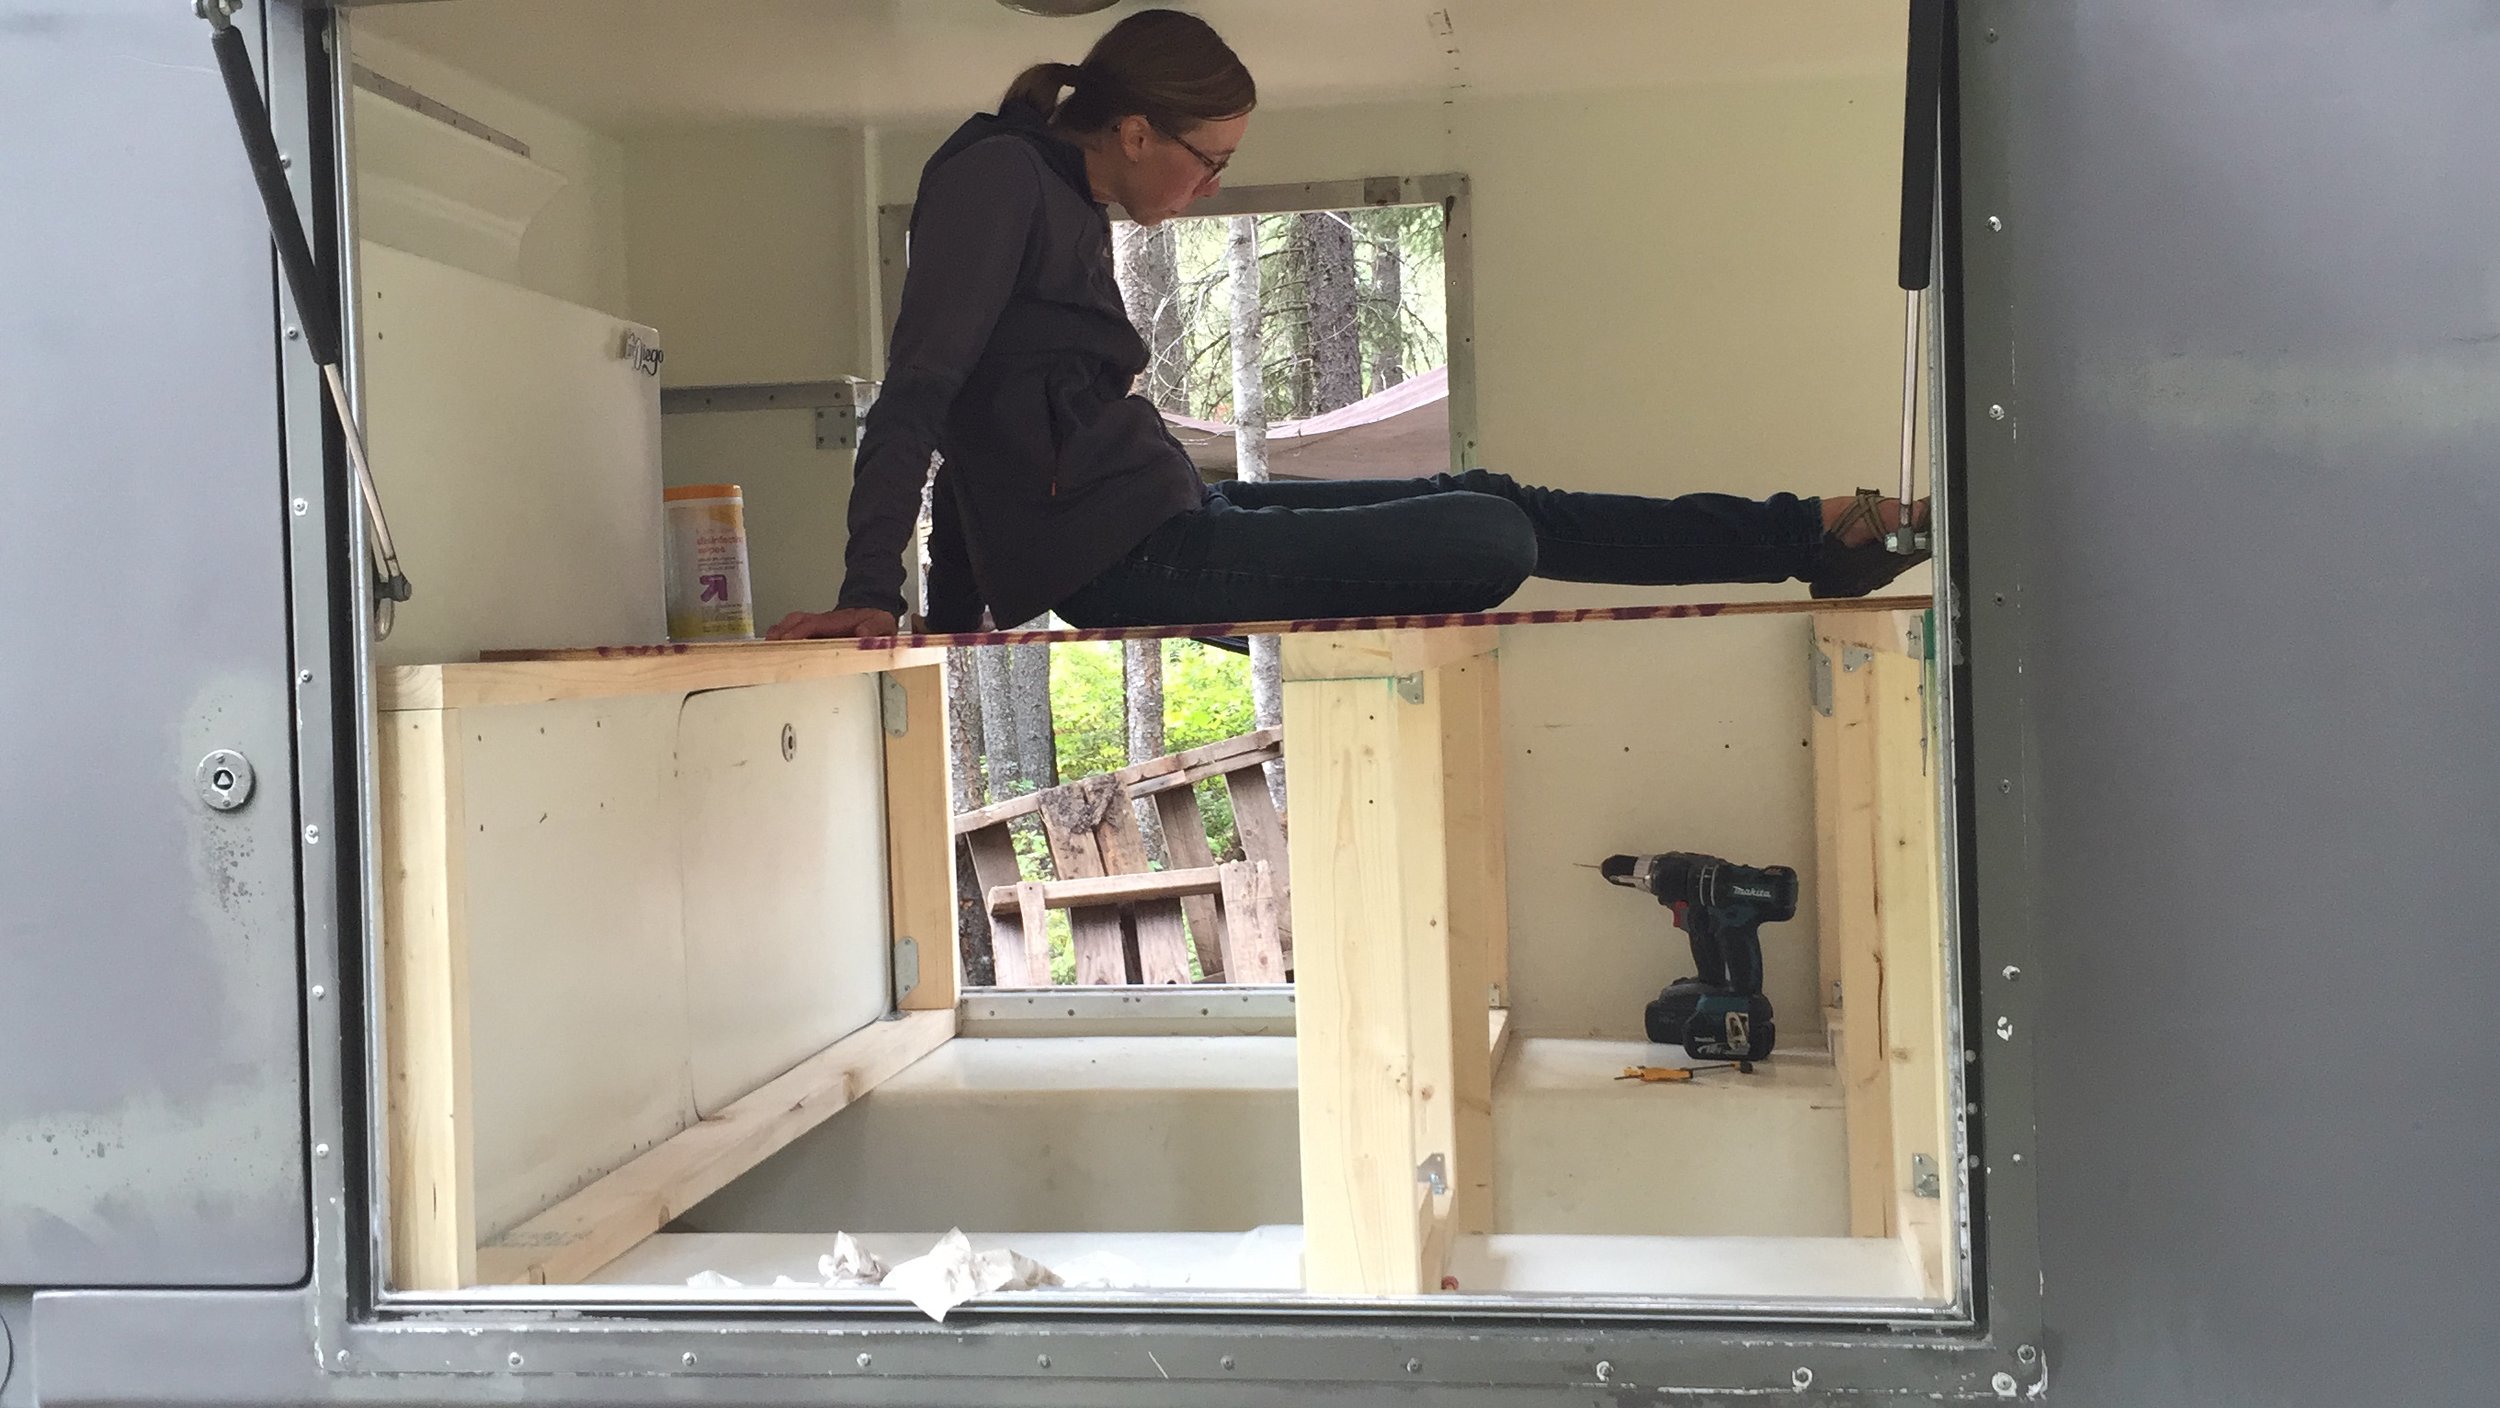
There was a lot of hemming and hawing initially, wondering if the window was too big, but once we convinced ourselves that any compromising of the box's structure and strength was a problem we'd created in our head, we decided to go for it.
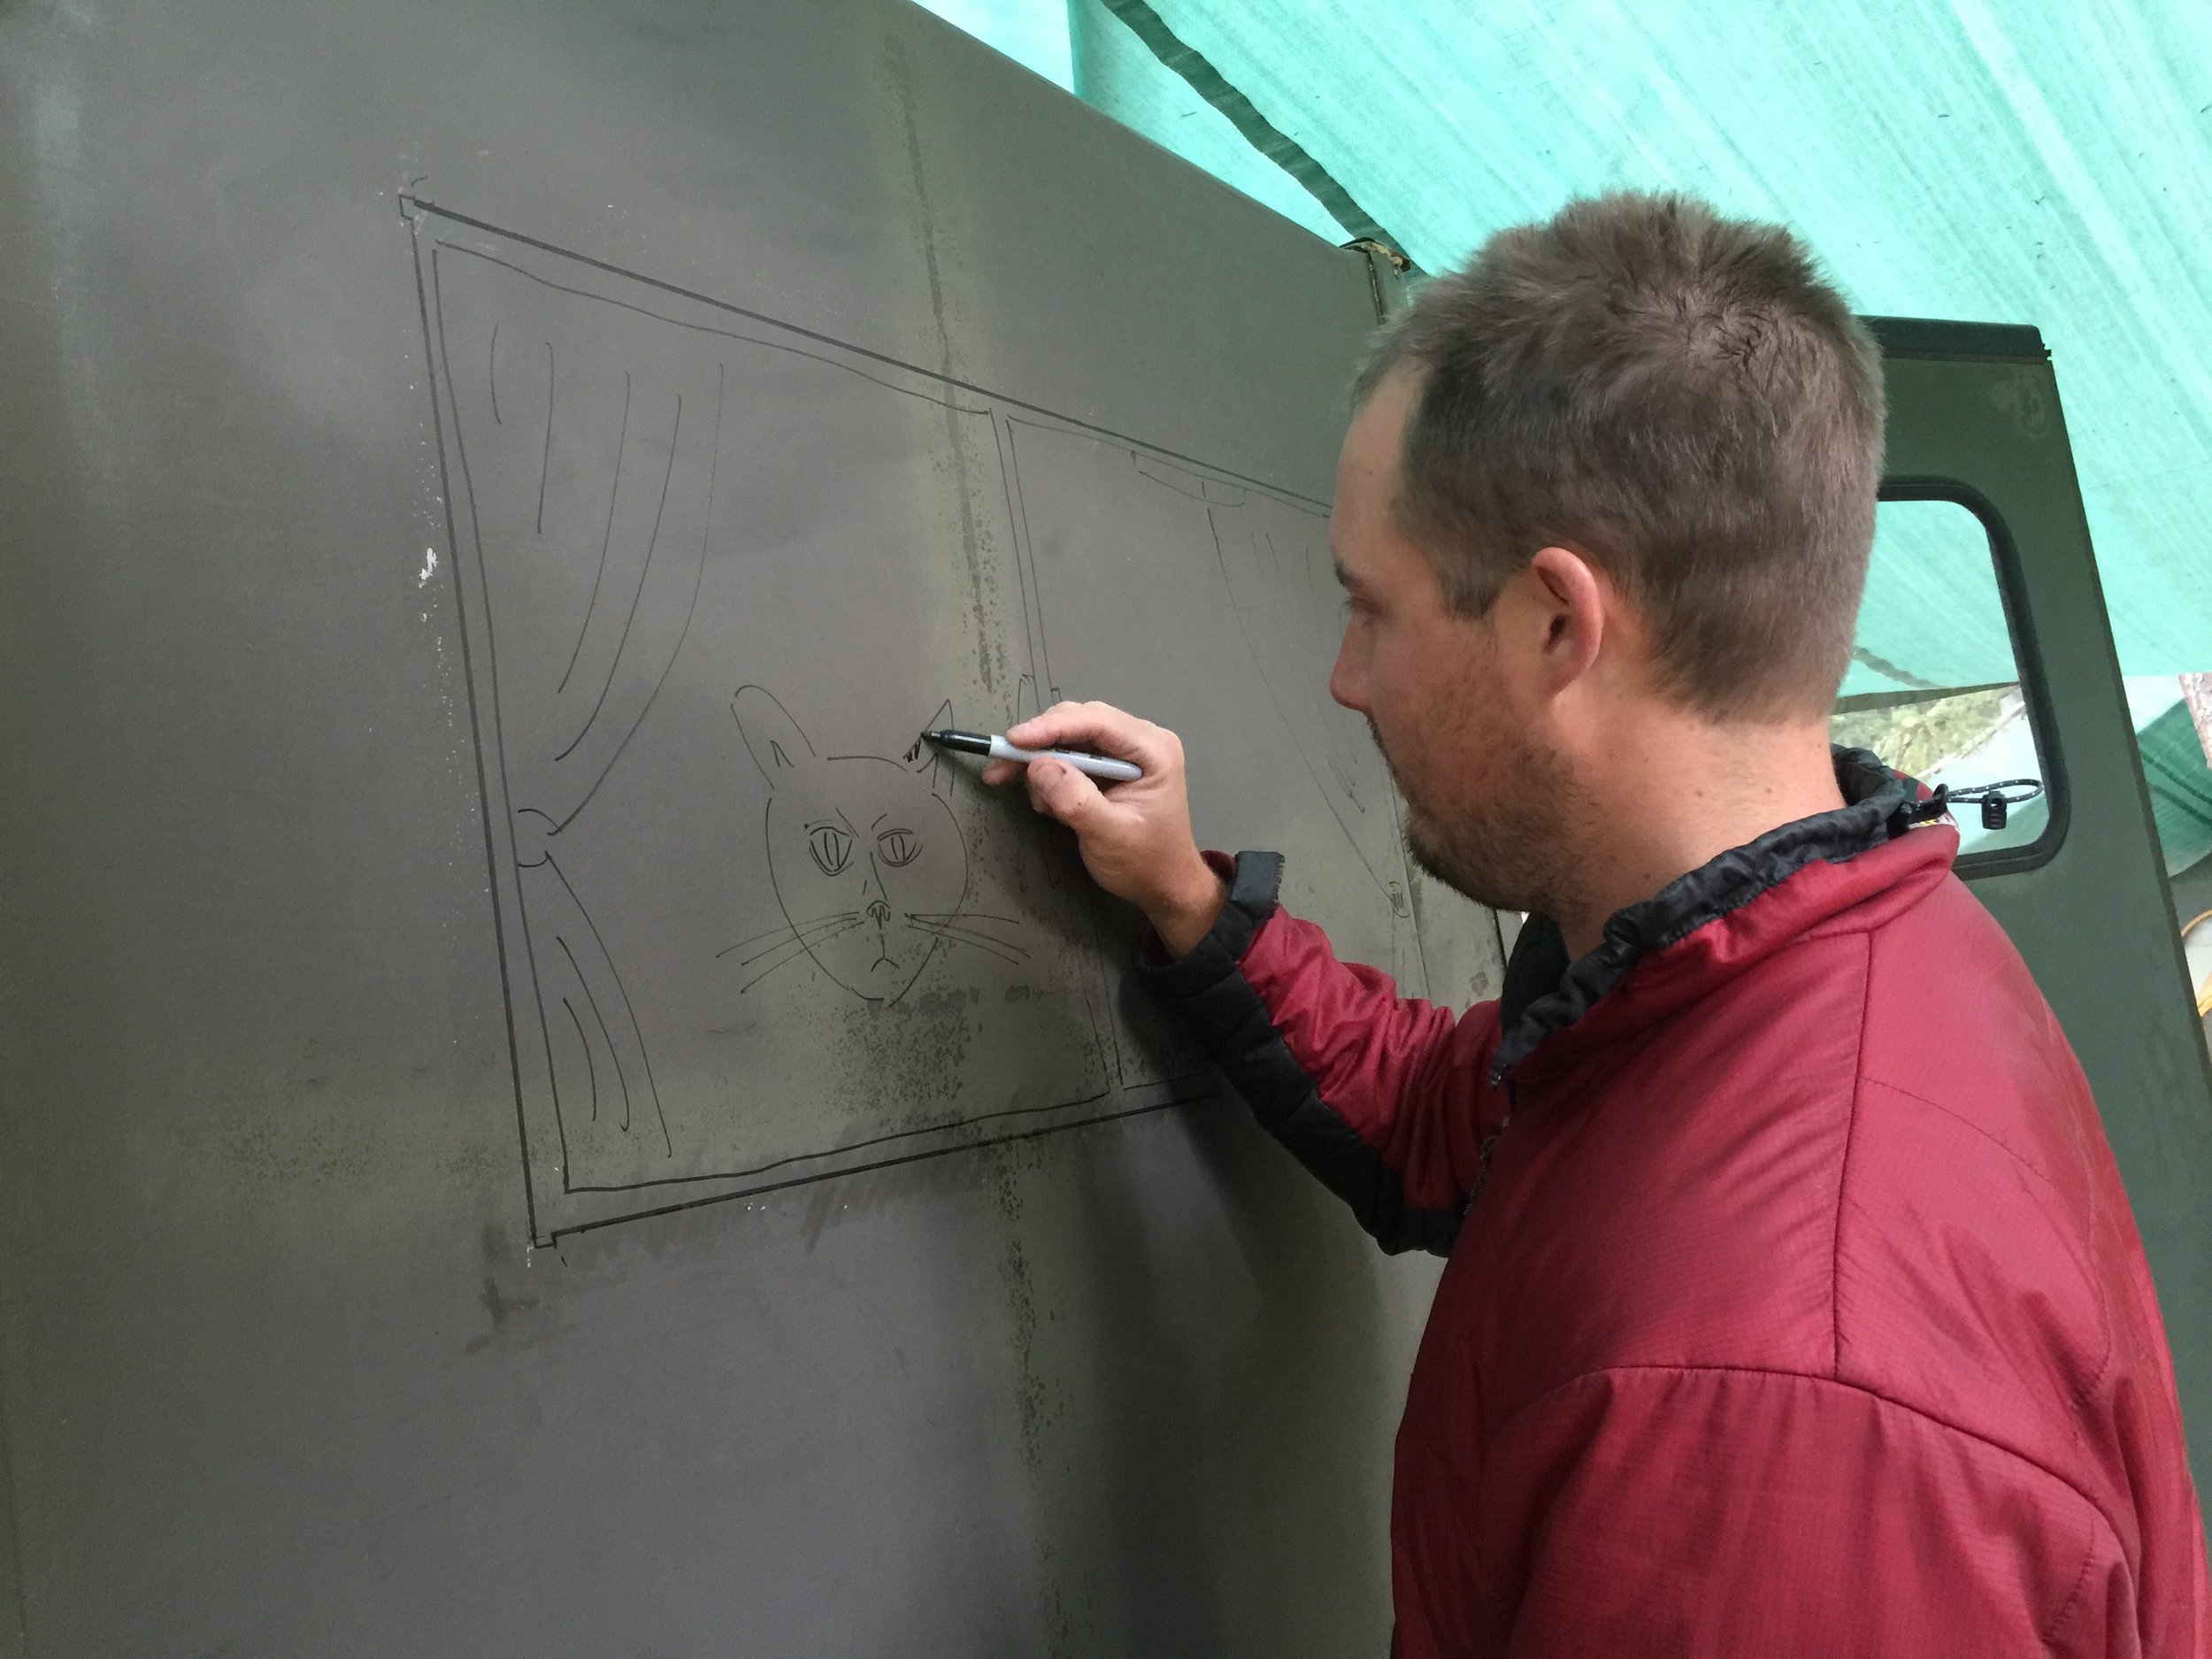
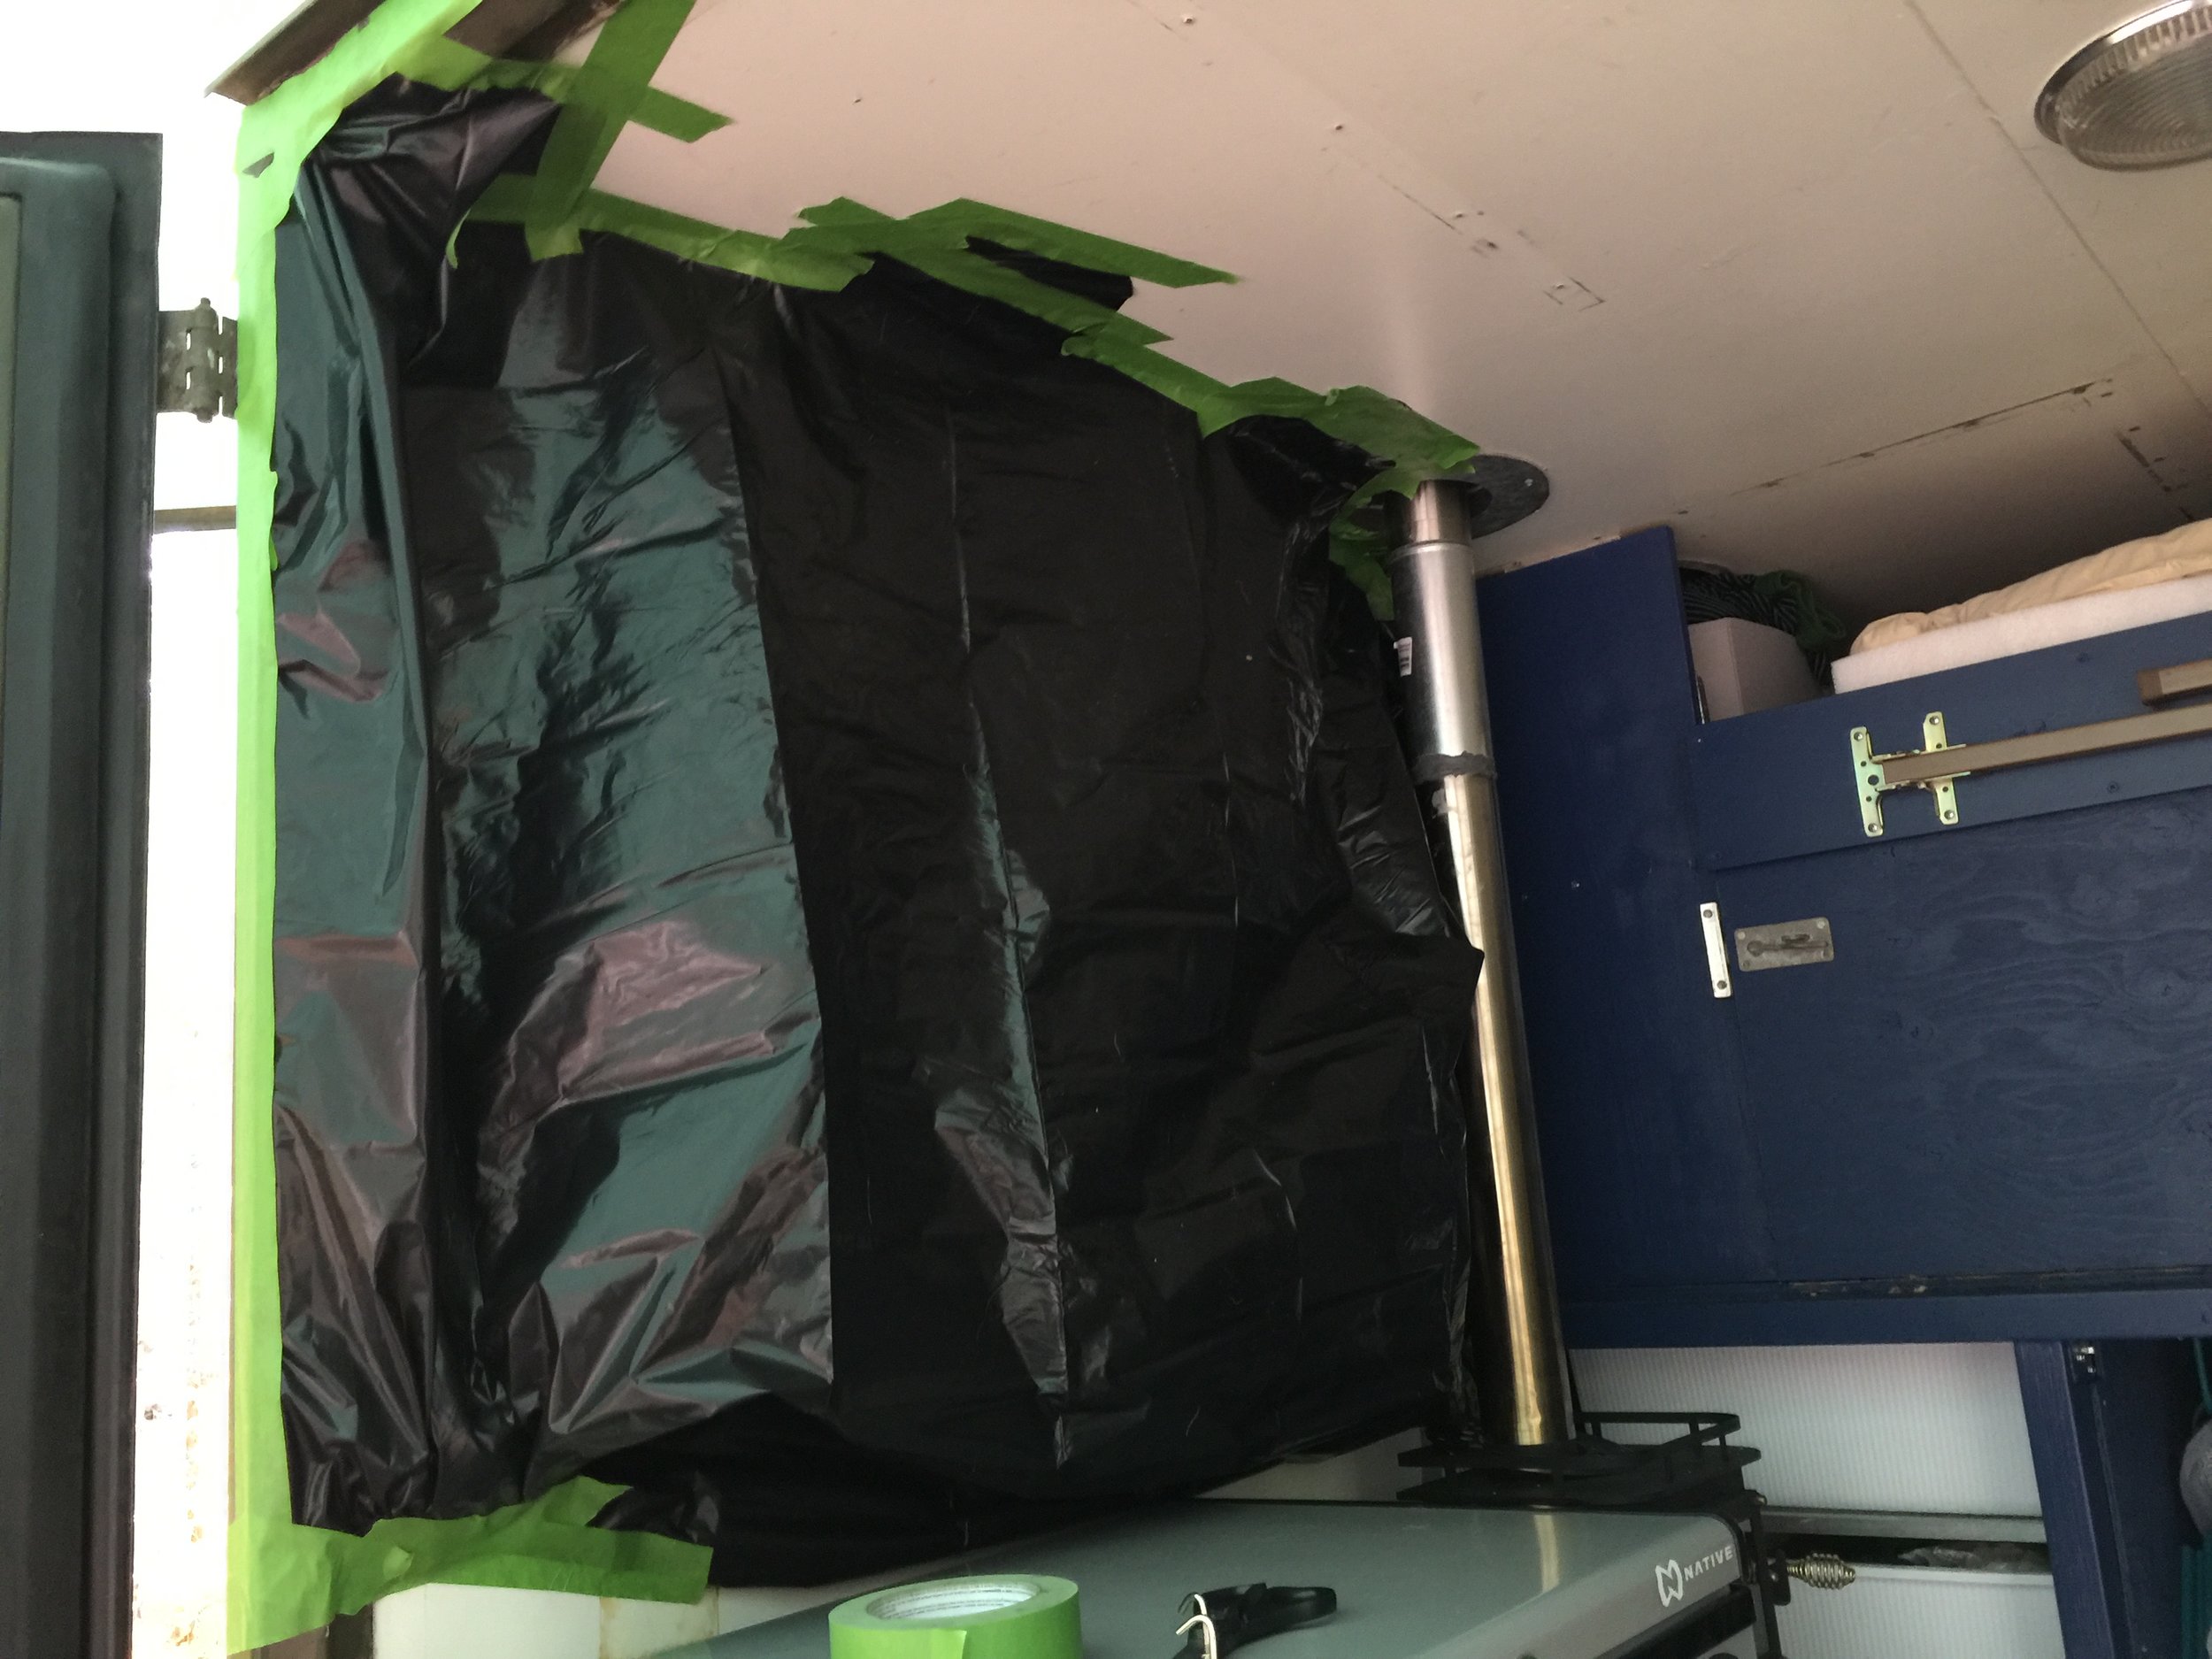
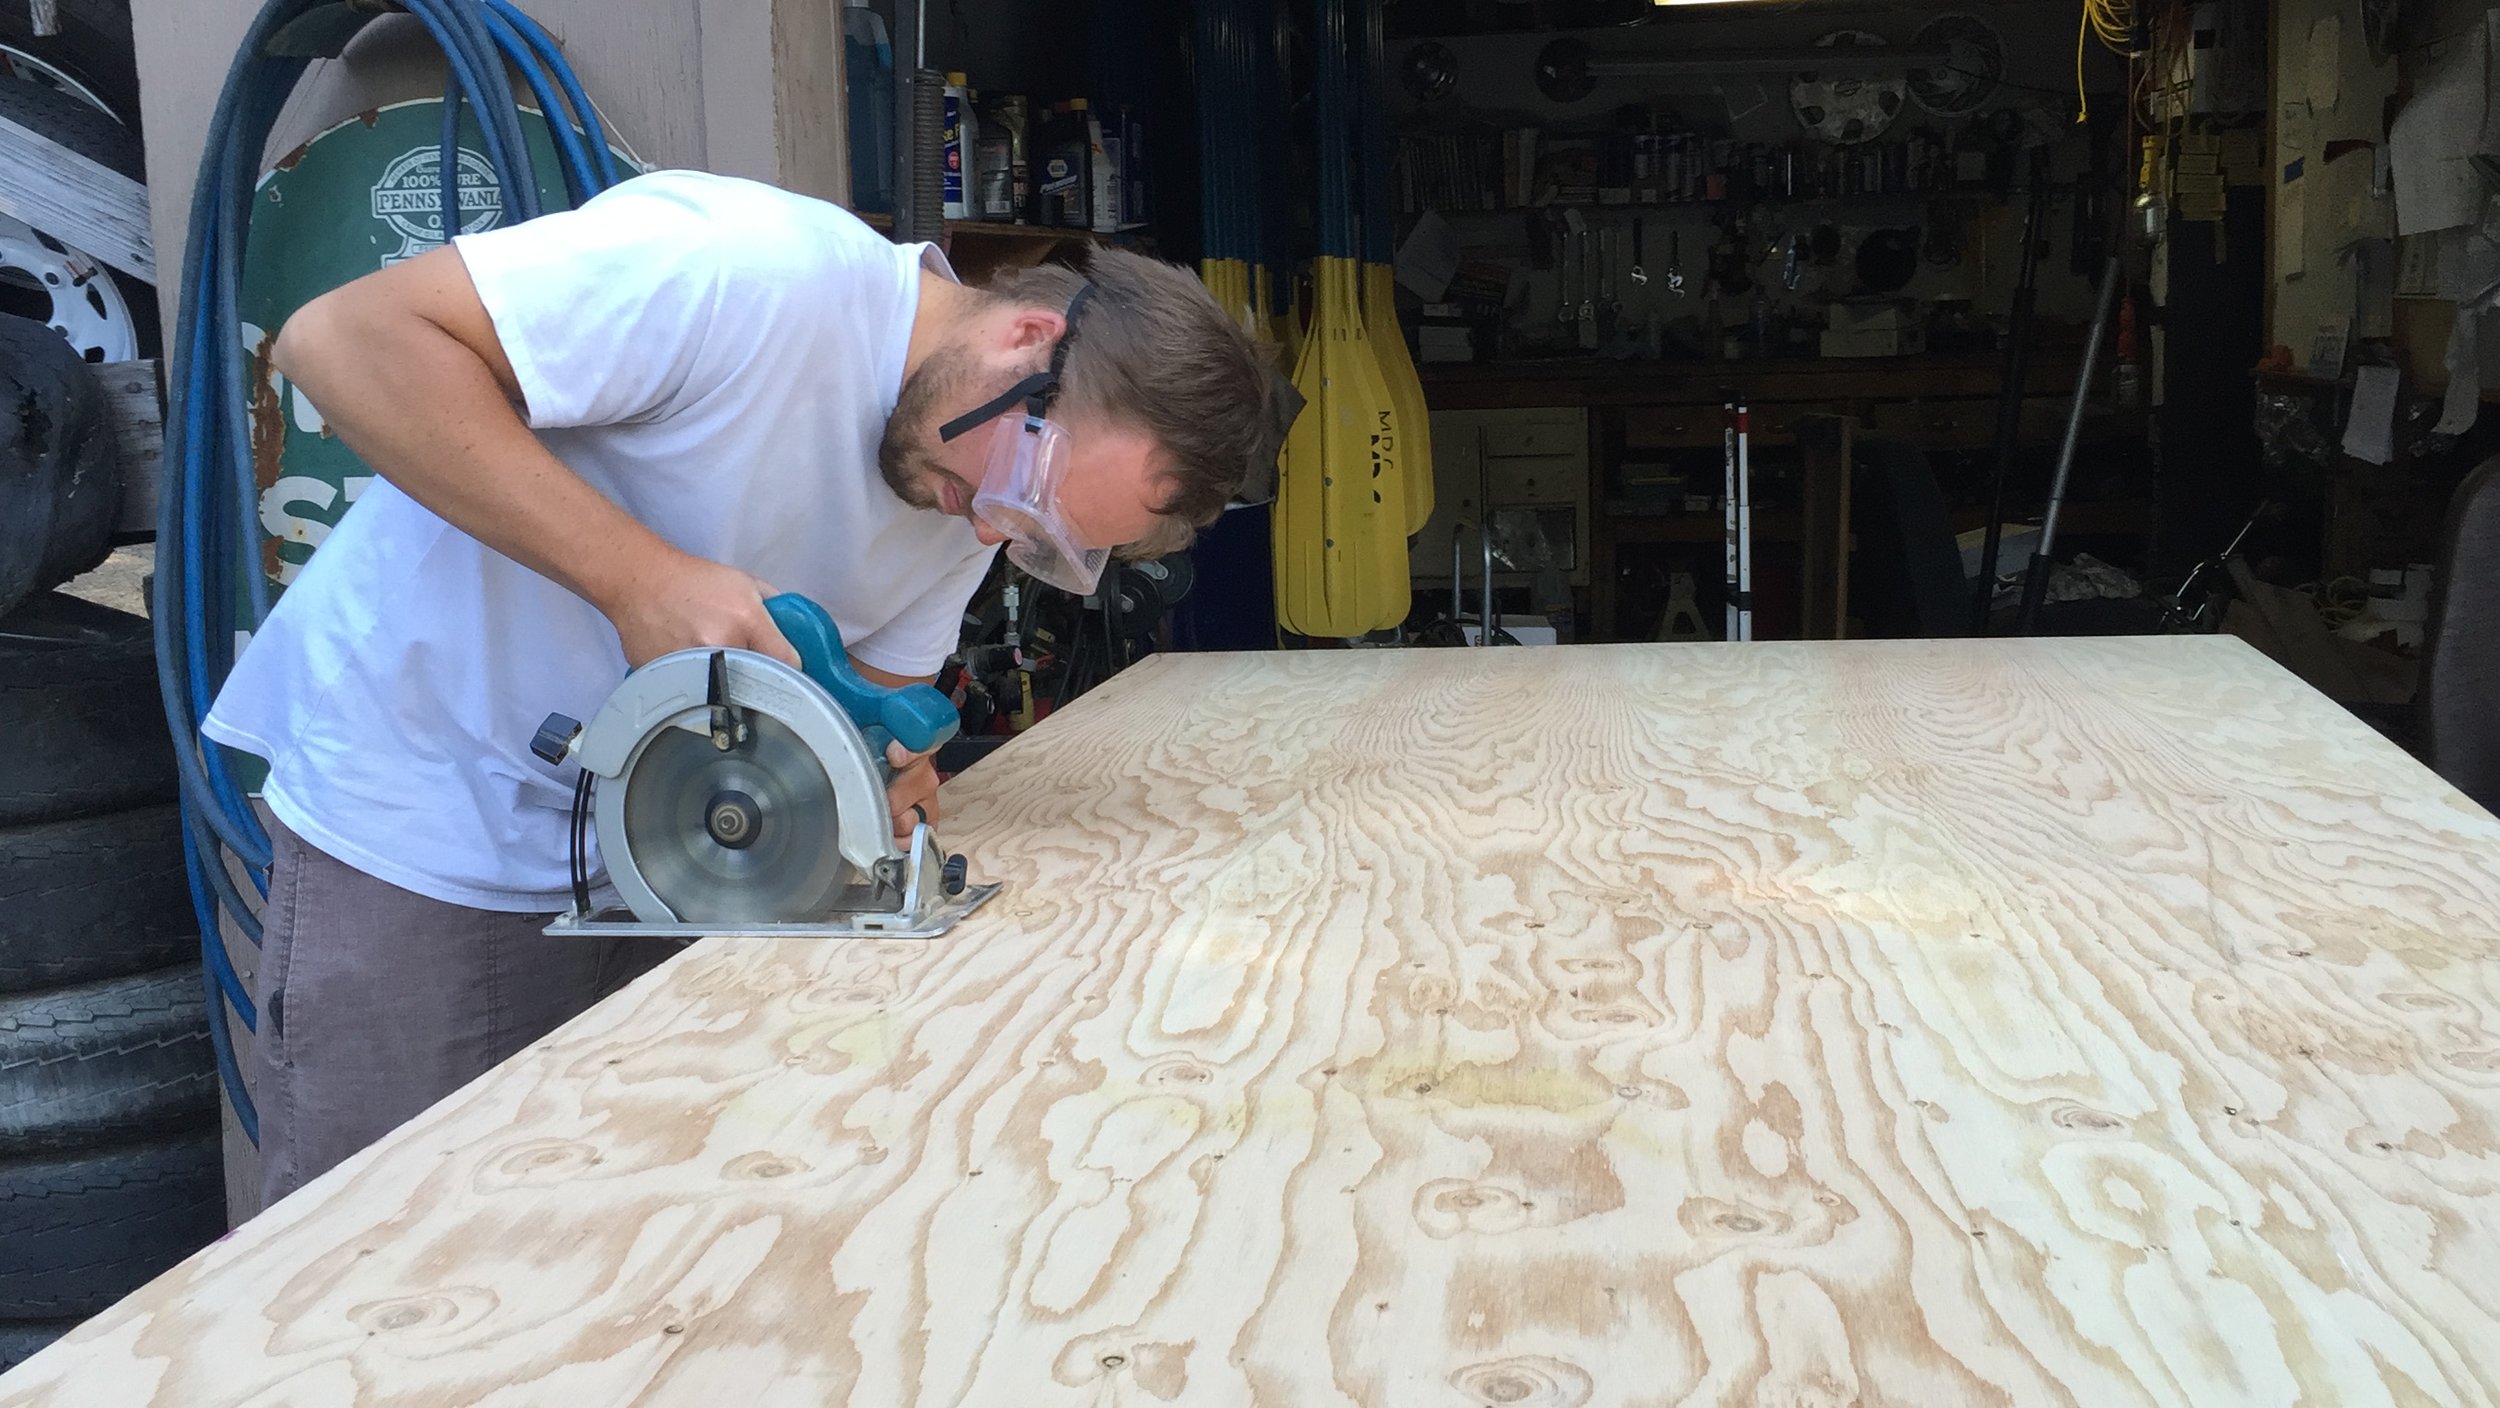
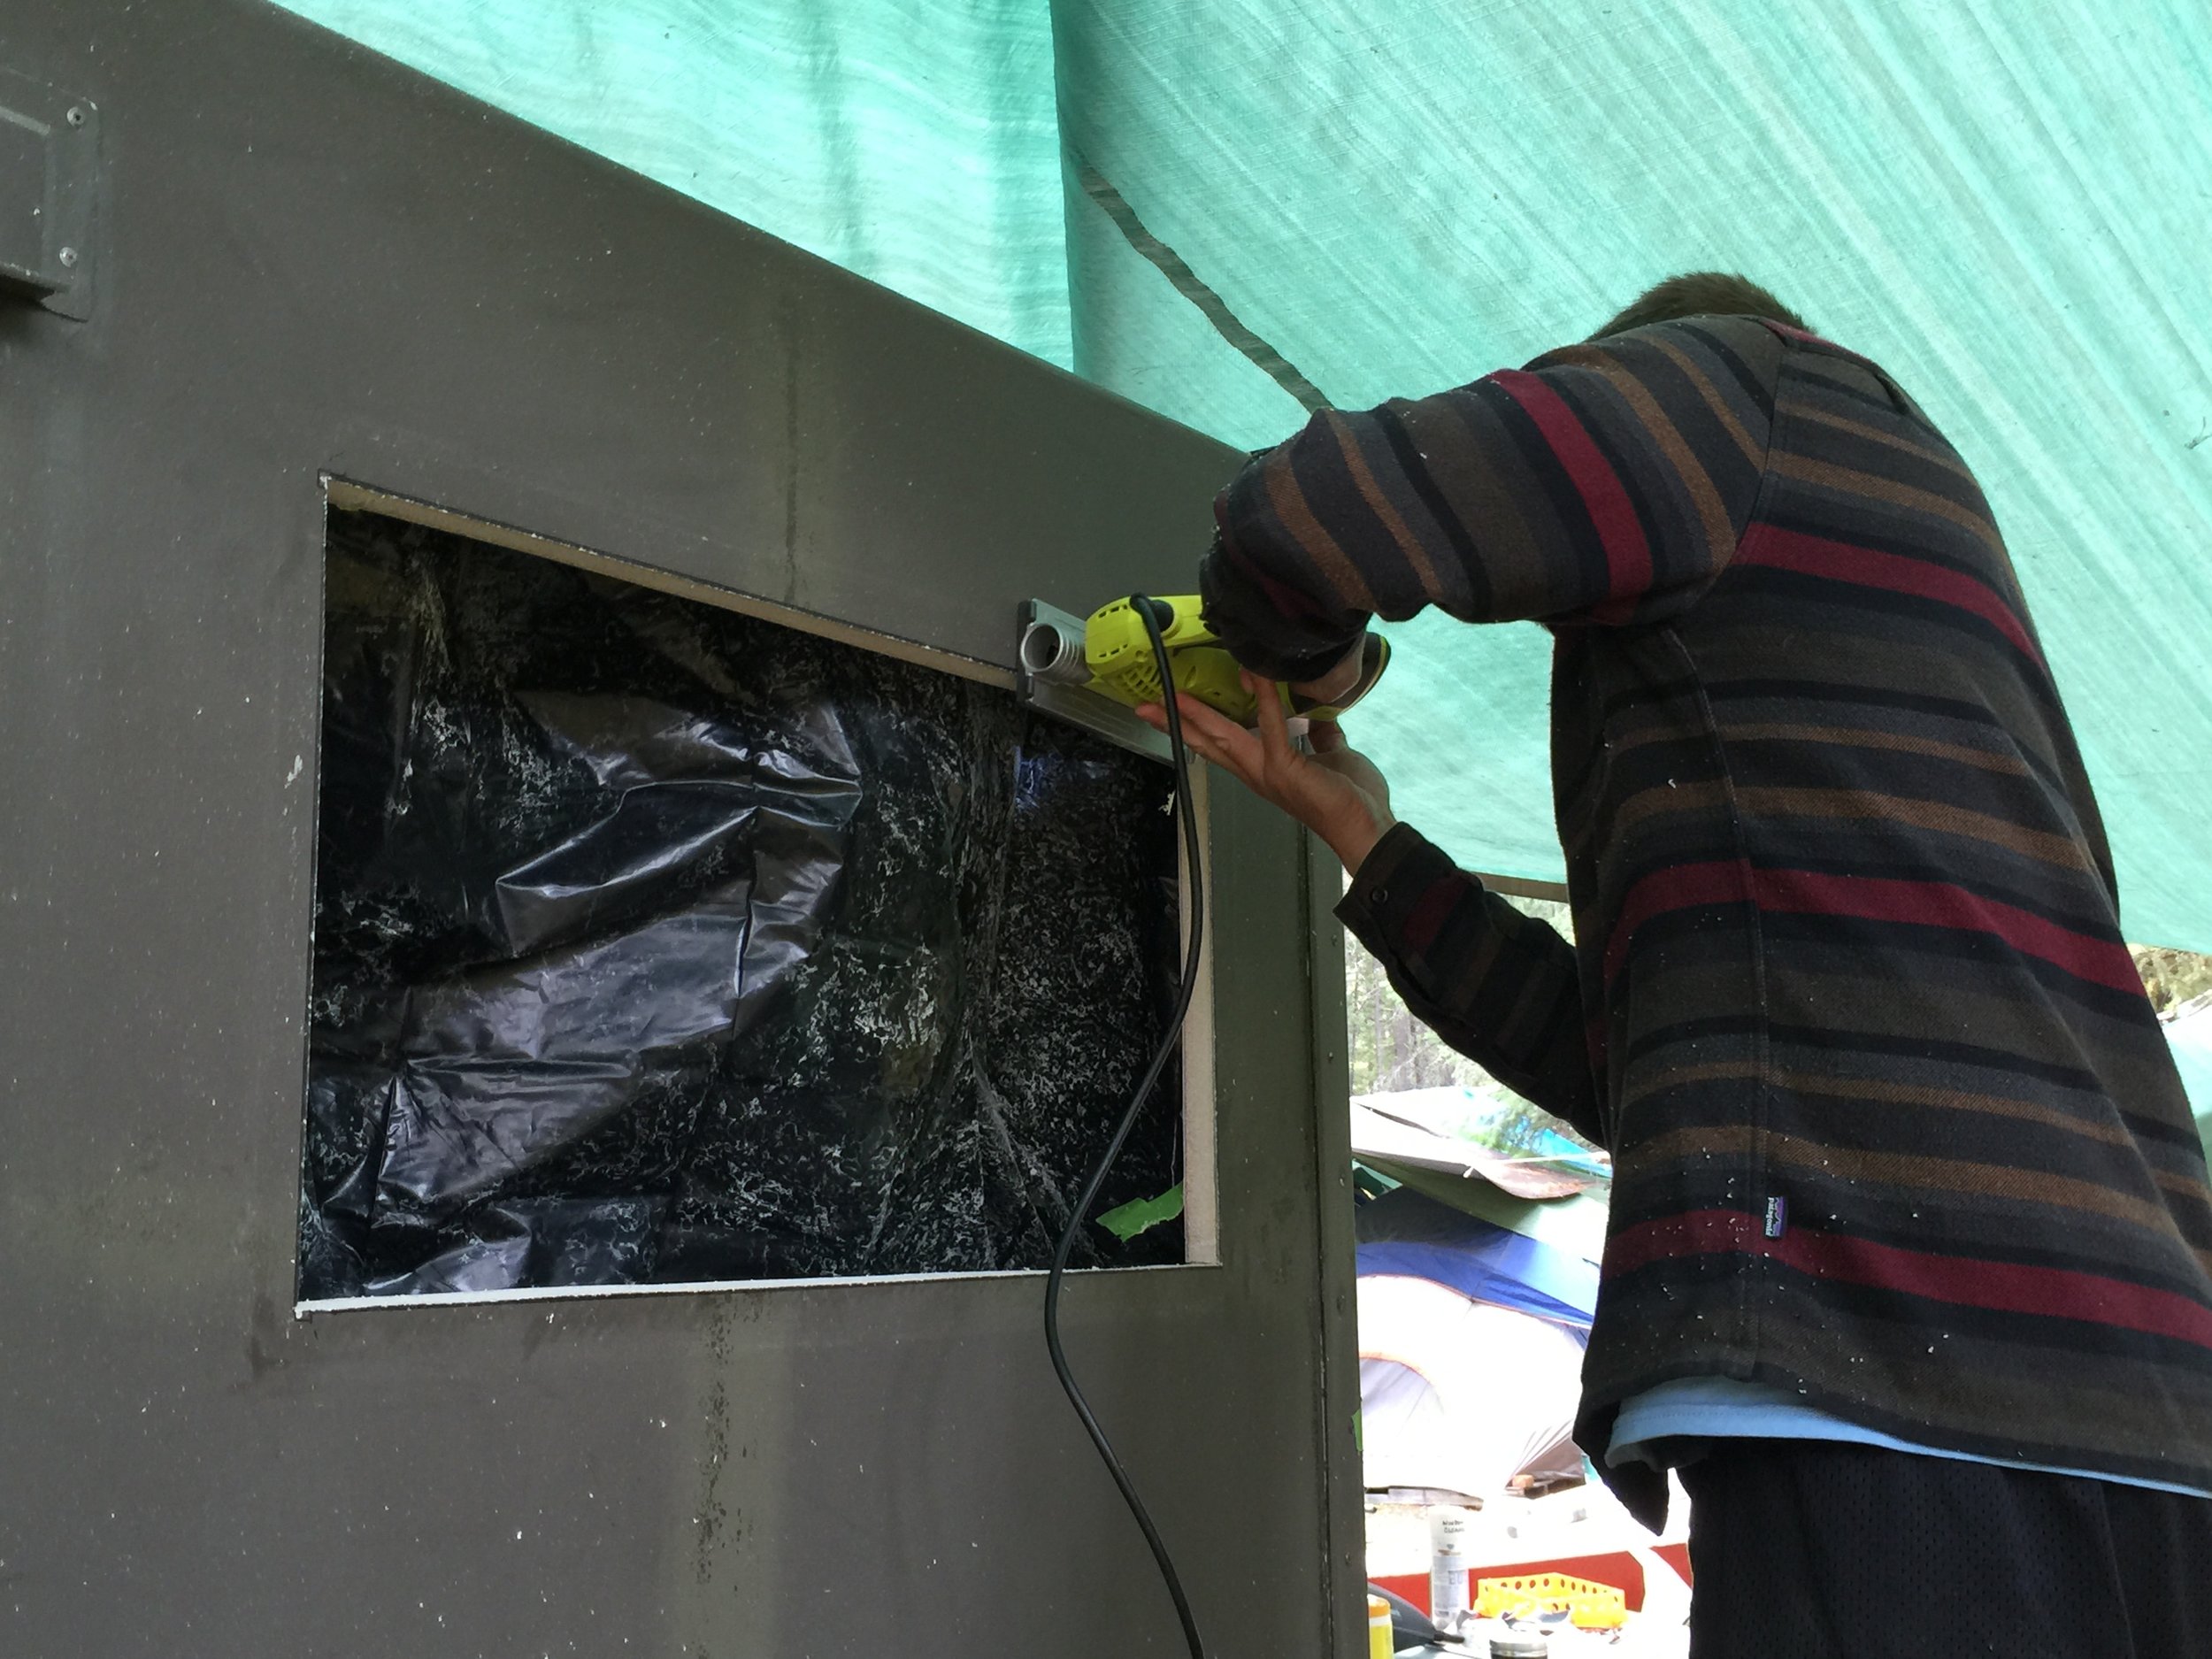
We taped a giant trash bag around the space for the window to contain the mess as we sawed into the side of the box. It worked extremely well.
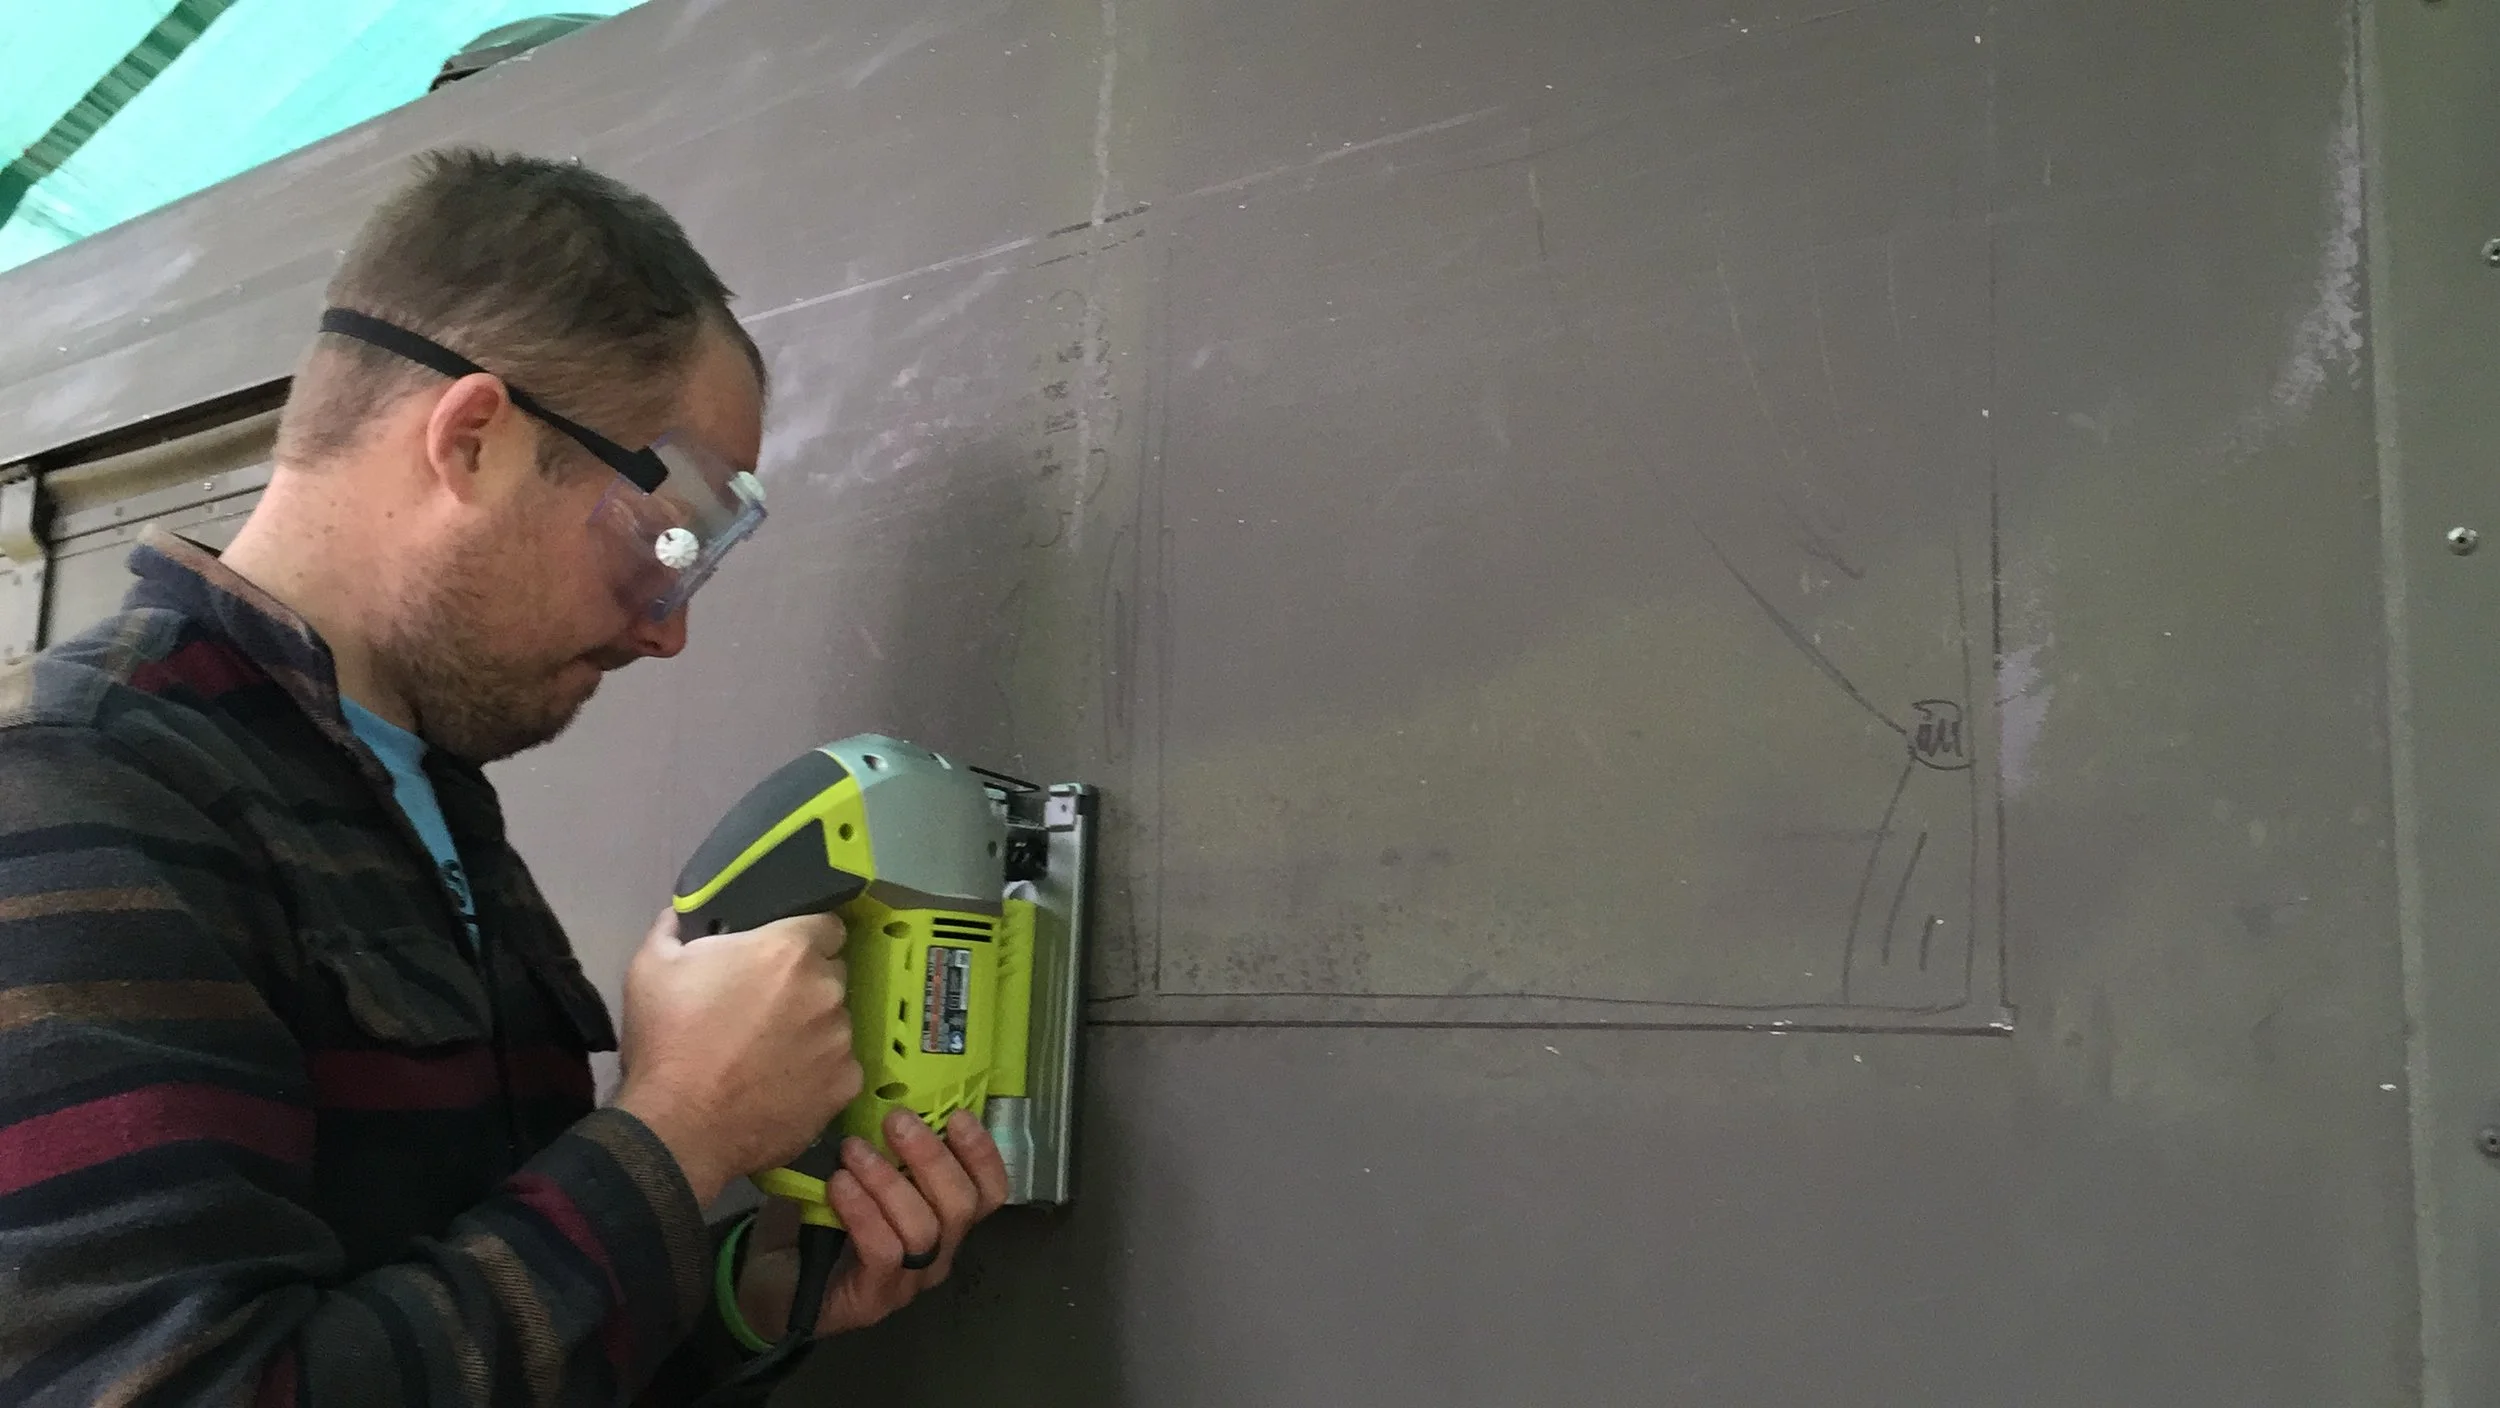
The first cut is always the scariest.
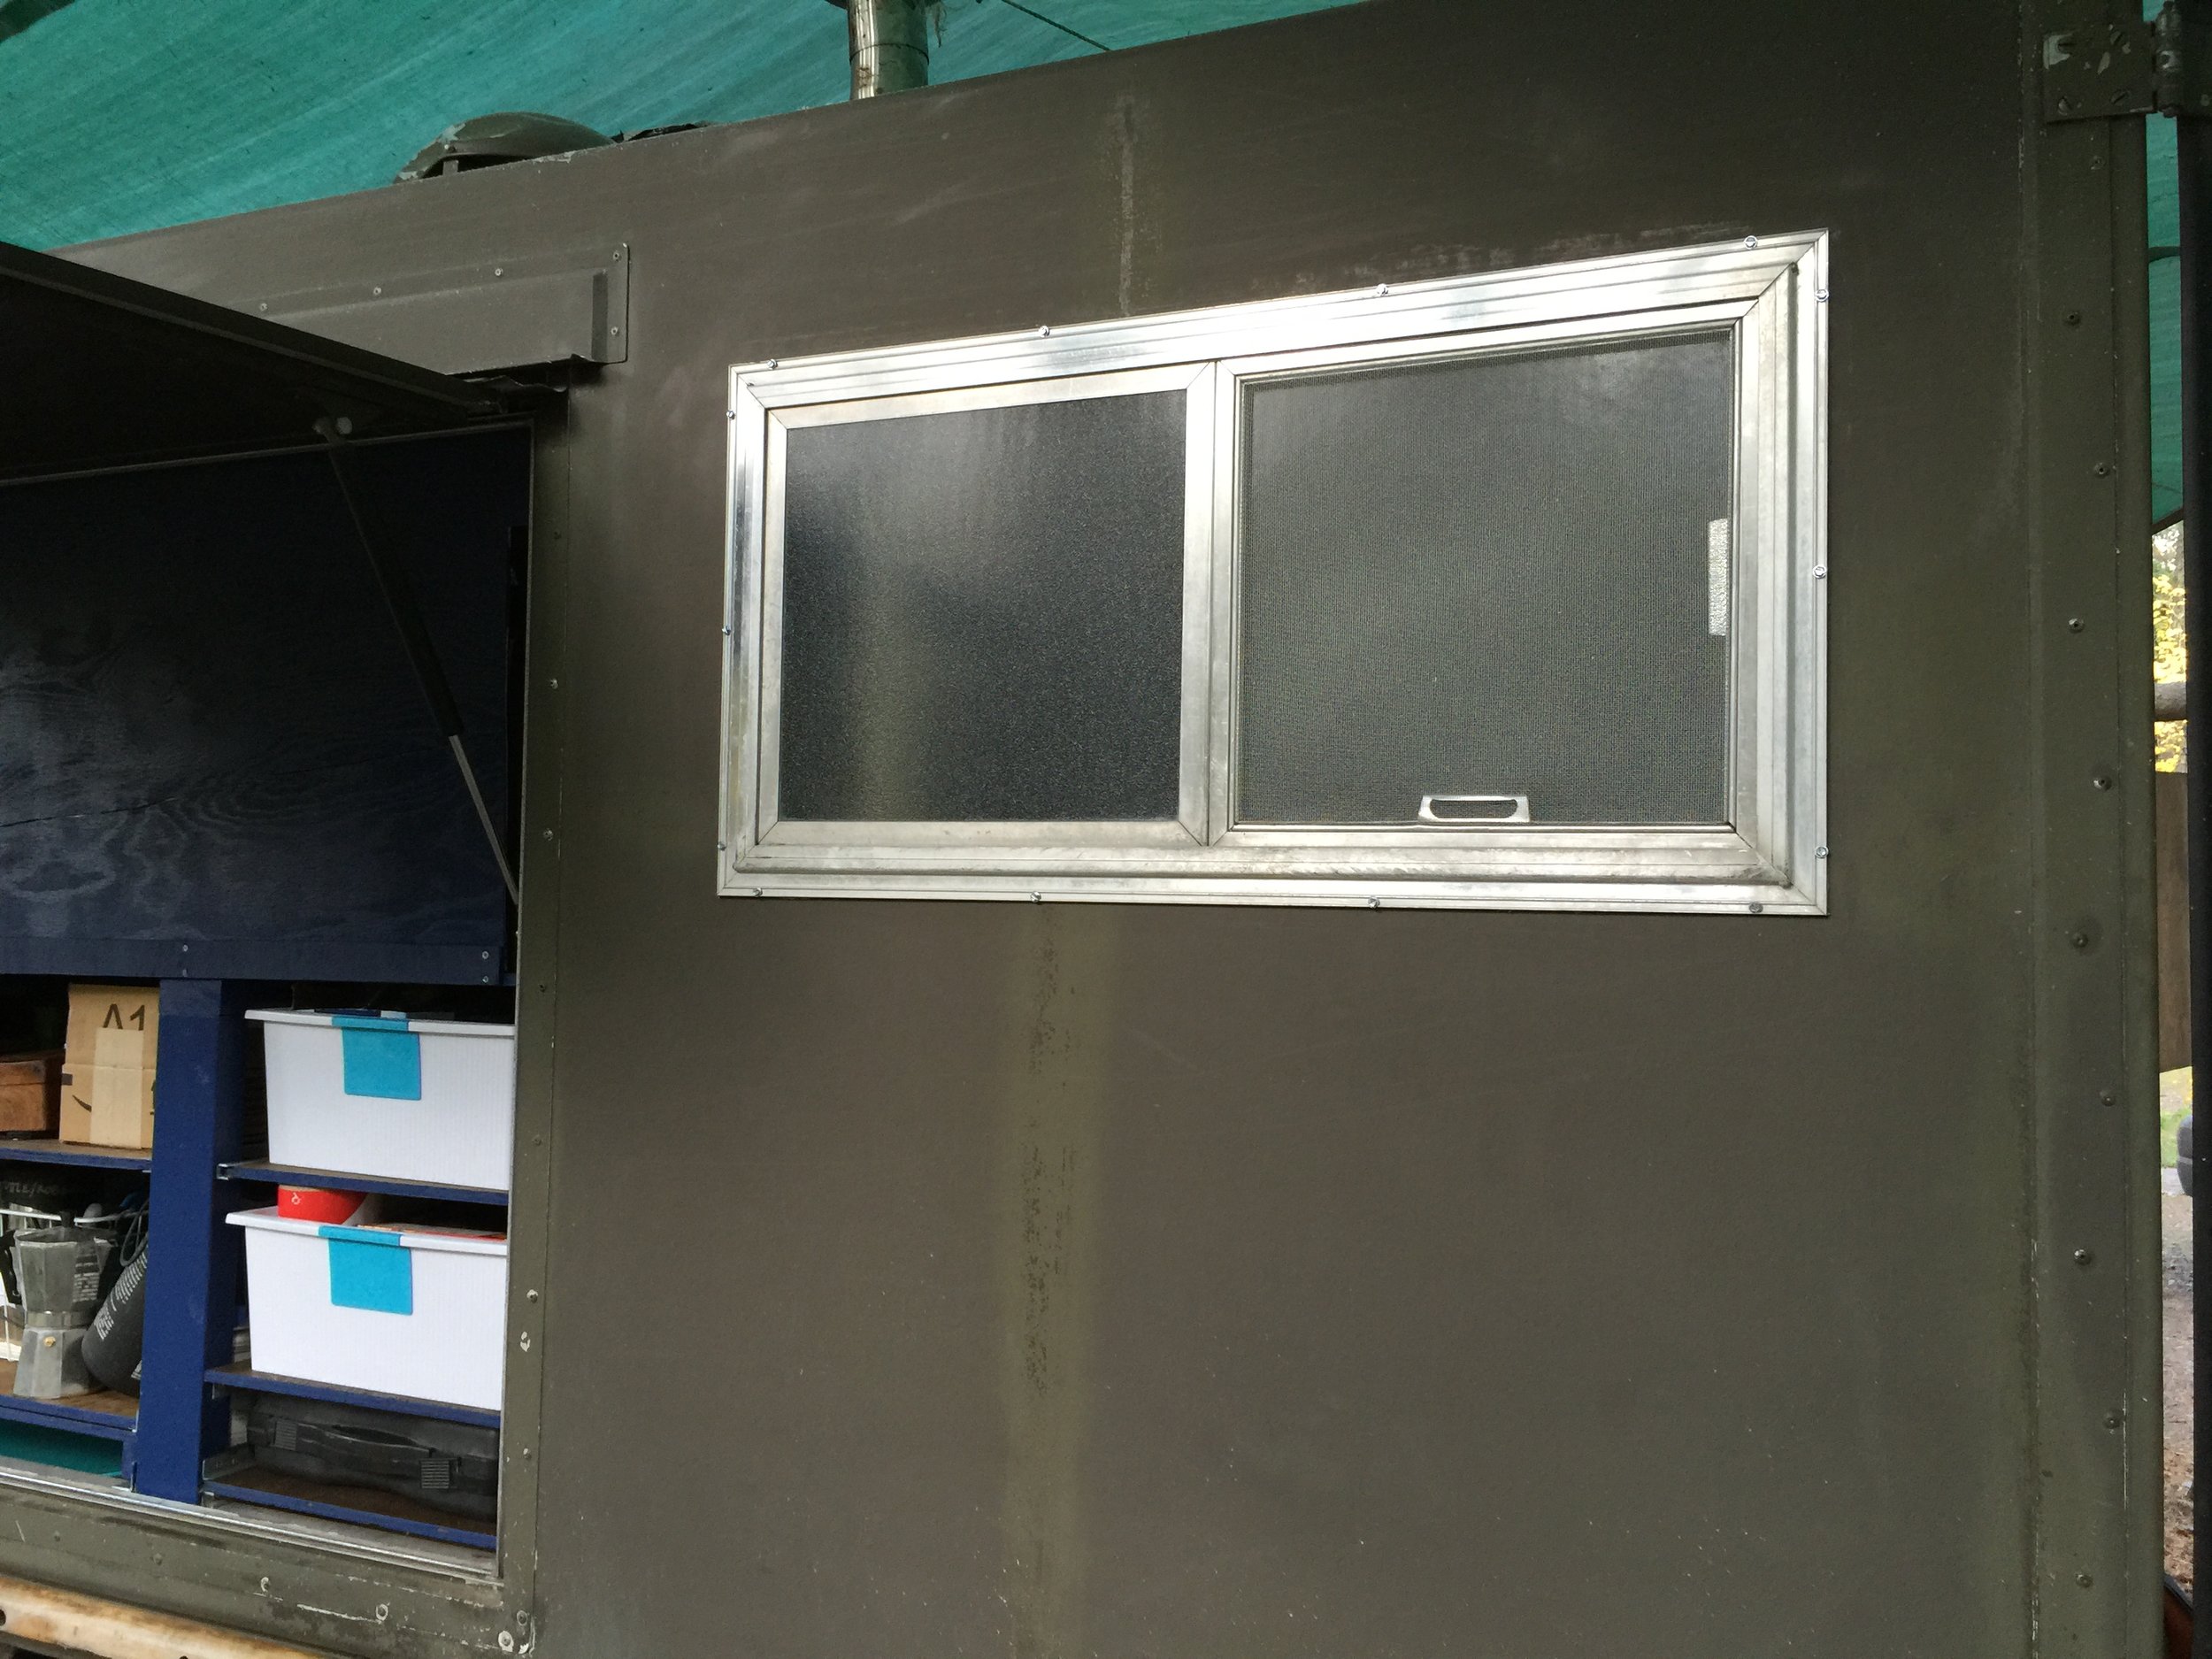
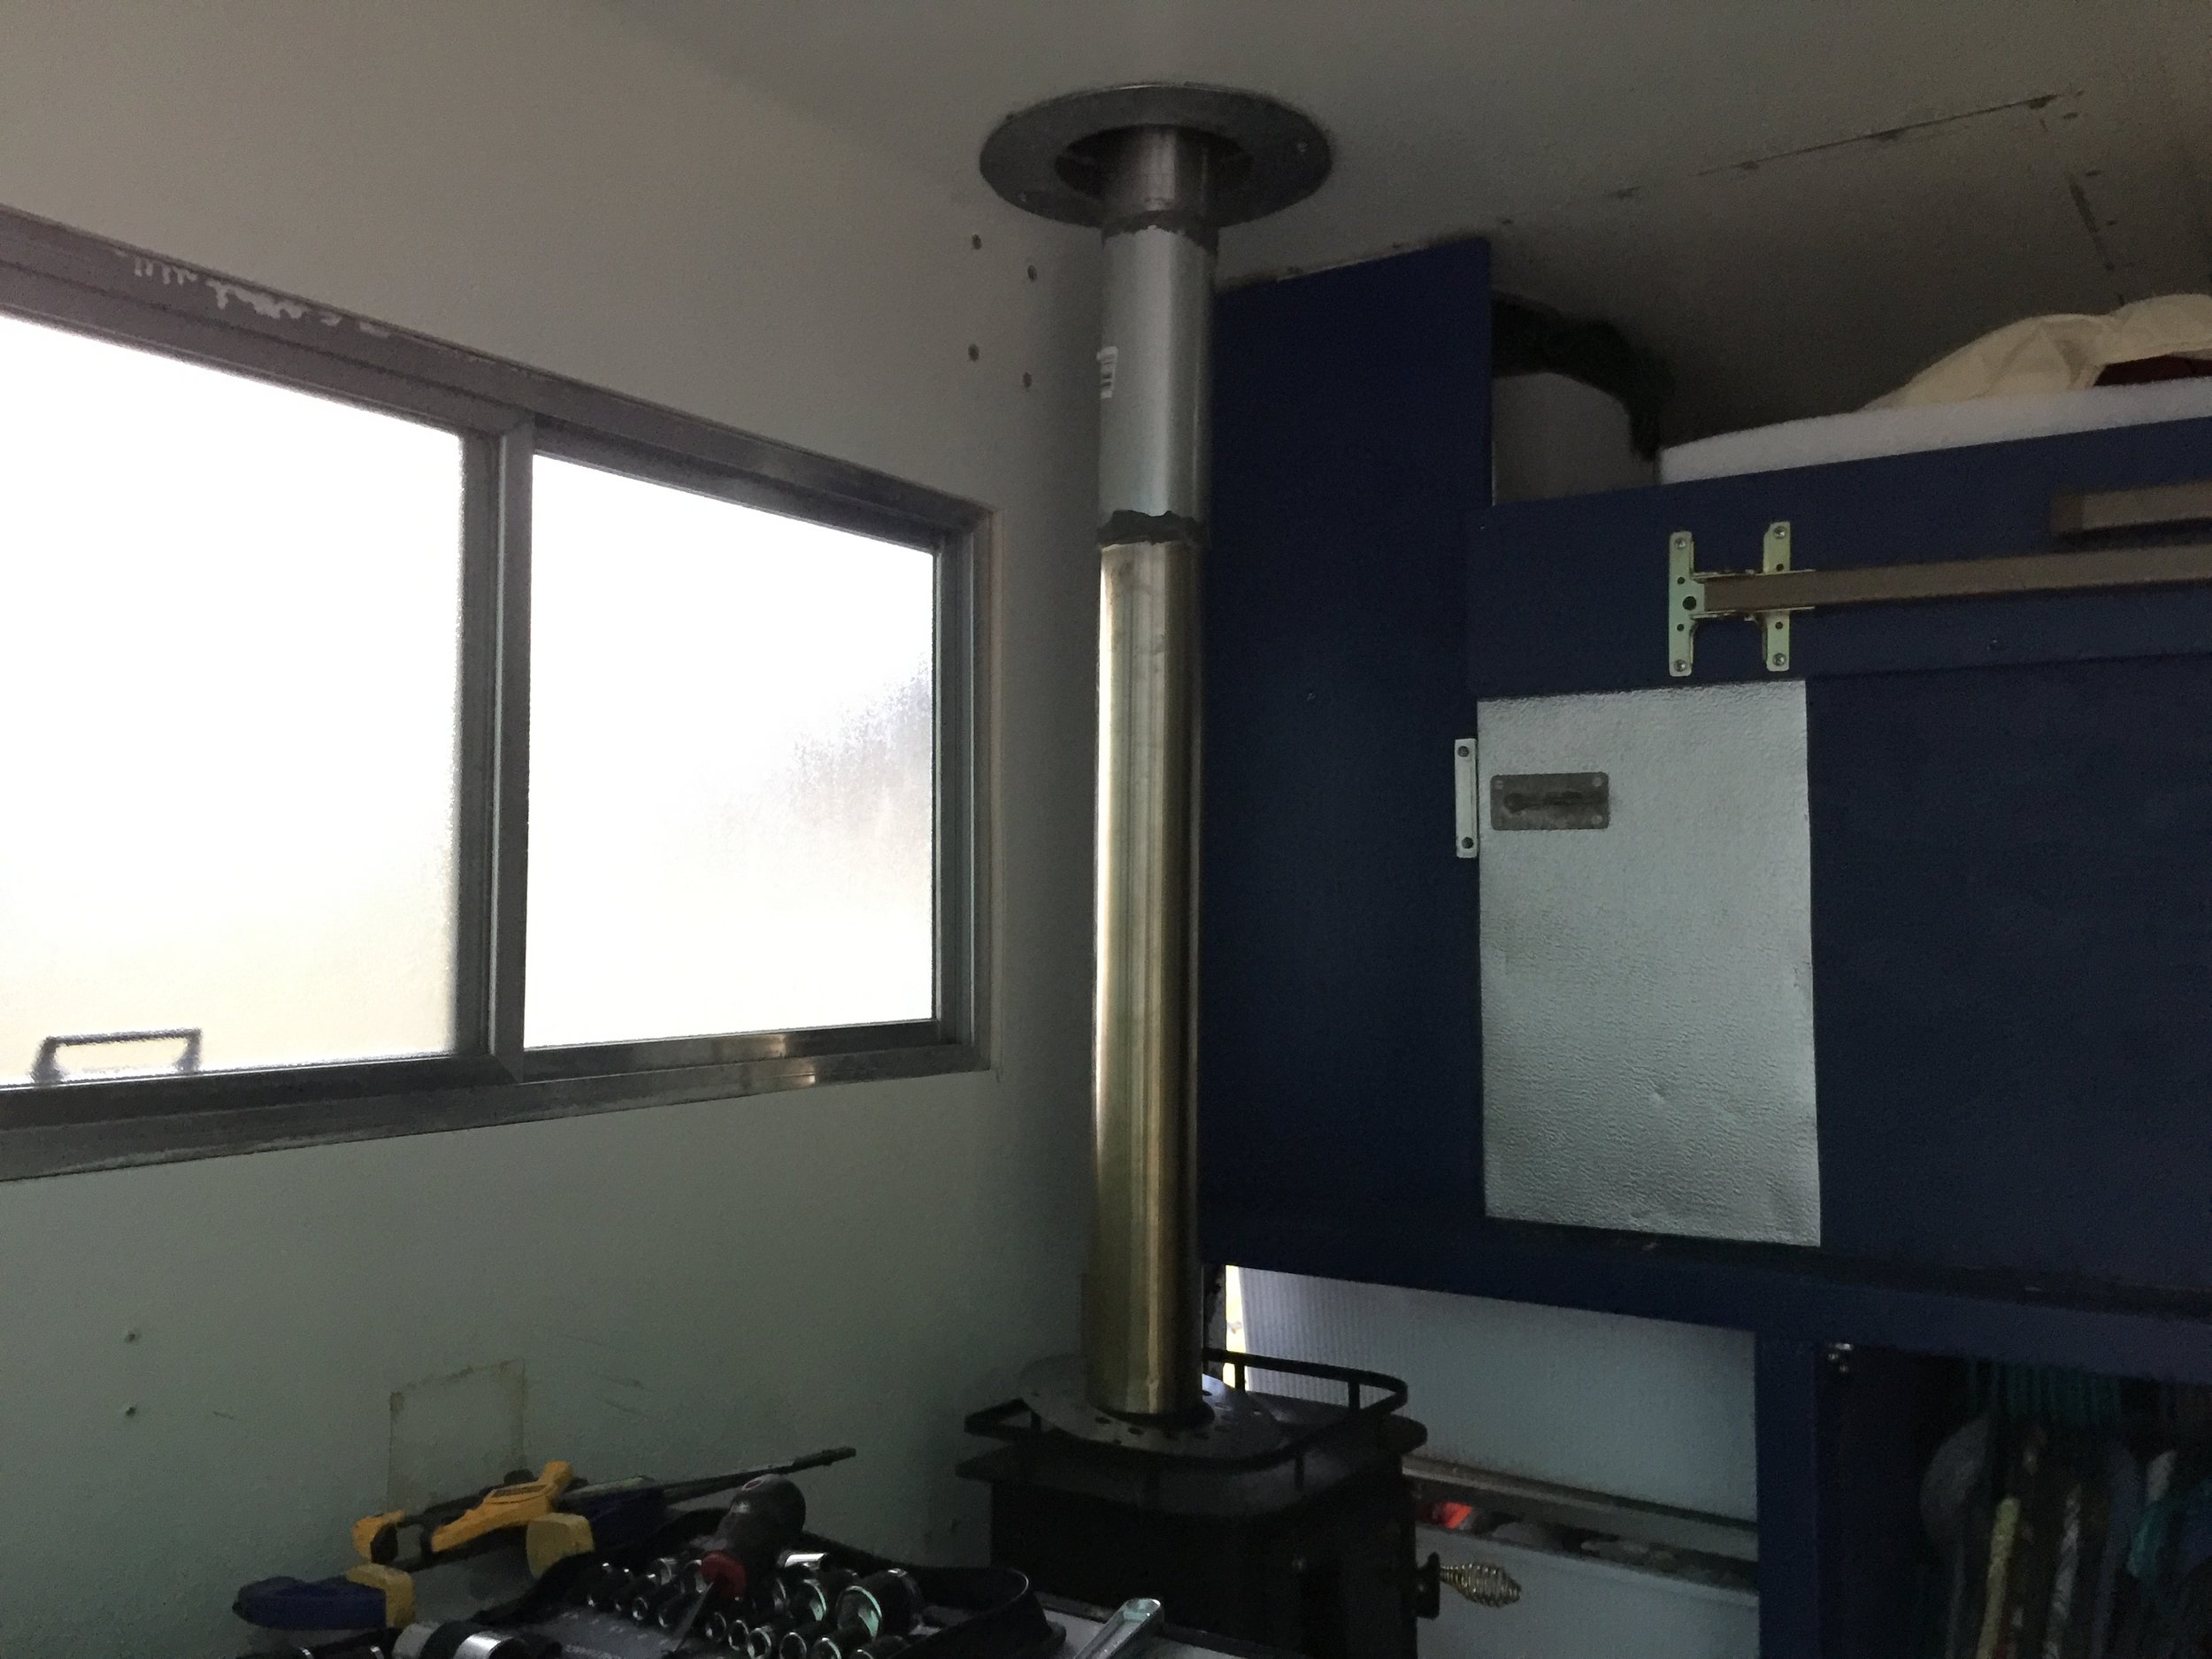
Our favorite thing about the big window is that it came with textured privacy glass, so other than light and shapes, it's impossible to see into the vehicle. In this photo you can also see a small metal heat shield that we wrapped around the base of the bed for when we lower it when the stove is on or still hot after a recent fire.
The window Bill gave us fit the spot we had for it perfectly. It also reminded us of a smaller version of it that we'd found in the back warehouse of a local RV repair place down in Kalispell. We made a trip back down and grabbed the forgotten and dusty window to install in the side door.


It's amazing the difference a little light can make.
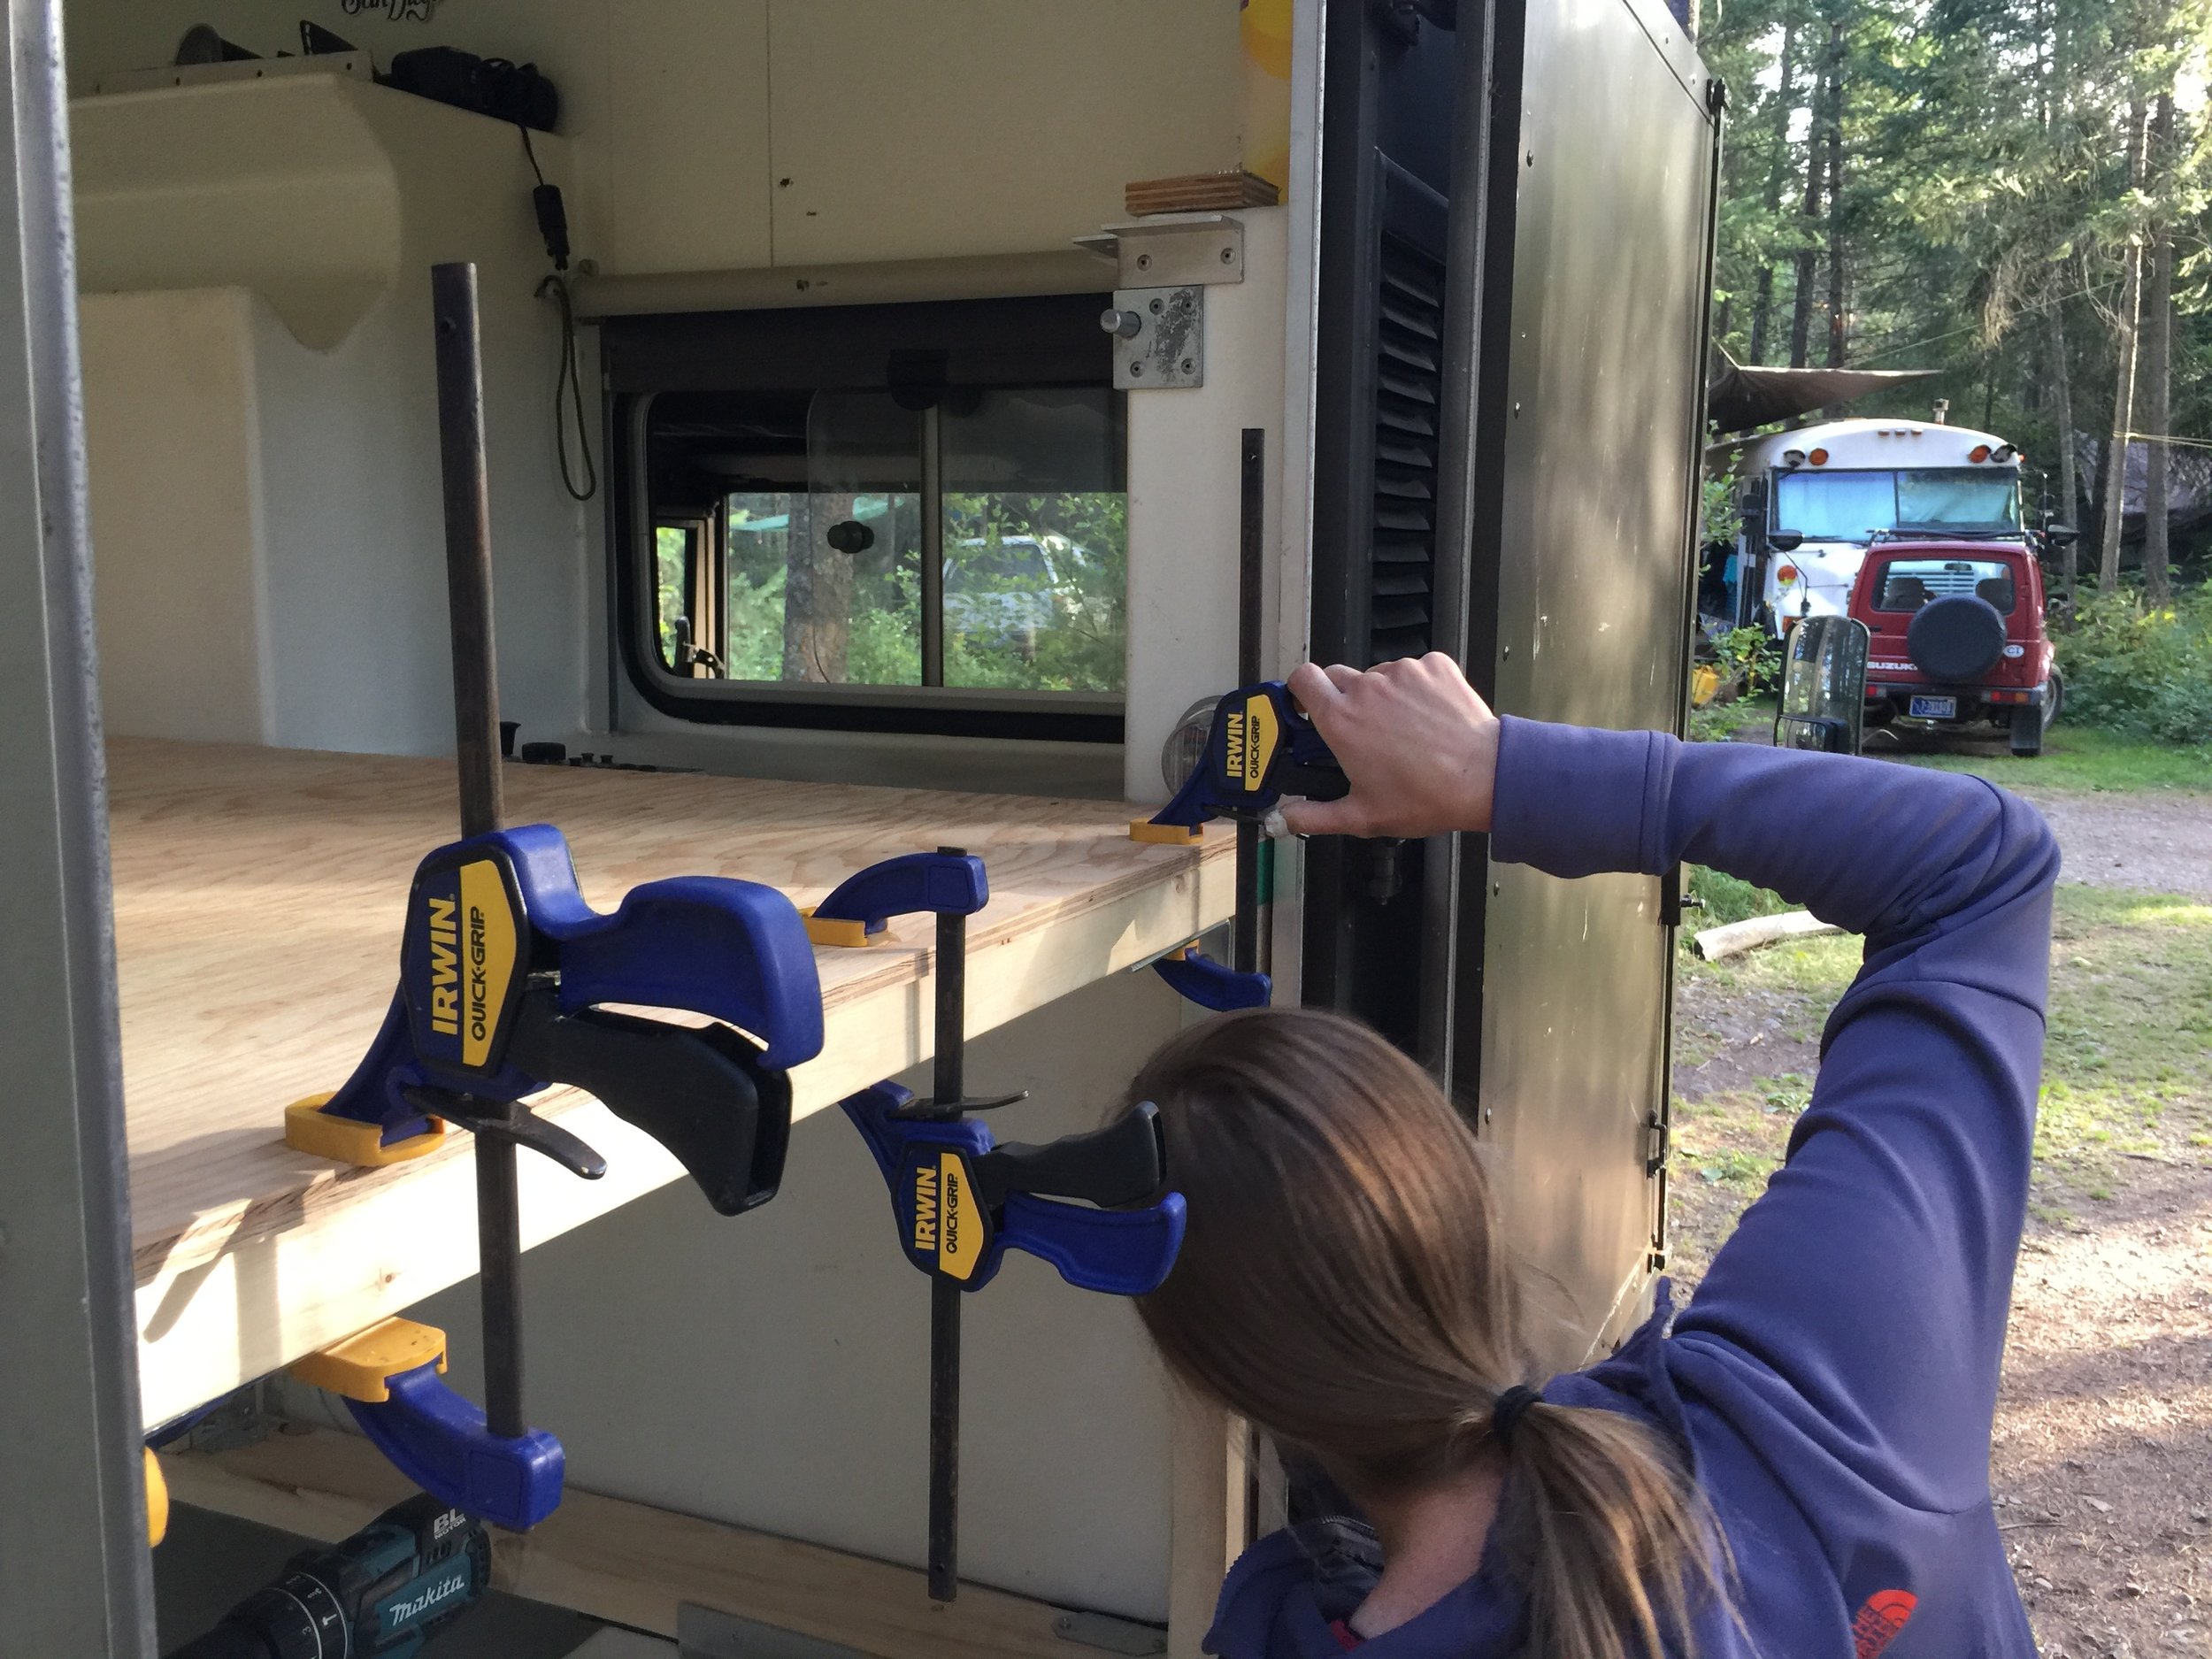
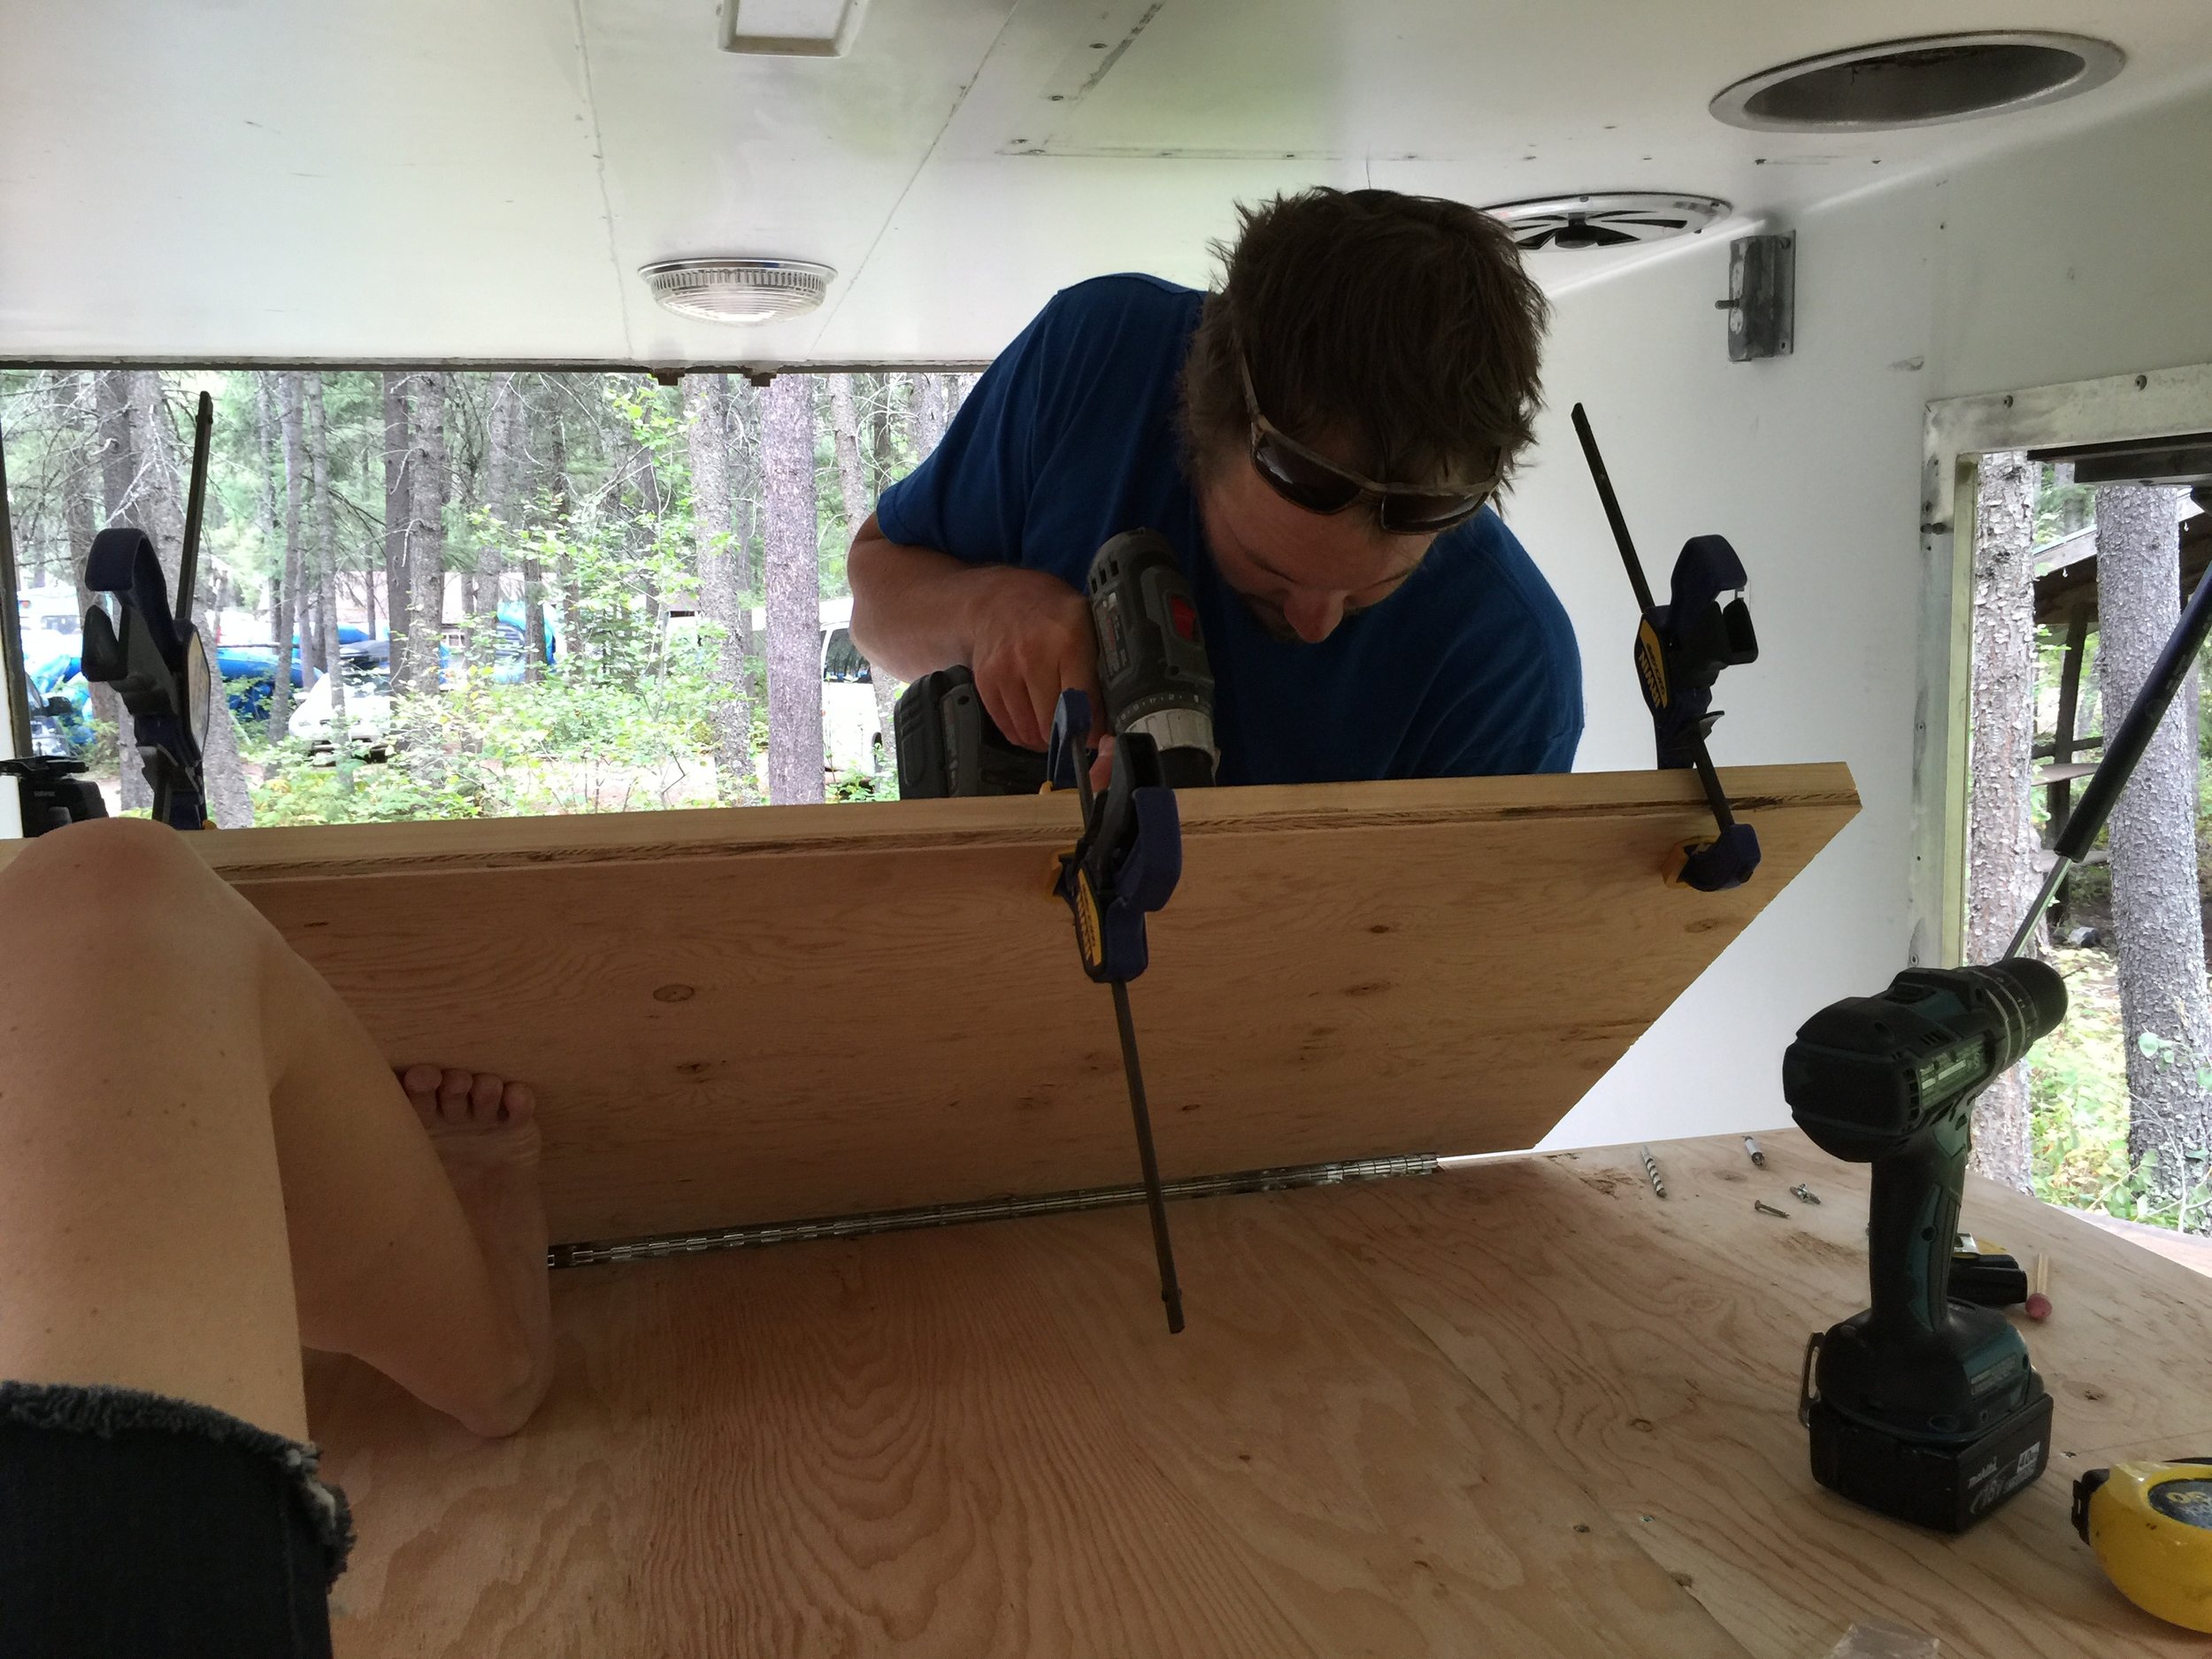
The windows were attached to the box using a handful of screws. A weather-proof seal was created by backing the exterior trim with putty tape before attaching the window frame to the box. After the frame was screwed in, we added liberal amounts of silicon caulk around the edges. So far, watertight! (On the bigger window, we even went so far as to get a length of rv rain gutter to install above it and avoid whatever extra runoff onto the seal we could. The window on the side door is already protected by the rain gutter for the door that was already on the vehicle.)