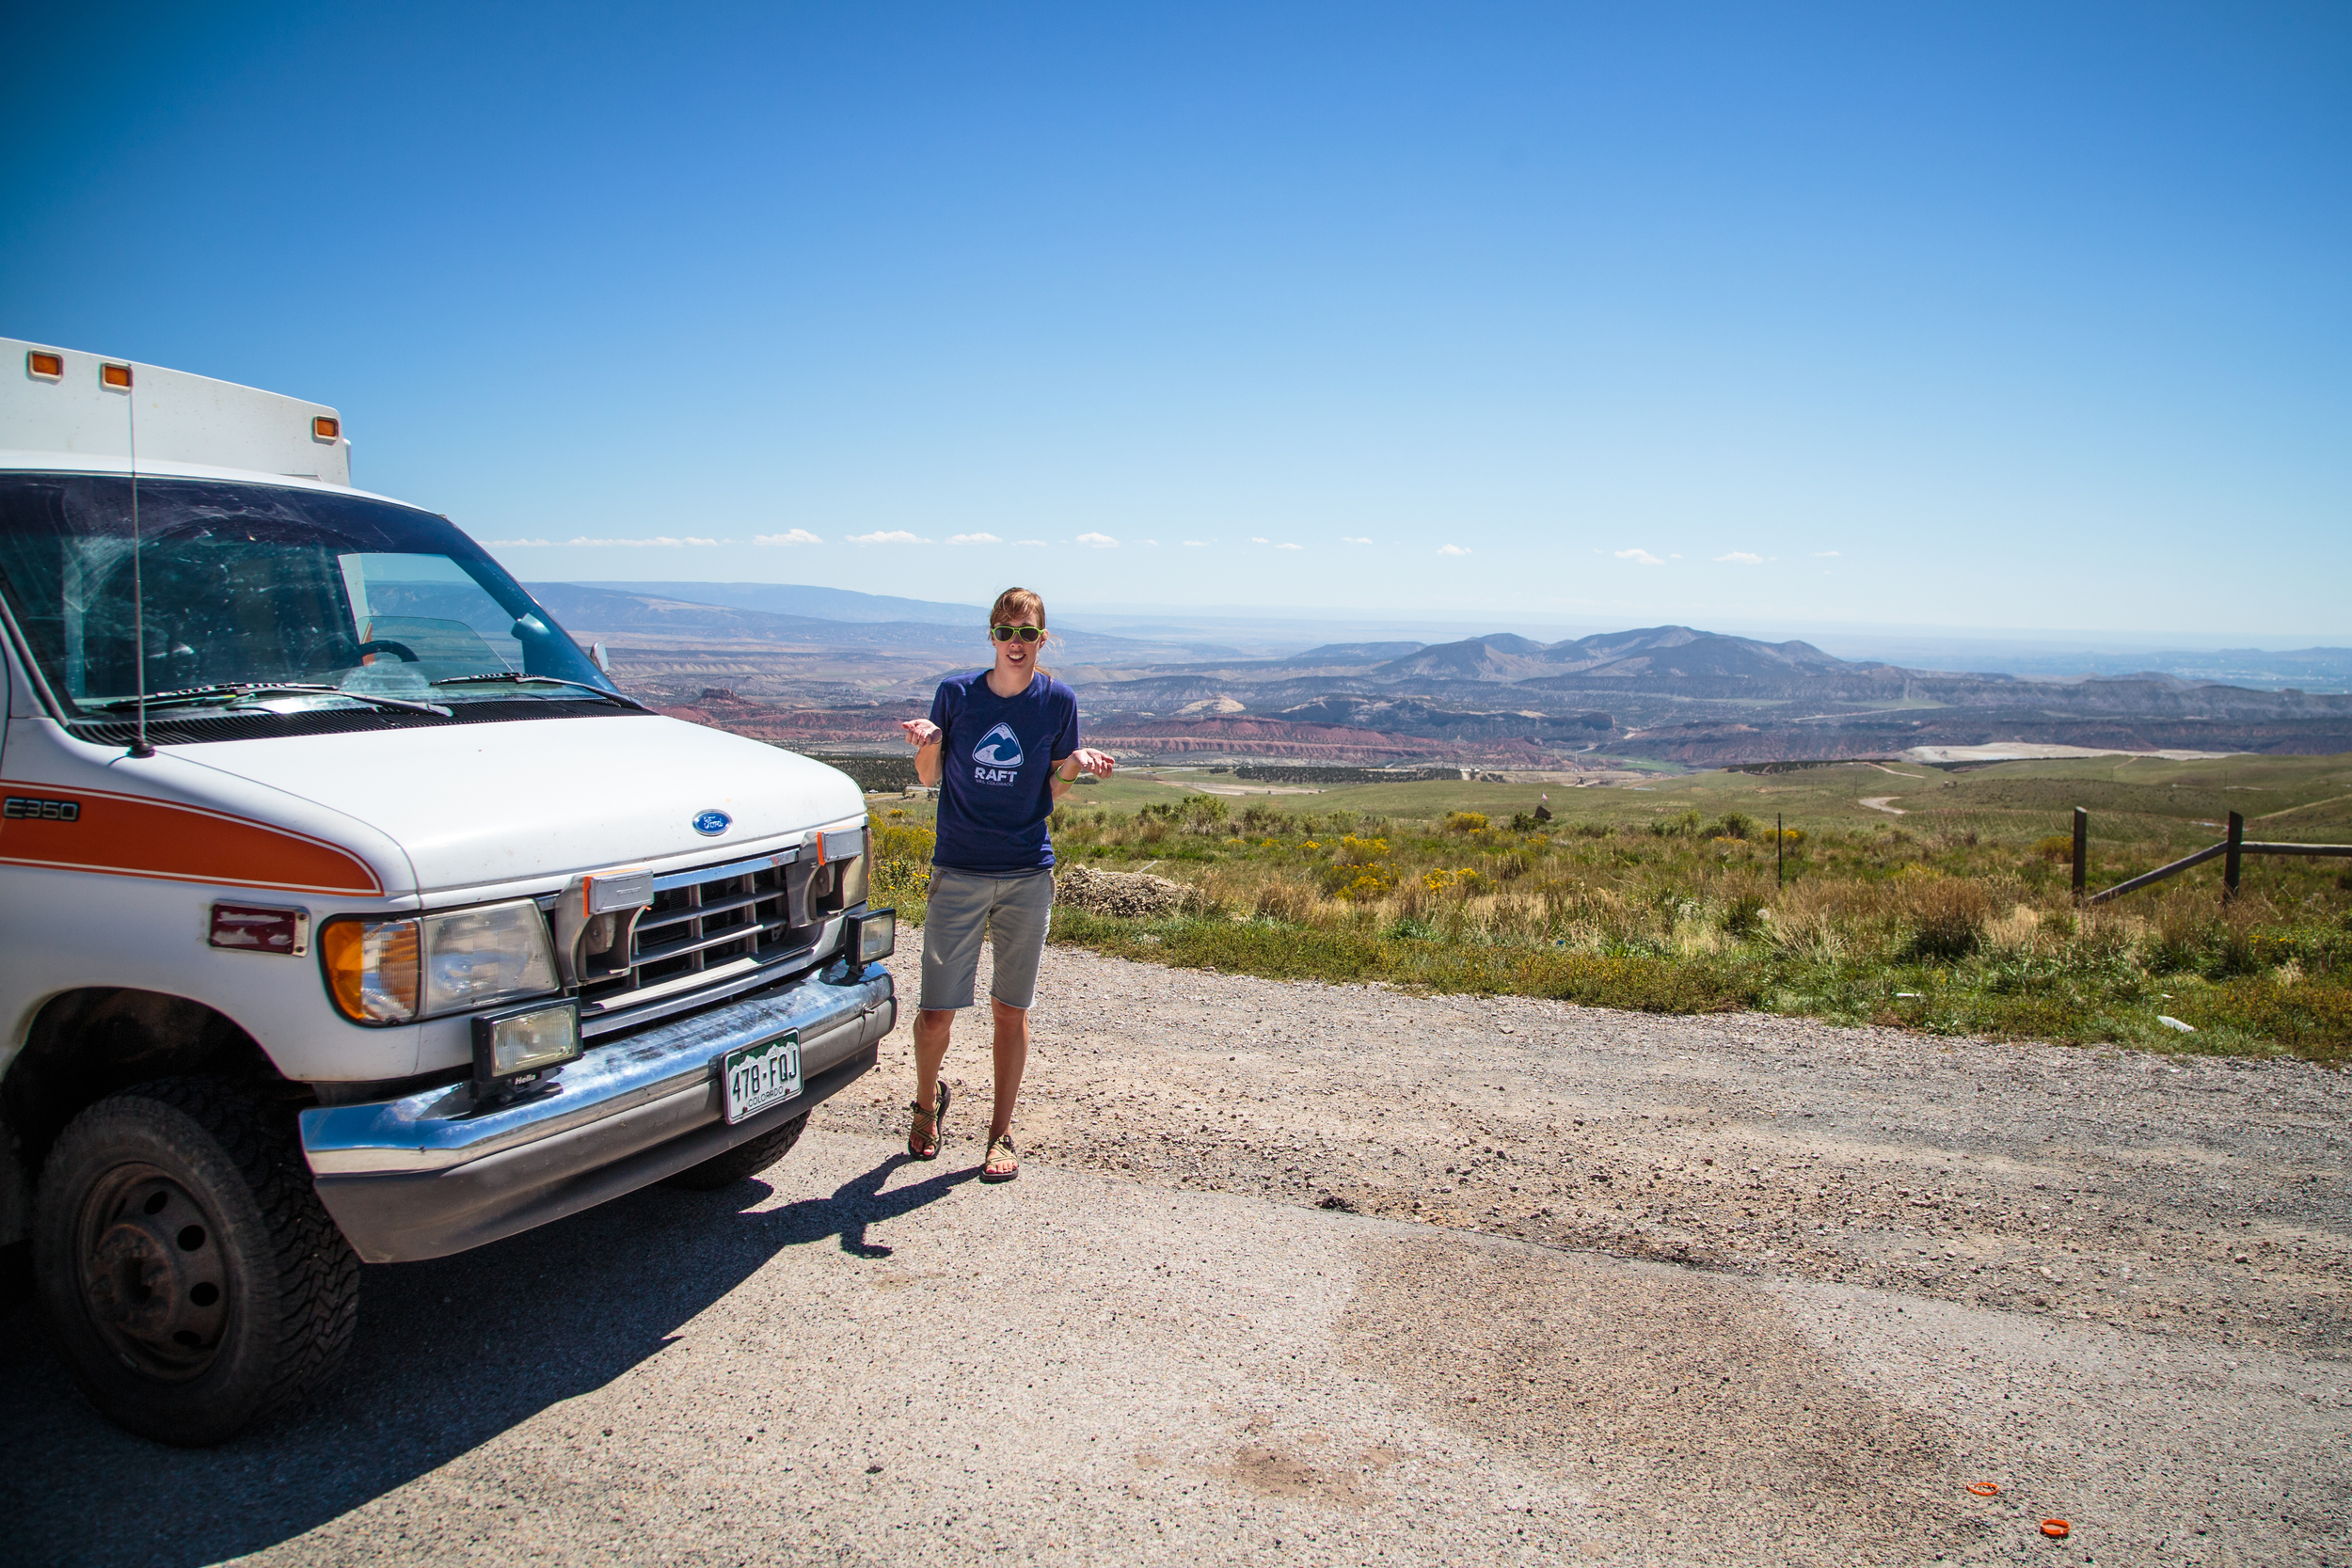
9.4.15 putting some miles behind us.
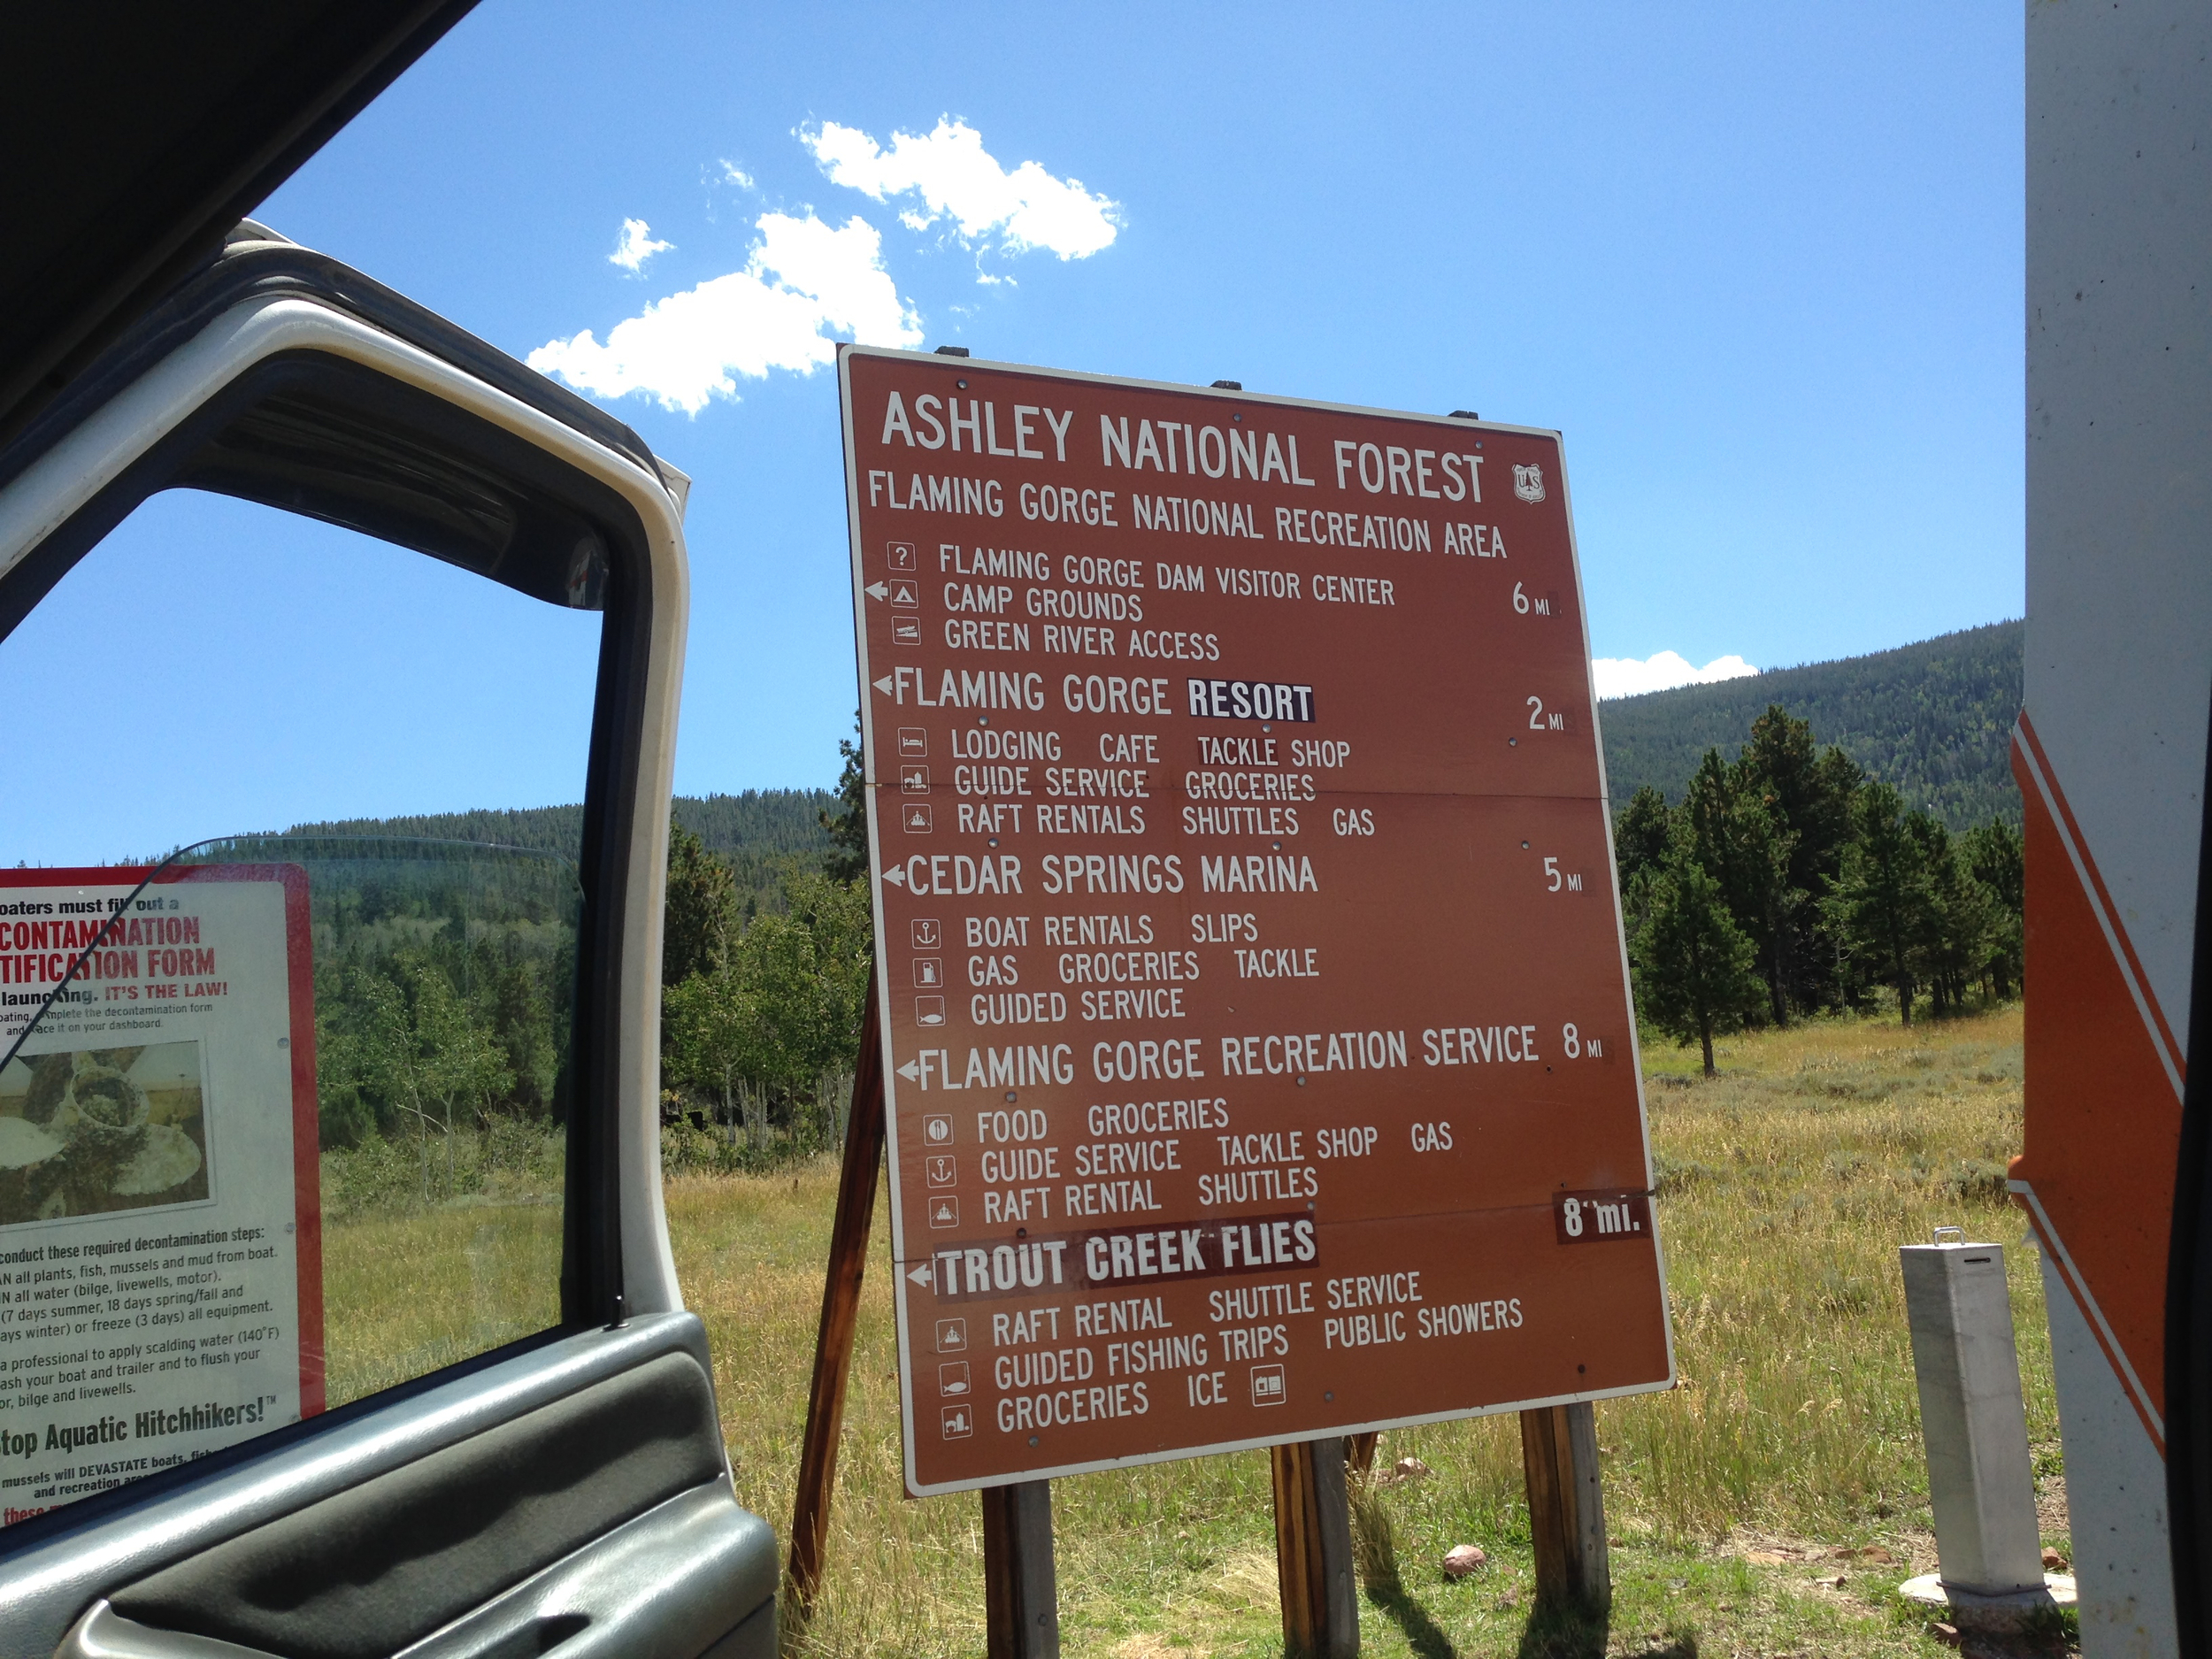
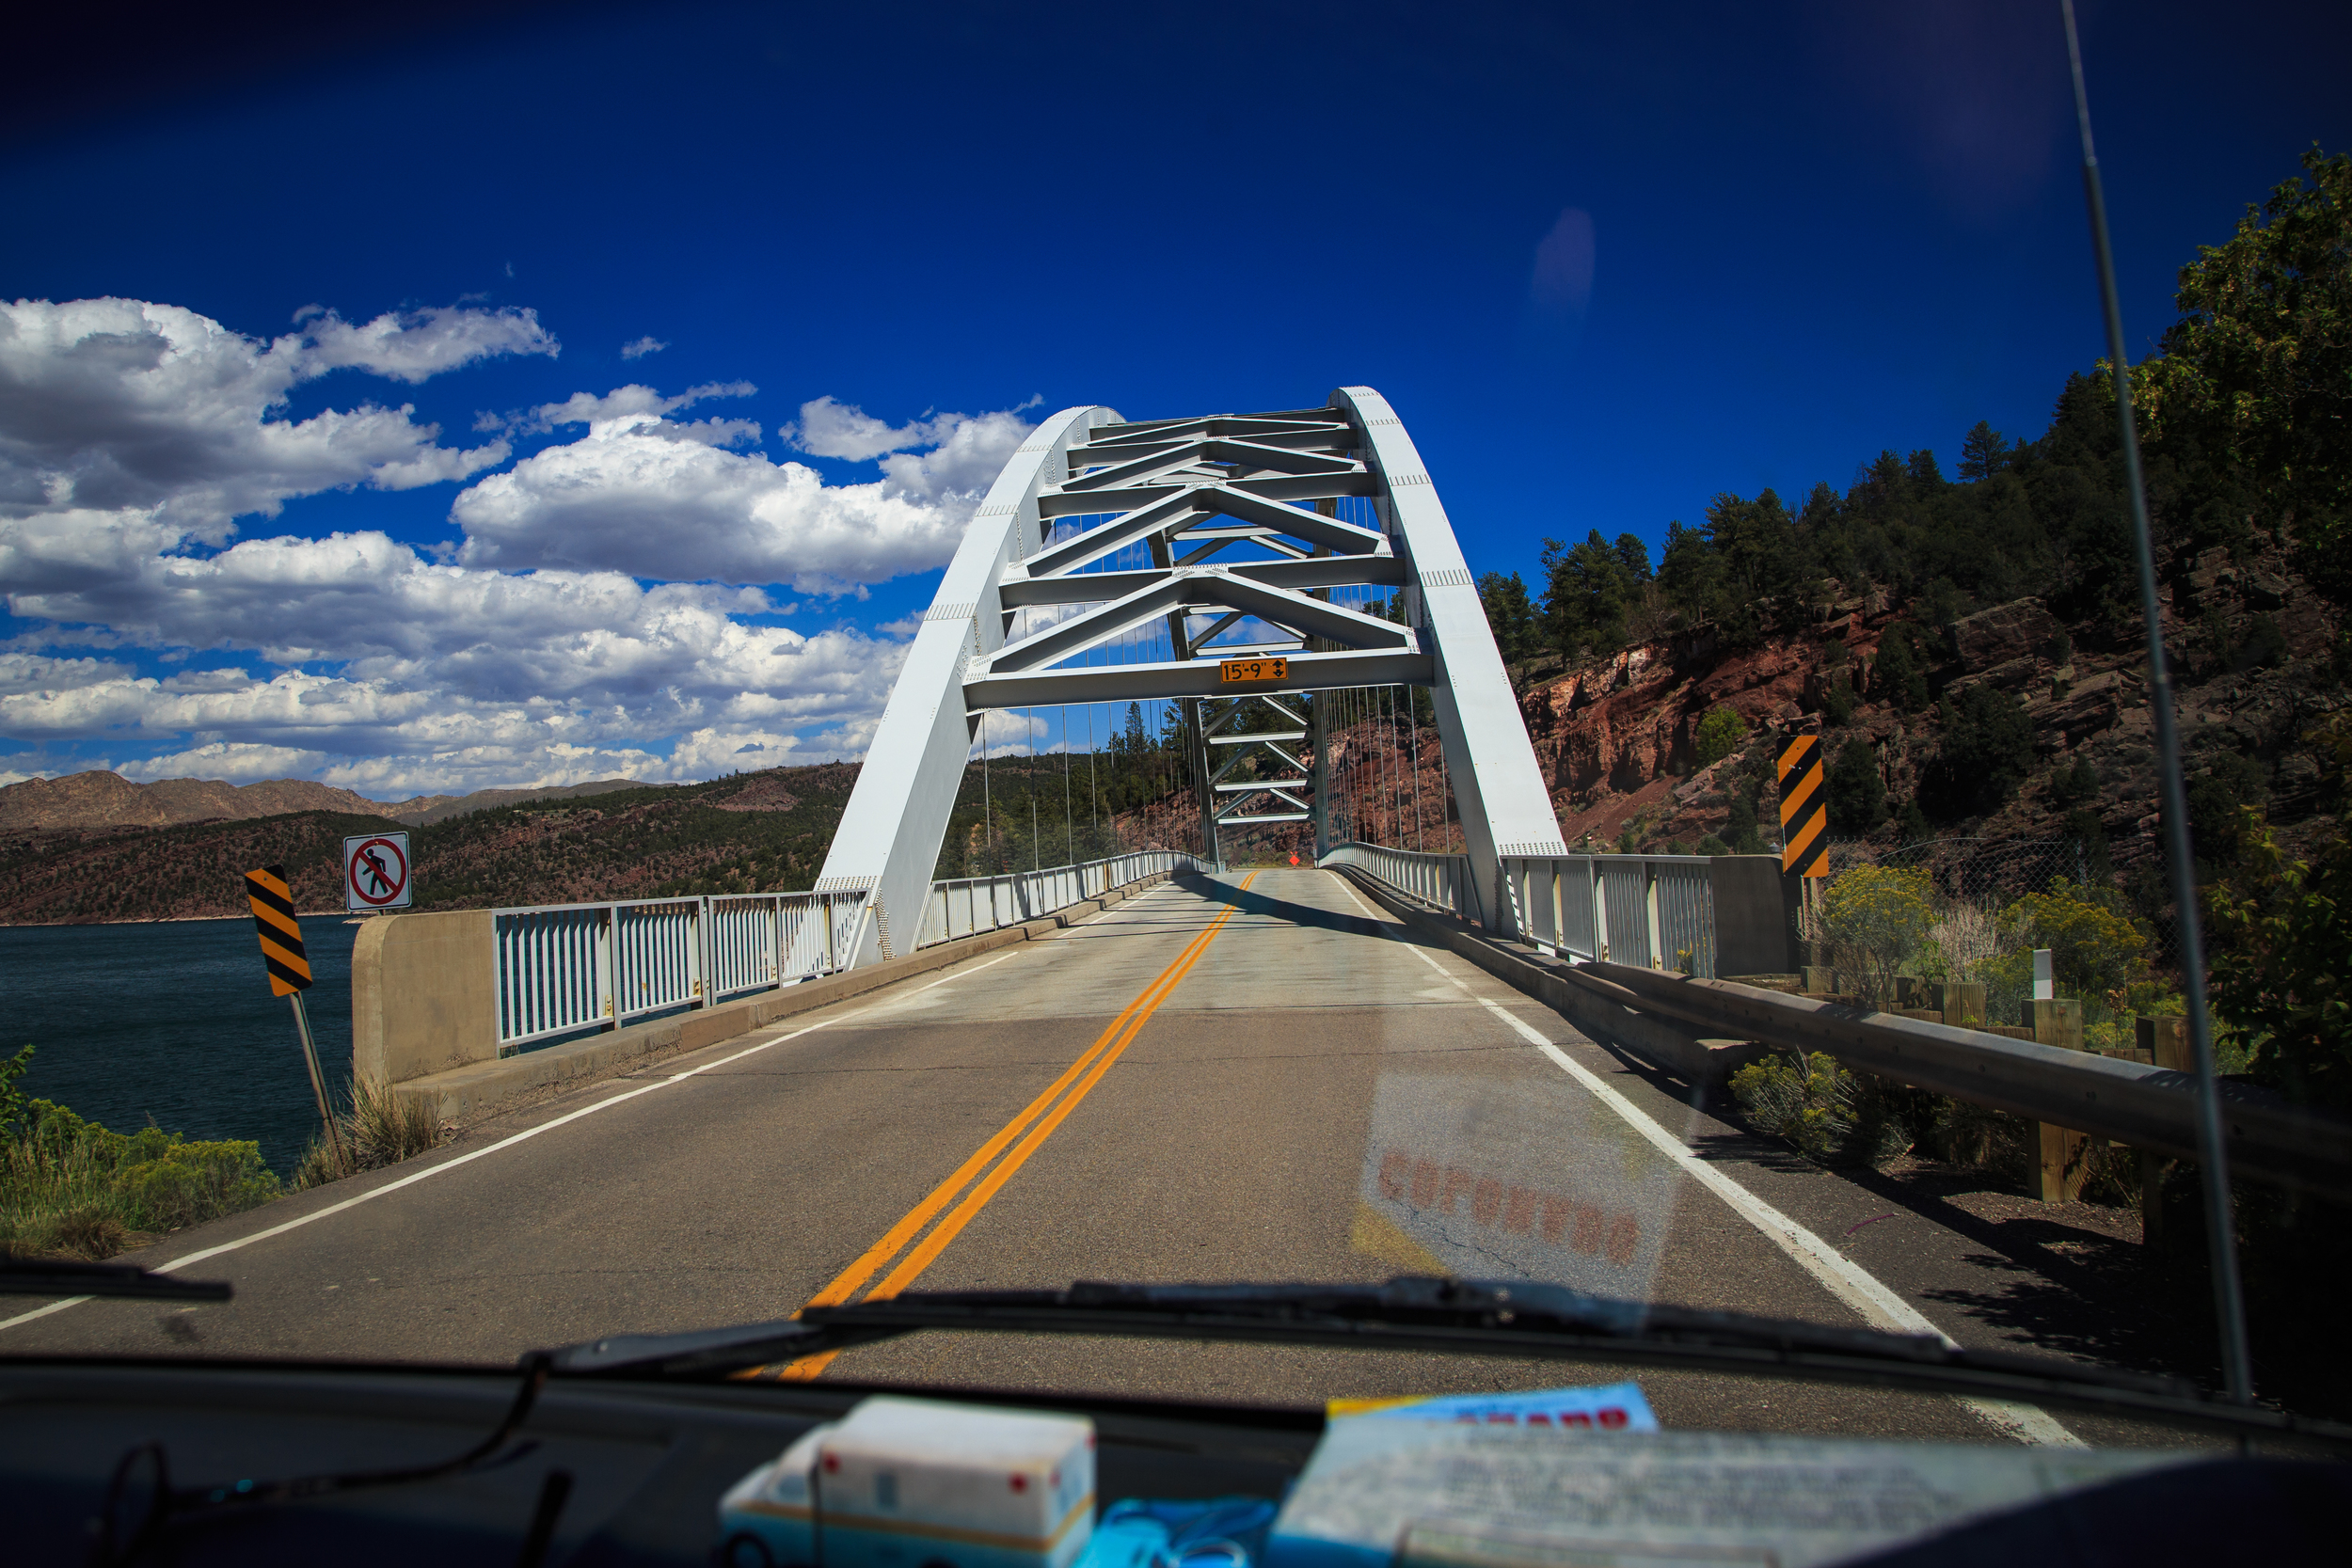
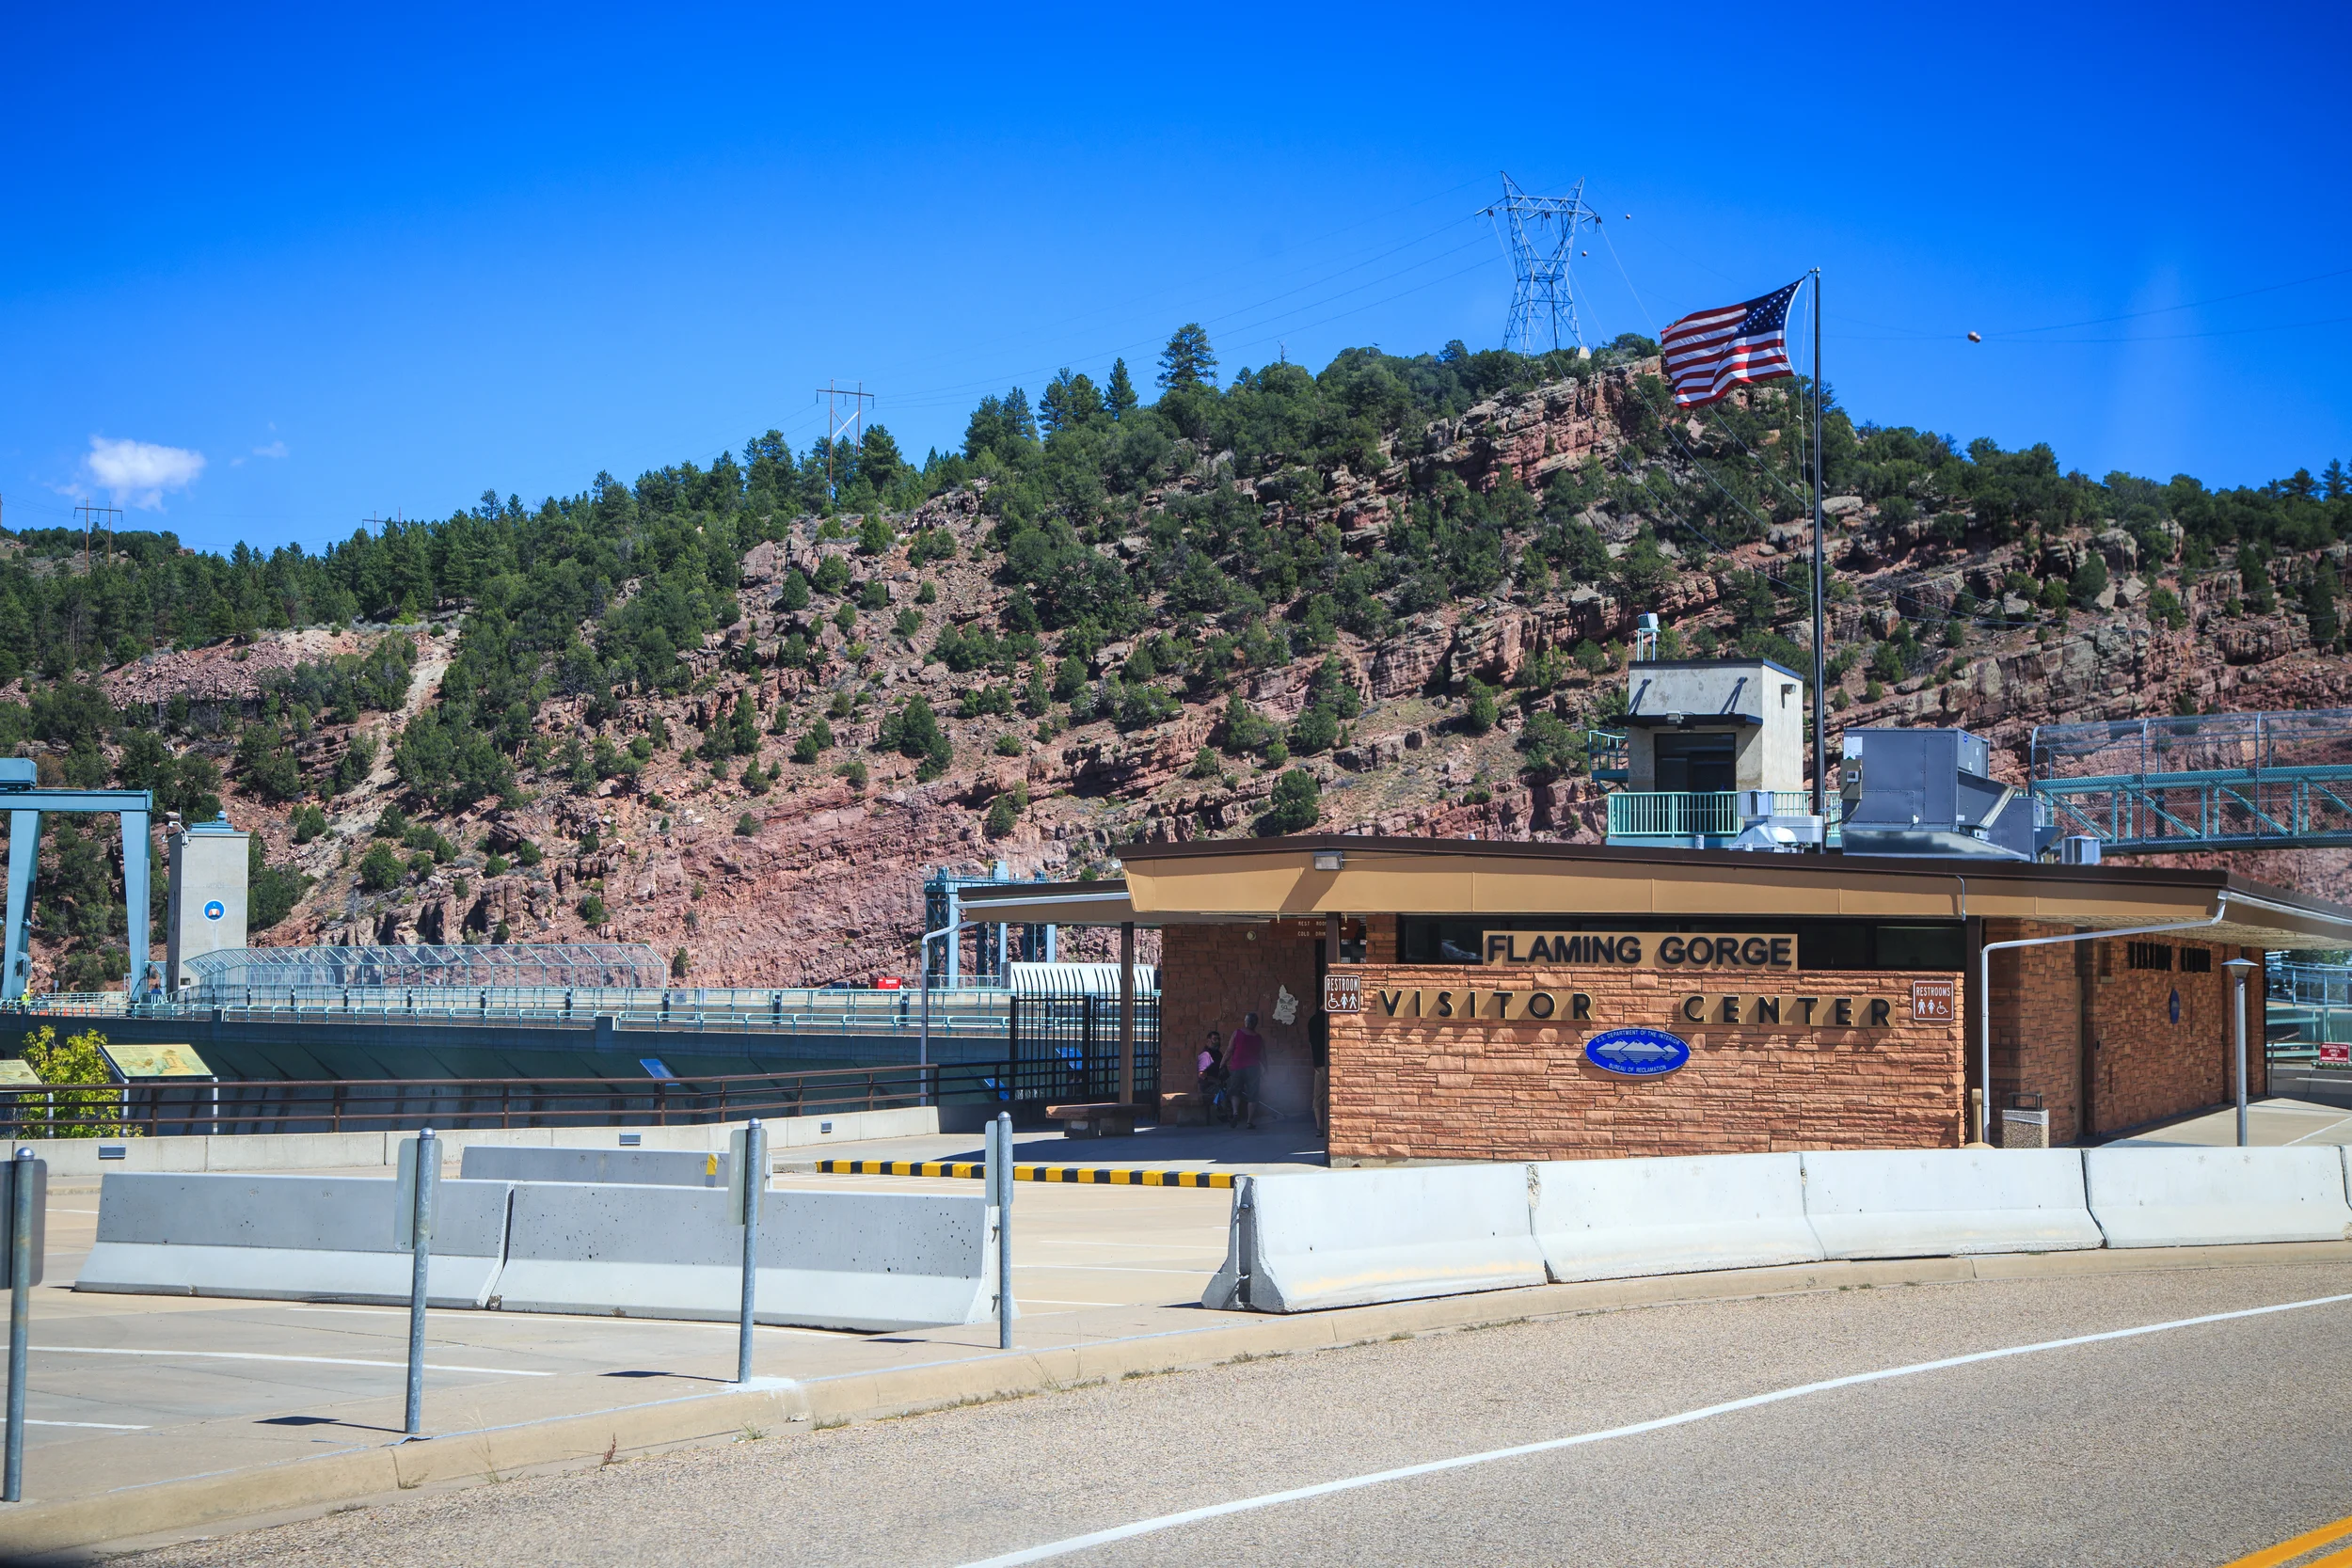
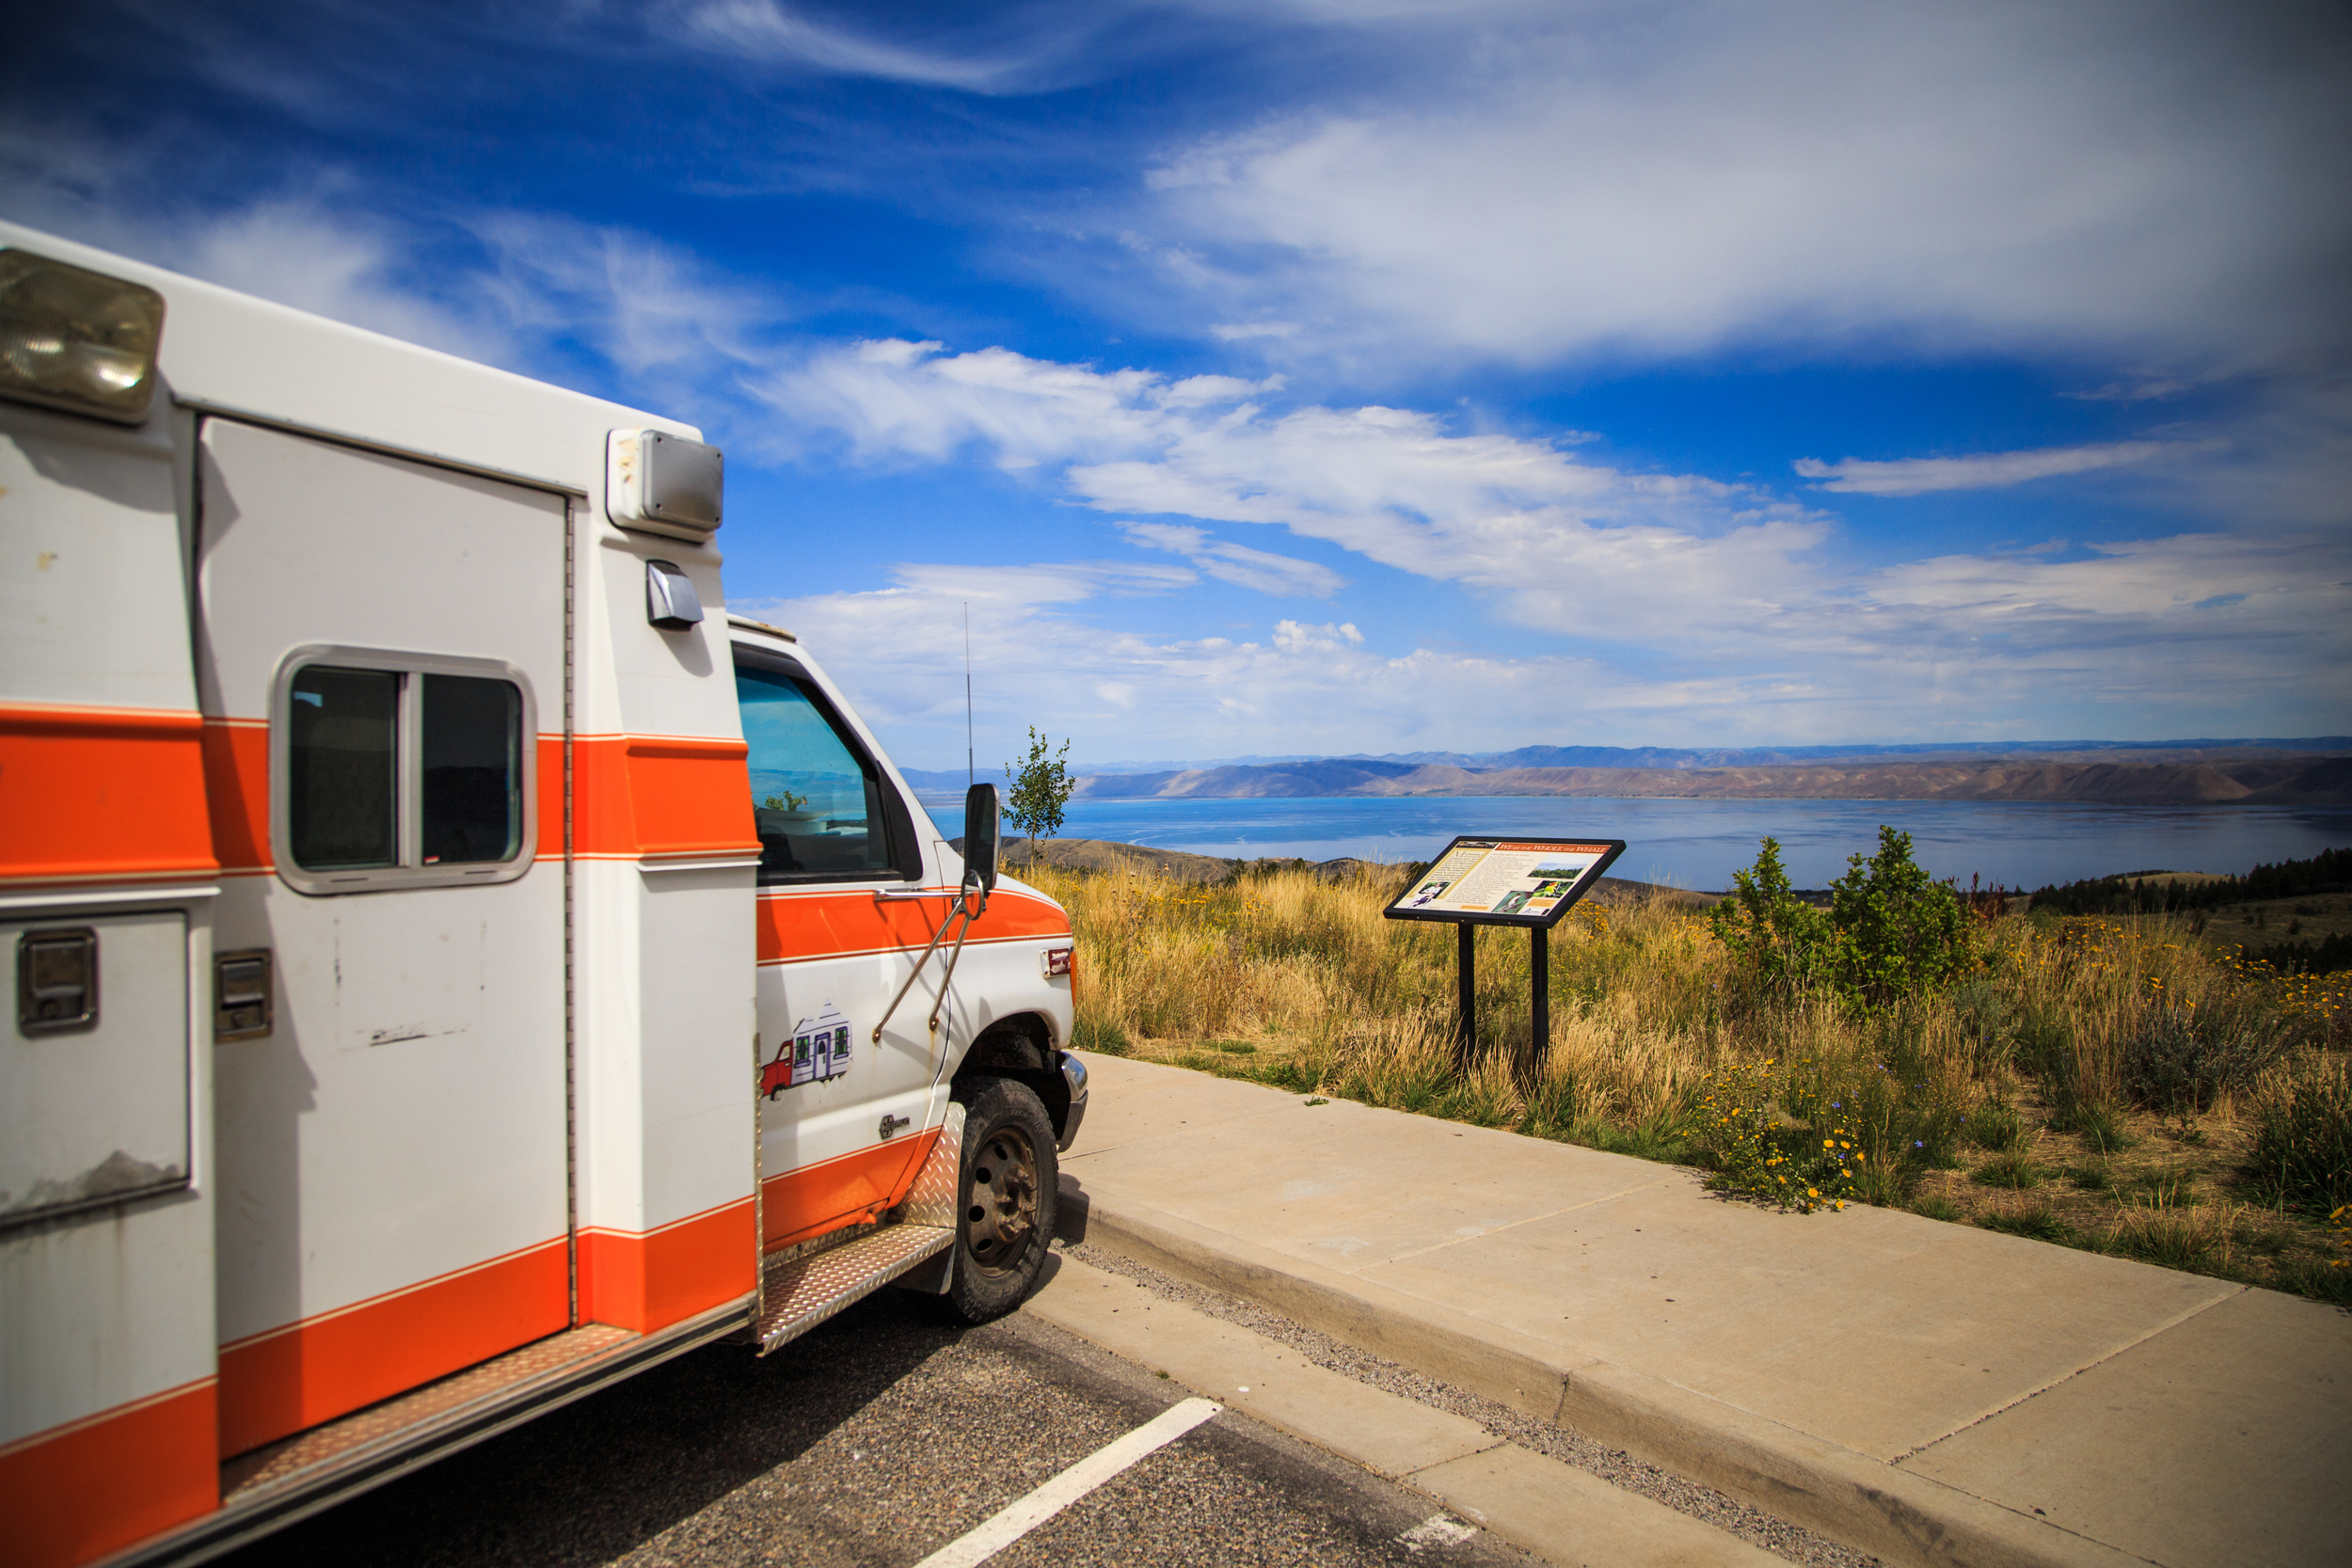
/We woke up still in the Flaming Gorge Recreation Area and had a plan in place to get across the border into Idaho by nightfall.

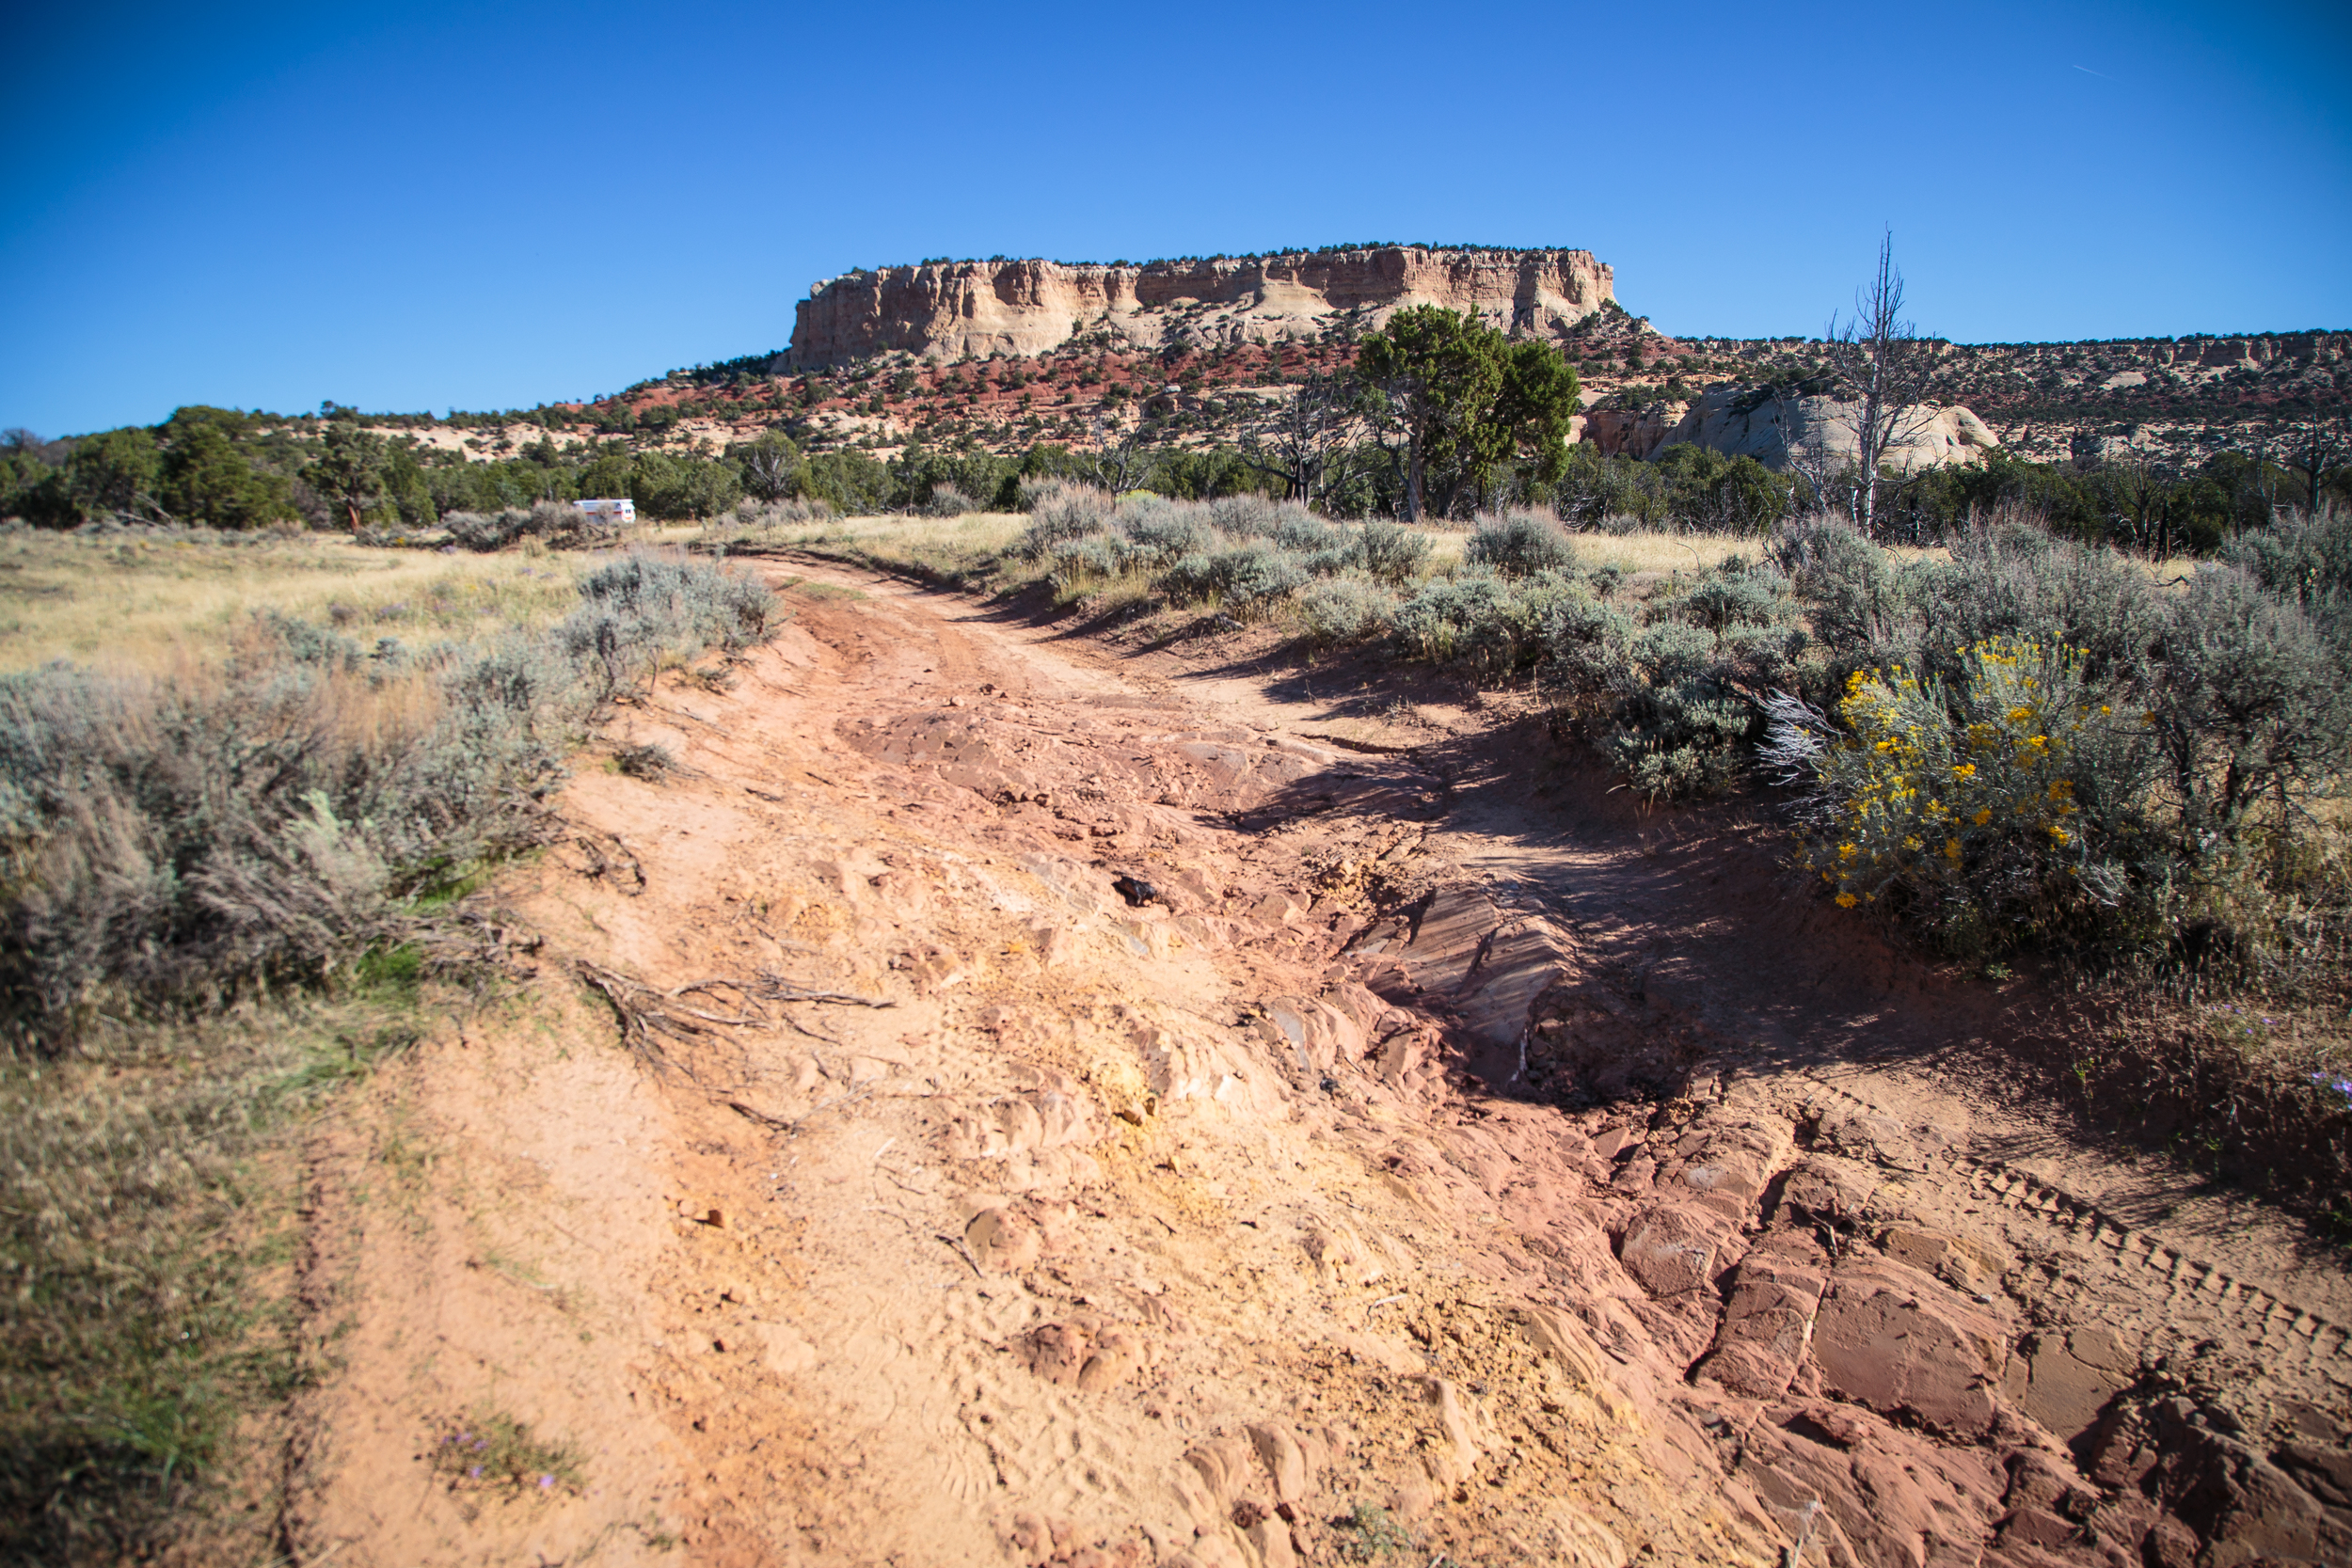
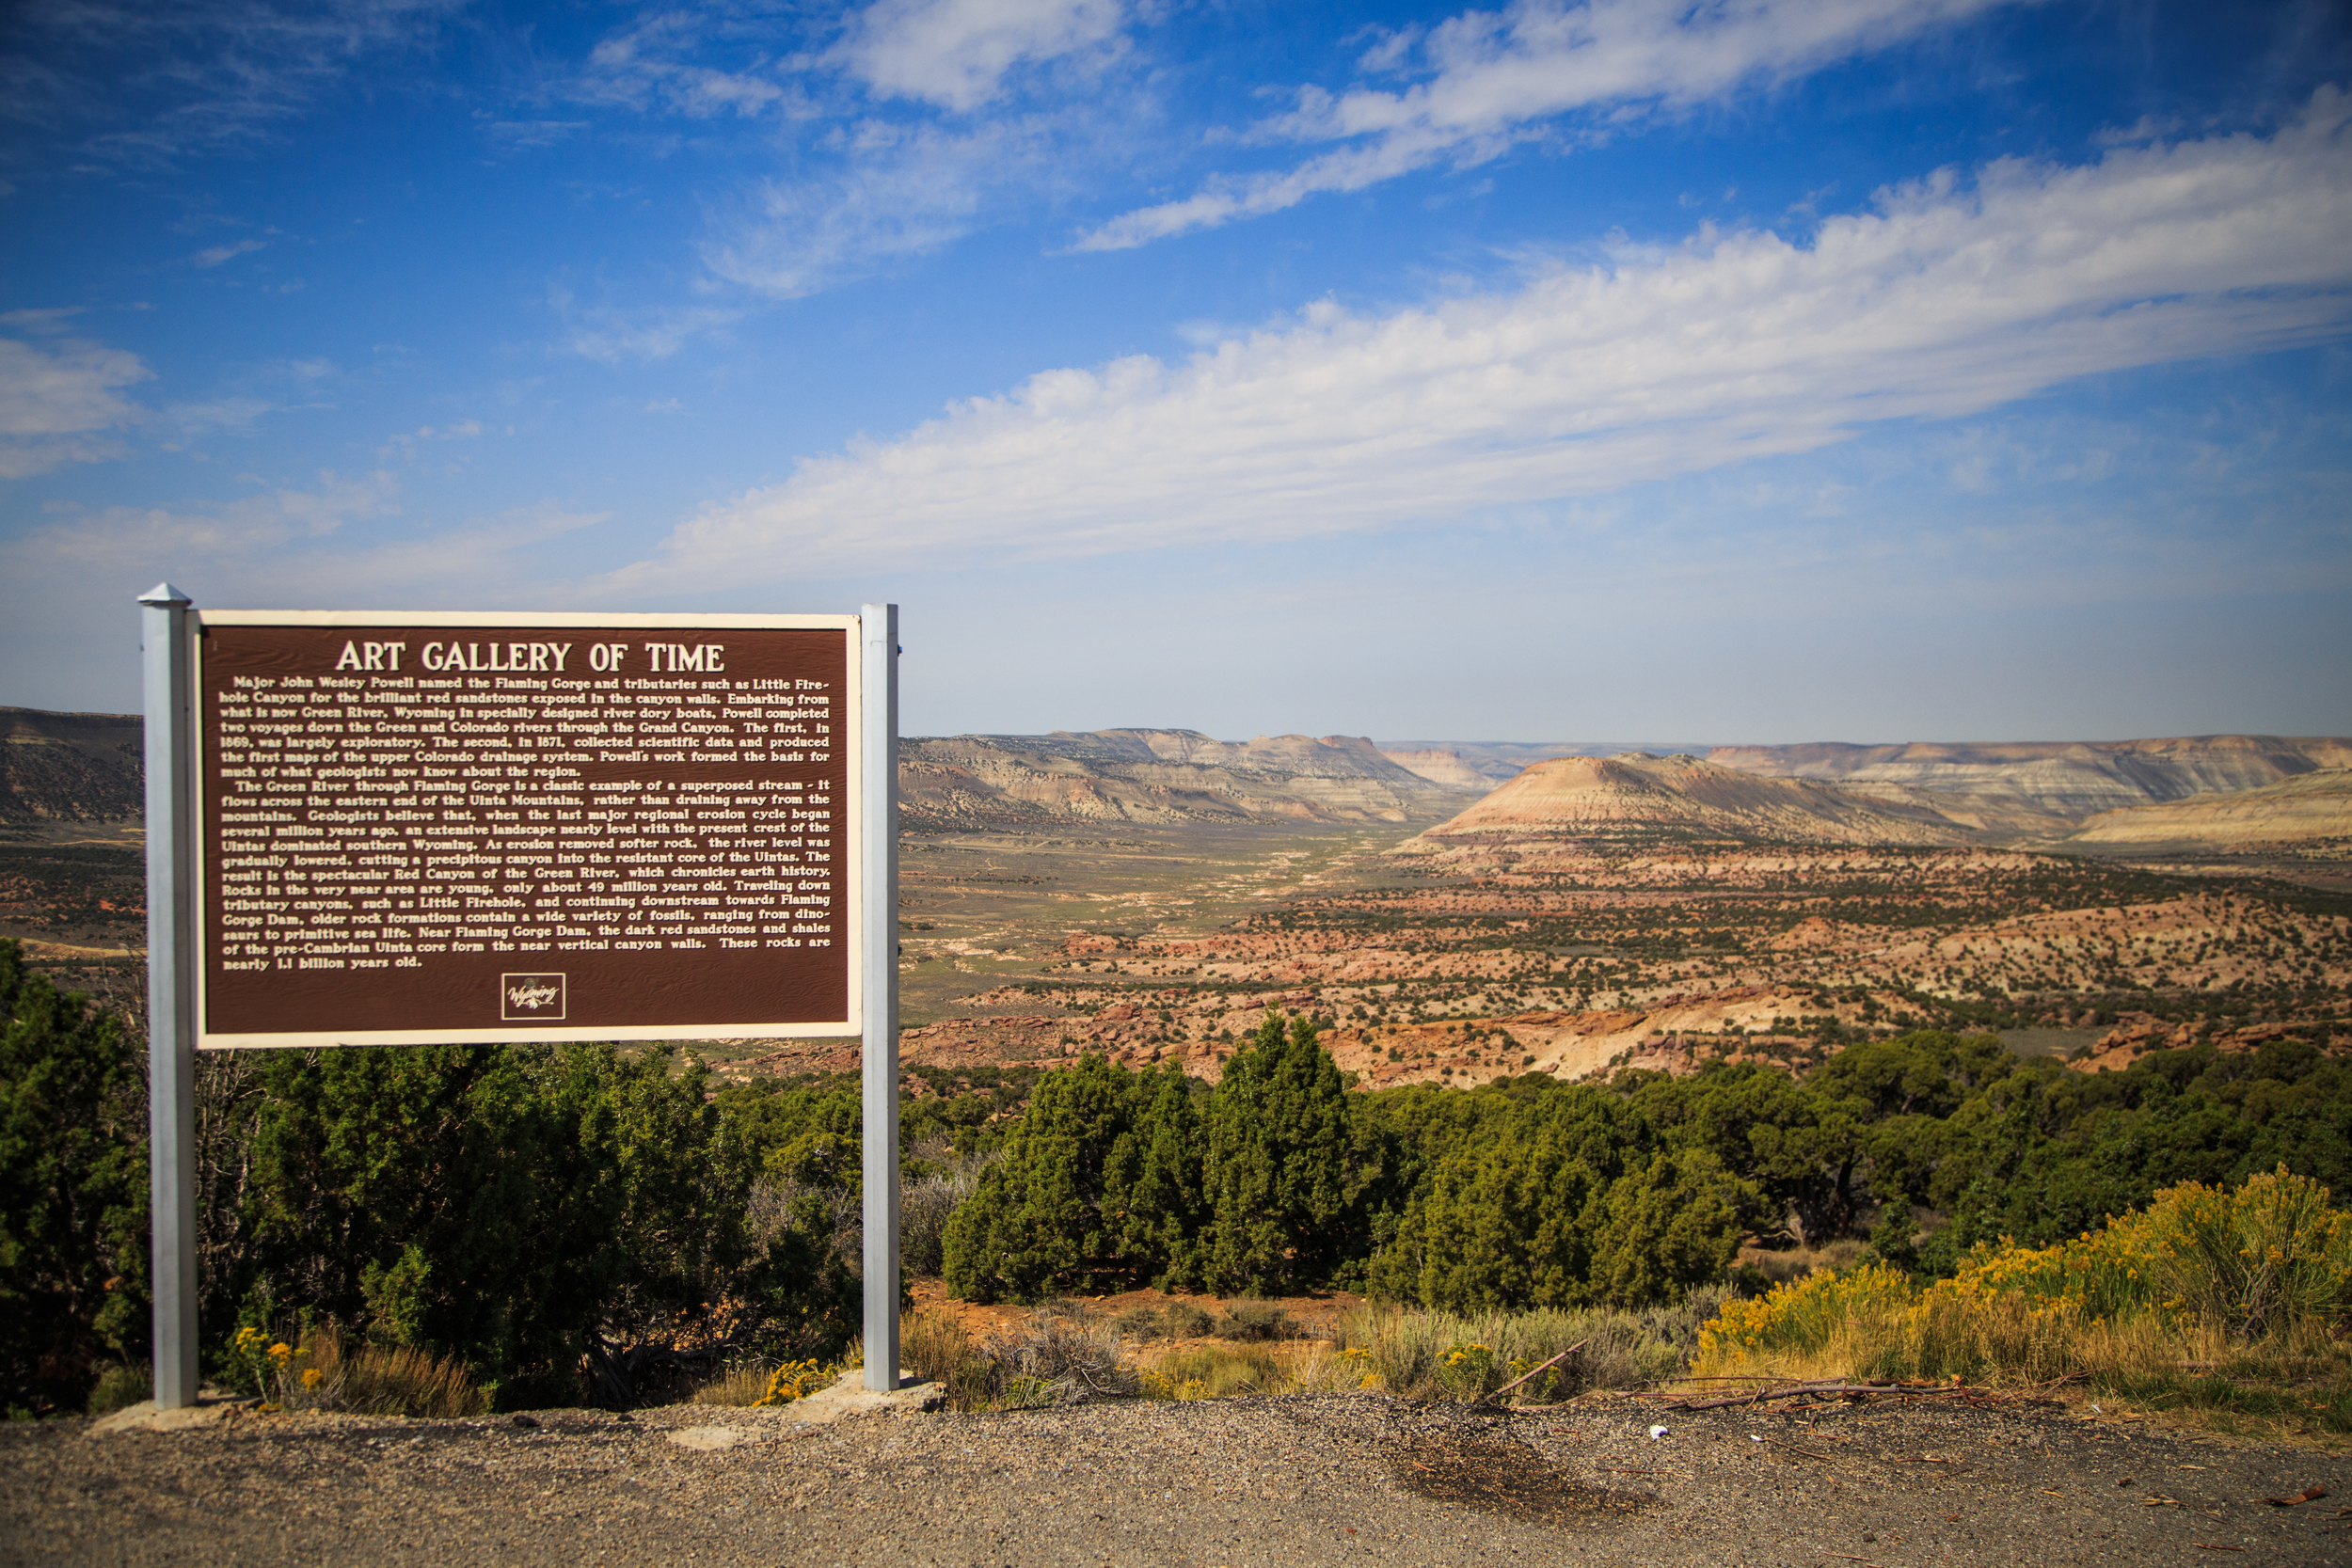
Leaving our lovely camp spot behind.


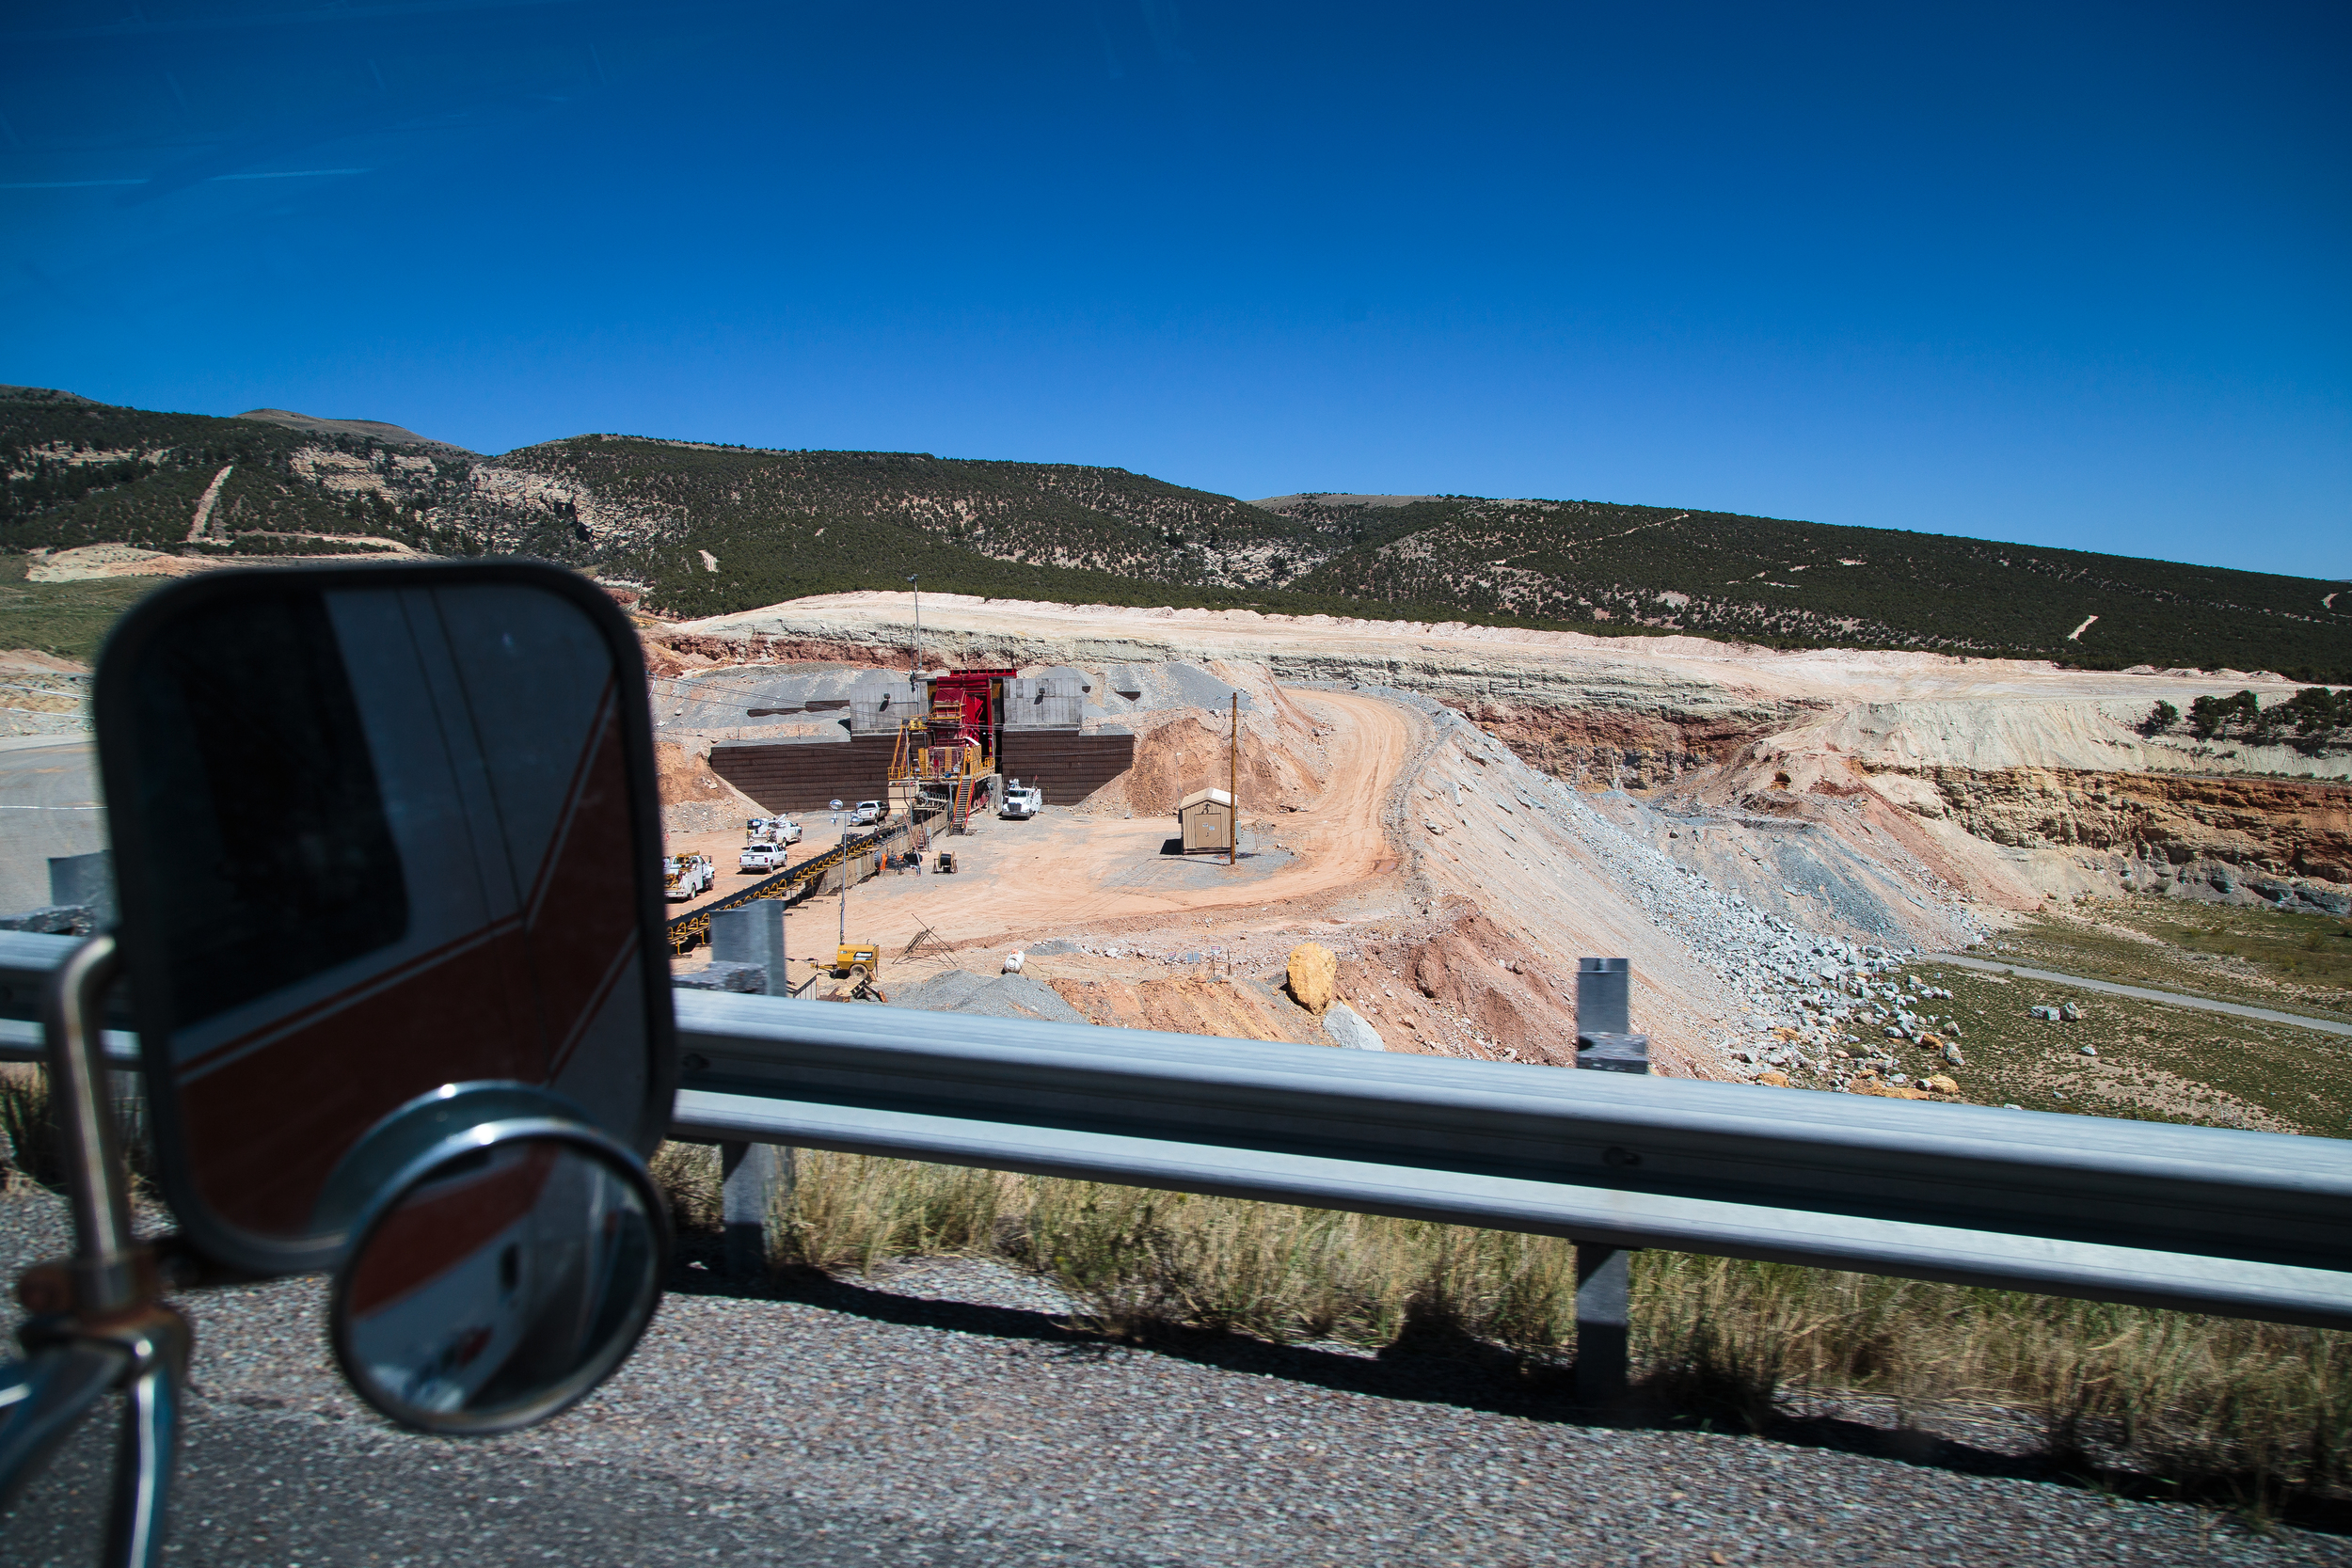
We couldn't help but pull over when we saw signs for a kayak park in Green River, Wyoming.

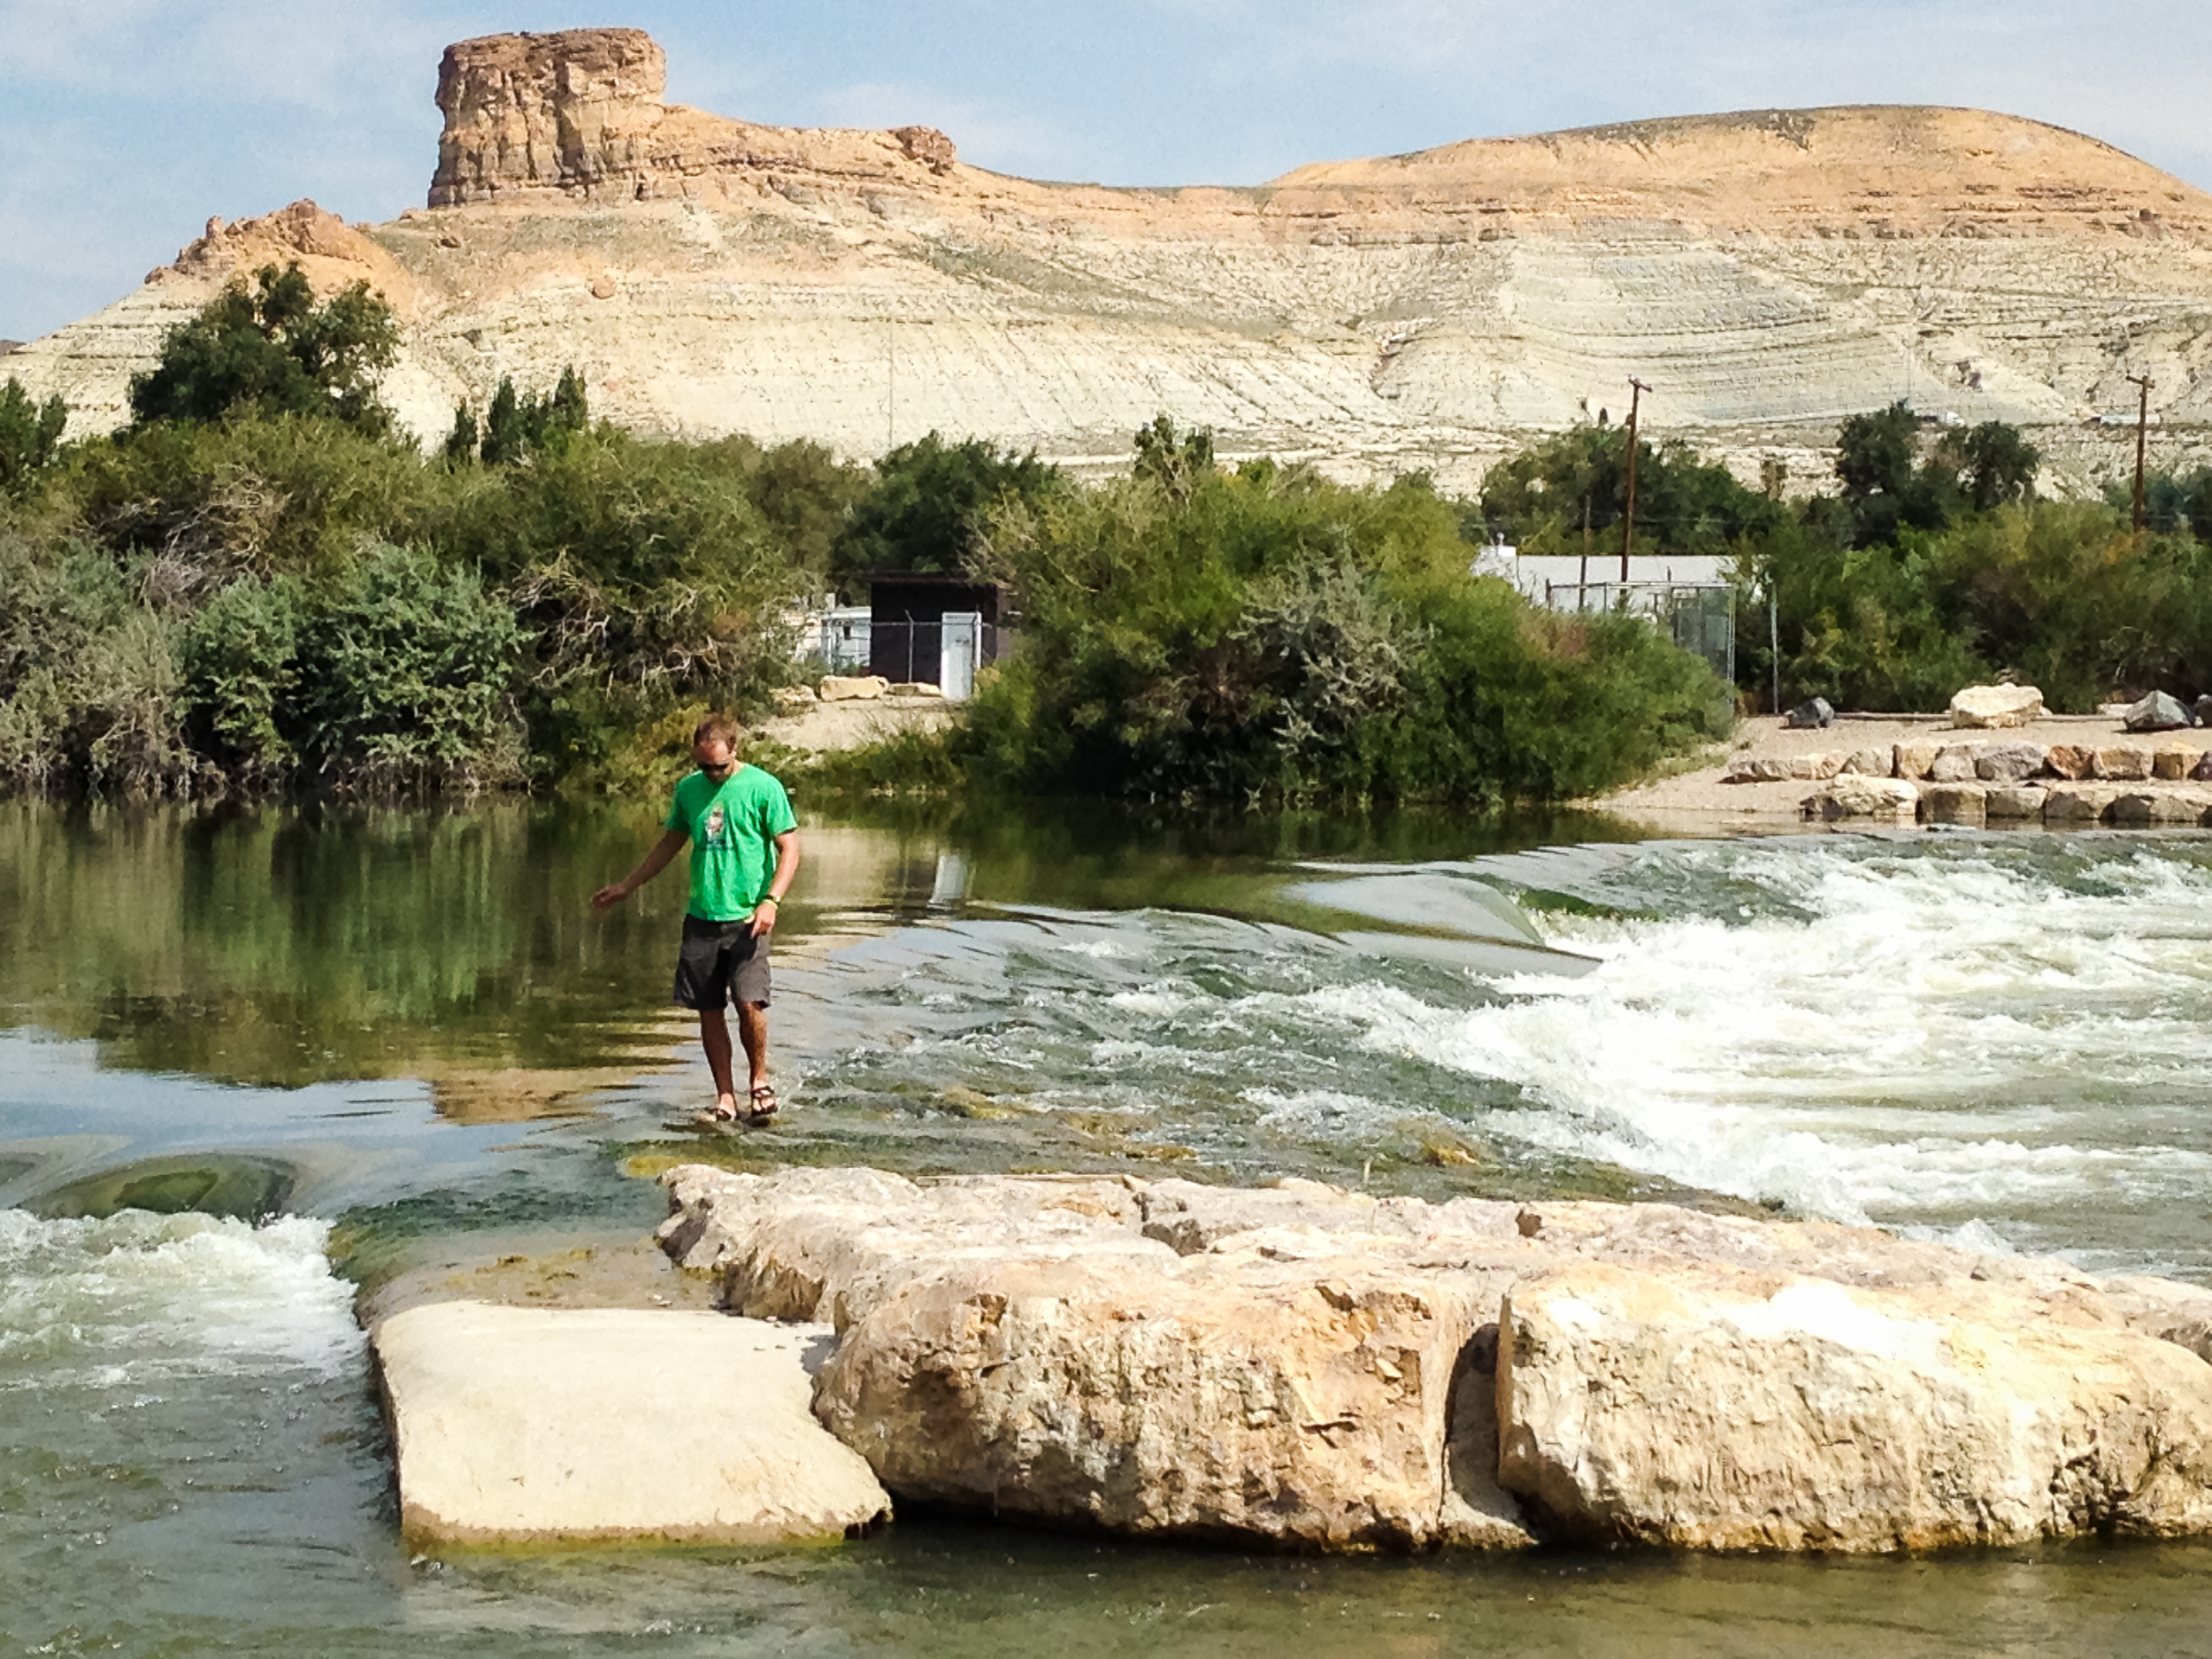
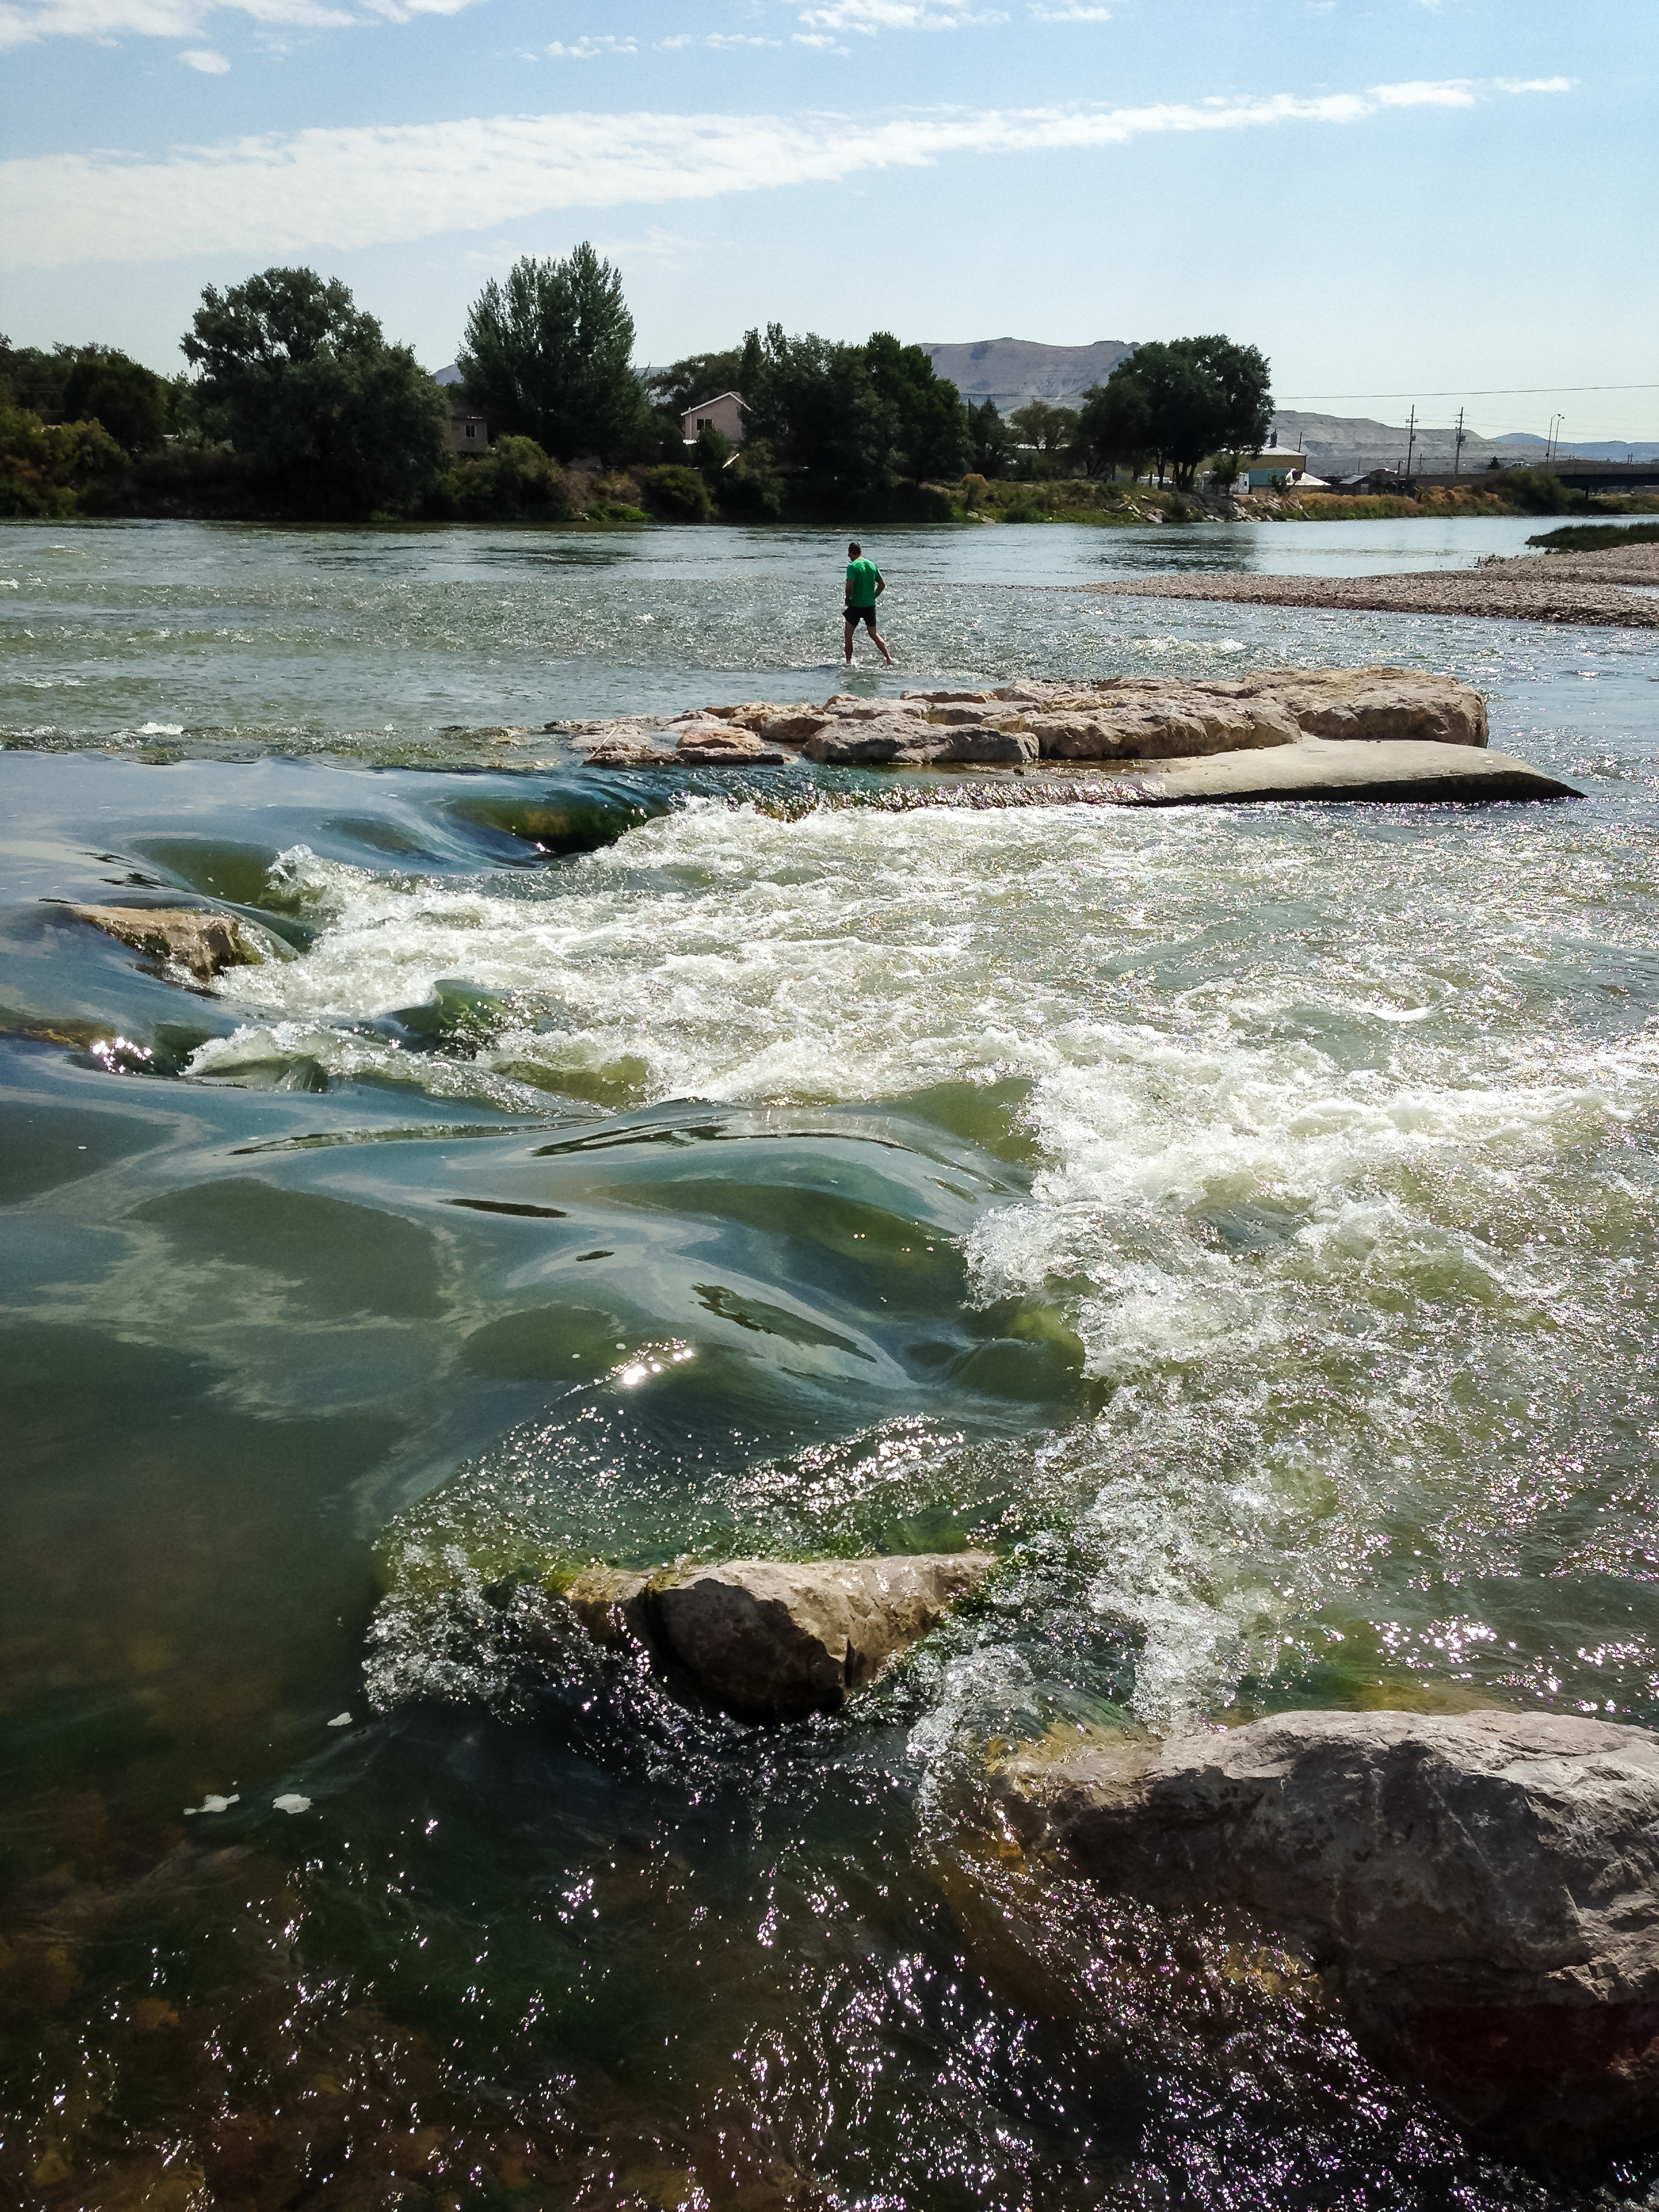
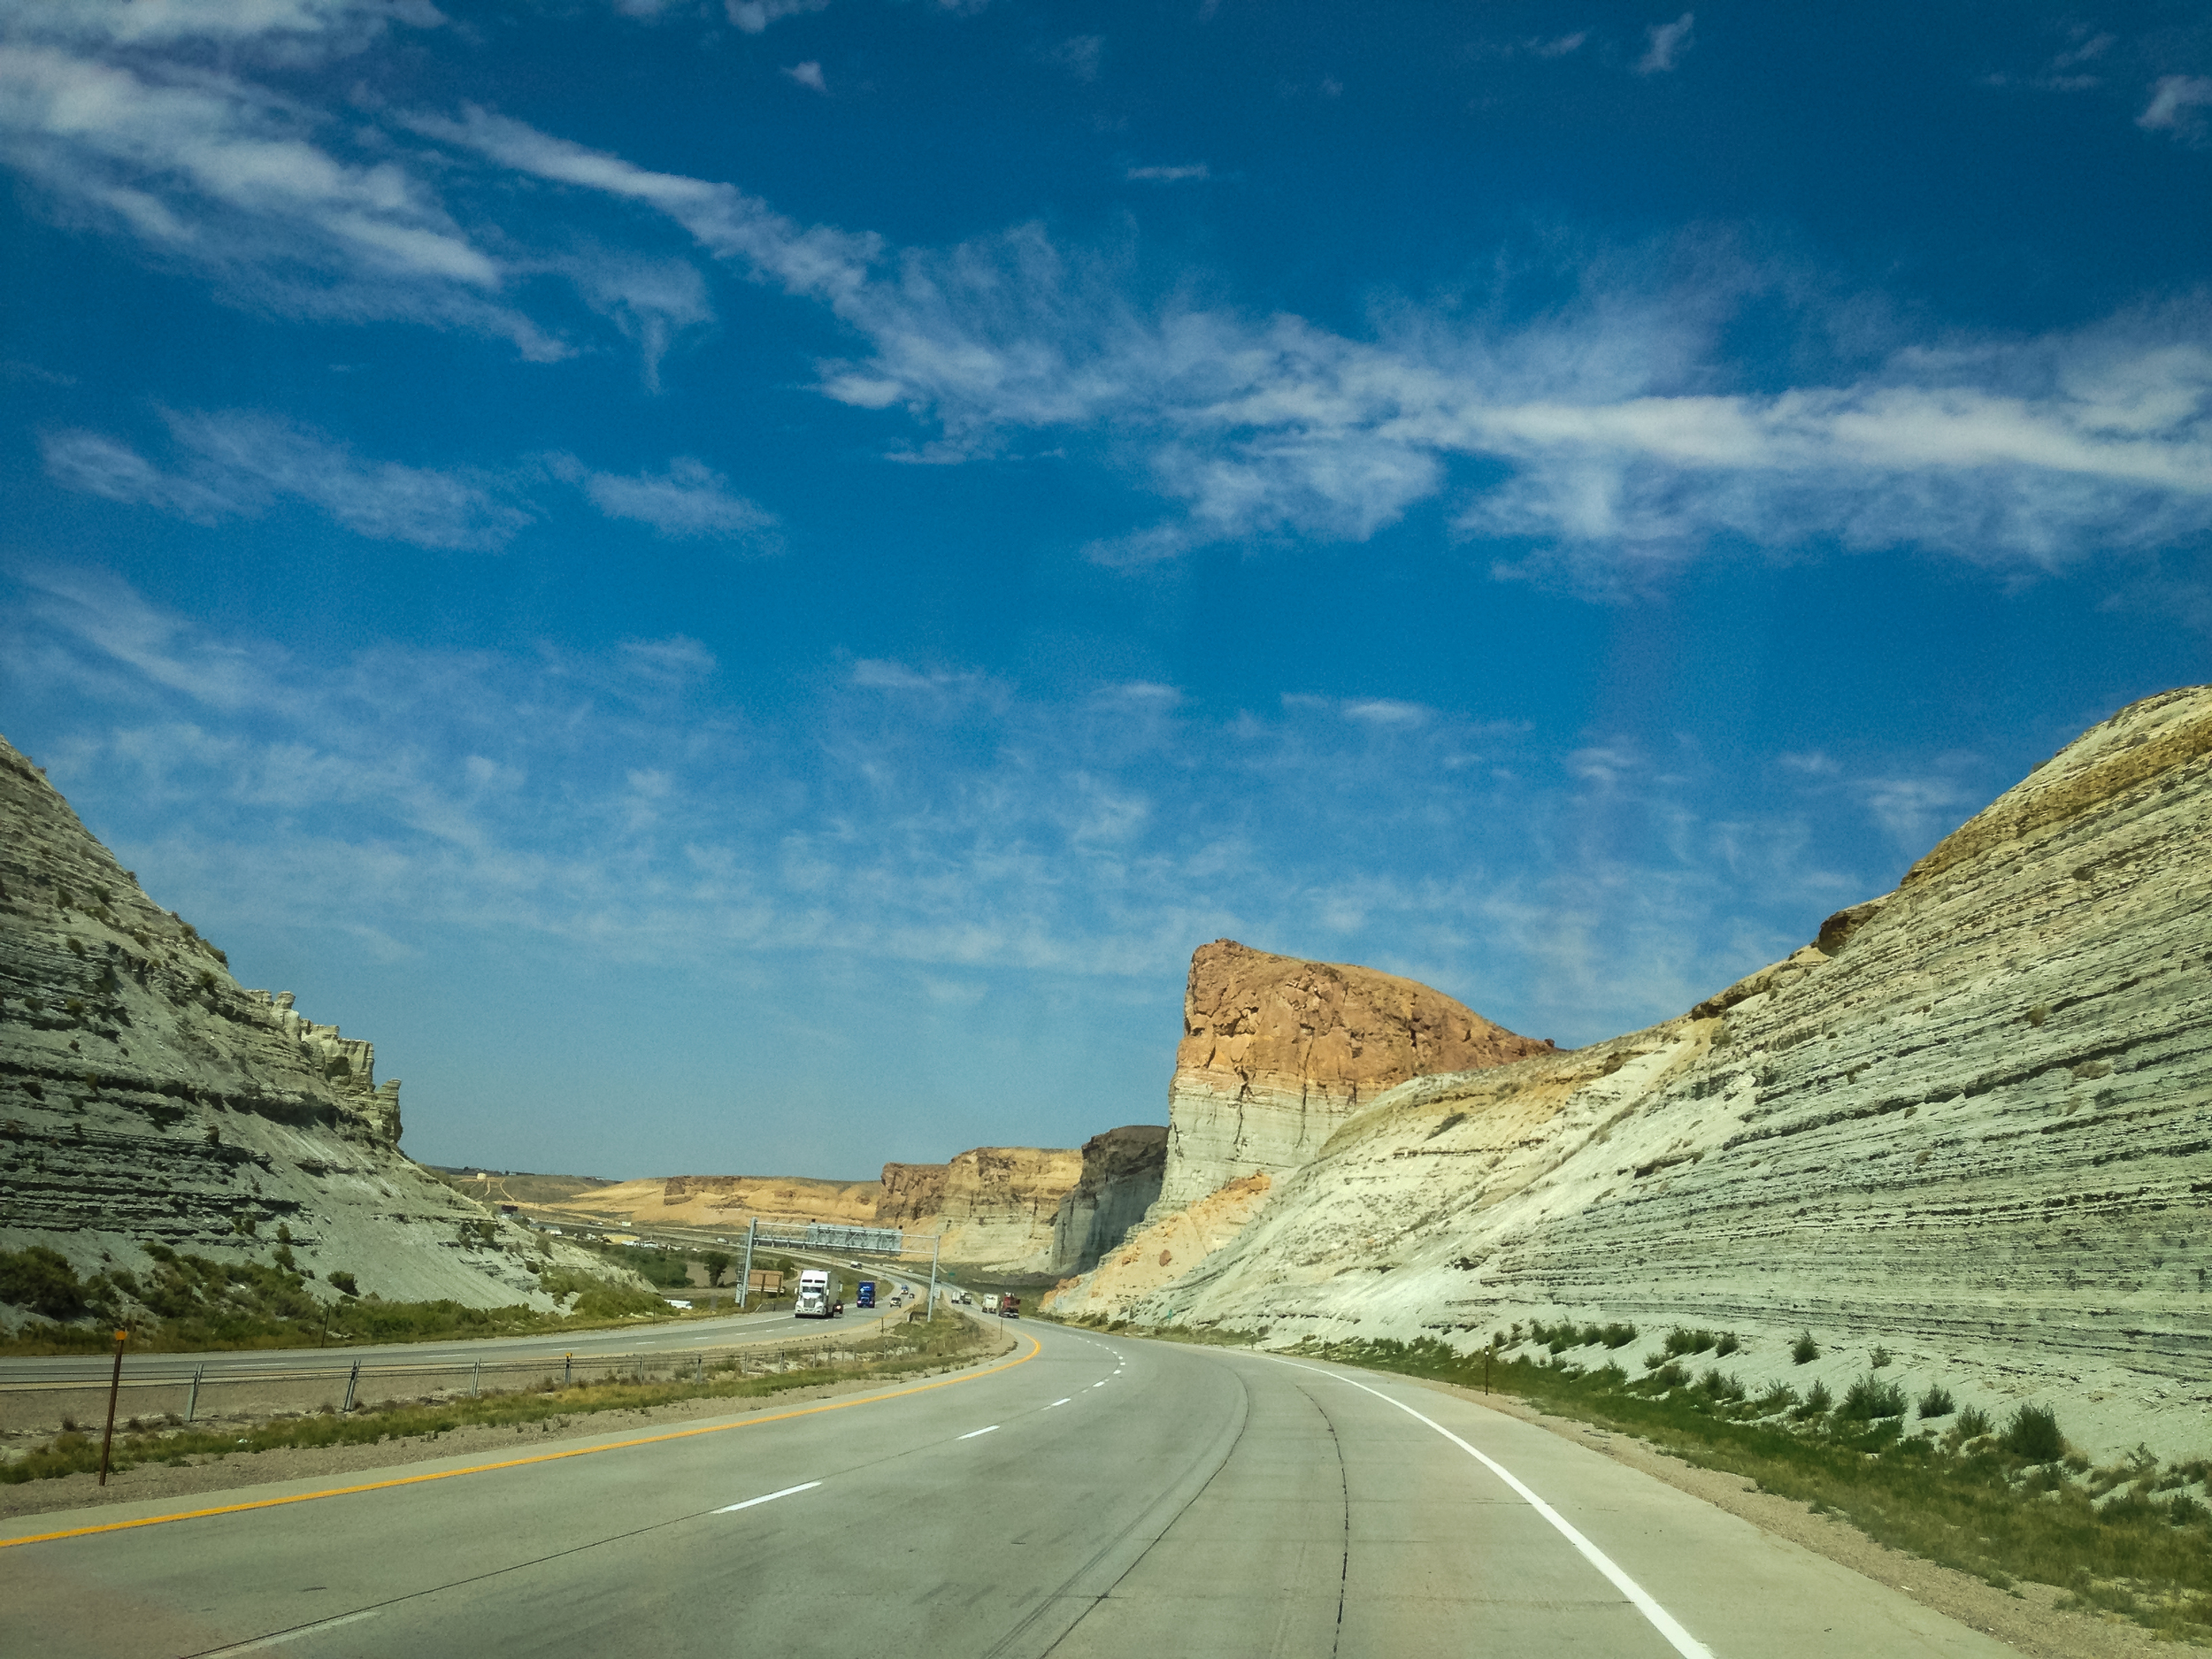
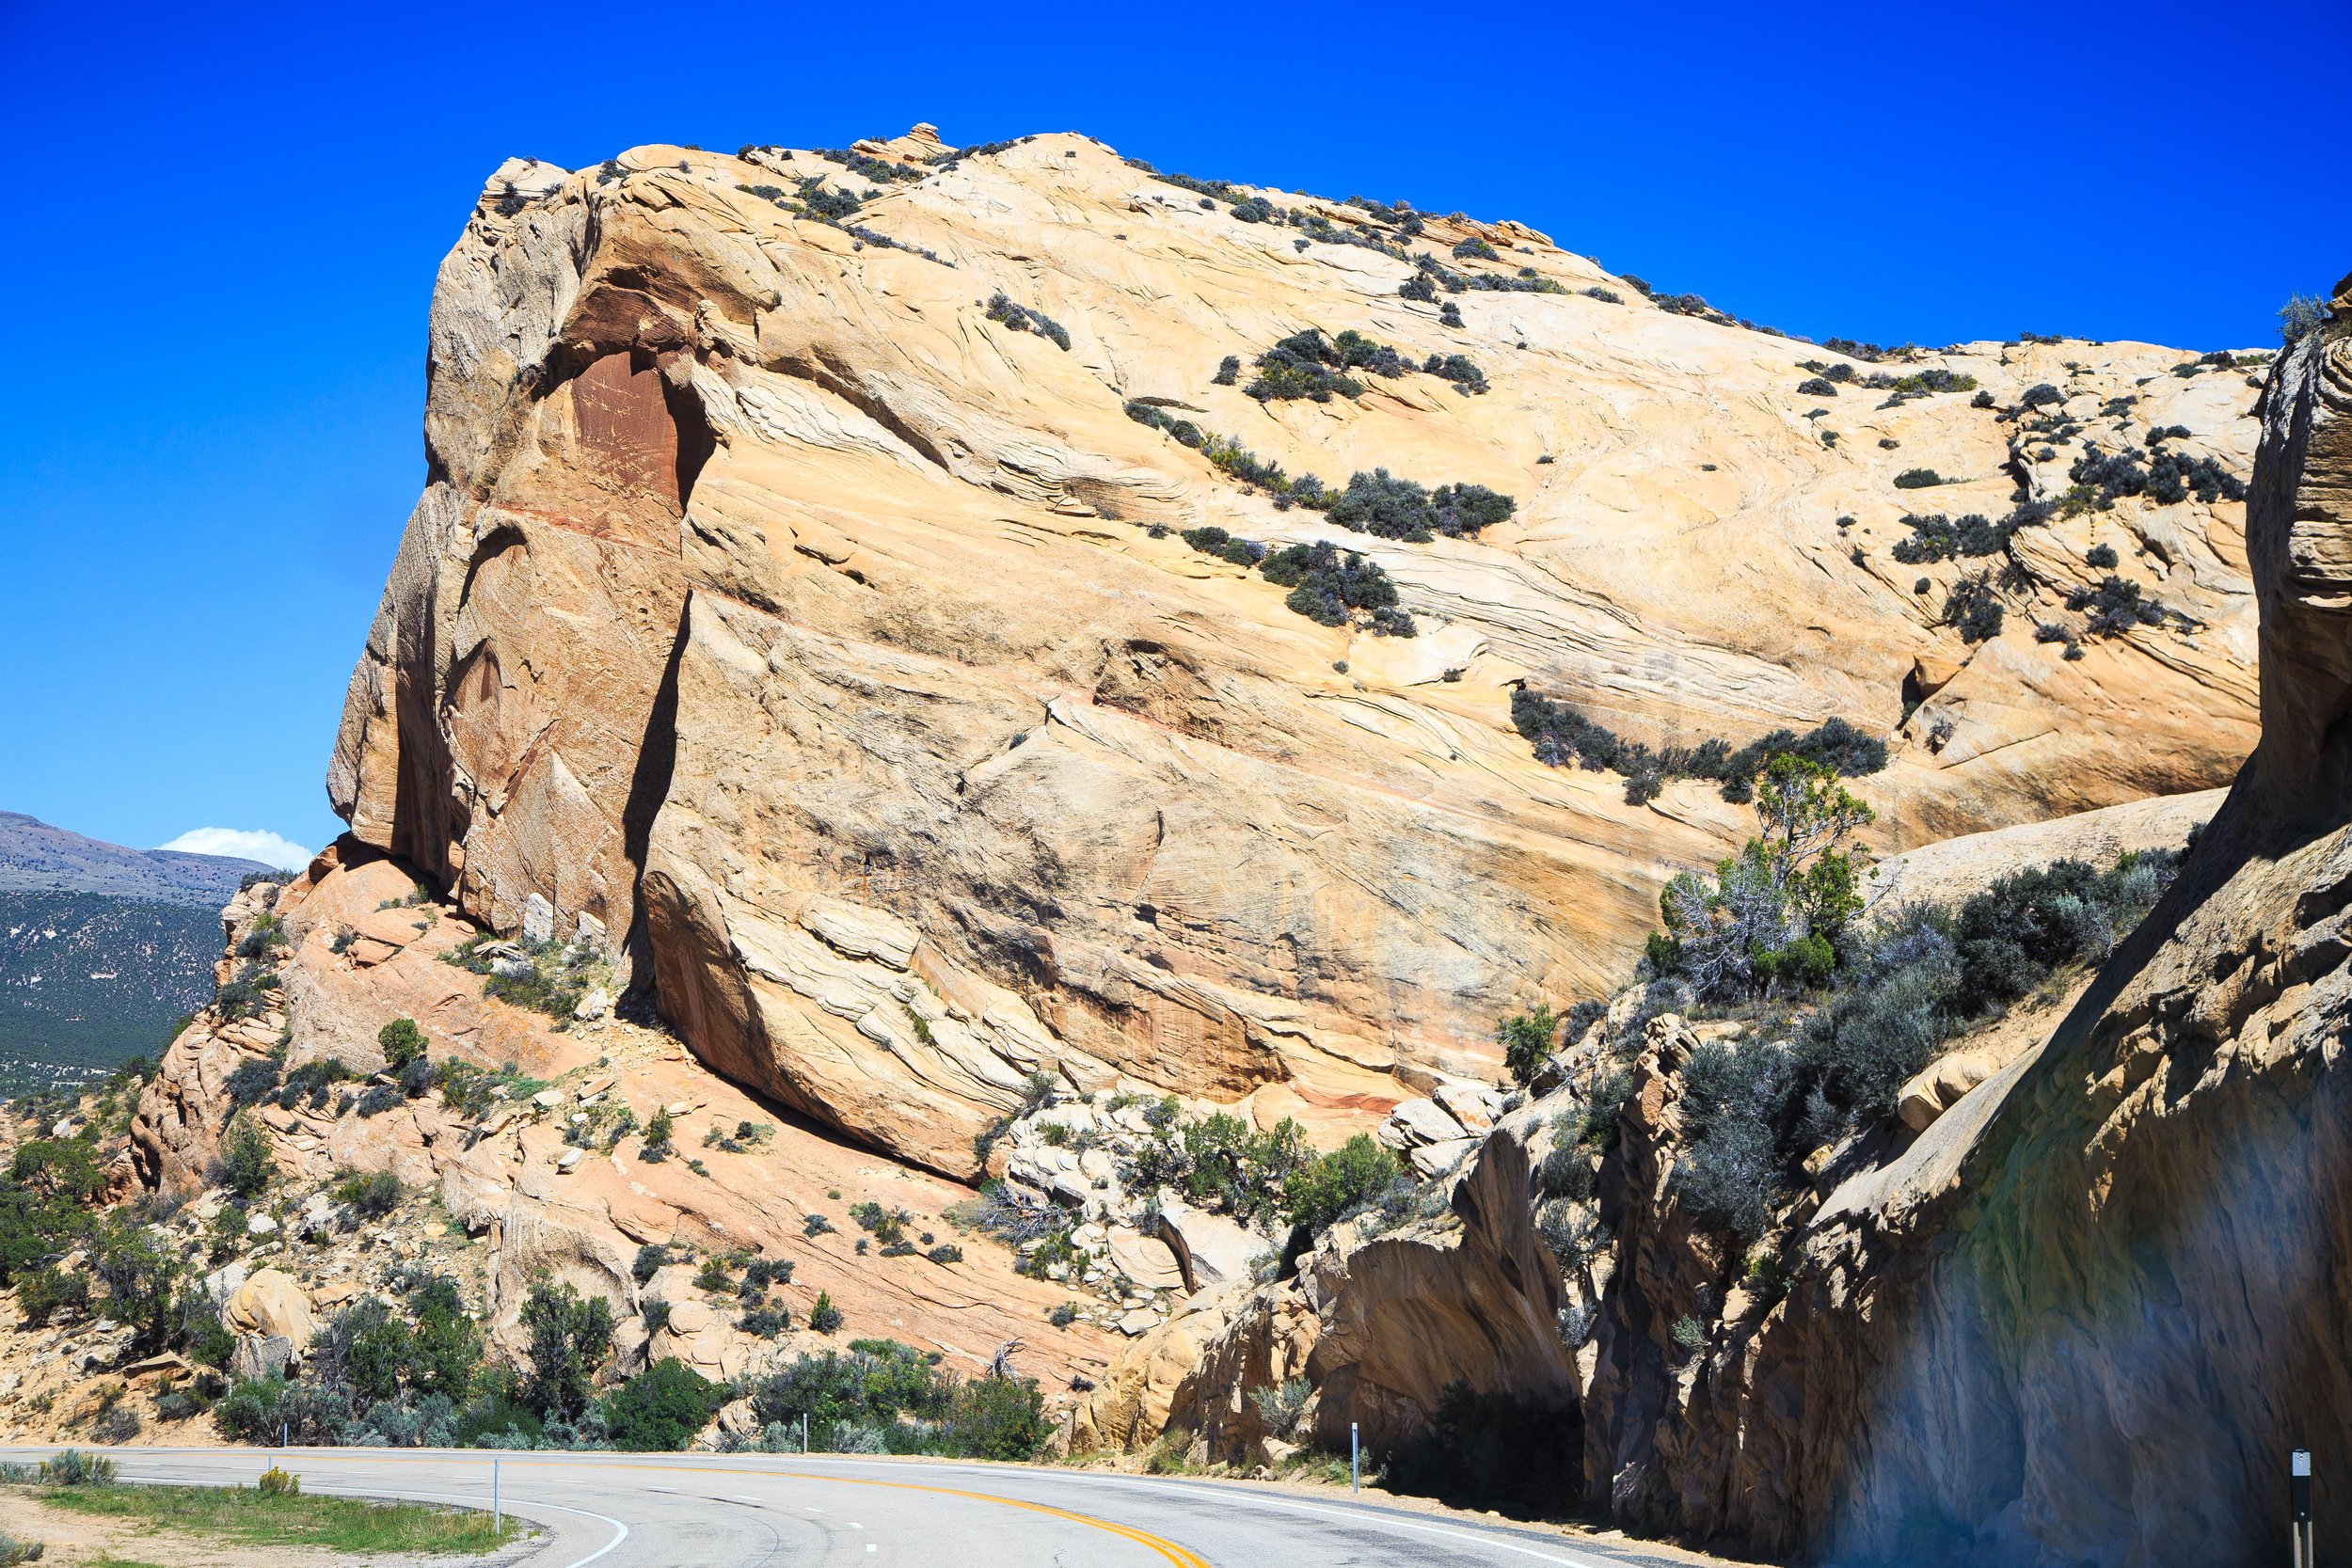
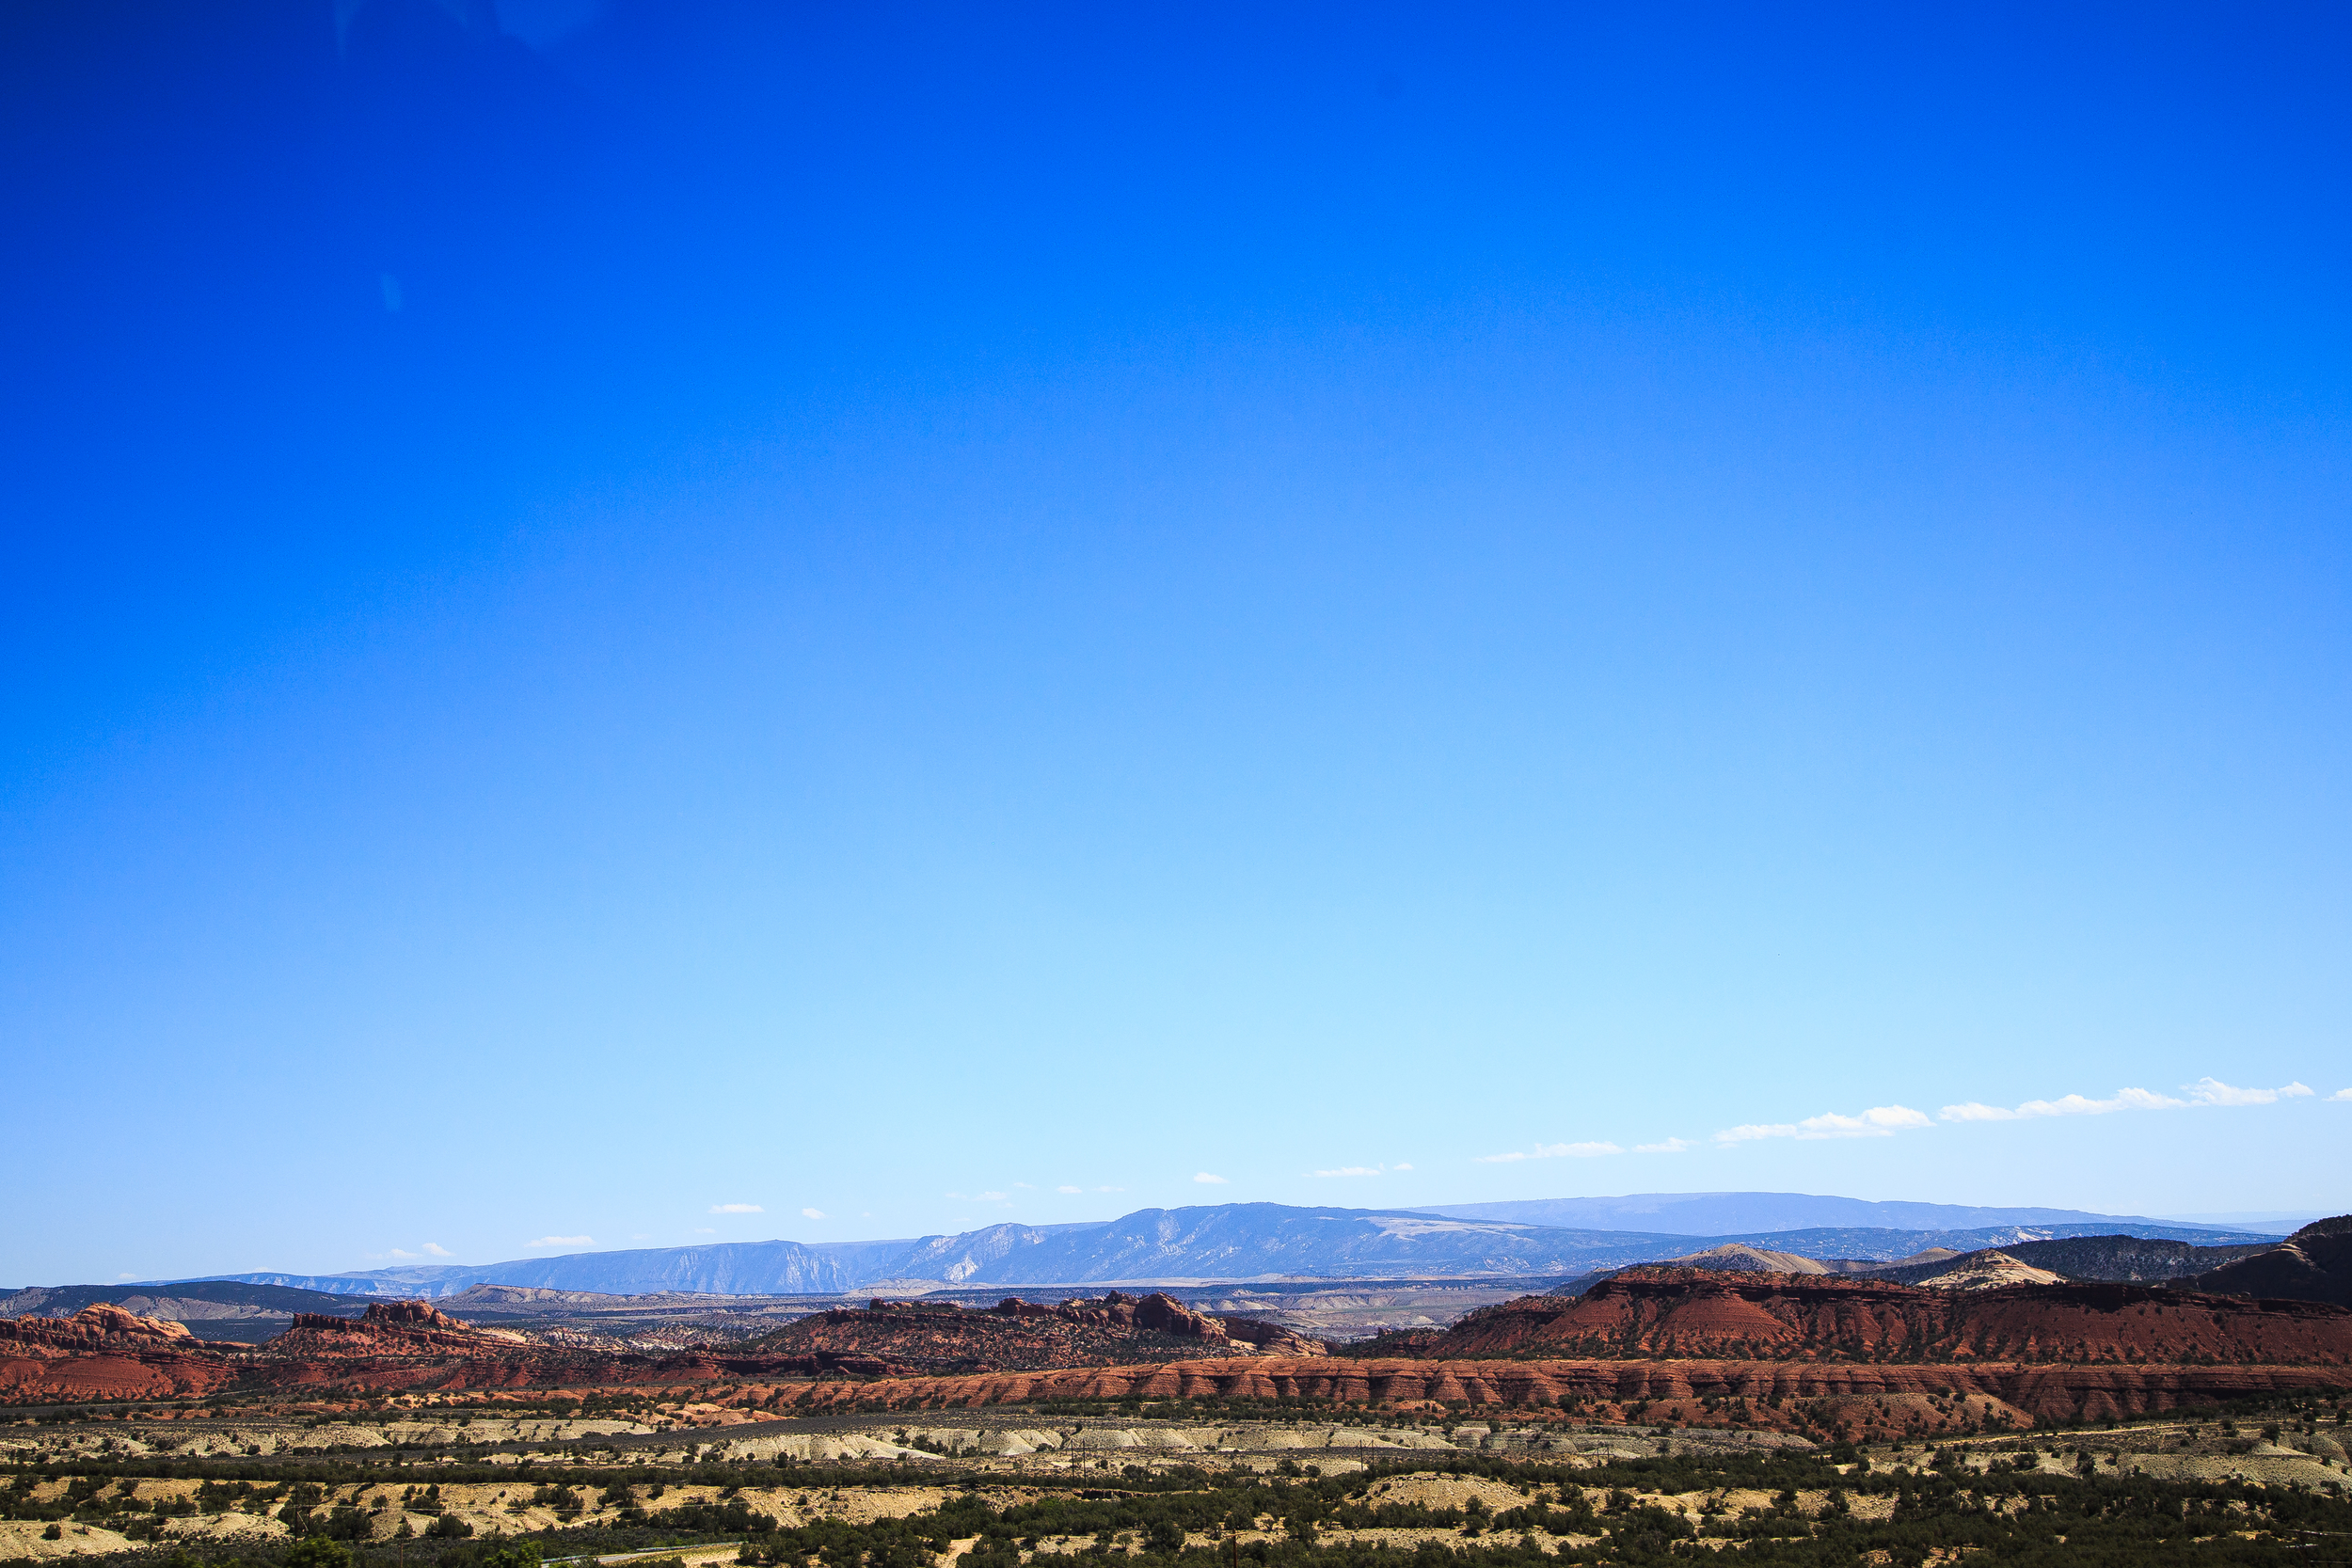
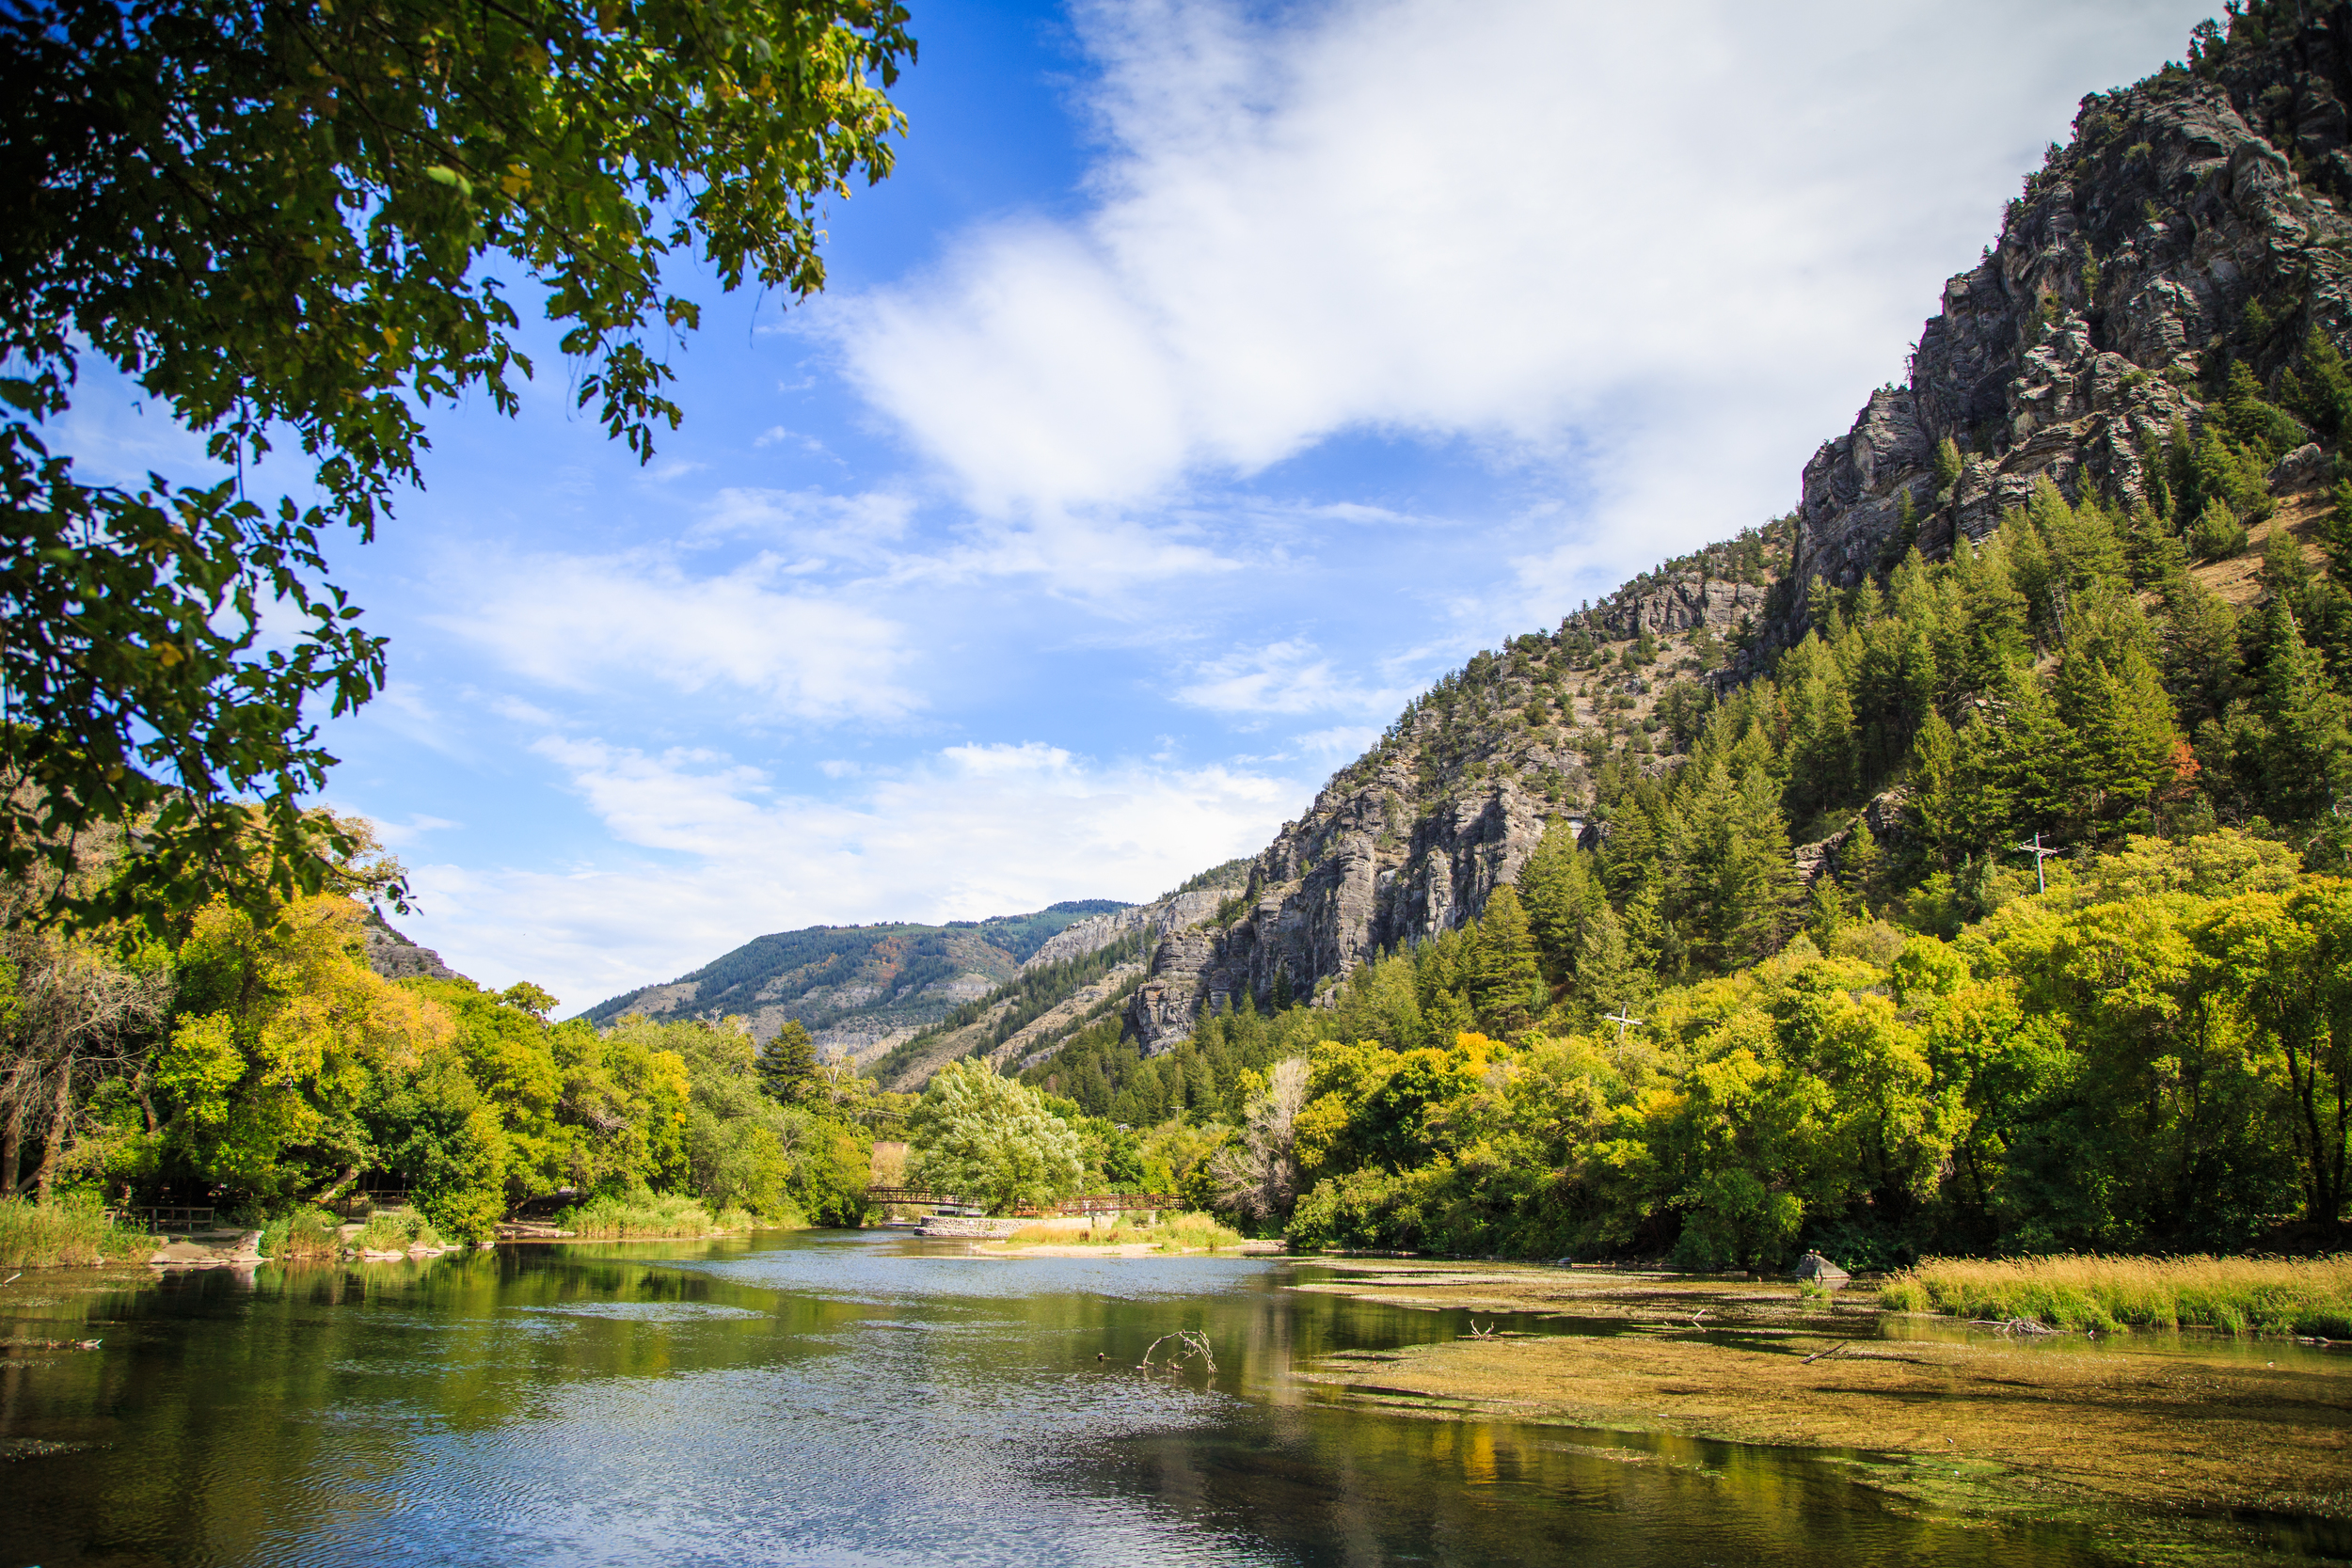
Some lovely scenery near Green River, Wyoming.
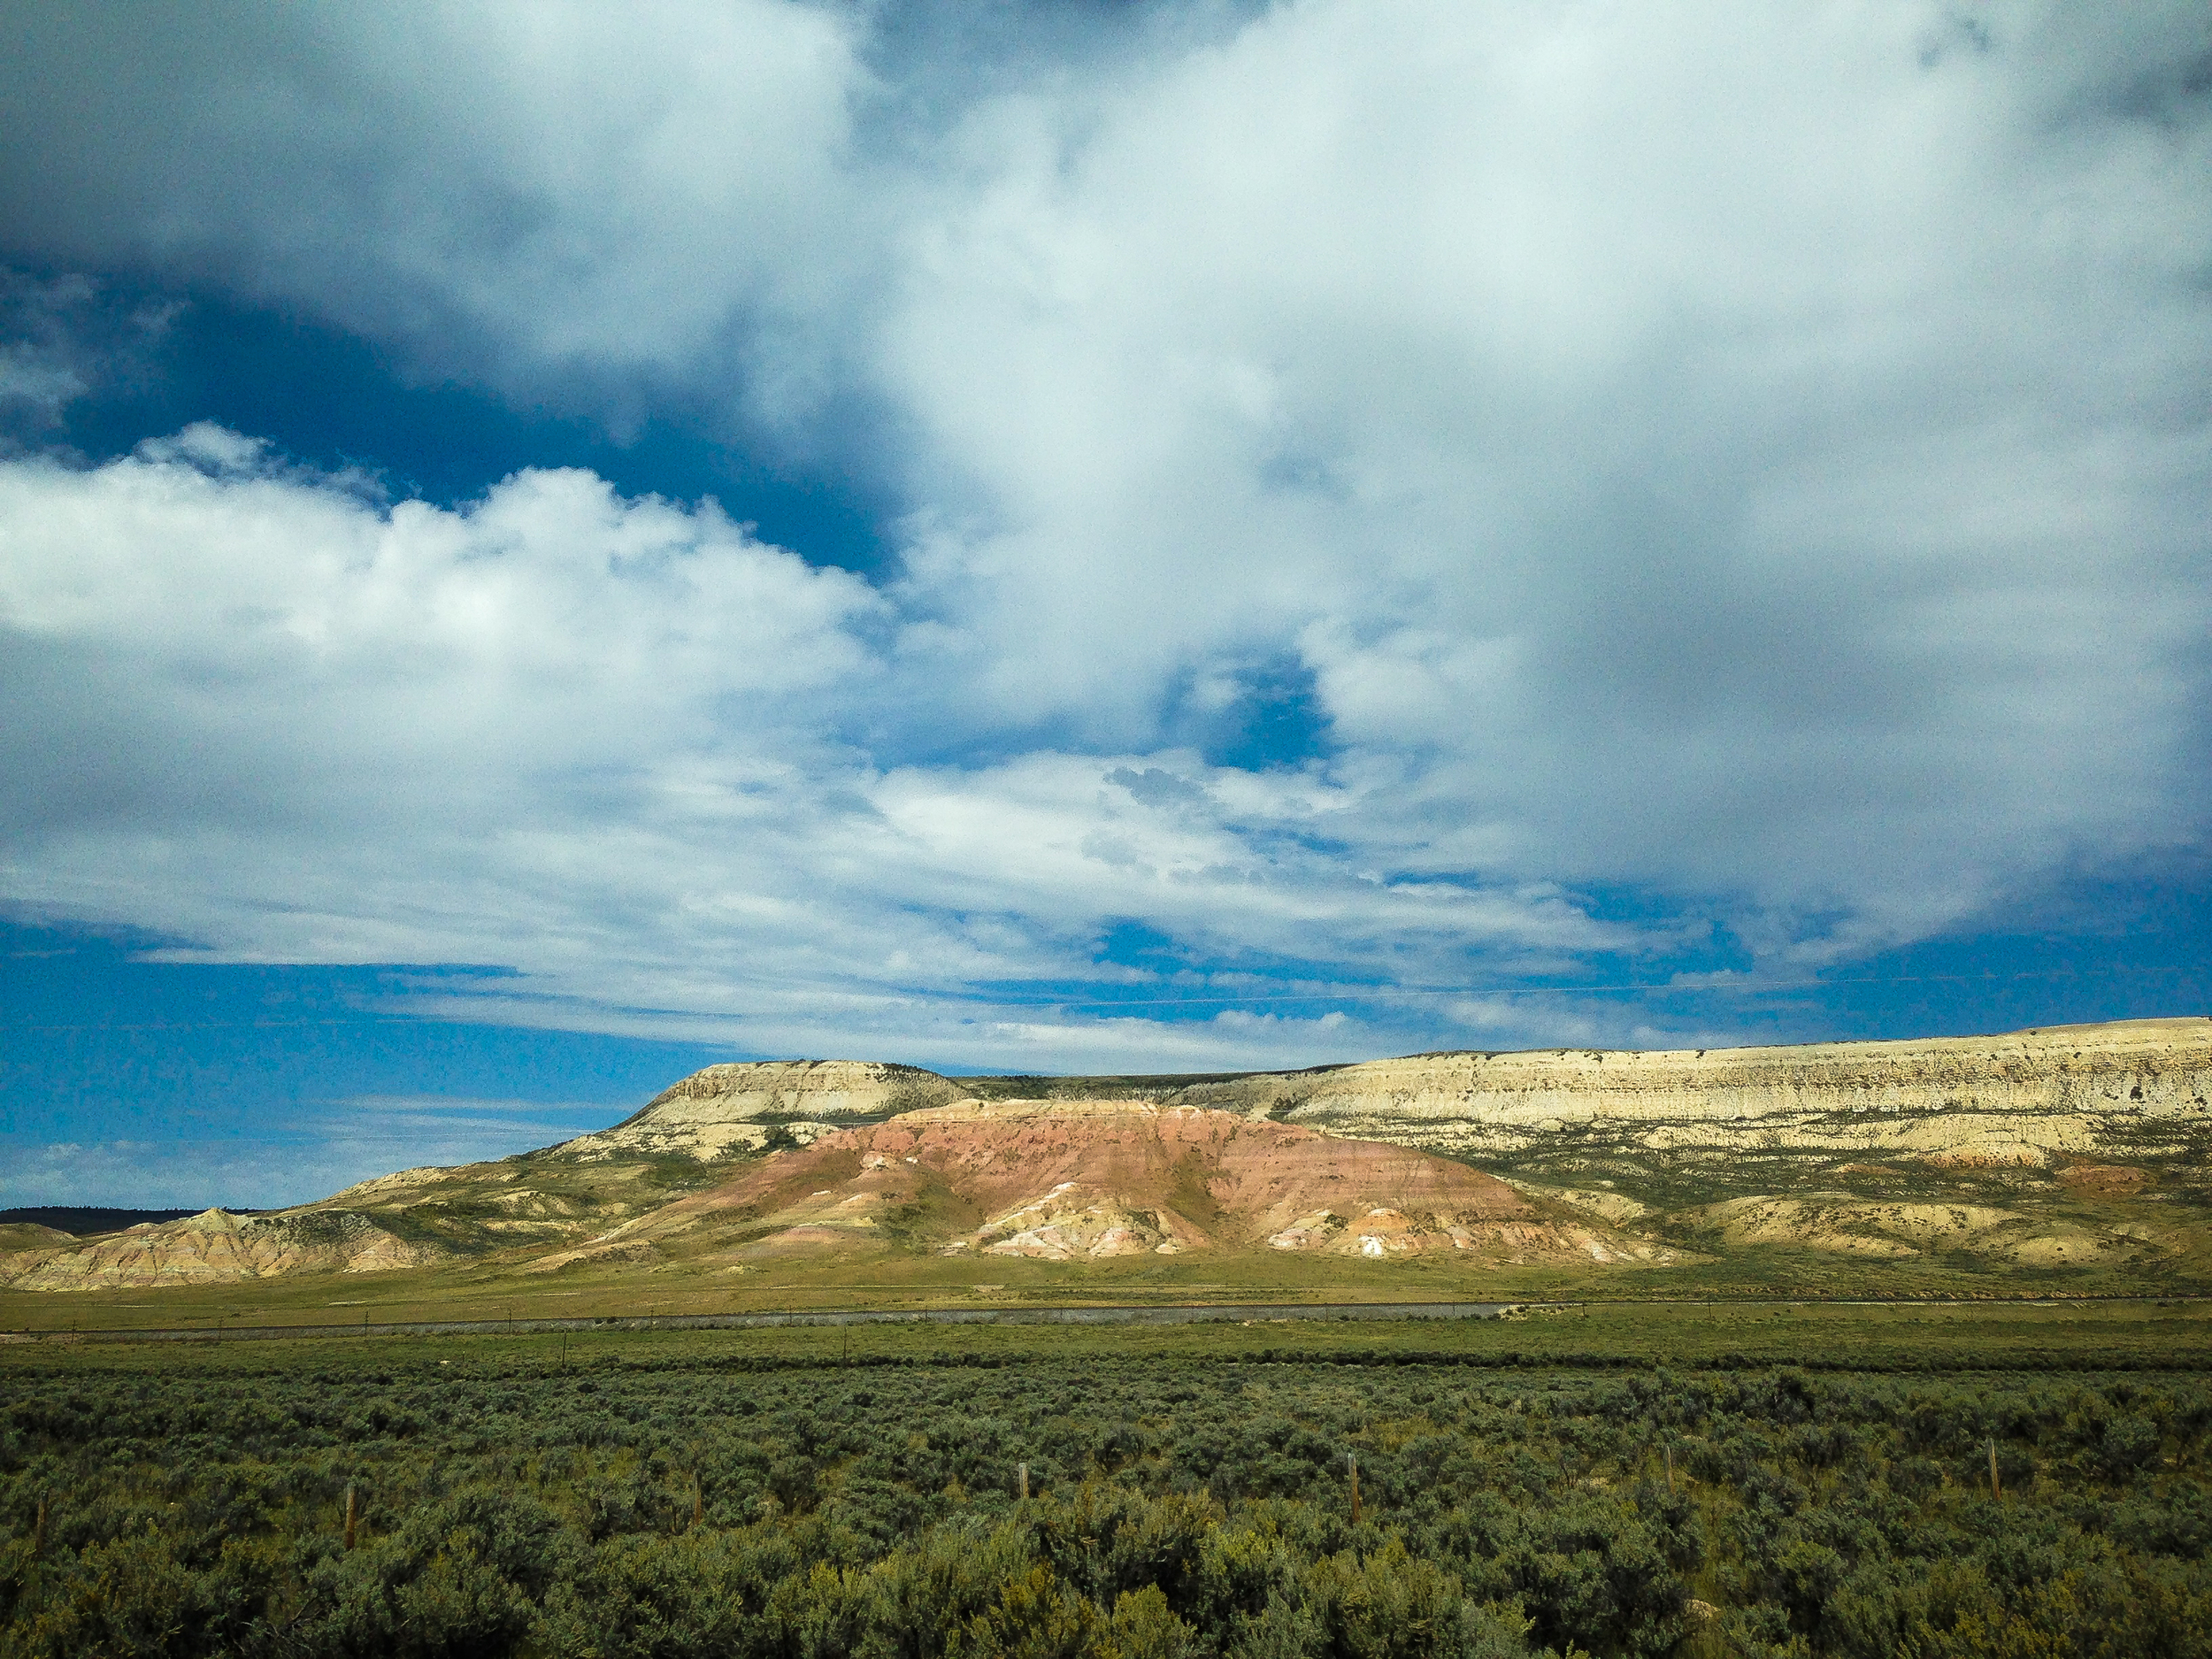

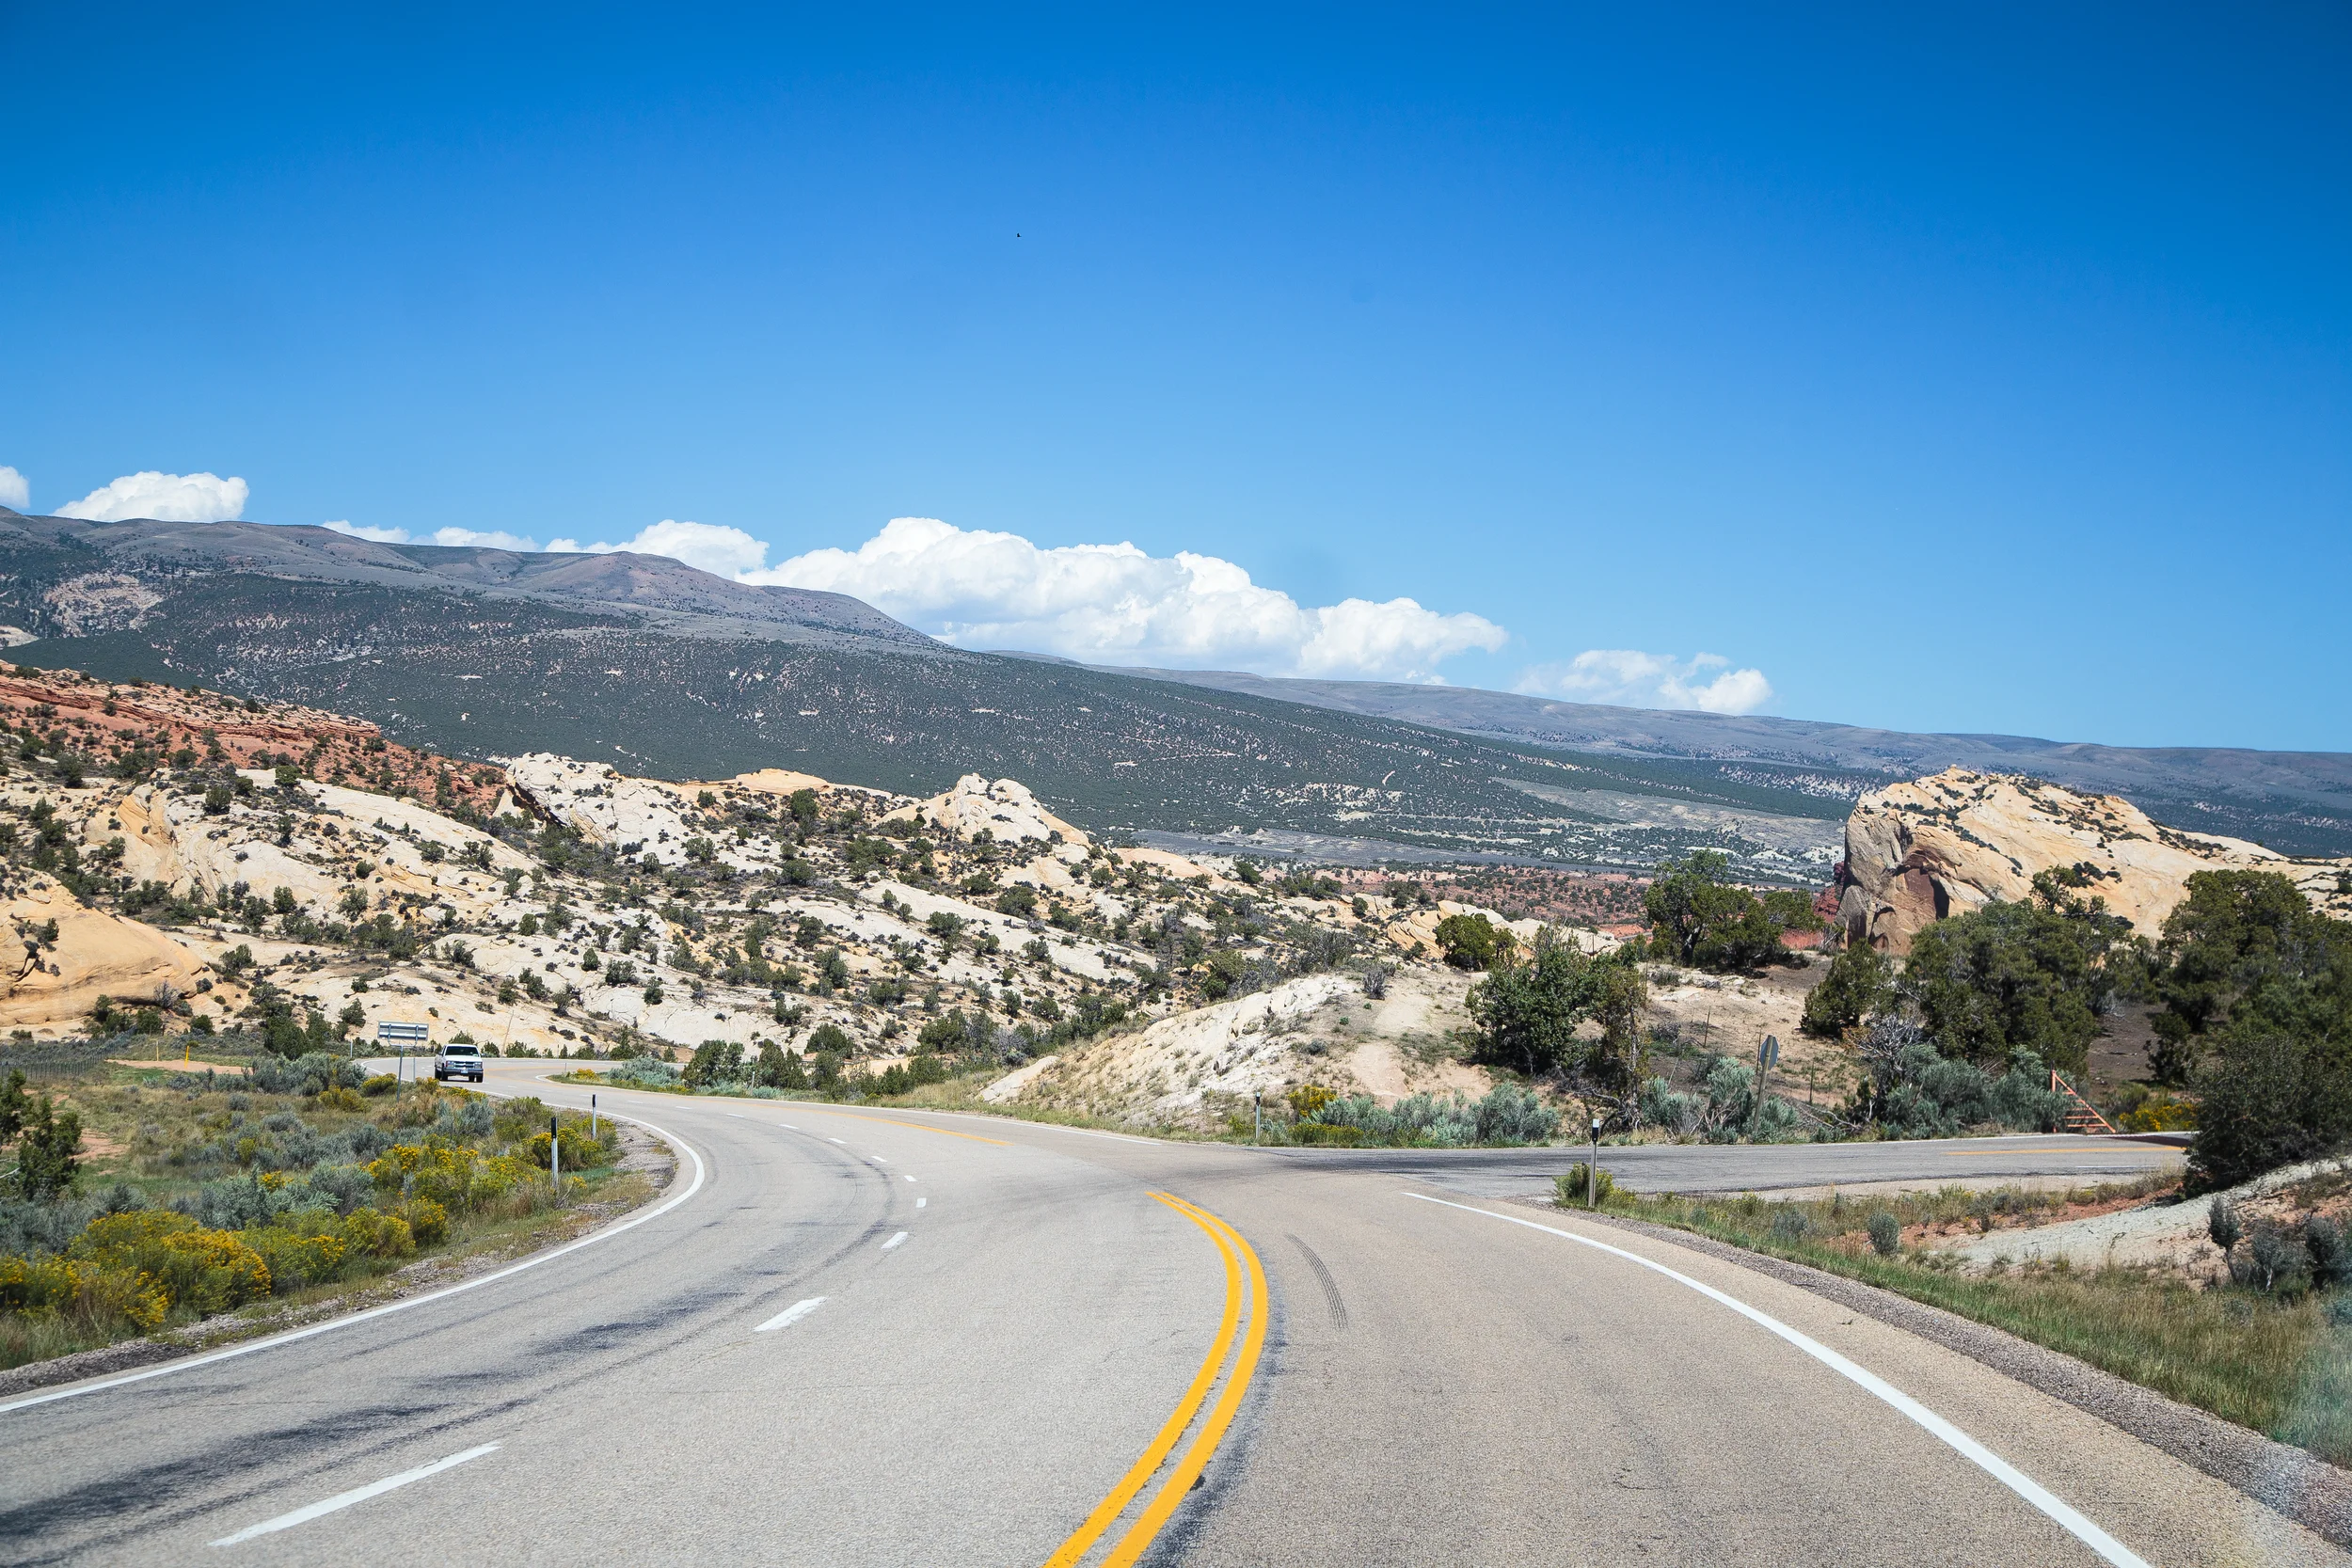
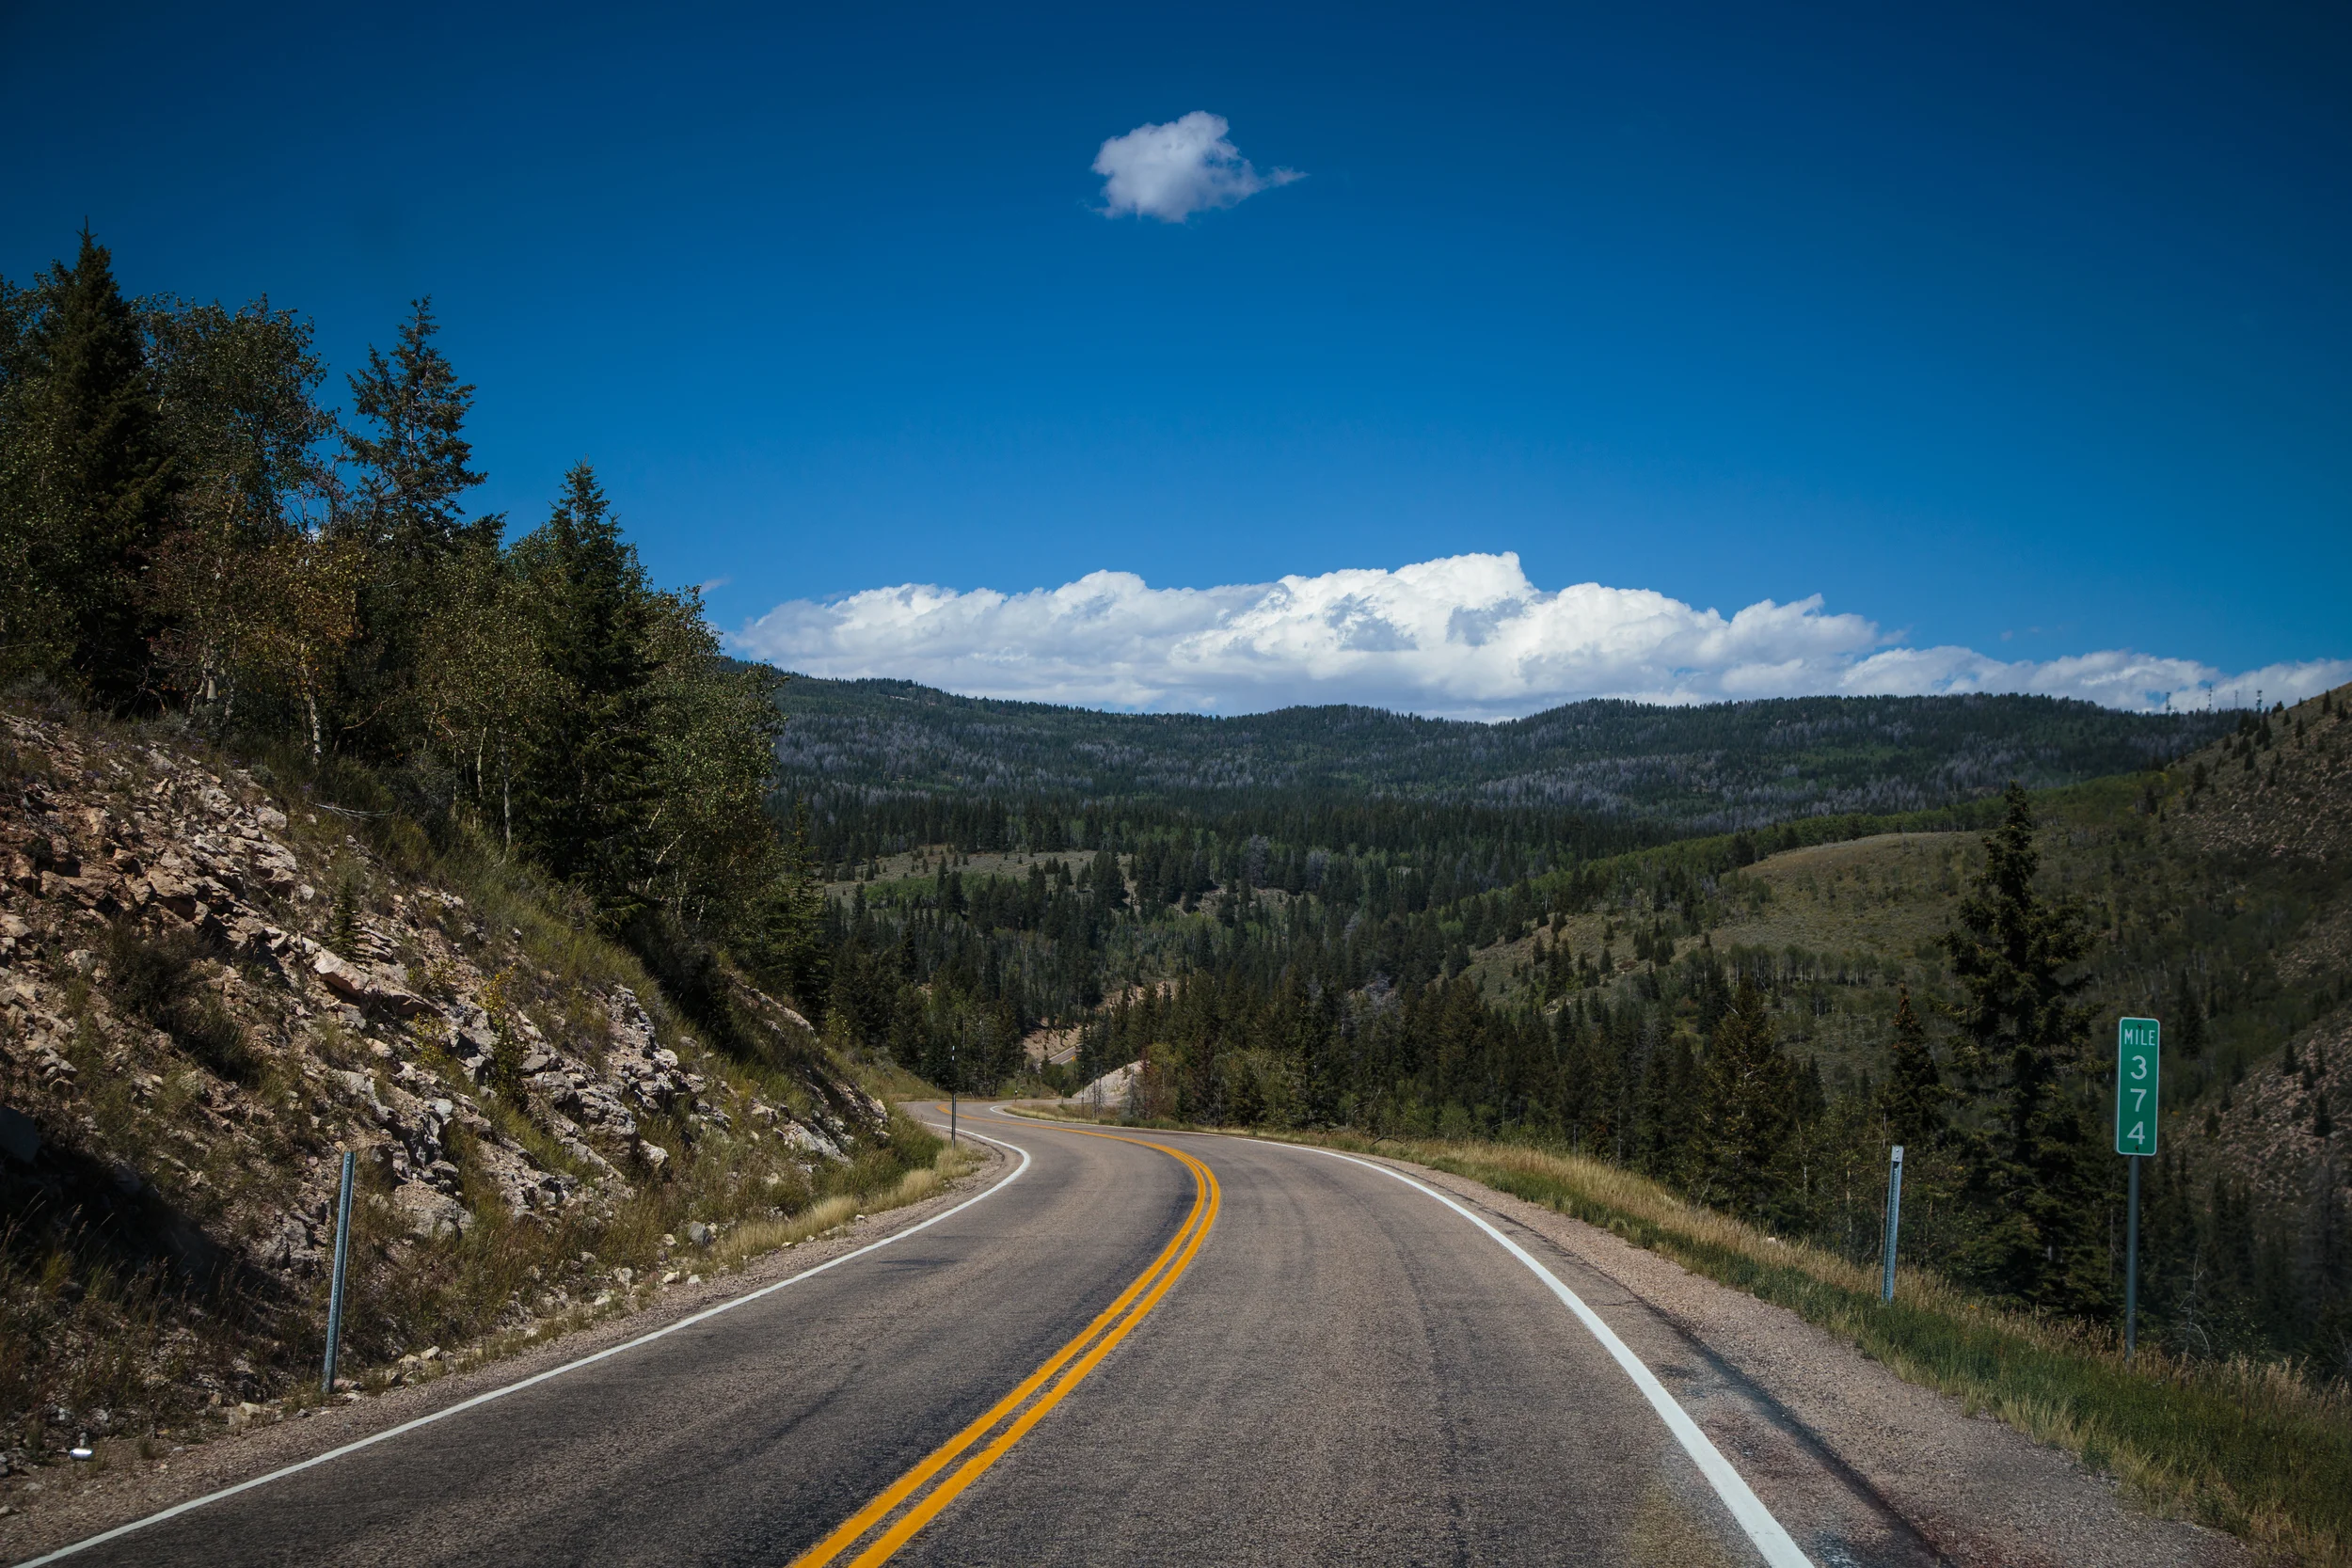
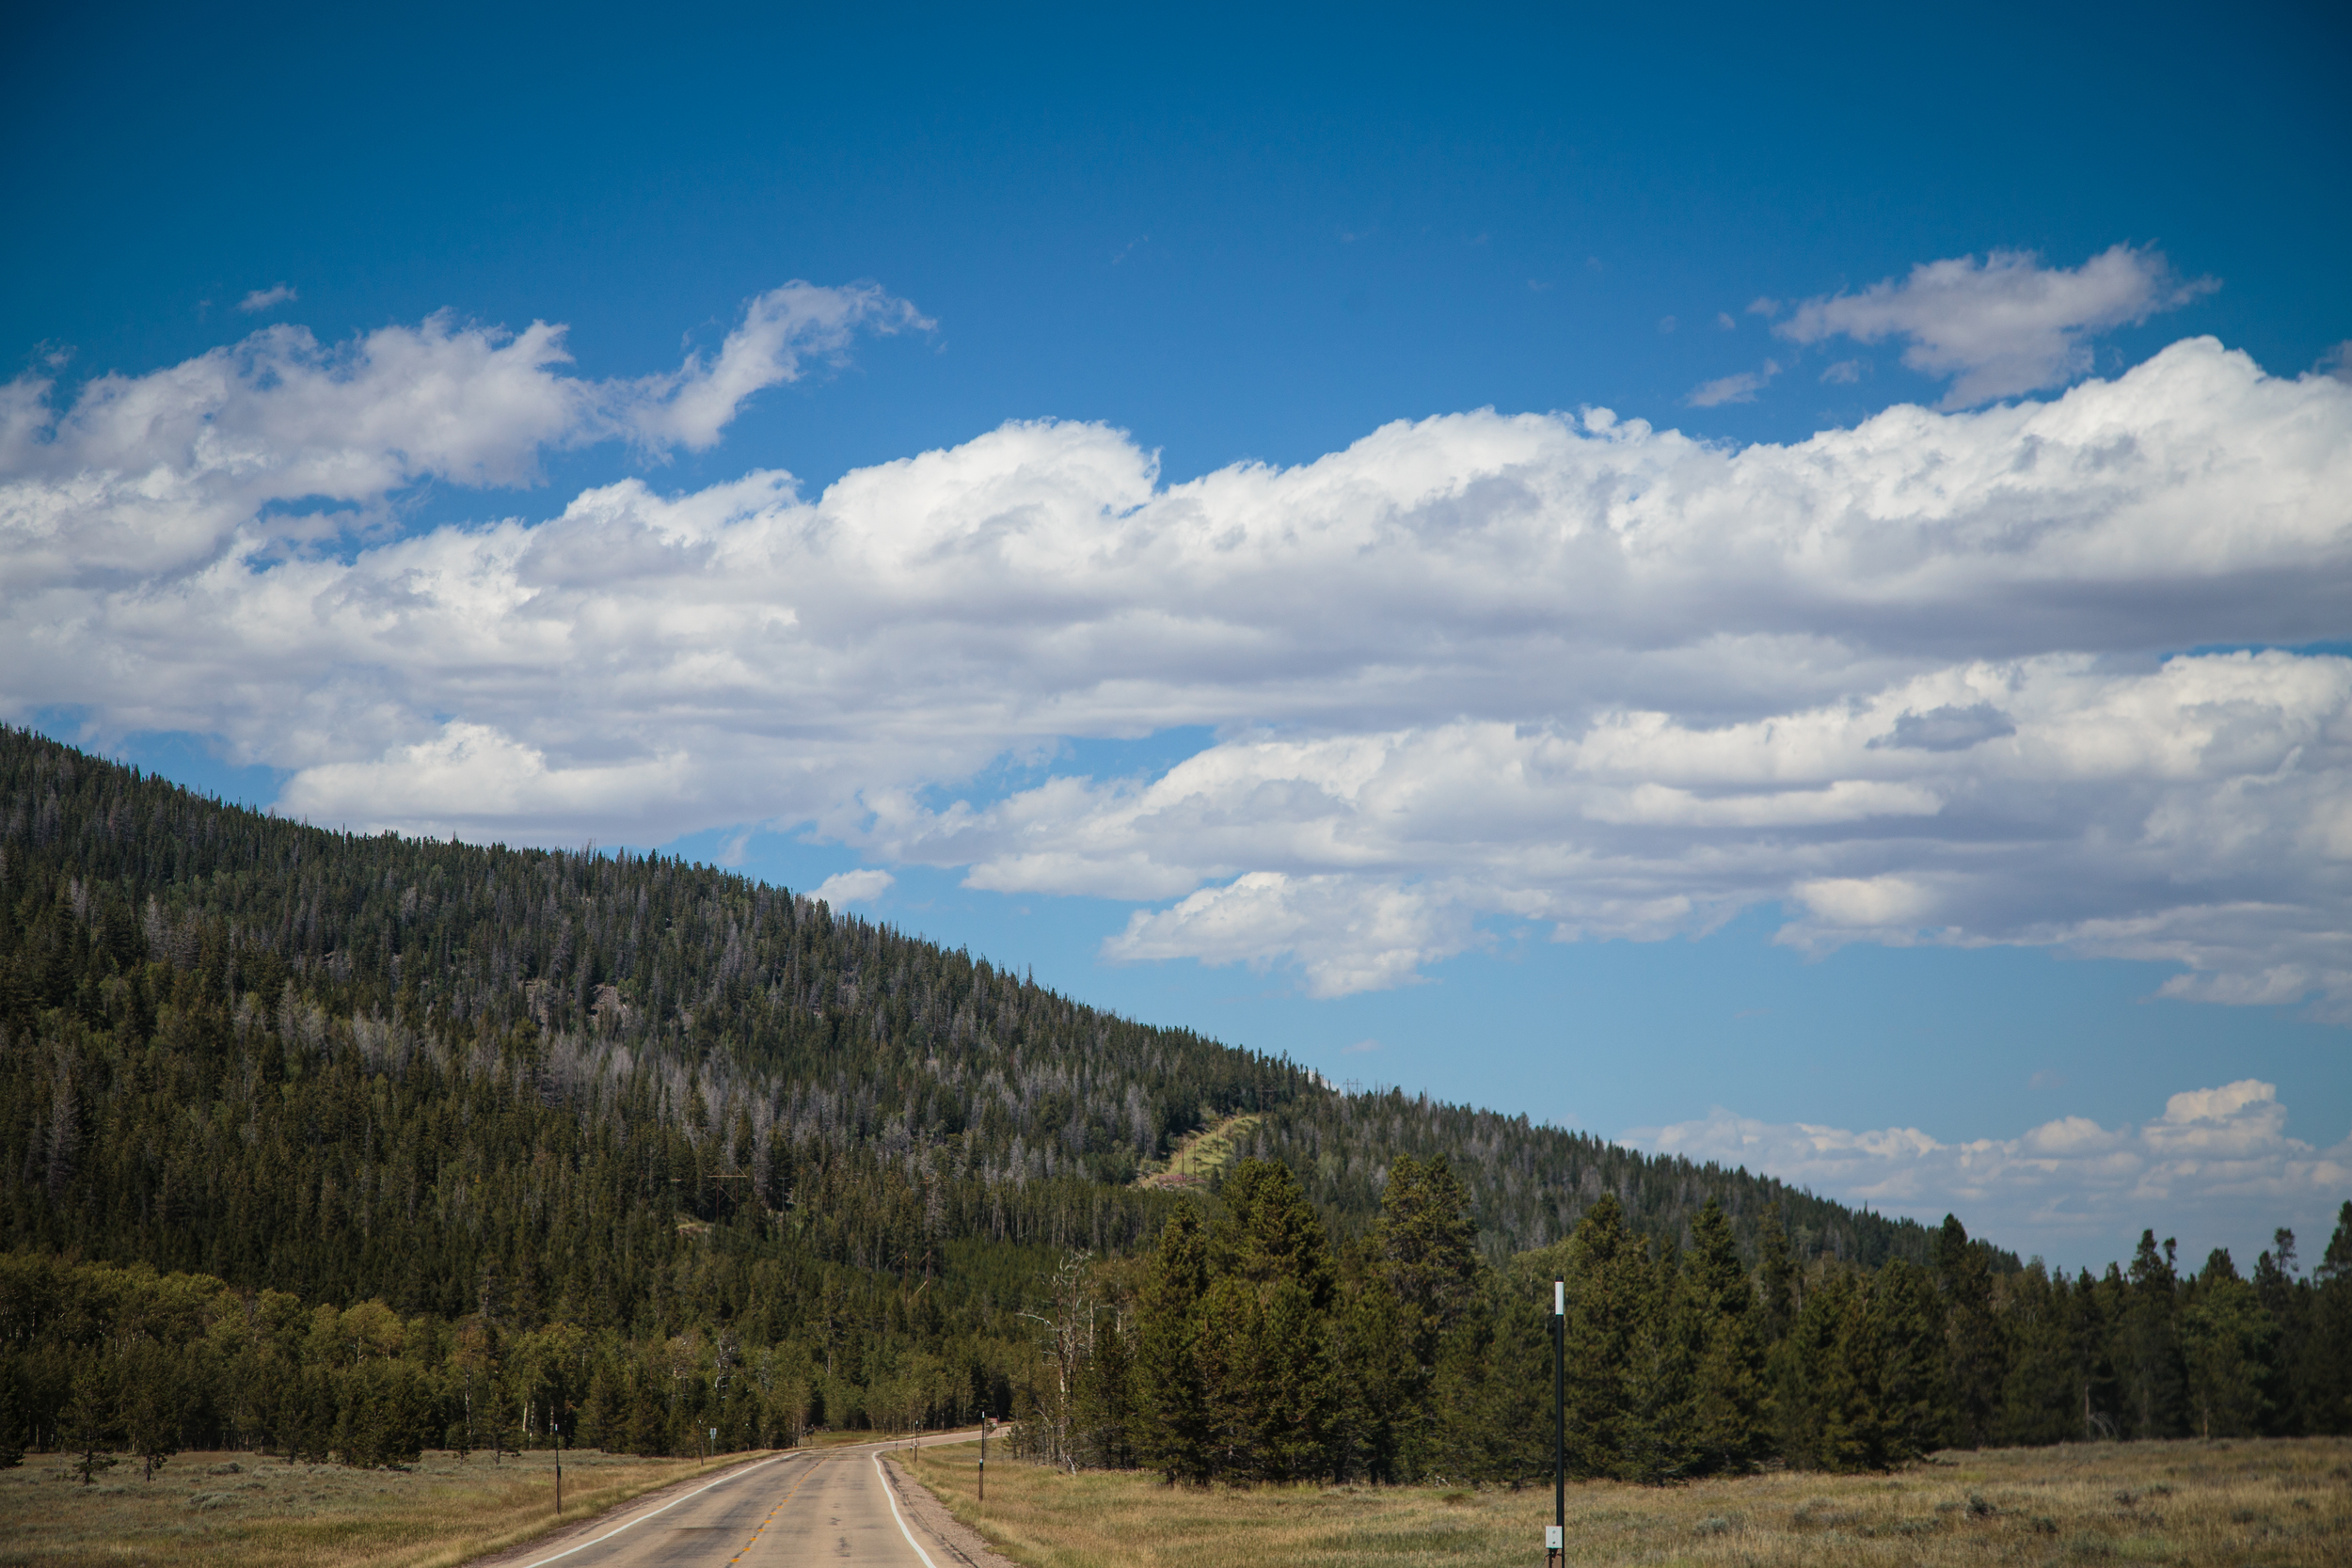
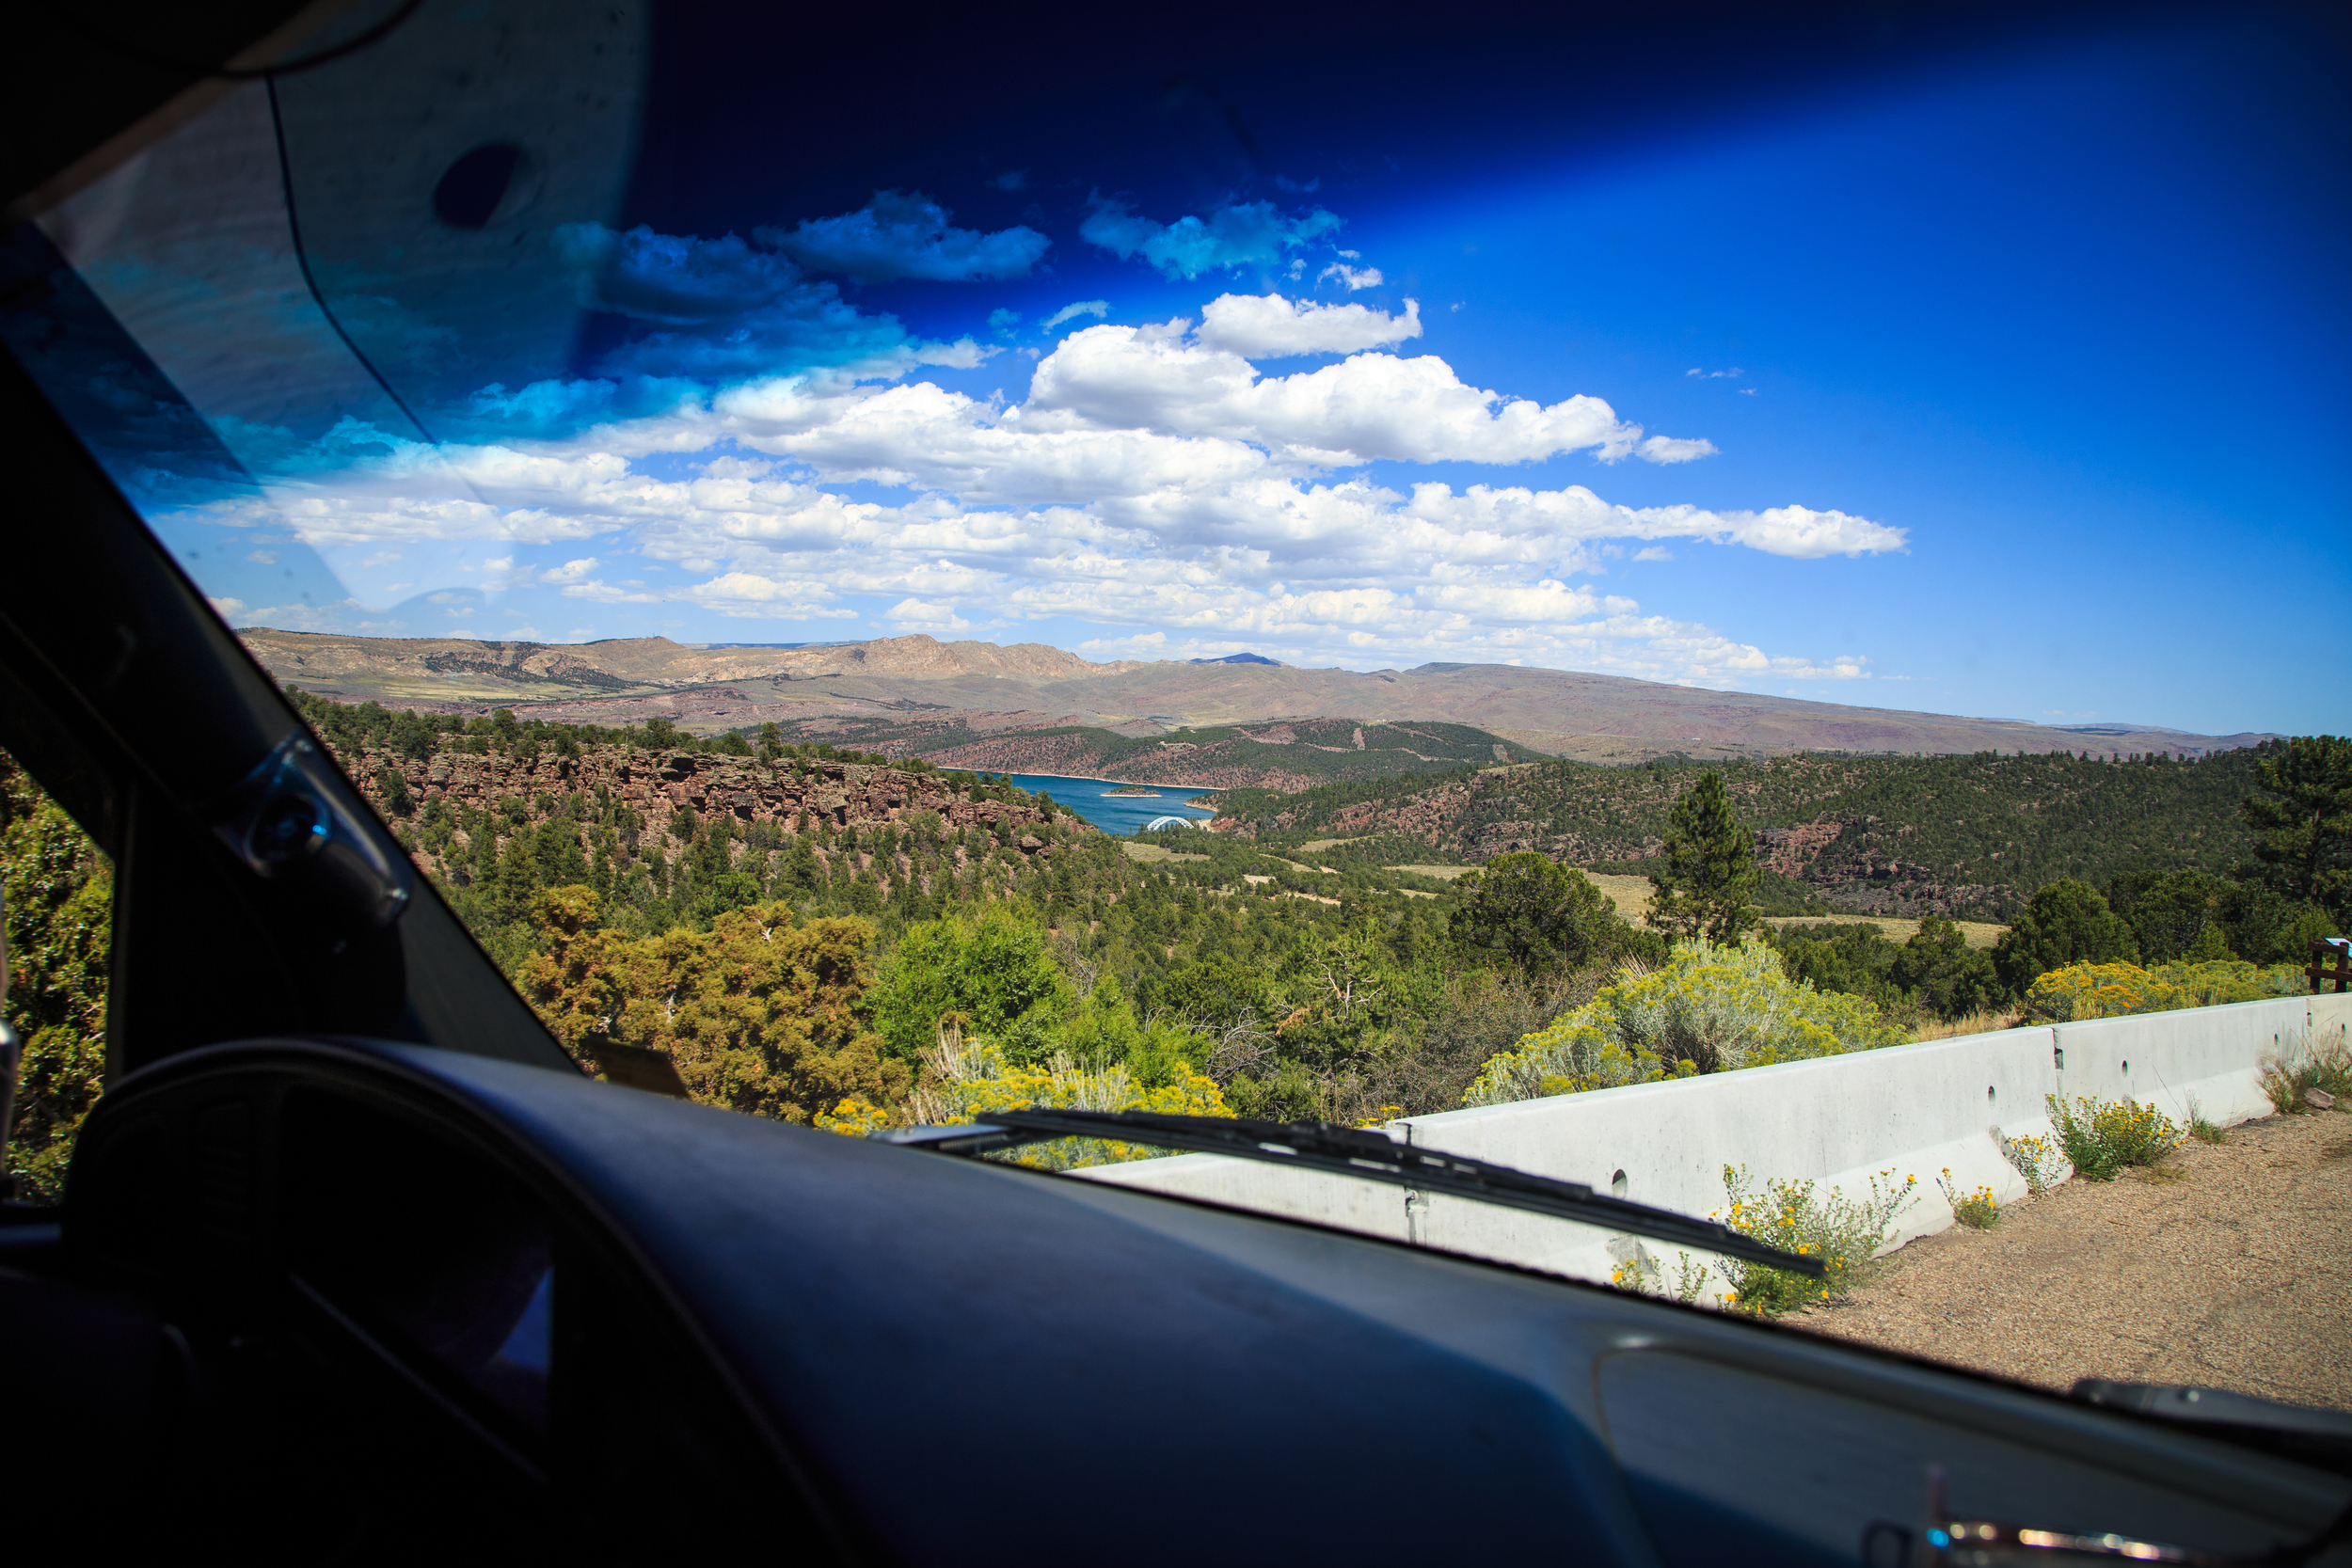
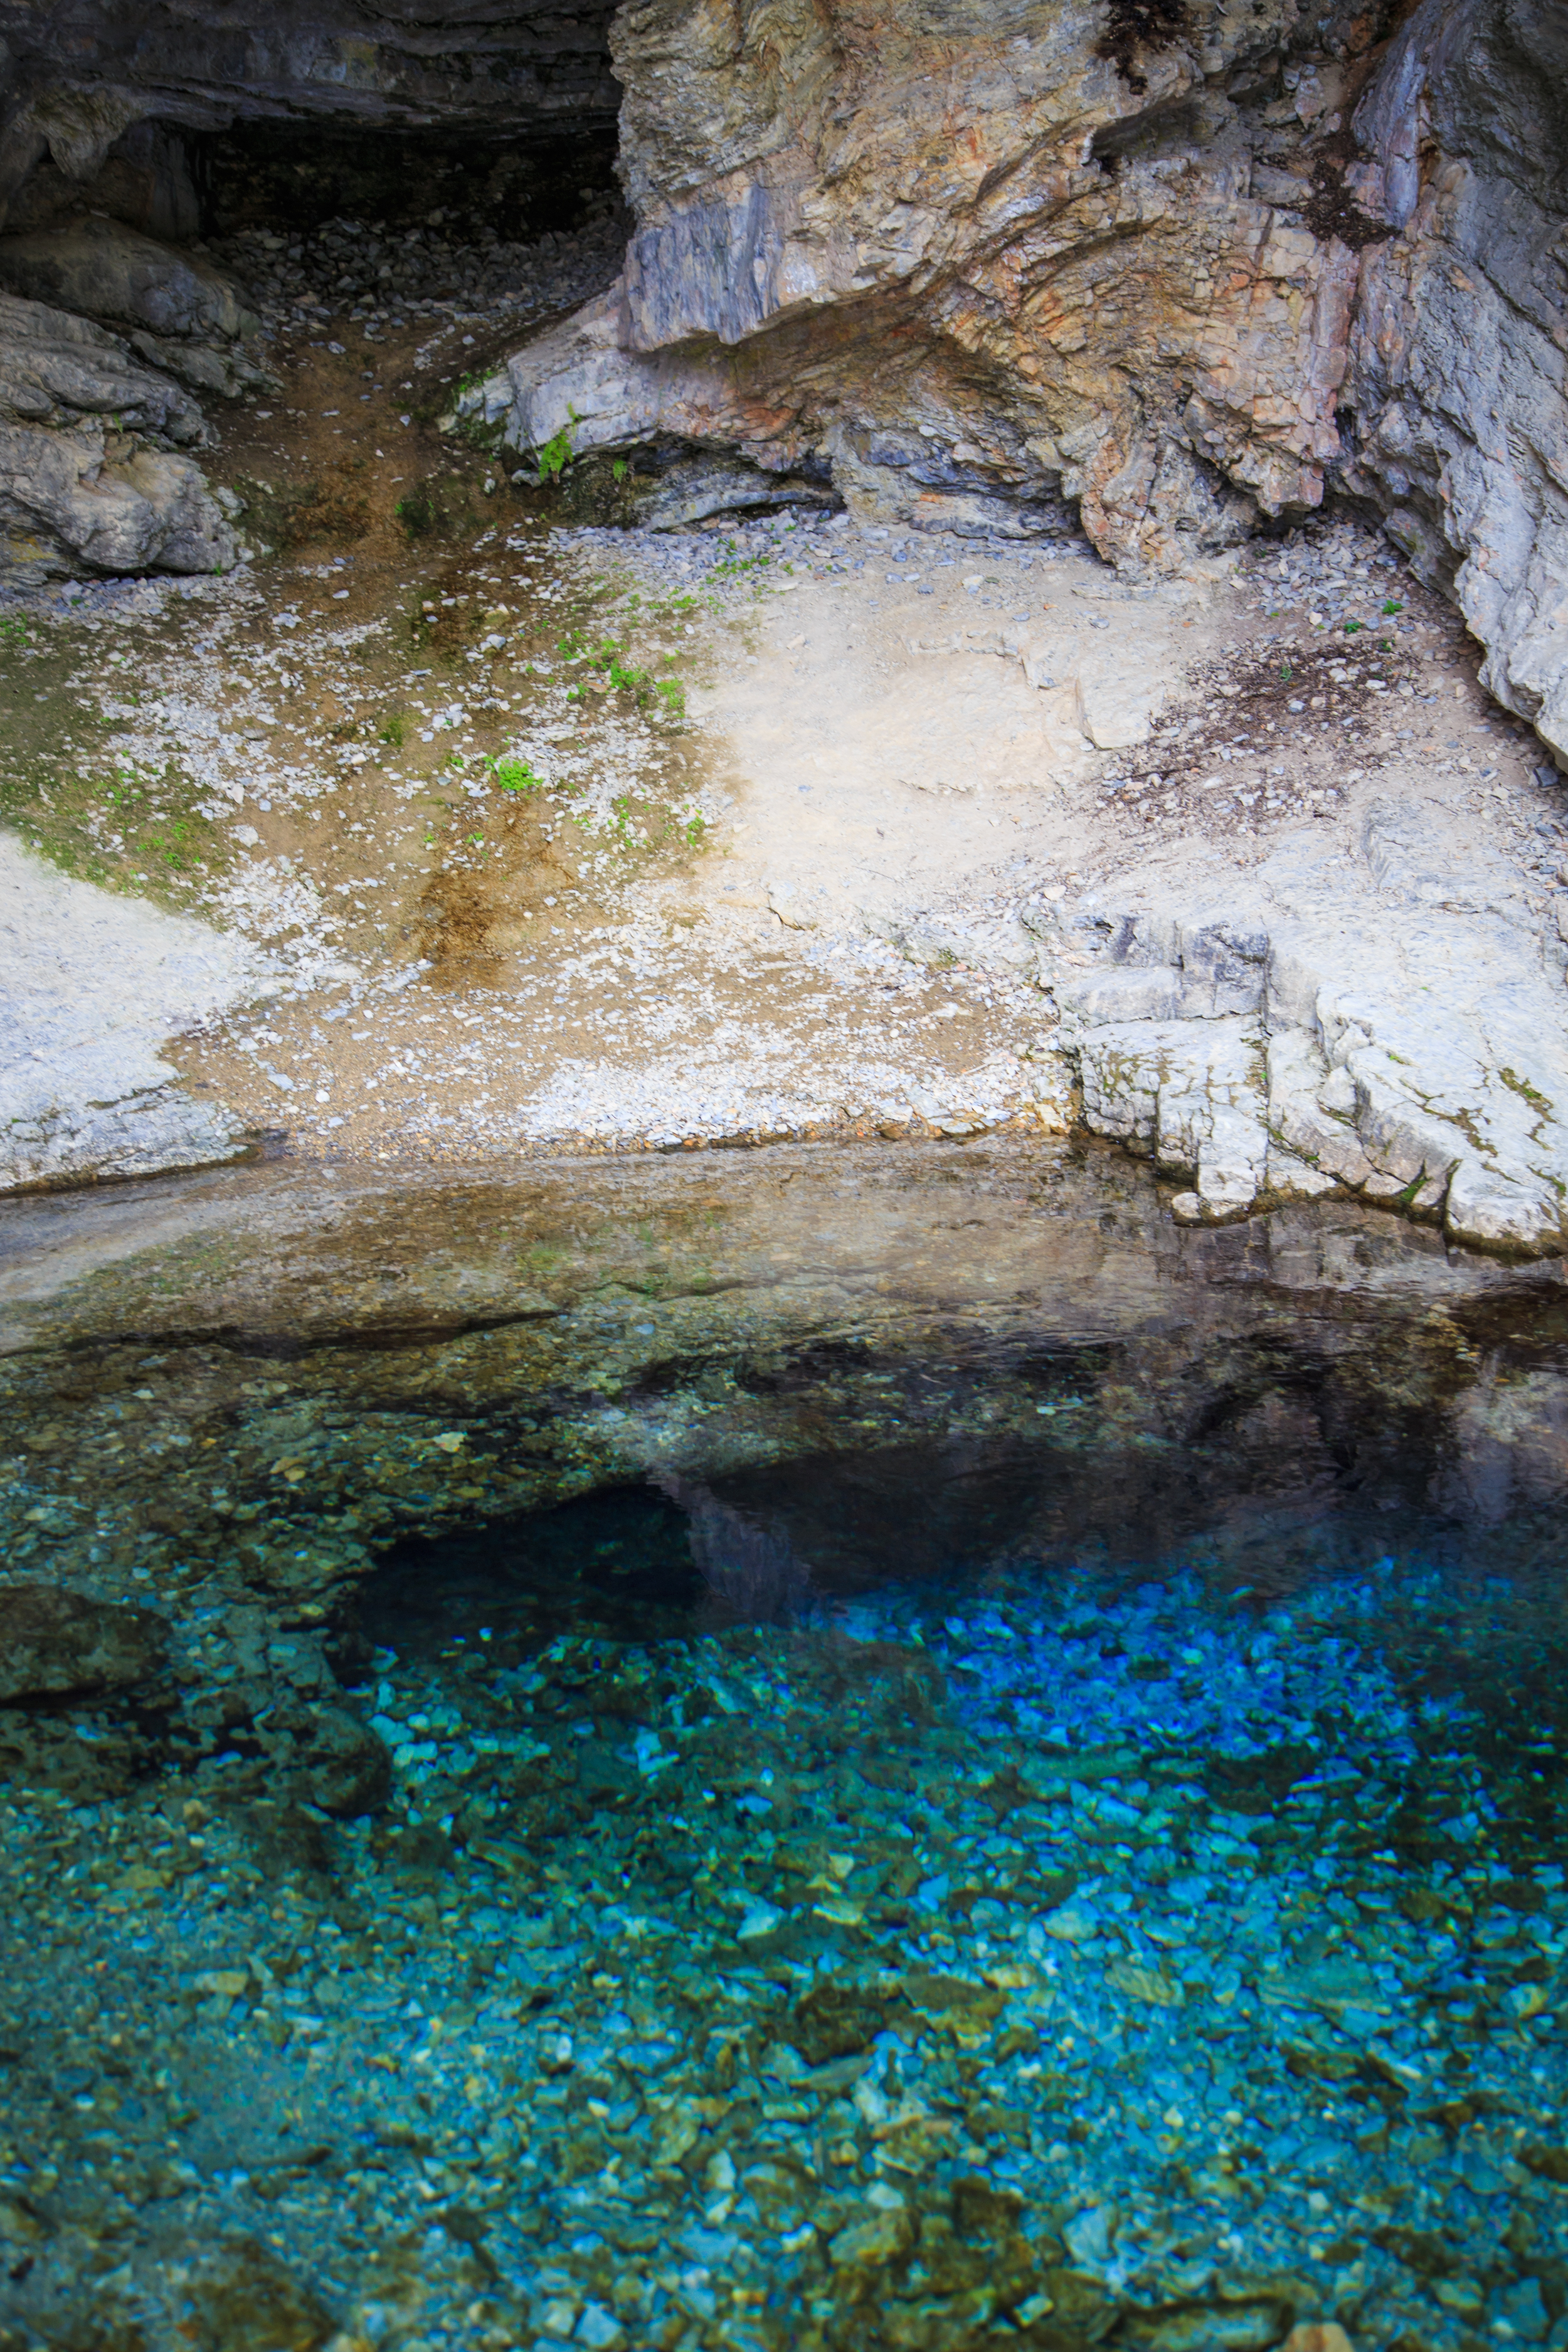
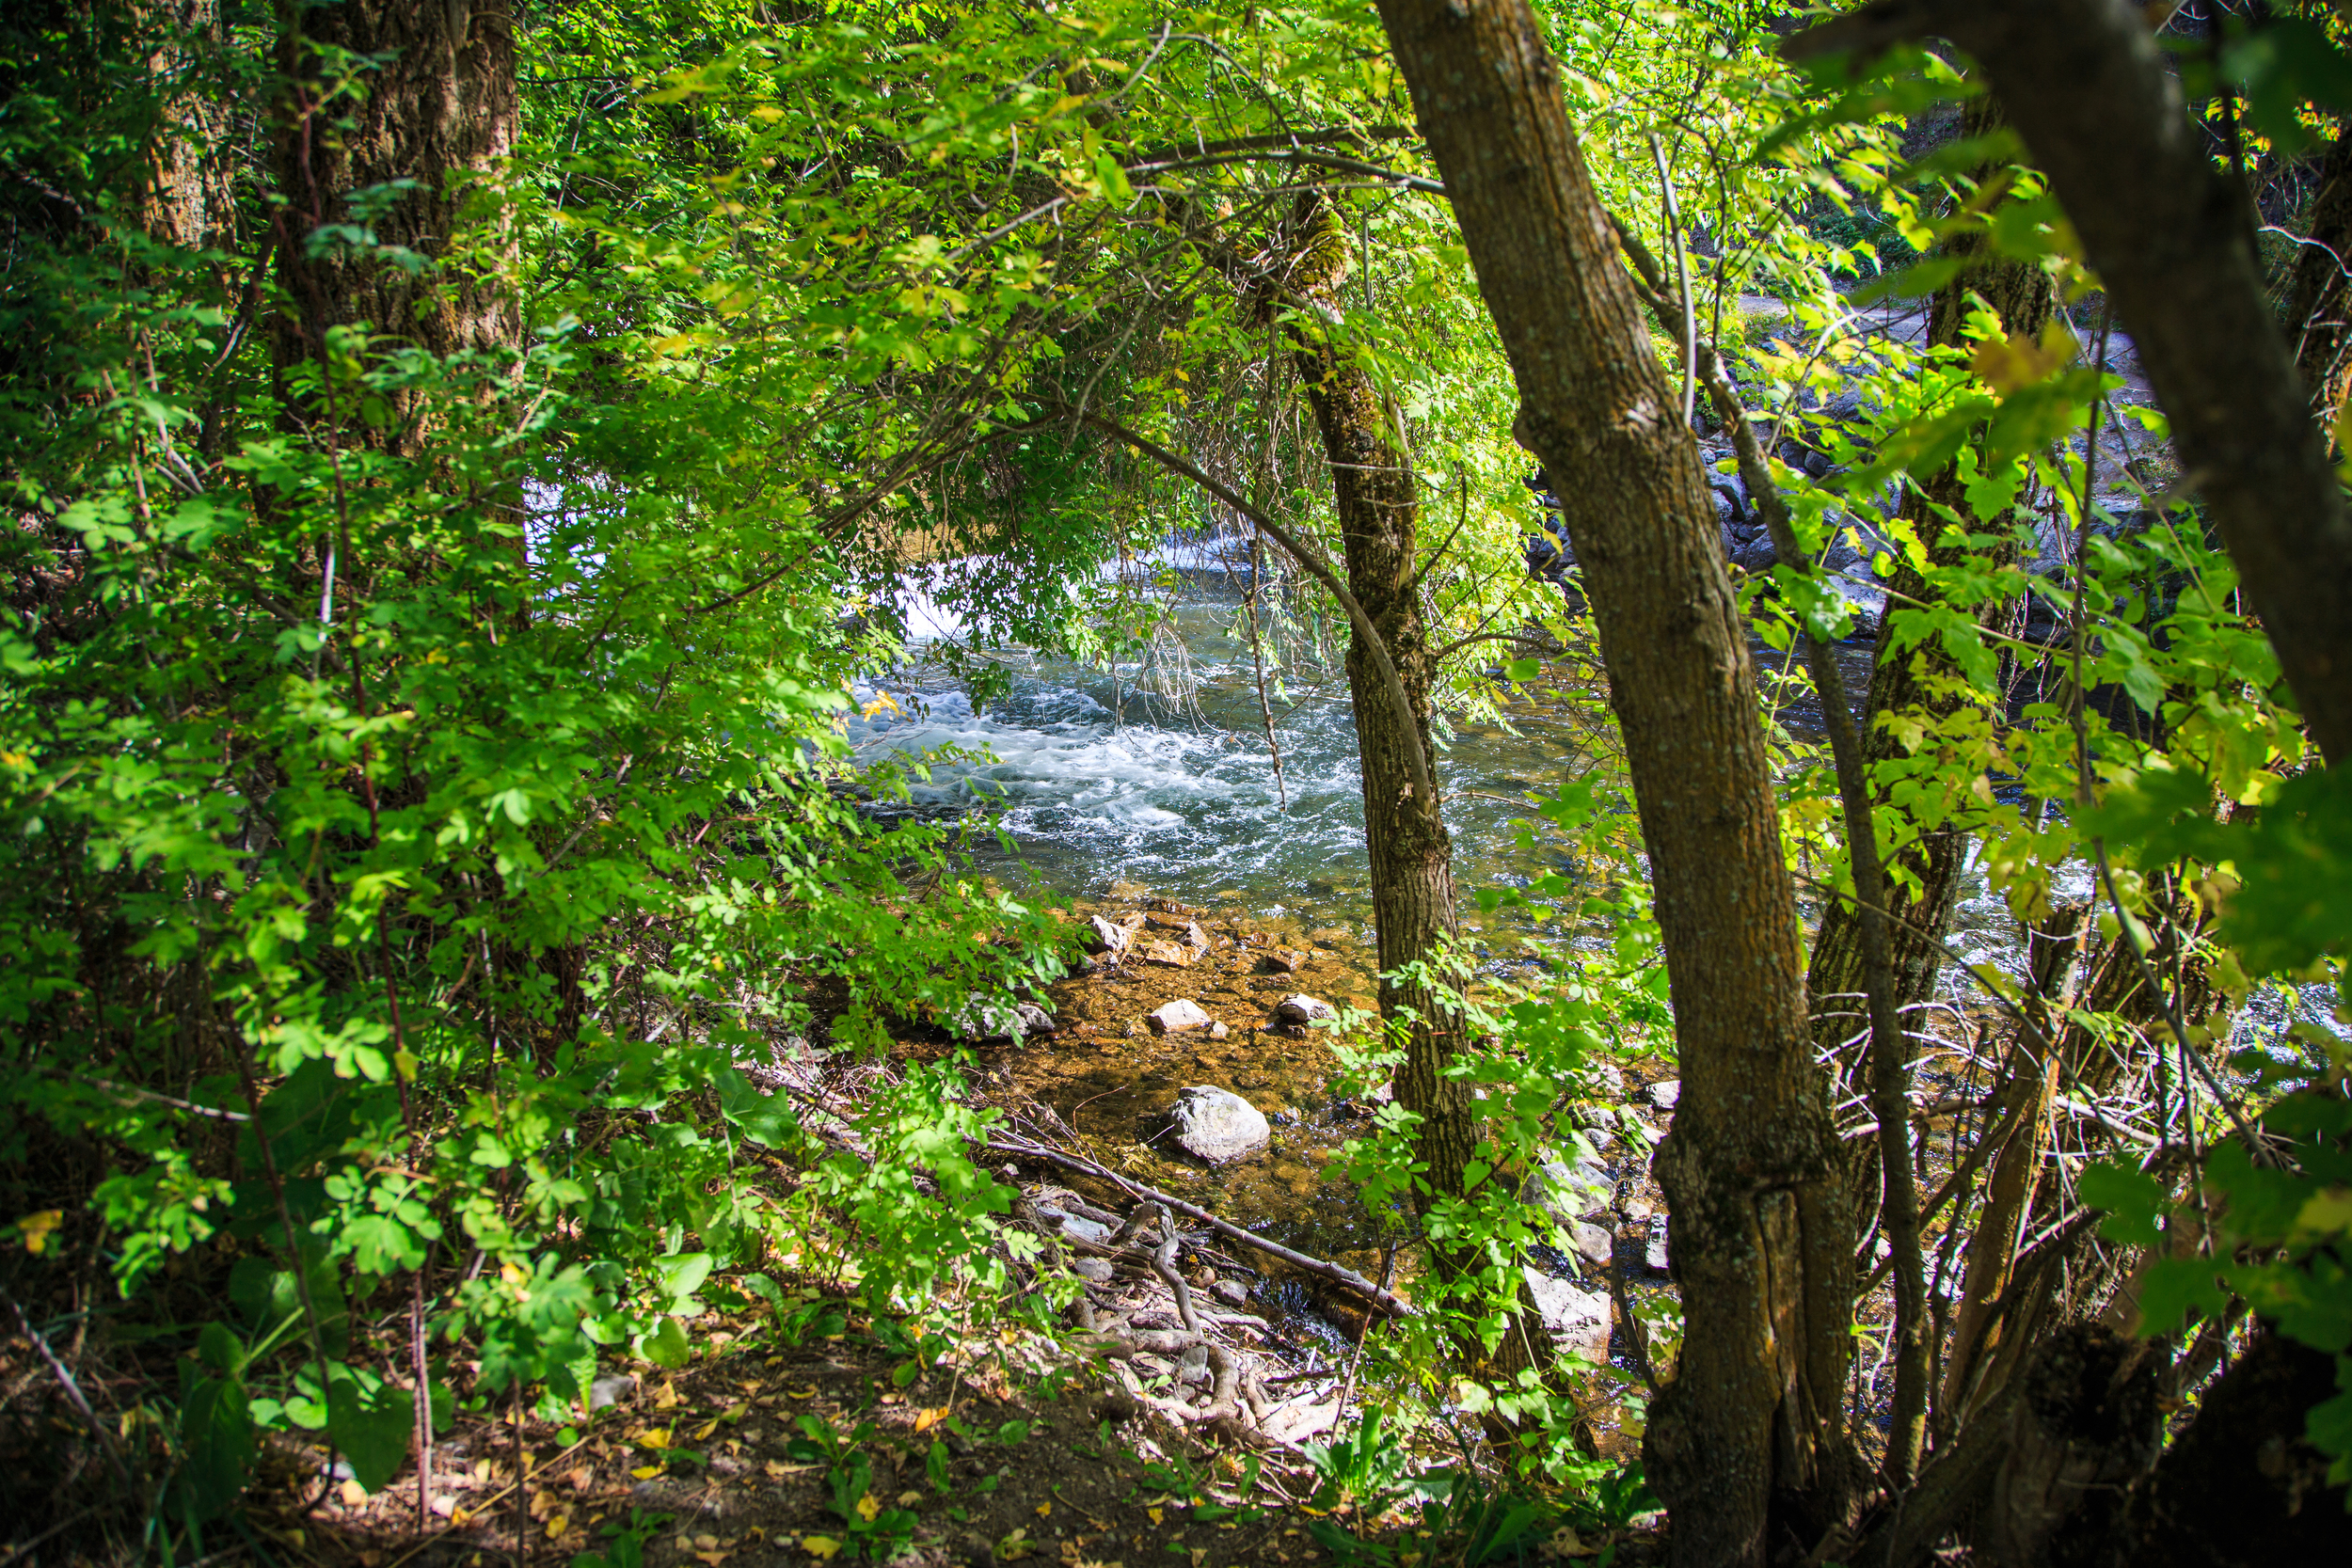
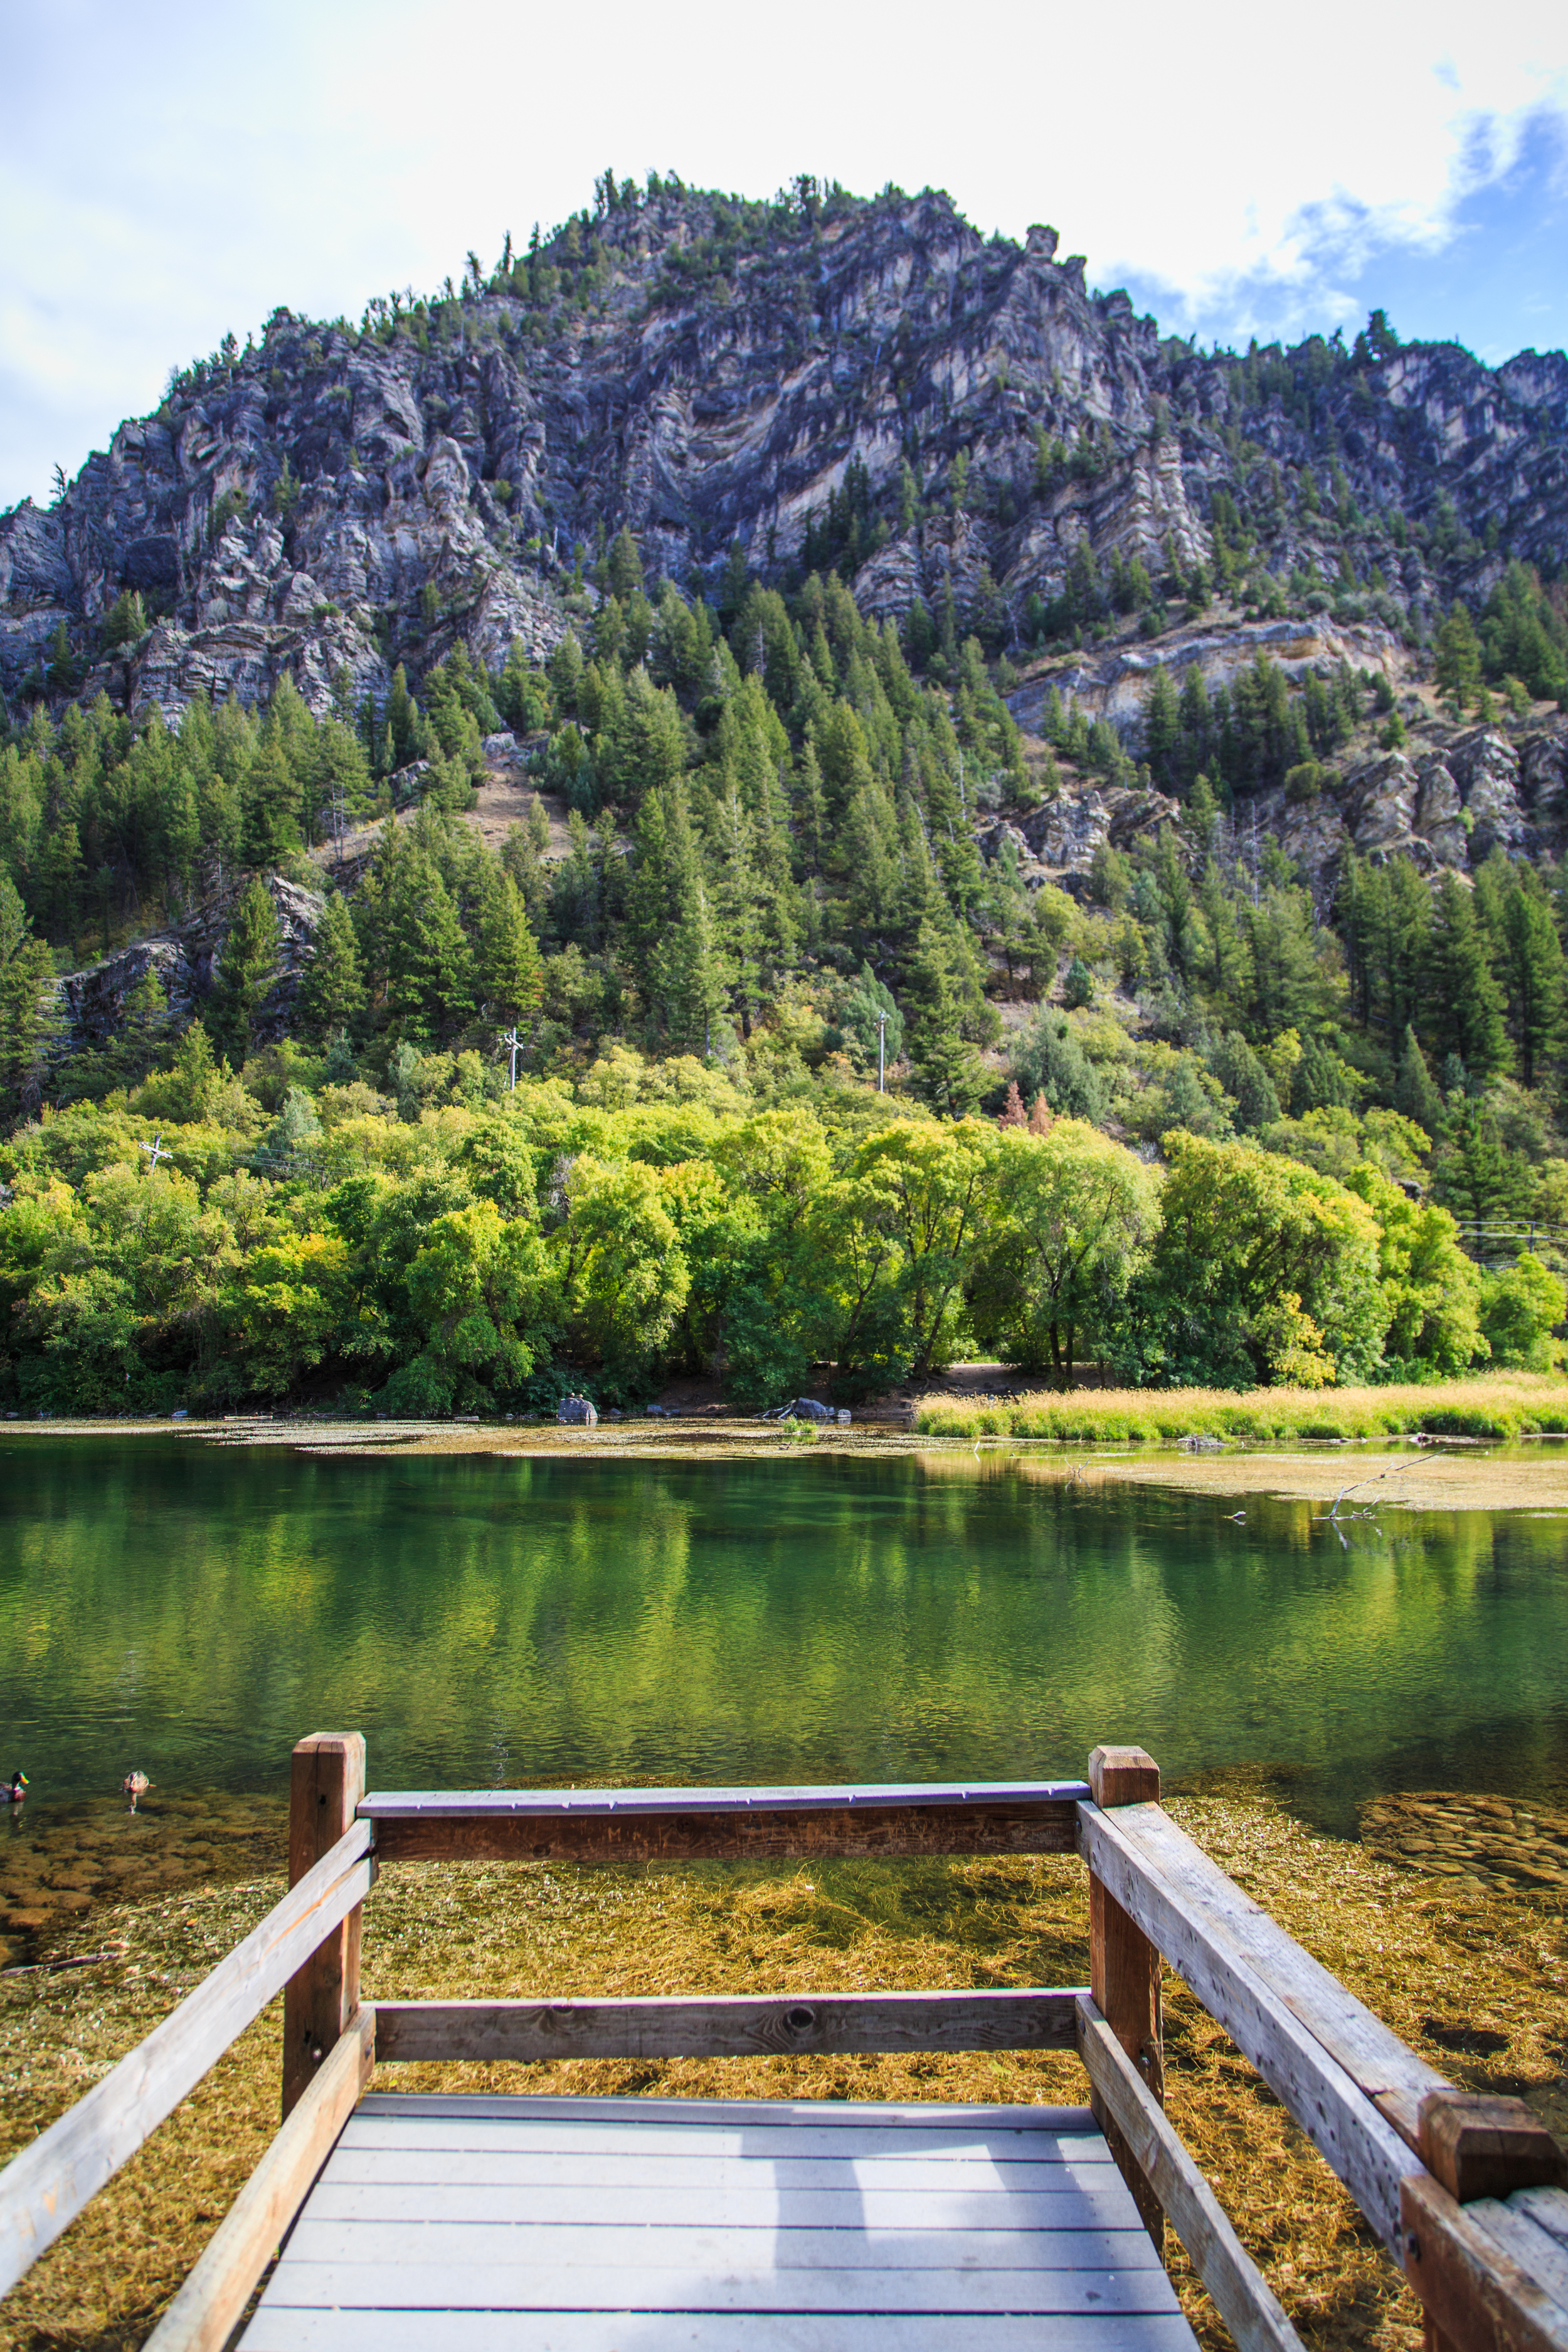
Our favorite part of road trips without much of a schedule is being able to stop every time we find something of interest to see. We ended up on a wonderfully winding road through Utah that took us past some beautiful lakes and a spring.


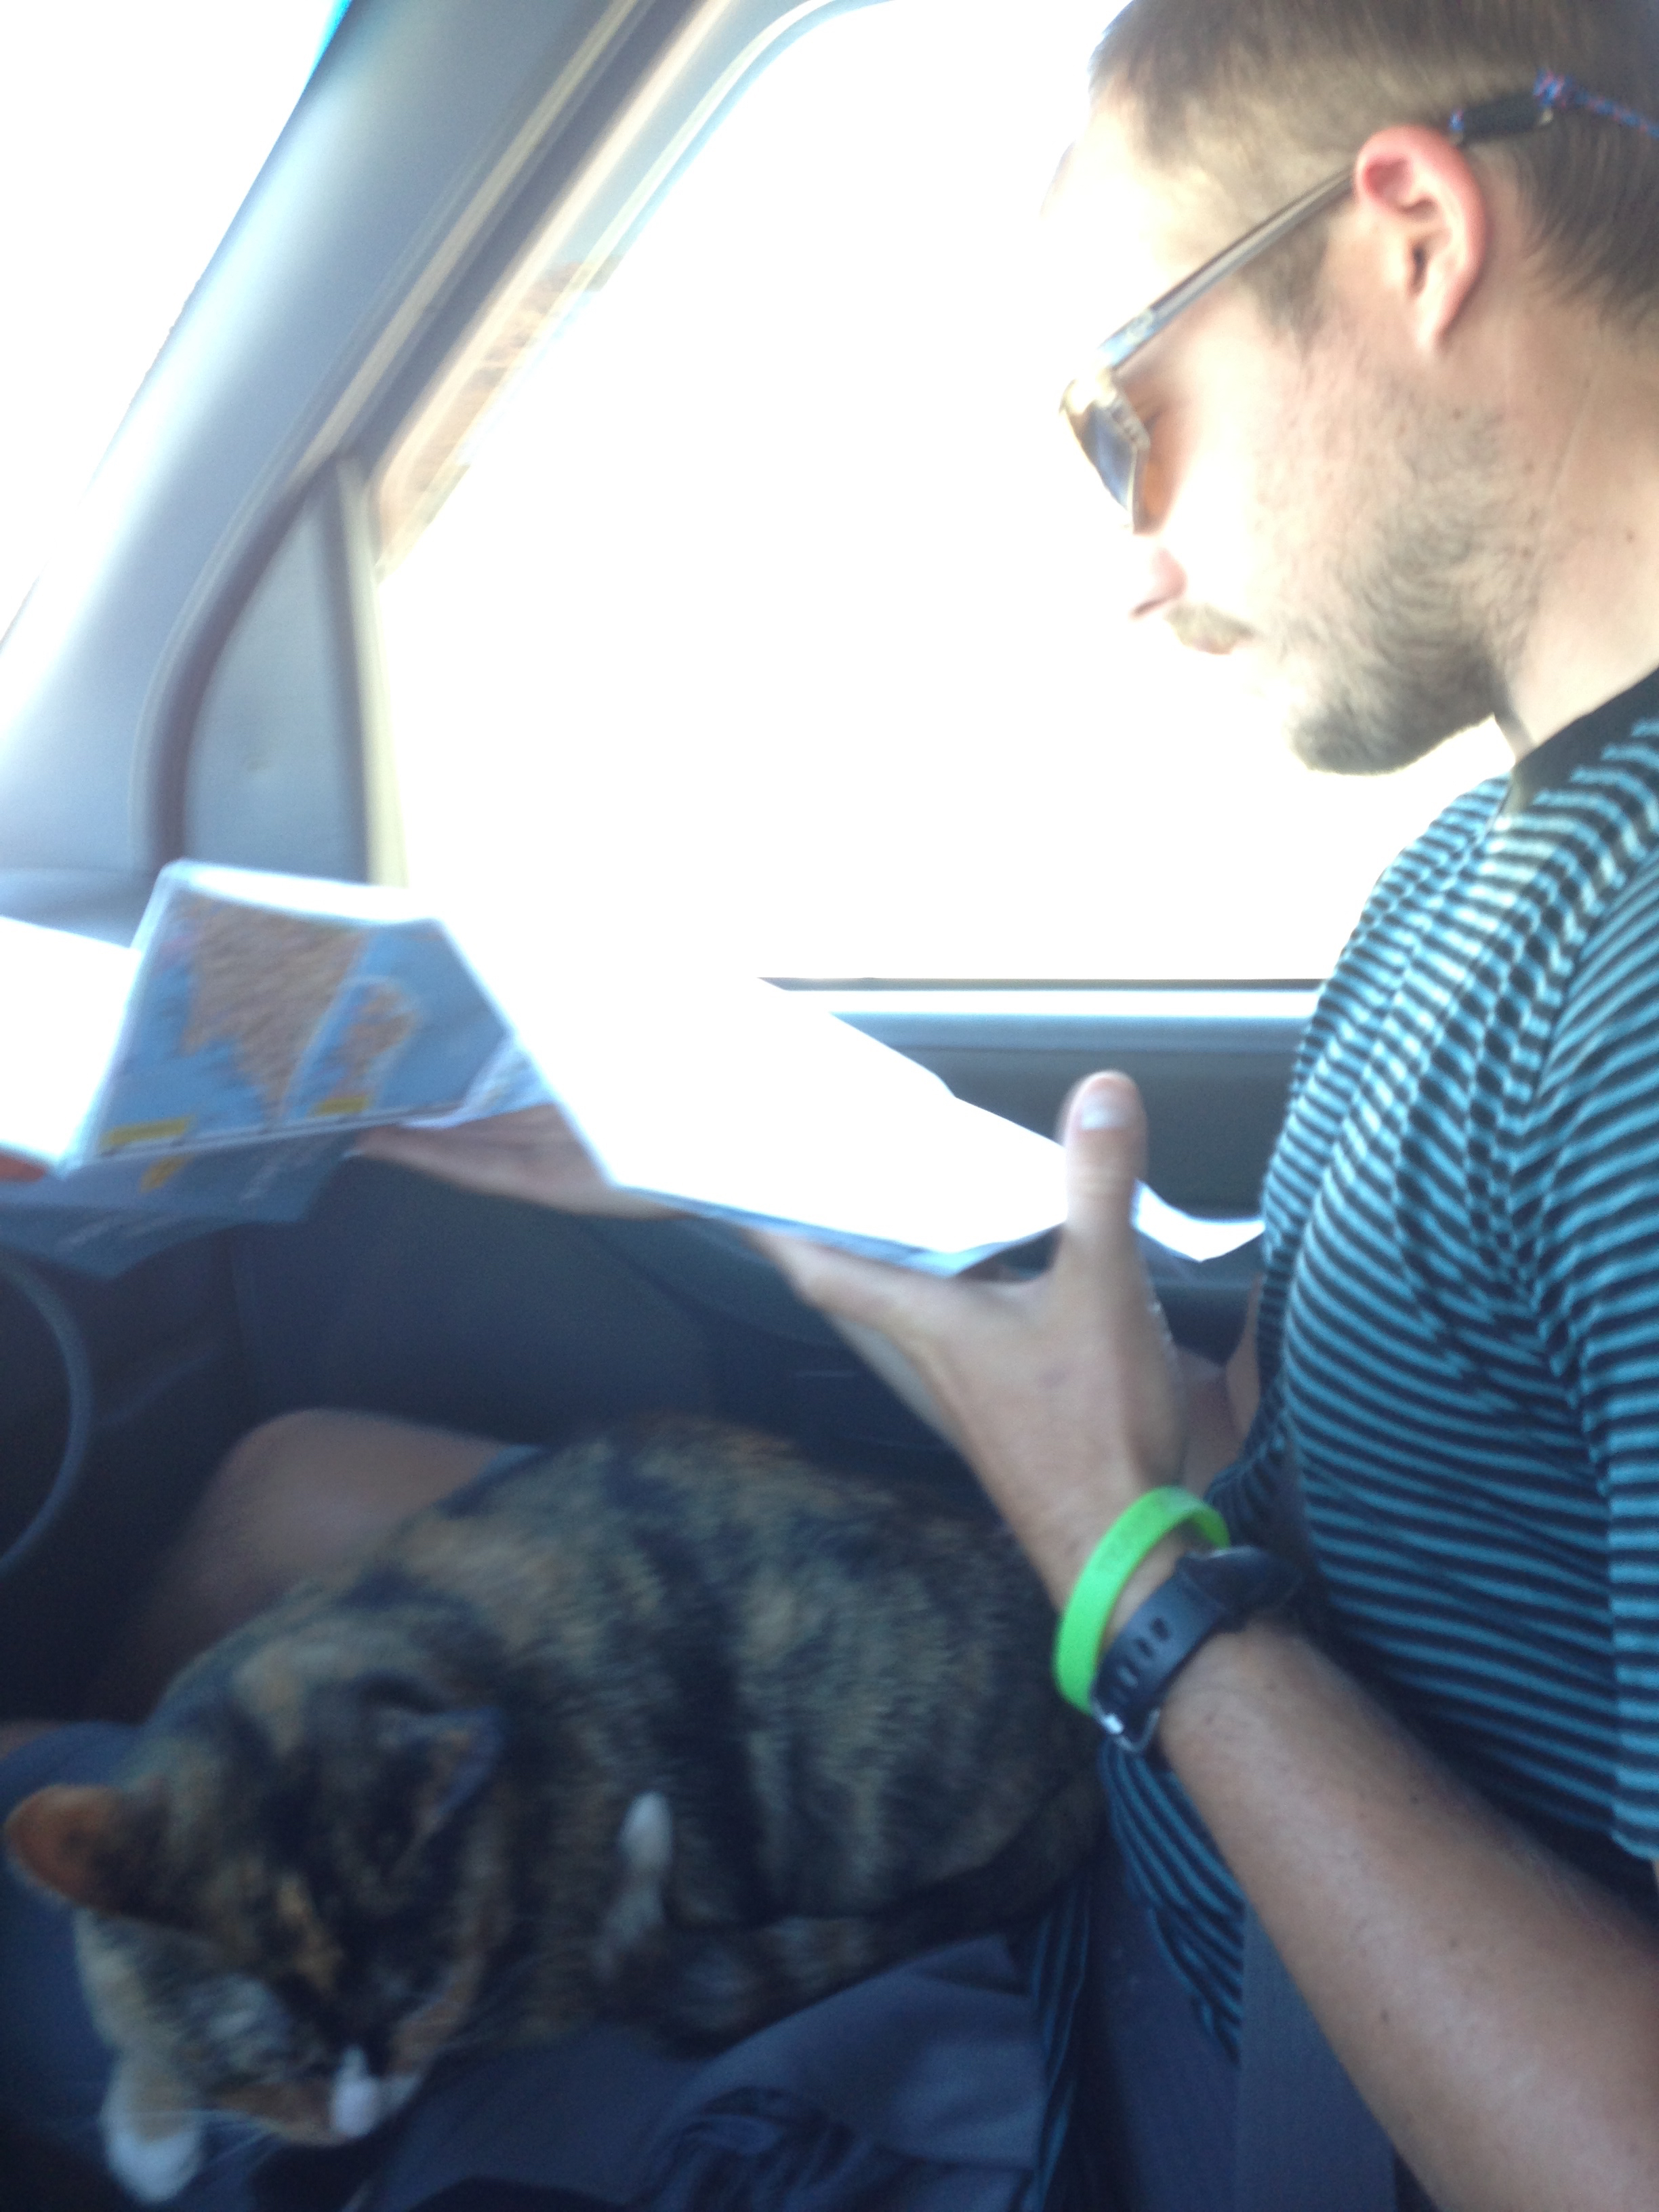
Christian is becoming quite the photographer. He often steals my camera to snap photos and I don't mind one bit...it's nice knowing there's documentation of both of us on the trips we take!


My little shutterbug.
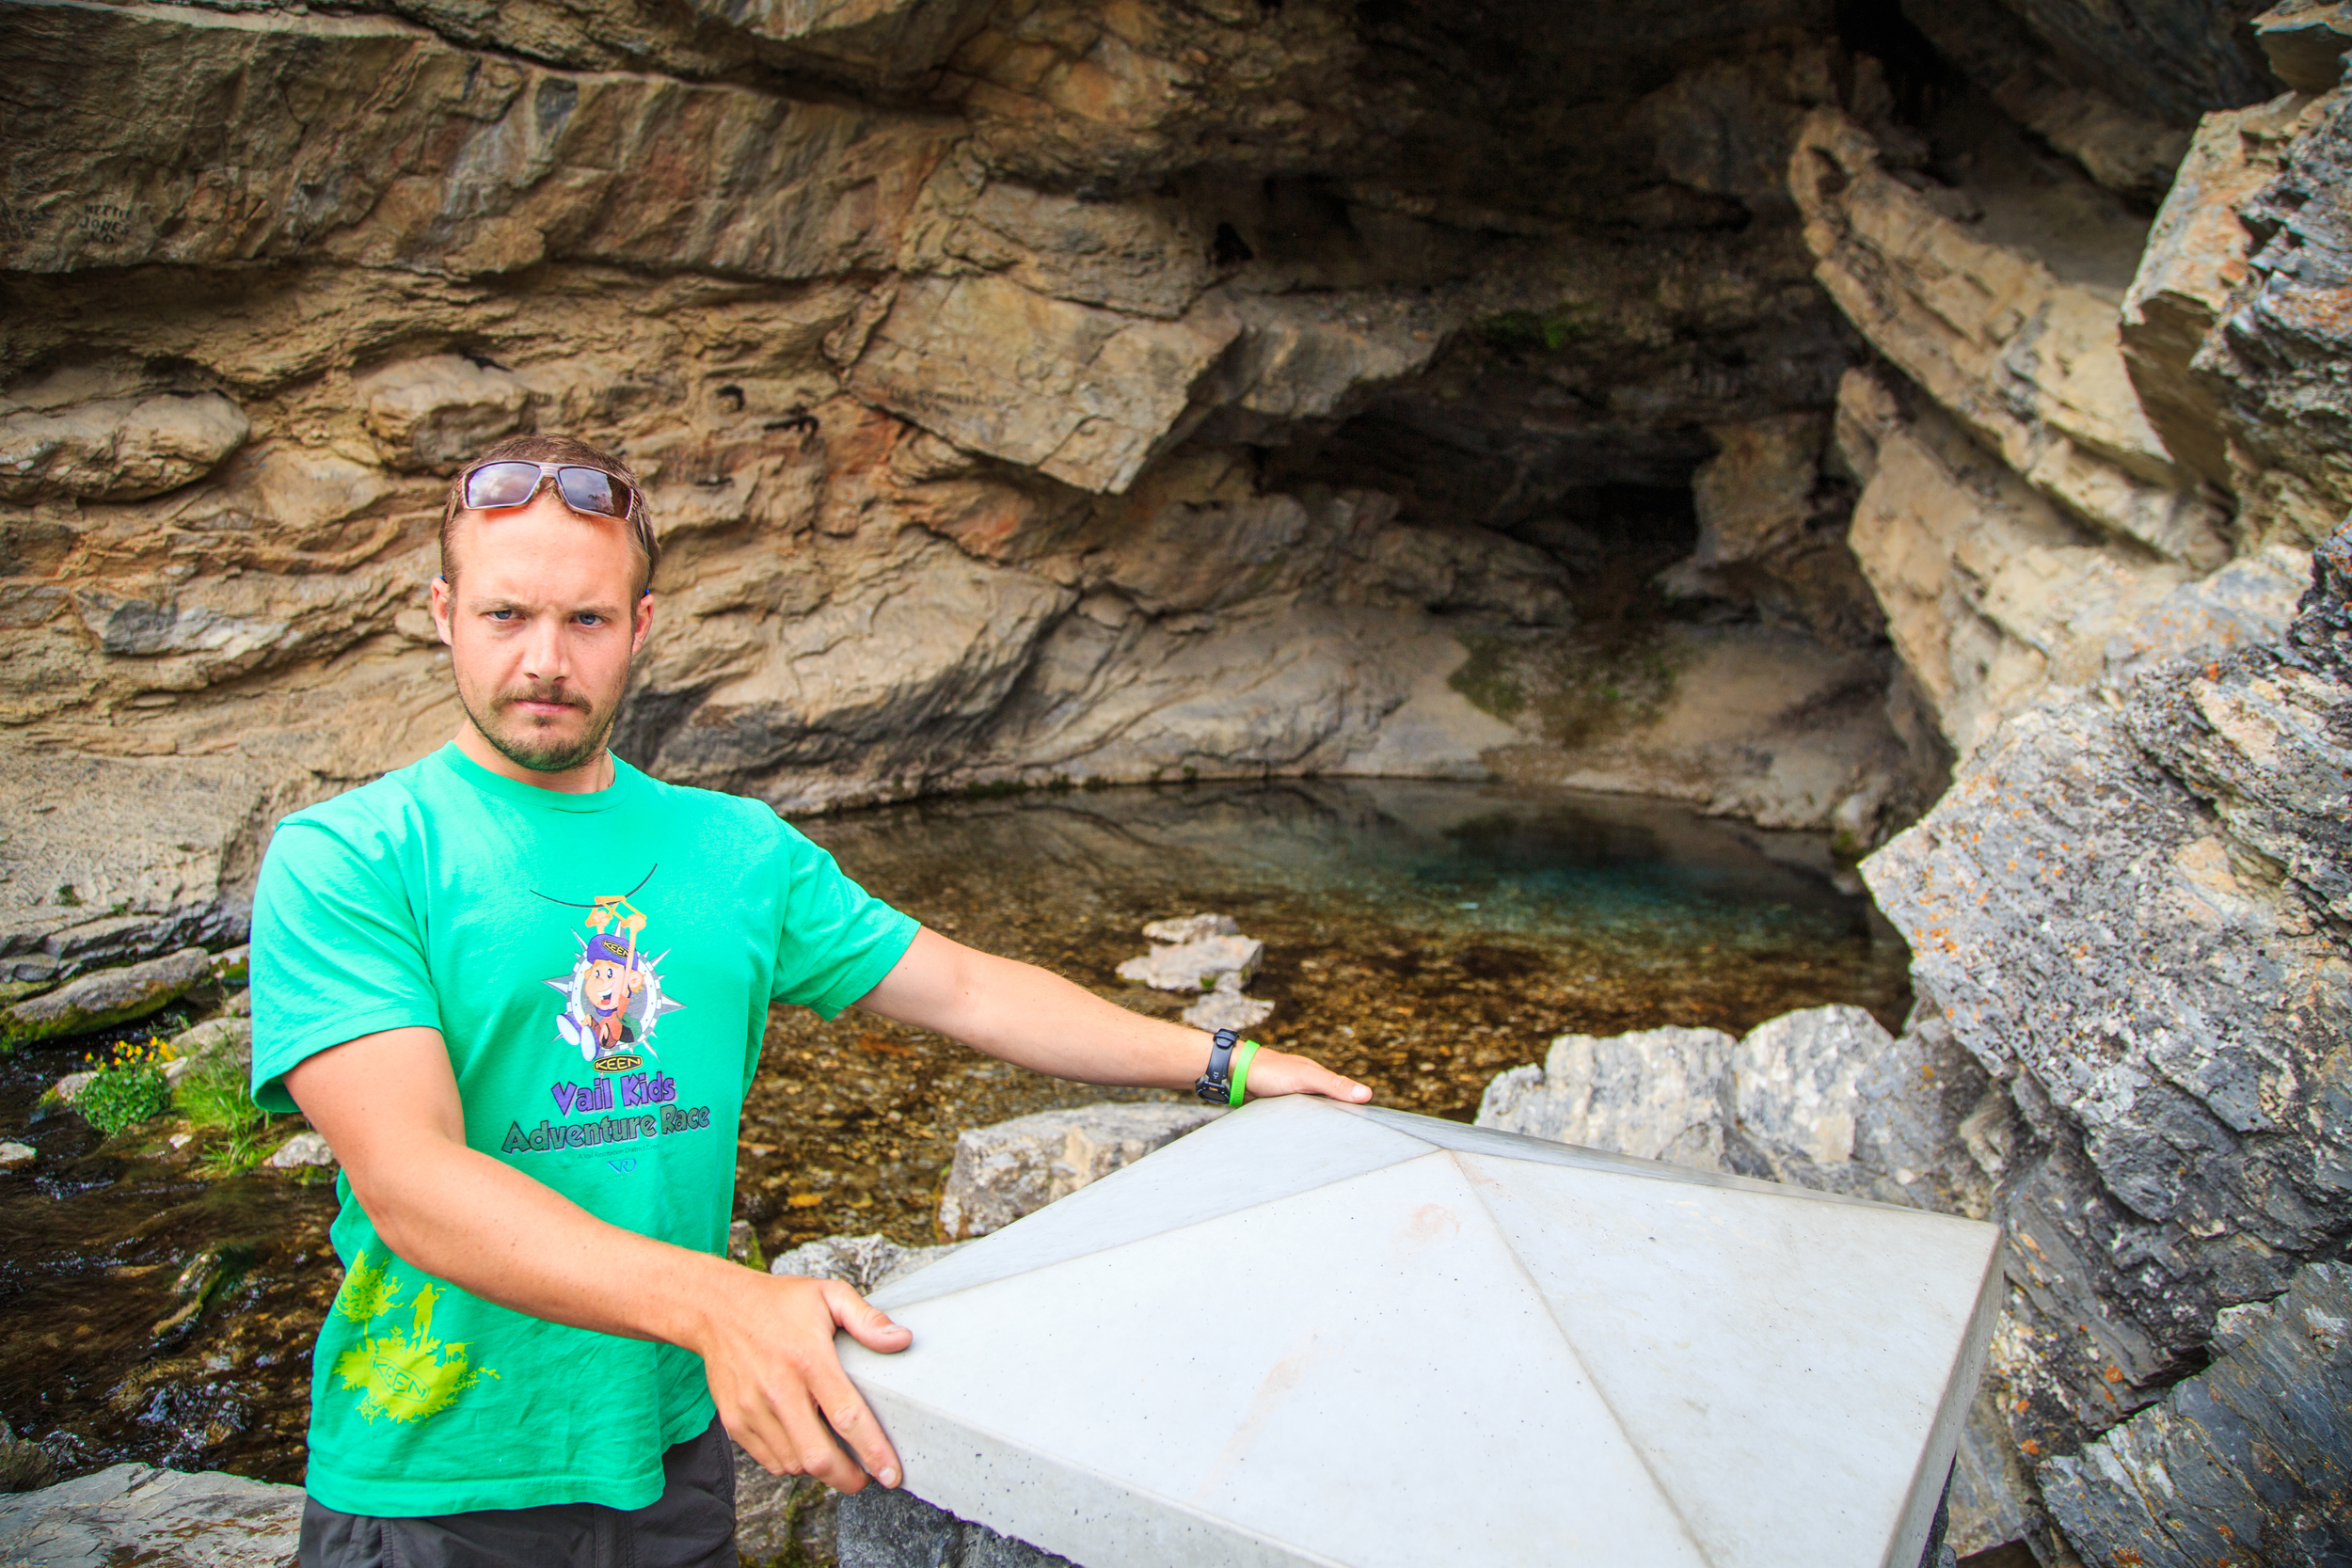
He's so photogenic.


We crossed into Idaho right on schedule and stopped off at a tiny grocery store in Malta for a few food items before seeking out our free campsite for the night.
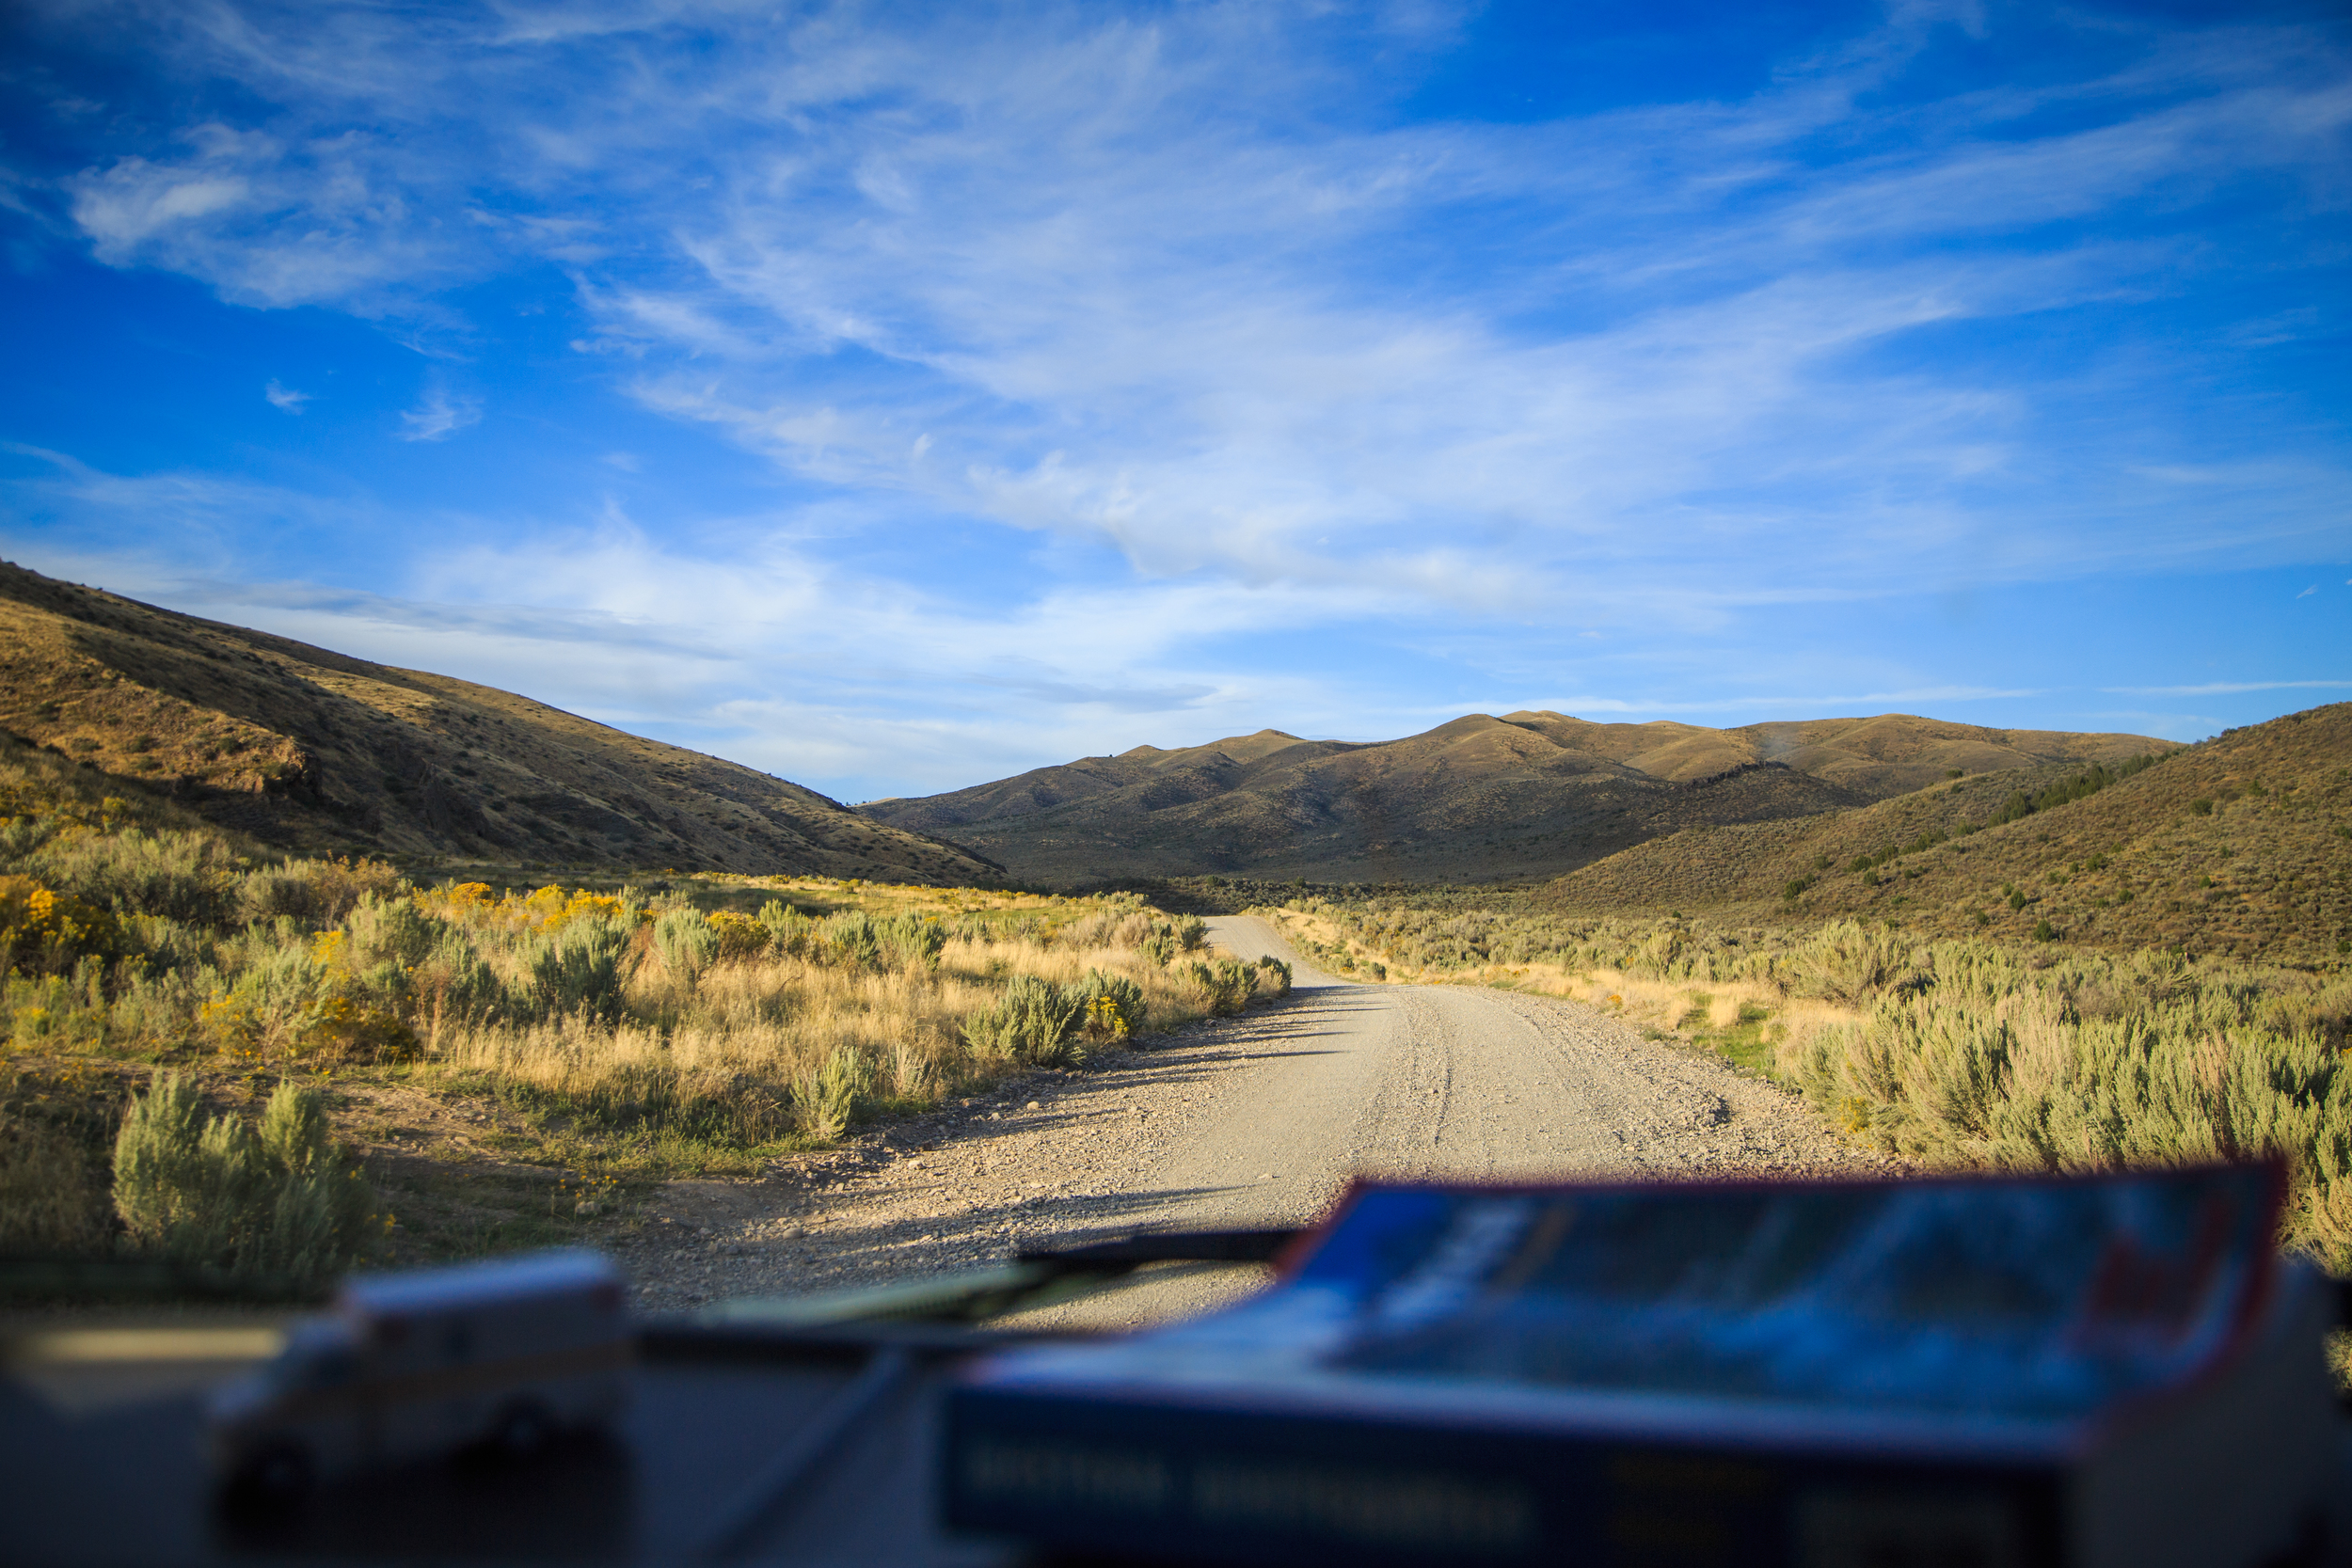
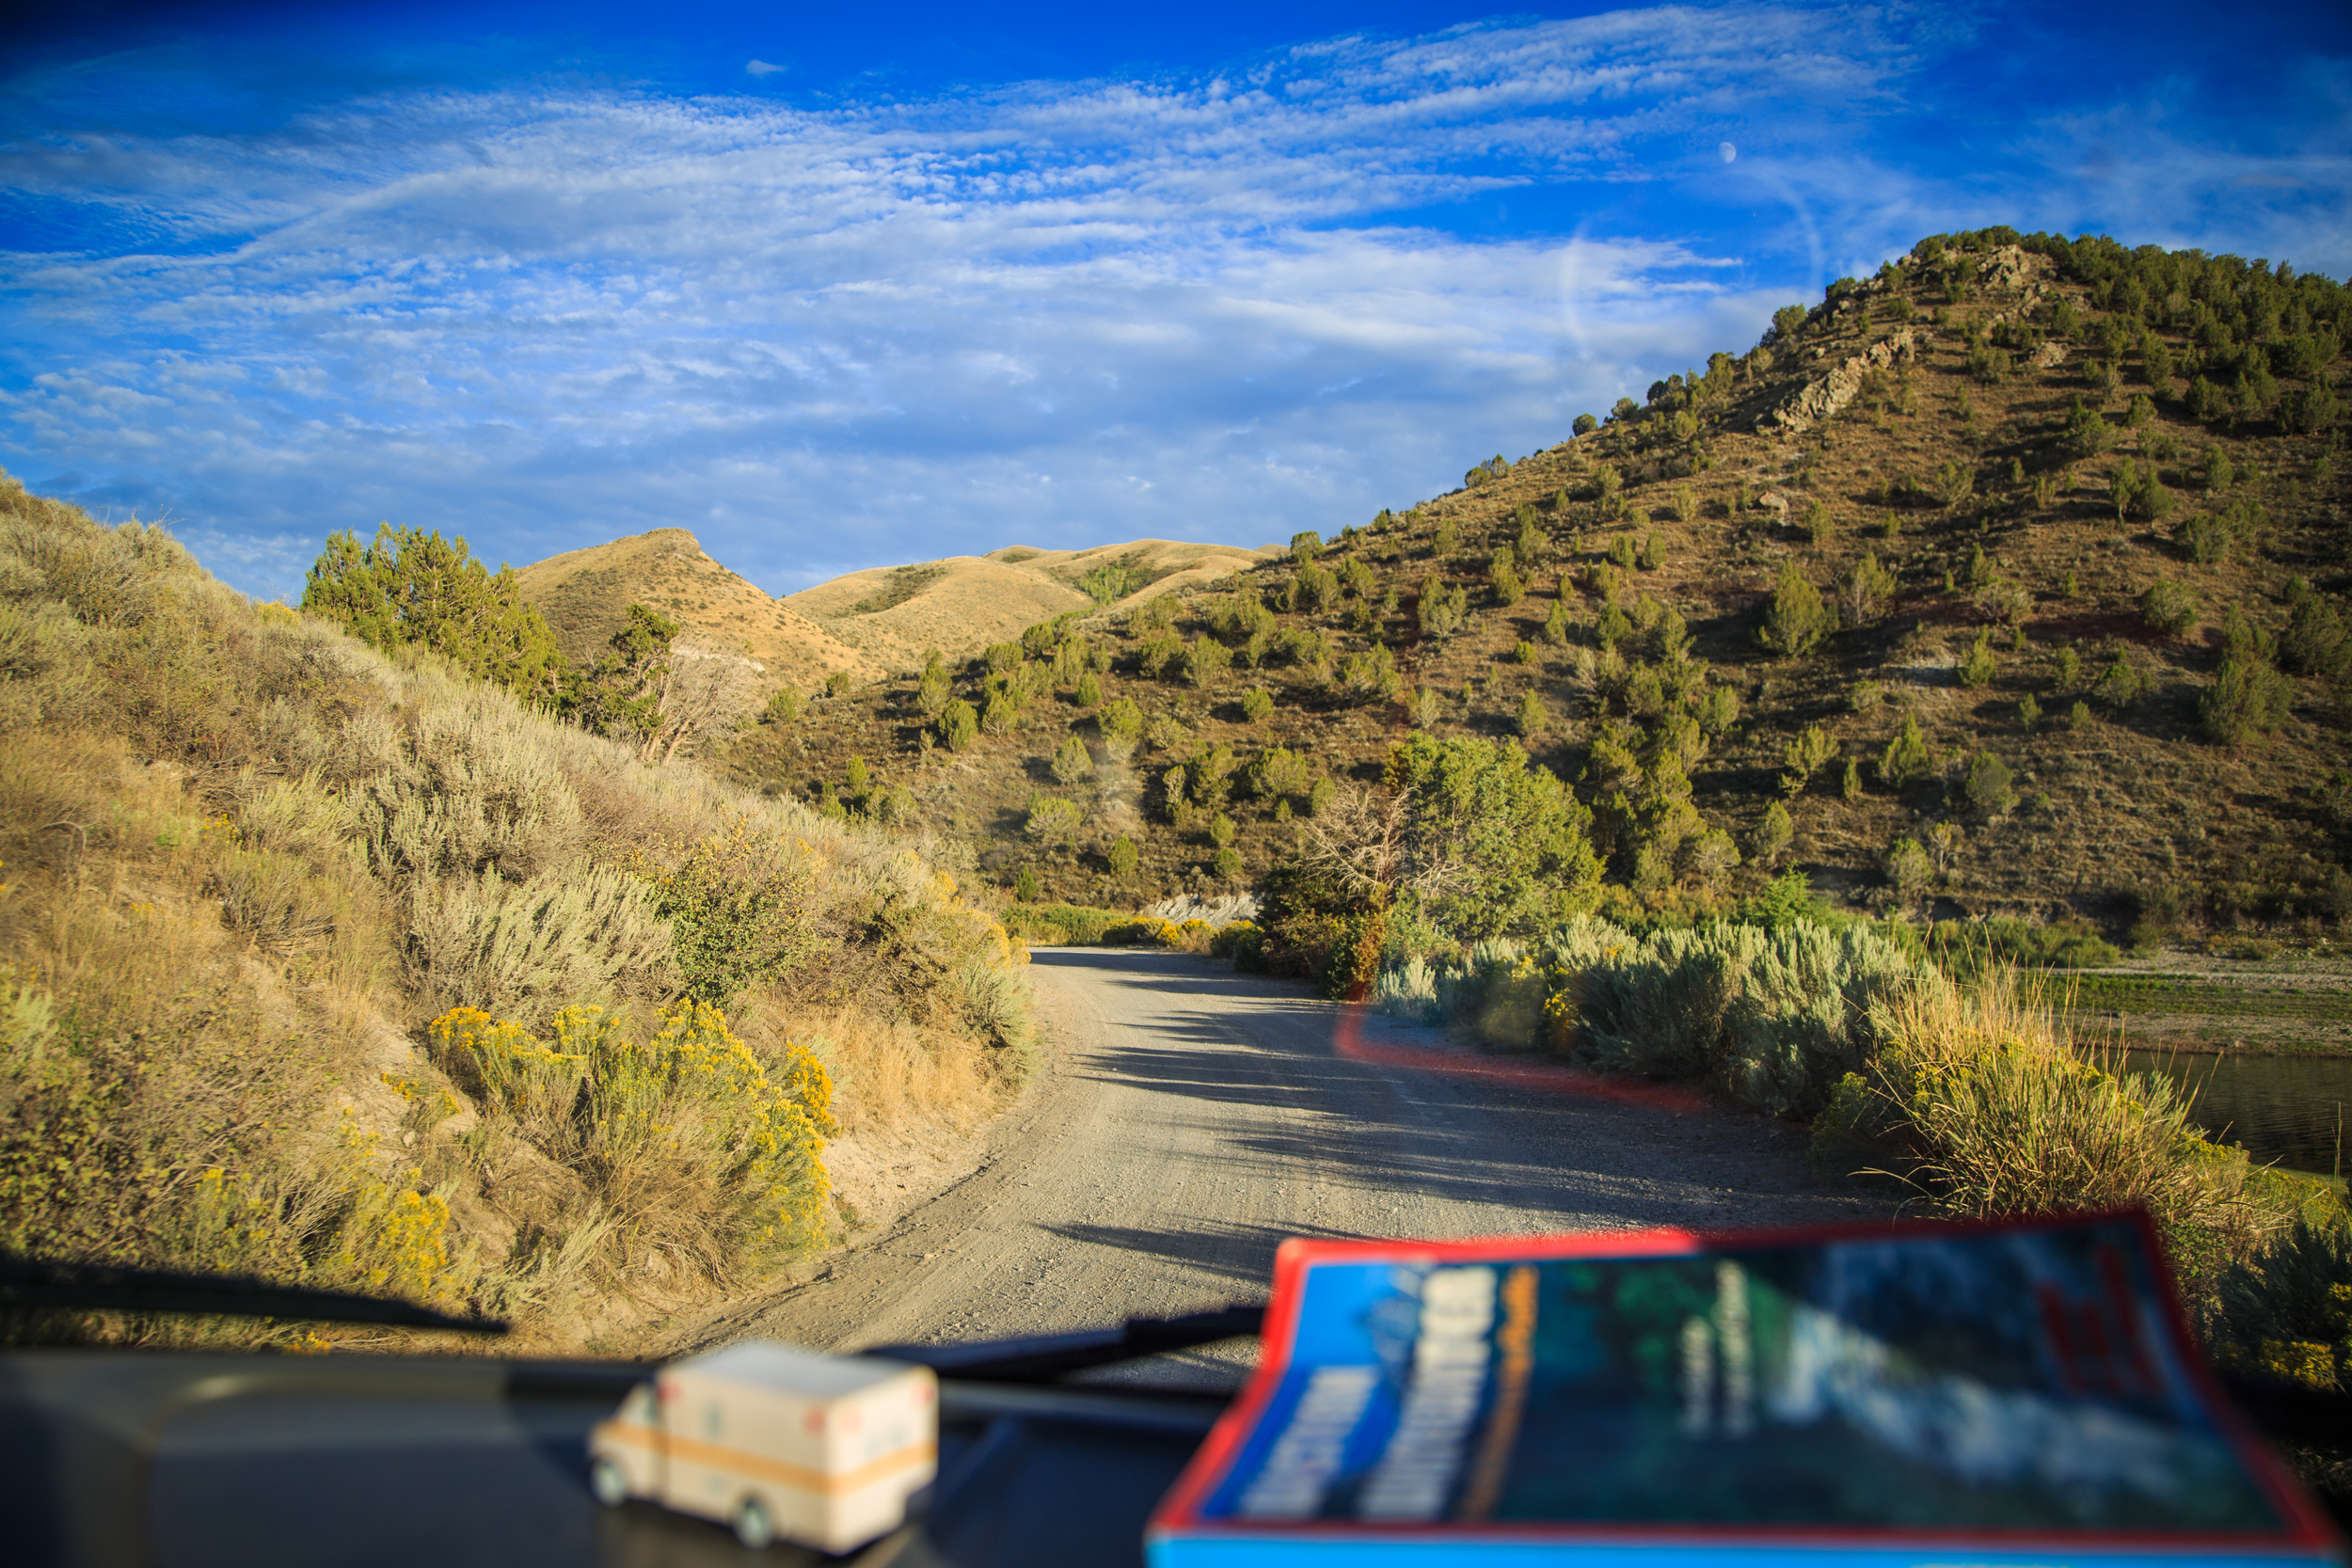
The dispersed camp sites were about 10 miles down a gravel road. The drive was beautiful in the late afternoon sun.
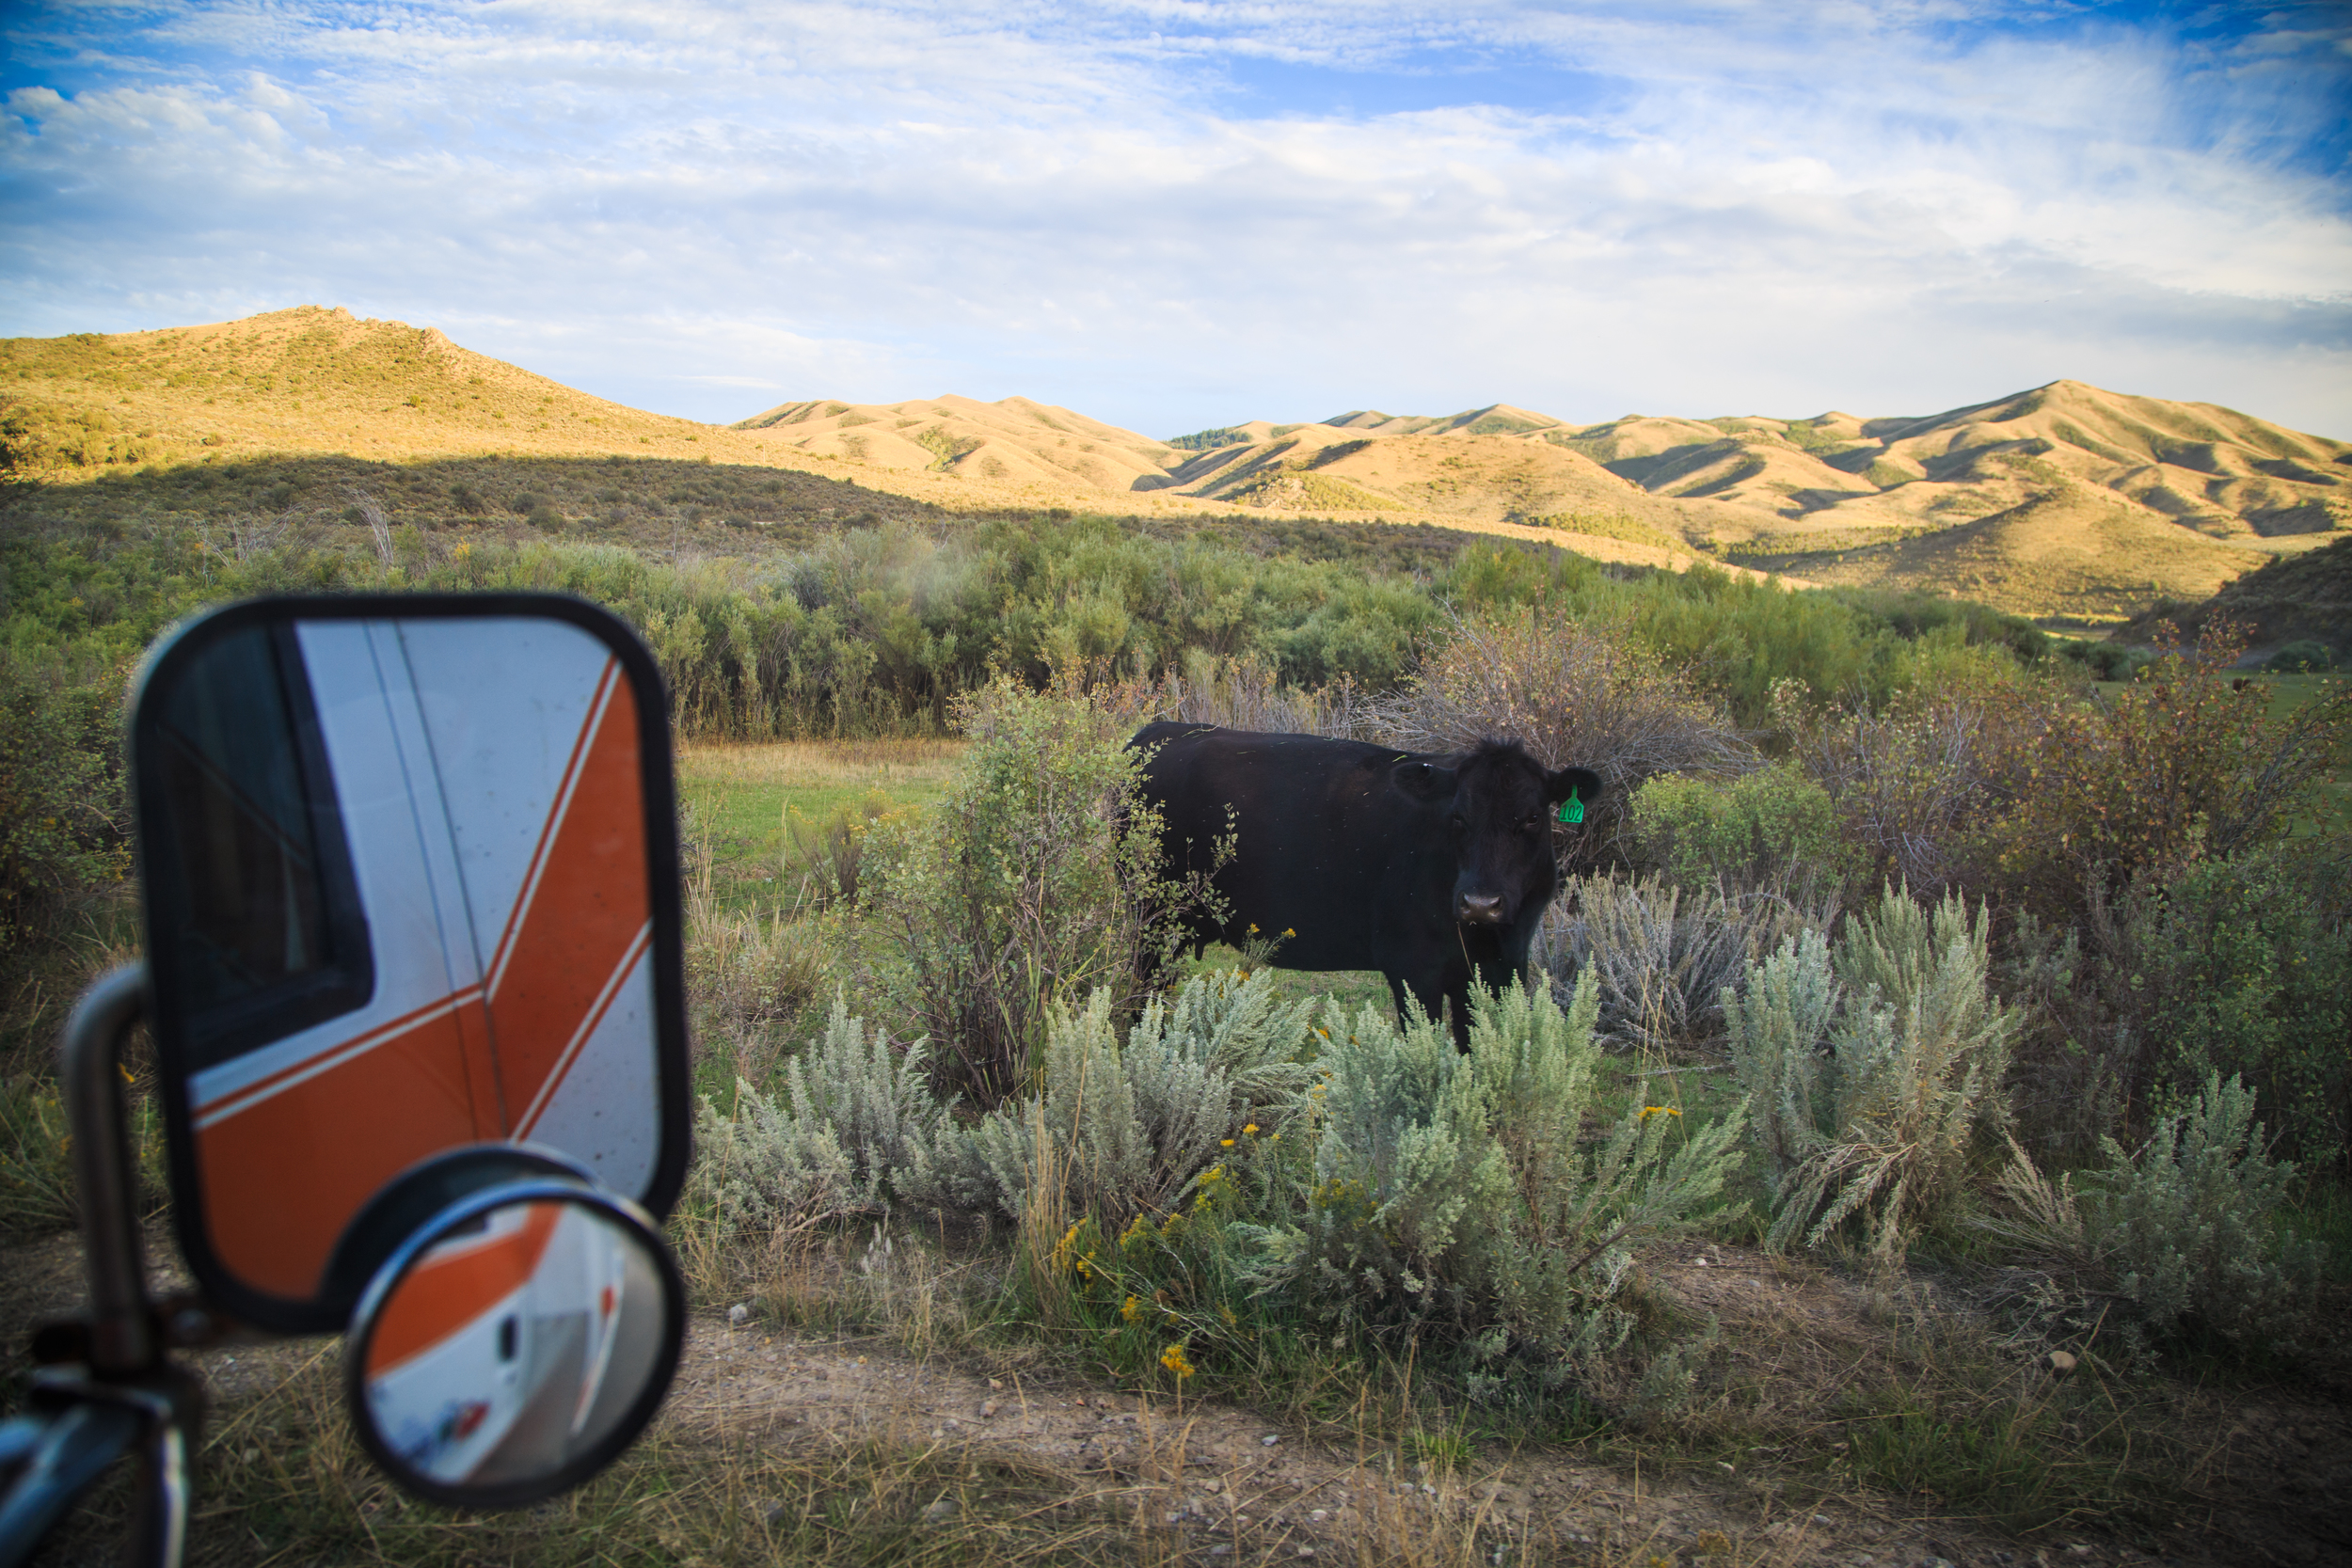
There were quite a few cows to be found along the way.

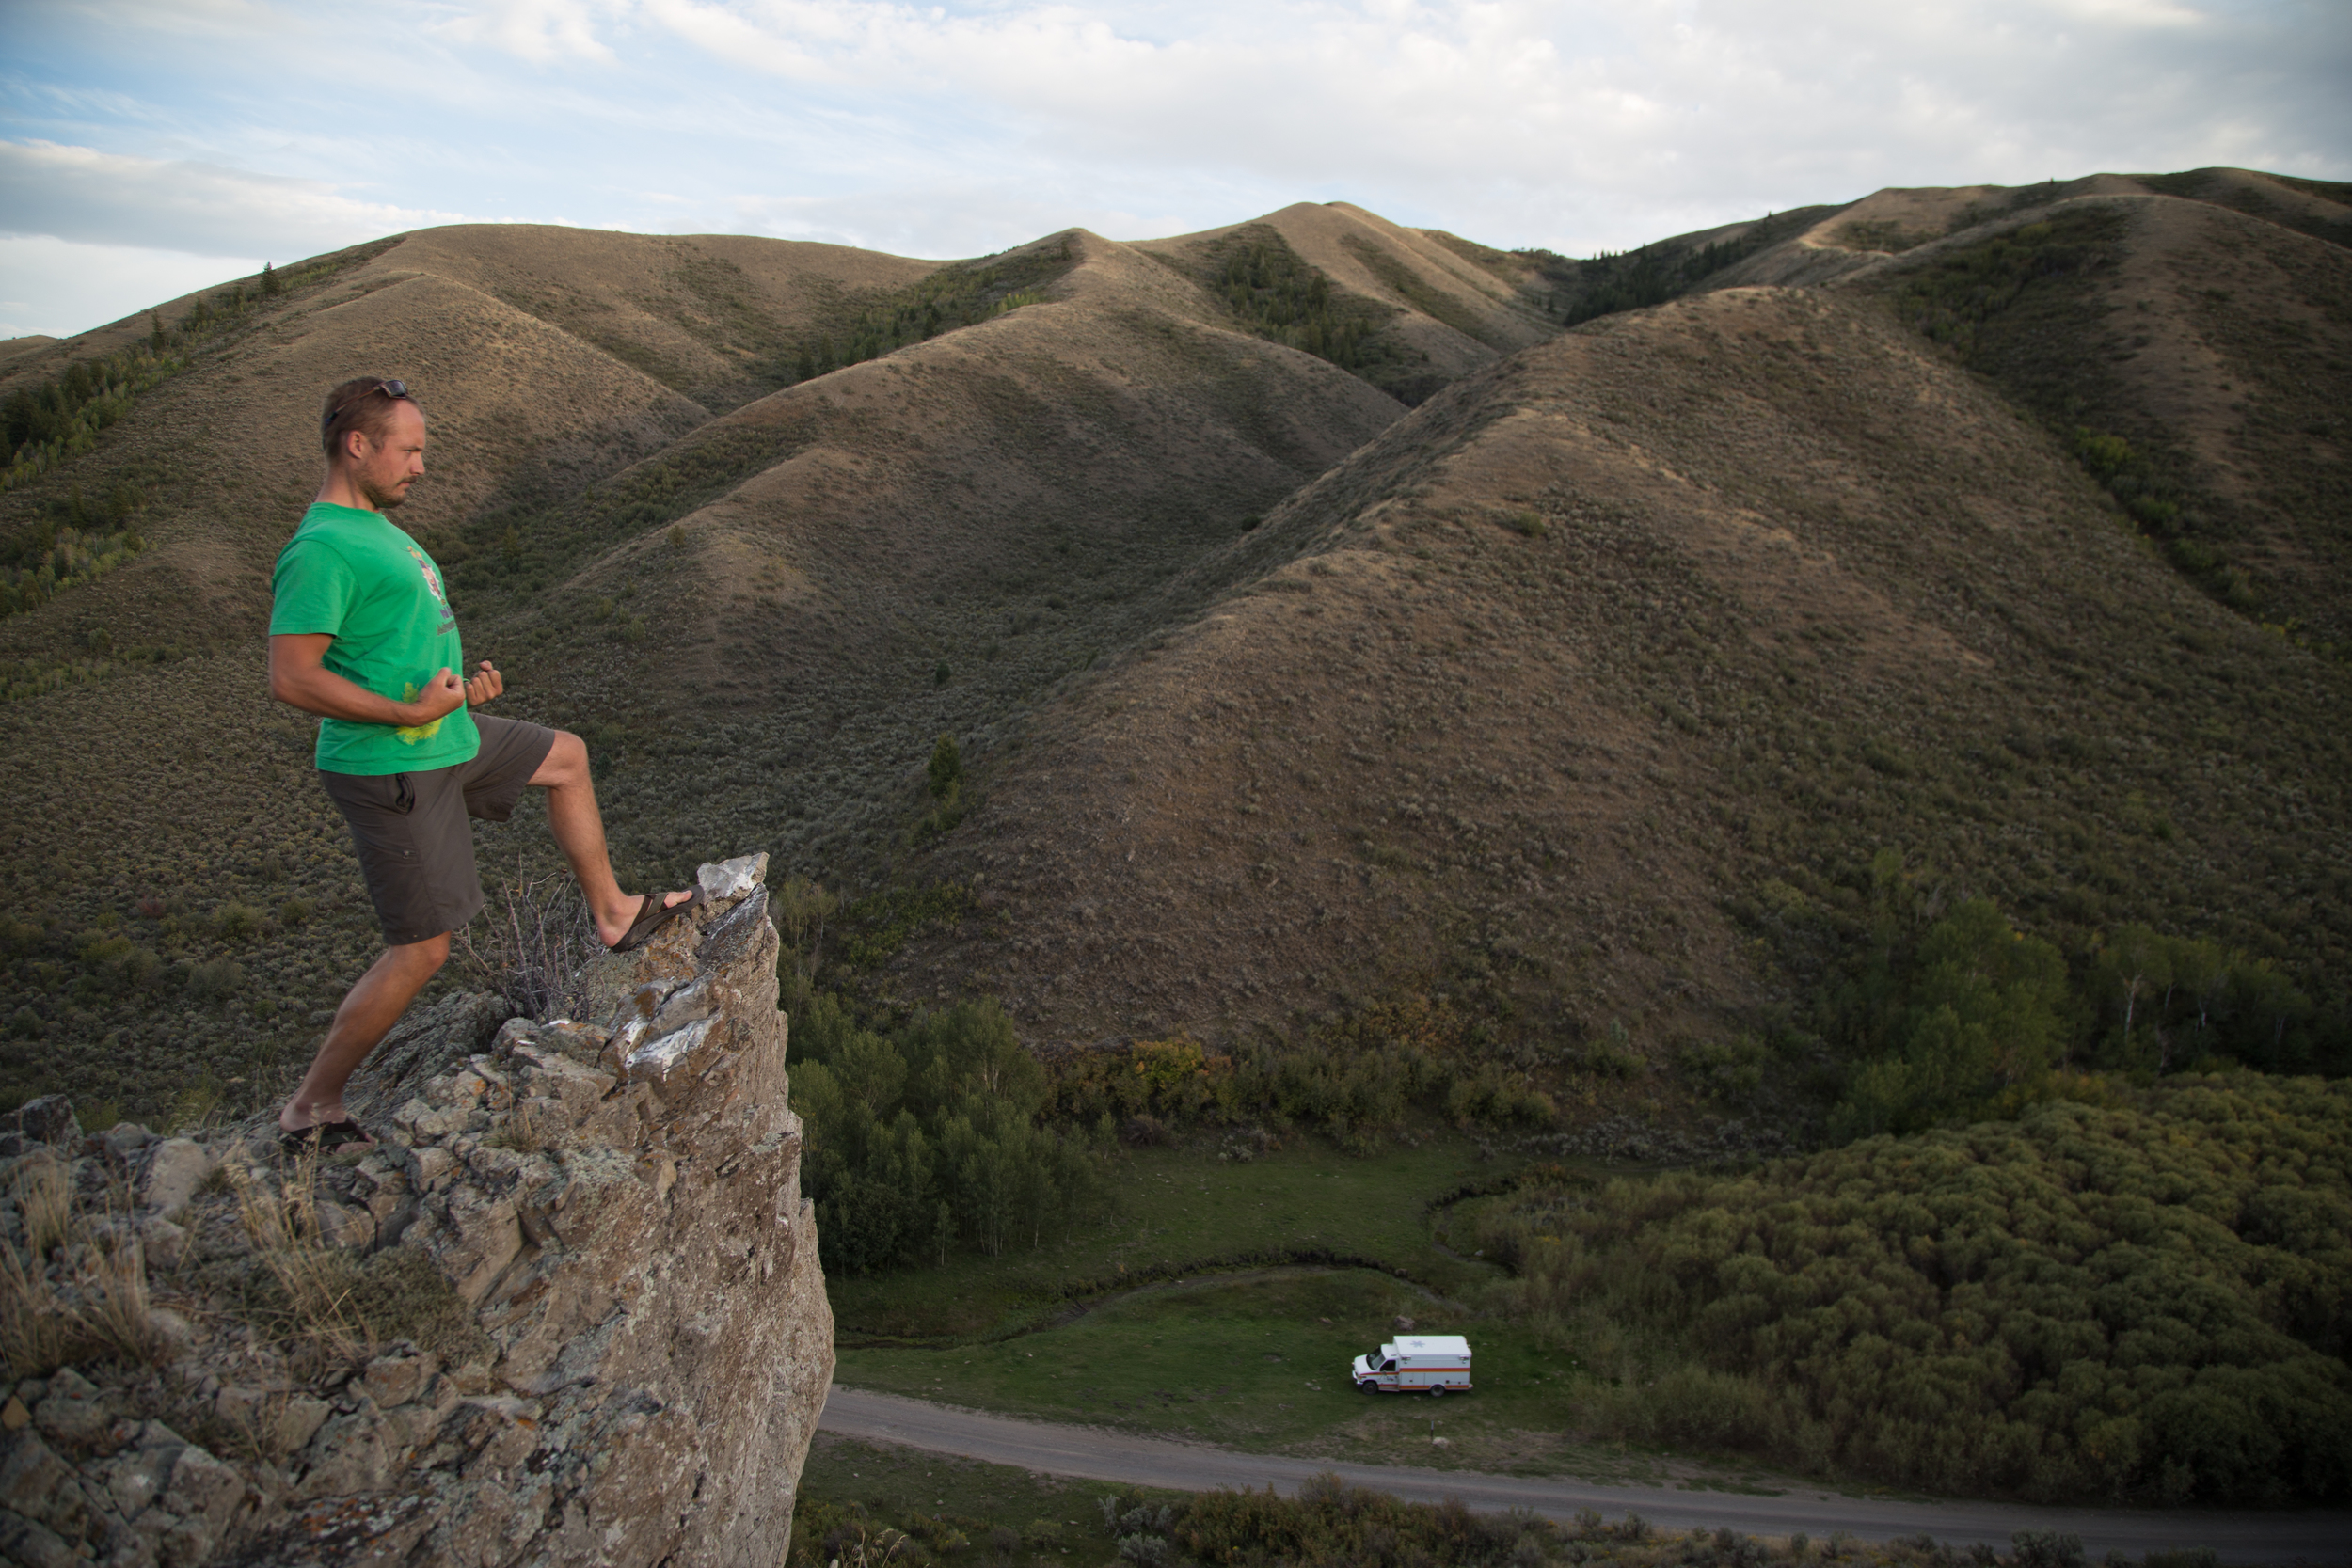
Found an ideal spot along a creek and took an evening hike up to check out the view.

Beautiful sunset.
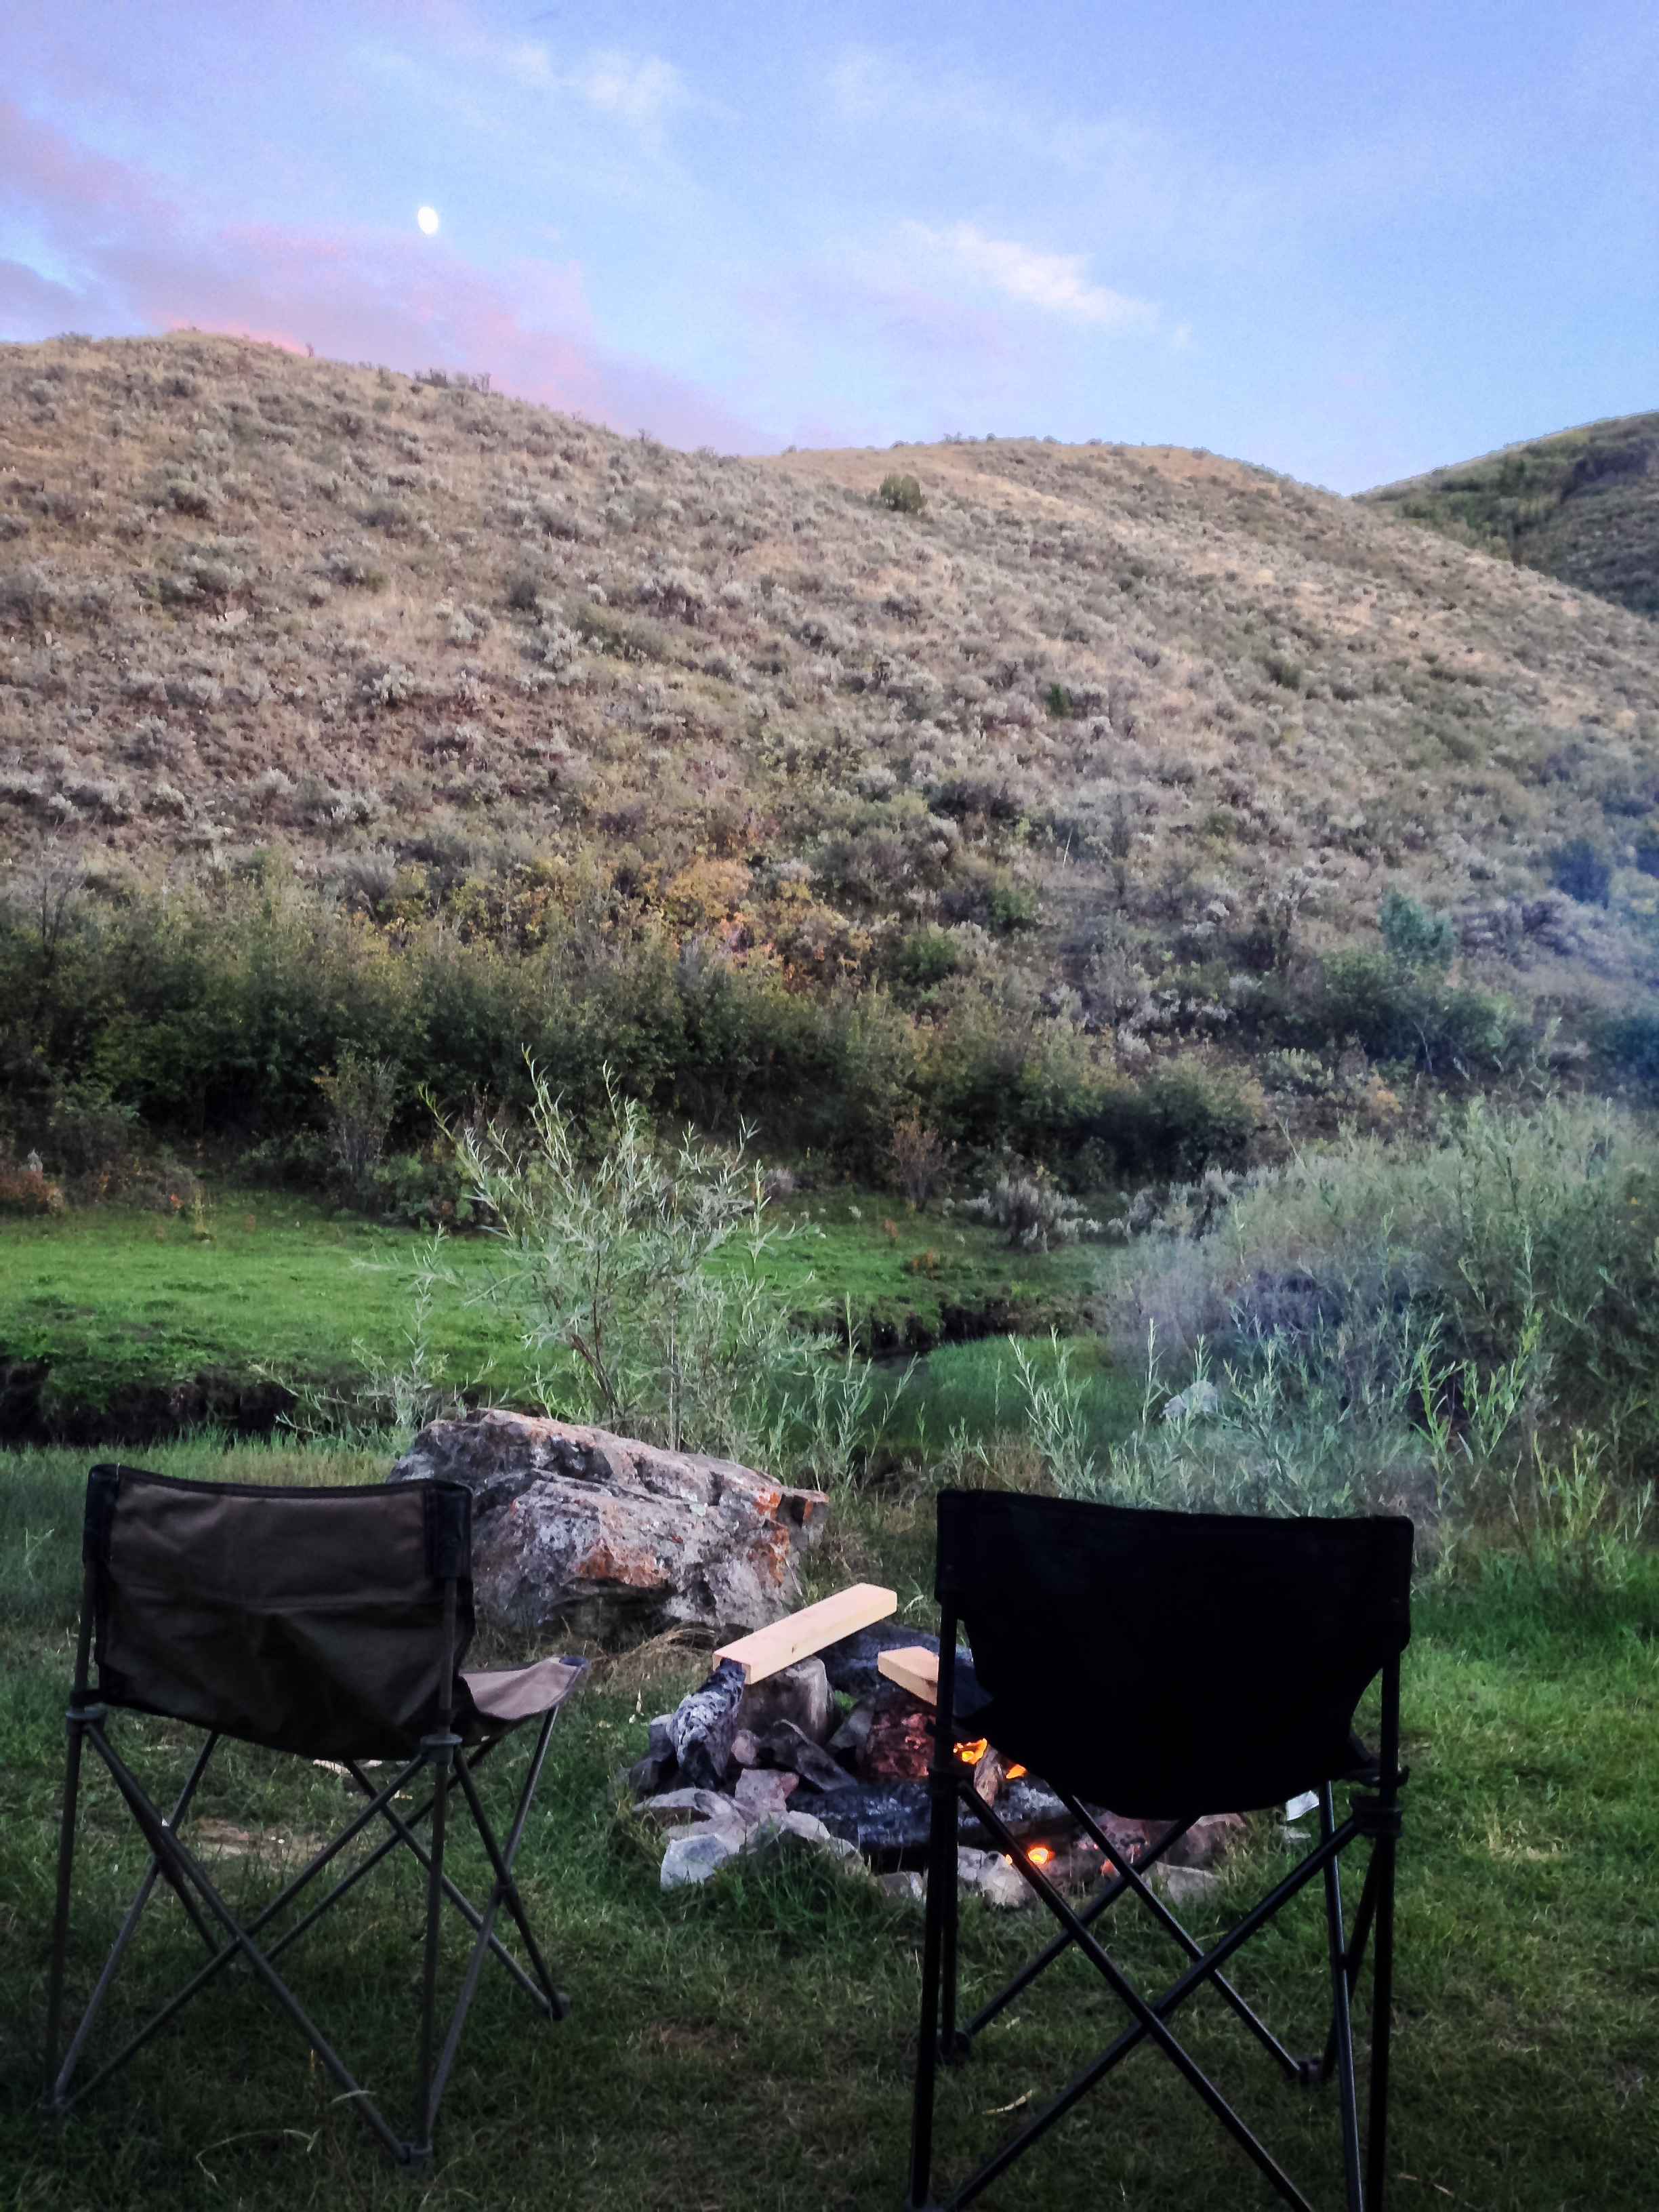
The best dinner seating around.
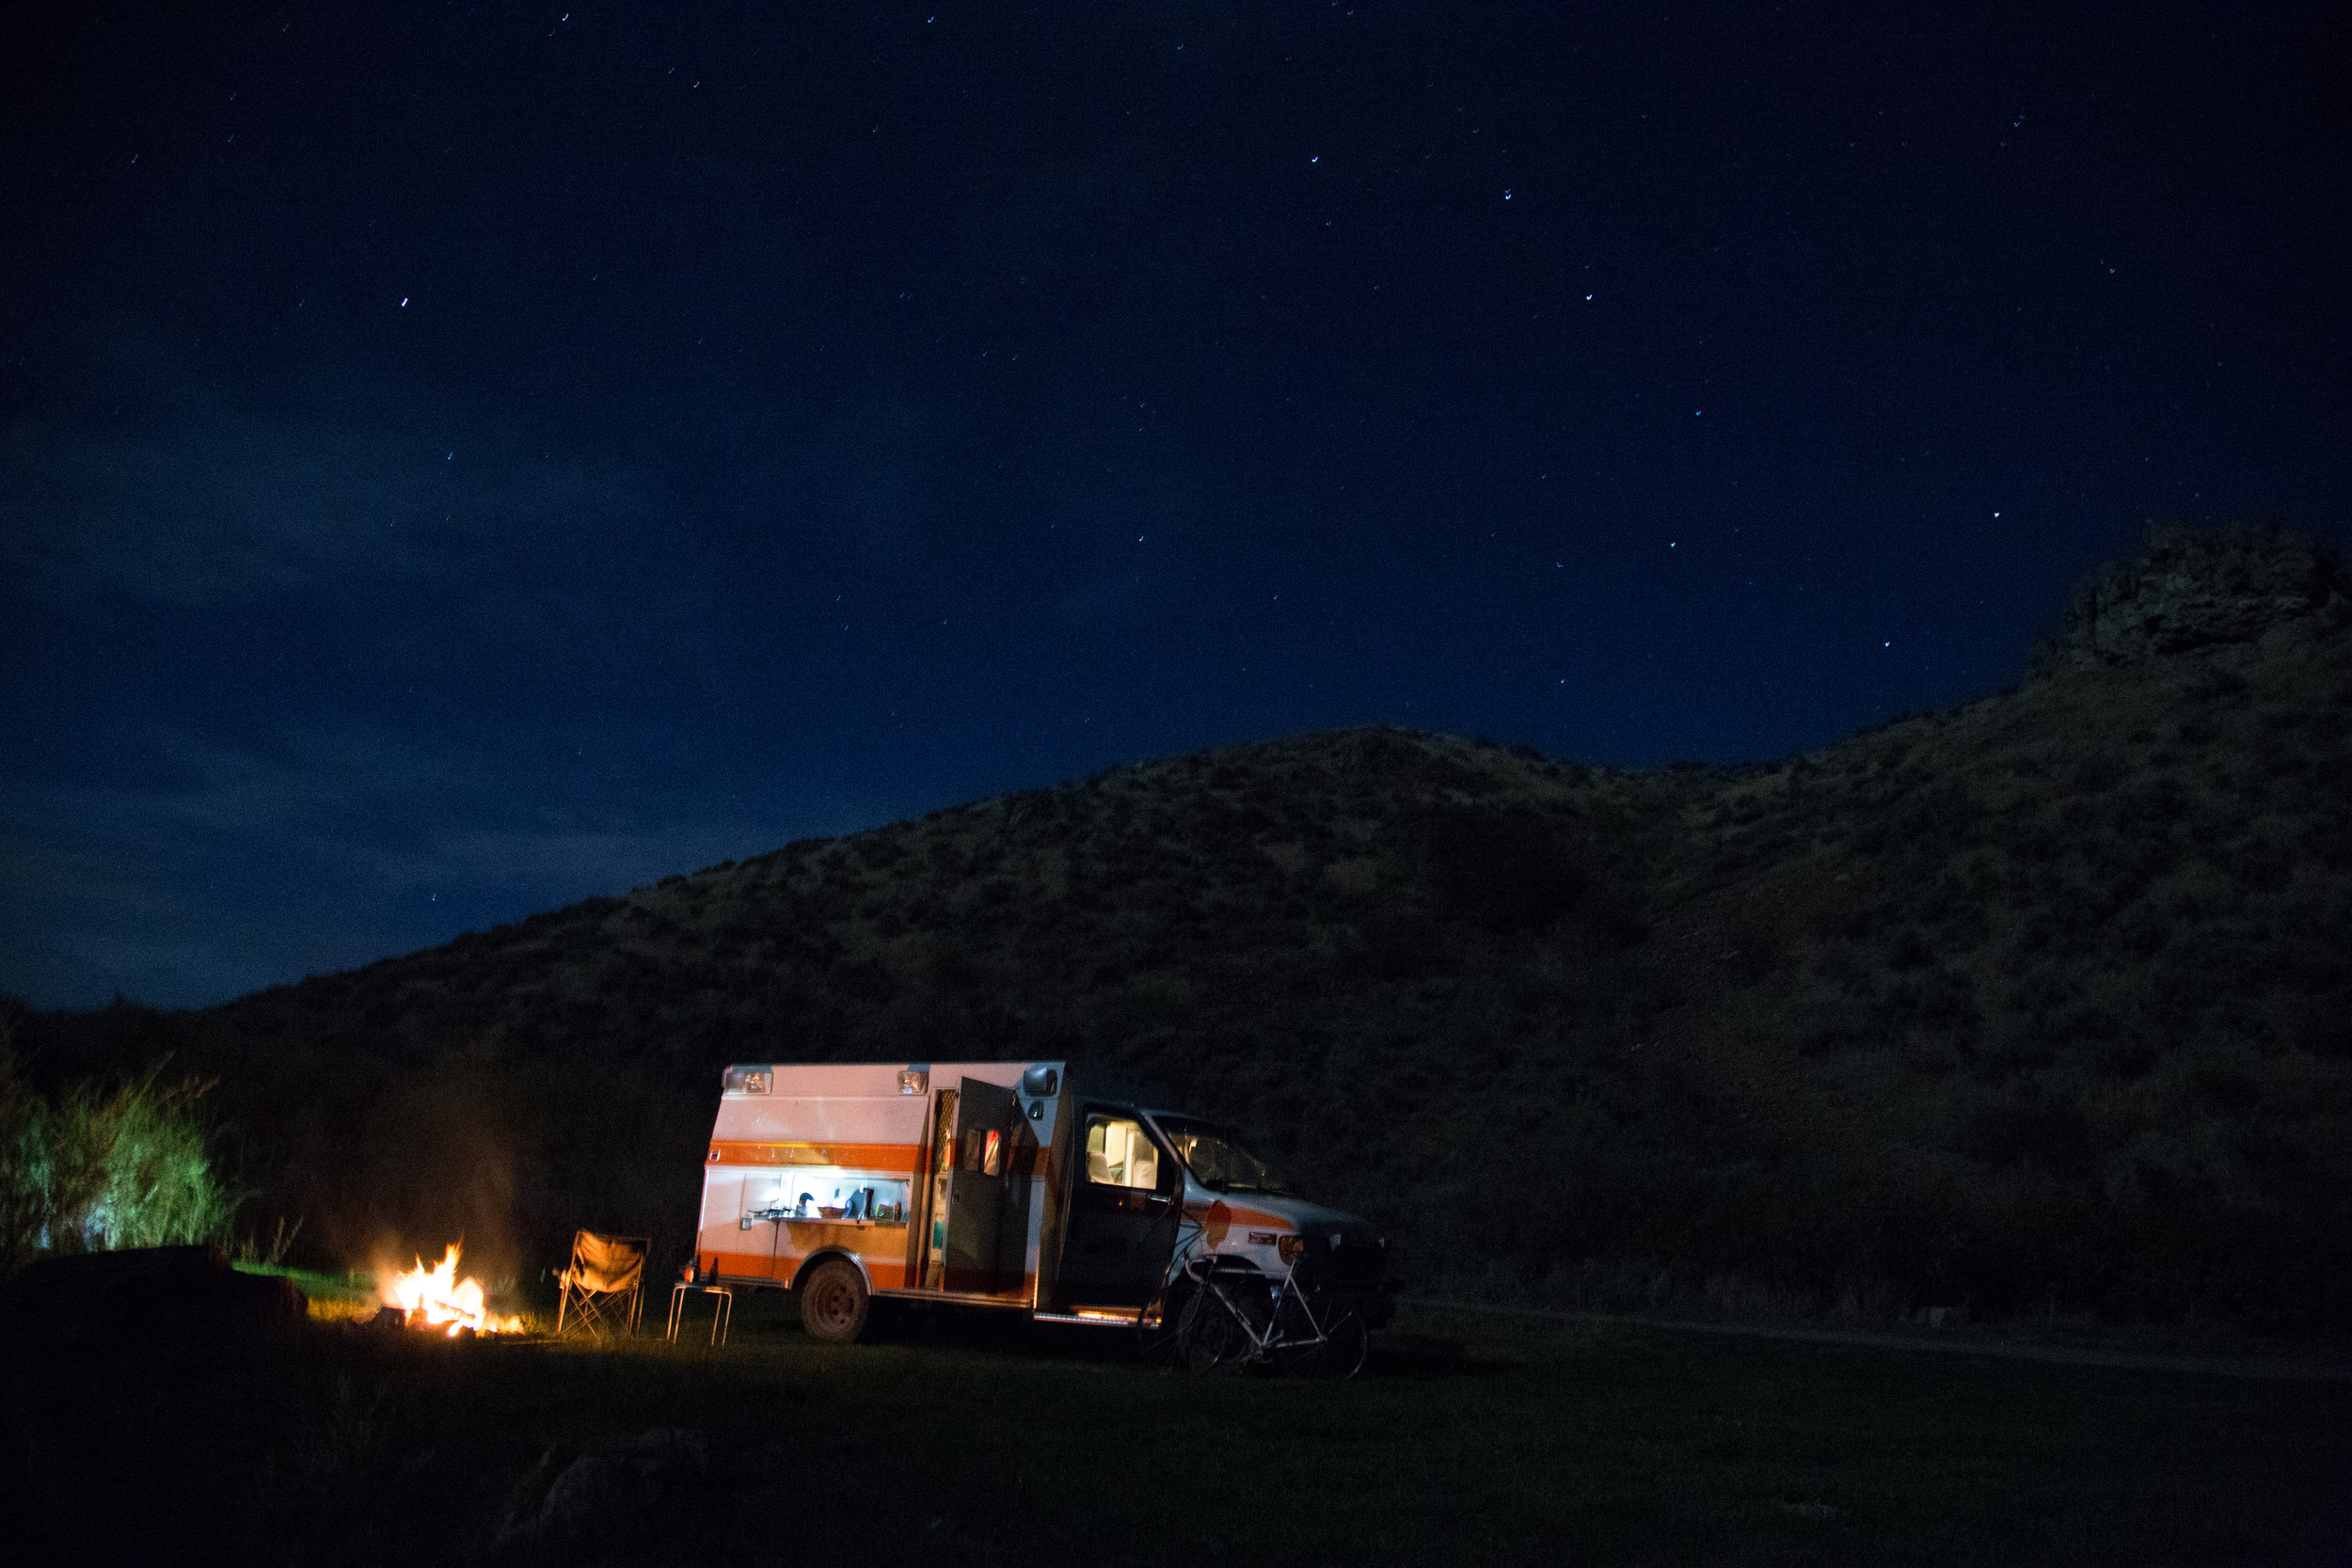
What a lovely perfect night to be camping.