2.10.16 ::: An update a long time coming.
/I apologize for the long delay between posts. After our time at the Christmas tree lot came to a close and we spent Christmas on the Texas coast with Christian's dad, (where I was originally catching up on the other most recent posts), we unexpectedly found ourselves hurrying up to Alabama as quickly as possible to be with my sister and the rest of my family. We arrived in Huntsville on New Years Eve and were incredibly blessed to get to spend the next two weeks with my sister before she passed away after a two year battle with brain cancer.
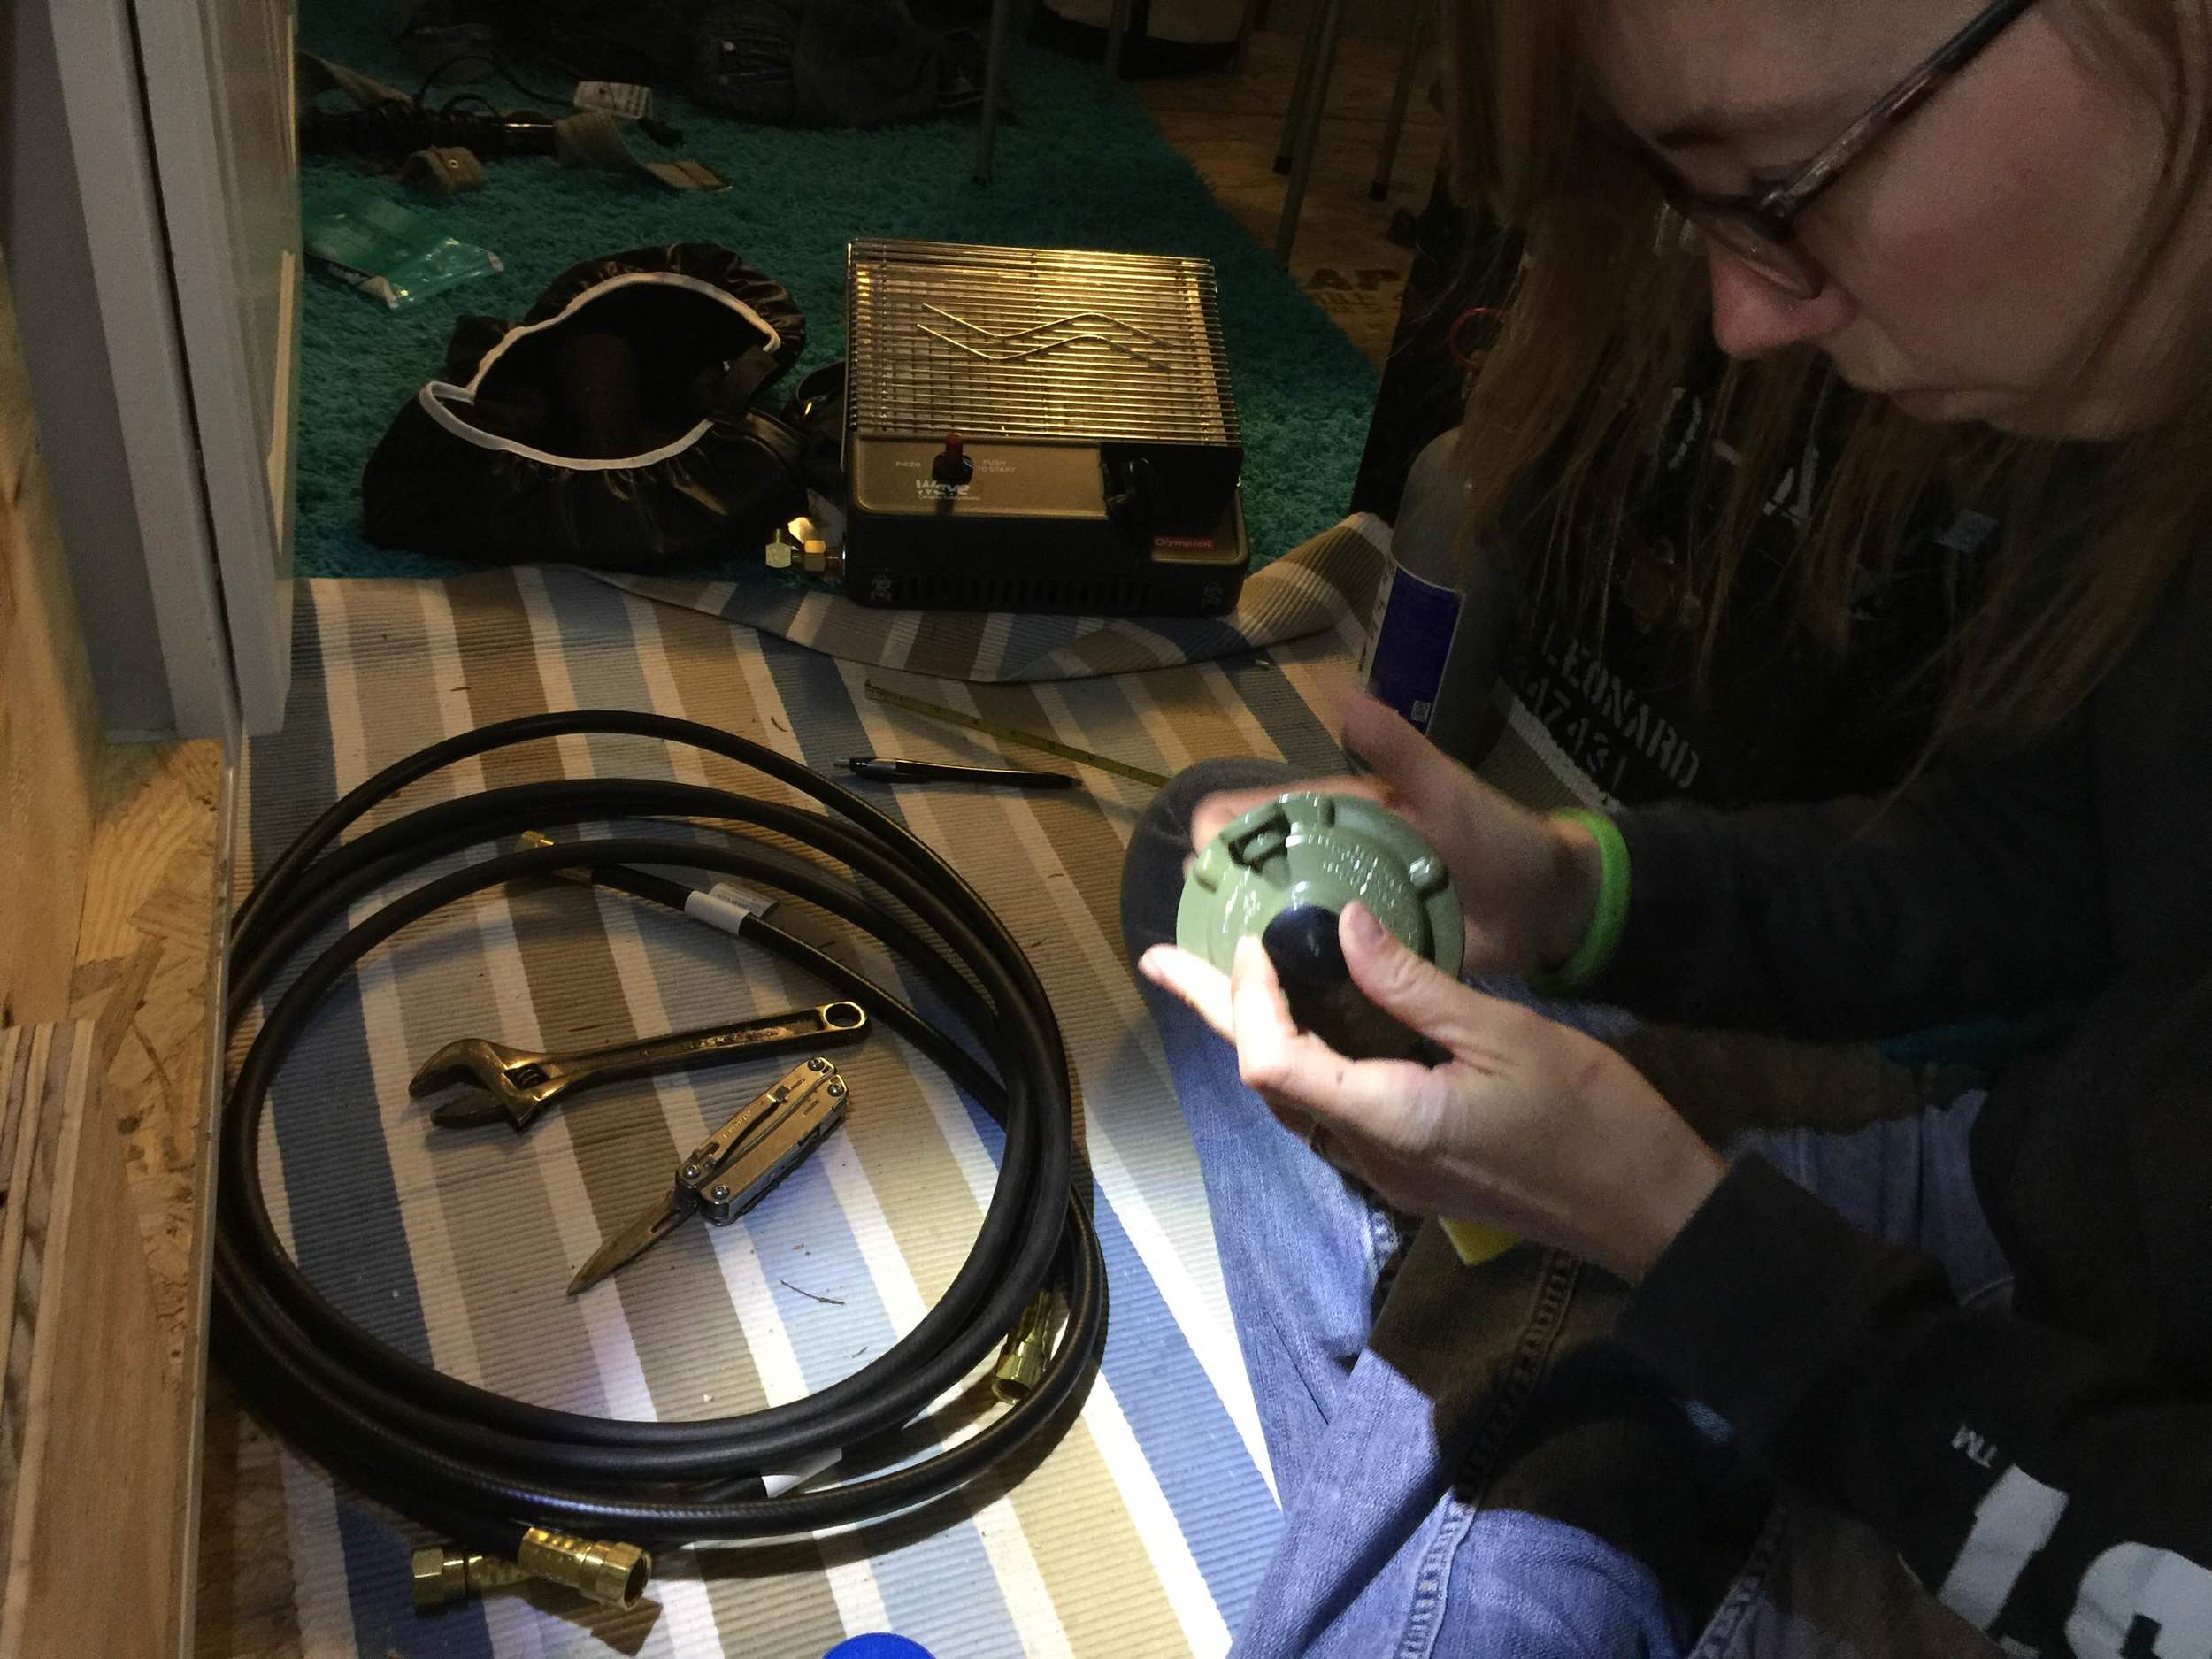
Currently, we are in Northwest Arkansas, spending quality time with my cousins while awaiting a part to finish installing our tiny wood stove (more on that later!). We left Alabama on January 23rd and began our slow trek west, making our first stop a 1.5 week layover in Searcy, AR (where we began our conversion). We'll be heading out of NW Arkansas shortly, taking a more southern route along the way to slowly, but surely make our way west of the Continental Divide and back into the mountains.
I still want to stick to updating about the bus from start to finish, so here's the next one in line, even though it's about two months belated…
.
.
.
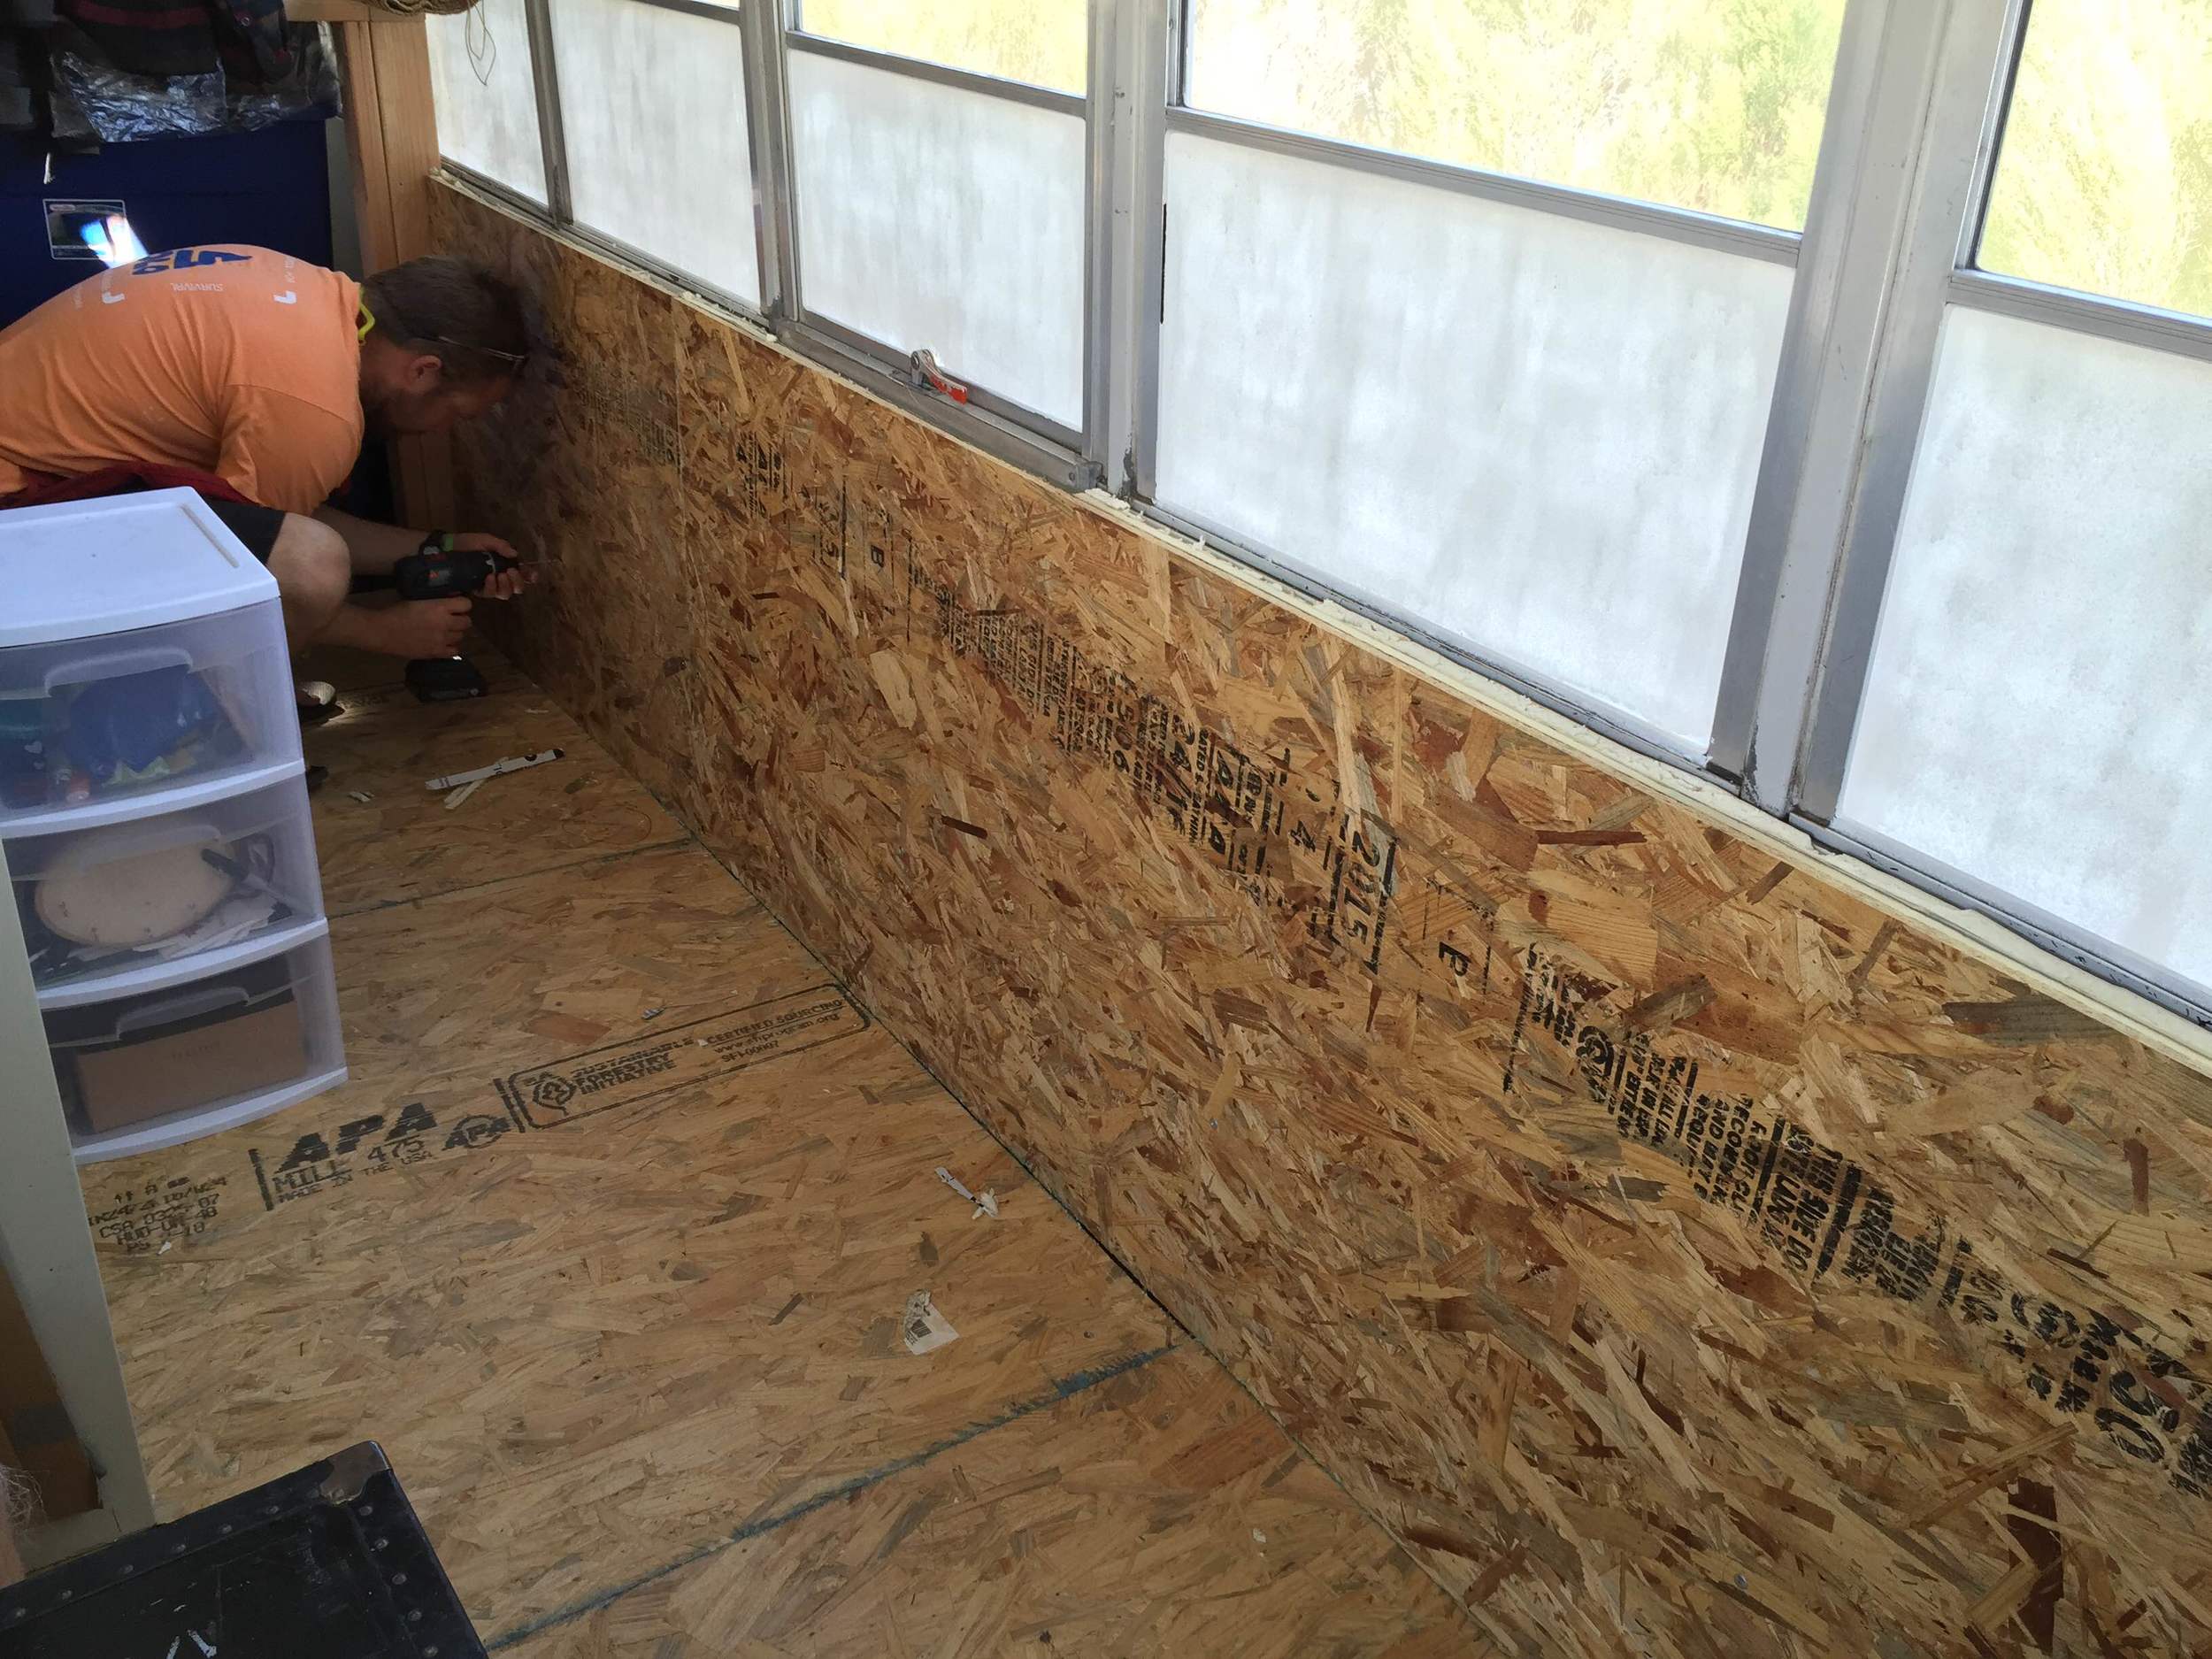
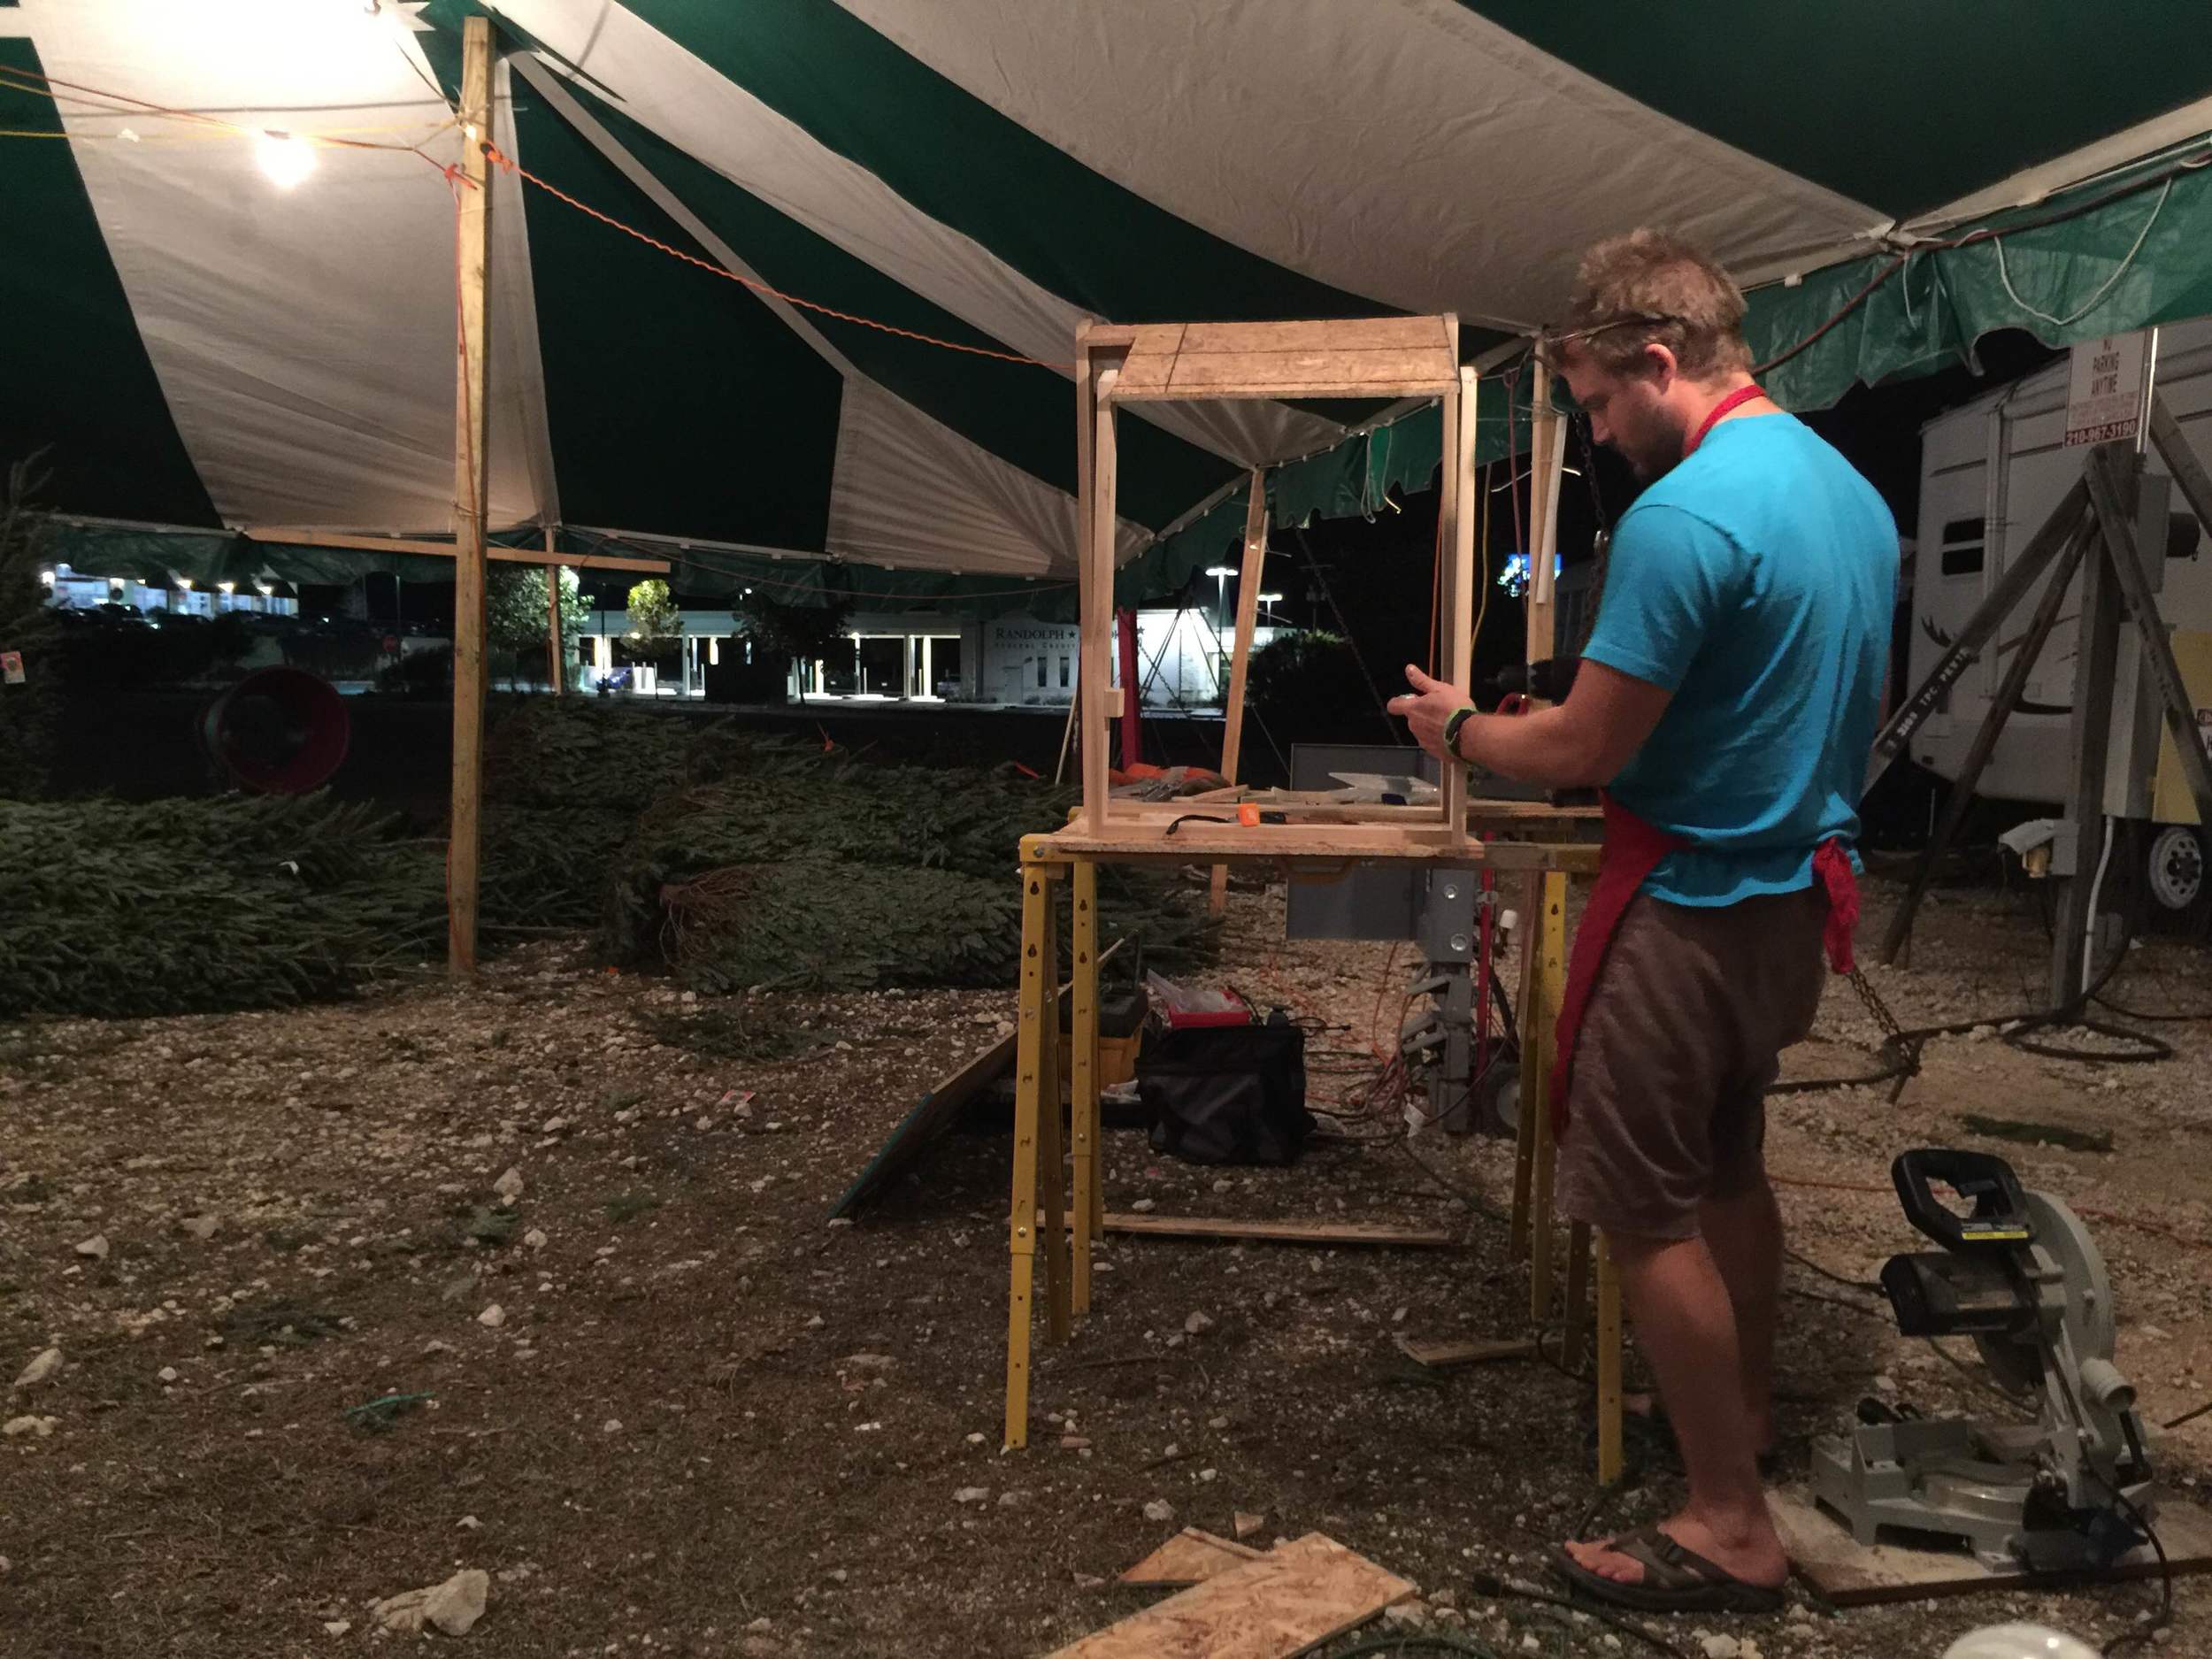
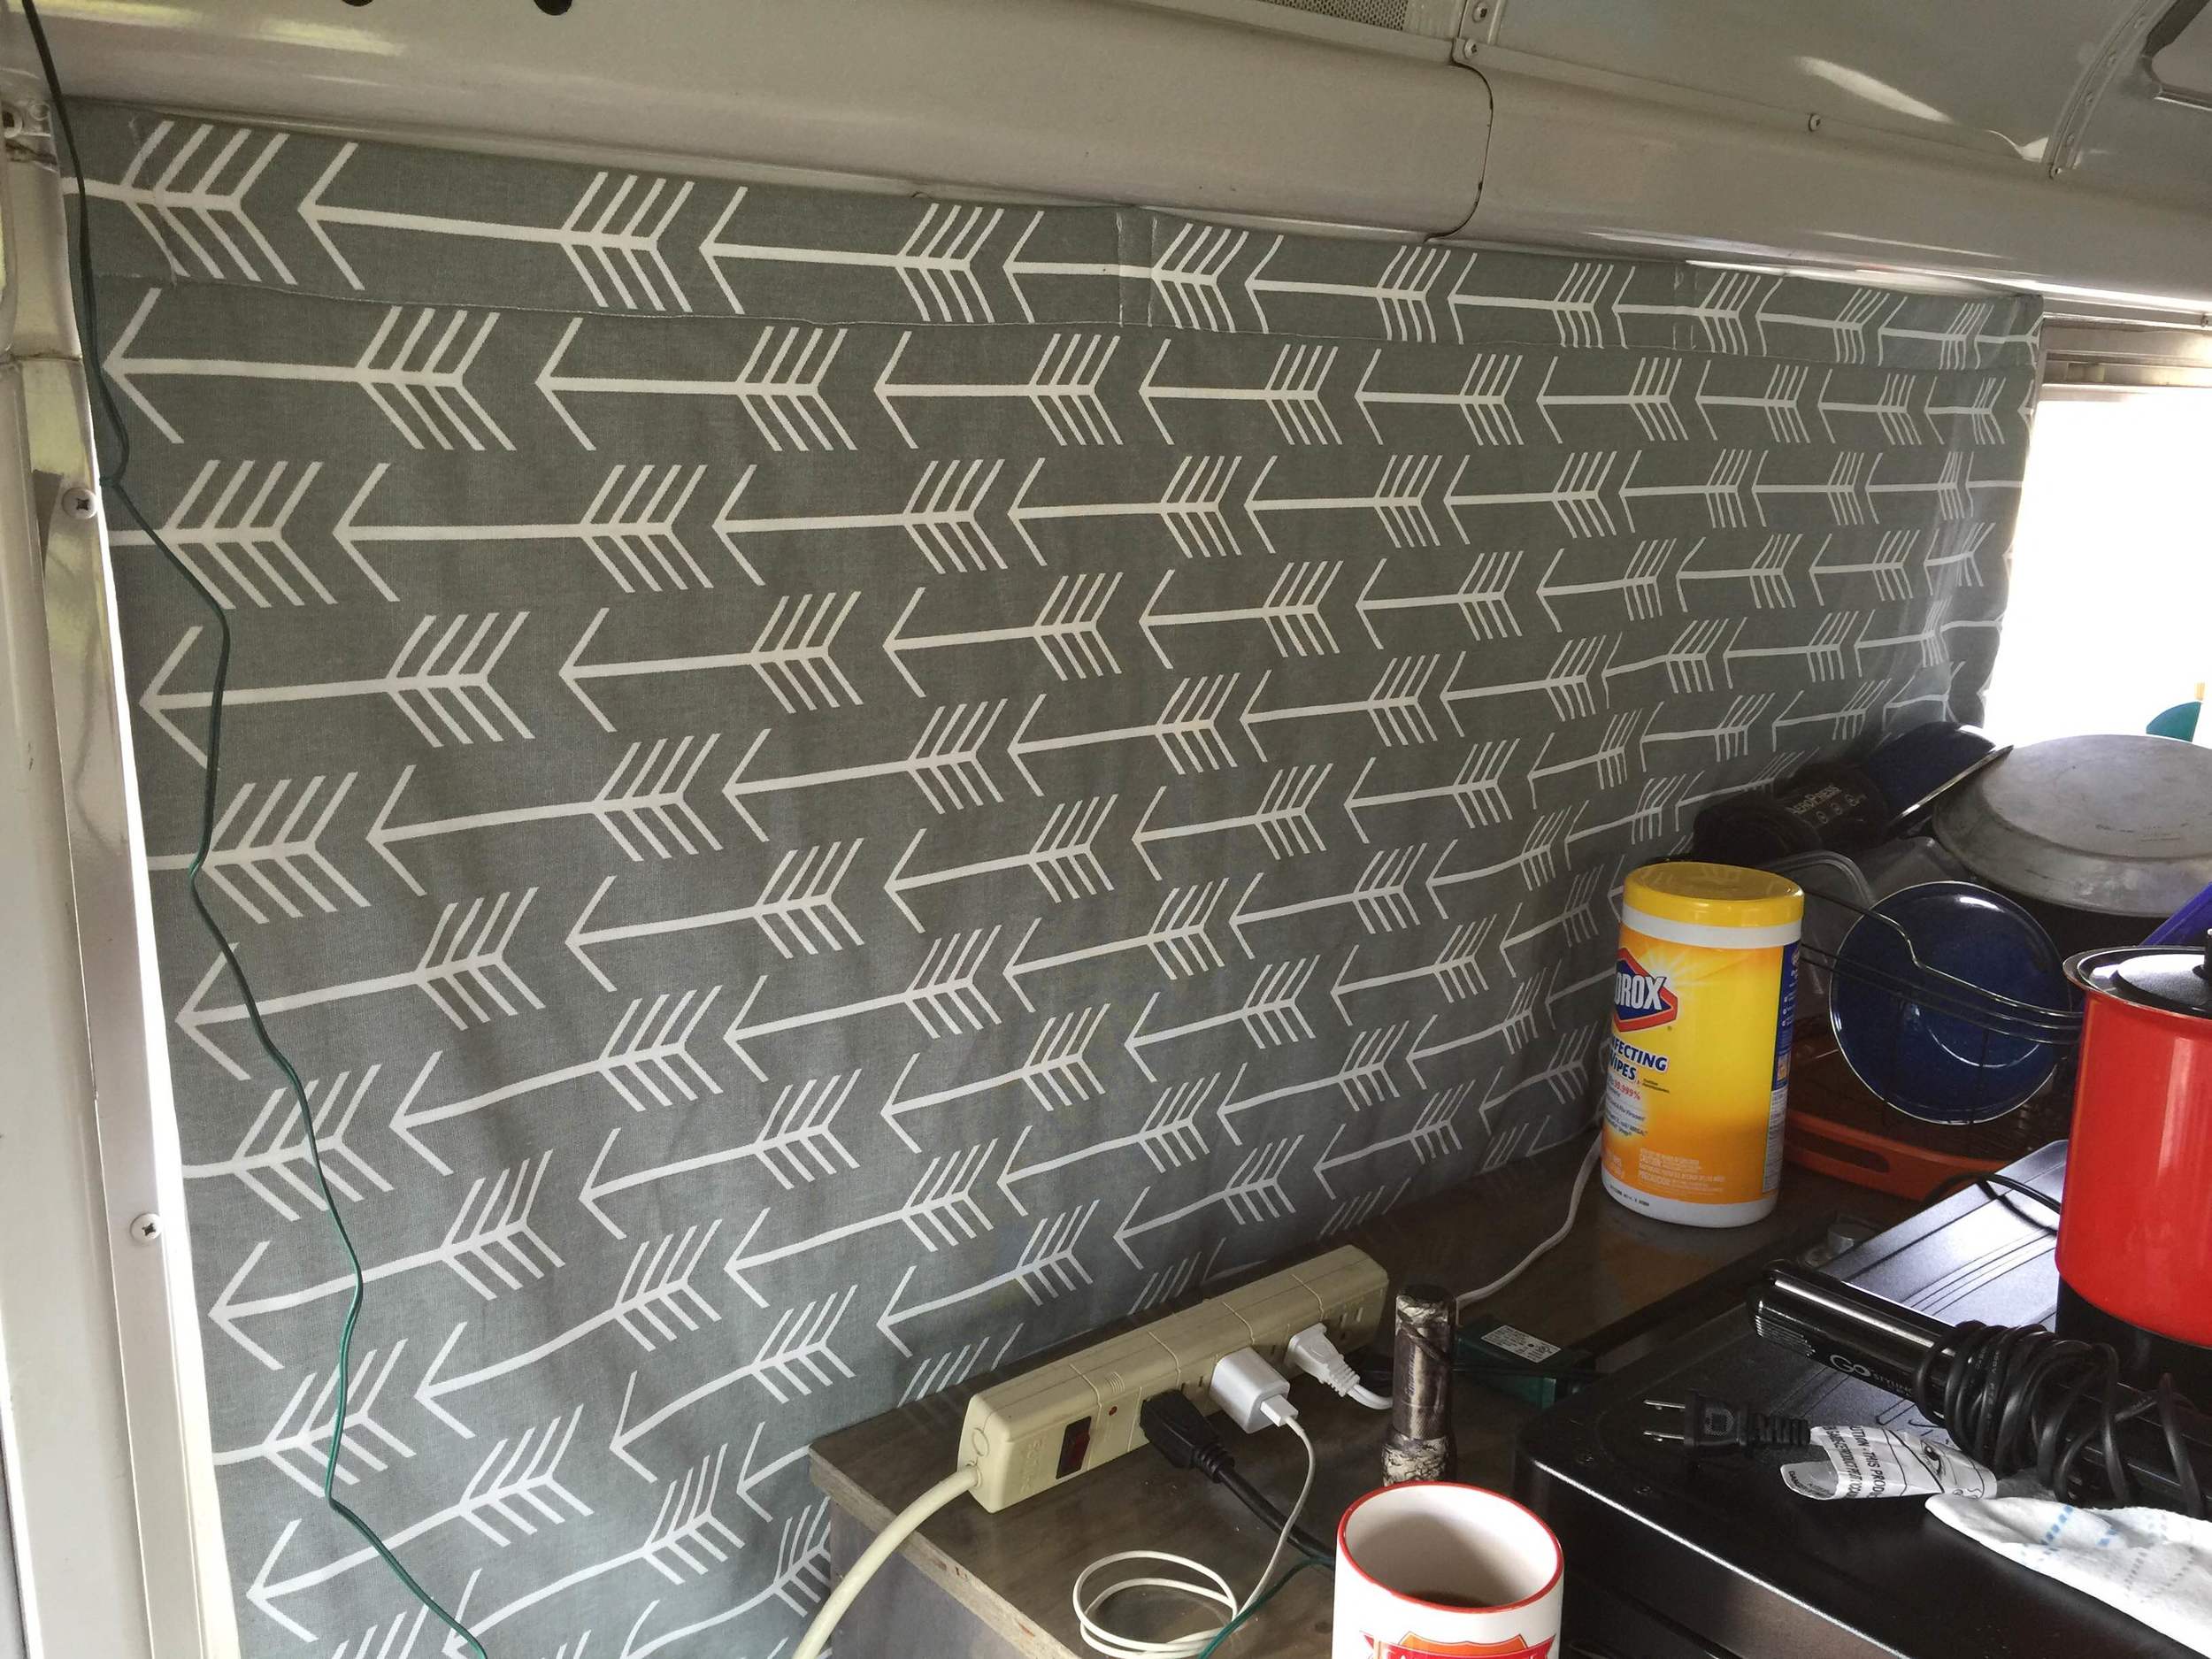
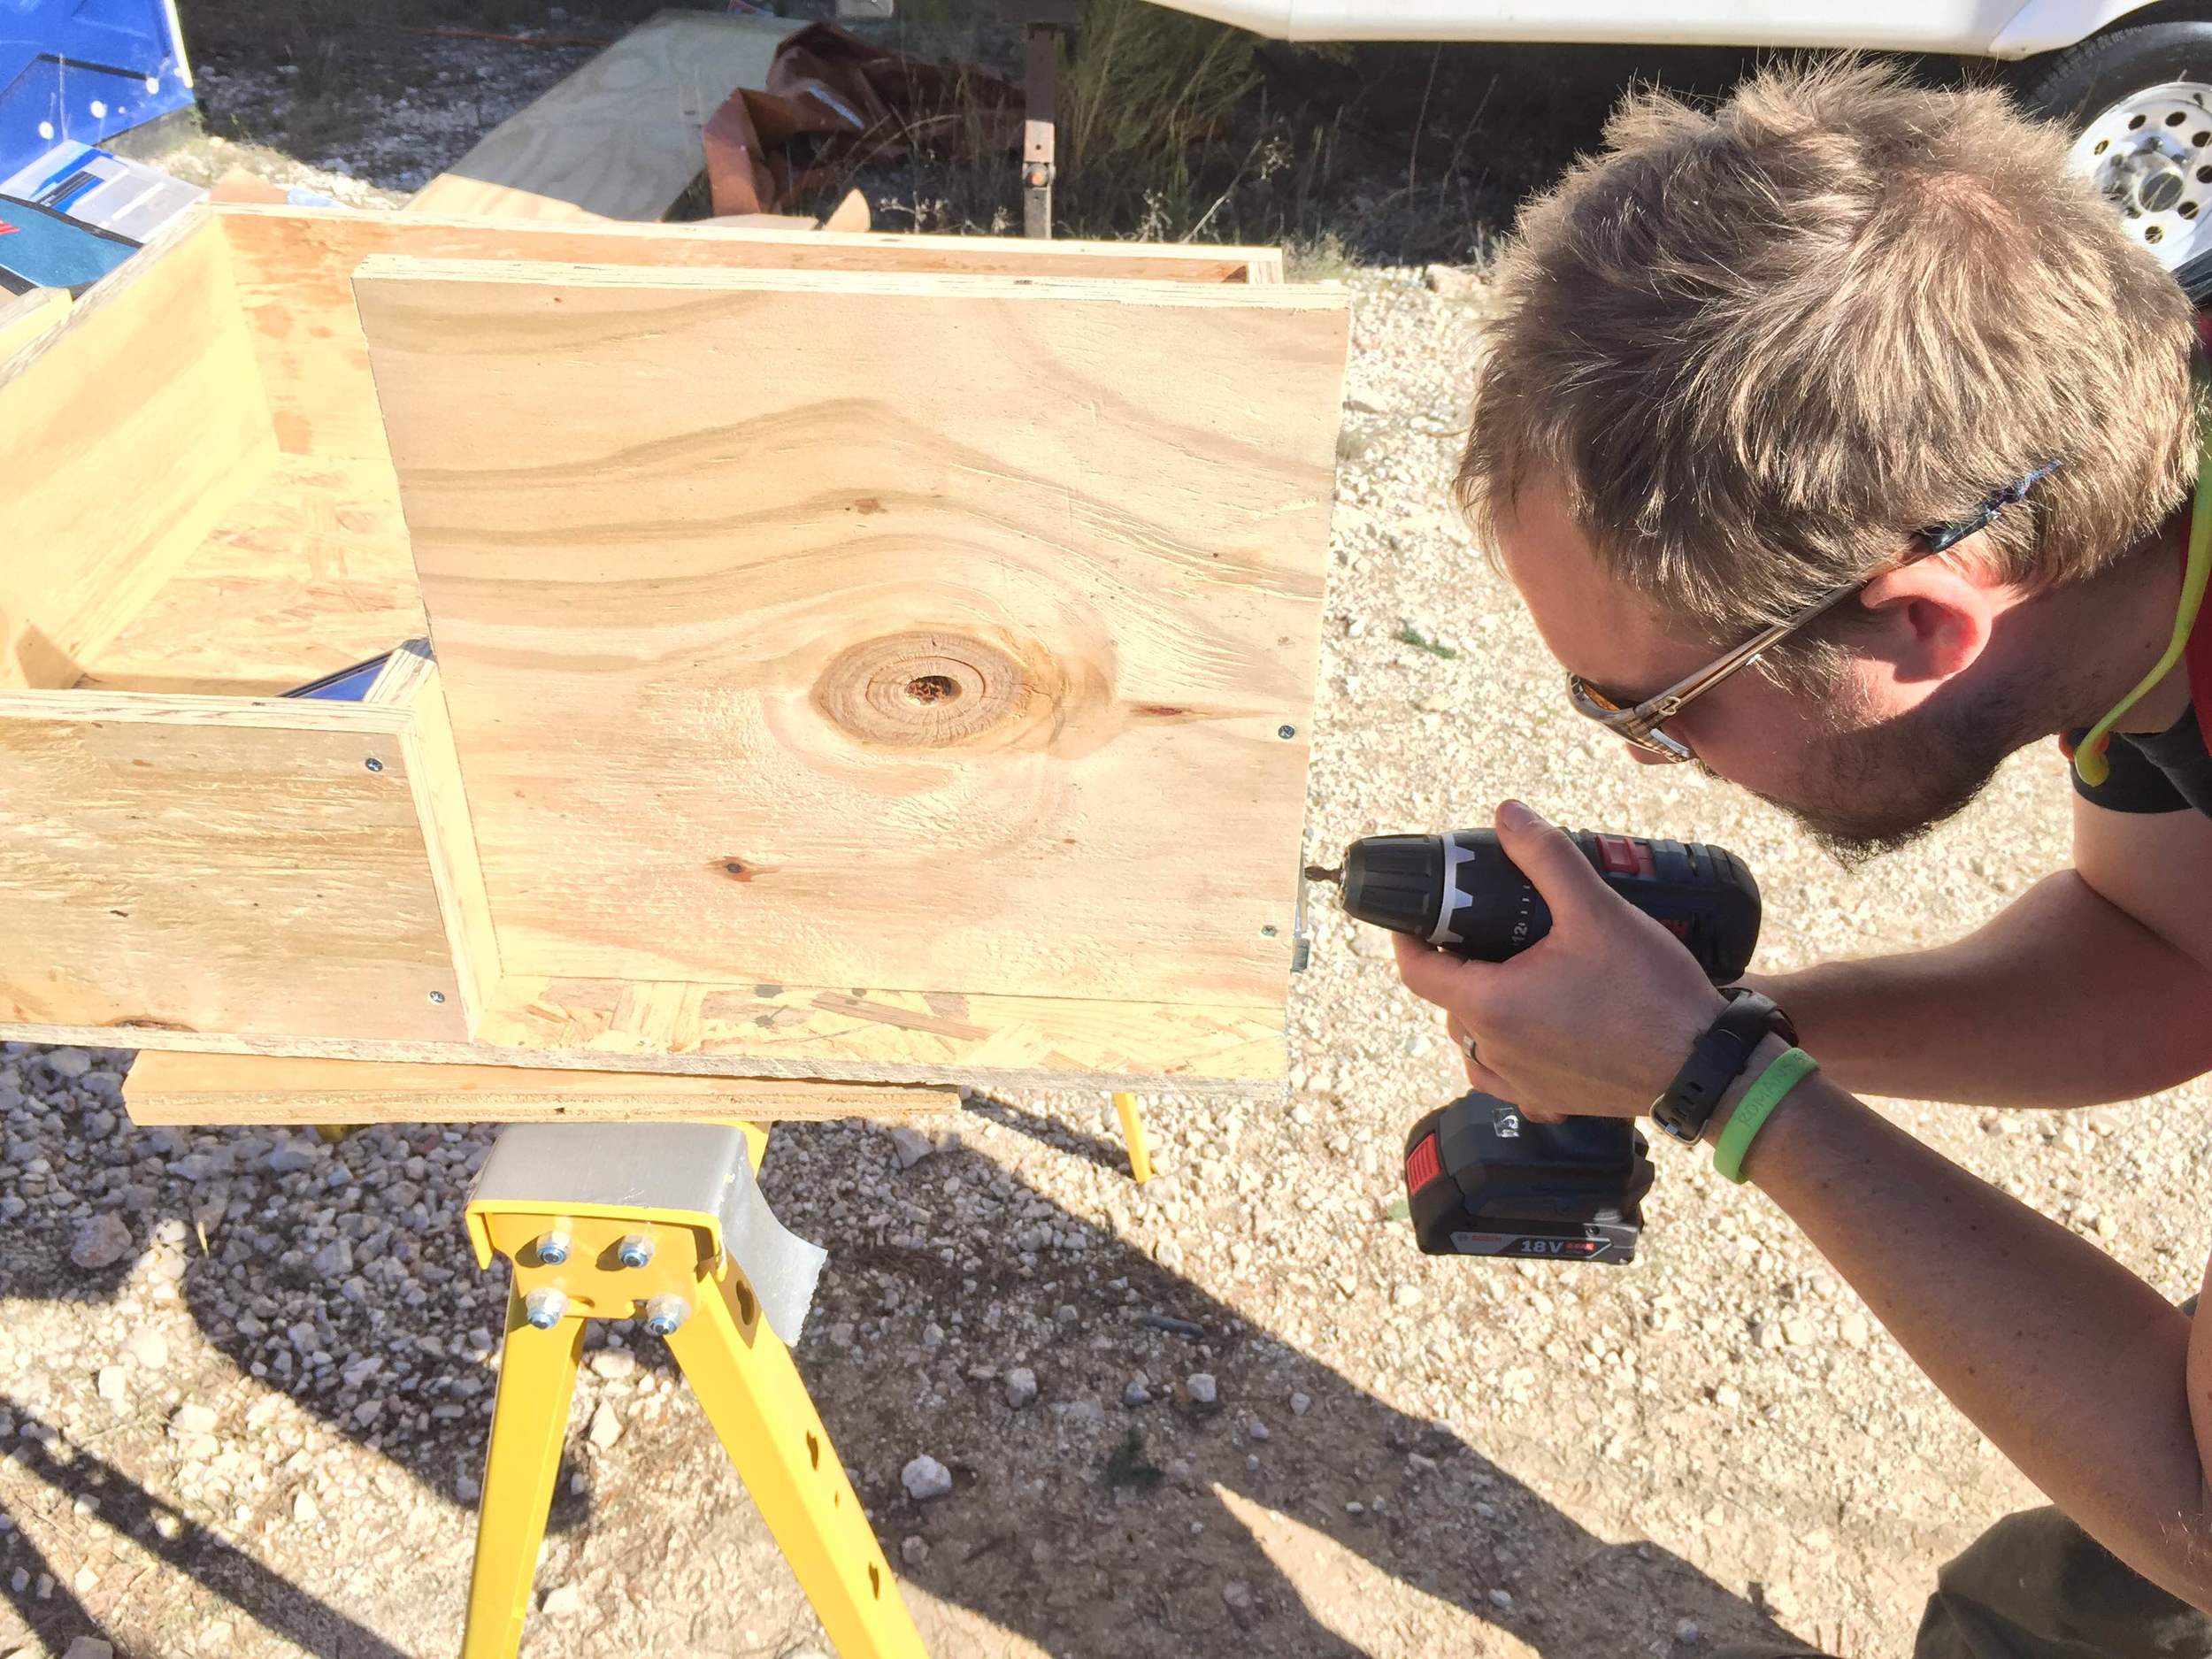
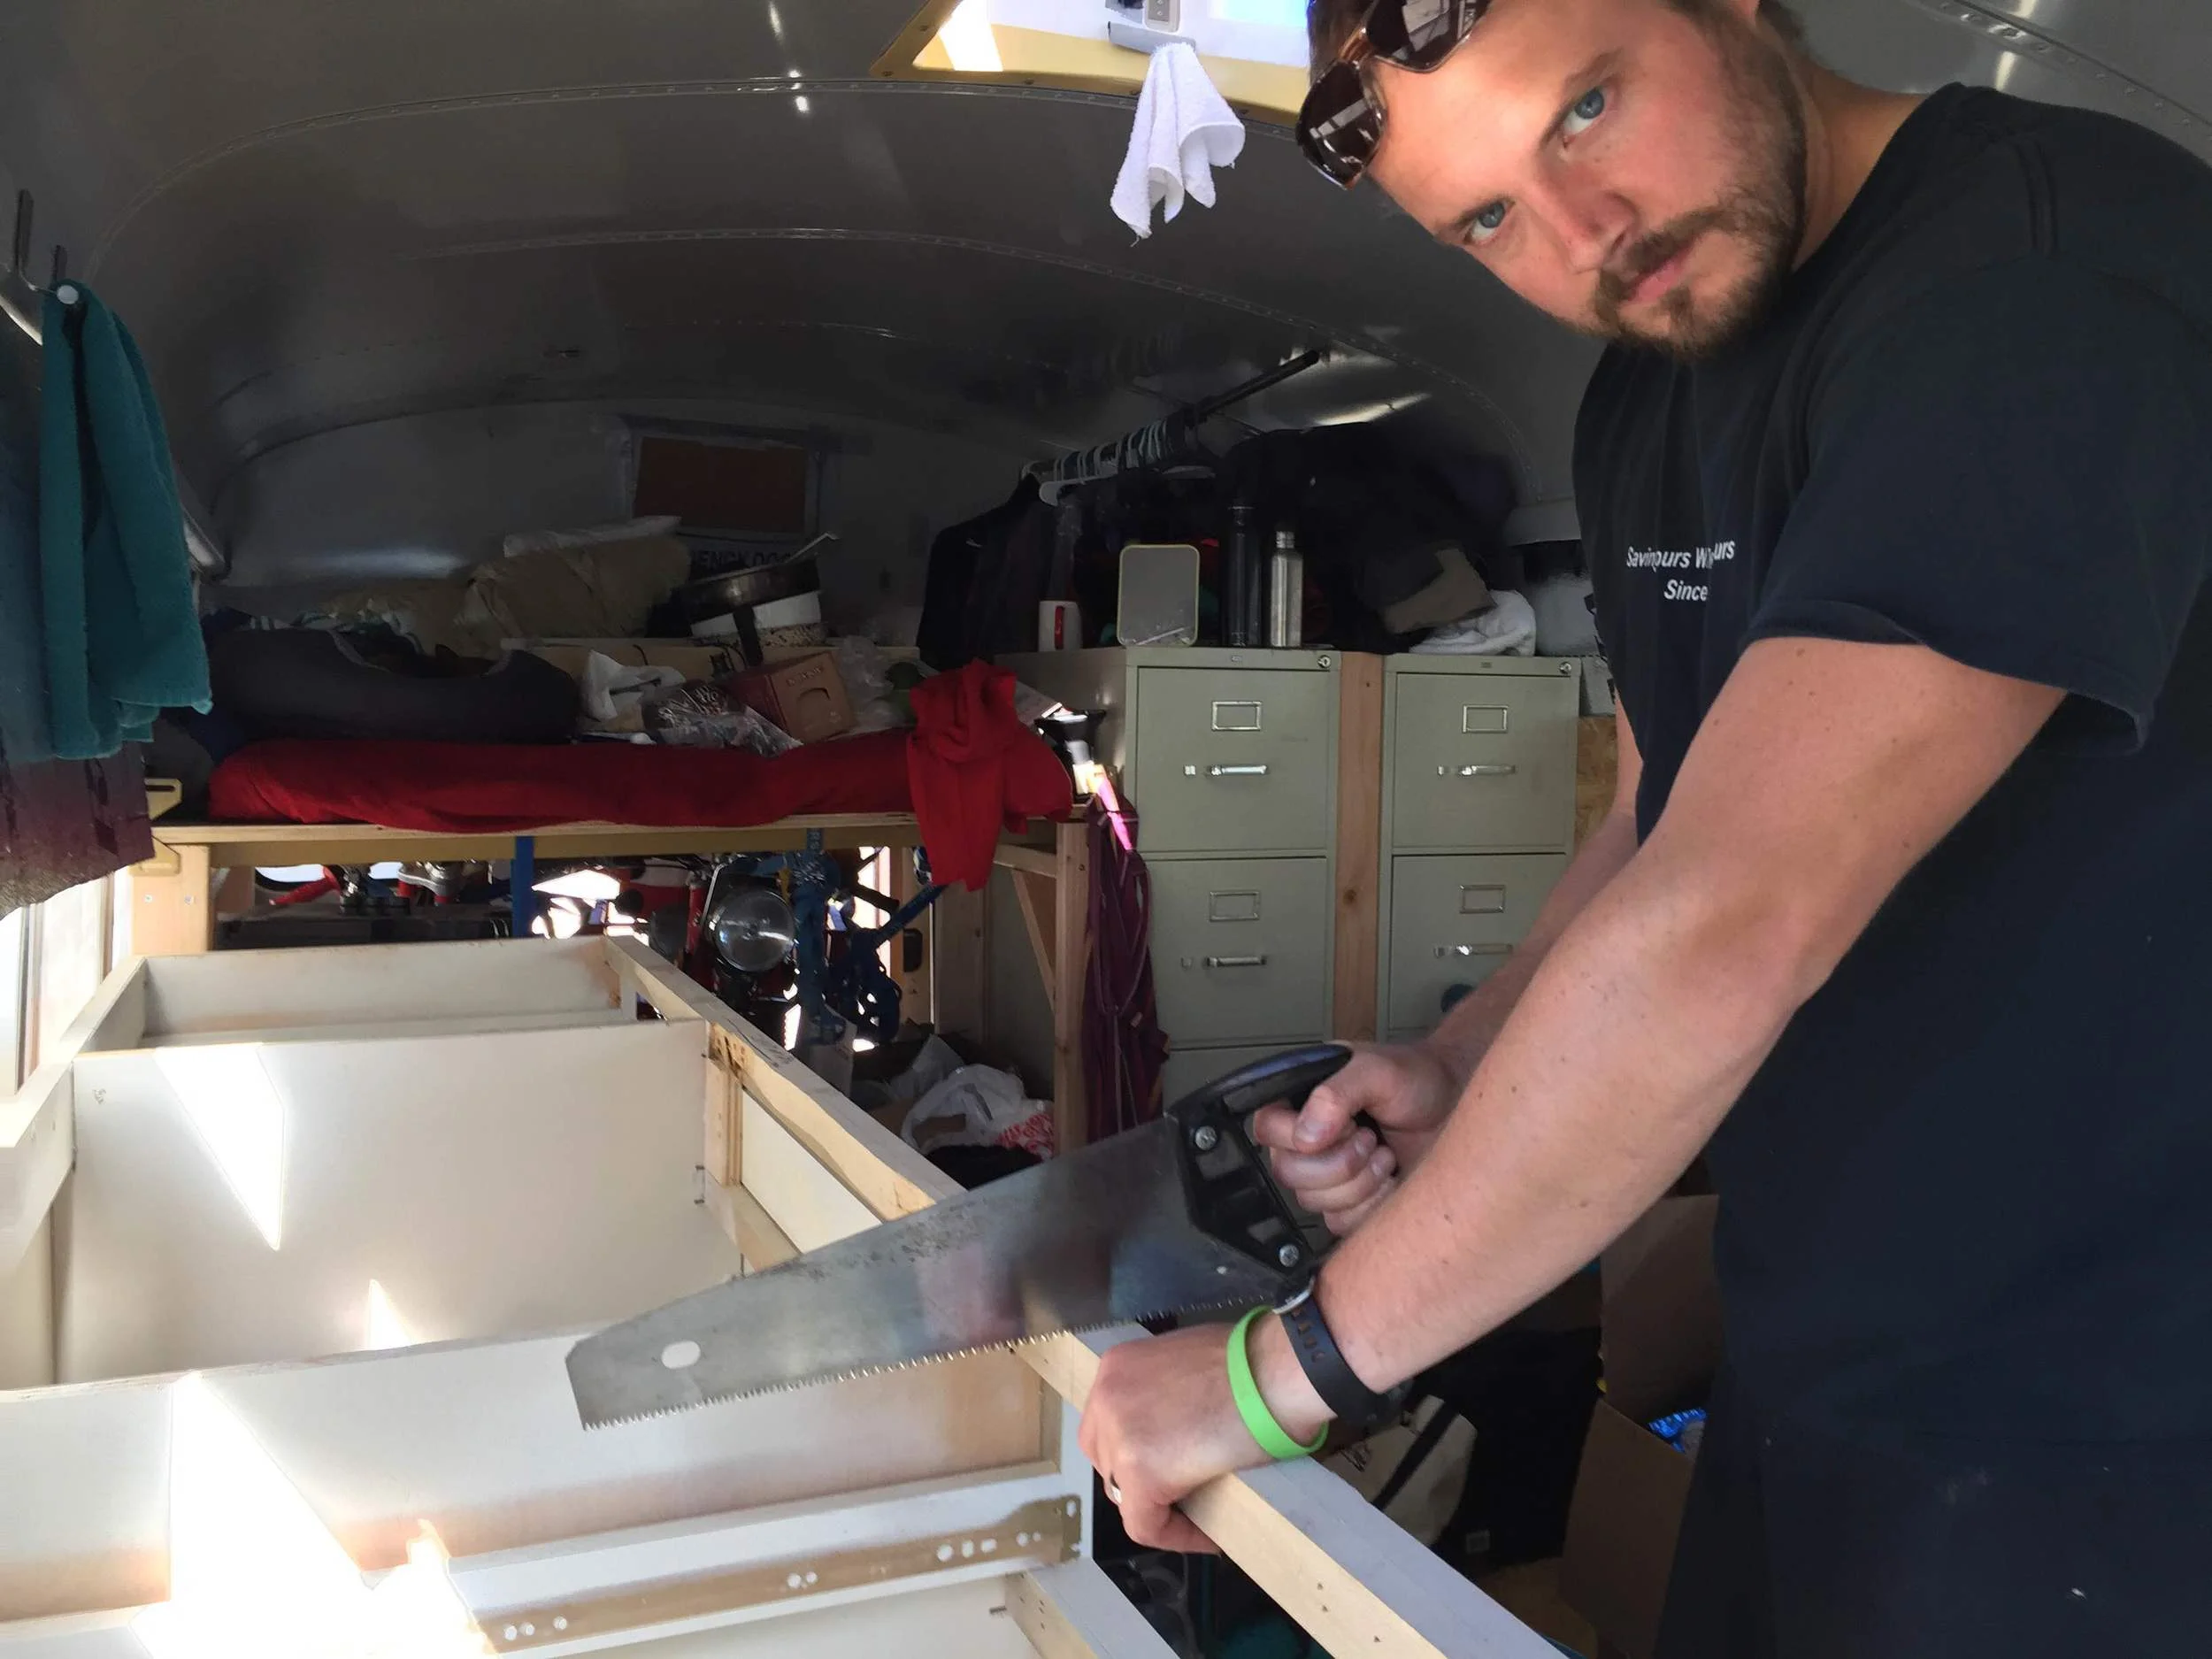
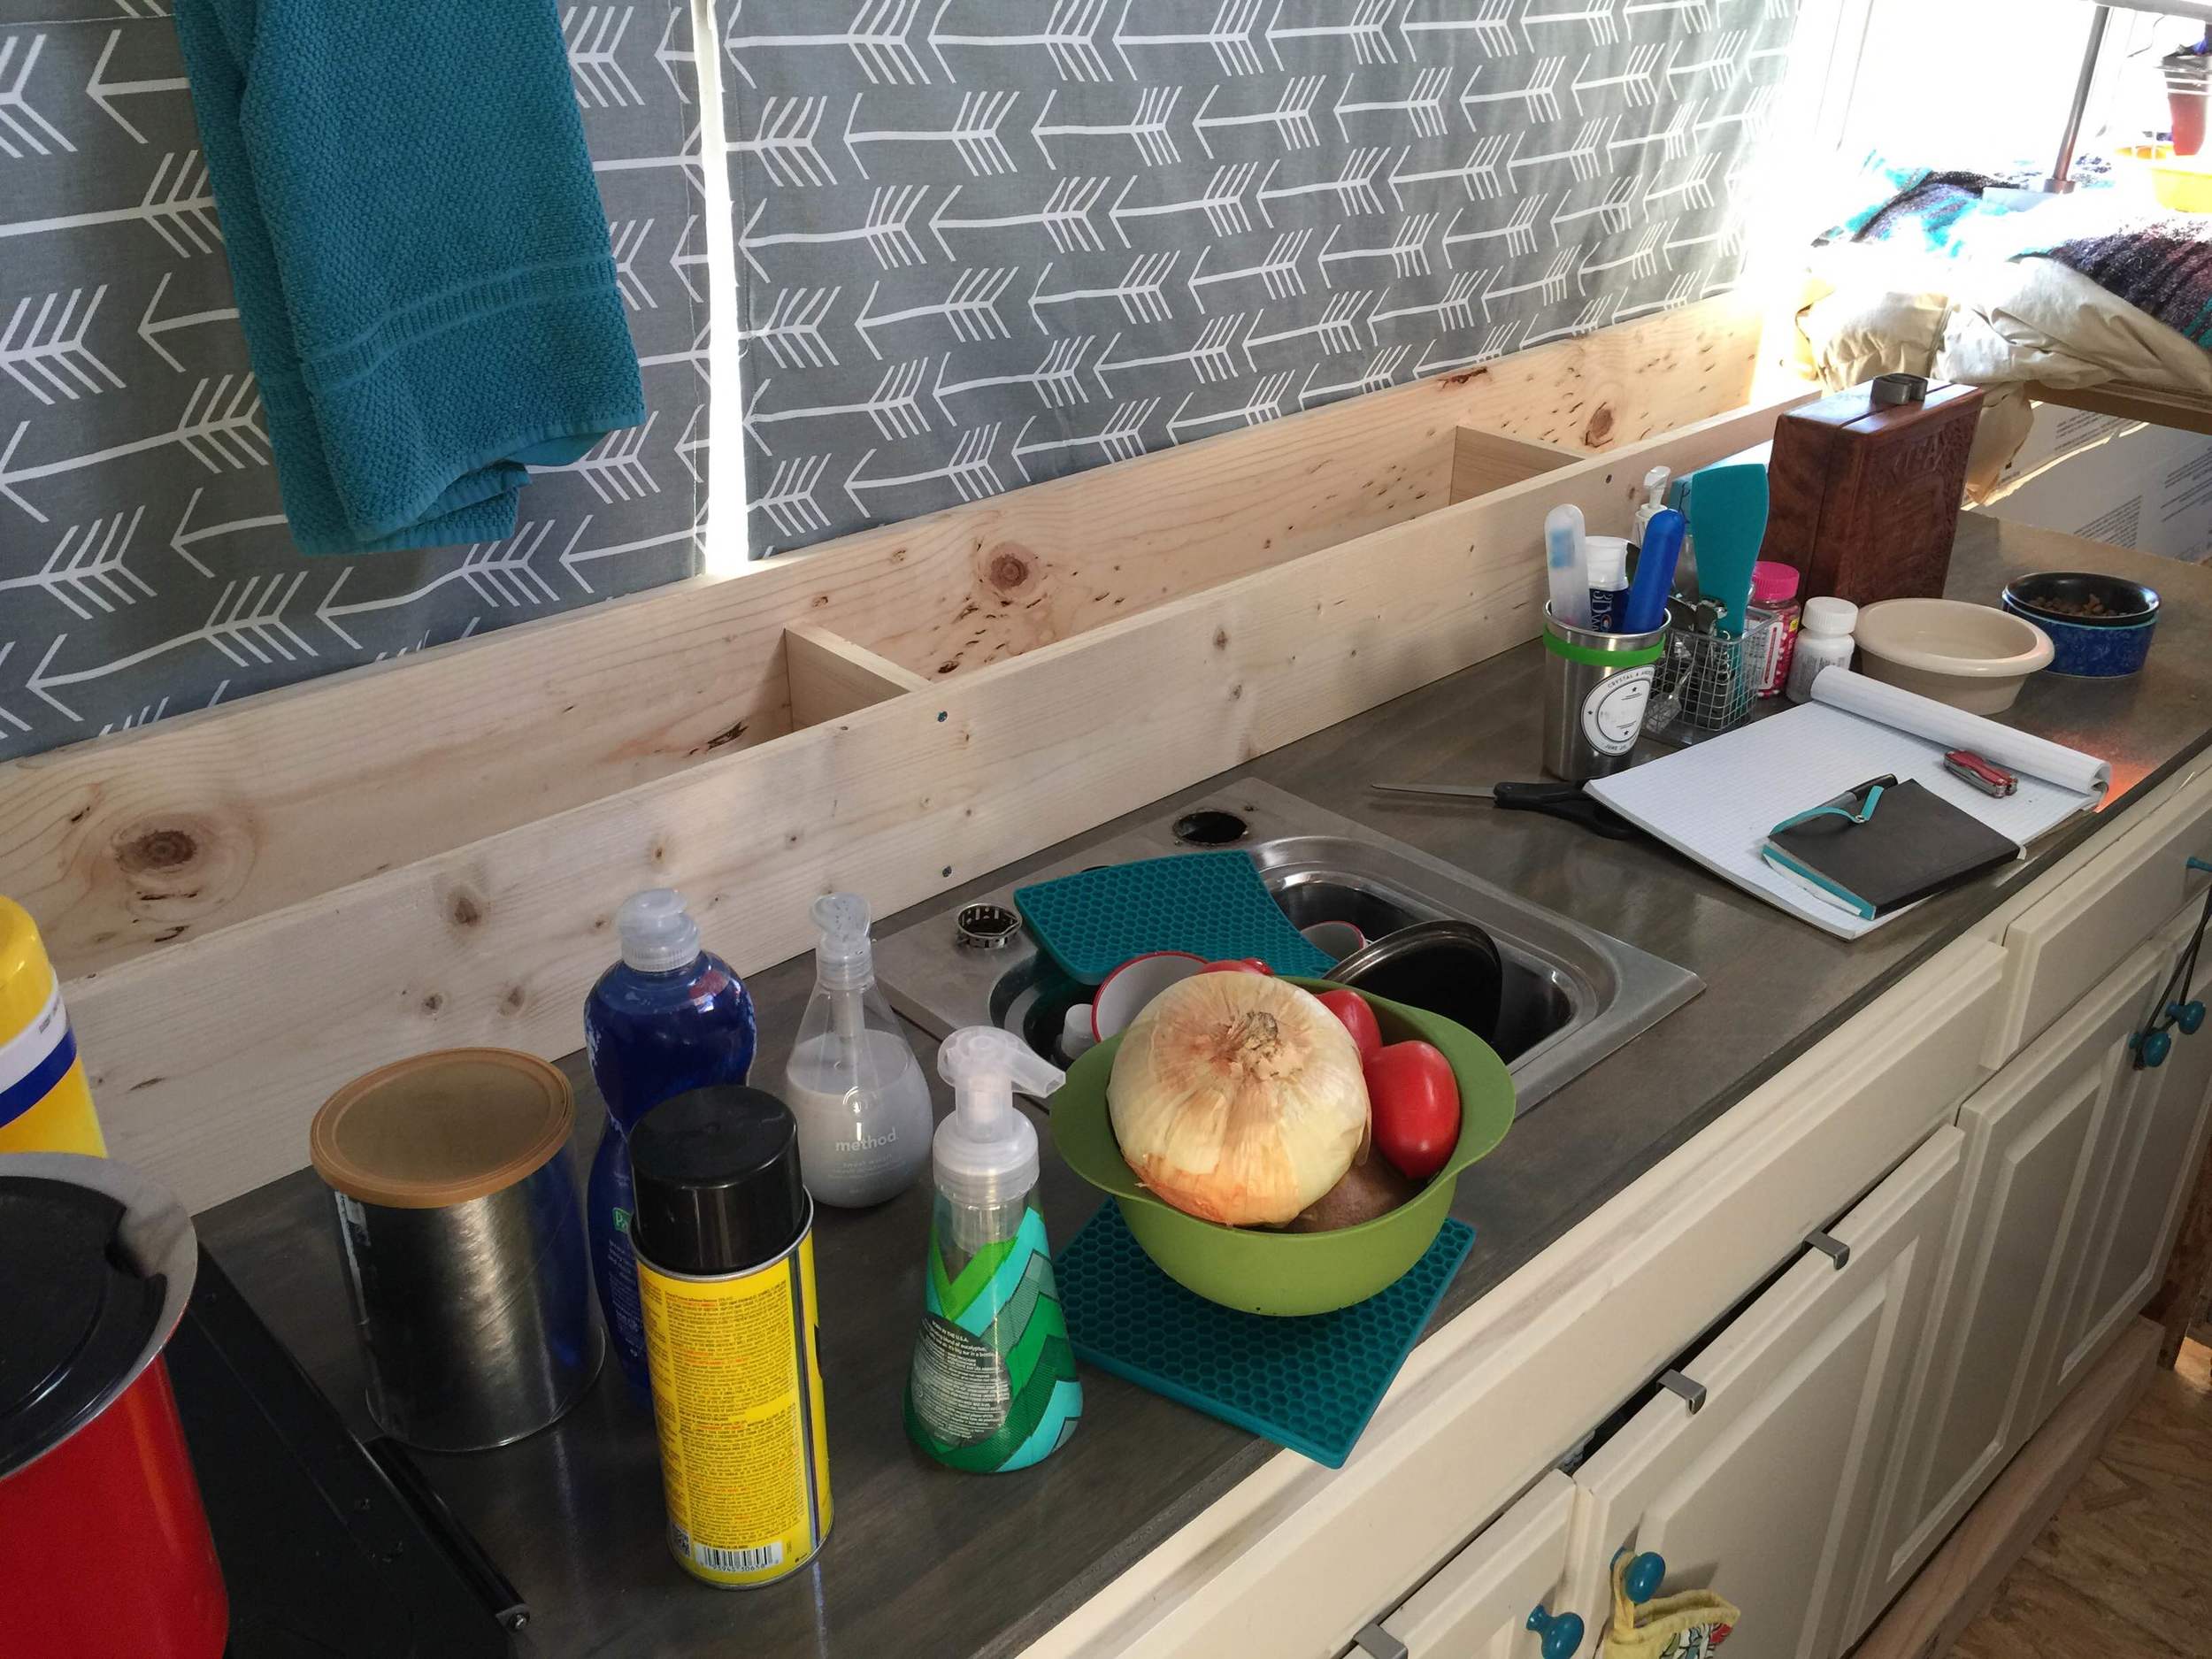
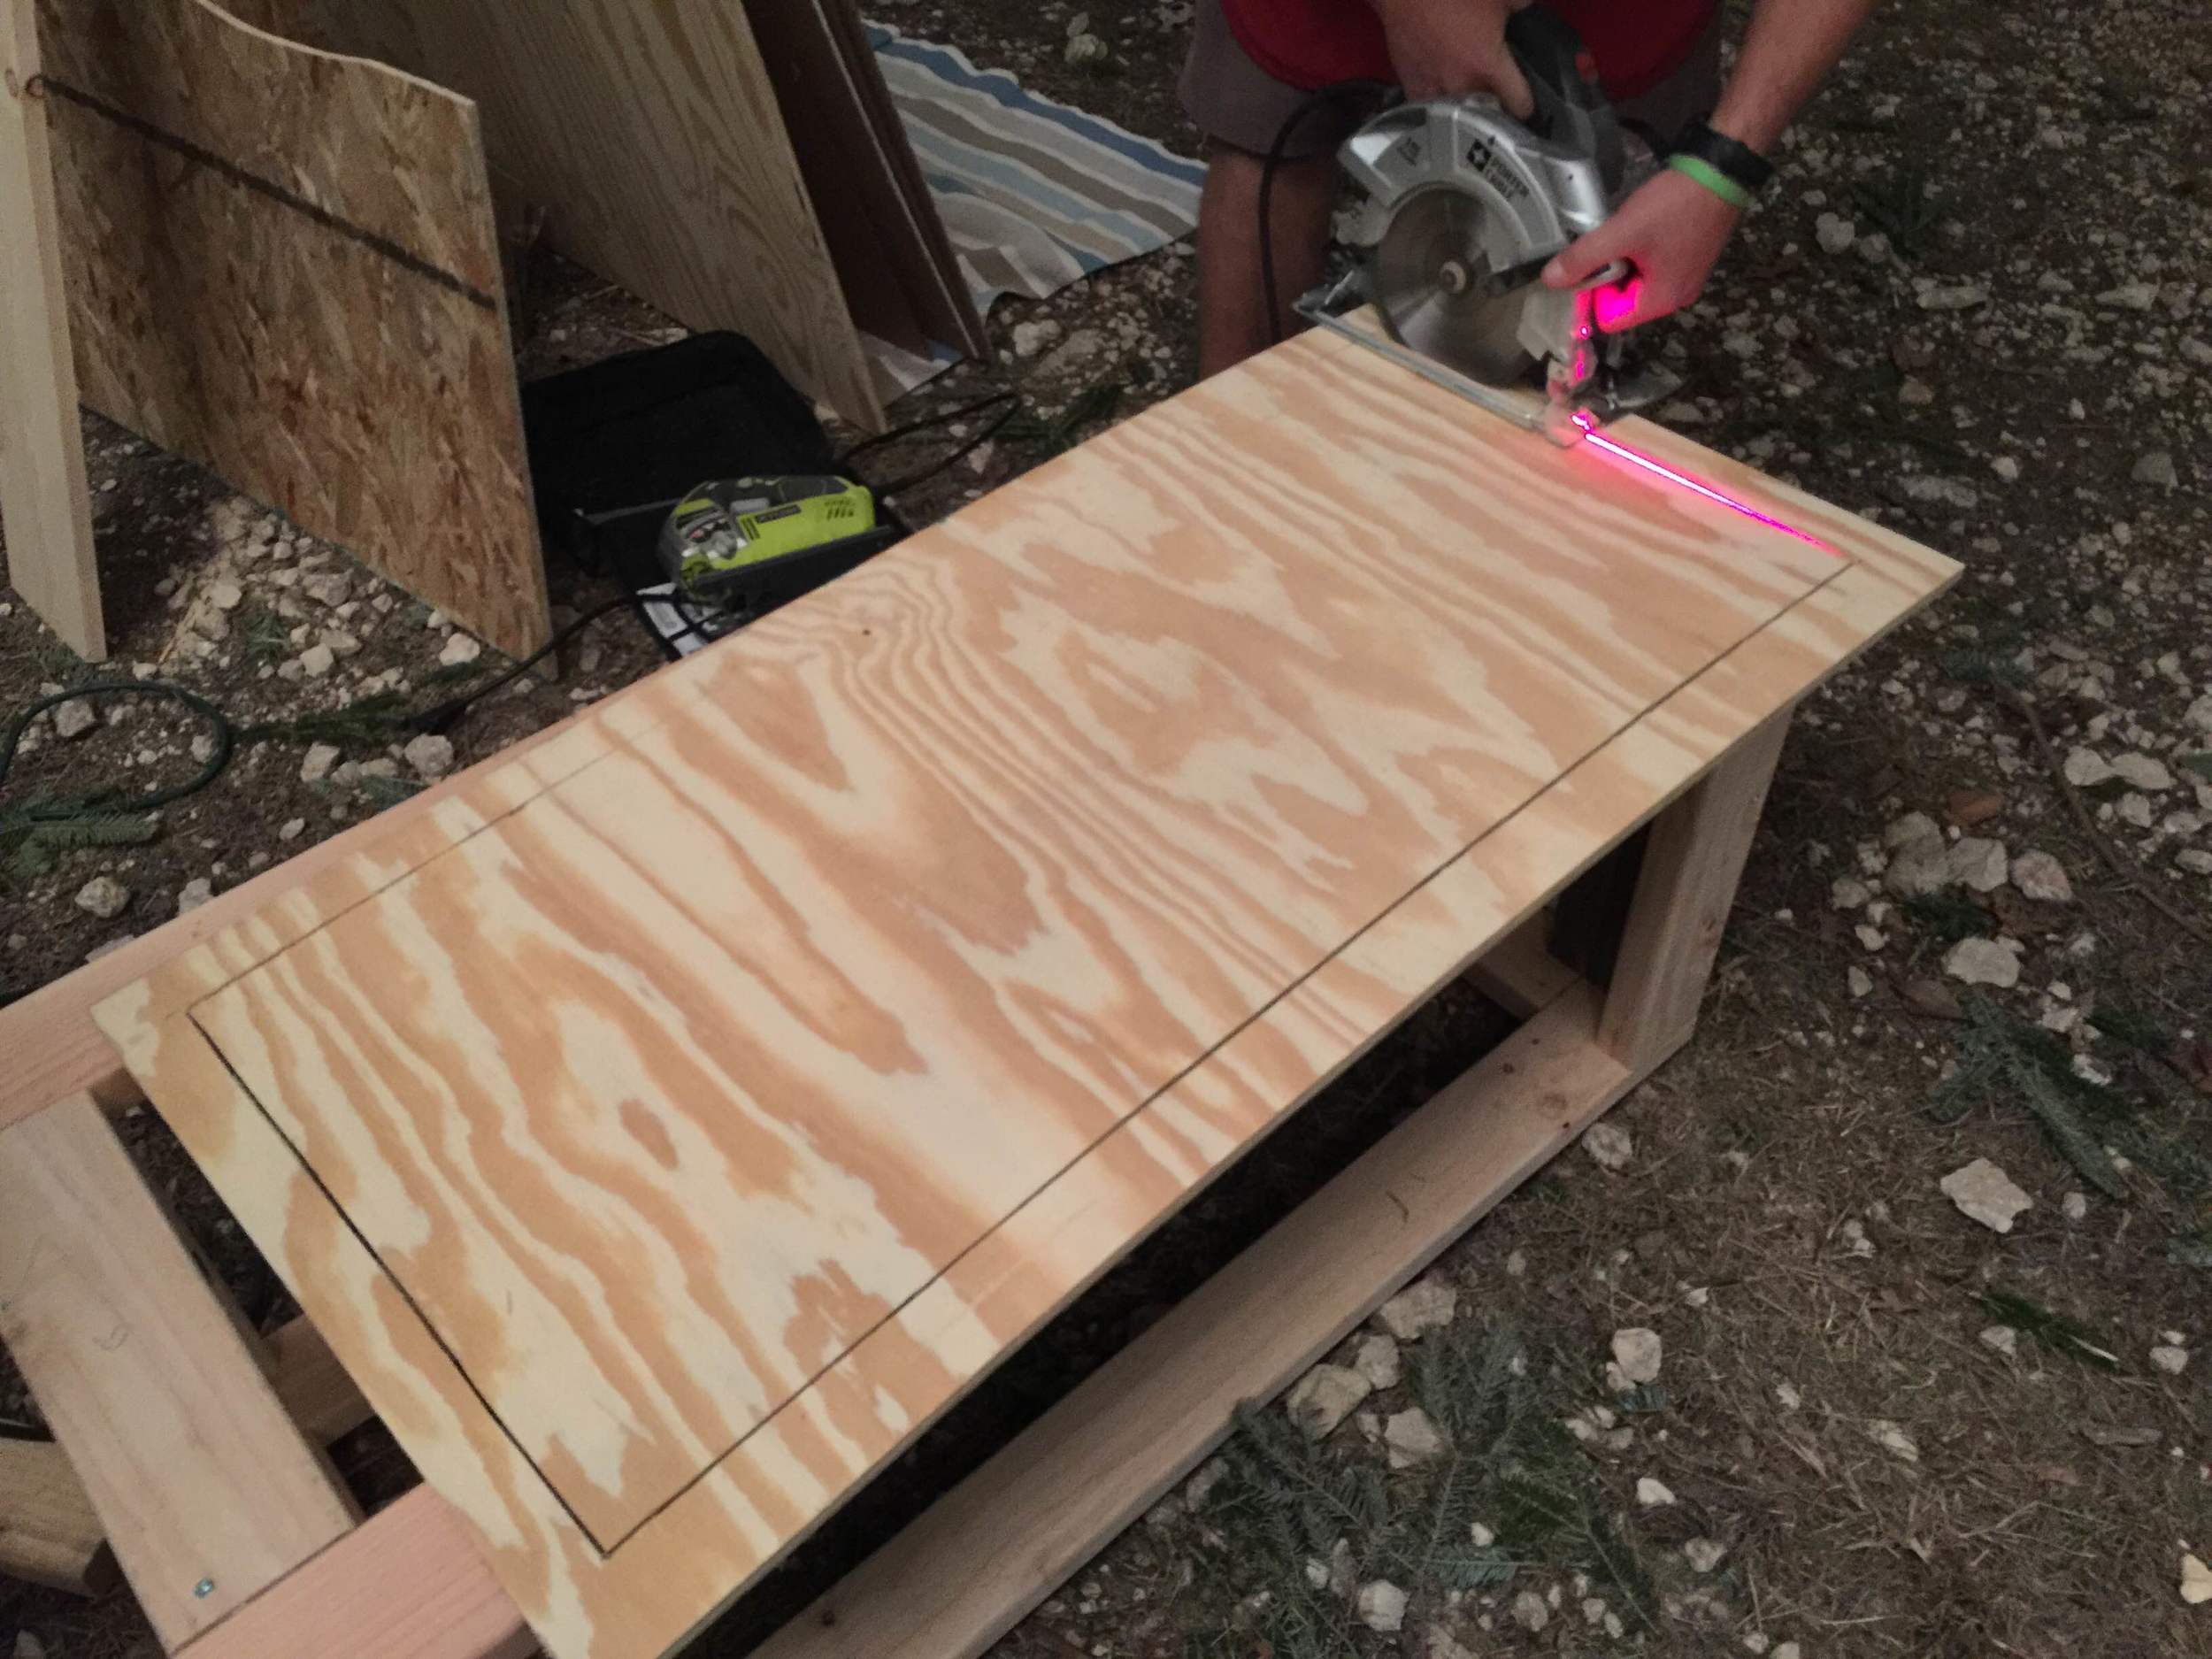
Because we got our kitchen from the Habitat Restore, it was a lot deeper than we needed it to be. To create better utilization of that extra counter space, we decided to build a "backsplash" storage cubby. I wanted to be able to leave things on the counter while we drive, so corralling it in with a cubby seemed like the perfect solution.
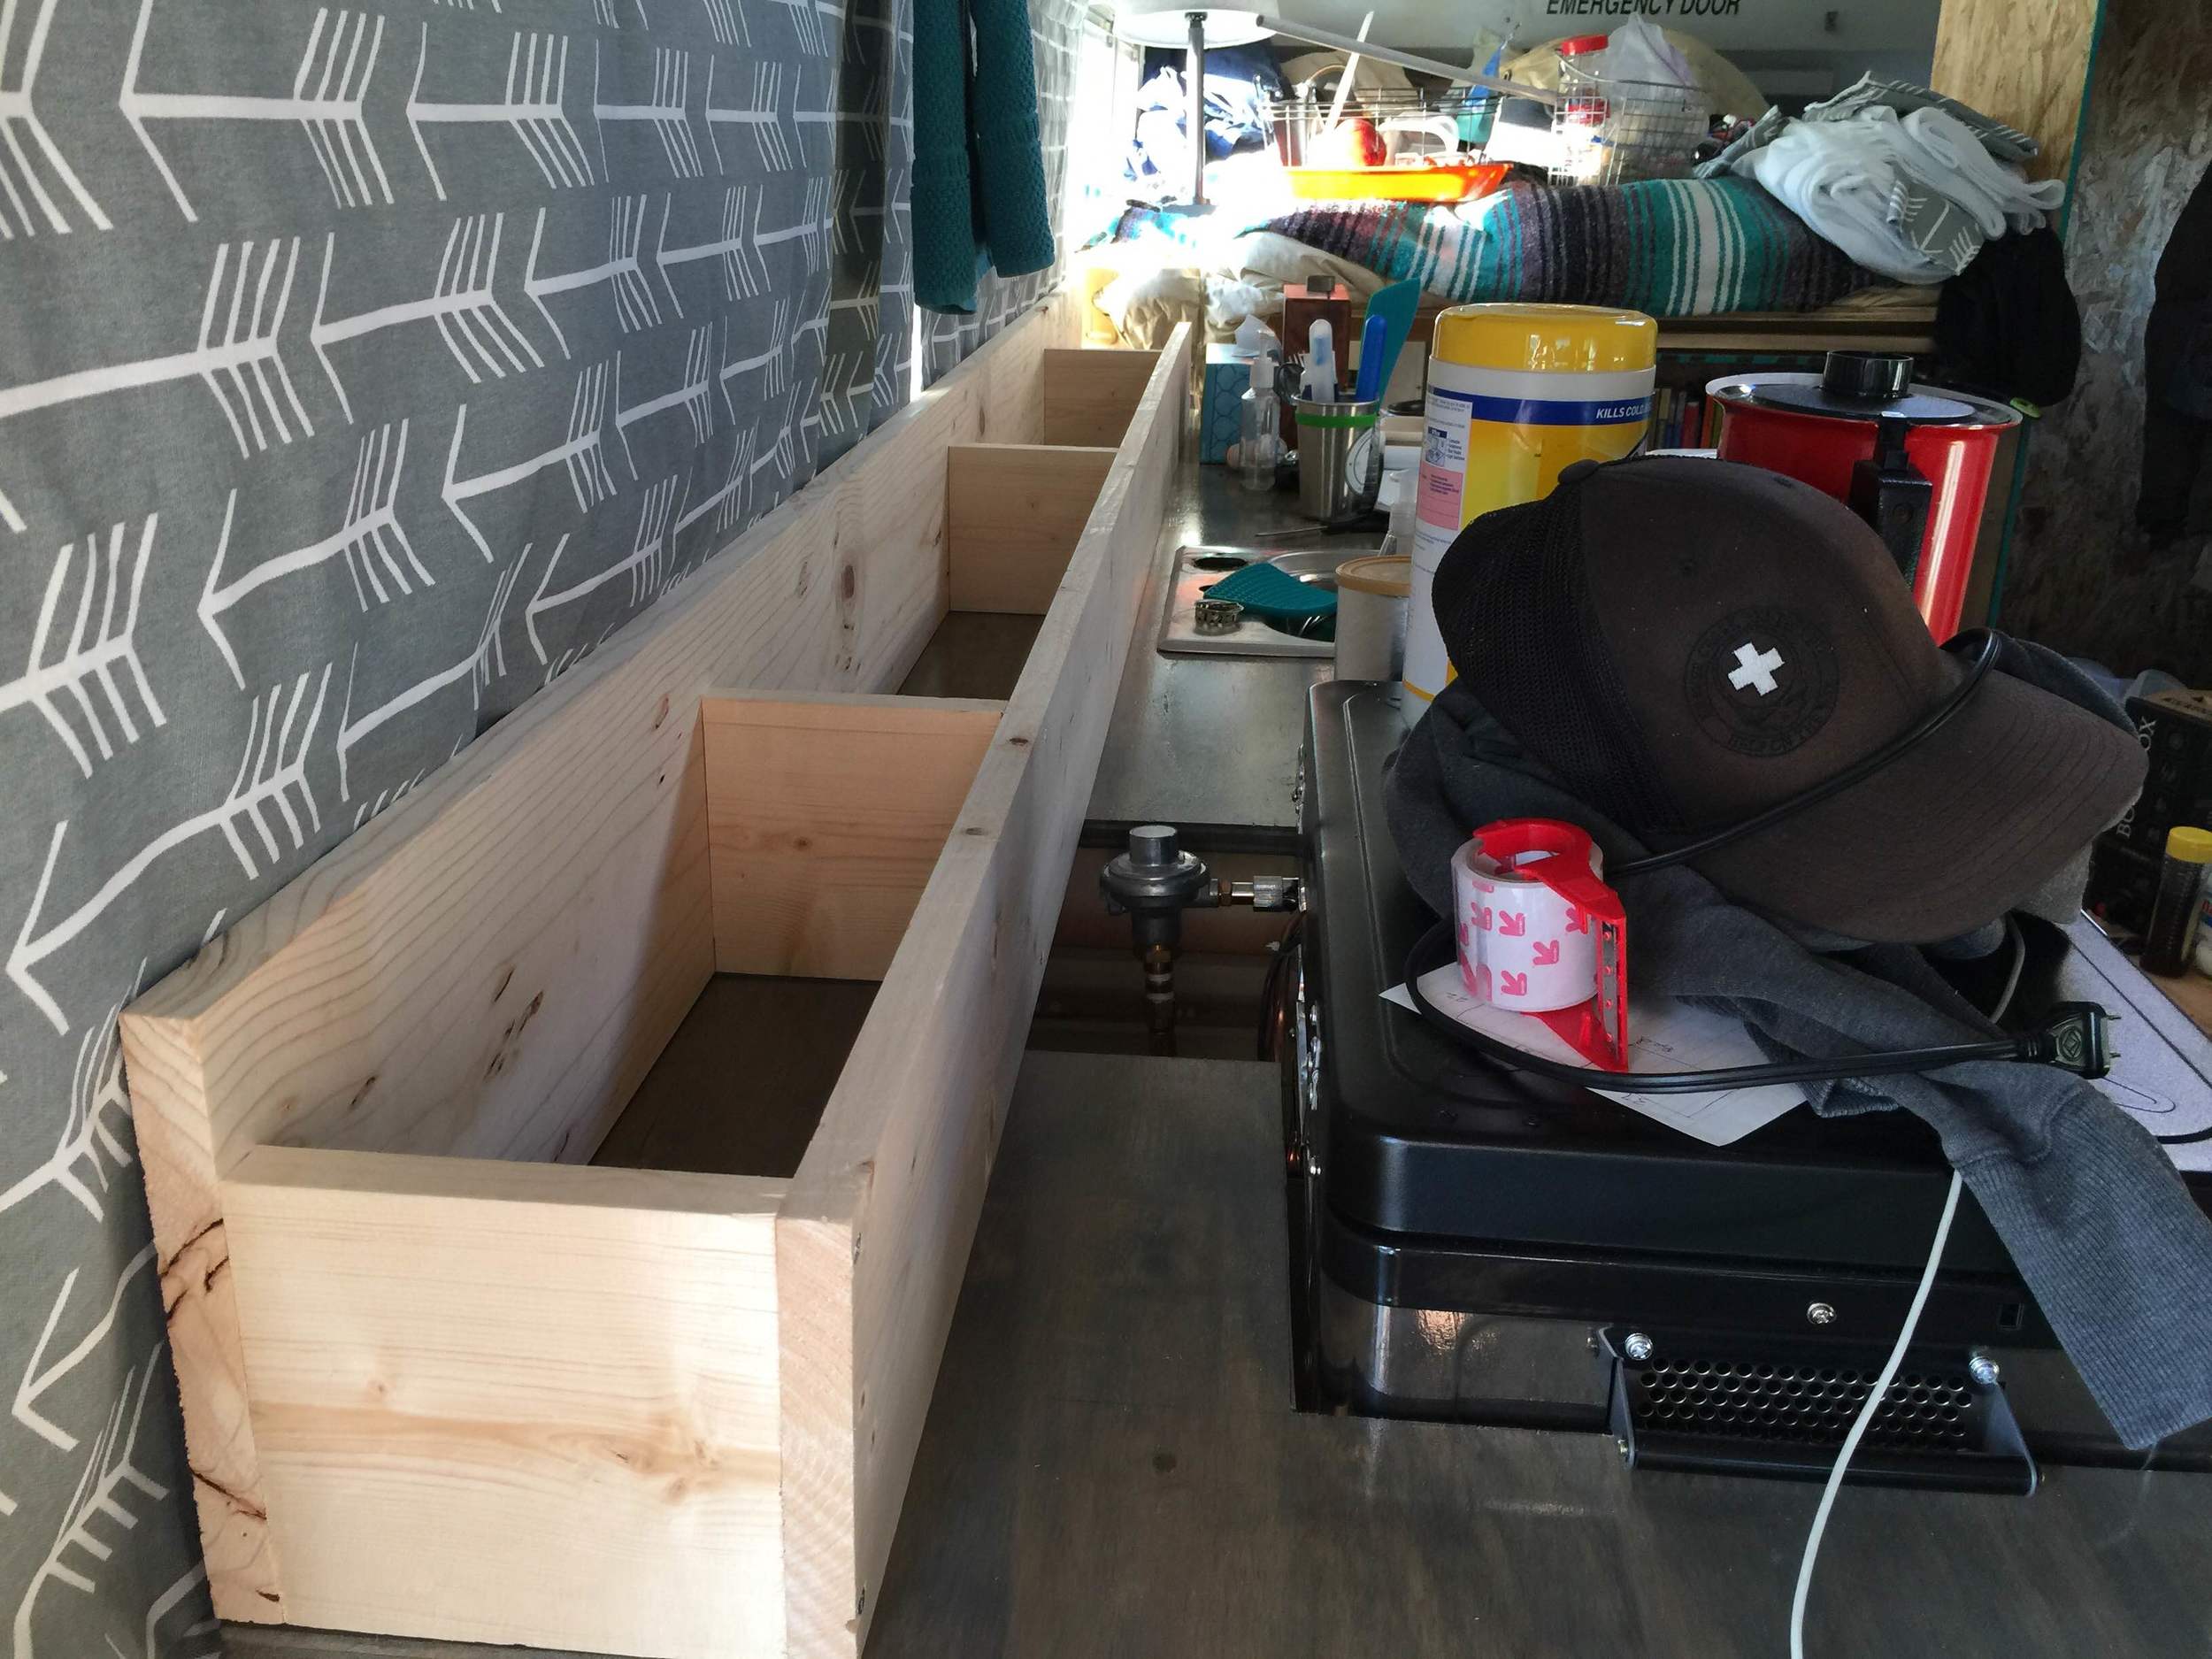
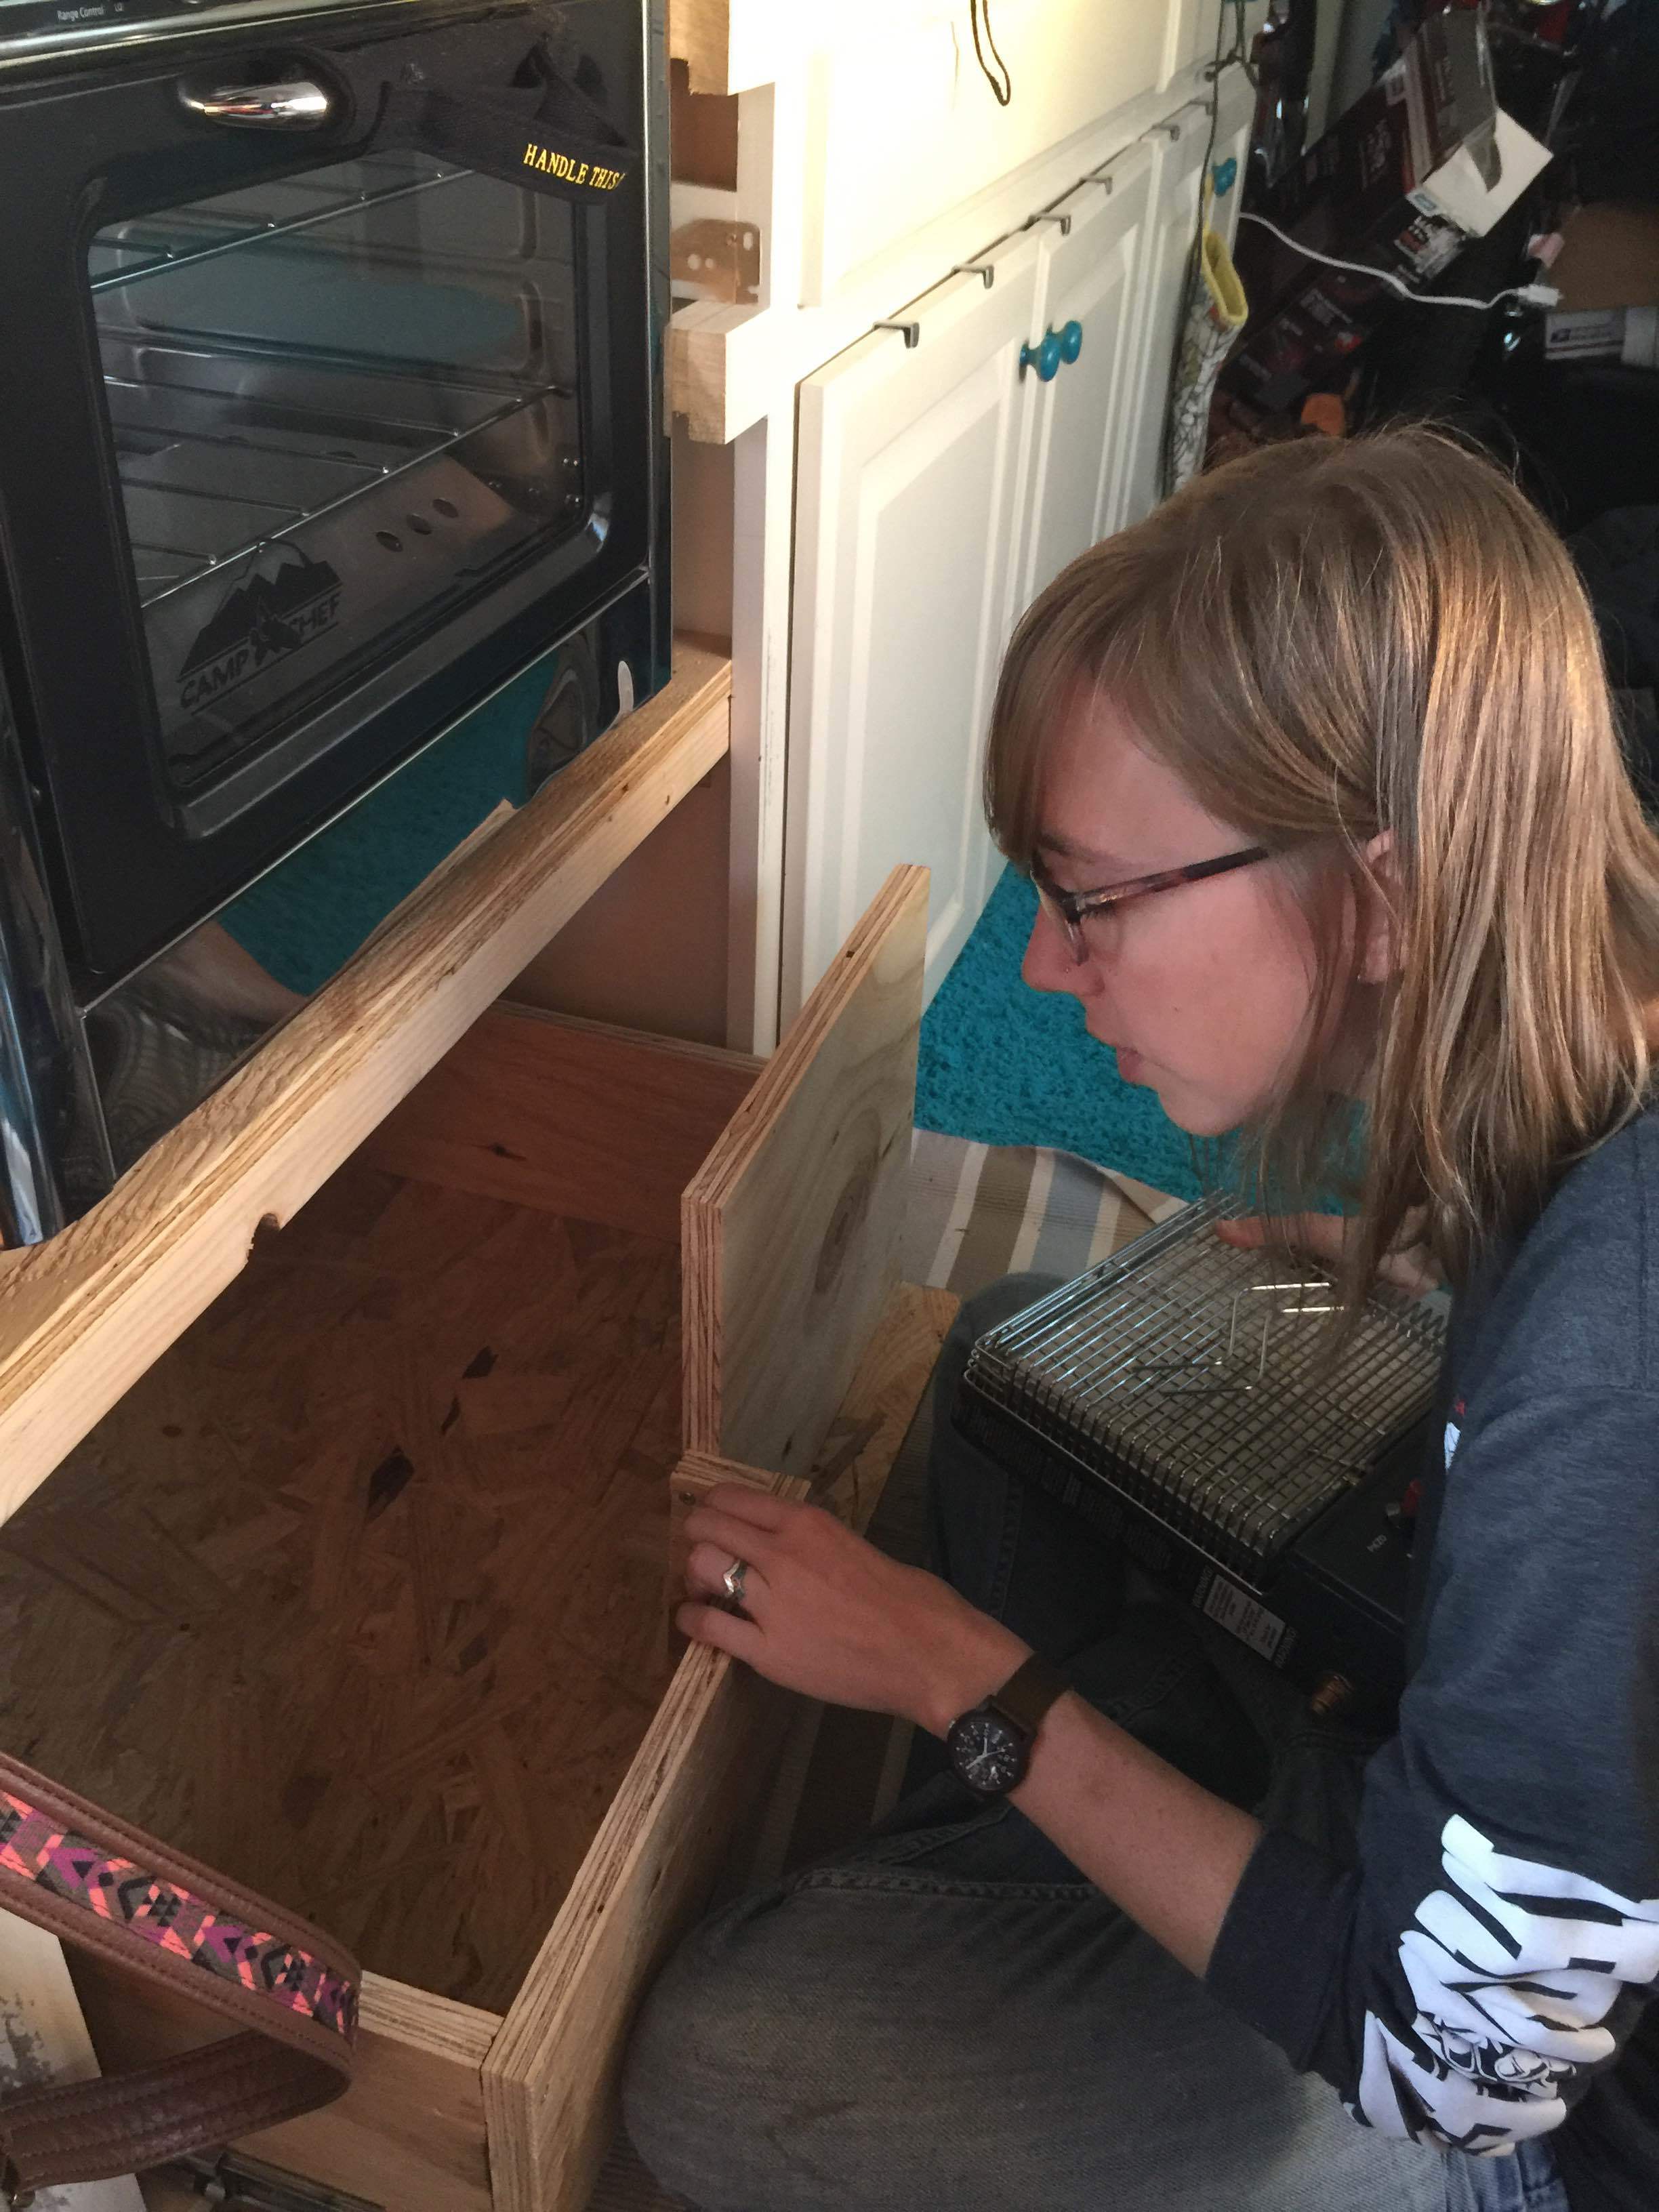
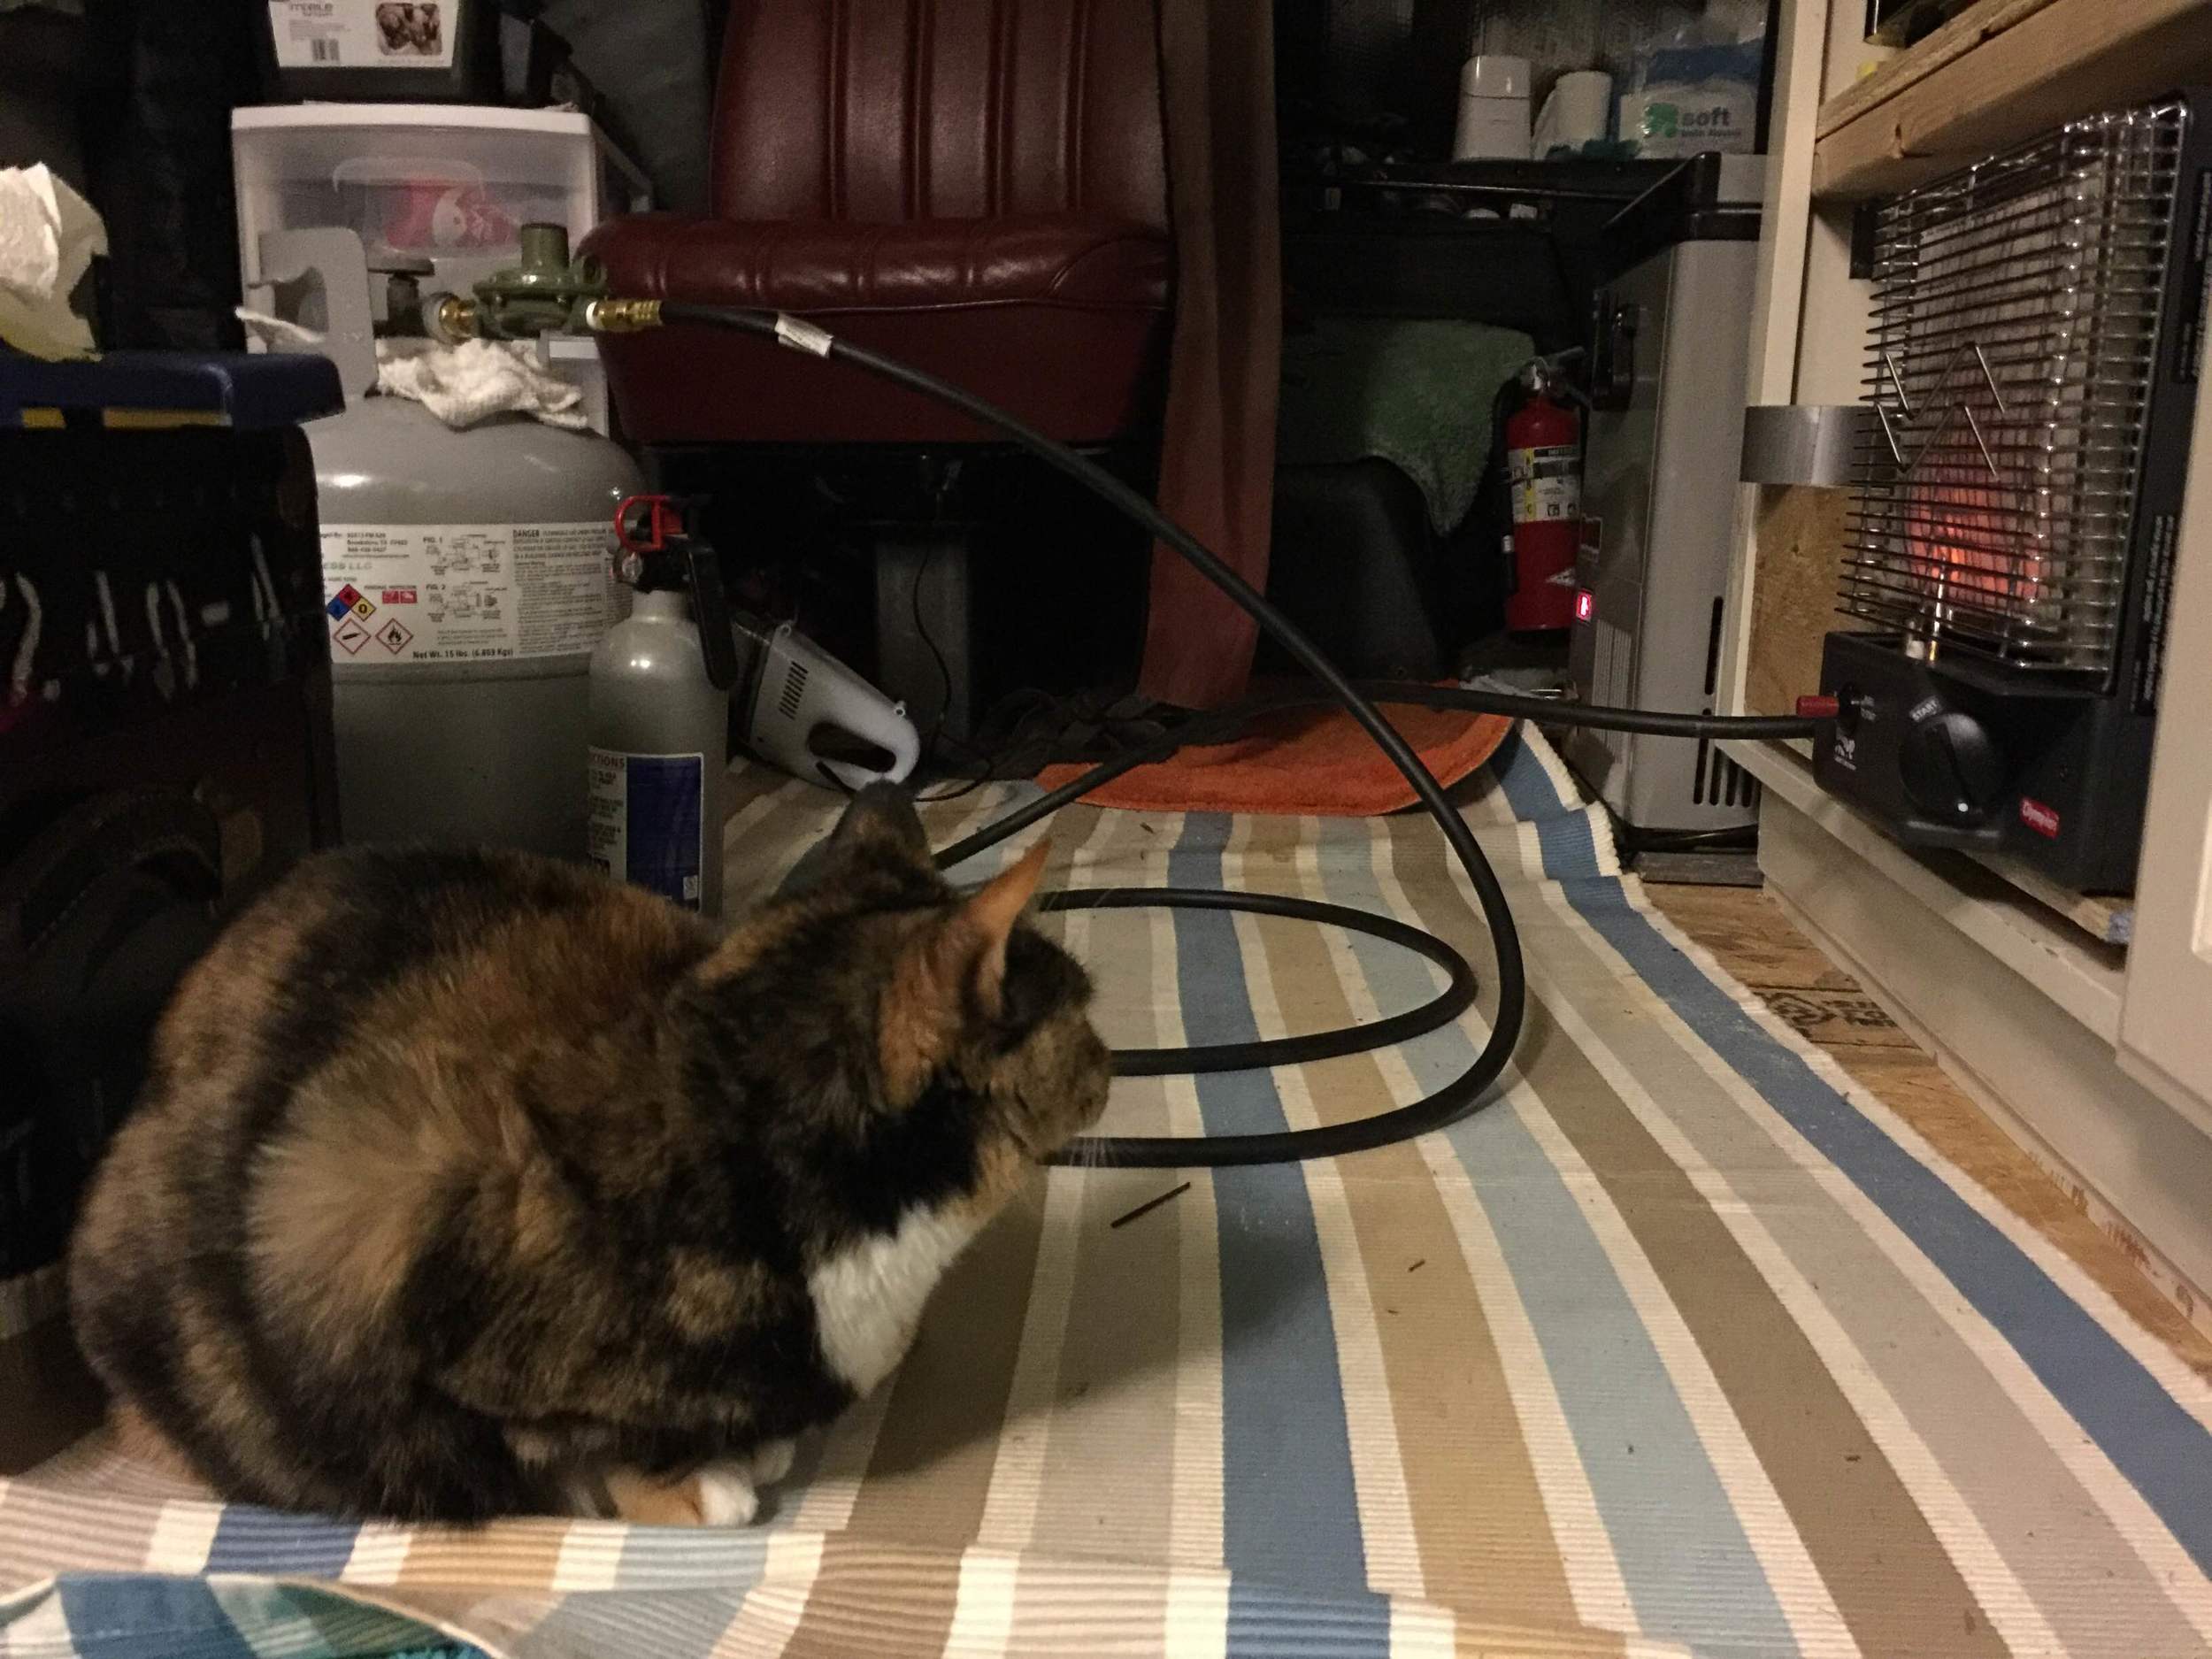
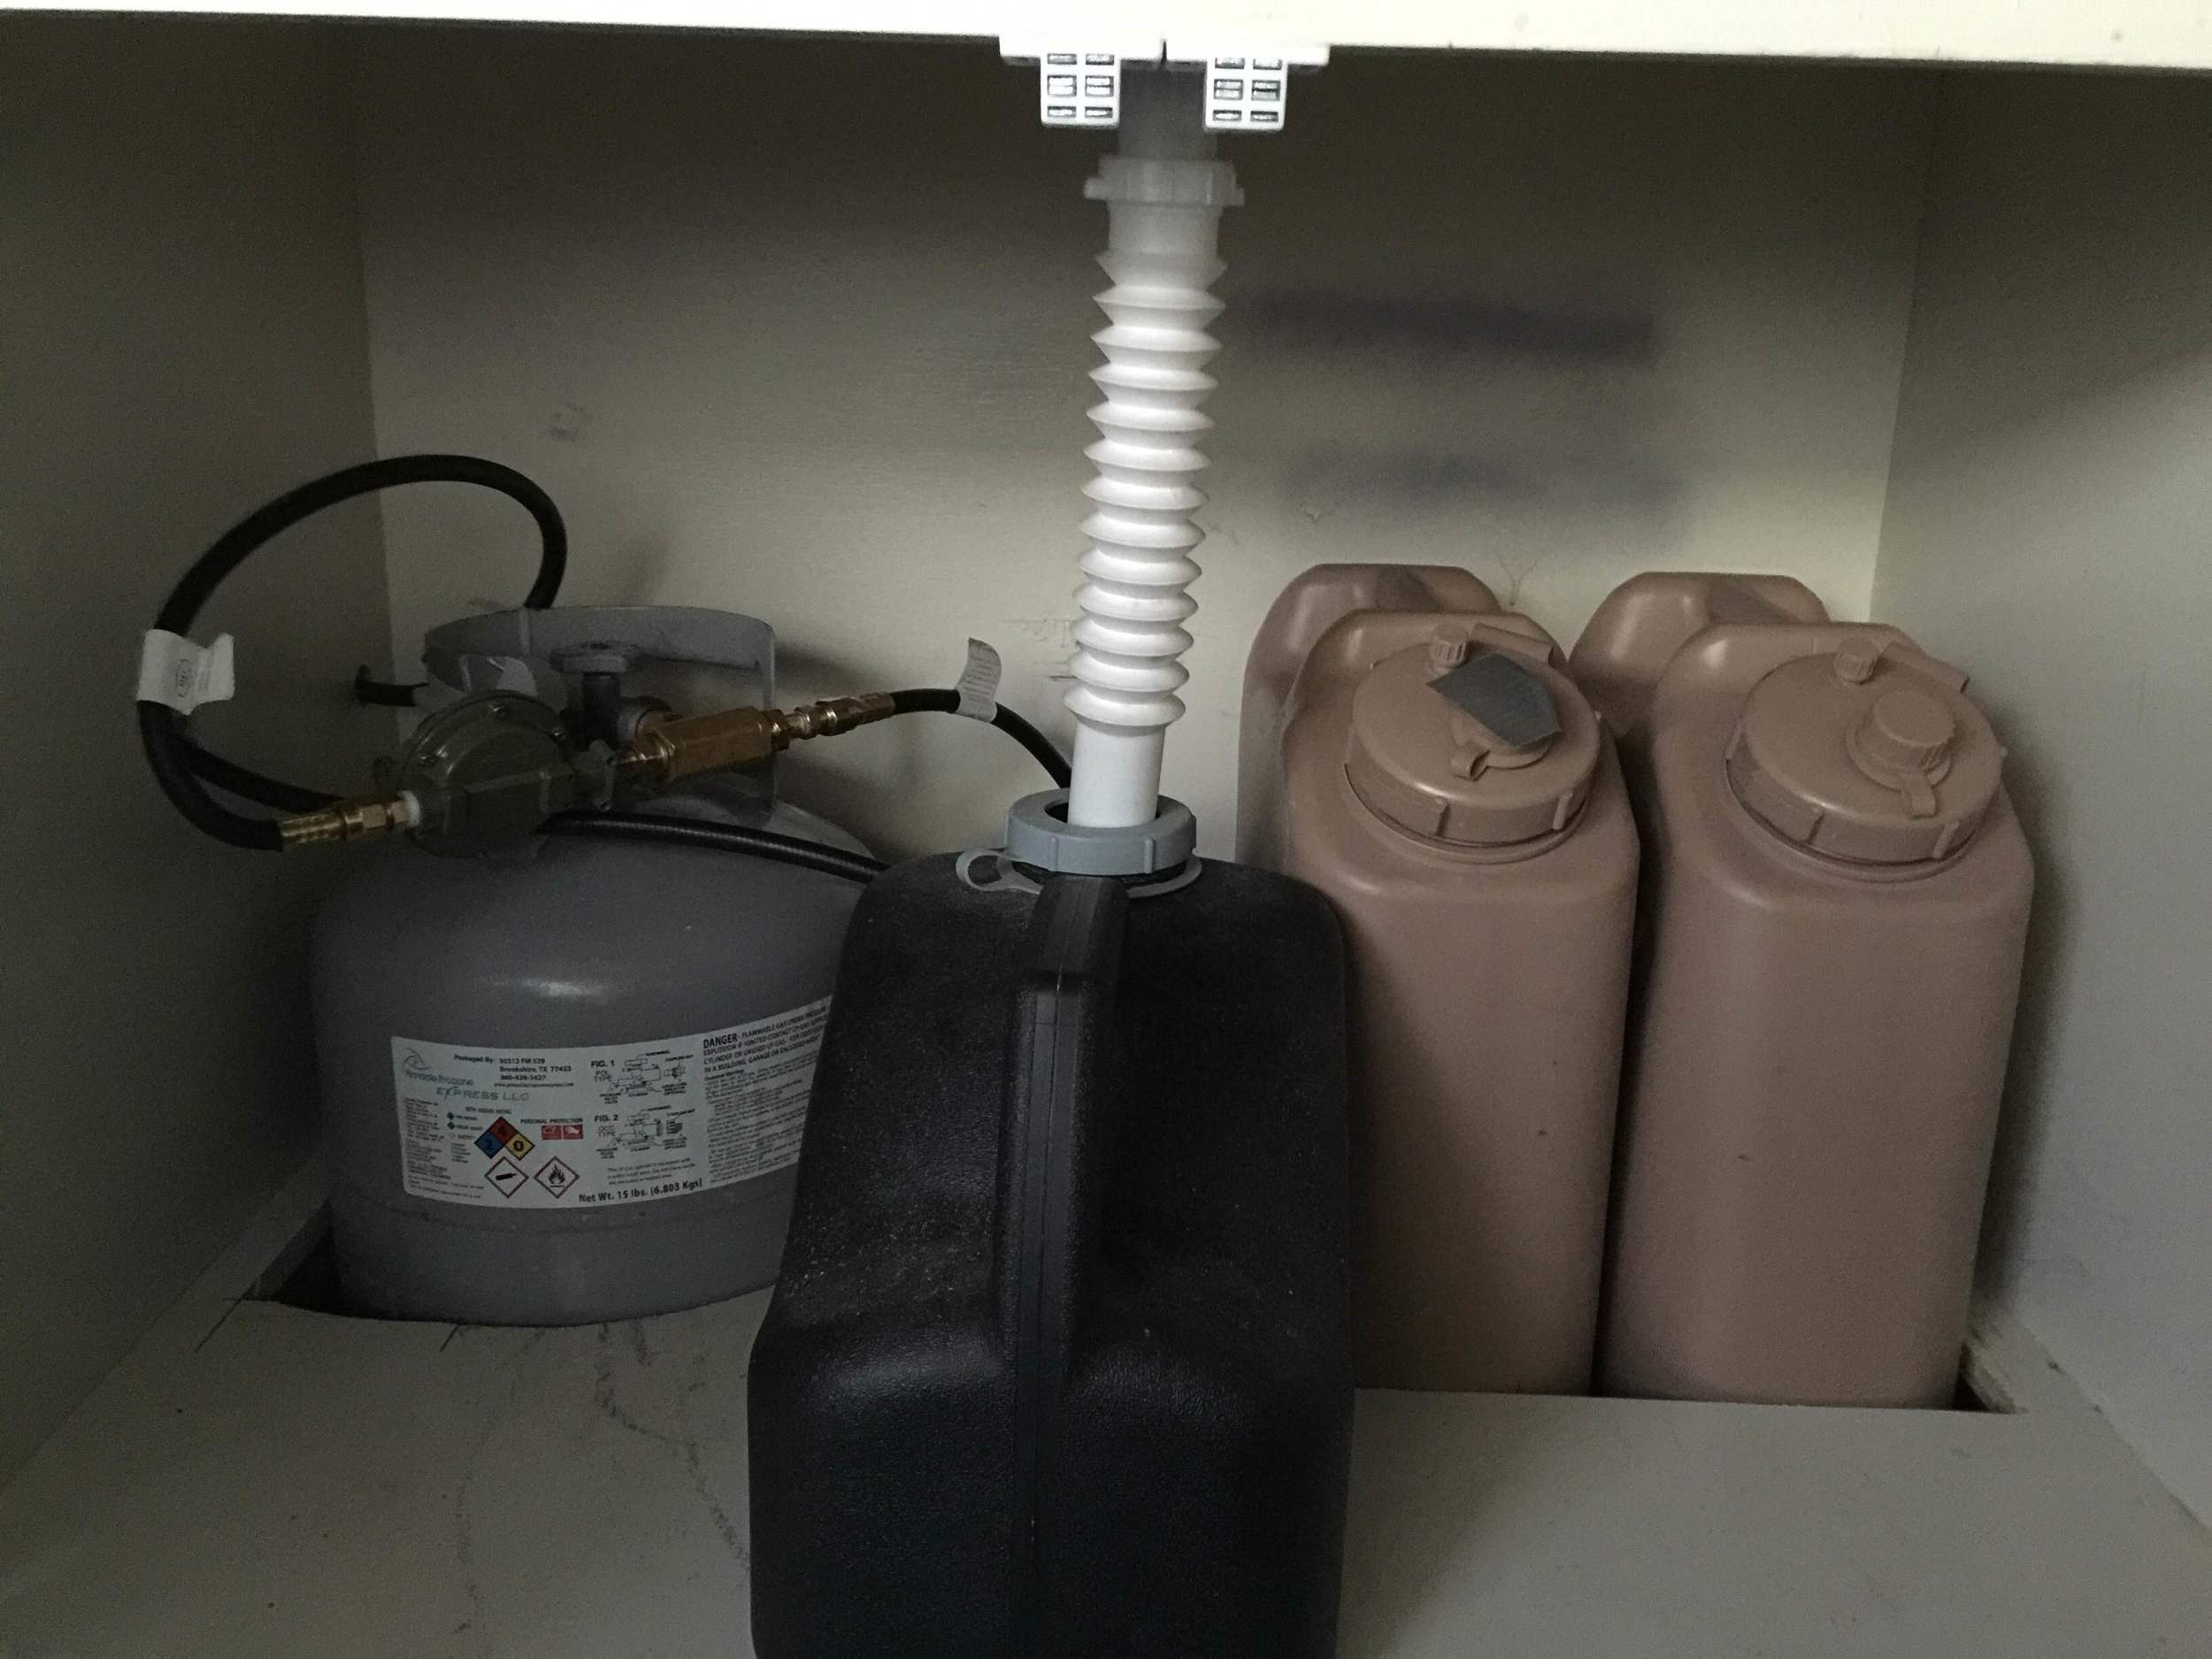
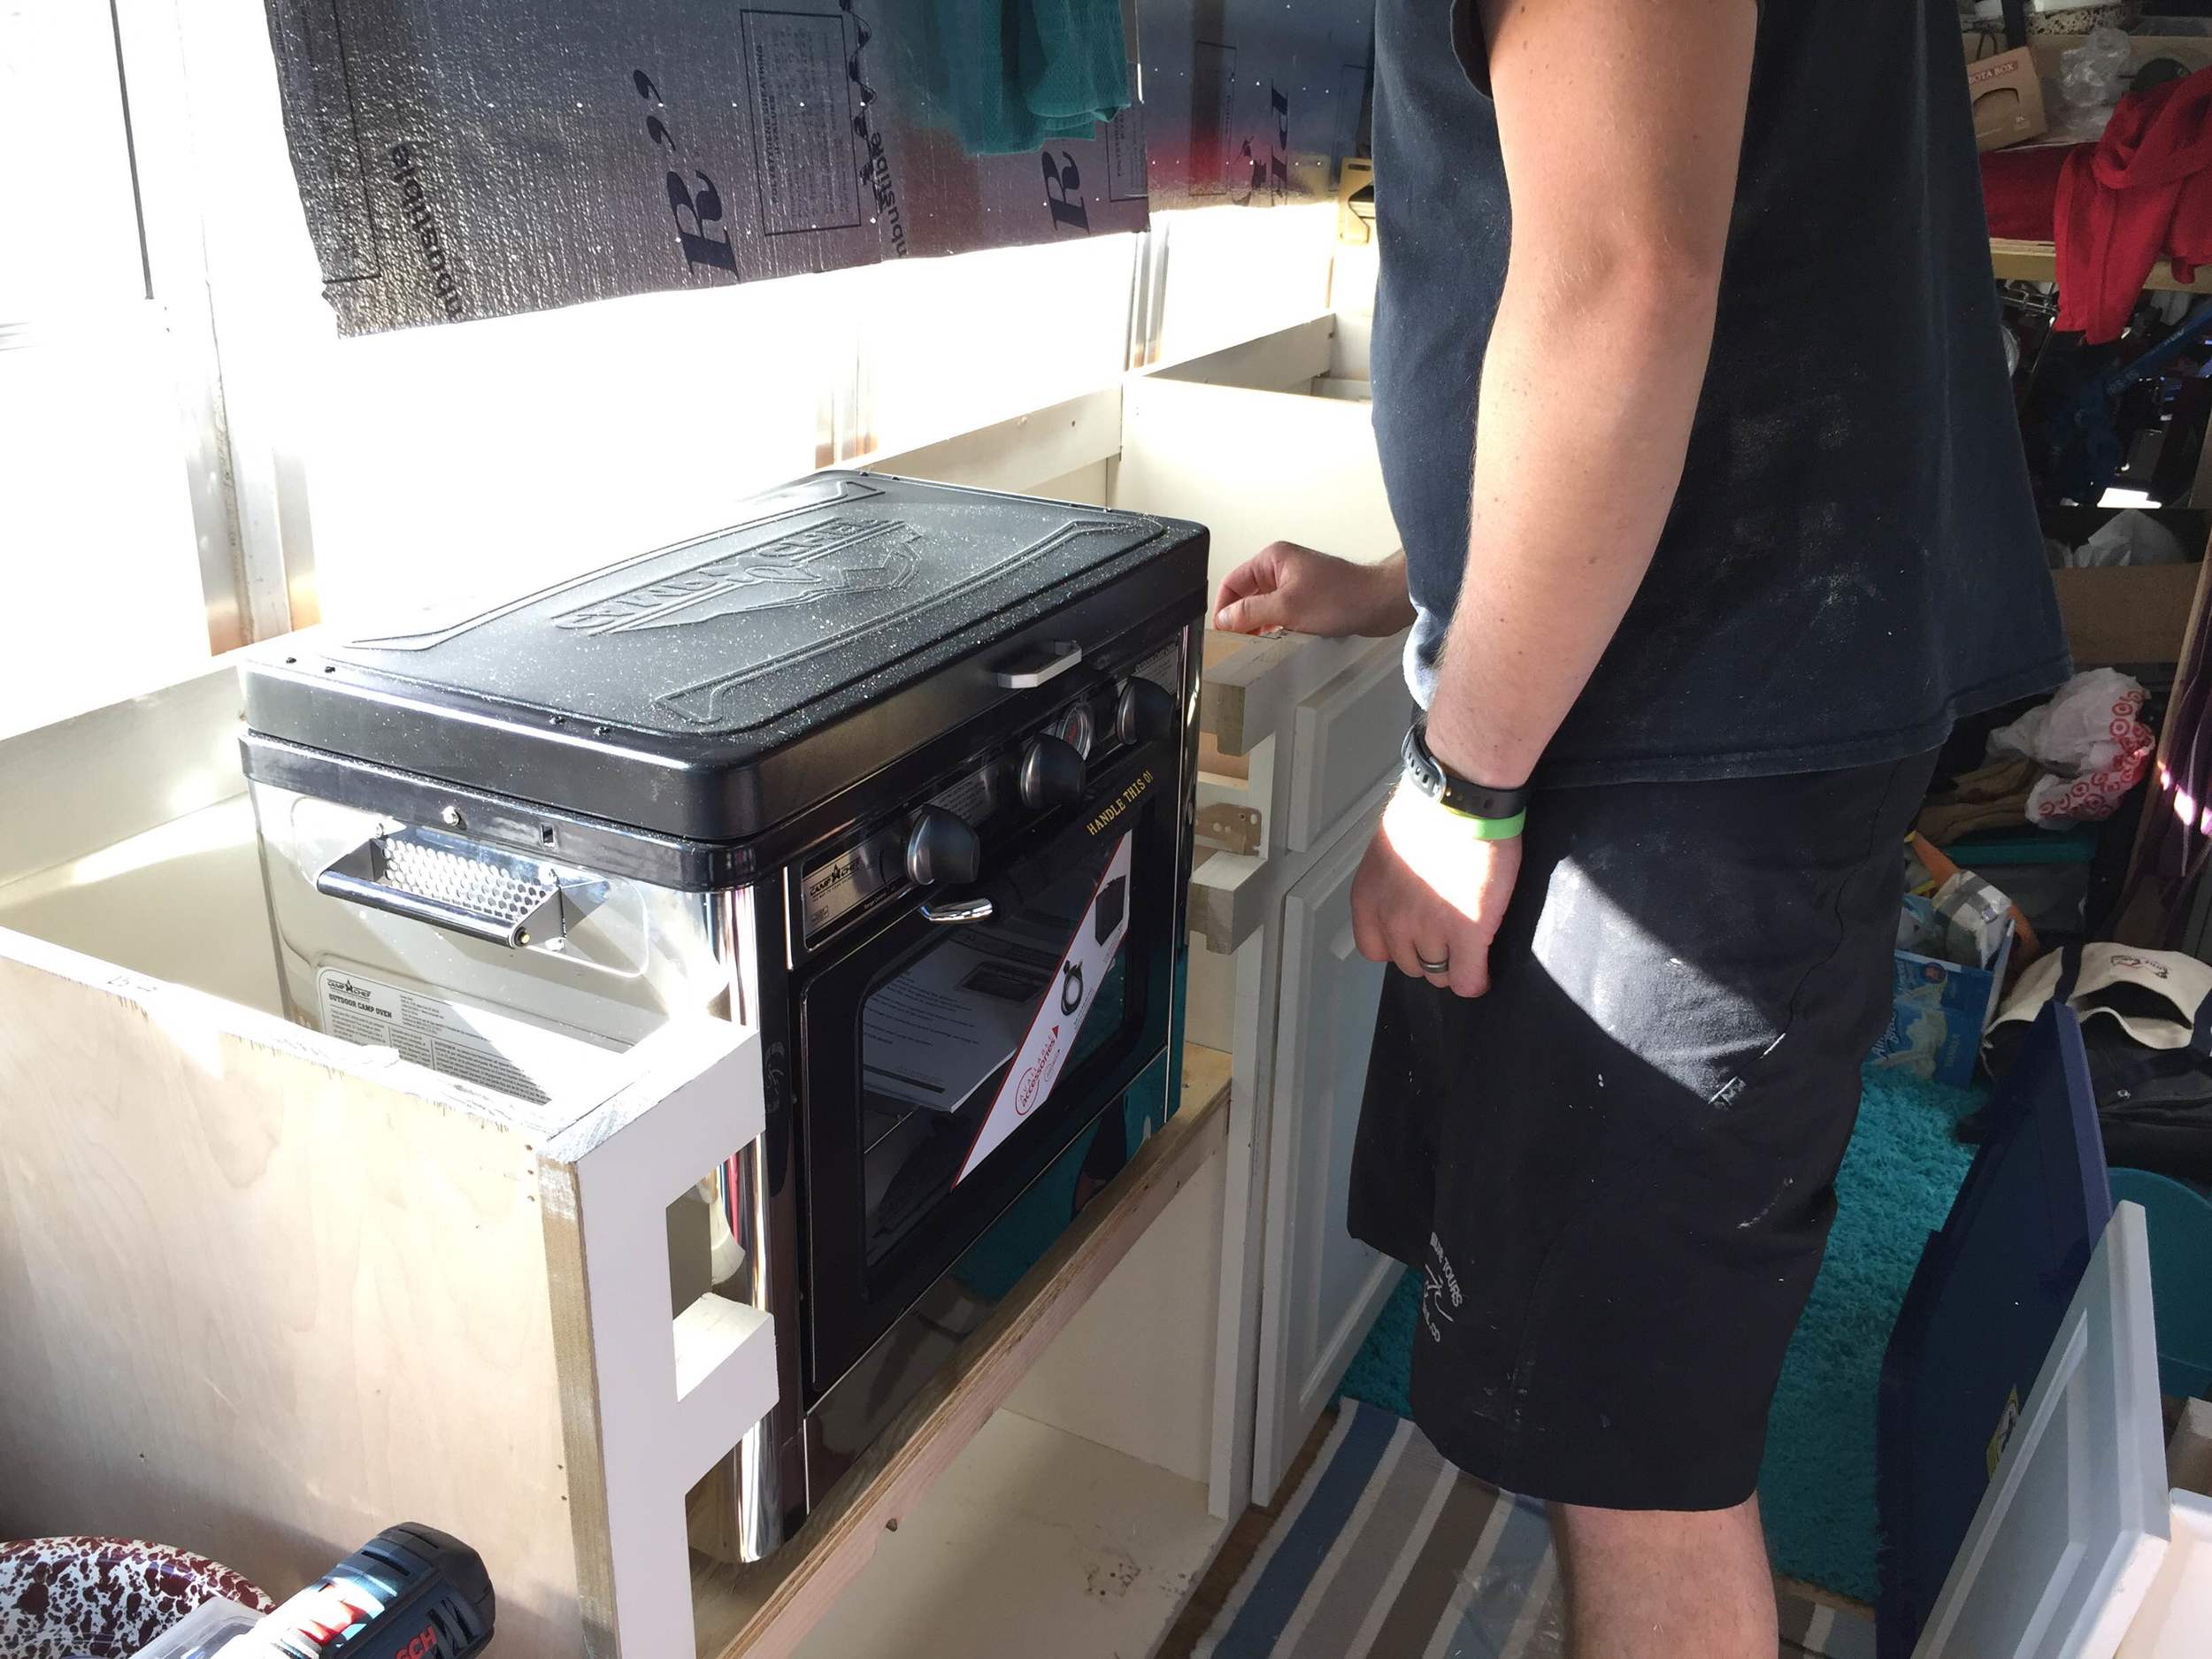
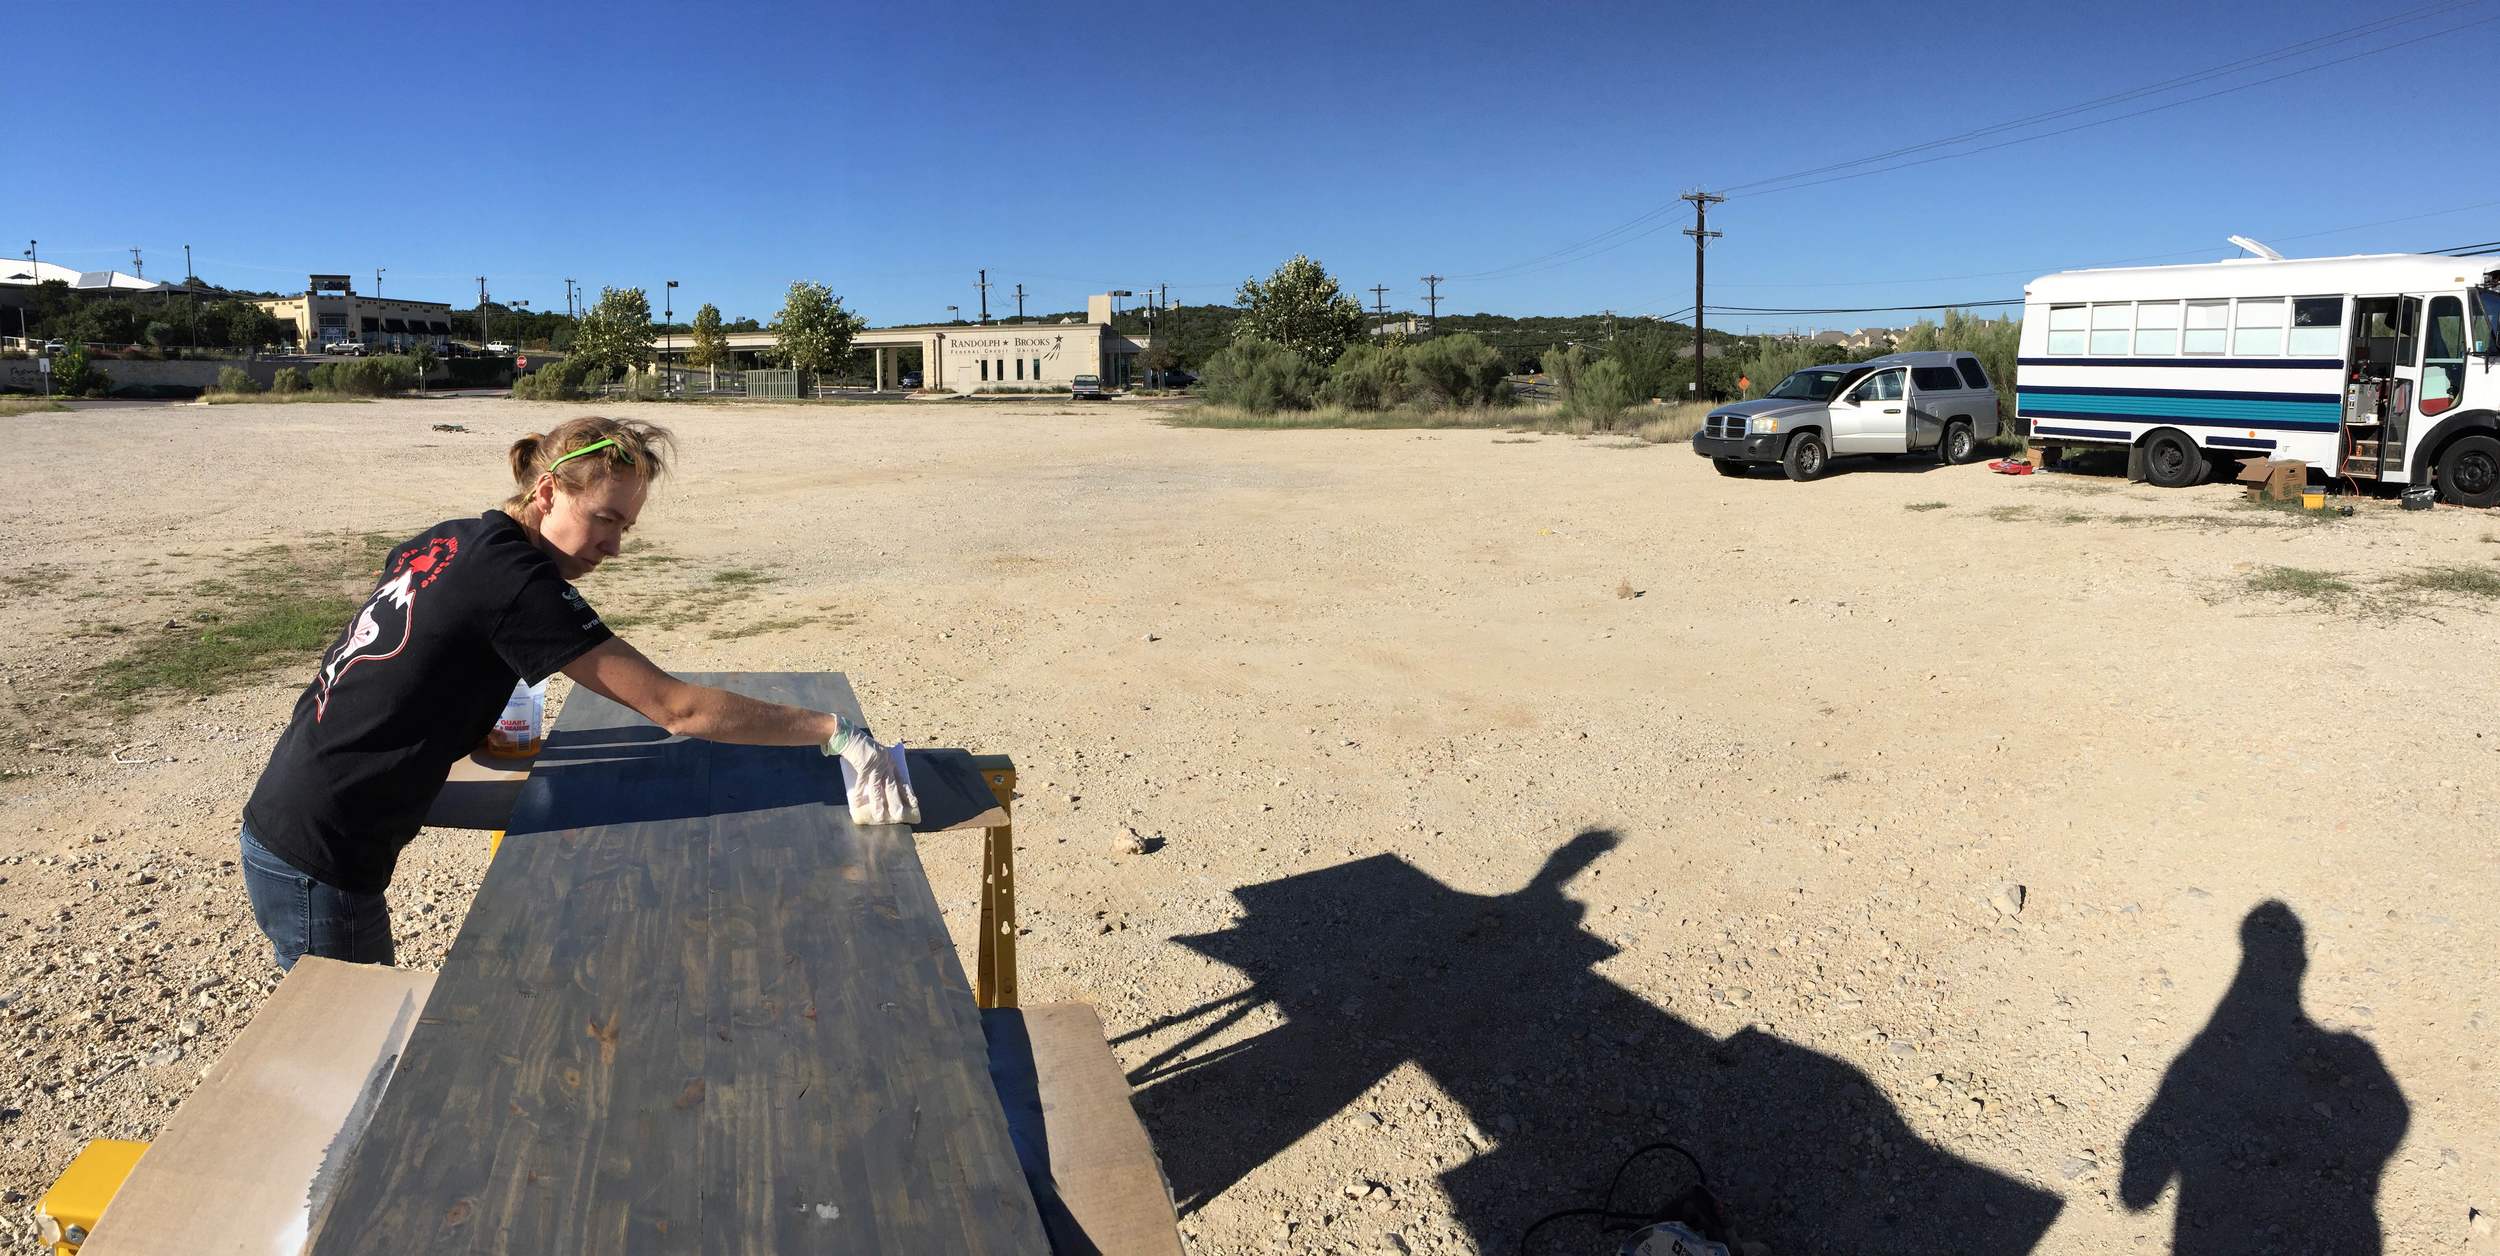
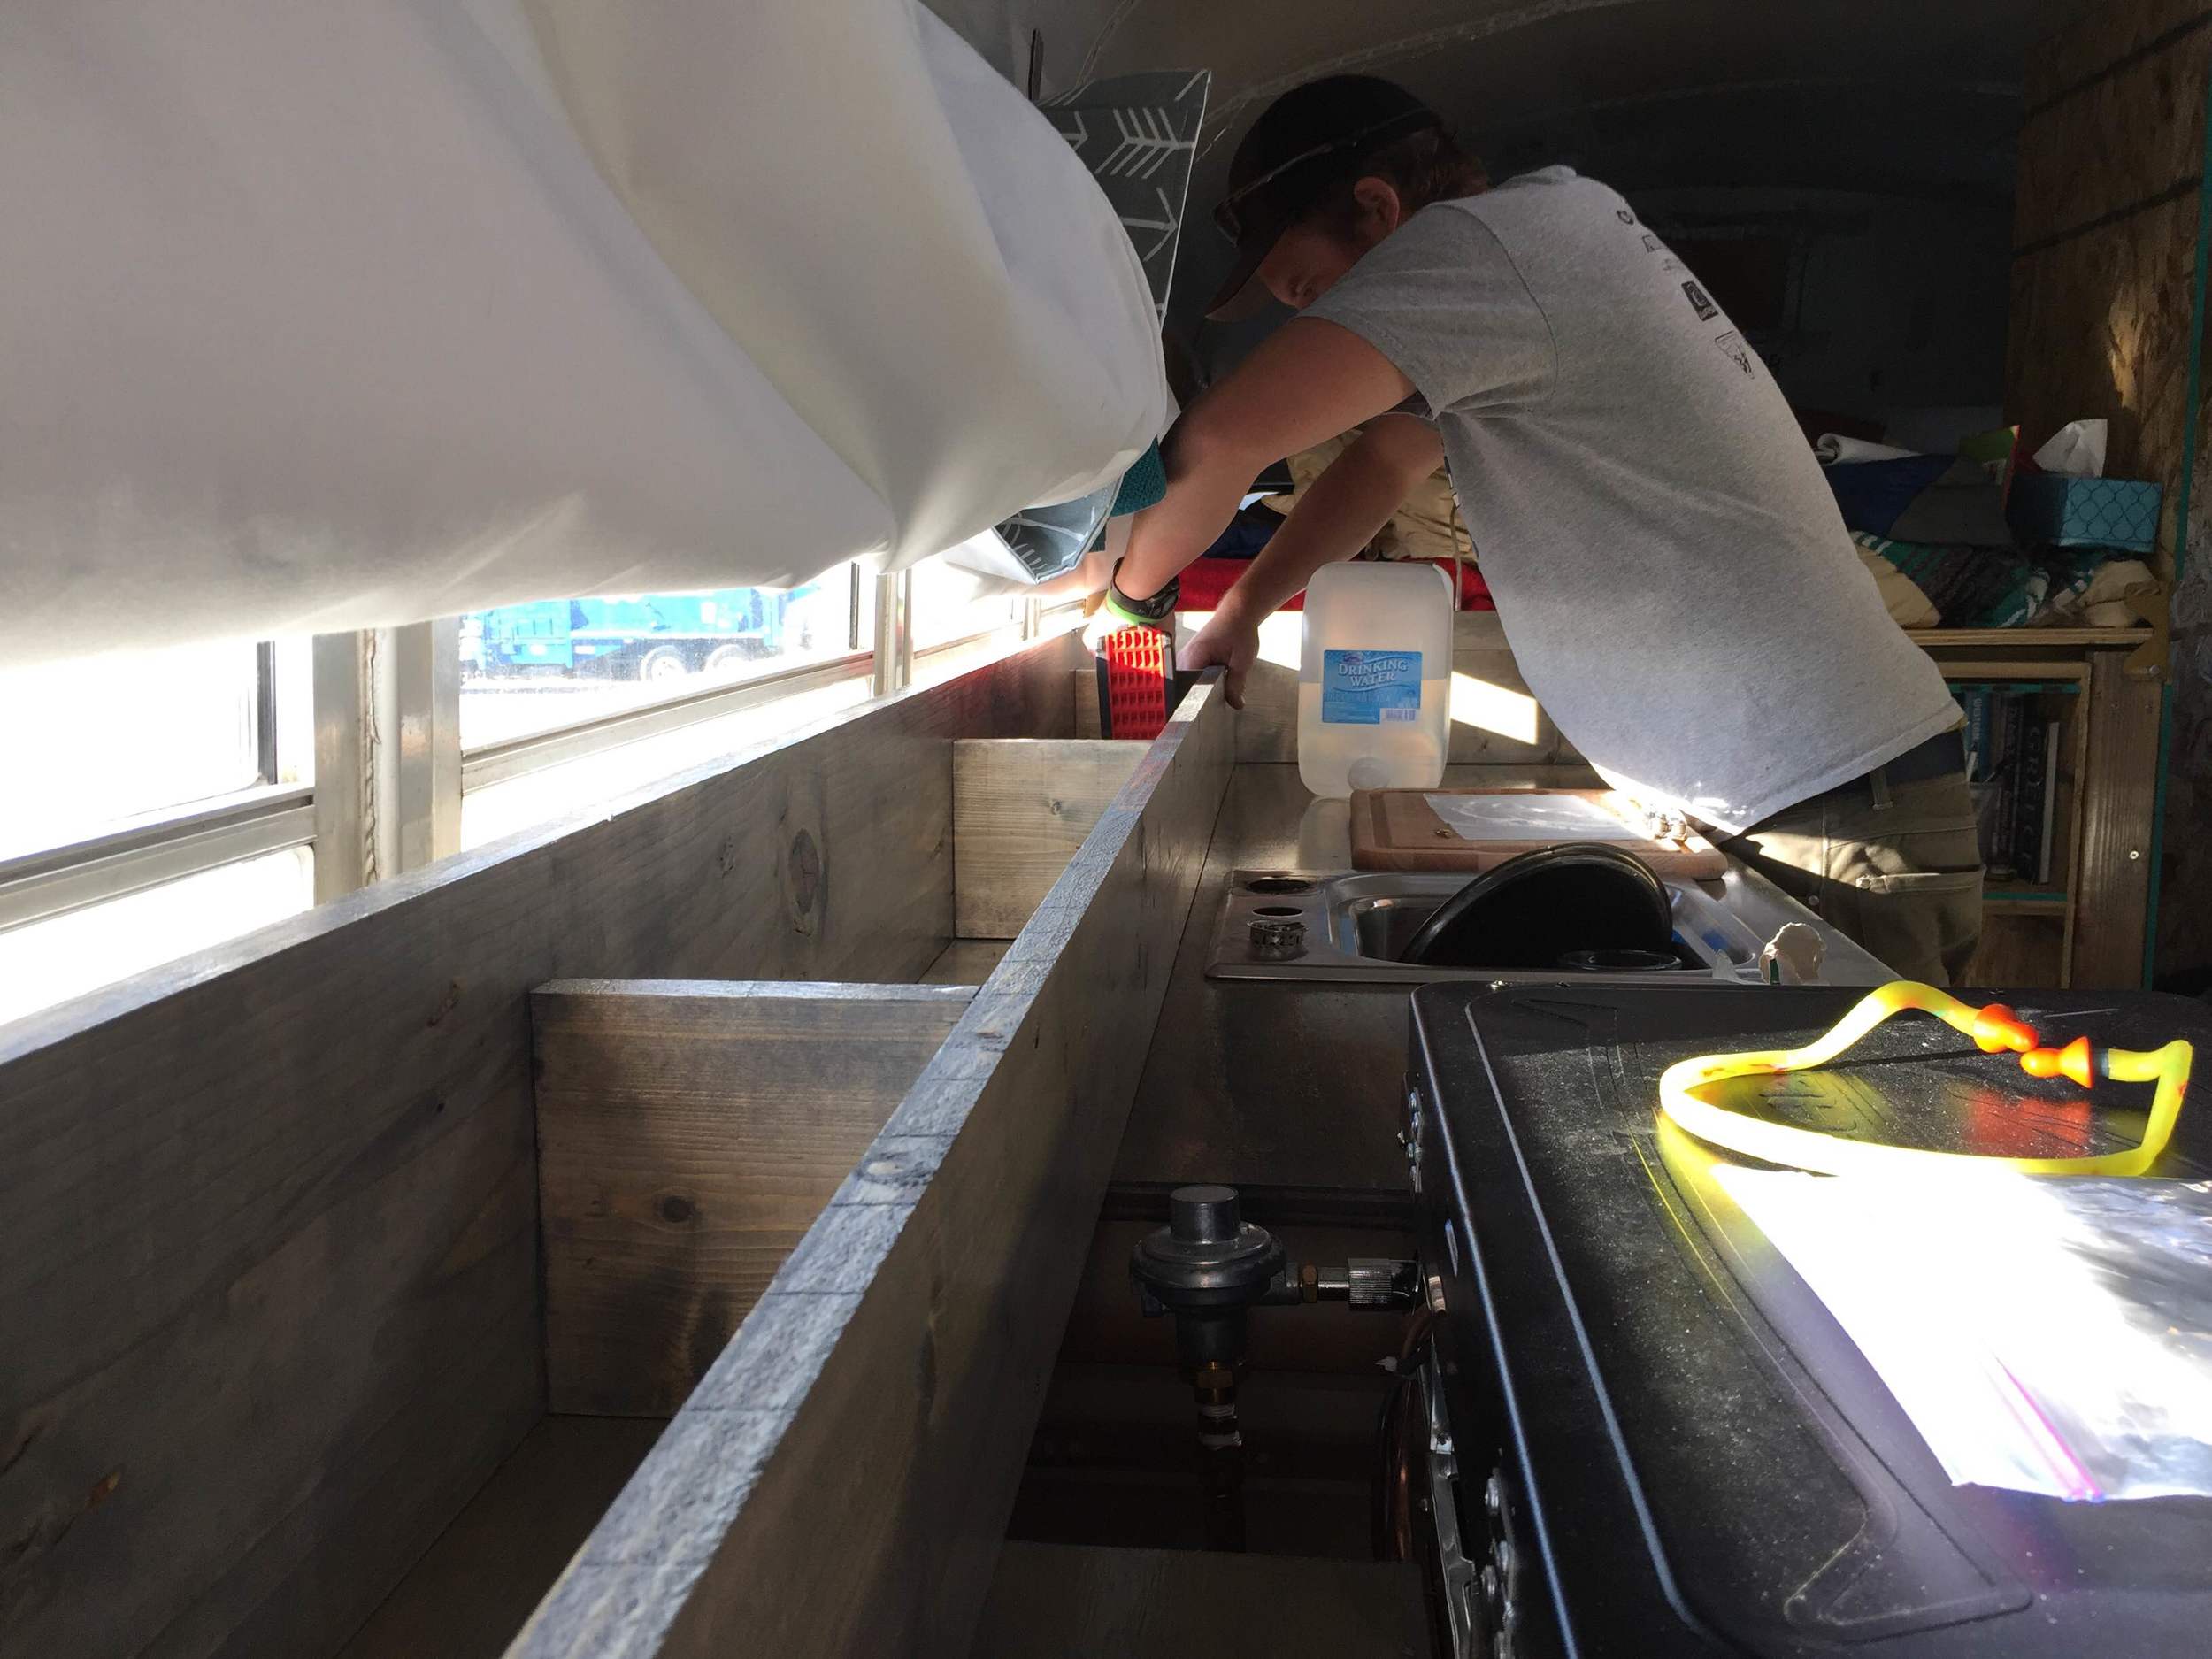
We made the cubby 7 inches deep to not interfere with the propane connection on the back of the stove. It turned out perfectly, so once we had it all lined up, we took it back outside so I could stain it to match the countertop.
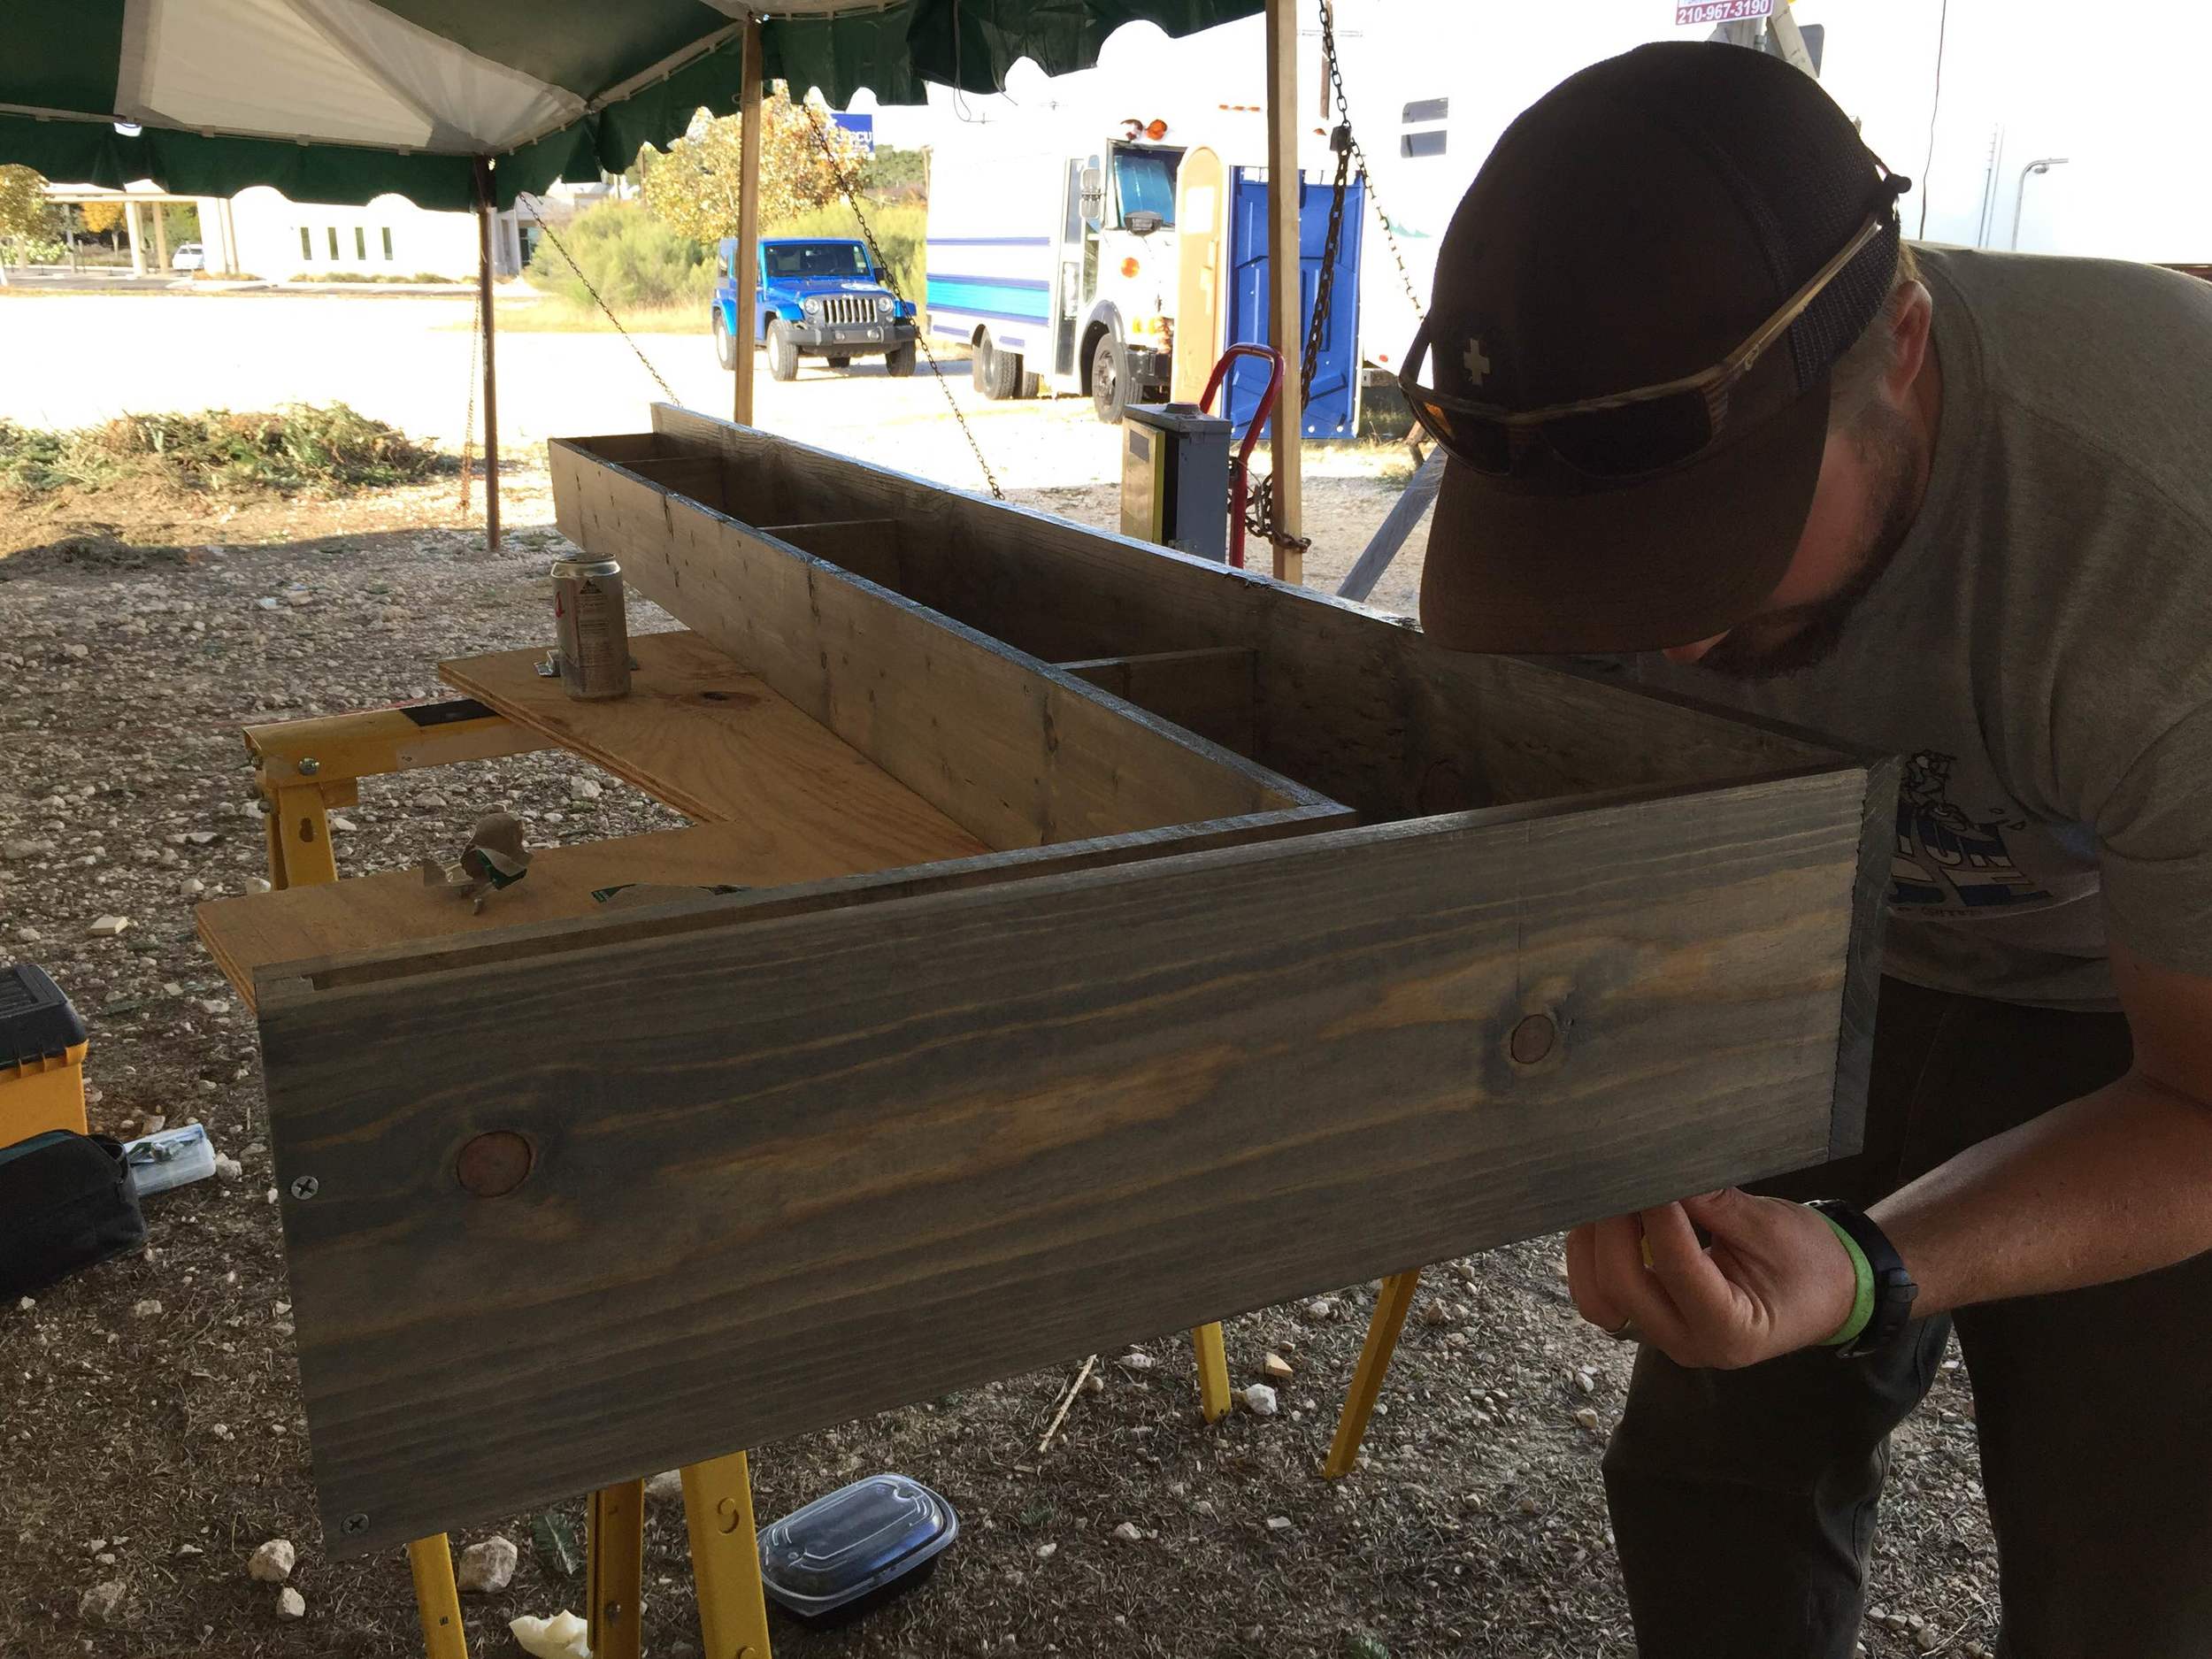
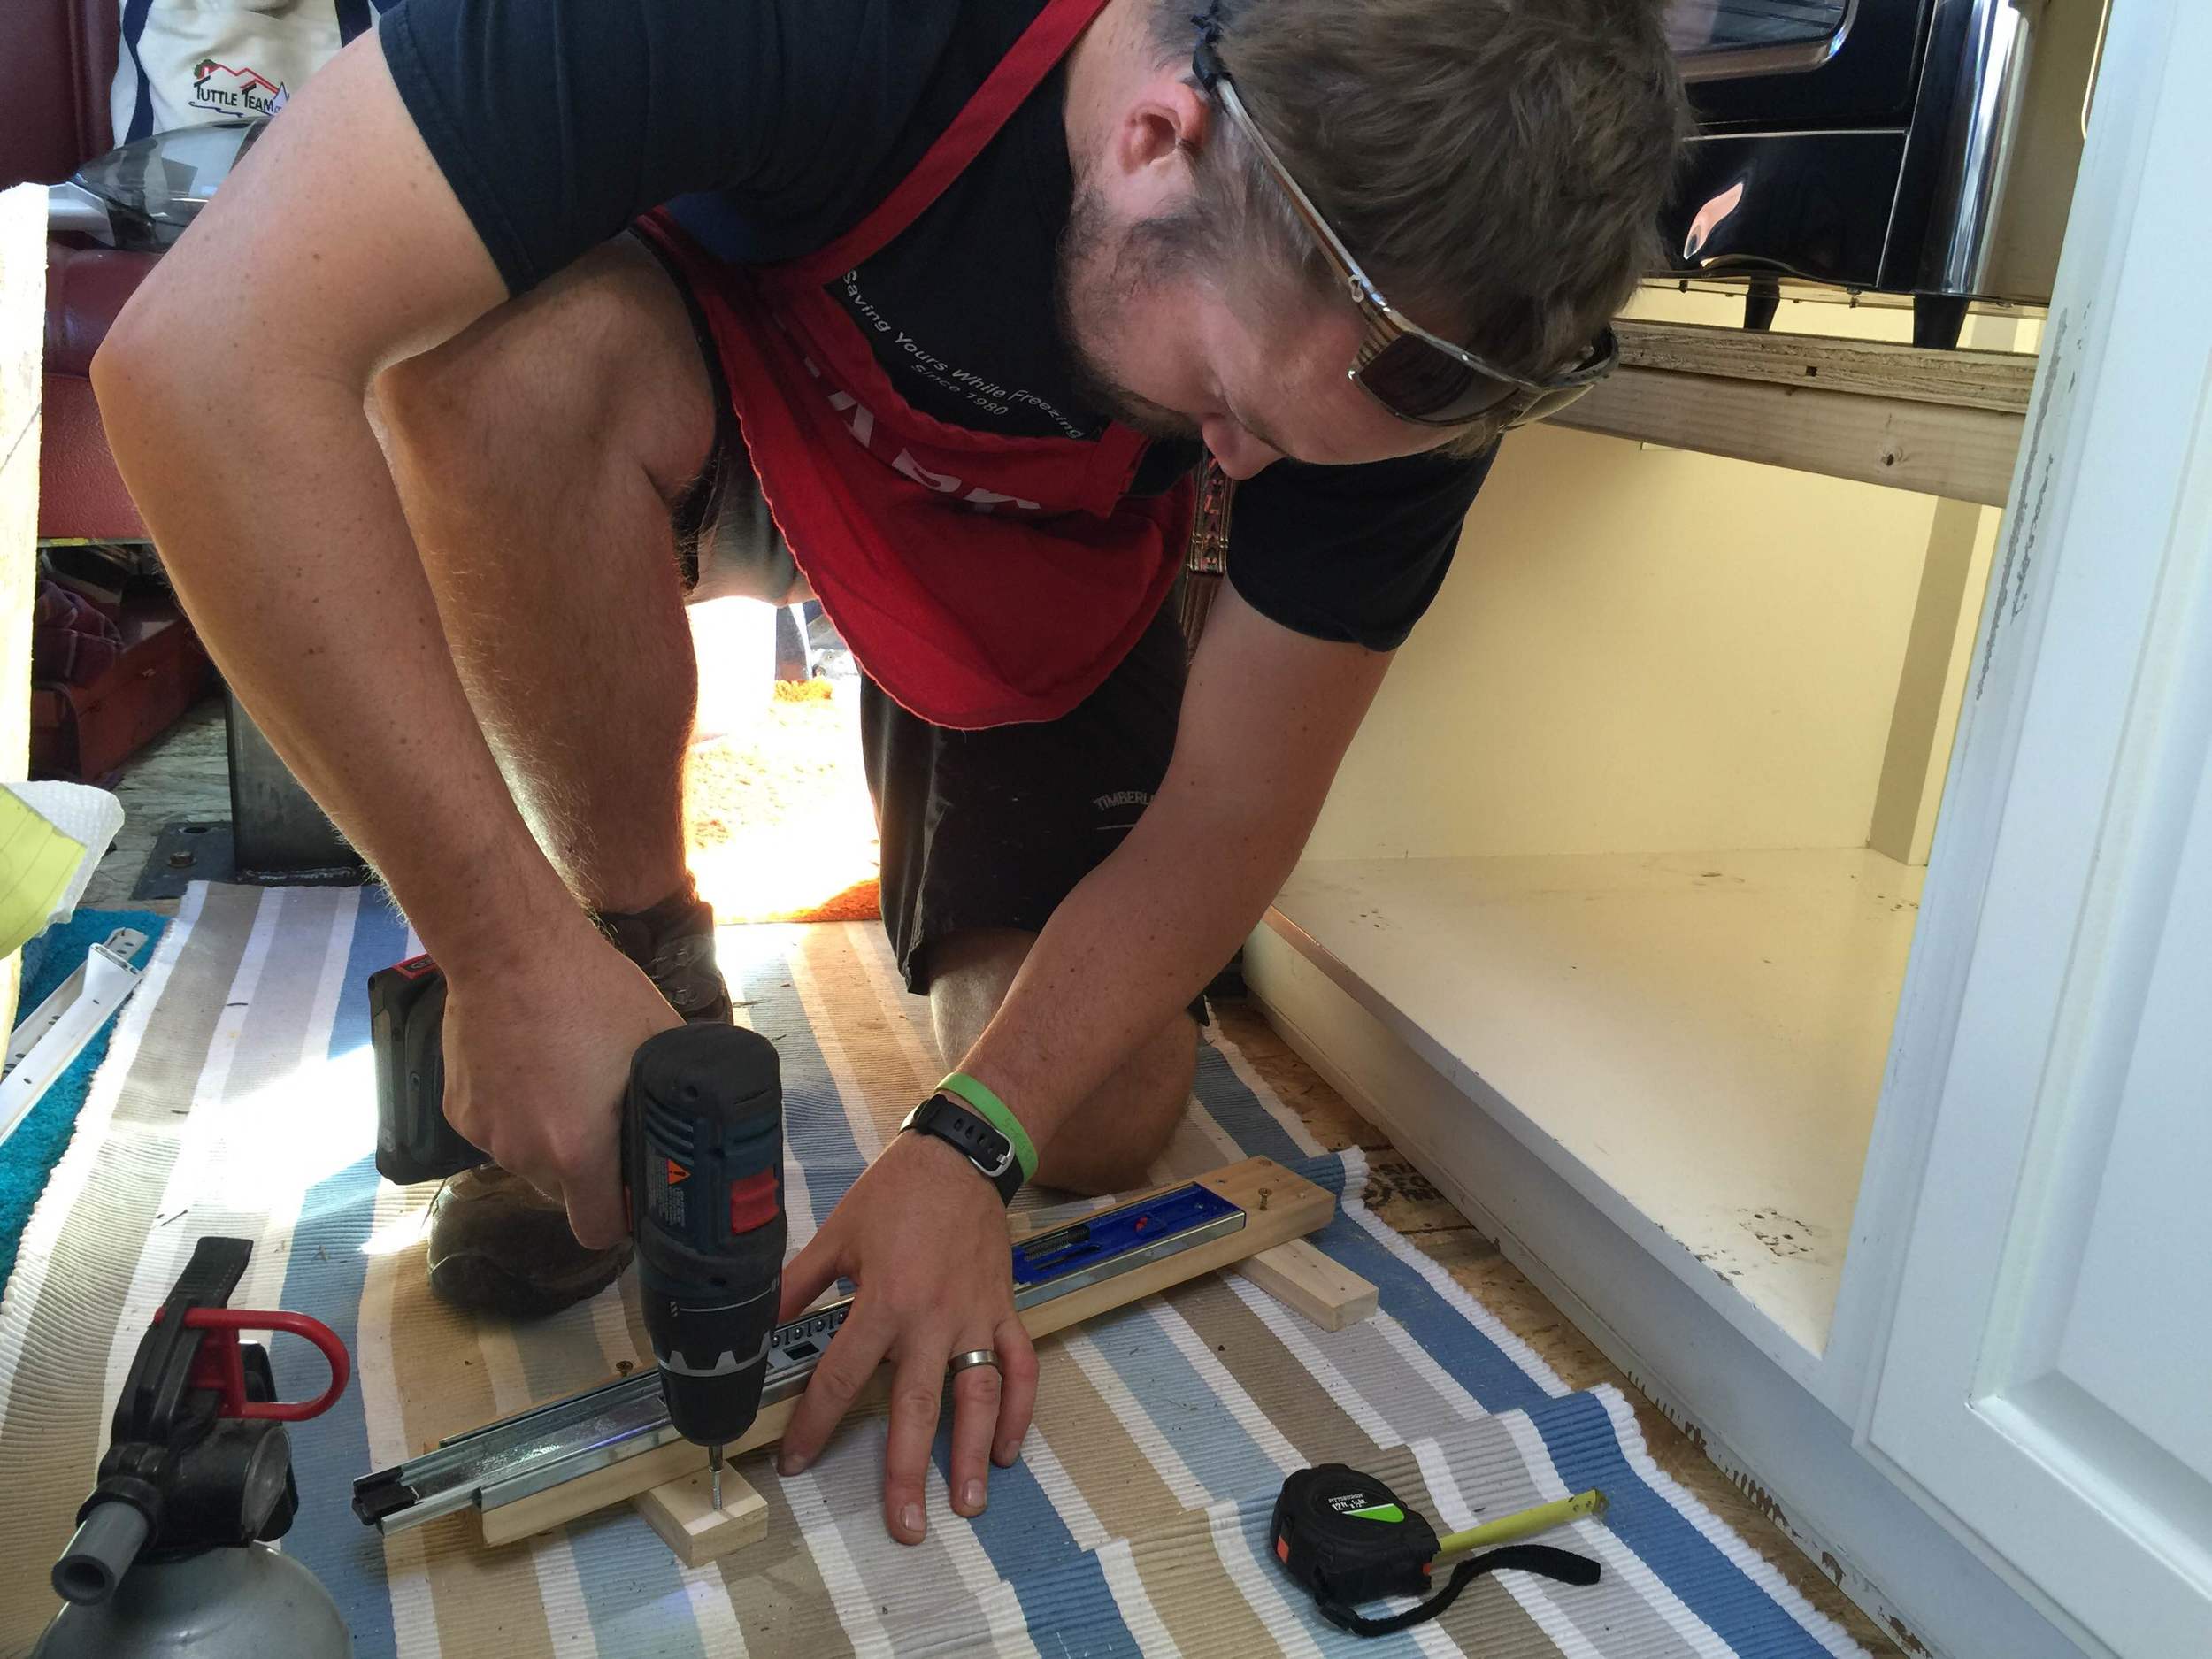
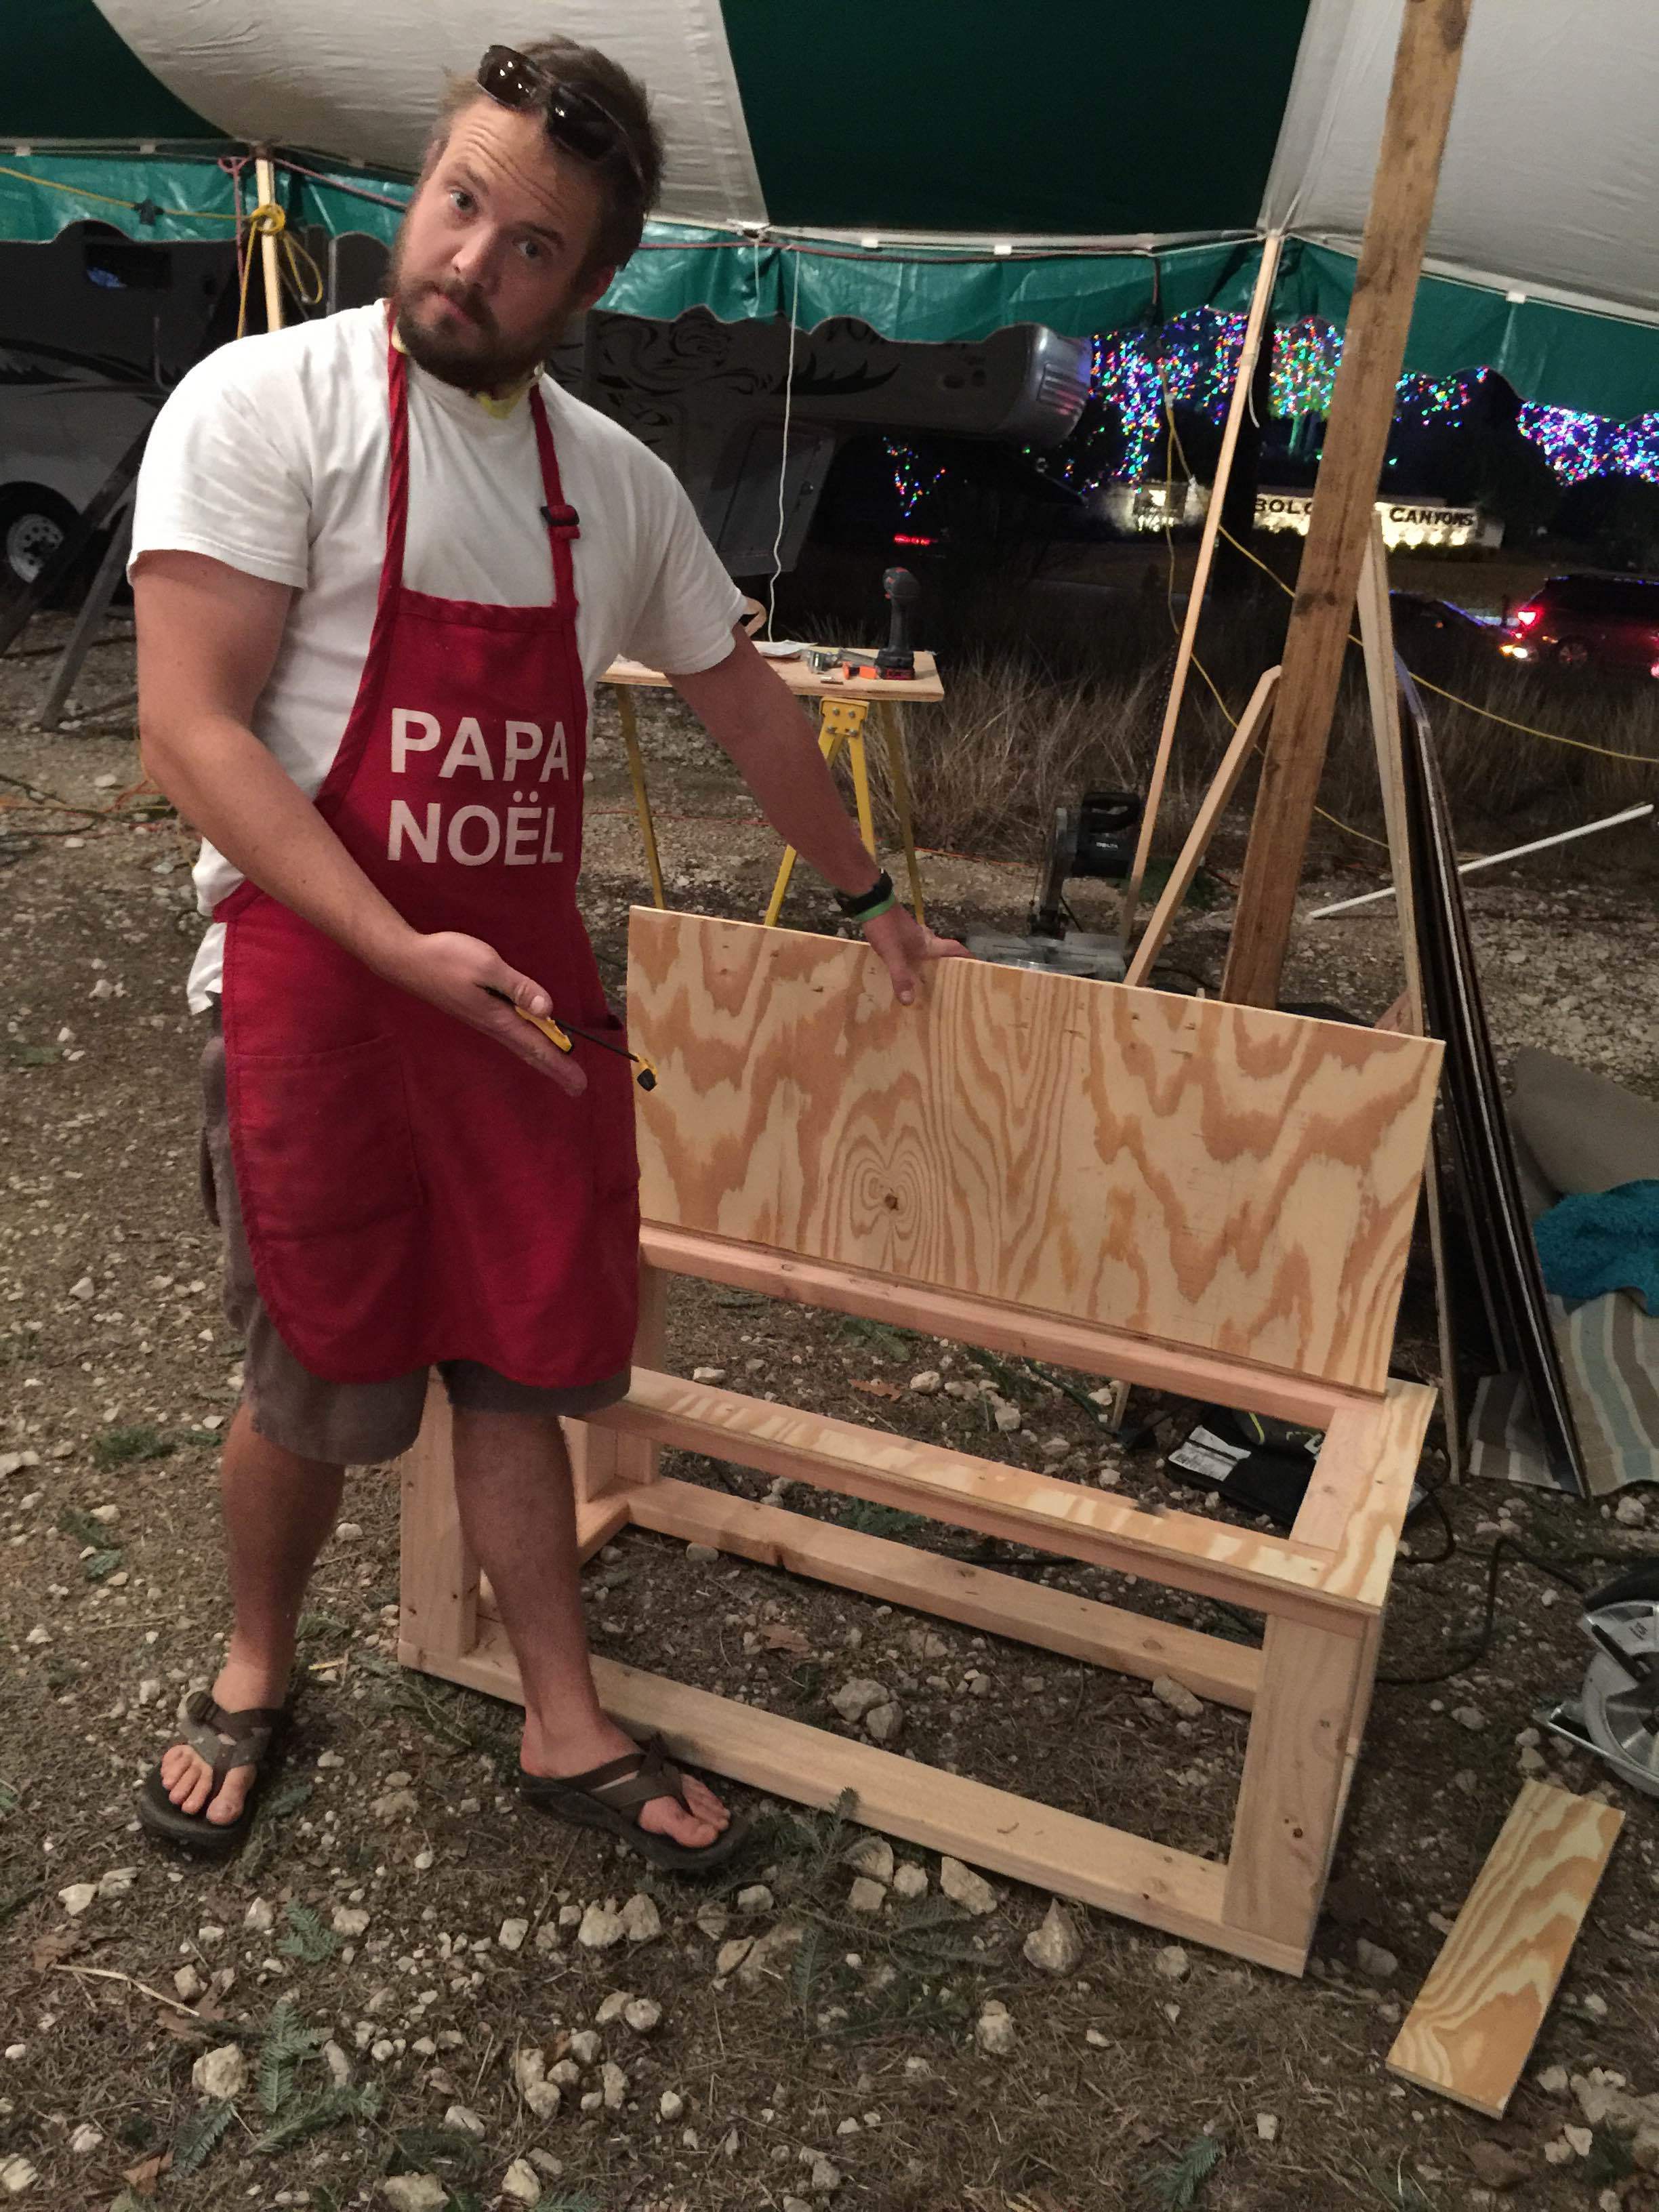
I did the staining, I promise! This is Christian attaching the "L" brackets to the cubby so we can attach it to the counter.
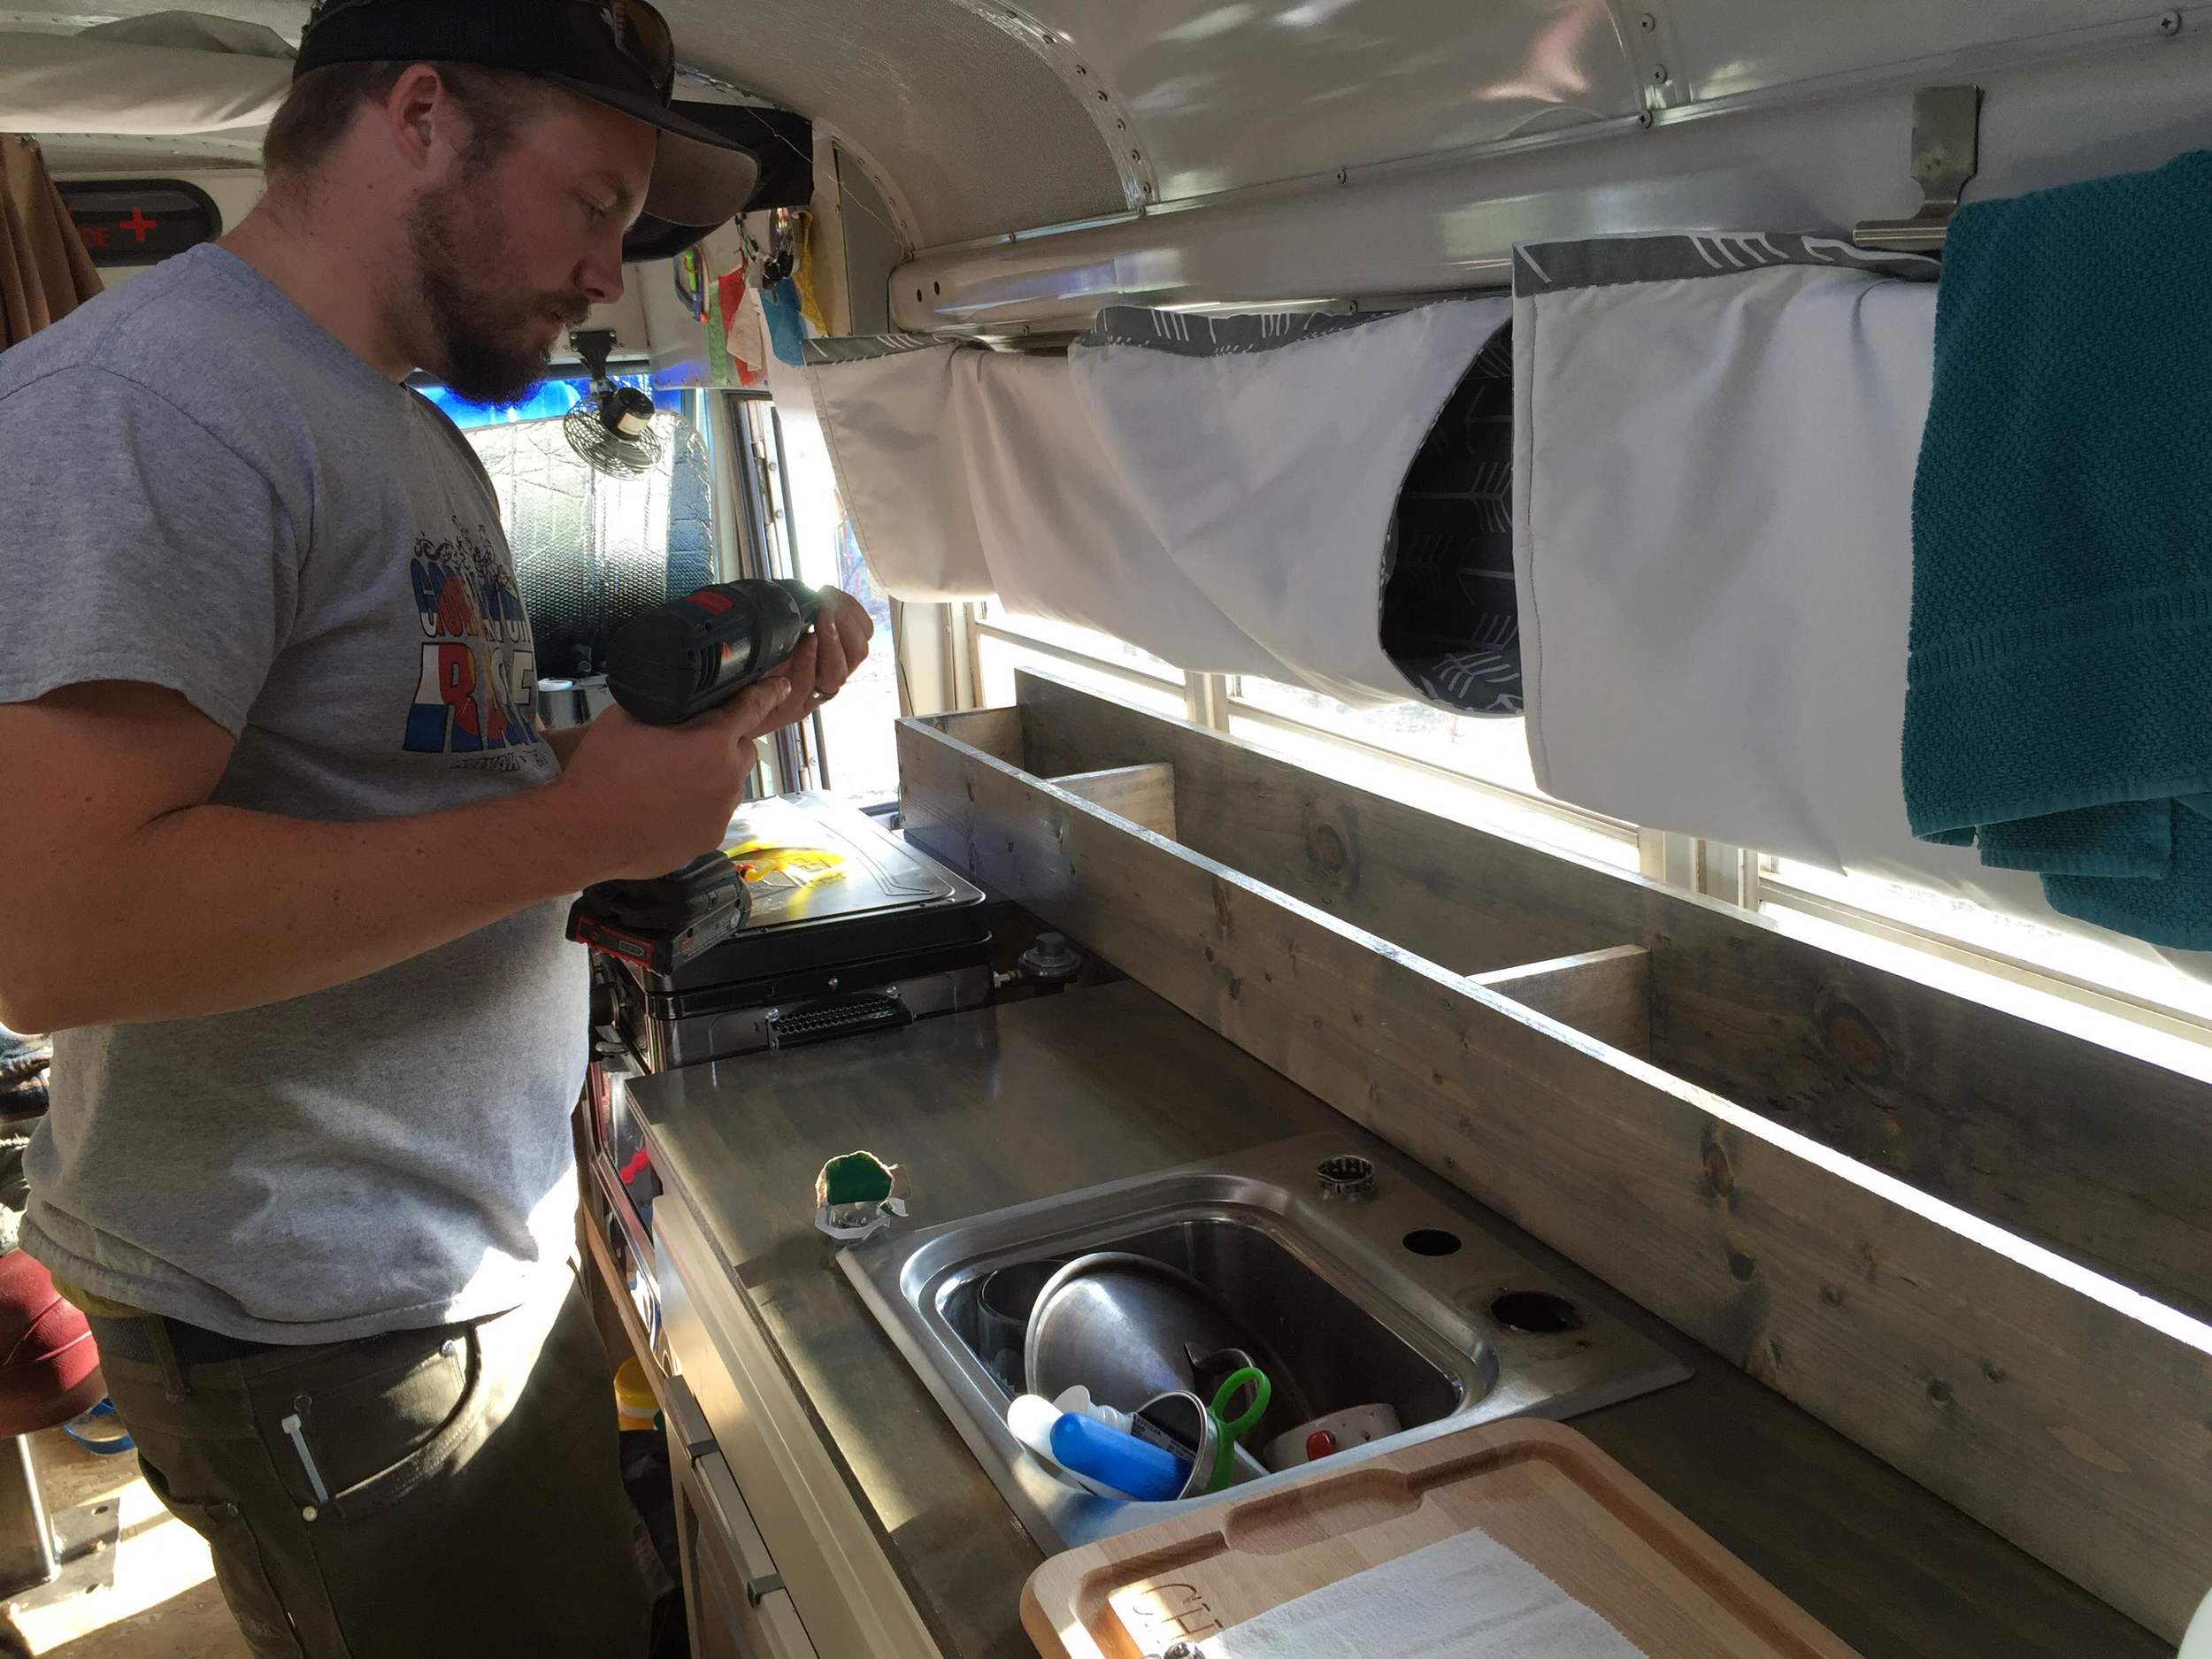
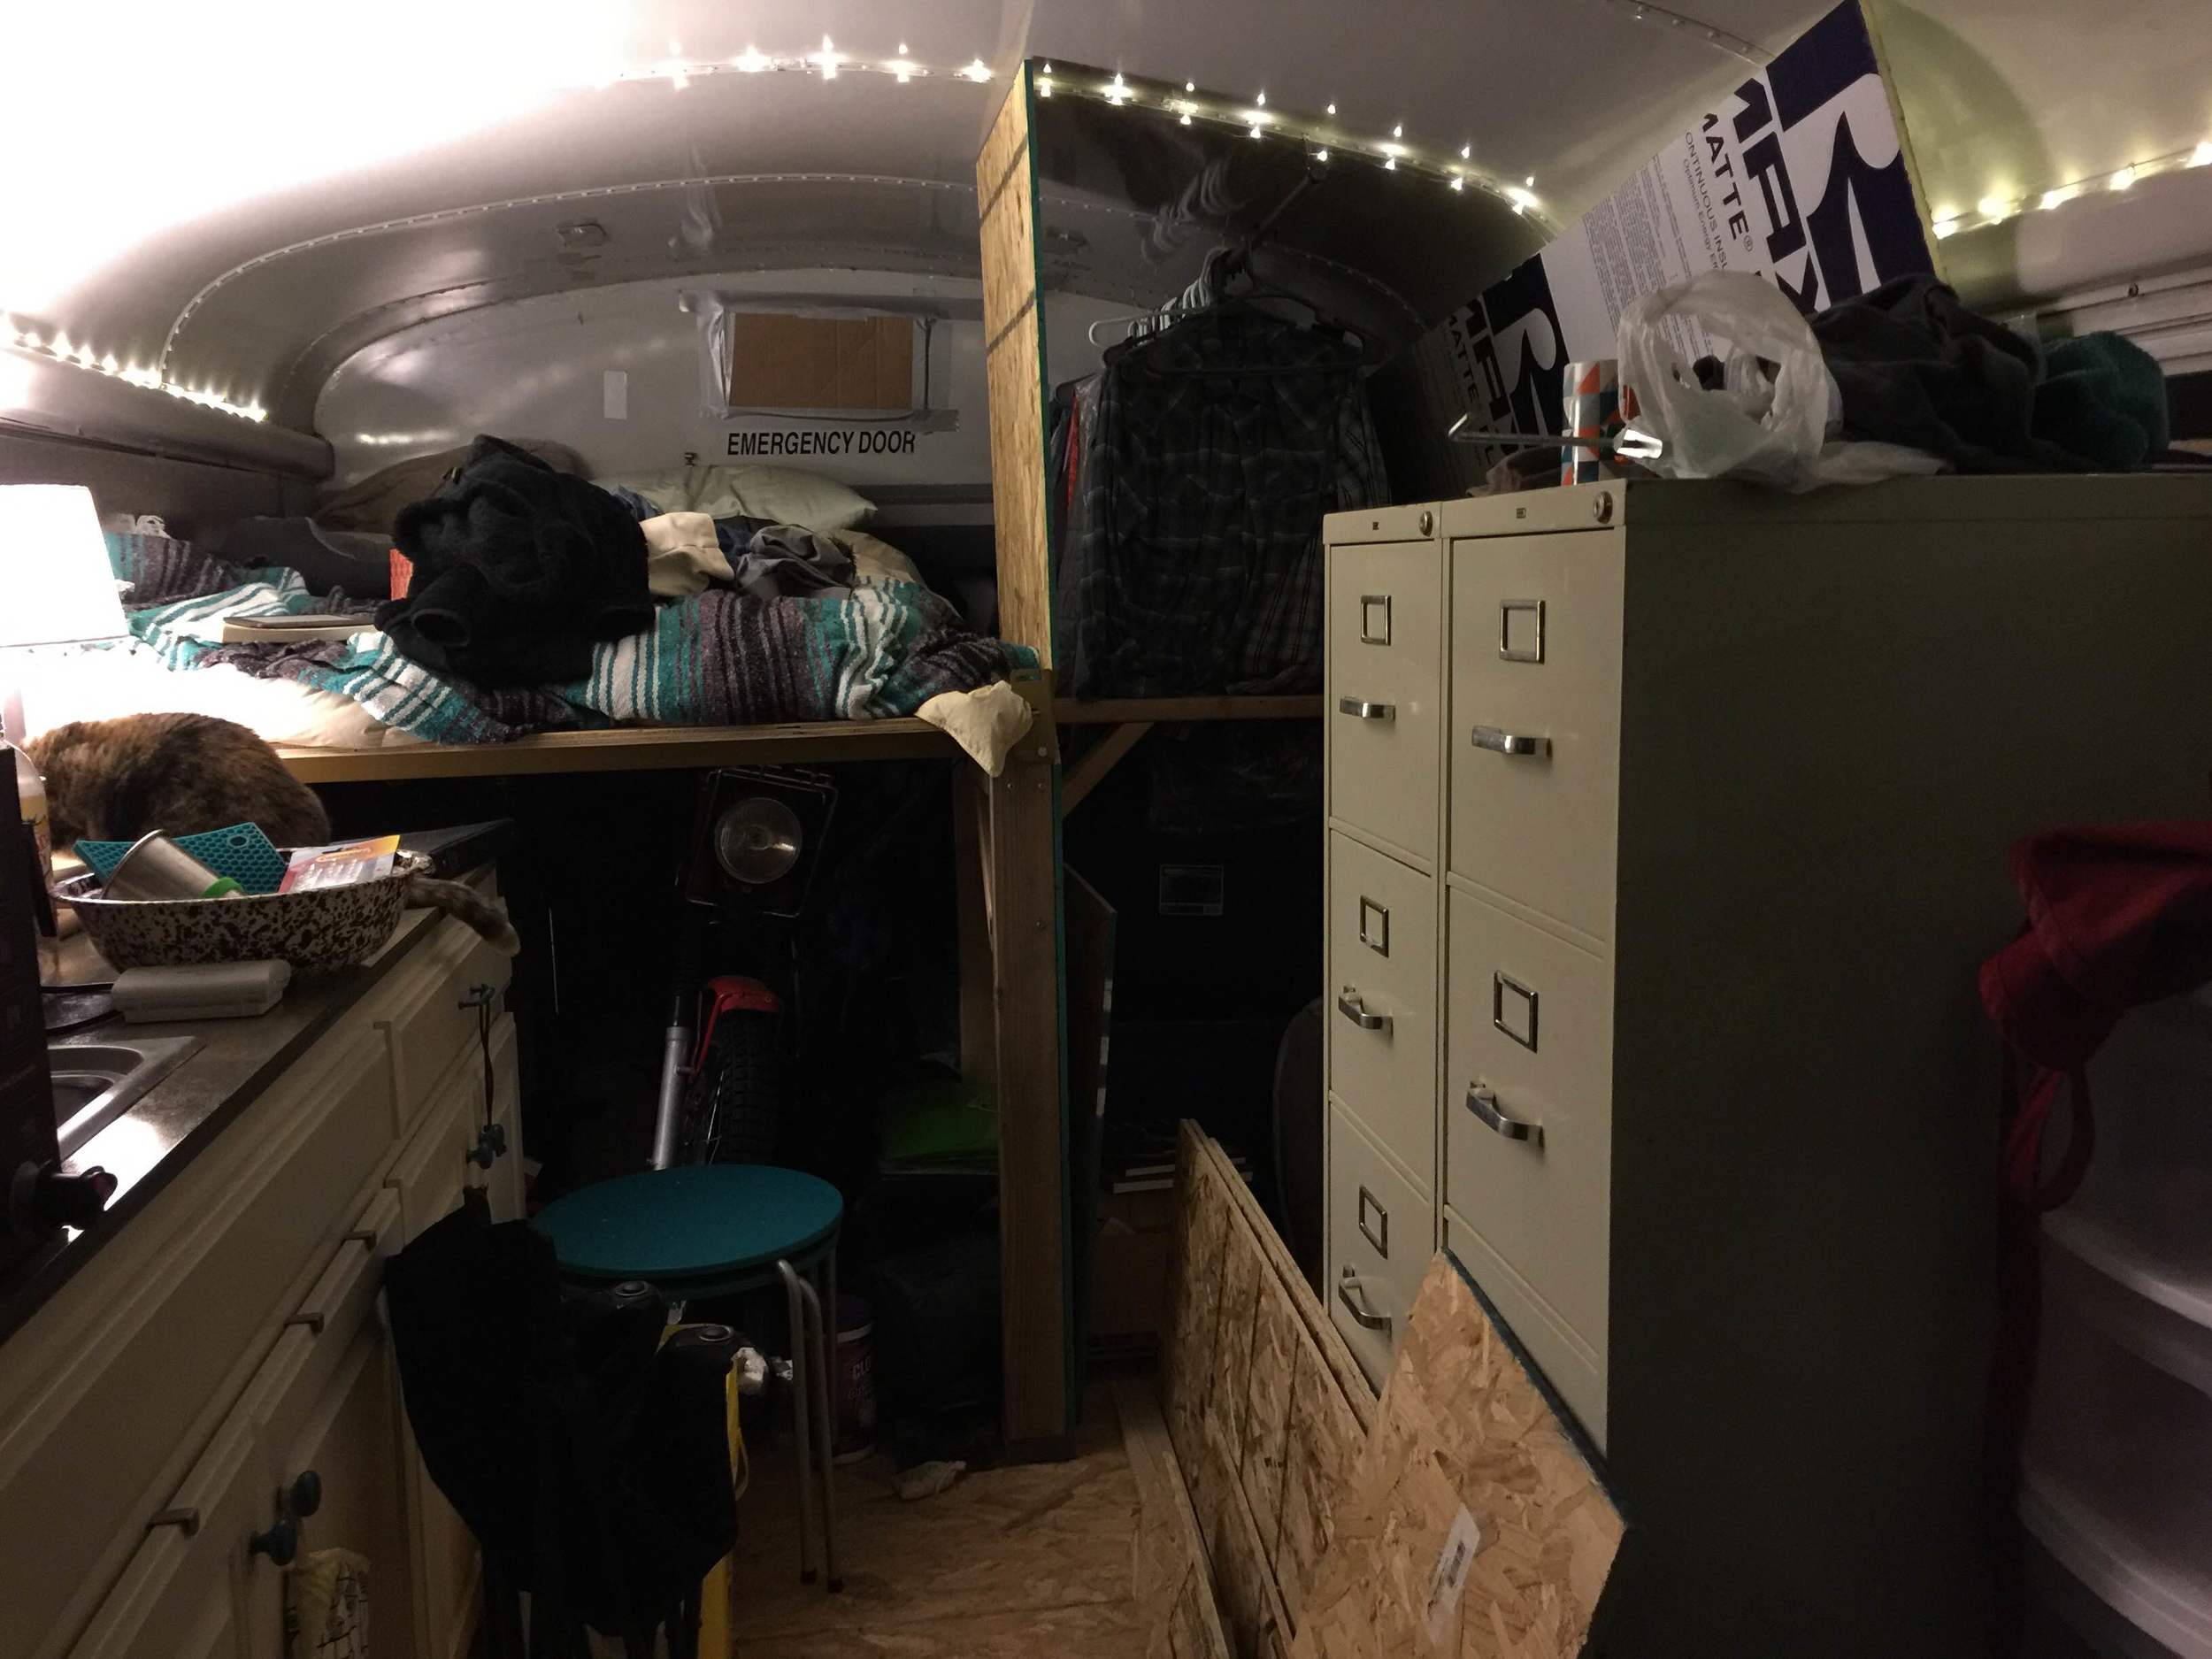
It looks great!
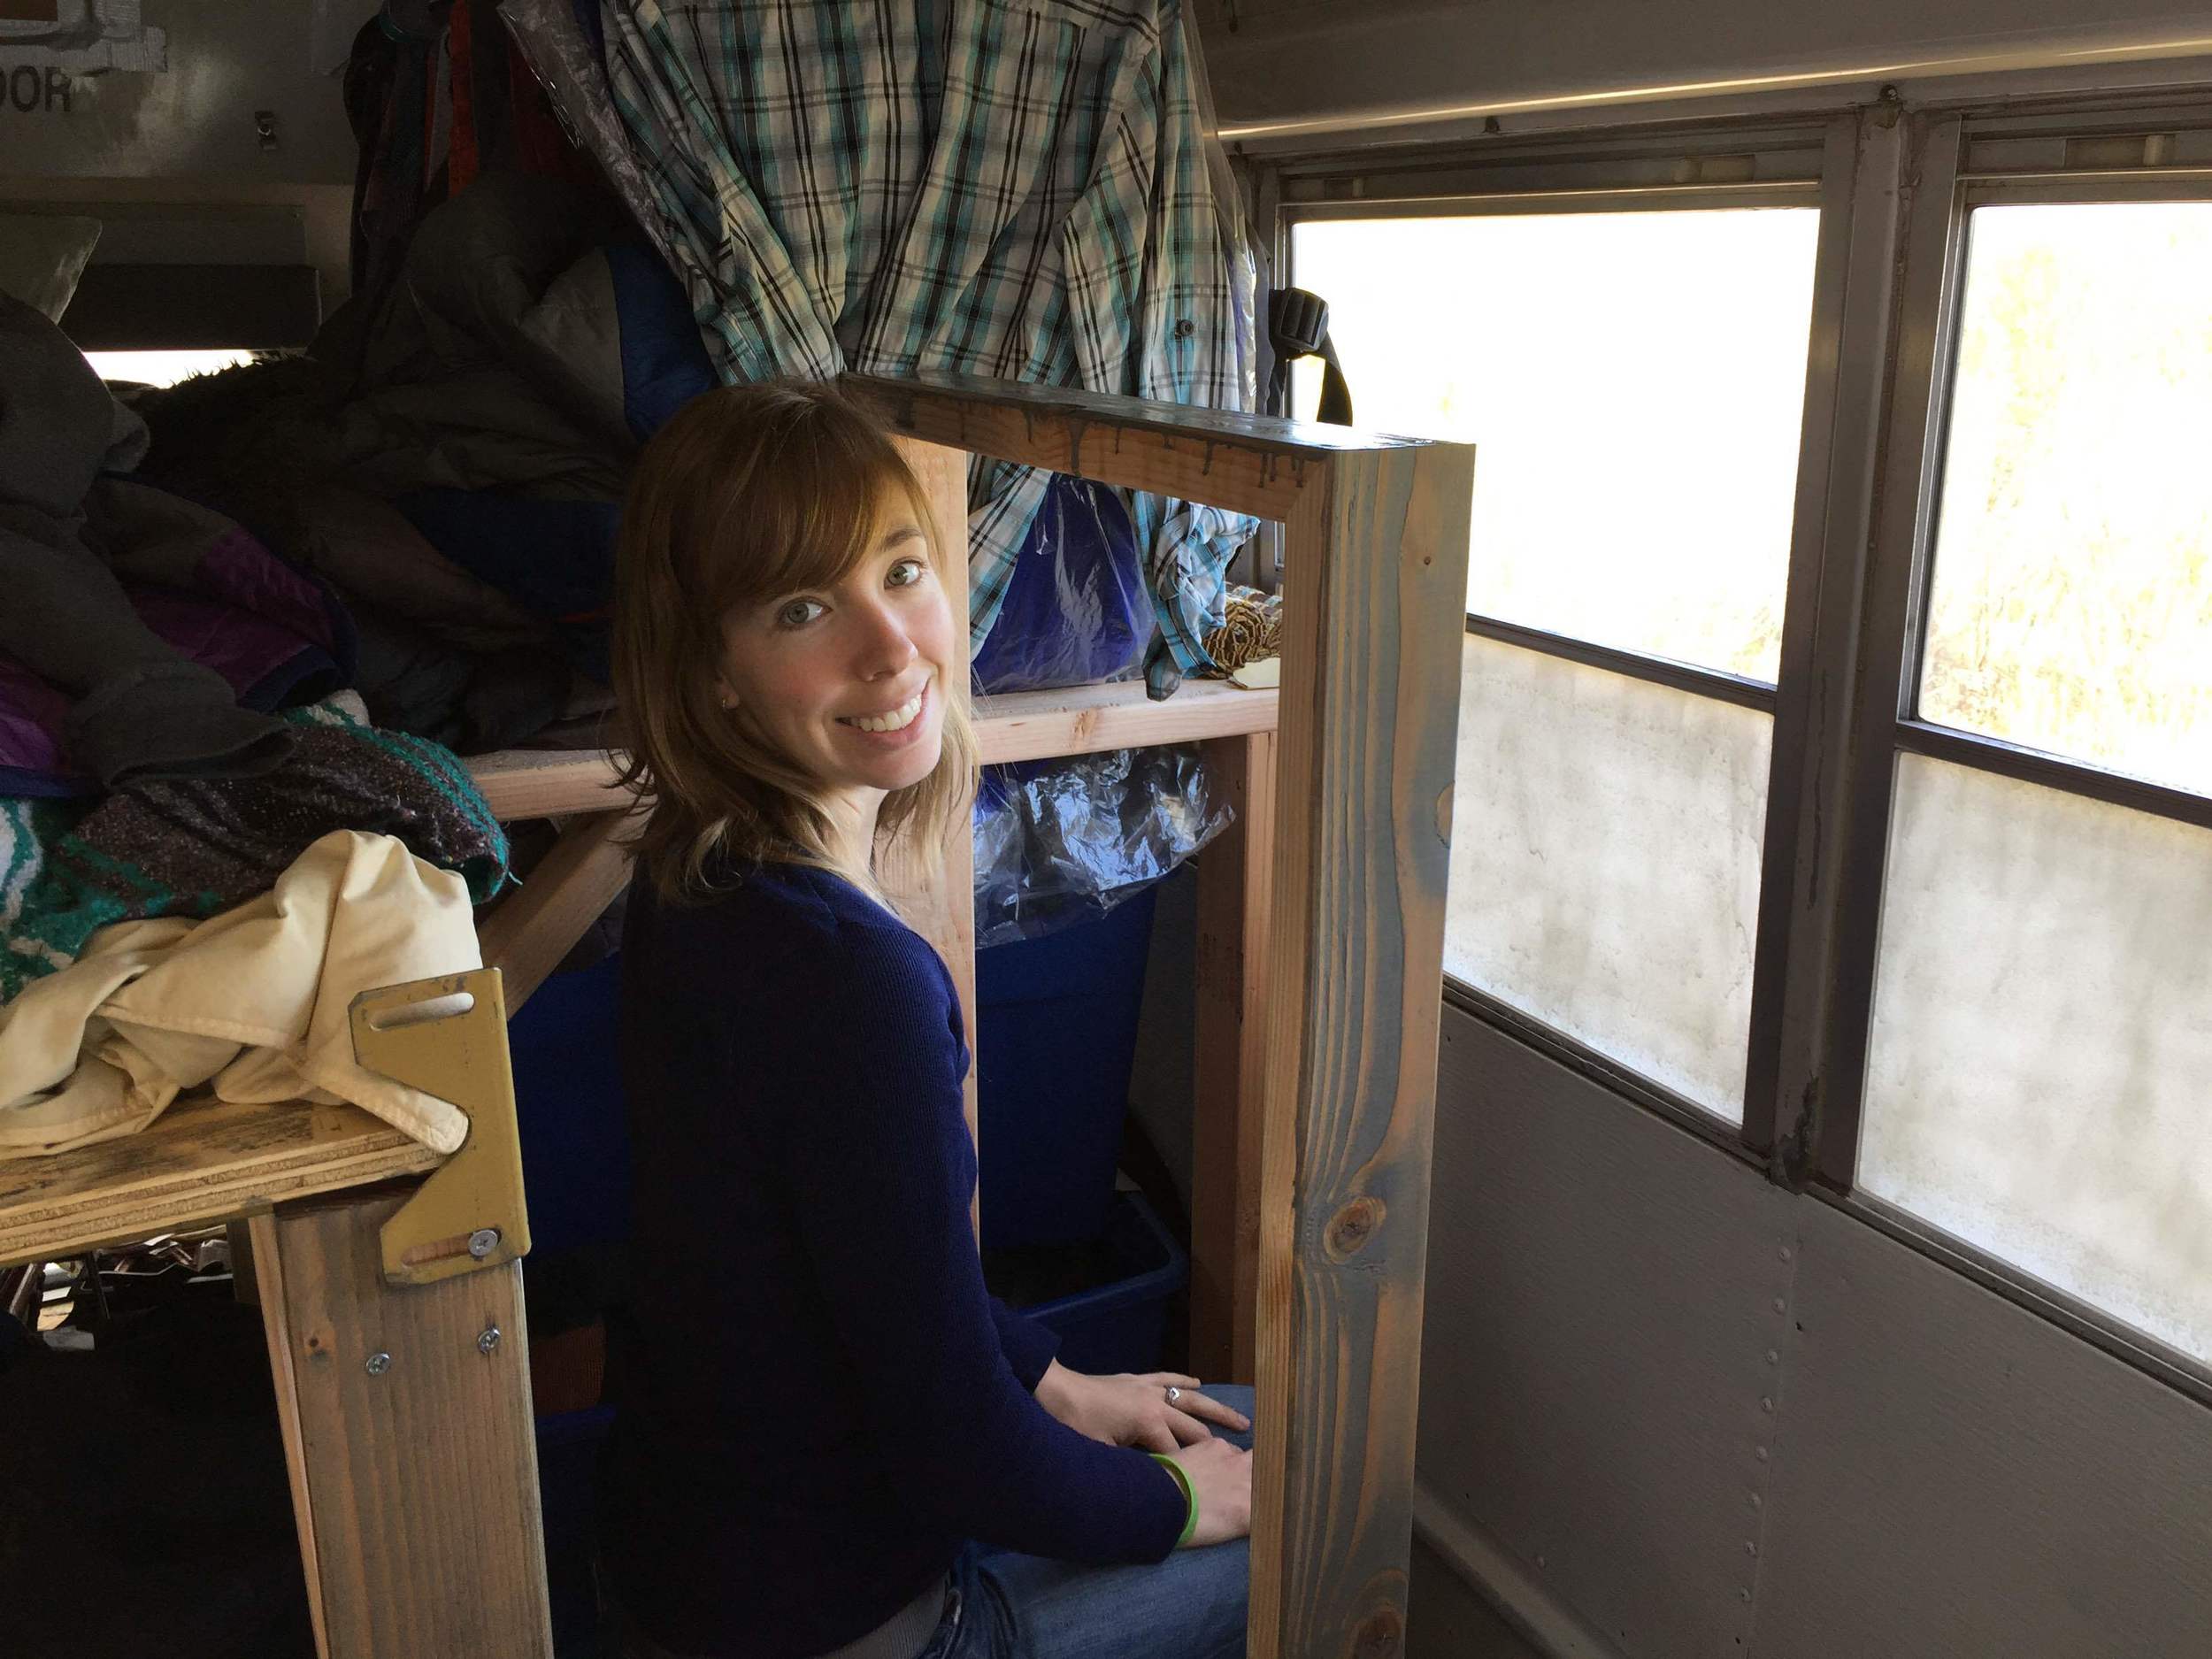
The next big project we had to tackle was the bench seat. It's future home would be behind the driver's seat. Our plan was just a basic box with a lid to store stuff beneath it.

Yay, it holds a person sitting on it!
And the lid works too!
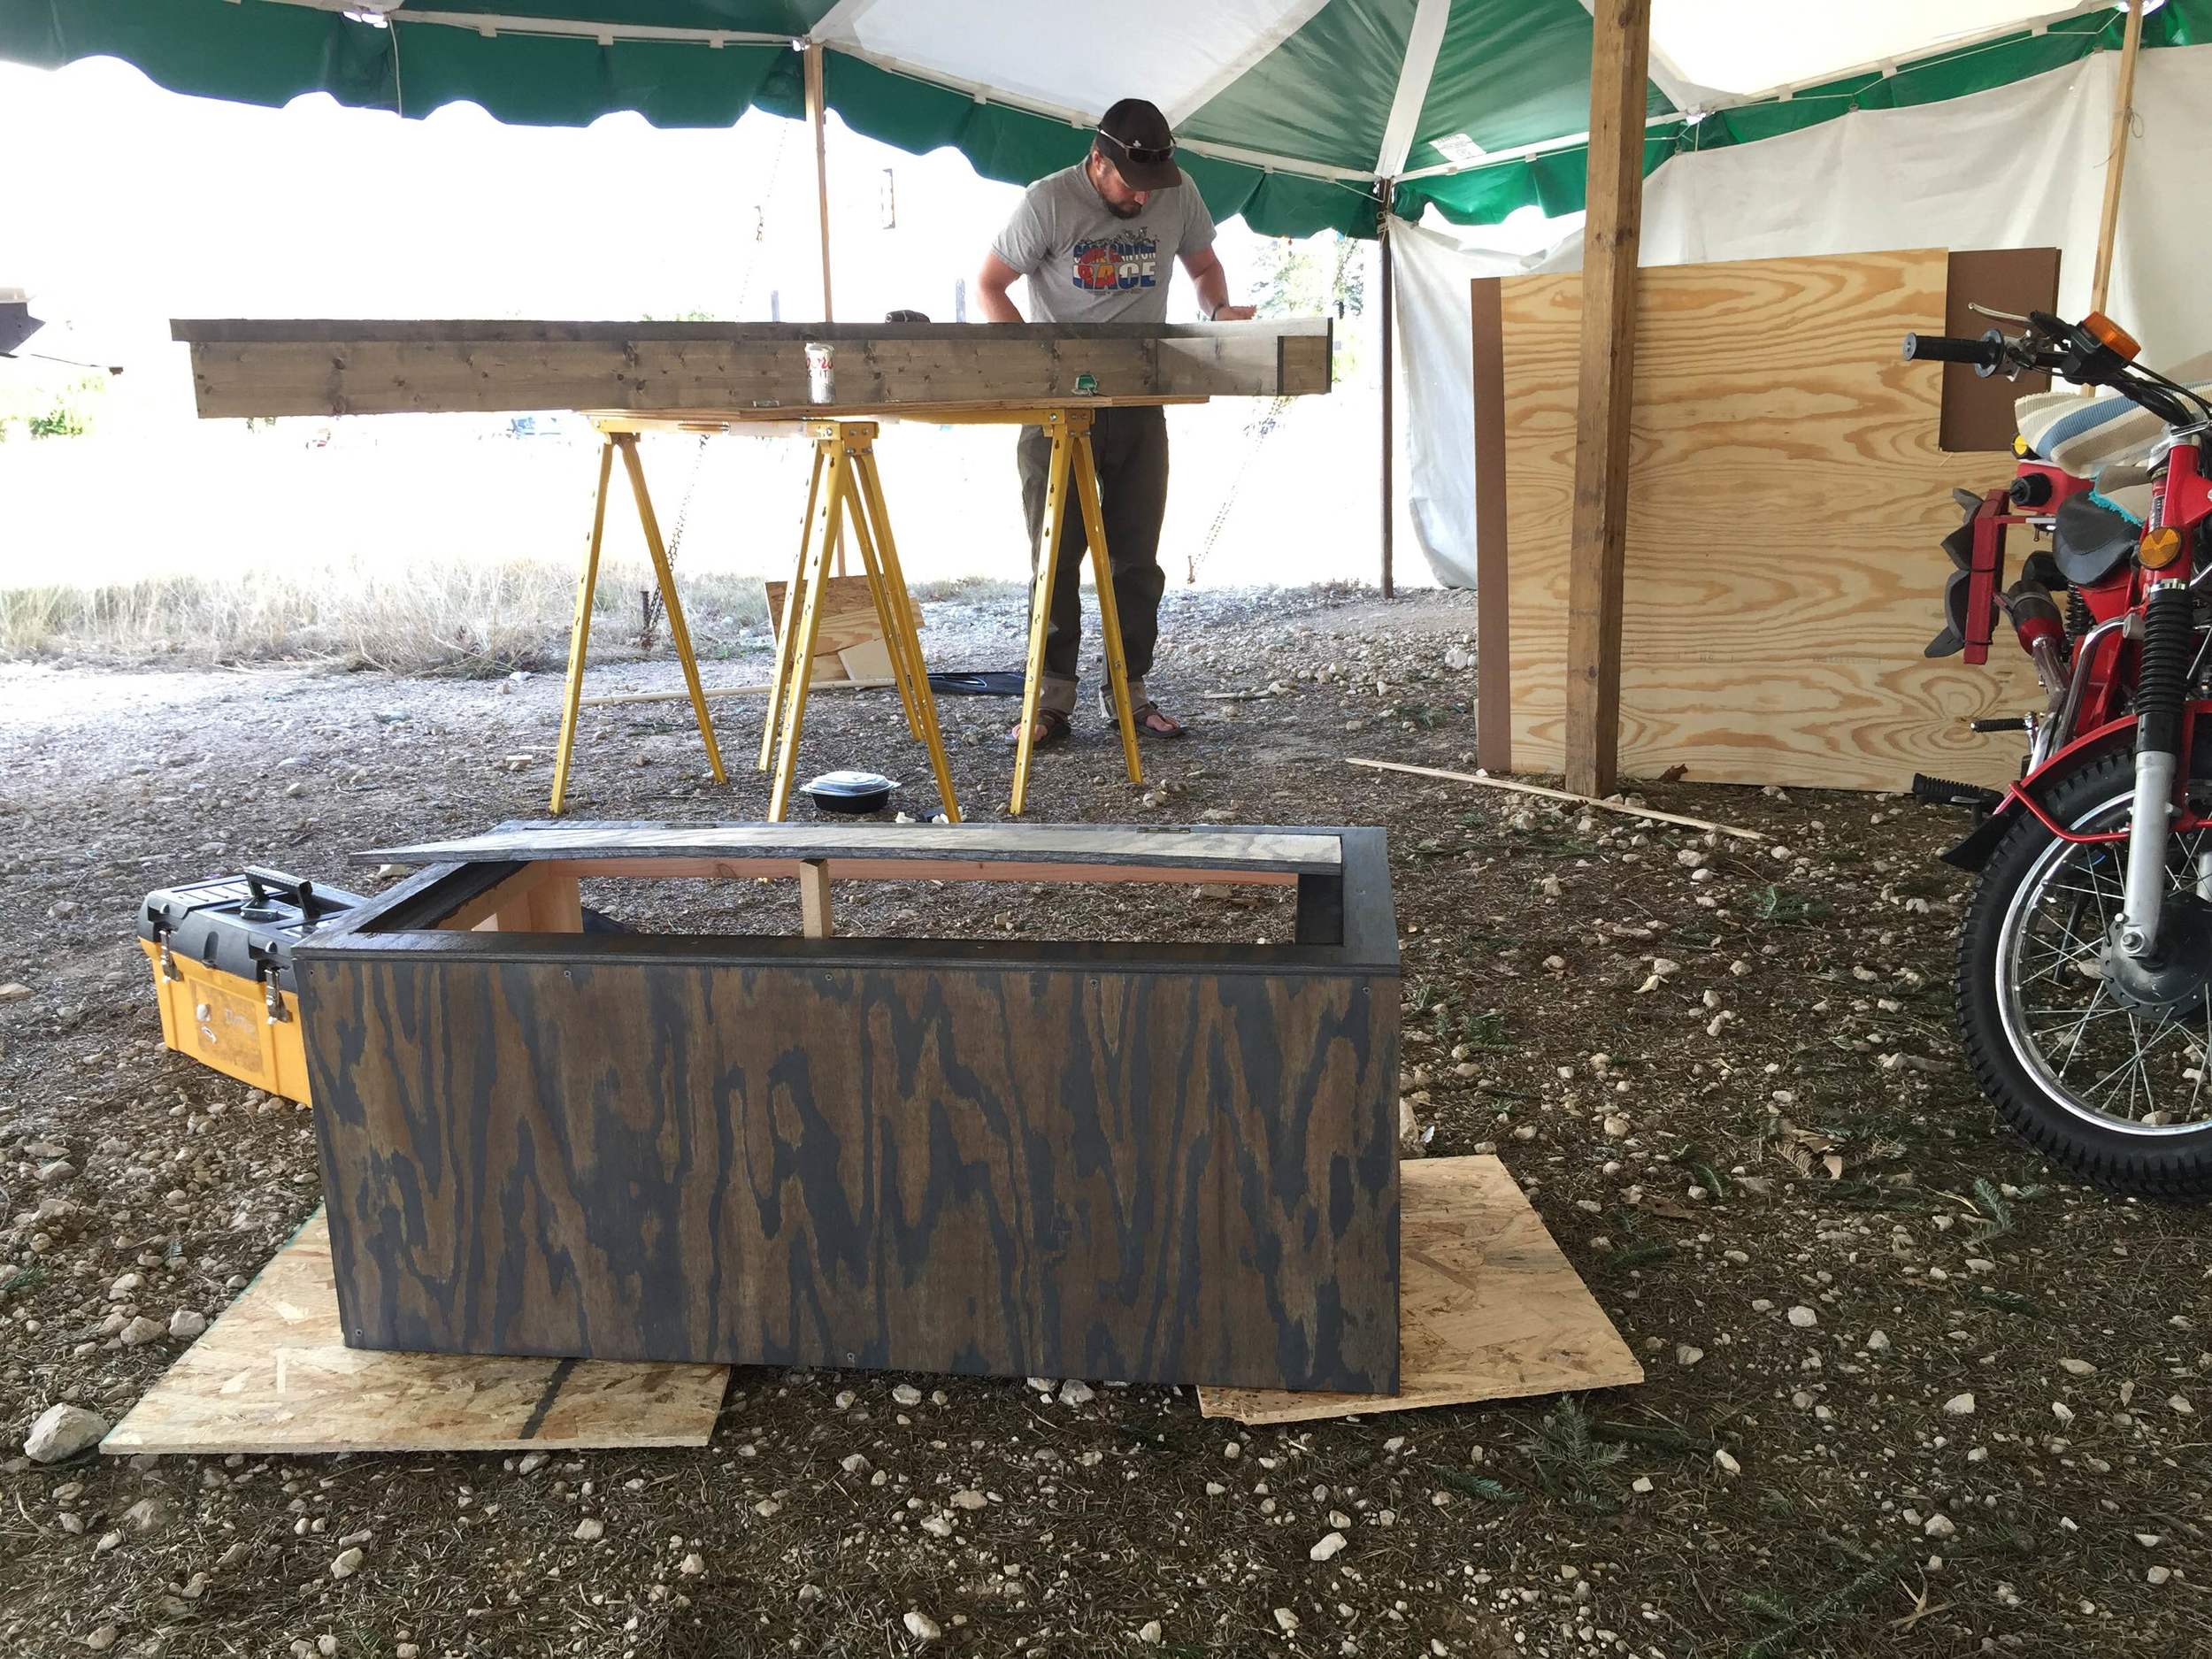
We stained the bench seat the same color, but it turned out looking a bit more exciting because of the pattern of the wood.
That's all for now. I need to dig up the rest of the photos of progress to post in the coming updates. Since we'll most likely be hitting the road tomorrow afternoon (2.11), it might be a few days before I get wifi and am able to post again, but I promise to try to better keep up with it from here on out!
If you need a solid dose of our adventures while you wait for most posts, follow our daily journey along on our Instagram! (@TravelingTuttles)