
A day late, but a bed is built!
/A day late! We've been so good about posting on Mondays, but alas. We were busy from building, that will be our excuse.
We started building the bed platform last week. Our ideas were hatched before we had seen Little Foot in person, and for the most part they went unchanged. Our priority list determined our constructions plans:
1. Maximize available storage space.
2. Unfolding/deploying the bed should require as few moves as possible.
3. Construction must be strong and simple.
With that in mind, we cued the music and got to work.
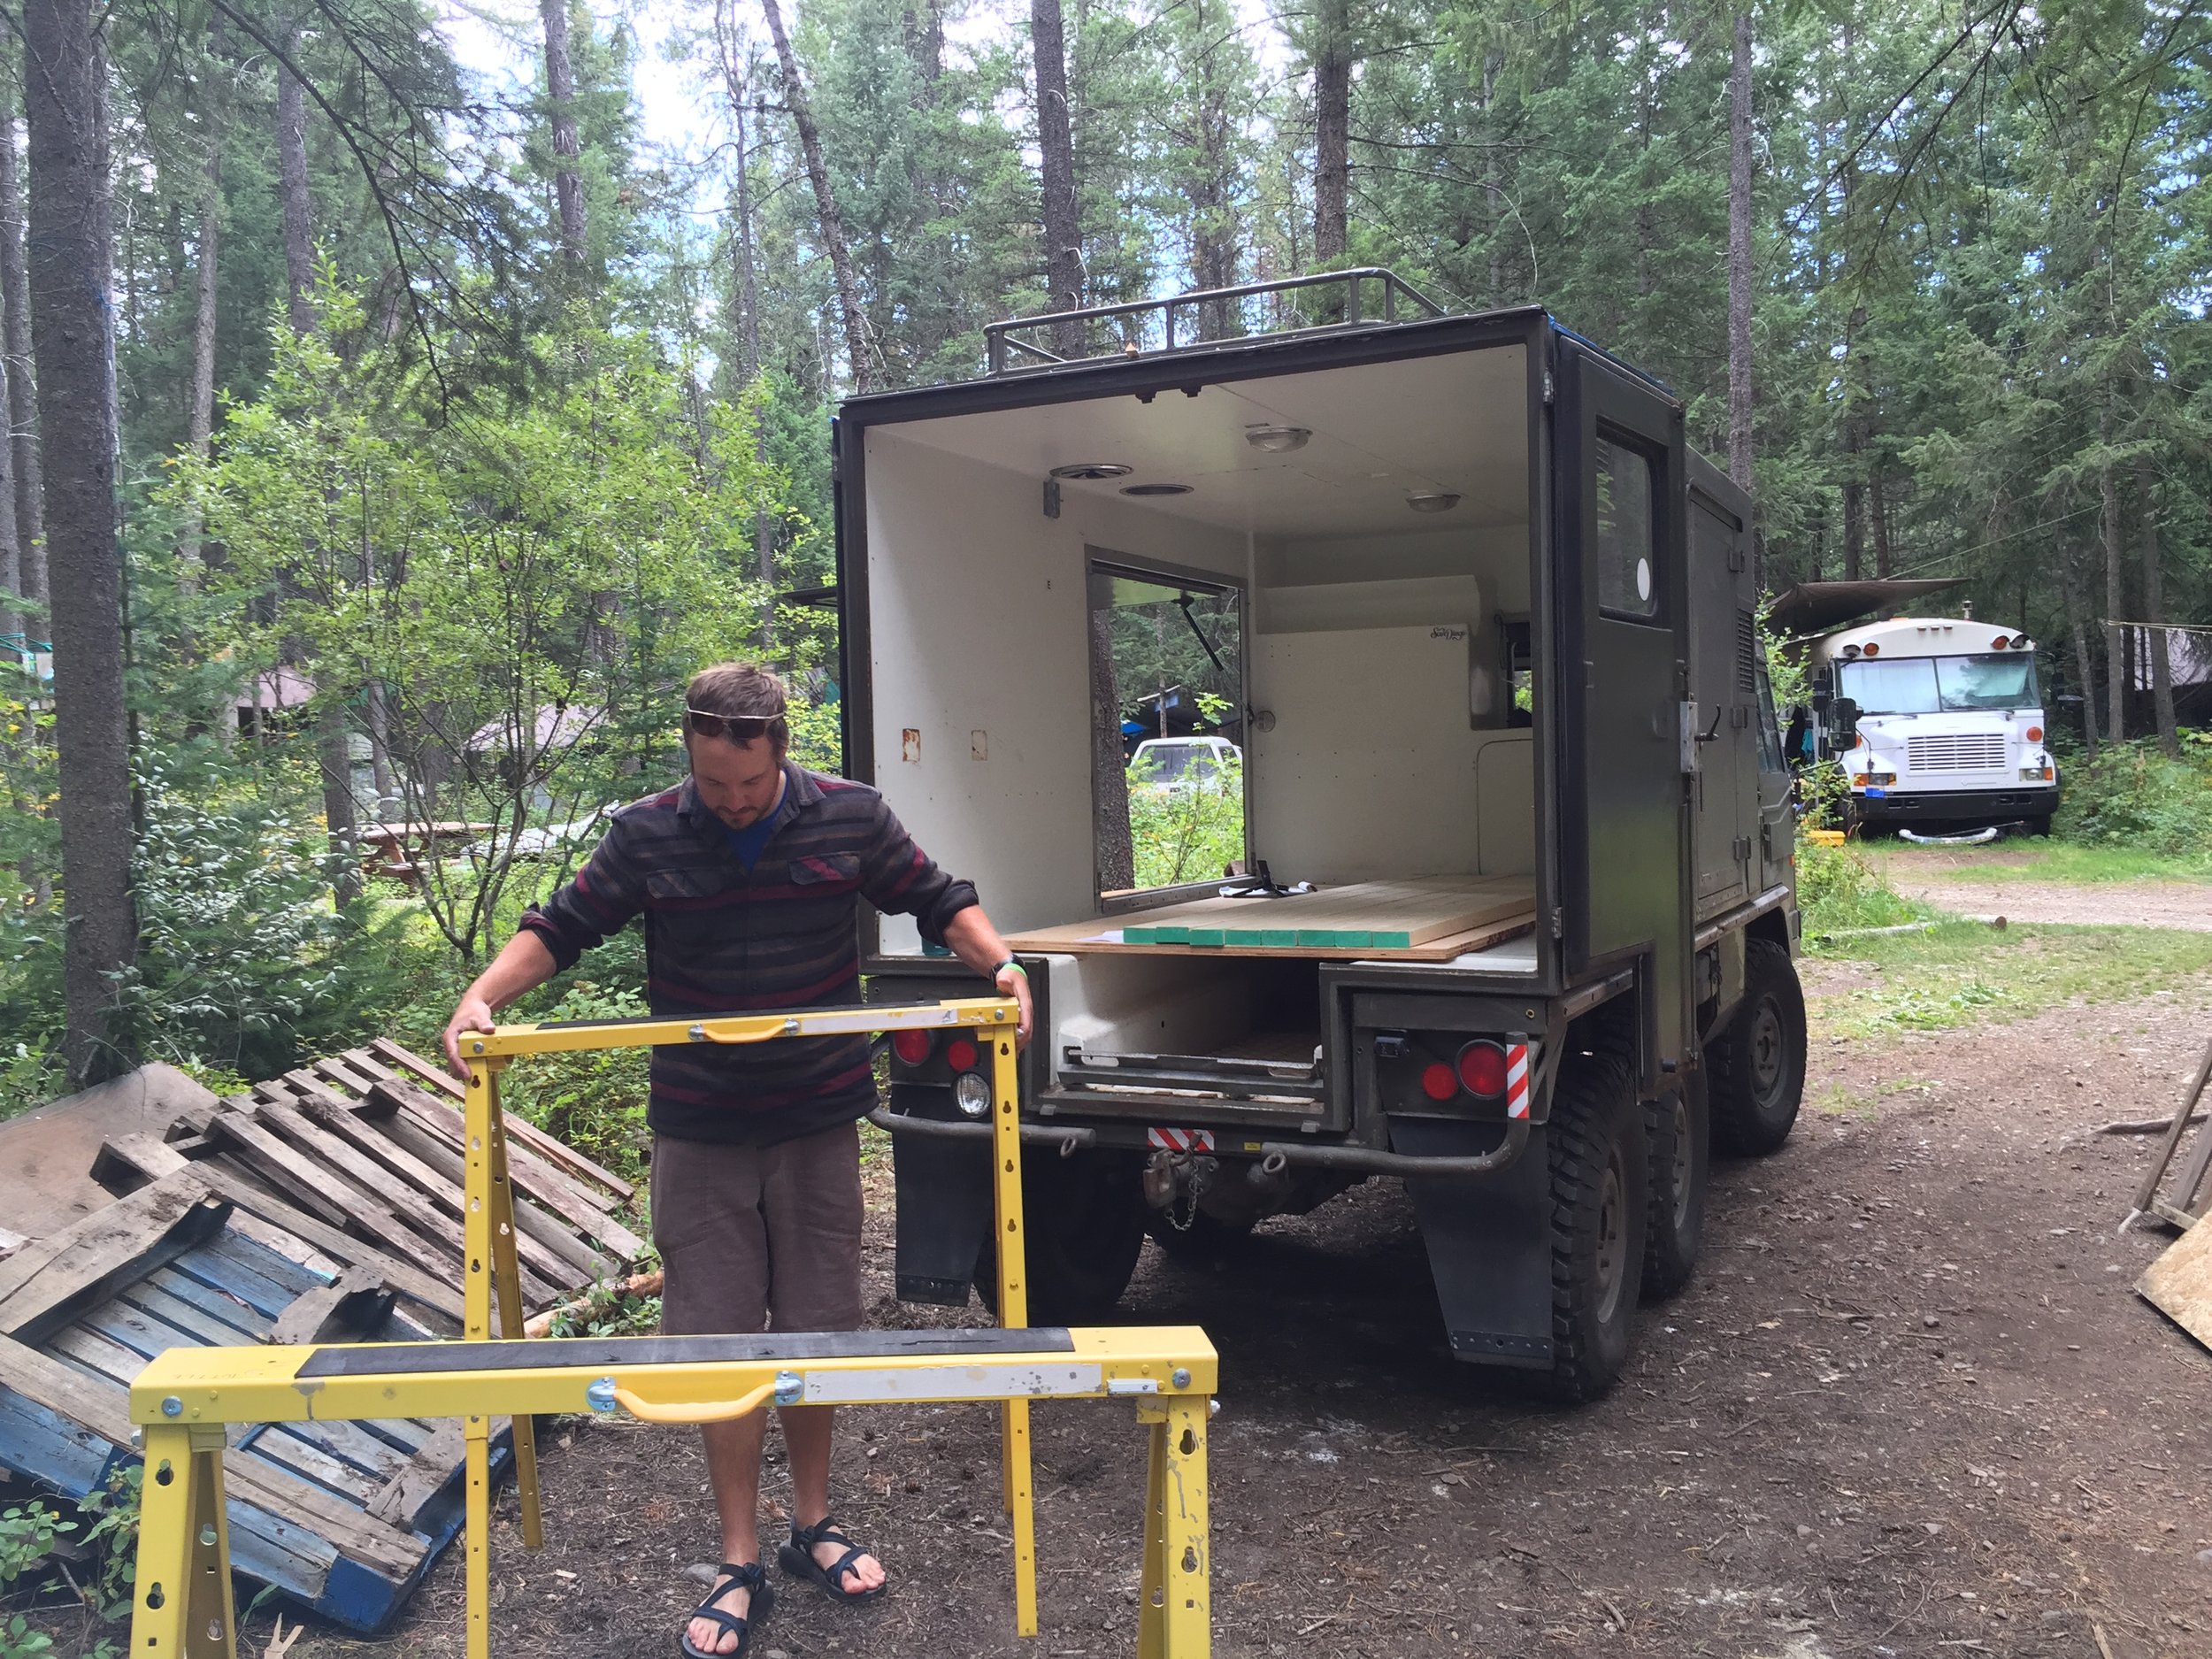
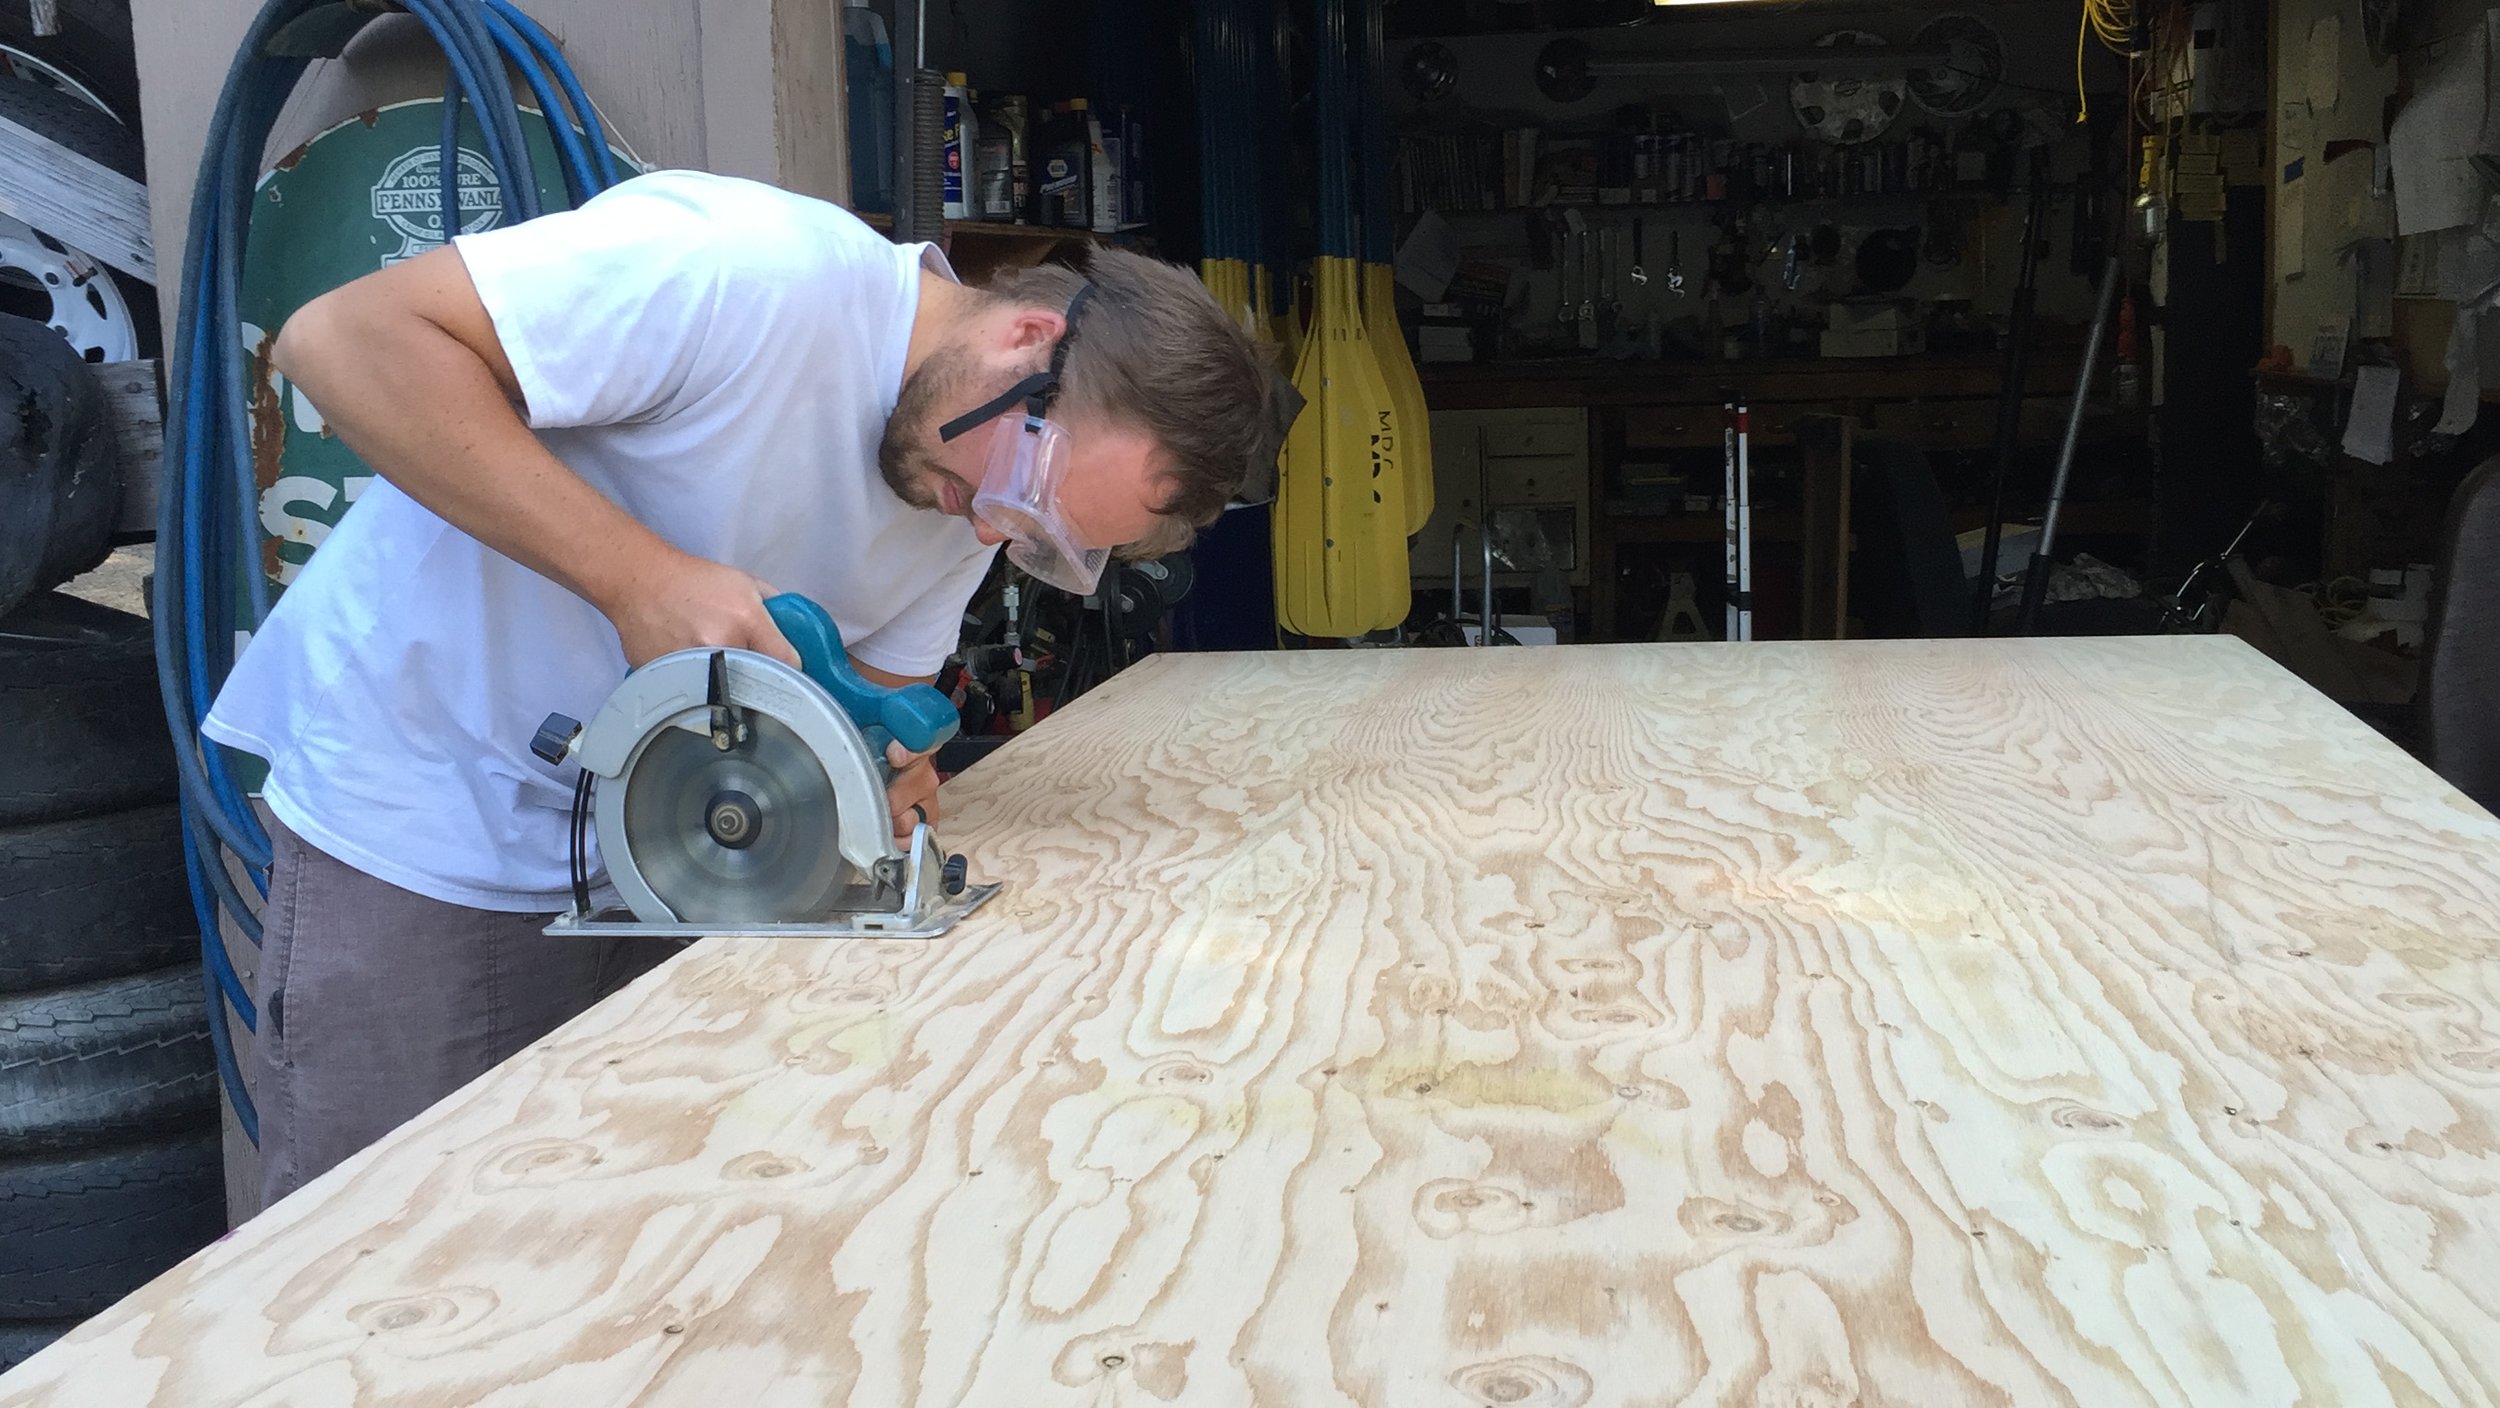
Supplies and an outdoor workshop.

Front frame. The hatch cover in the foreground is still accessible. It currently holds a petroleum-fueled space heater, but that will be removed soon.

One of the "T" shaped frames.
The frame was constructed from white pine 2x4s, each one costing us a mere $2.69 at the local lumber yard. The frame is relatively simple, and held together with some galvanized framing braces. There are three separate frames that support the bed; the rear and middle frames are shaped like a "T", and the front frame is a rectangle. The front frame places all the weight on the fiberglass benches, rather than the floor, because it rests above an access panel for the transmission.
The frames were eventually anchored to the Little Foot's fiberglass box by riveting angle aluminum to the walls and floor, and then screwing the frame to the aluminum. It worked well, but I probably wouldn't have been happy spending the money on the materials if I had to buy them. Aluminum is spendy, but thankfully Little Foot came with a whole box of original fittings. I hacked up the original stuff to make my braces.

The bottoms of the frames were wrapped in neoprene to prevent chaffing on the fiberglass and gelcoat.
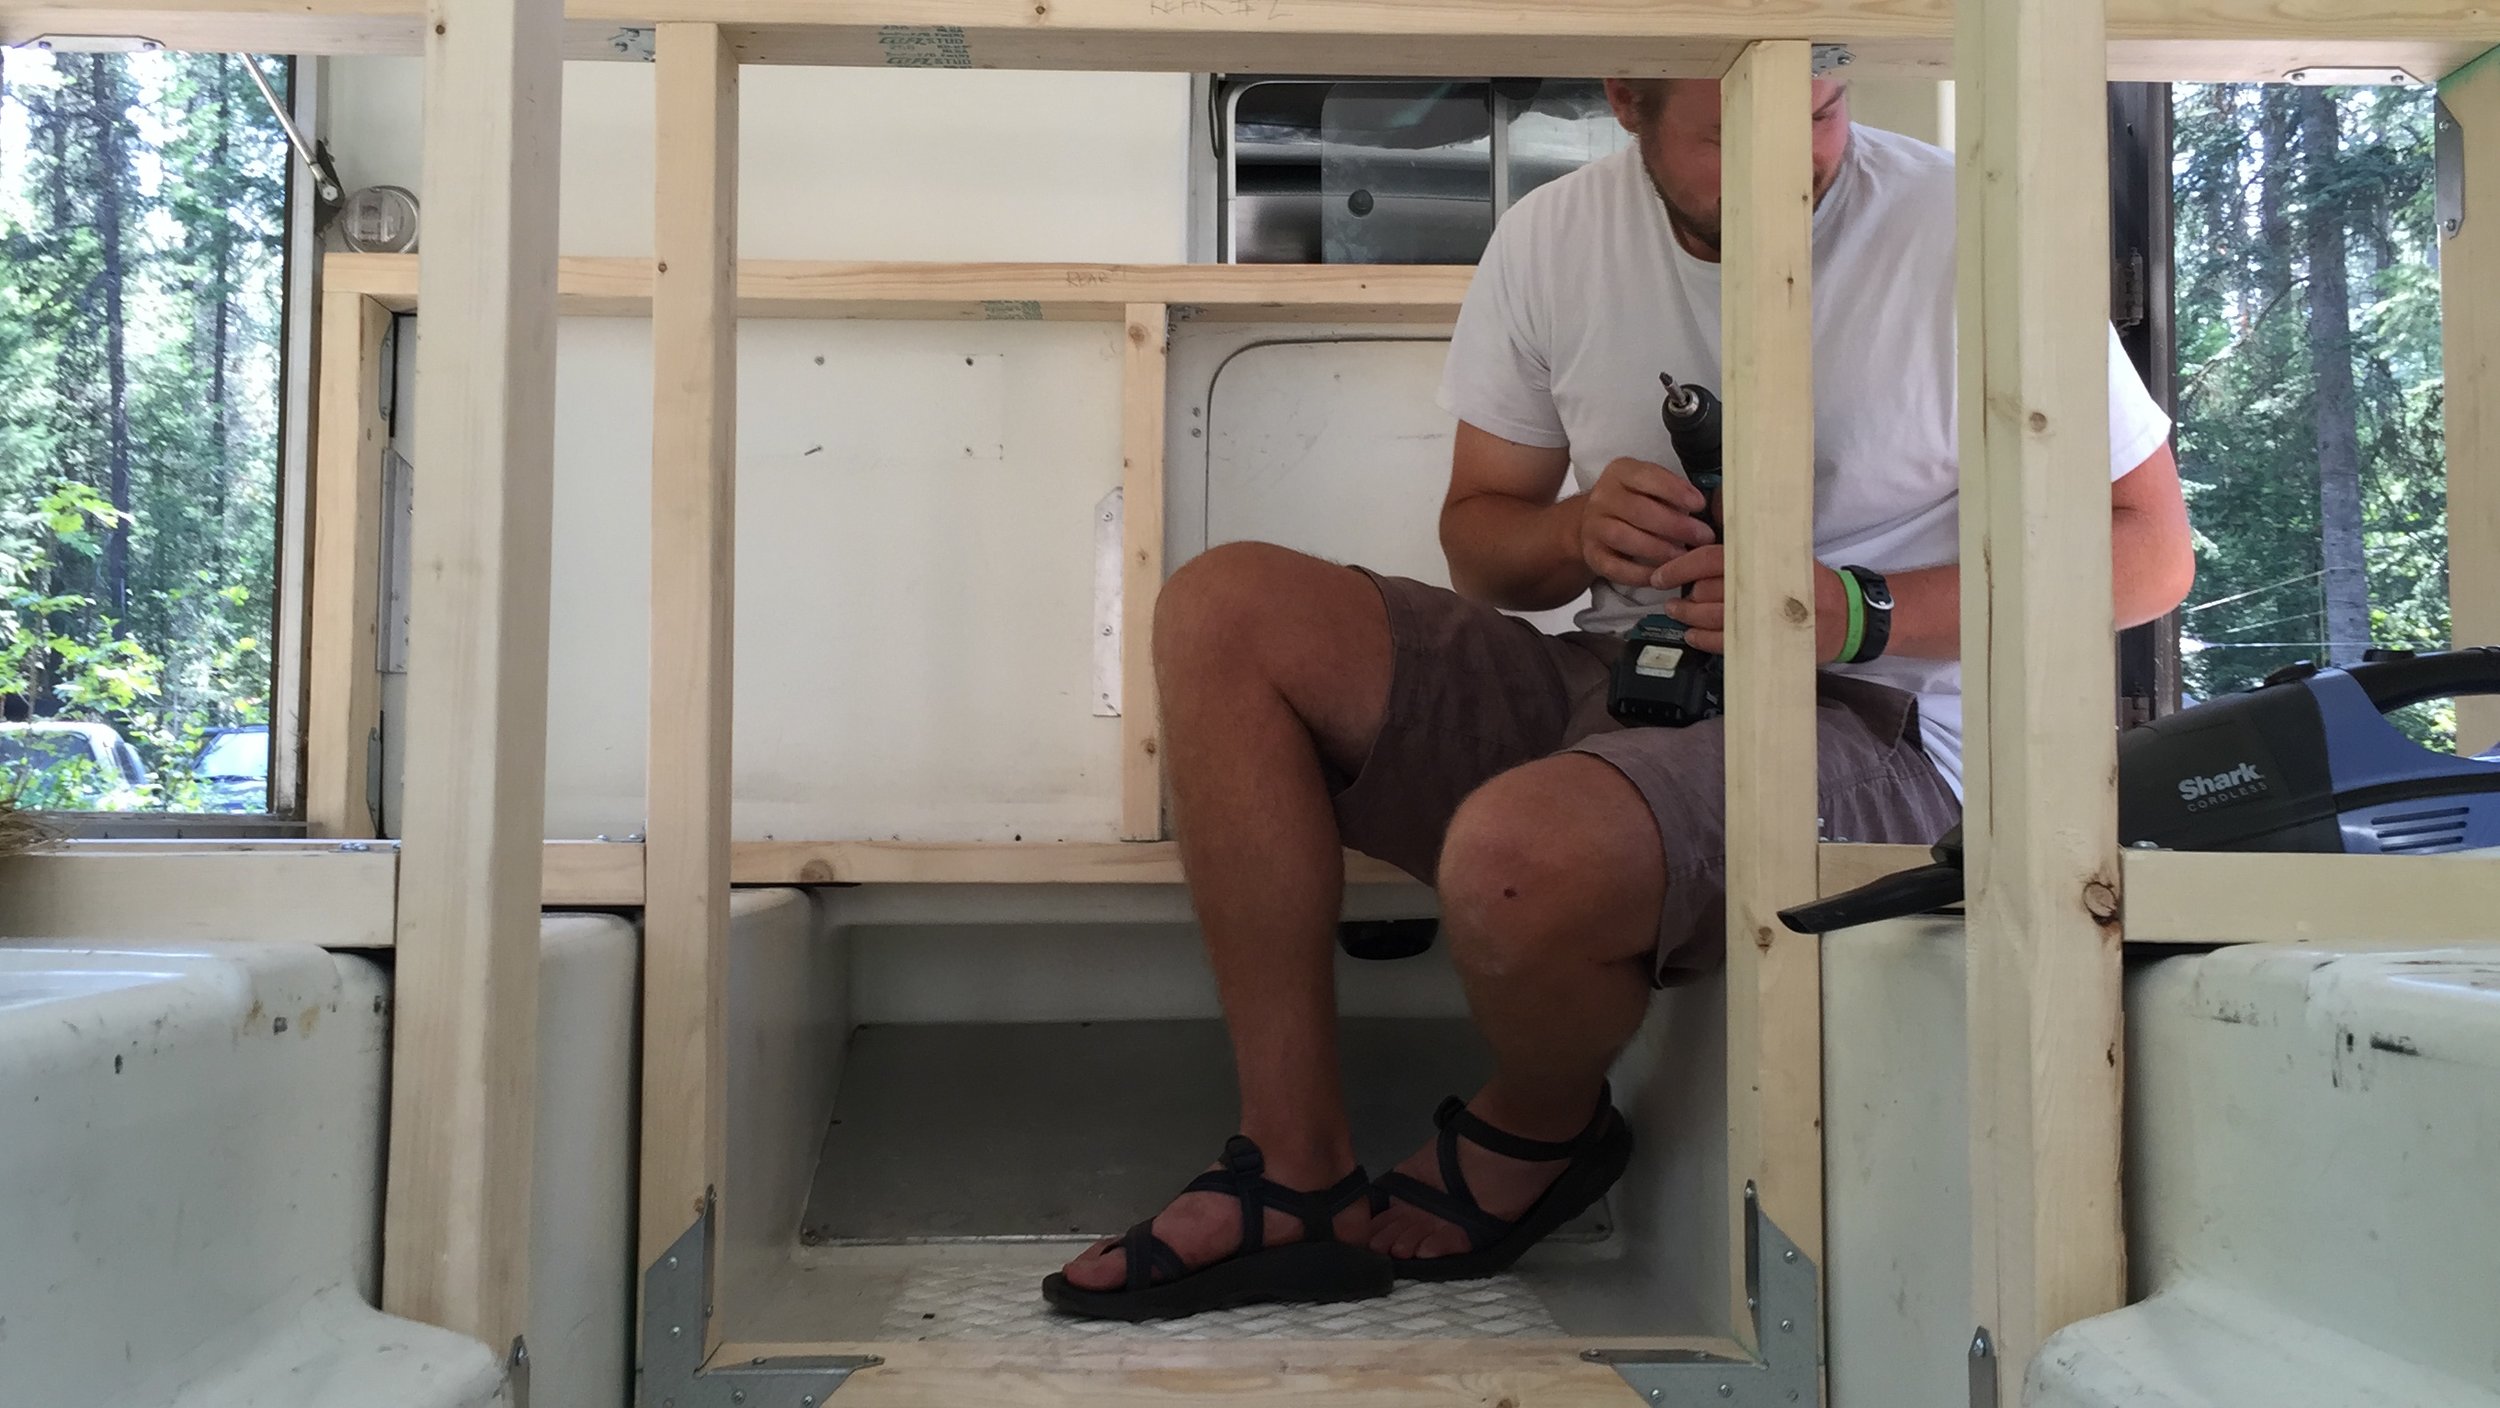
Looking through the frames. You'll notice the access panel under the front frame; the transmission is under there.
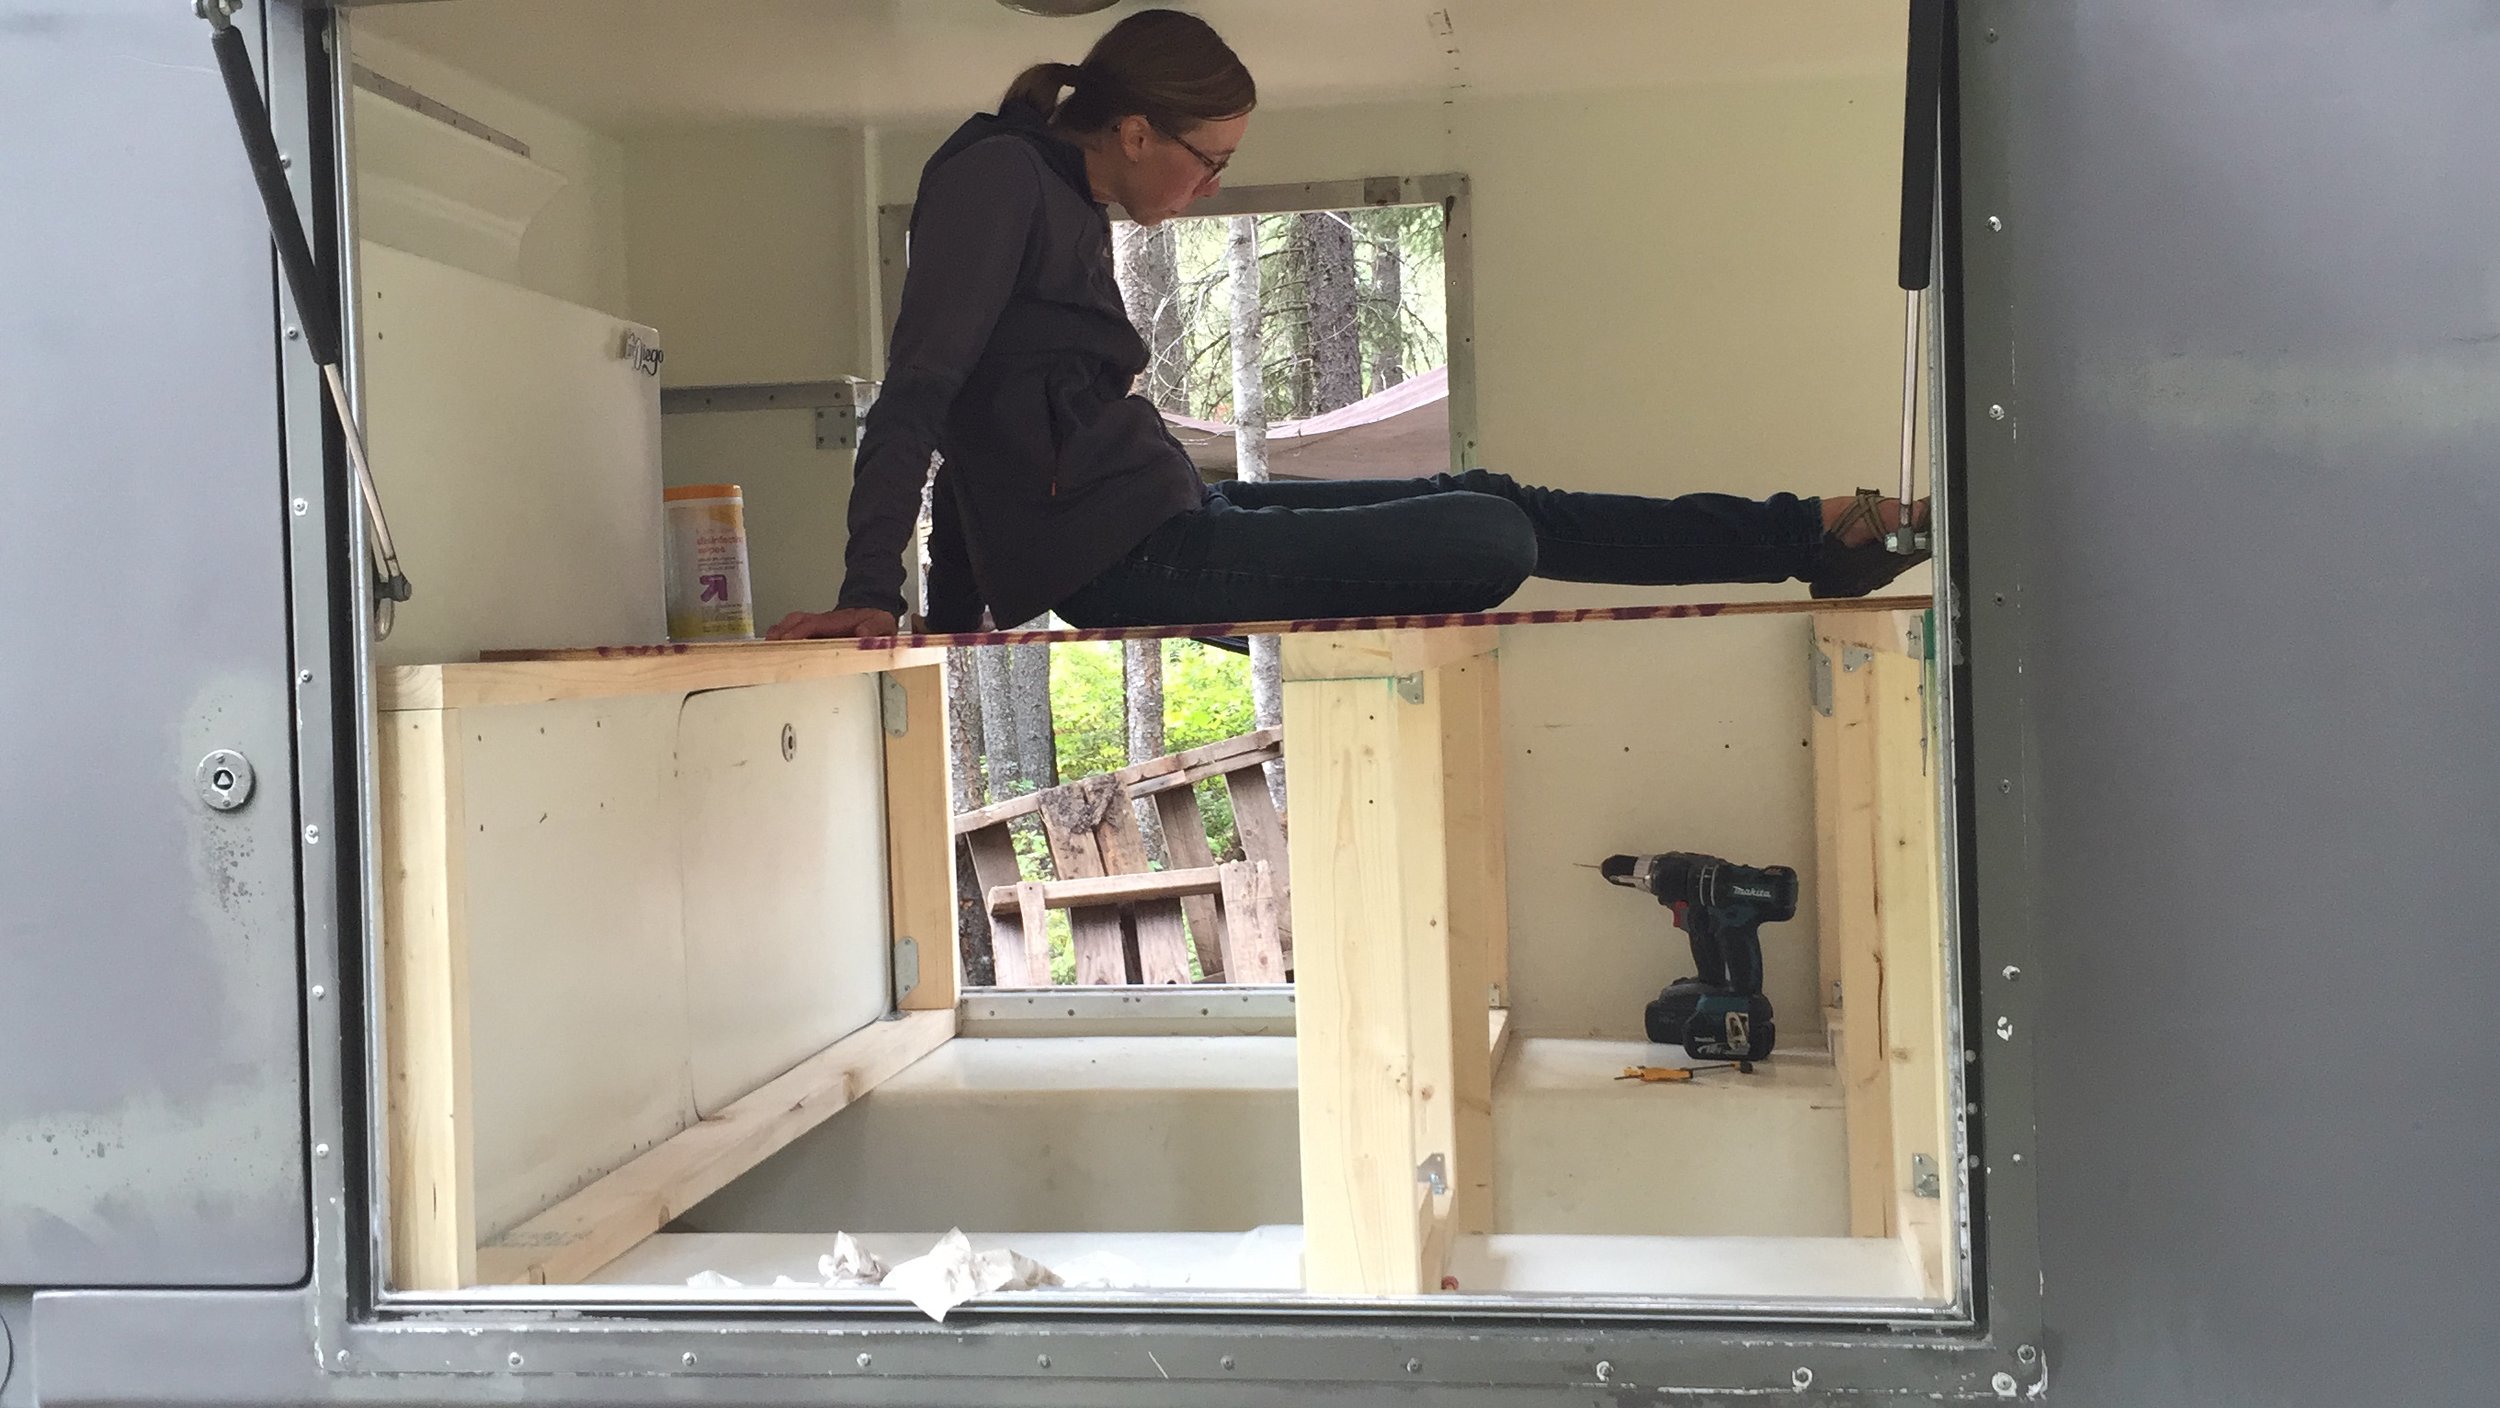
With the frames in, Chels could gingerly climb on top and test the load distribution. It was pretty good from the start, with minimal bowing in the 1/2 plywood. A few late addition braces helped what little flex there was. You'll notice that we should have just enough room to sit up in a hunched-over position. We thought long and hard about finding a proper balance between storage room and comfort while sitting, inches spent either way meant compromises.

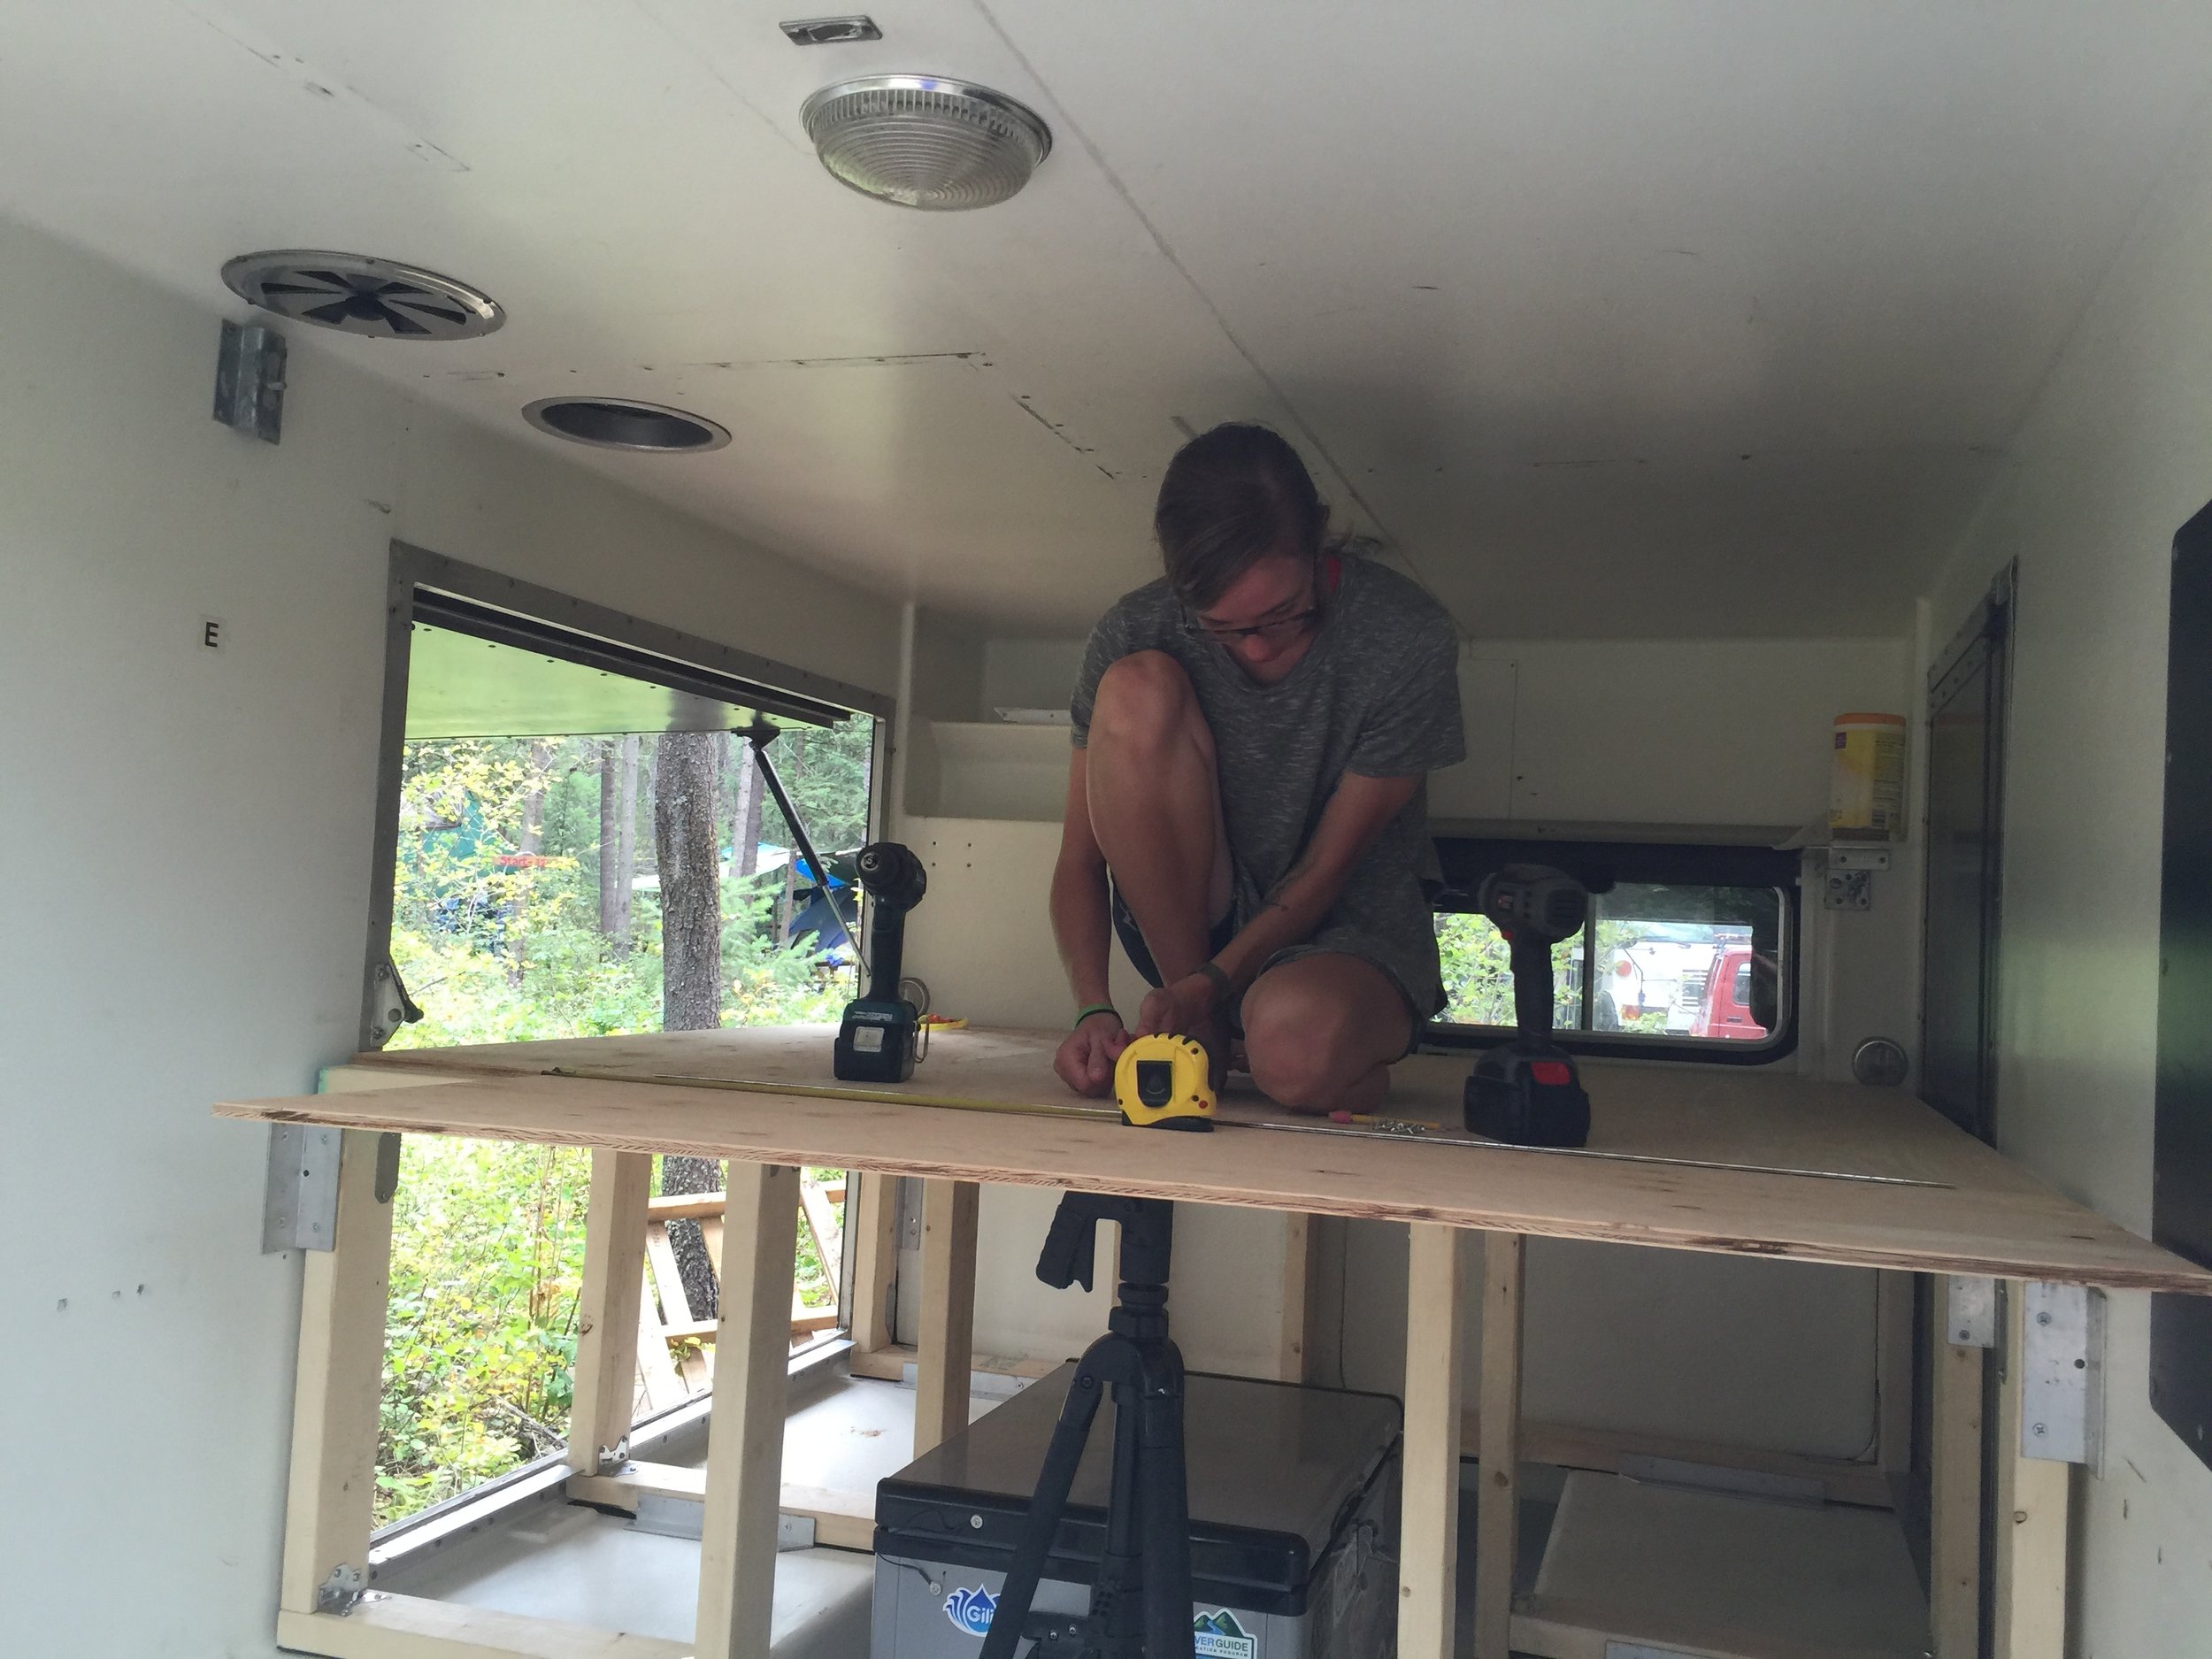
A birds-eye of the platform and the separate pieces of plywood we needed to cut.
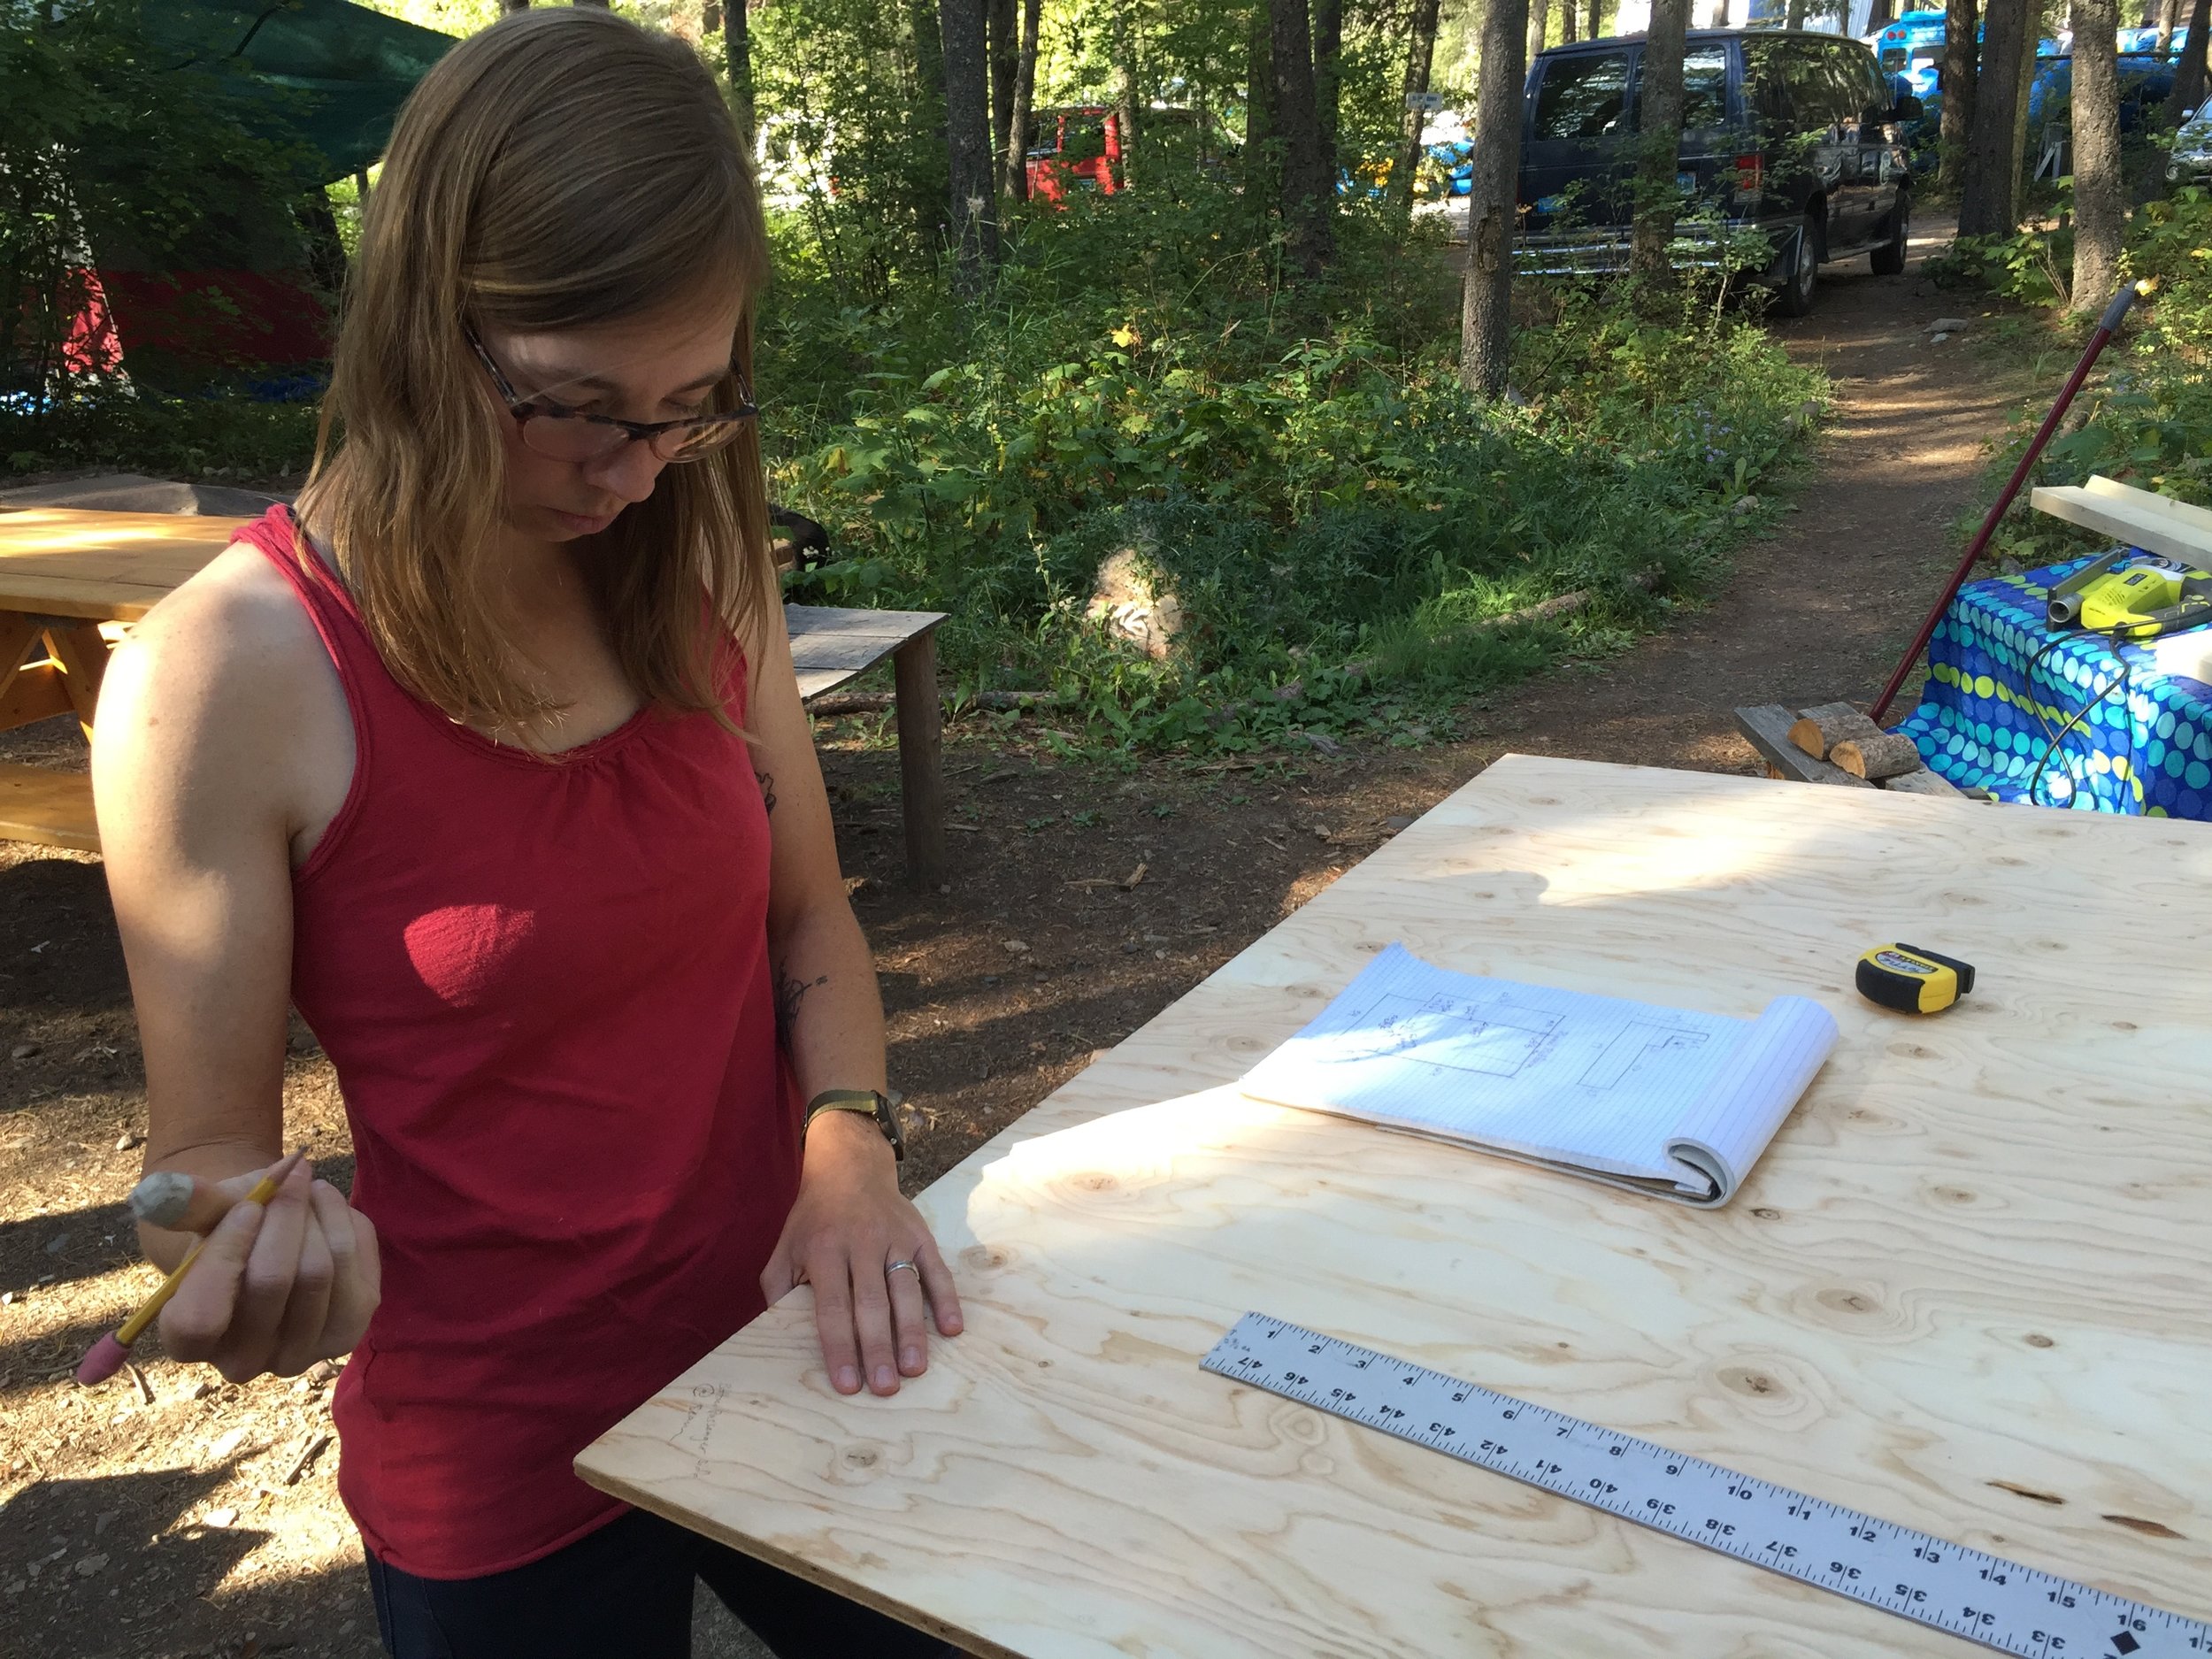
Measure many times.
Cut only once.
With a plan in hand, we measured many times before we cut even once. After converting two other vehicles, we've learned to measure many times, and measure well. We found construction in the Pinzgauer body to be difficult due to the uneven nature of the fiberglass. Nothing was level, nothing was on the same plane, and everything sloped. It's tough to keep angles at 90° when nothing lines up in the first place.
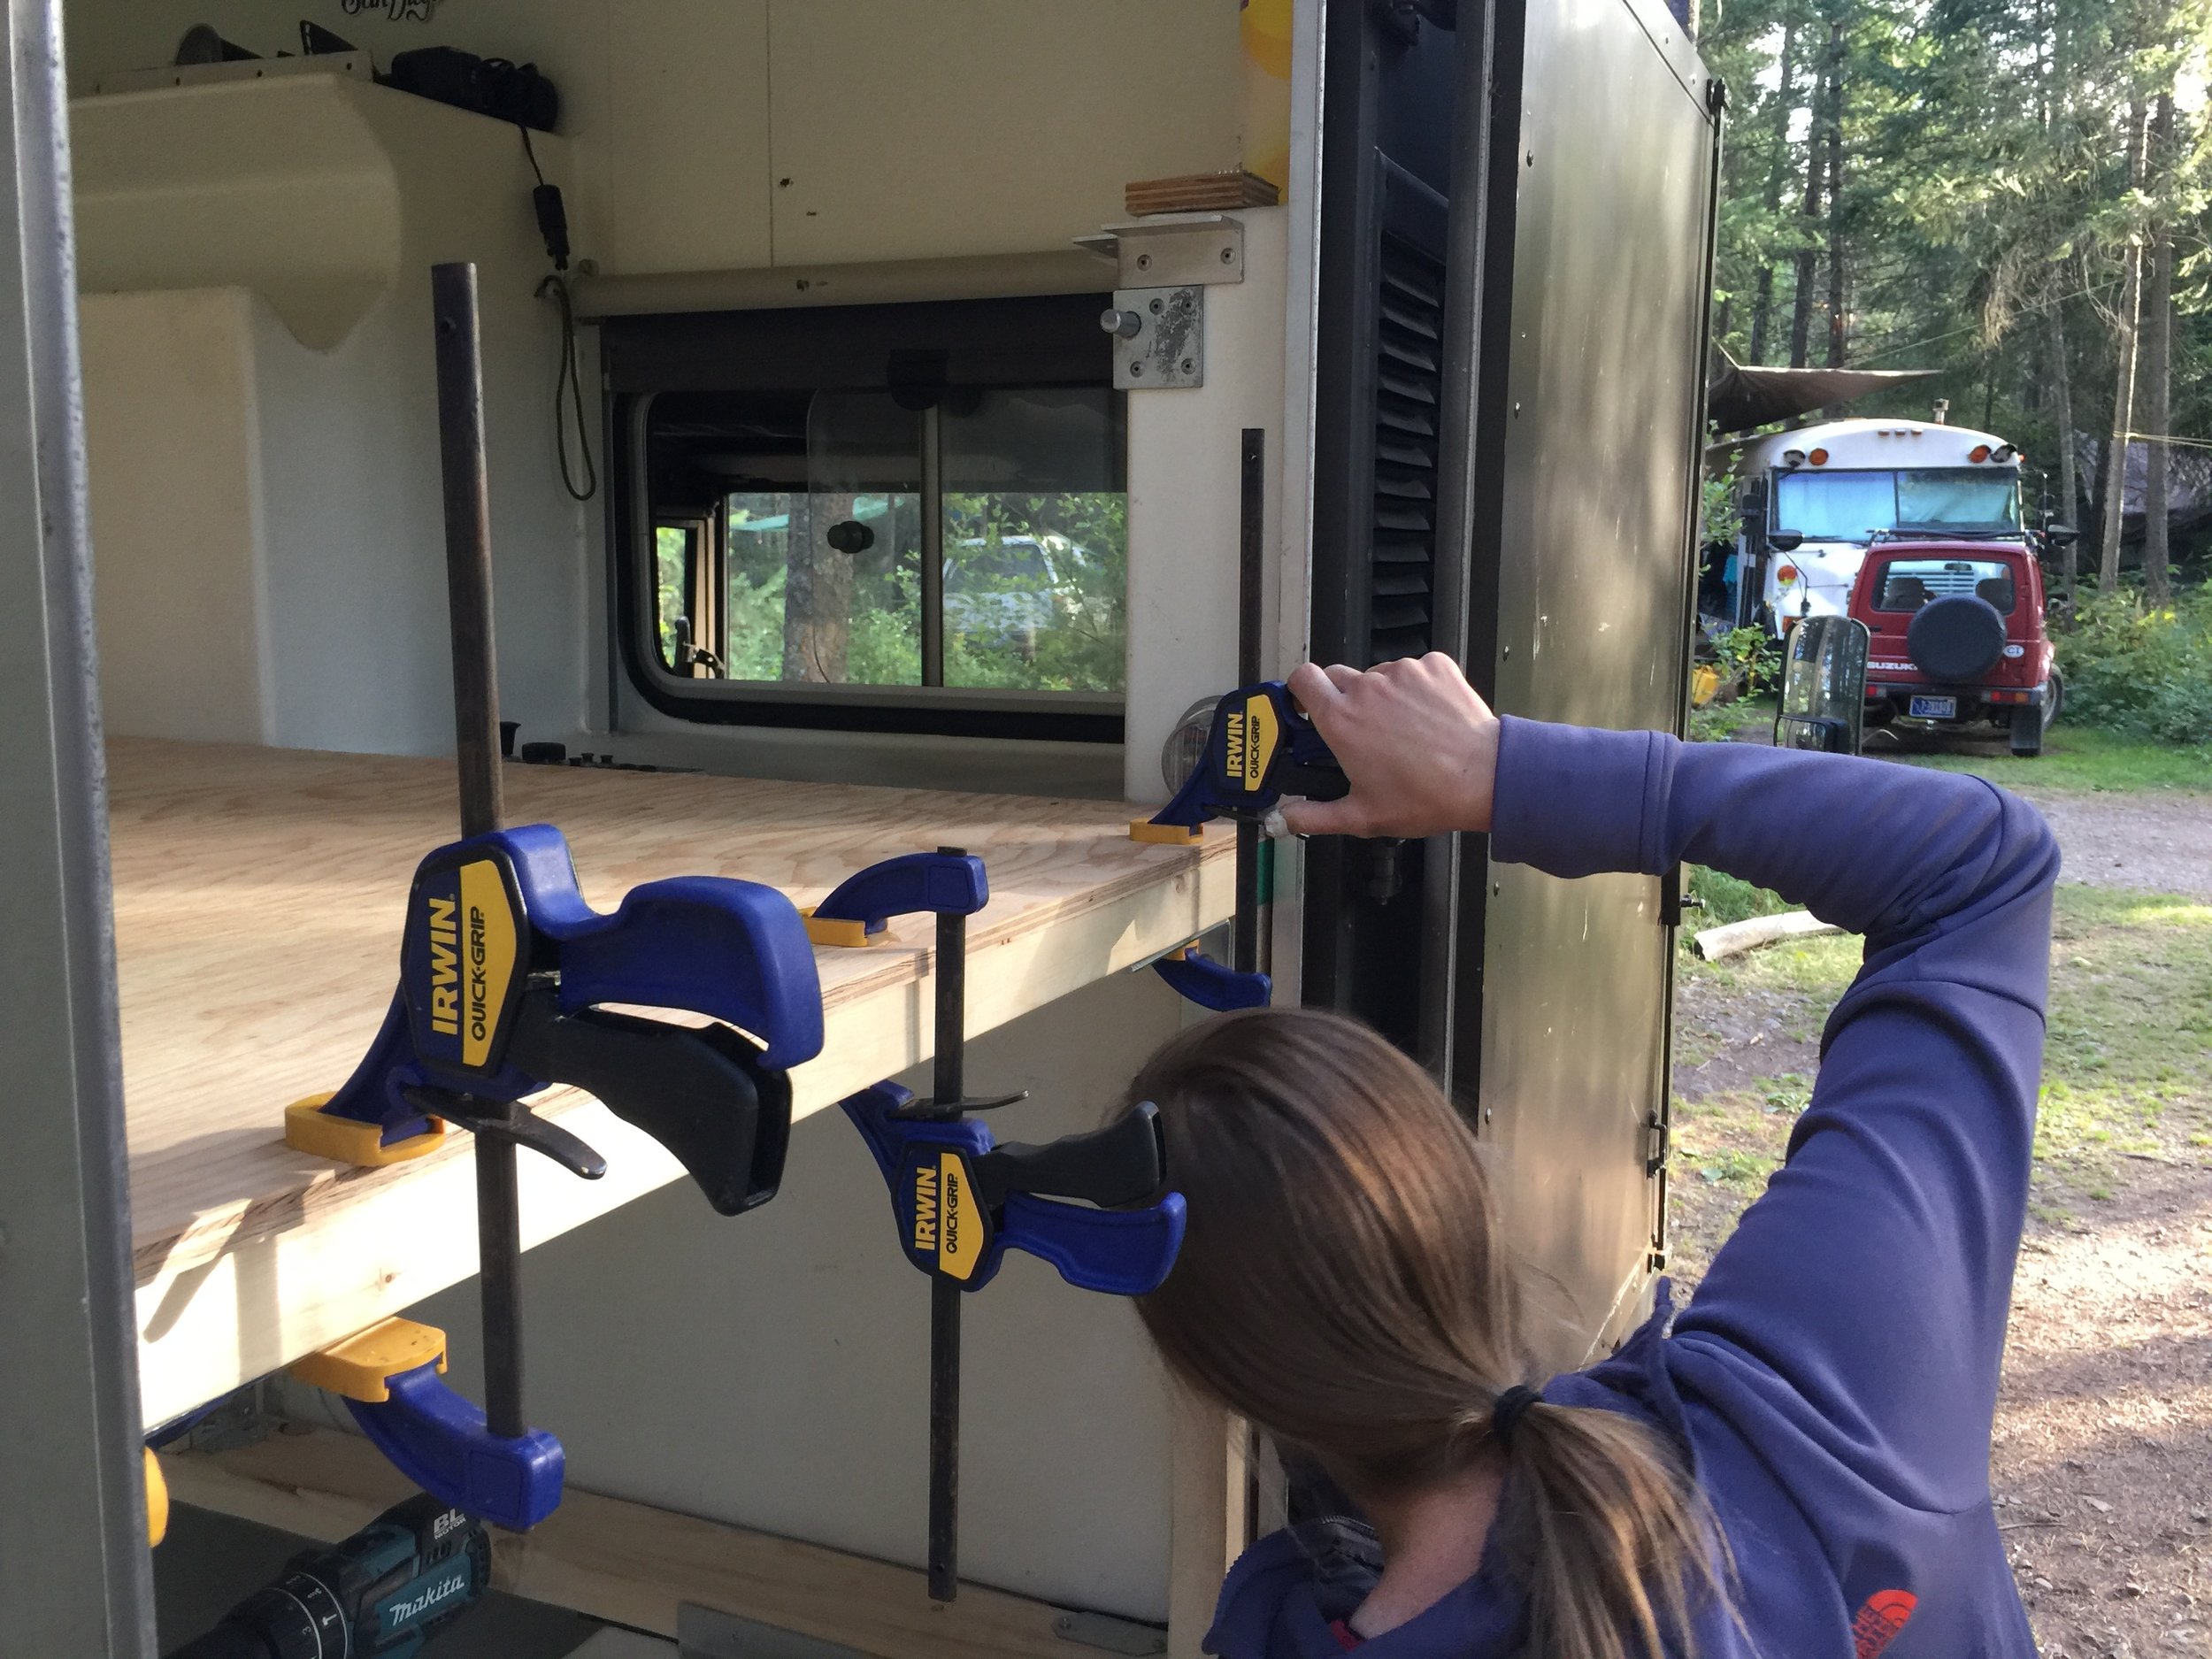
Finally we just clamped it all in place and started fastening everything together.
In this shot you can see the aluminum braces I riveted to the walls of the fiberglass box. I tried to minimize the number of rivets used, so as not to turn the box into swiss cheese.
We strengthened the far lip of the fold-out foot of the bed with a 2x6, and then mounted the stow-away support legs to that. I am a large man and I can sit on that 2x6 with no bowing in the wood.
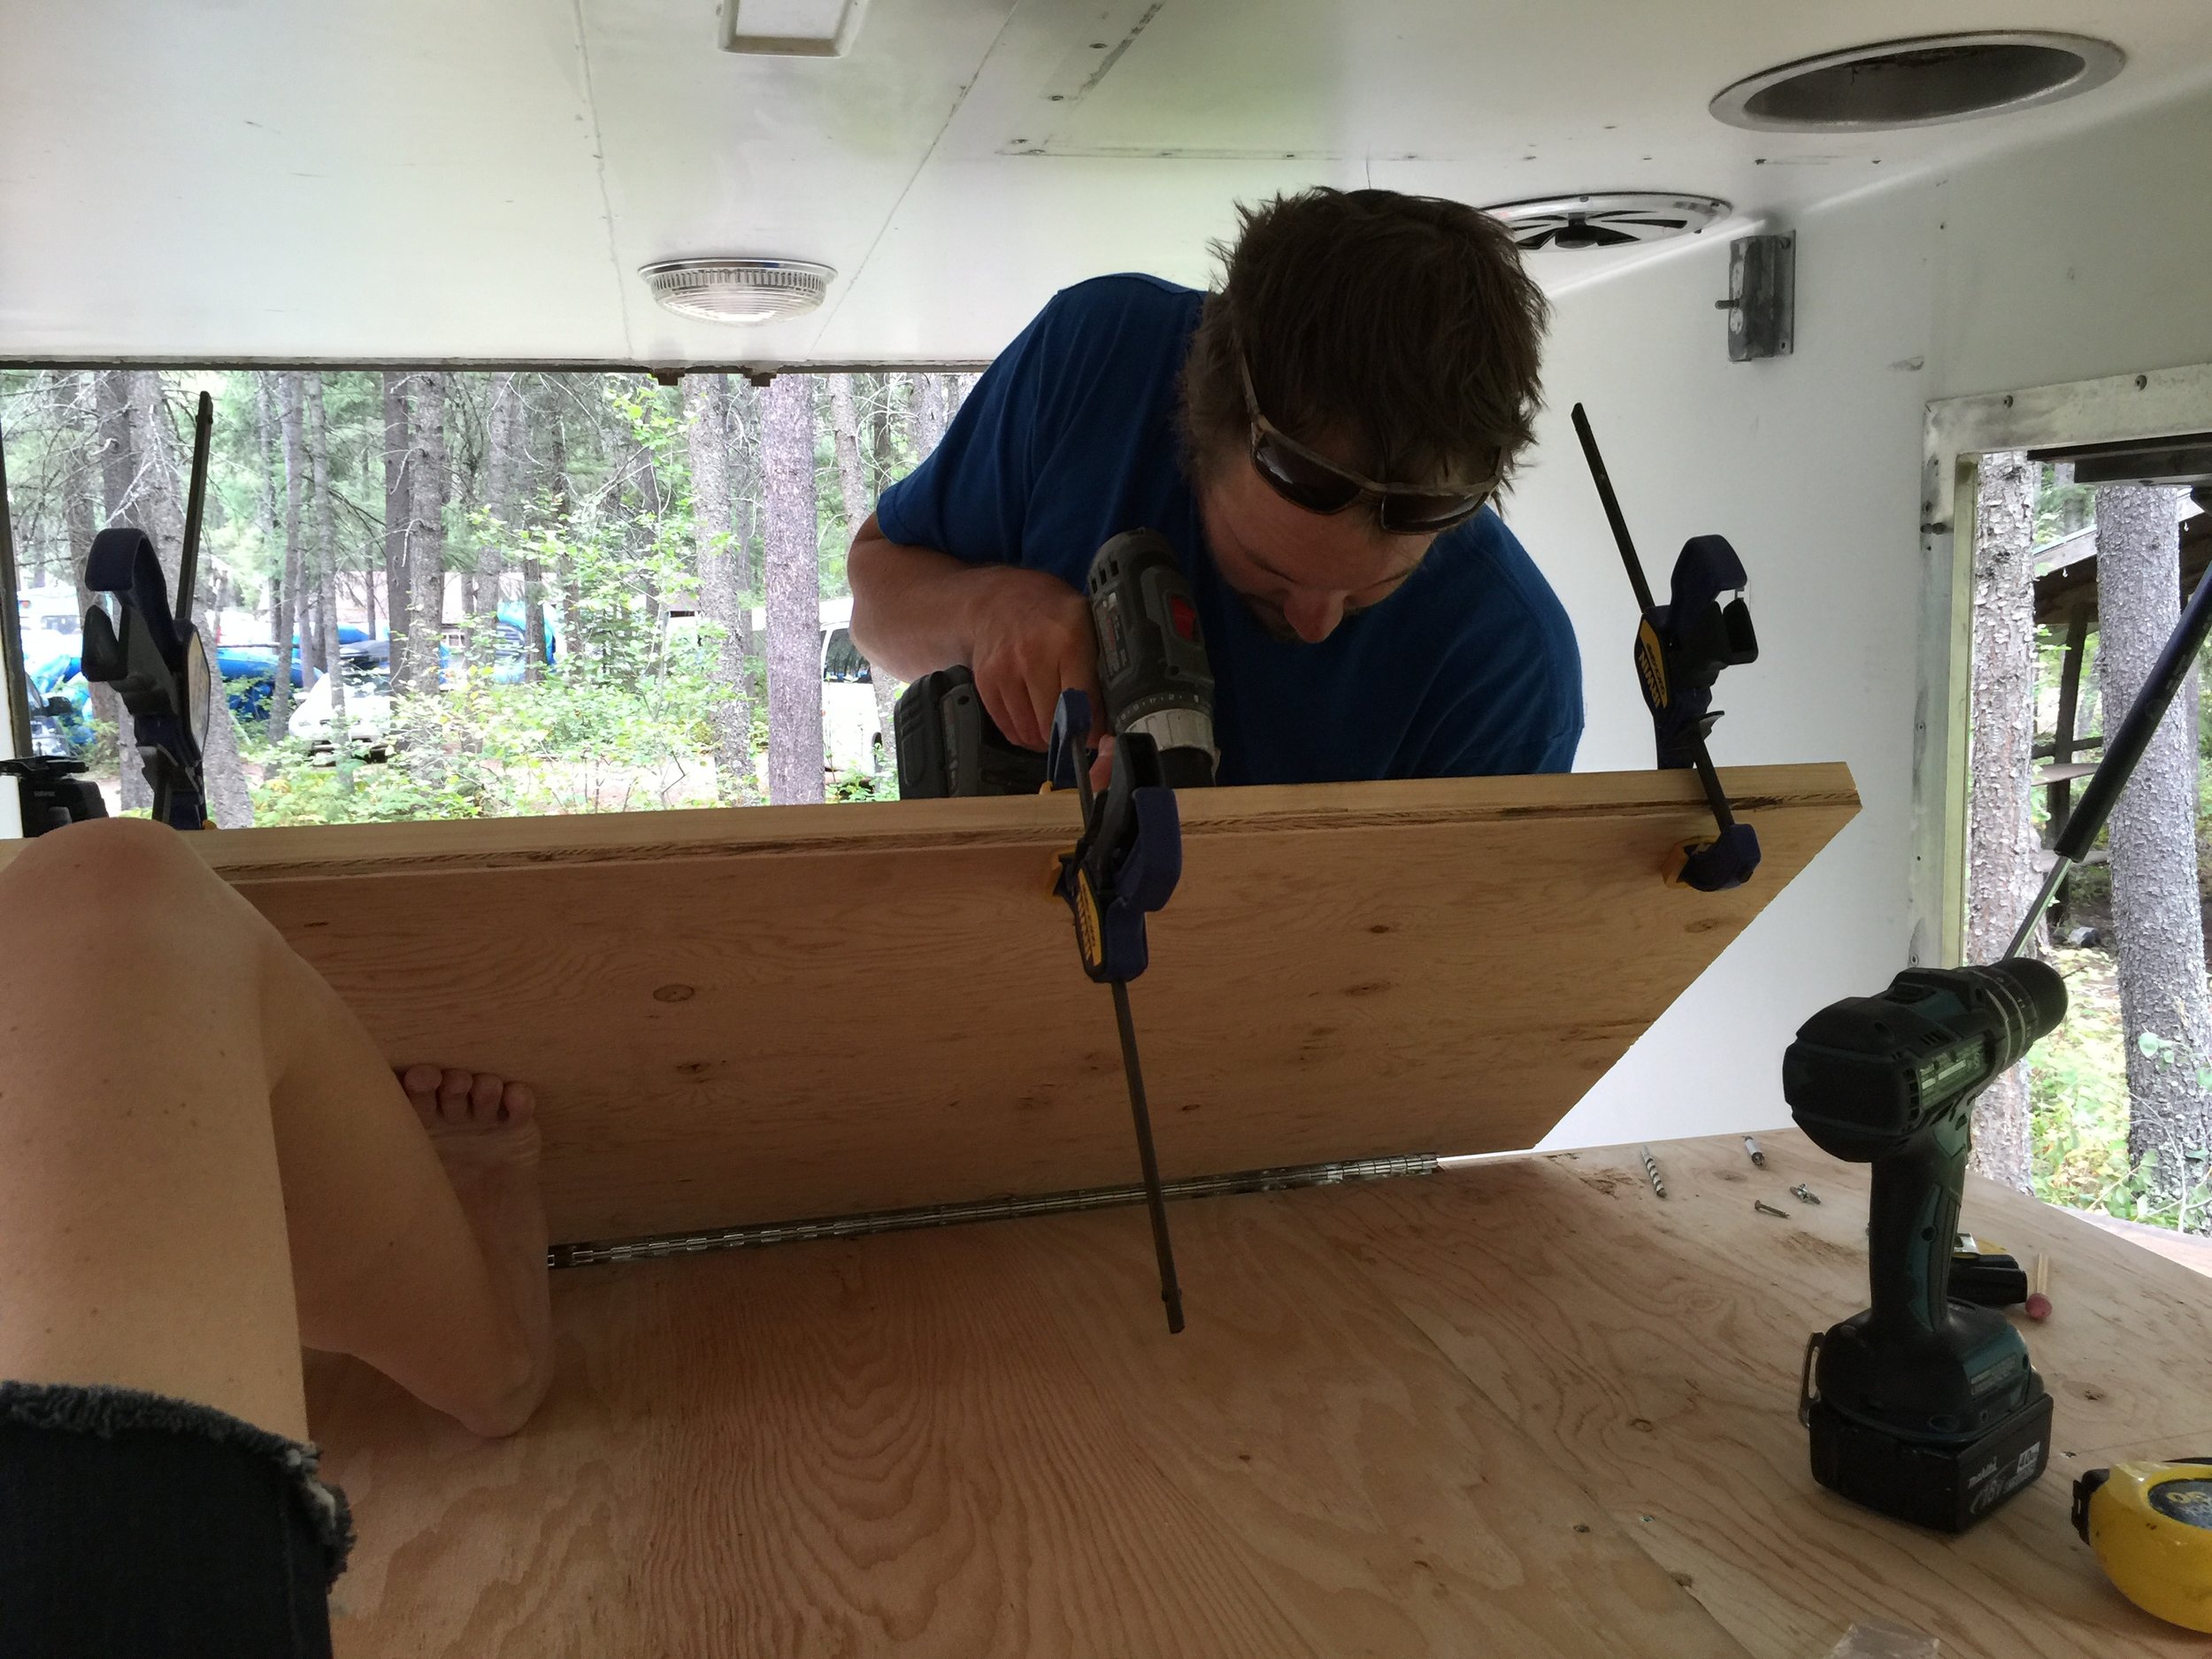
Our solution to maximizing sleeping and sitting room was to have roughly 20 inches of the bed hinge out of the way during the day time. Chelsea came up with this idea, drawing from her year spent living in 1979 Ford Econoline/Okanogan camper in San Diego. Part of her bed hinged up and out of the way, and that solution fit well in out design for Little Foot.
The moveable part of the bed is attached to the platform with 48 inch piano hinge. The hinged side is supported by a 2x4, but the very foot of the bed was left hanging in space. We knew we probably needed some sturdy legs, and found them at S&S RV Supply in Kalispell, MT. They were supremely helpful. If you're in northwest Montana and need some RV equipment, head to them.
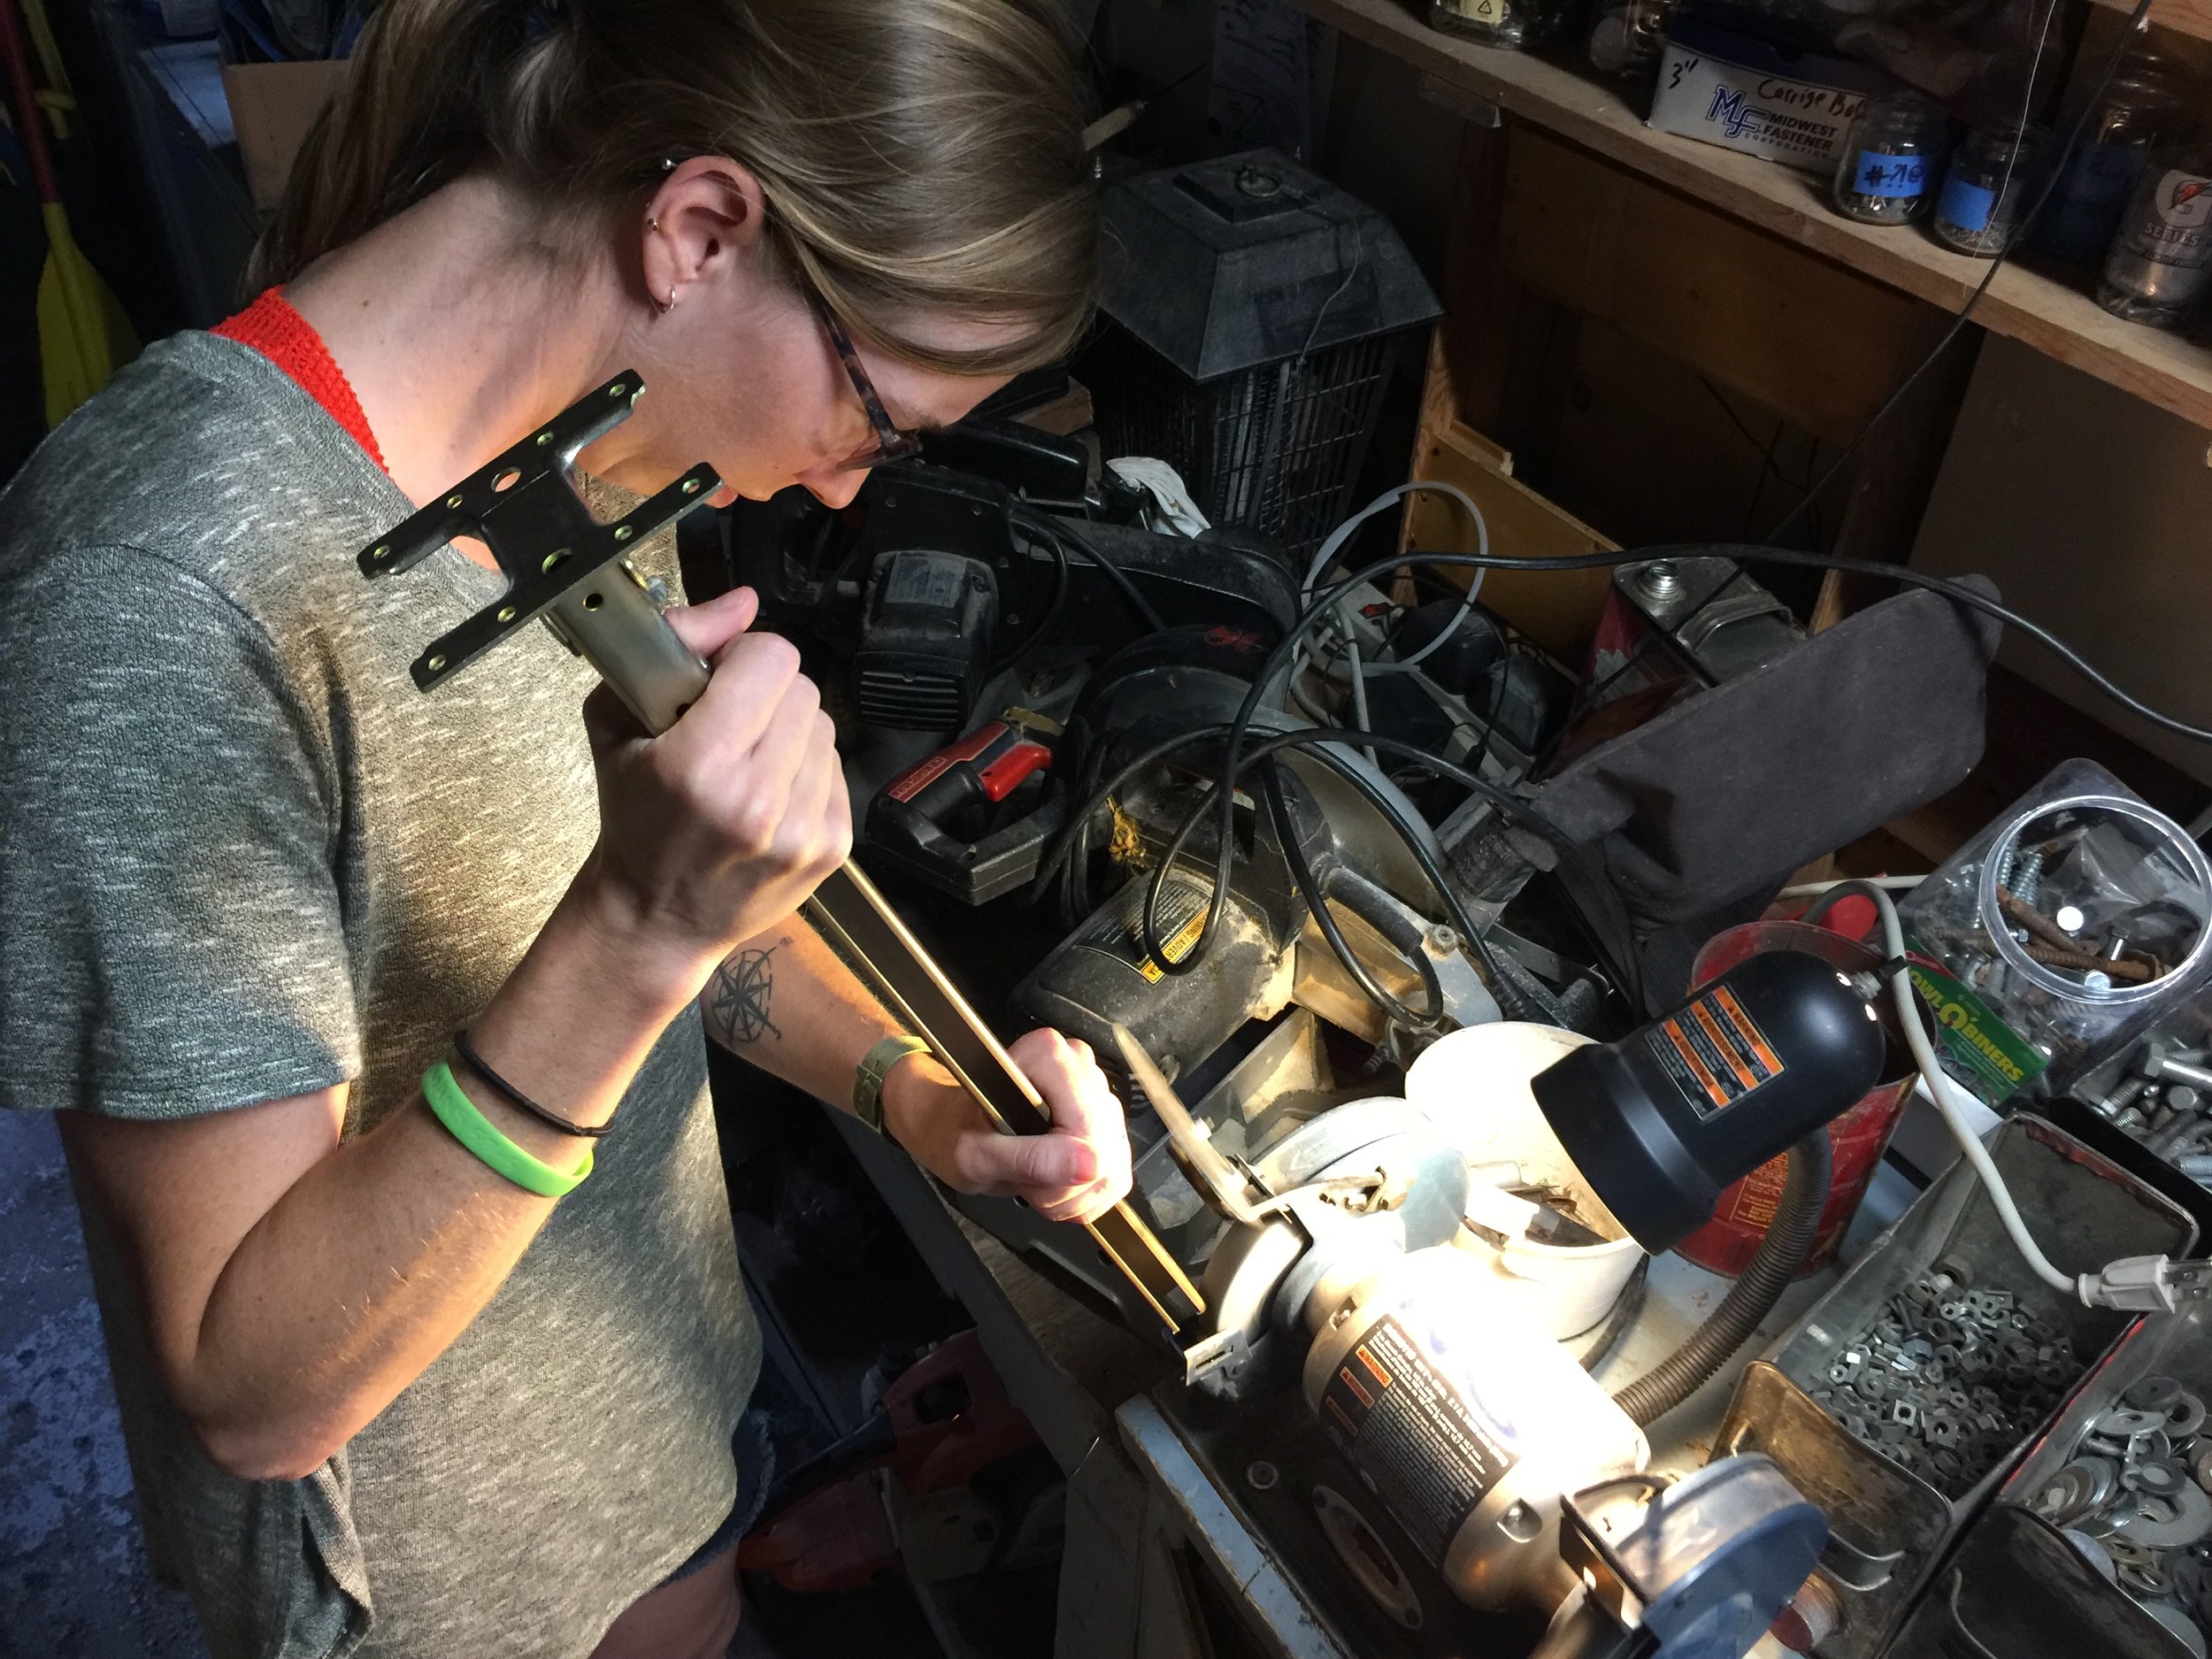
Chels grinding away, making custom bed legs. We had to cut them to size, and Chels reminded me often that, "Its easier to take away metal than it is to add it after its gone." Very true. Measure, measure, measure.

Frame and platform installed, legs and all. The legs are designed to stand at a slight angle, don't worry.

A leg, standing tall and proud. They're strong, and we are satisfied.
With the legs in place, the bed was finished. It took a lot of work. Days of measuring, and more importantly weeks of thinking, went into this small part of the conversion. However, now that its over, we know our spacial limitations and can start work on the outdoor kitchen, the drawer storage, the heating solutions, and so on. Look forward to more building in the coming weeks.