bad photos of our last minute projects. 9.1.14

A few people have said that they've been left completely unsatisfied by the recent posts because it doesn't show any of the interior progress we've made. I was able to unearth a few iPhone photos of the interior that I took on September 1, right before we left on our trip and right after our last push to finish up the major projects.

In this photo you can see the turquoise painted peg board we installed against the cab's rear wall, the basic kitchen framed out and the bed unfolded into its open position (slightly hidden underneath pressboard and a paco pad.)

In this photo you can see the turquoise painted peg board we installed against the cab's rear wall, the basic kitchen framed out and the bed unfolded into its open position (slightly hidden underneath pressboard and a paco pad.)

Here you can see the new vinyl quilted upholstery I put on the doors in place of the old grey padding that was there before.

Here you can see the new vinyl quilted upholstery I put on the doors in place of the old grey padding that was there before.

Christian cutting some more finishing wood parts out for the kitchen.

Christian cutting some more finishing wood parts out for the kitchen.

A wide view of the Campbulance right before we wrapped up the projects and took off on our road tirp.

A wide view of the Campbulance right before we wrapped up the projects and took off on our road tirp.

last minute preparations before the fall road trip - 8.31.14

On the day before our intended departure, we worked long and hard to finish a handful of important projects necessary to us before we hit the road.

Below are photos of Christian working on a few framing projects to complete the kitchen (or at least get it a little more completed).

Working in a boat house means there's always someone around to spectate. 

Working in a boat house means there's always someone around to spectate. 

One of our favorite tools we got for the project is a Pocket Hole Jig I found while doing some research on rv conversions. It makes nice clean inlaid screw holes for wood working. Christian bought some prefab wood pins that fill the holes and we're currently undecided on whether or not we'll use them. For now at least the holes look clean and professional.

We'd ripped the door padding off of the interior doors to replace the foam covering. Sadly, the inner part of the door padding that I'd hope to salvage were rotted beyond saving, so I had to cut new pieces using press board. 

Cutting window holes in the new door padding backboard.

Cutting window holes in the new door padding backboard.

Cutting foam-backed vinyl upholstery for the new door pads.

Cutting foam-backed vinyl upholstery for the new door pads.

We were literally so elbow-deep in our projects this day that we didn't revisit the camera until we'd finally hit the road, so photos of the projects will come in the form of photos of the Campbulance on the road over the course of the next few days.

everything but the kitchen sink...oh, and that too!

Two nights before the big Gore Canyon Race (a race down a Class IV-V stretch of whitewater on the upper Colorado River), Christian was planning his lines with his R2 buddy Shawn (you'll also recall he was the one that convinced us to rip up the subflooring) and then to distract from his fear, helping me install the new Rocket Pump we'd bought for our almost finished kitchen.

Shawn and Christian getting to know their race boat and talking about their lines. 

Shawn and Christian getting to know their race boat and talking about their lines. 

Christian wanted to make sure that I mentioned that he and Shawn won gold in the R2 division. They're unsure of their time, but they were definitely first (...because they were the only boat in their division to finish).

This is Shawn and Christian about to huck a 12-foot waterfall rapid called Tunnel Falls. (I was lucky enough to get taken into a the canyon by a railroad truck to photograph this spot for the race.)

This is Shawn and Christian about to huck a 12-foot waterfall rapid called Tunnel Falls. (I was lucky enough to get taken into a the canyon by a railroad truck to photograph this spot for the race.)

Kitchen counter in the foreground, Campbulance in the background.

Kitchen counter in the foreground, Campbulance in the background.

A very big drill bit.

A very big drill bit.

Making the hole for the Rocket Pump.

Making the hole for the Rocket Pump.

Prior to ordering the Rocket Pump, Christian had done some Googling to see what kind of instructions, etc he could find on the subject. There were none. Turns out, it's because you don't need any. The pump is literally installed with two screws (included) and you simply jam the water hose up onto the bottom and boom, installation complete.

Installing a Rocket Pump = drilling a hole and screwing in the two screws it comes with.

Installing a Rocket Pump = drilling a hole and screwing in the two screws it comes with.

Getting ready to test the pump for the first time.

Getting ready to test the pump for the first time.

I think I was a teeny bit annoyed that the one photo taken of me during this project was of me vacuuming up the aftermath. I promise I did more than just take photos! (I think...it's been a few months...I could be wrong.)

I think I was a teeny bit annoyed that the one photo taken of me during this project was of me vacuuming up the aftermath. I promise I did more than just take photos! (I think...it's been a few months...I could be wrong.)

a big ol' update.

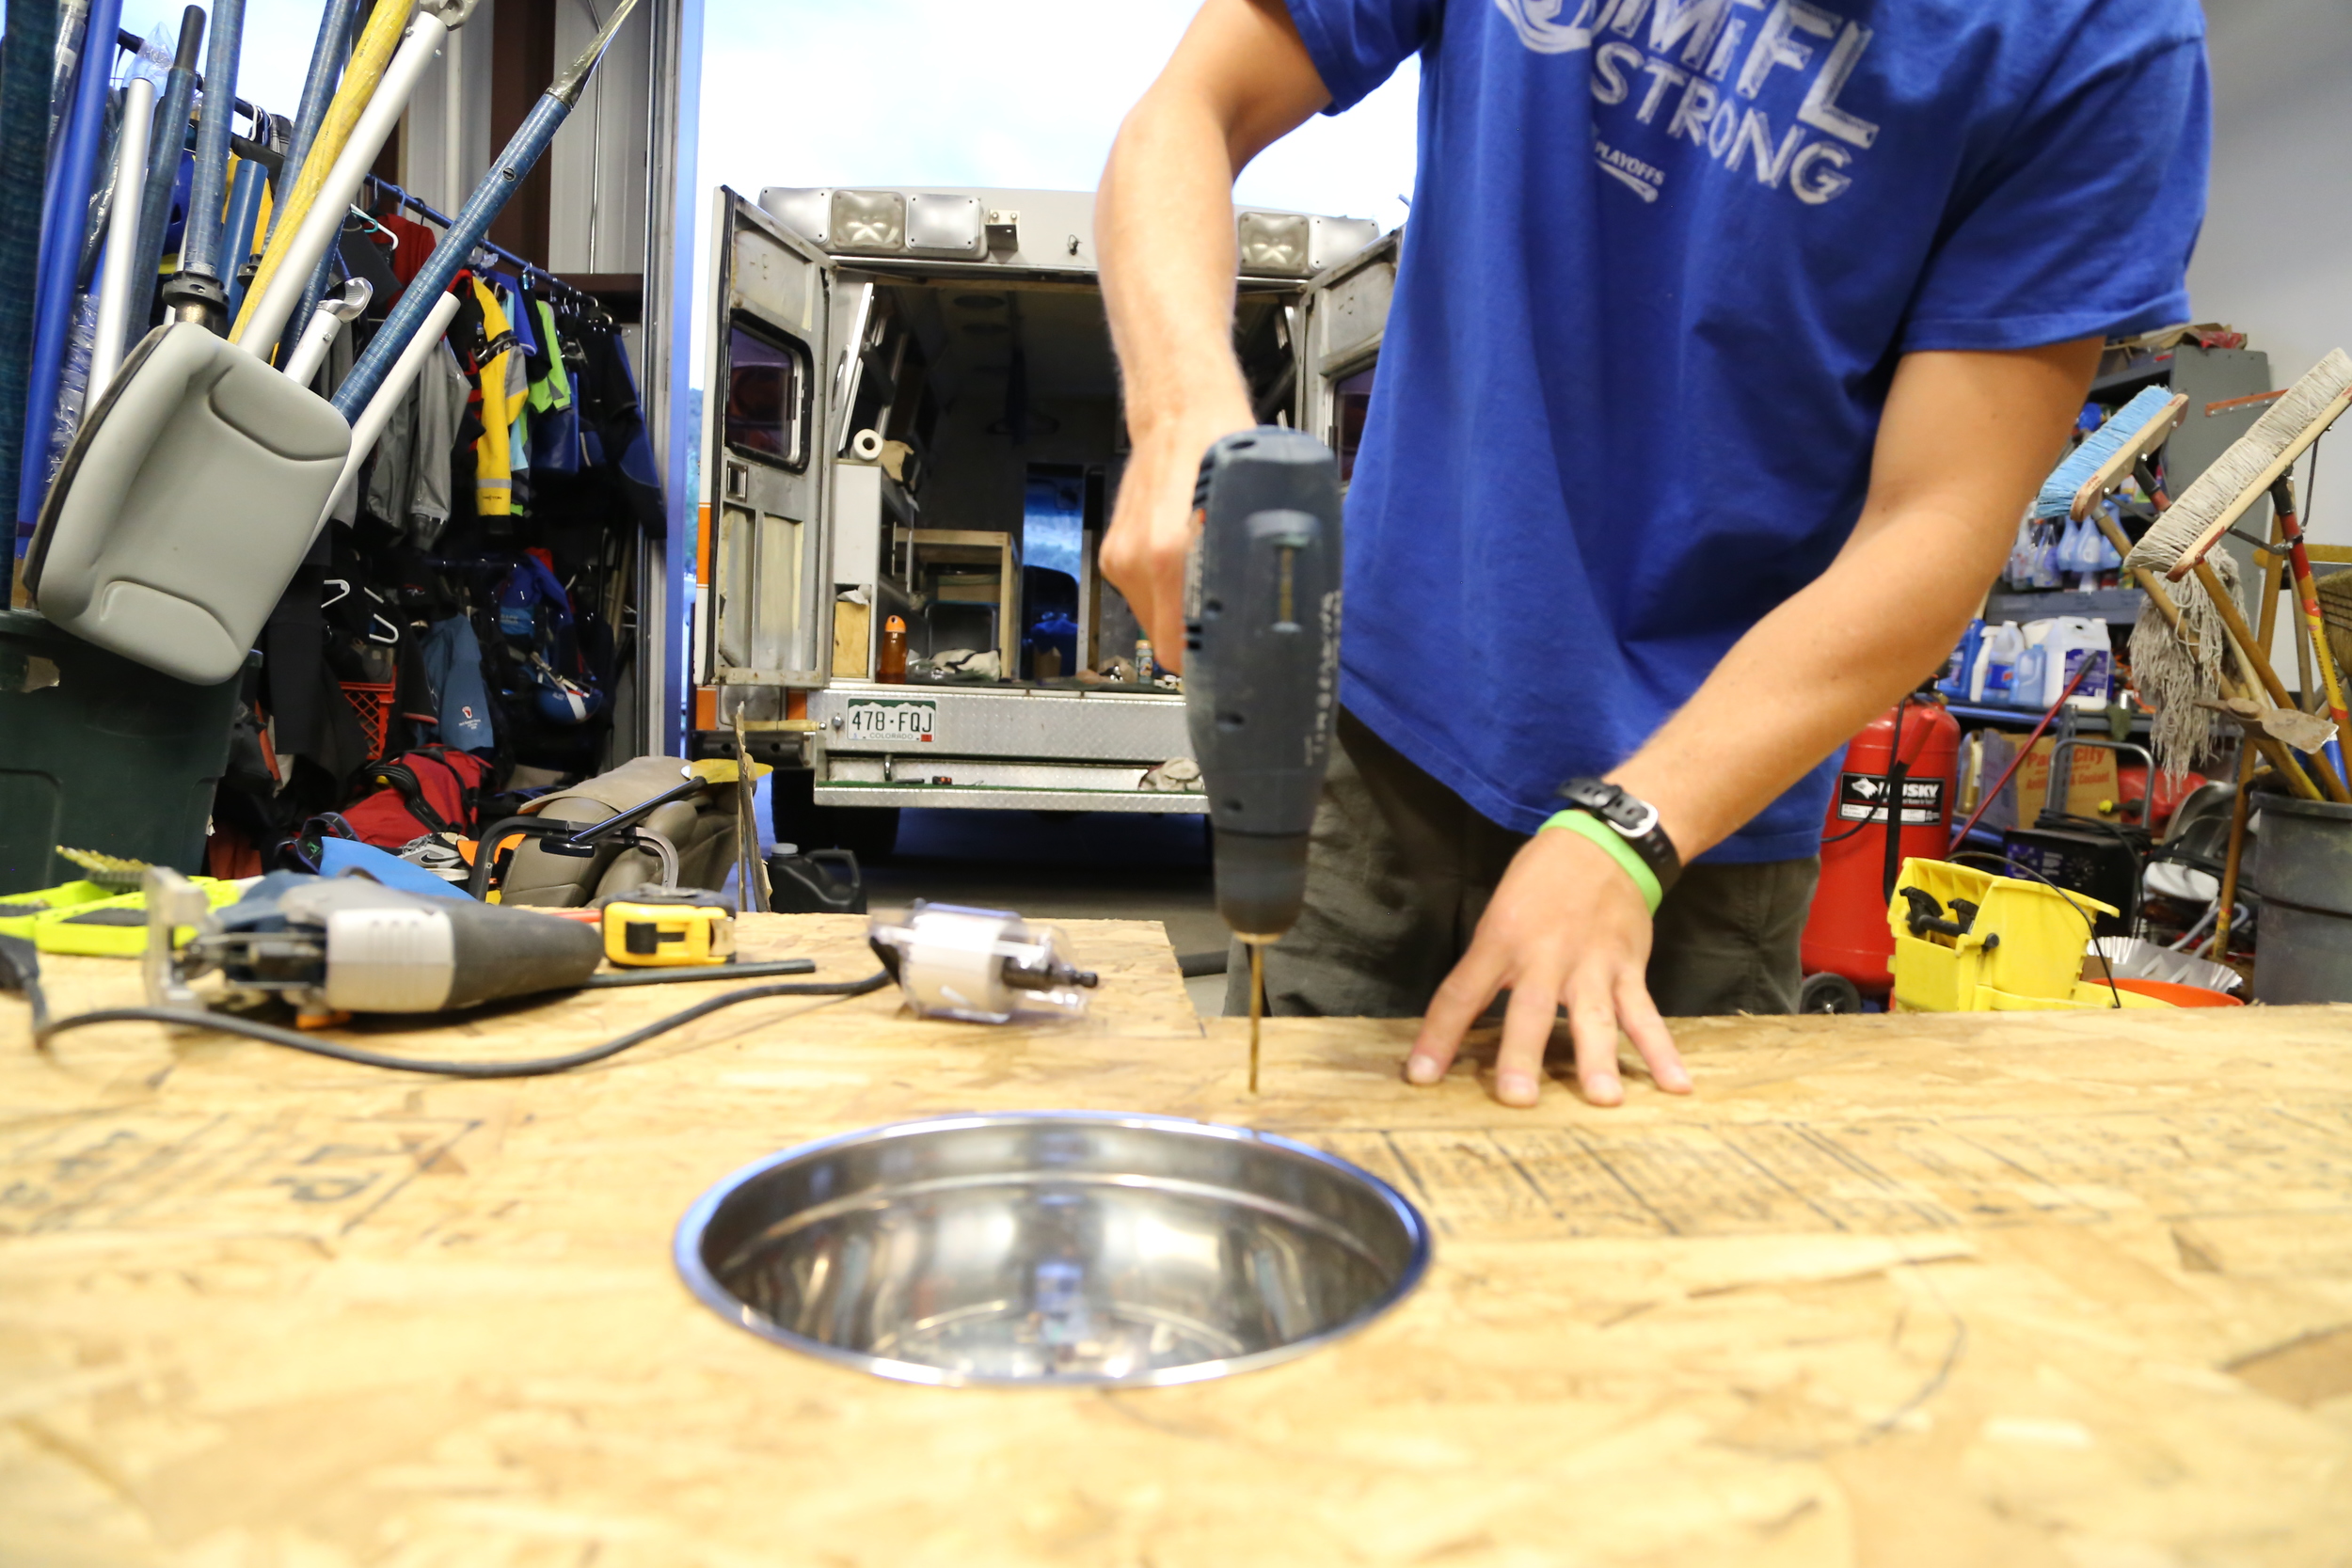
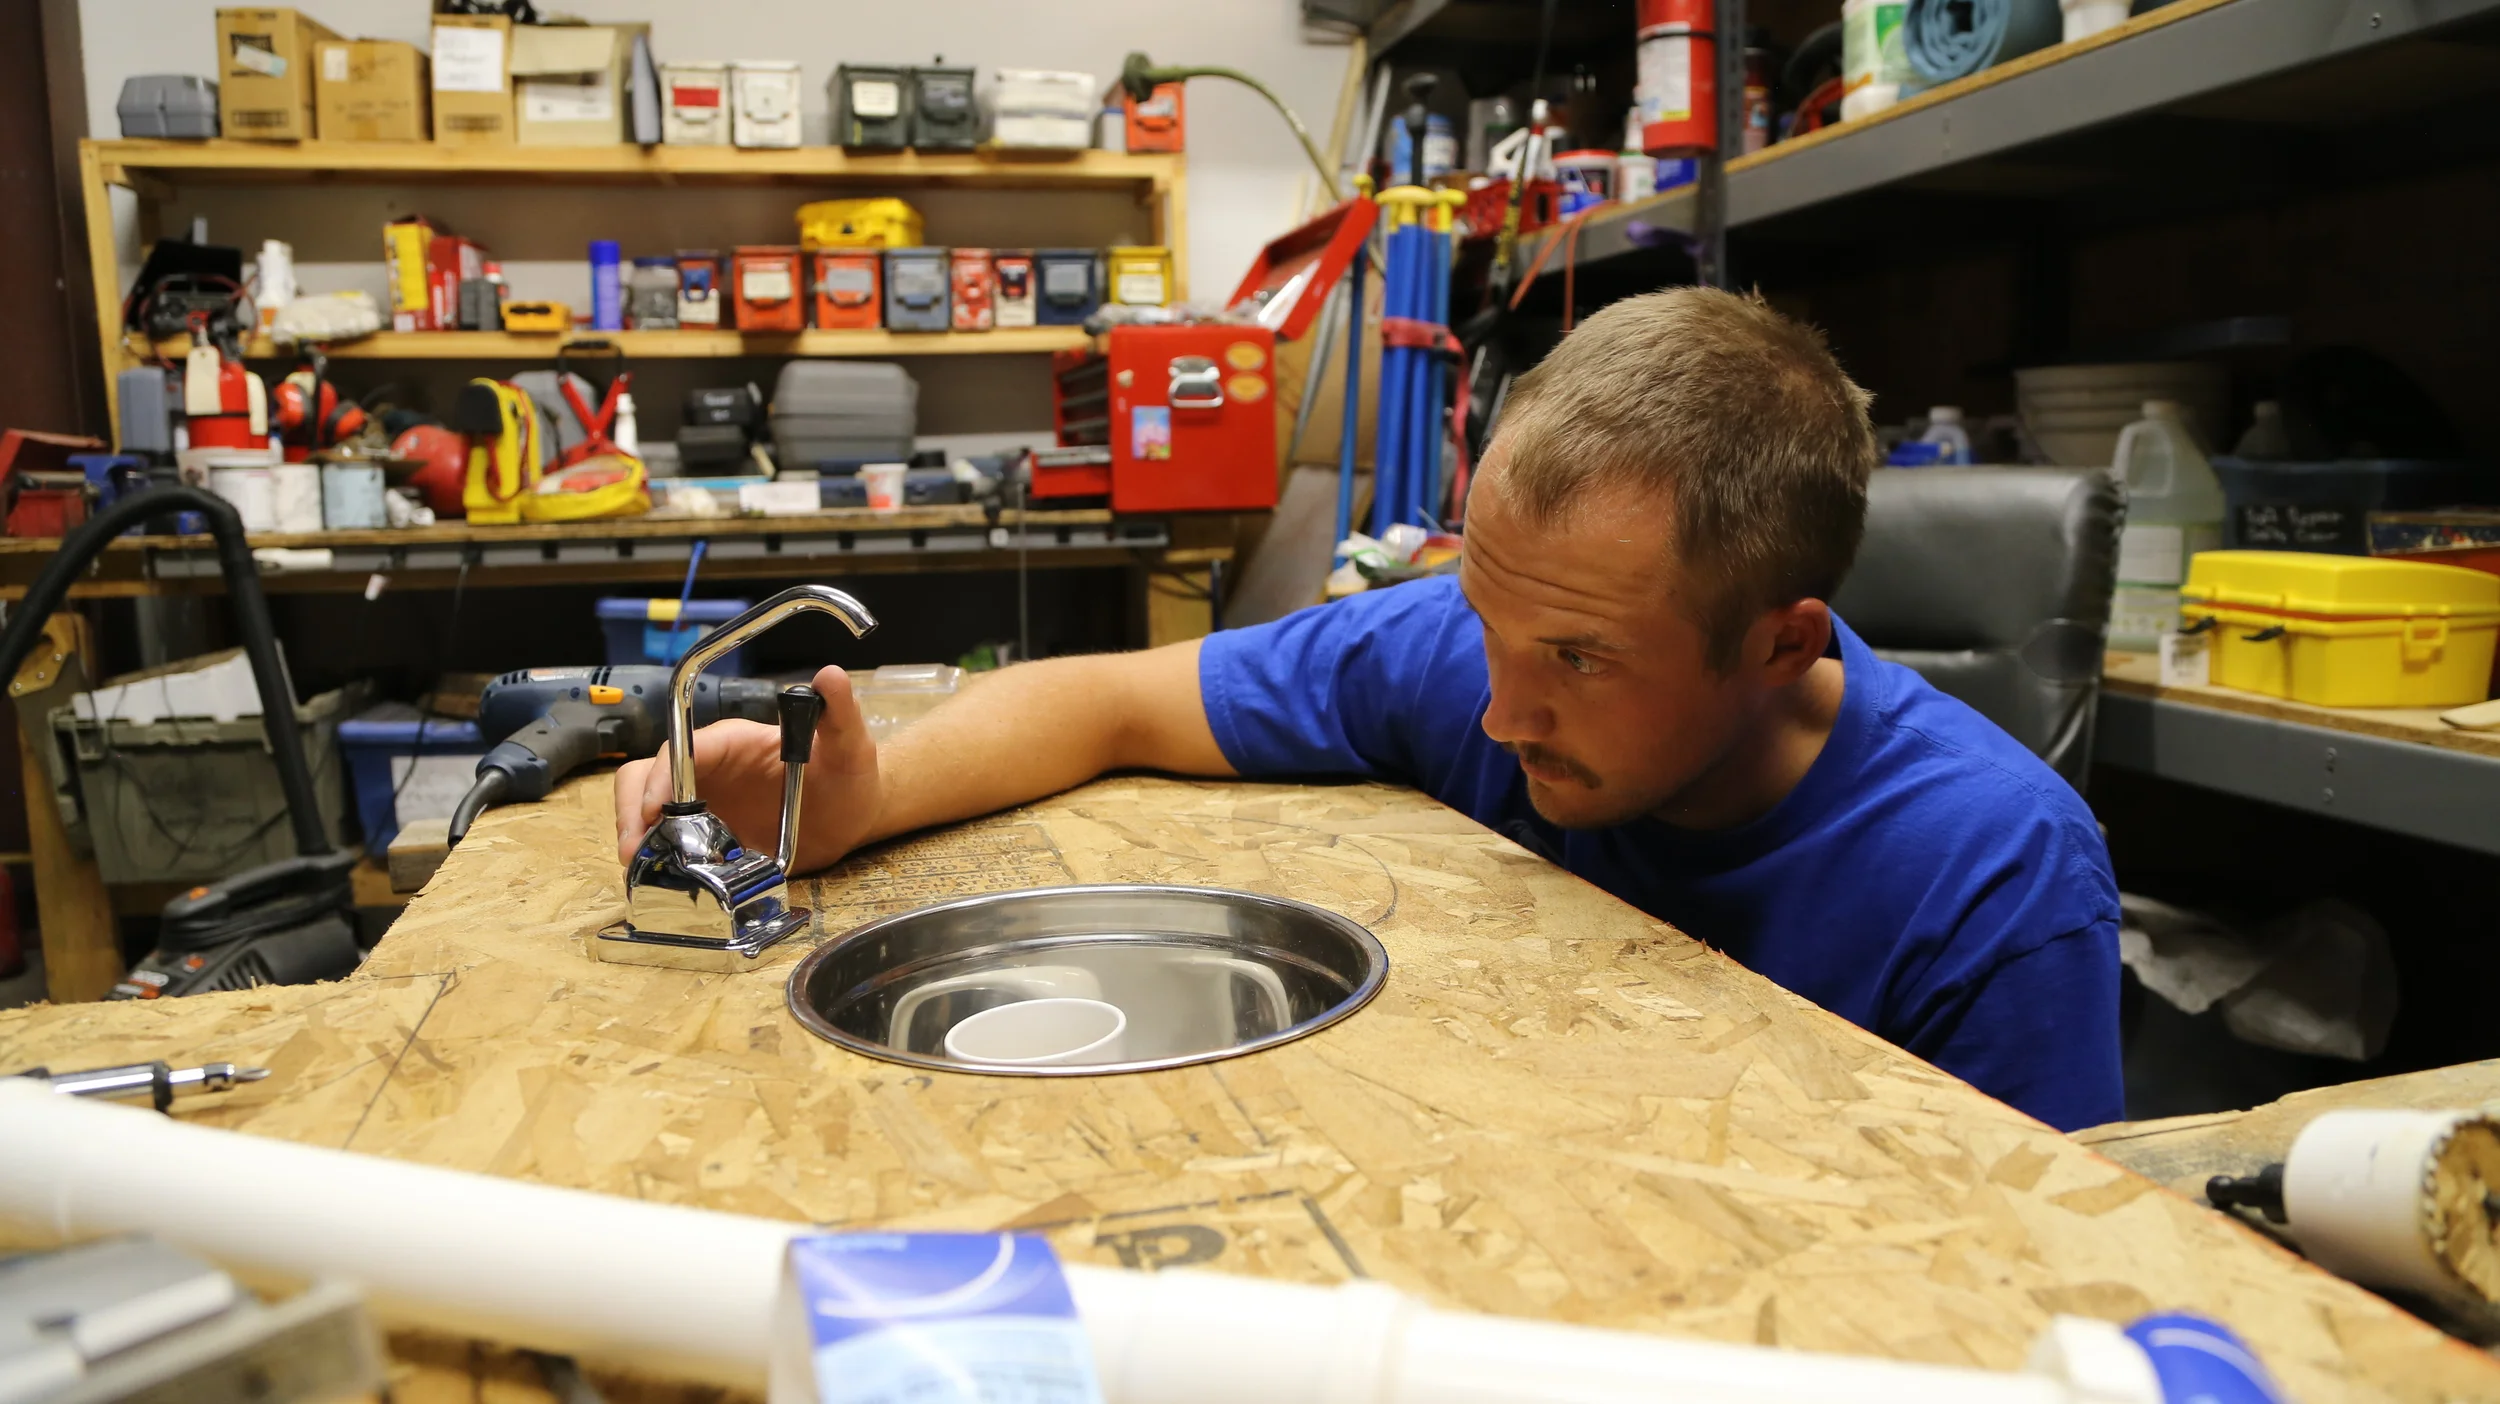
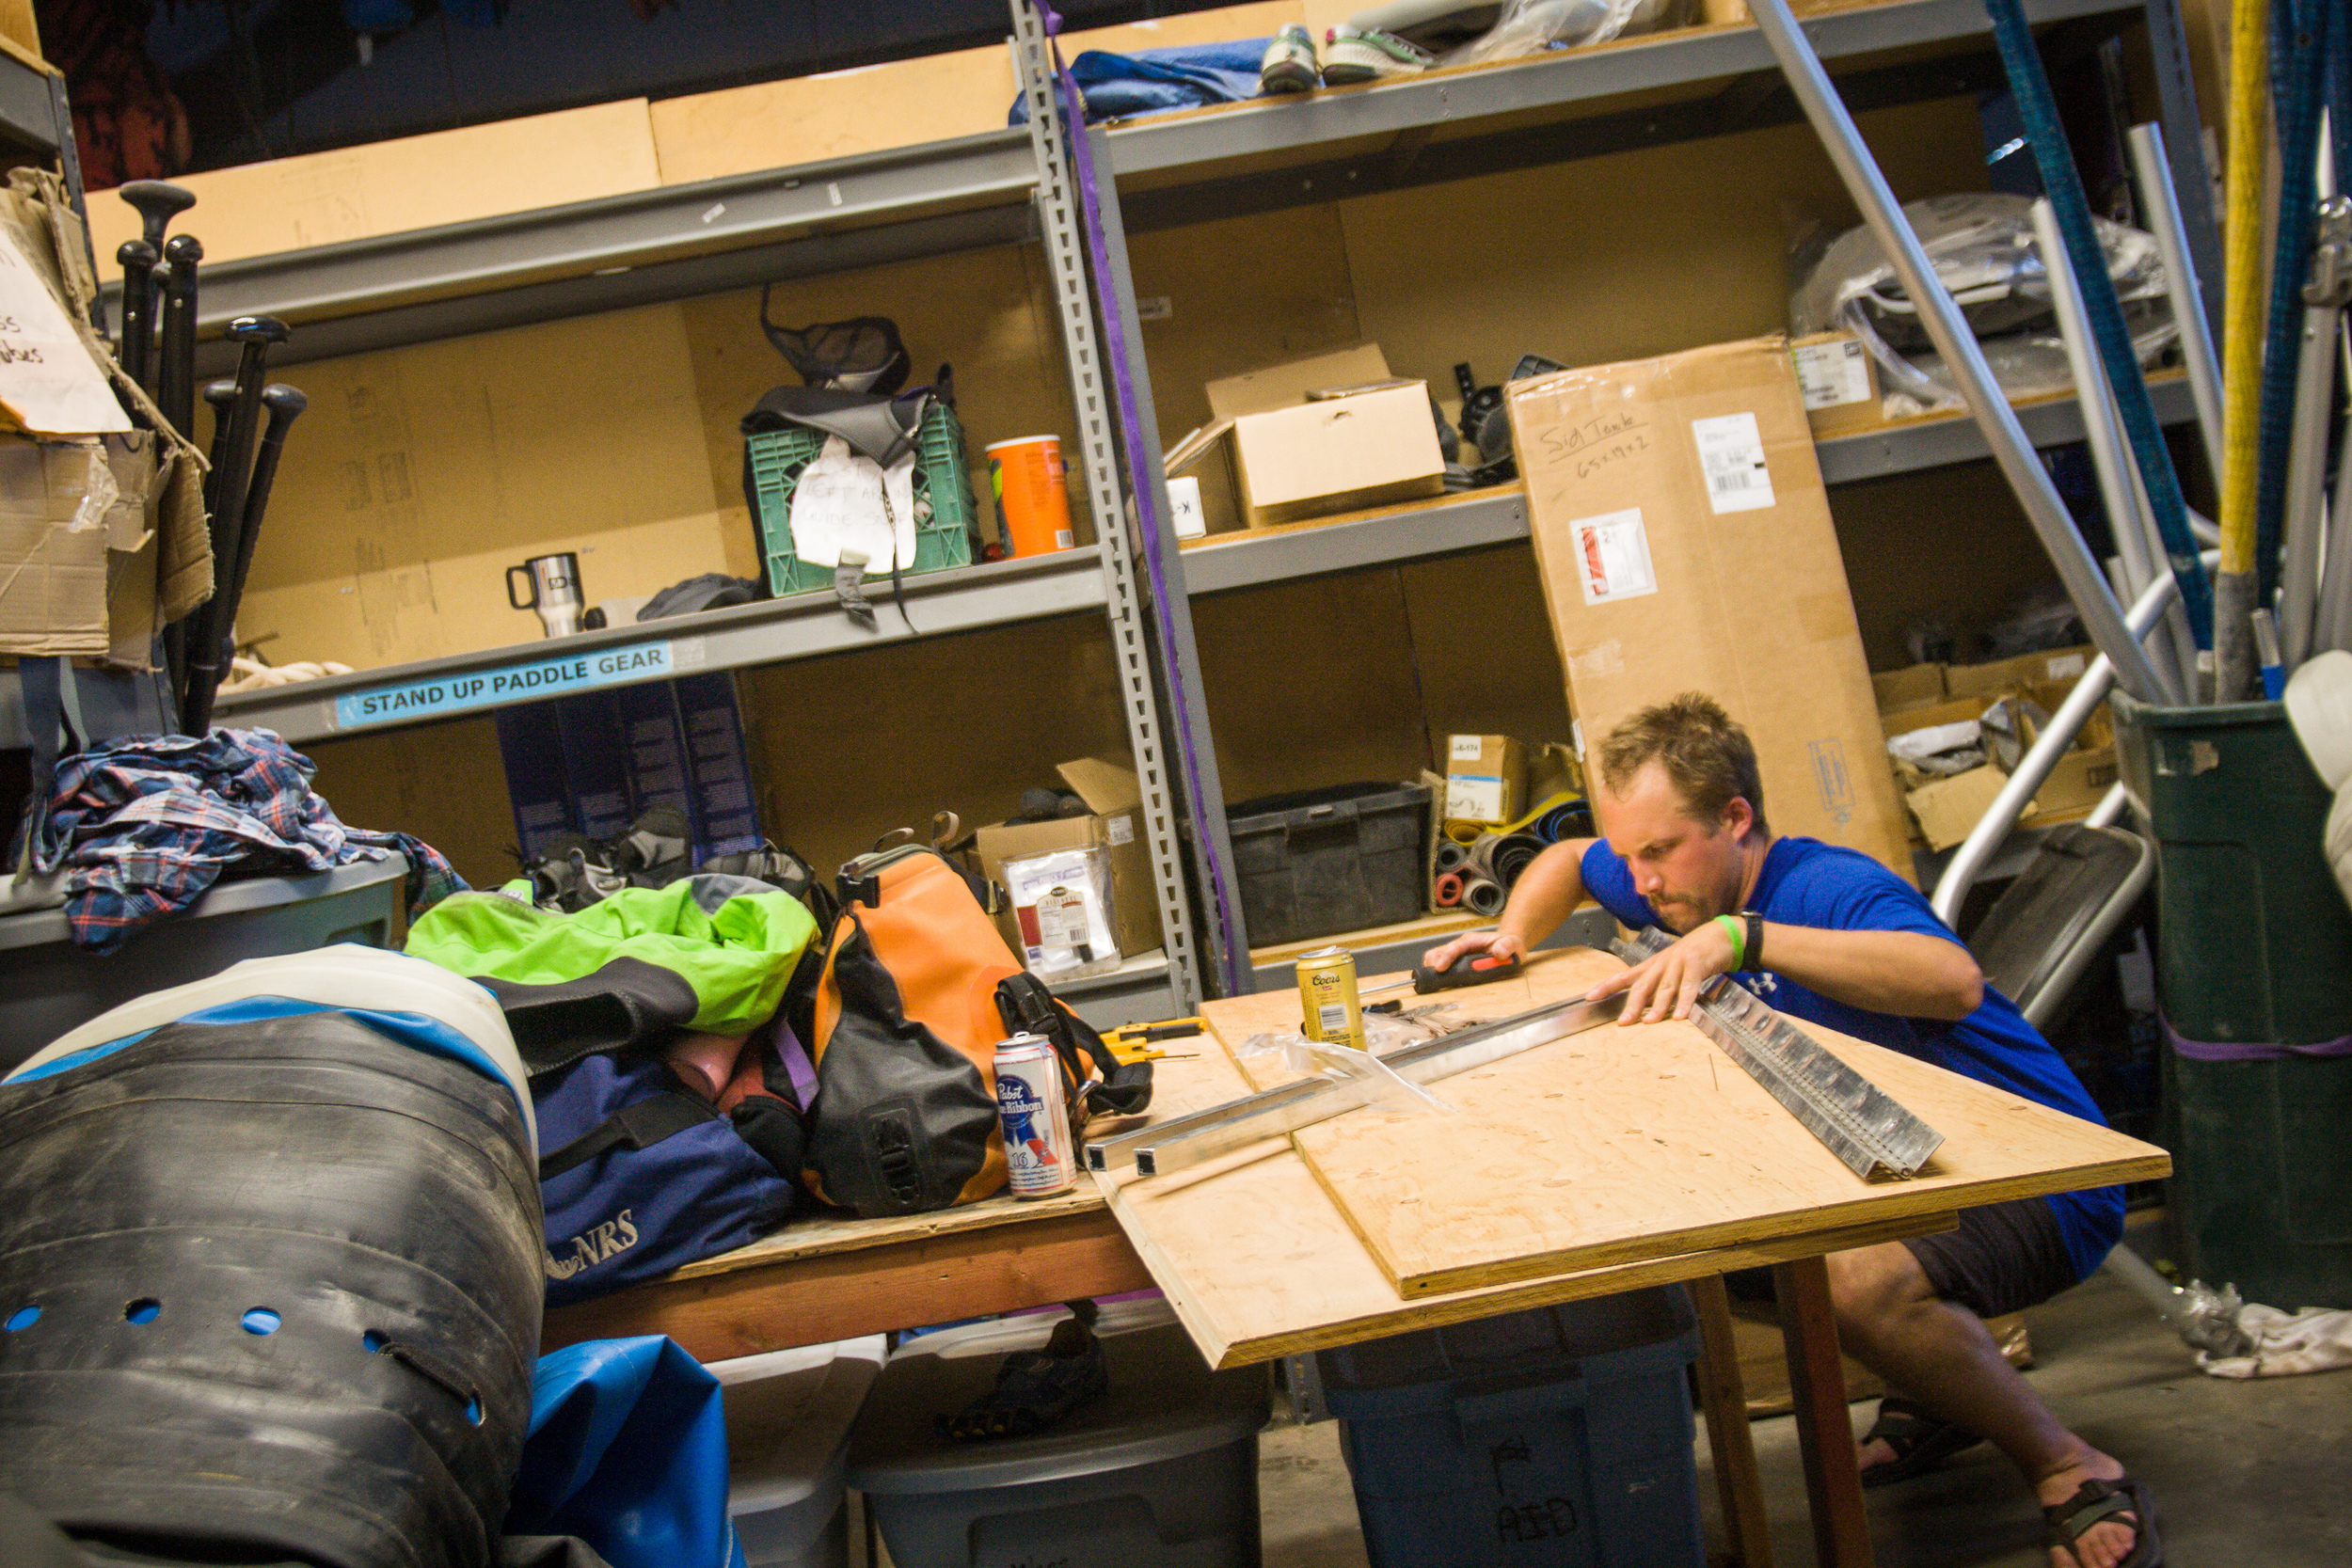
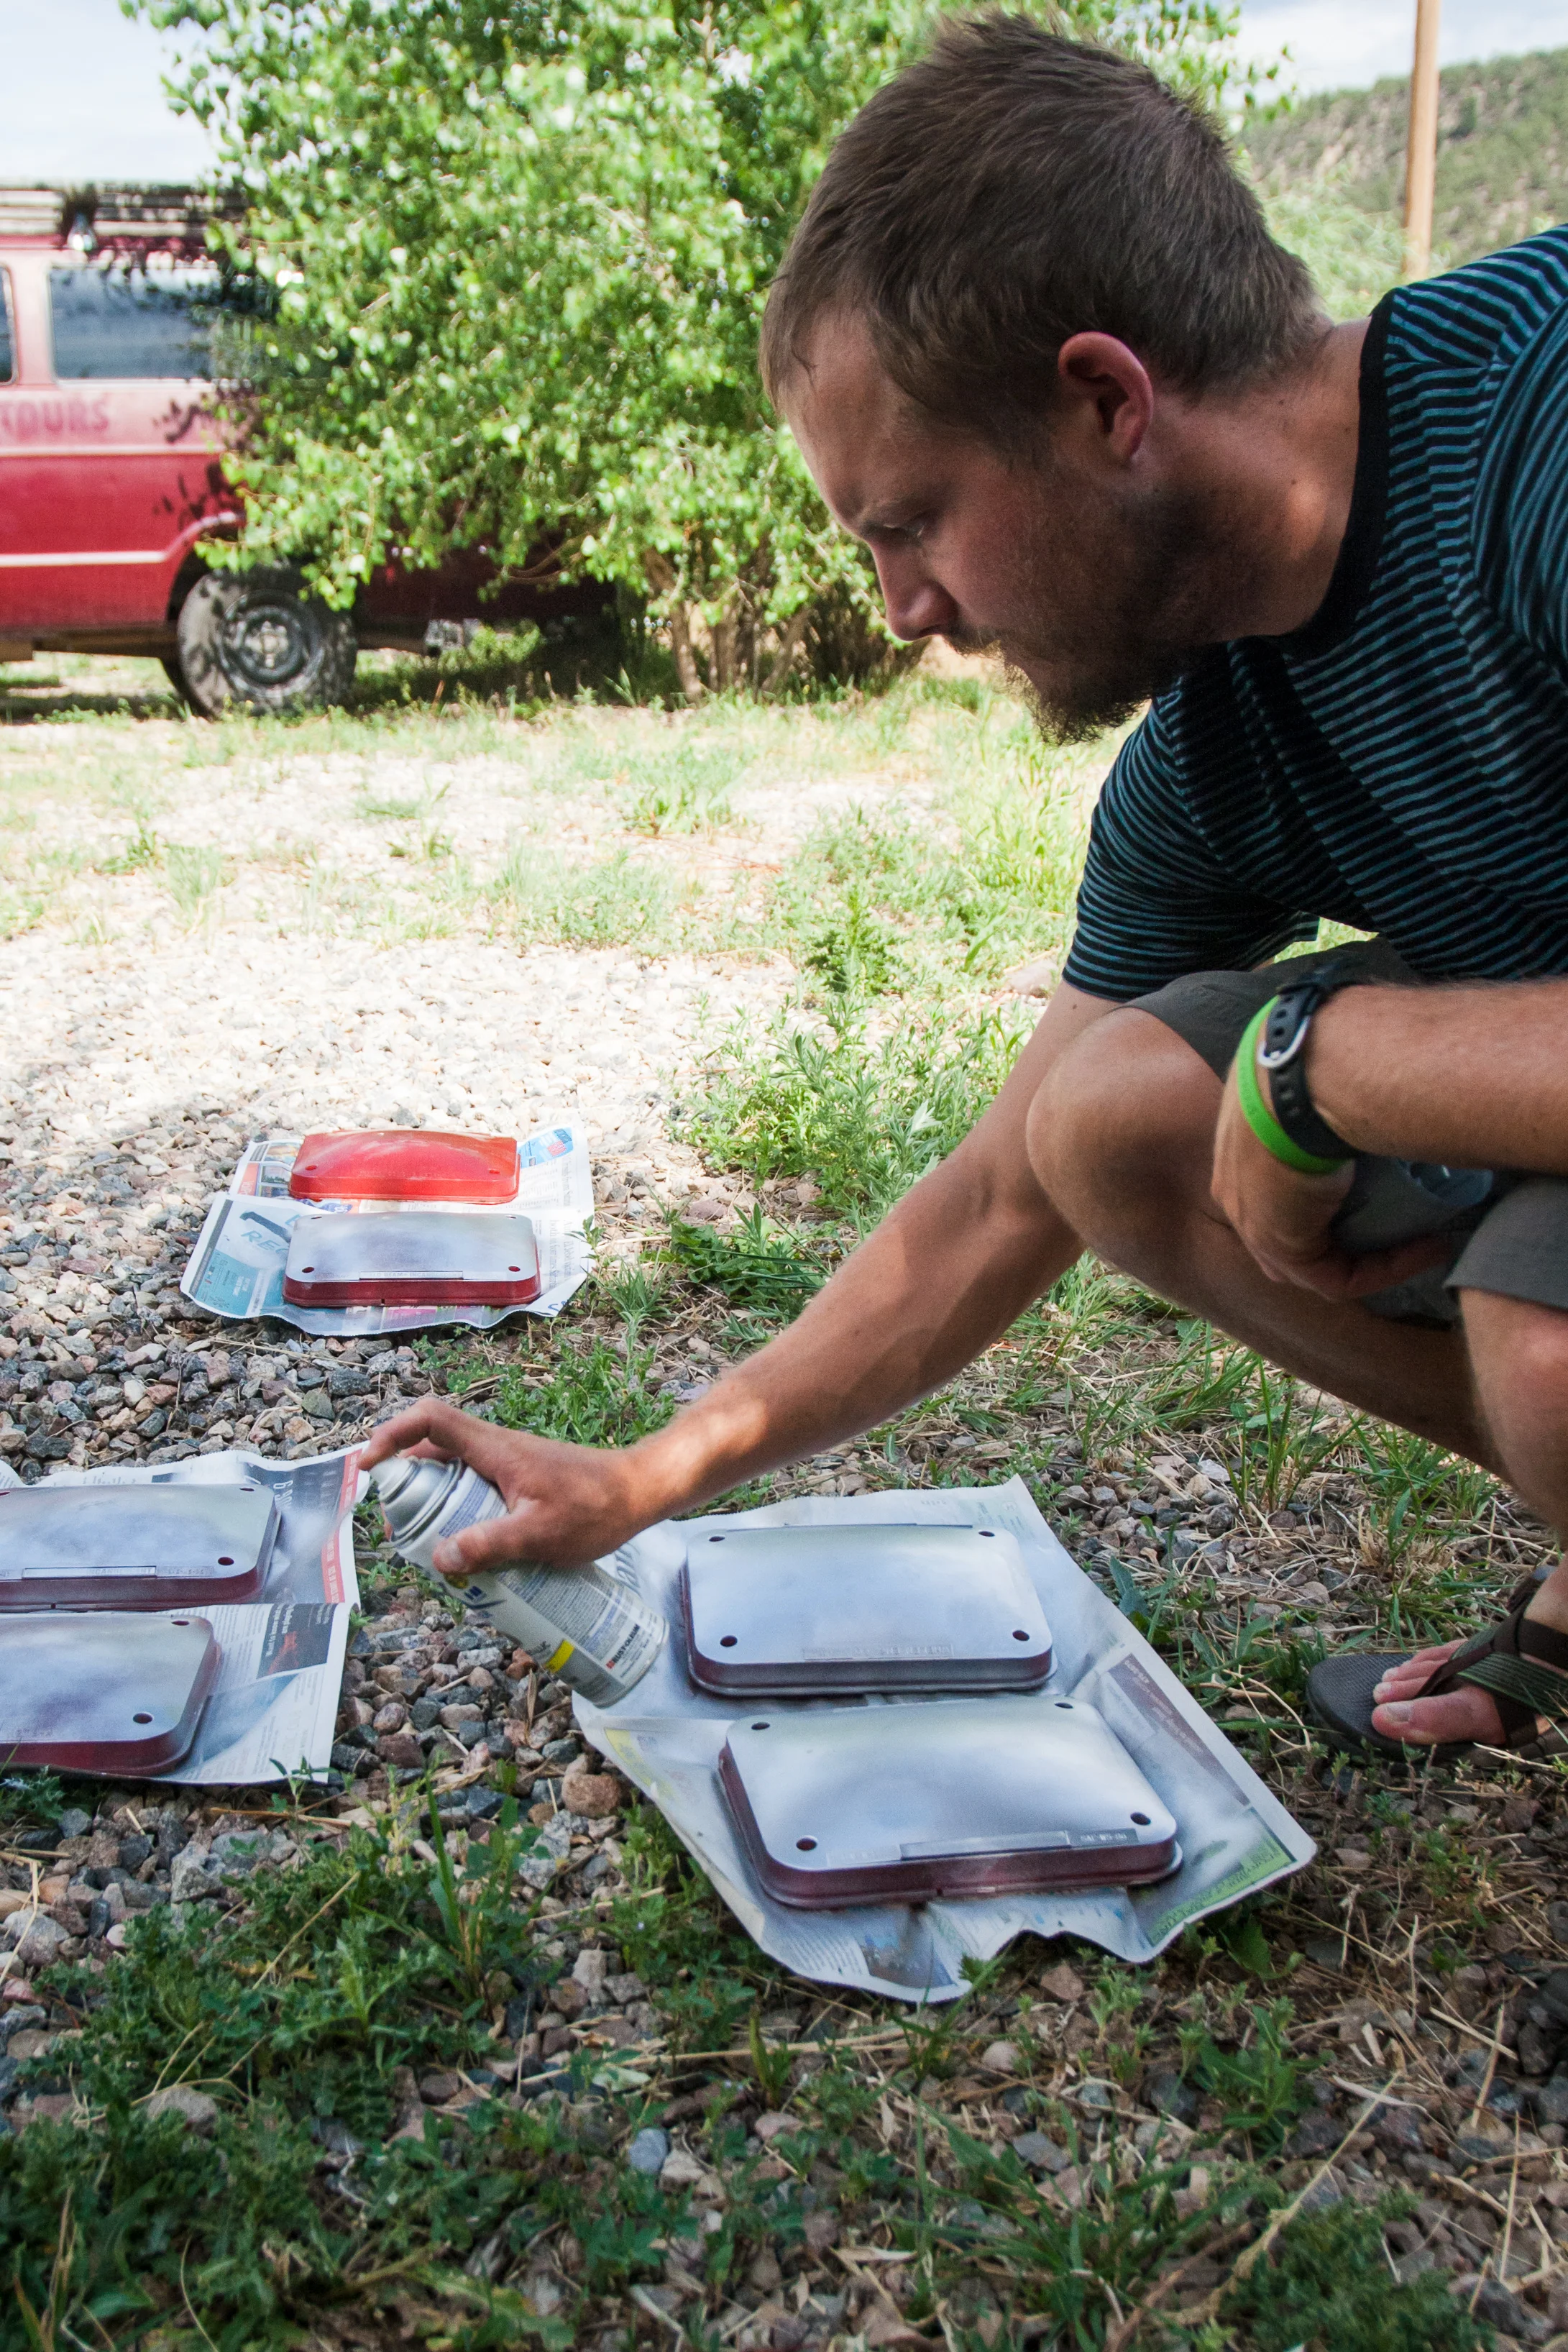
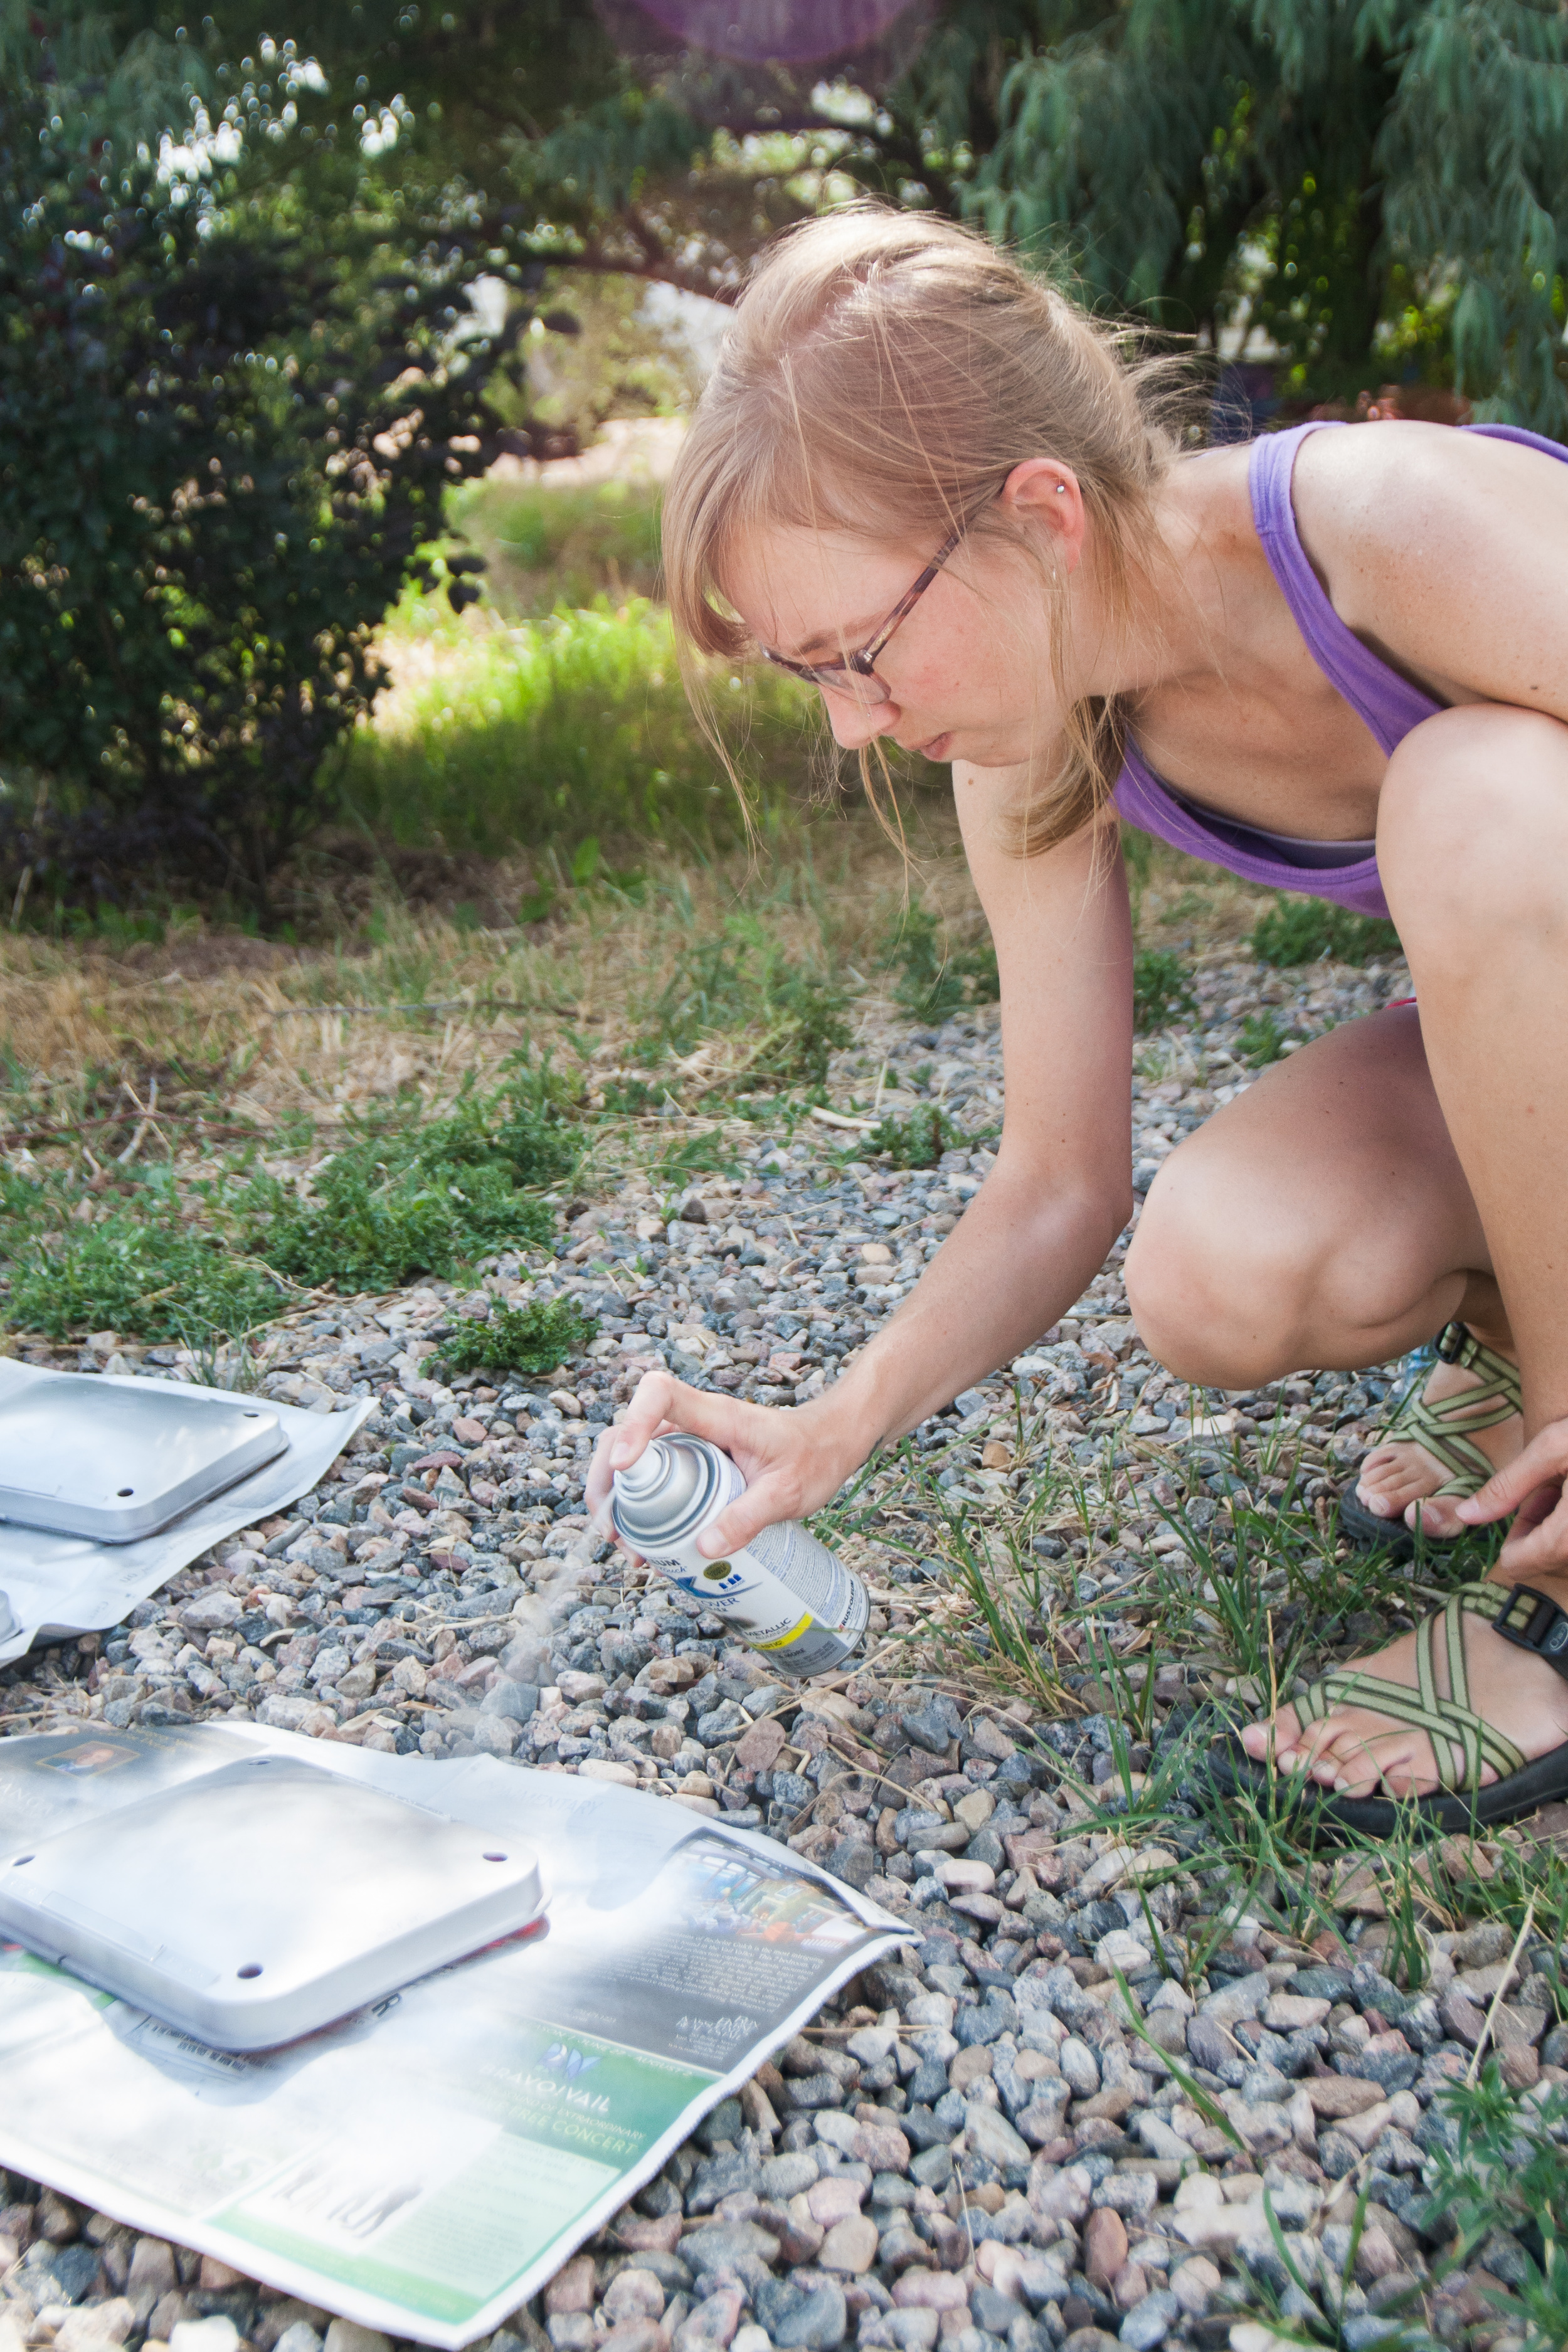
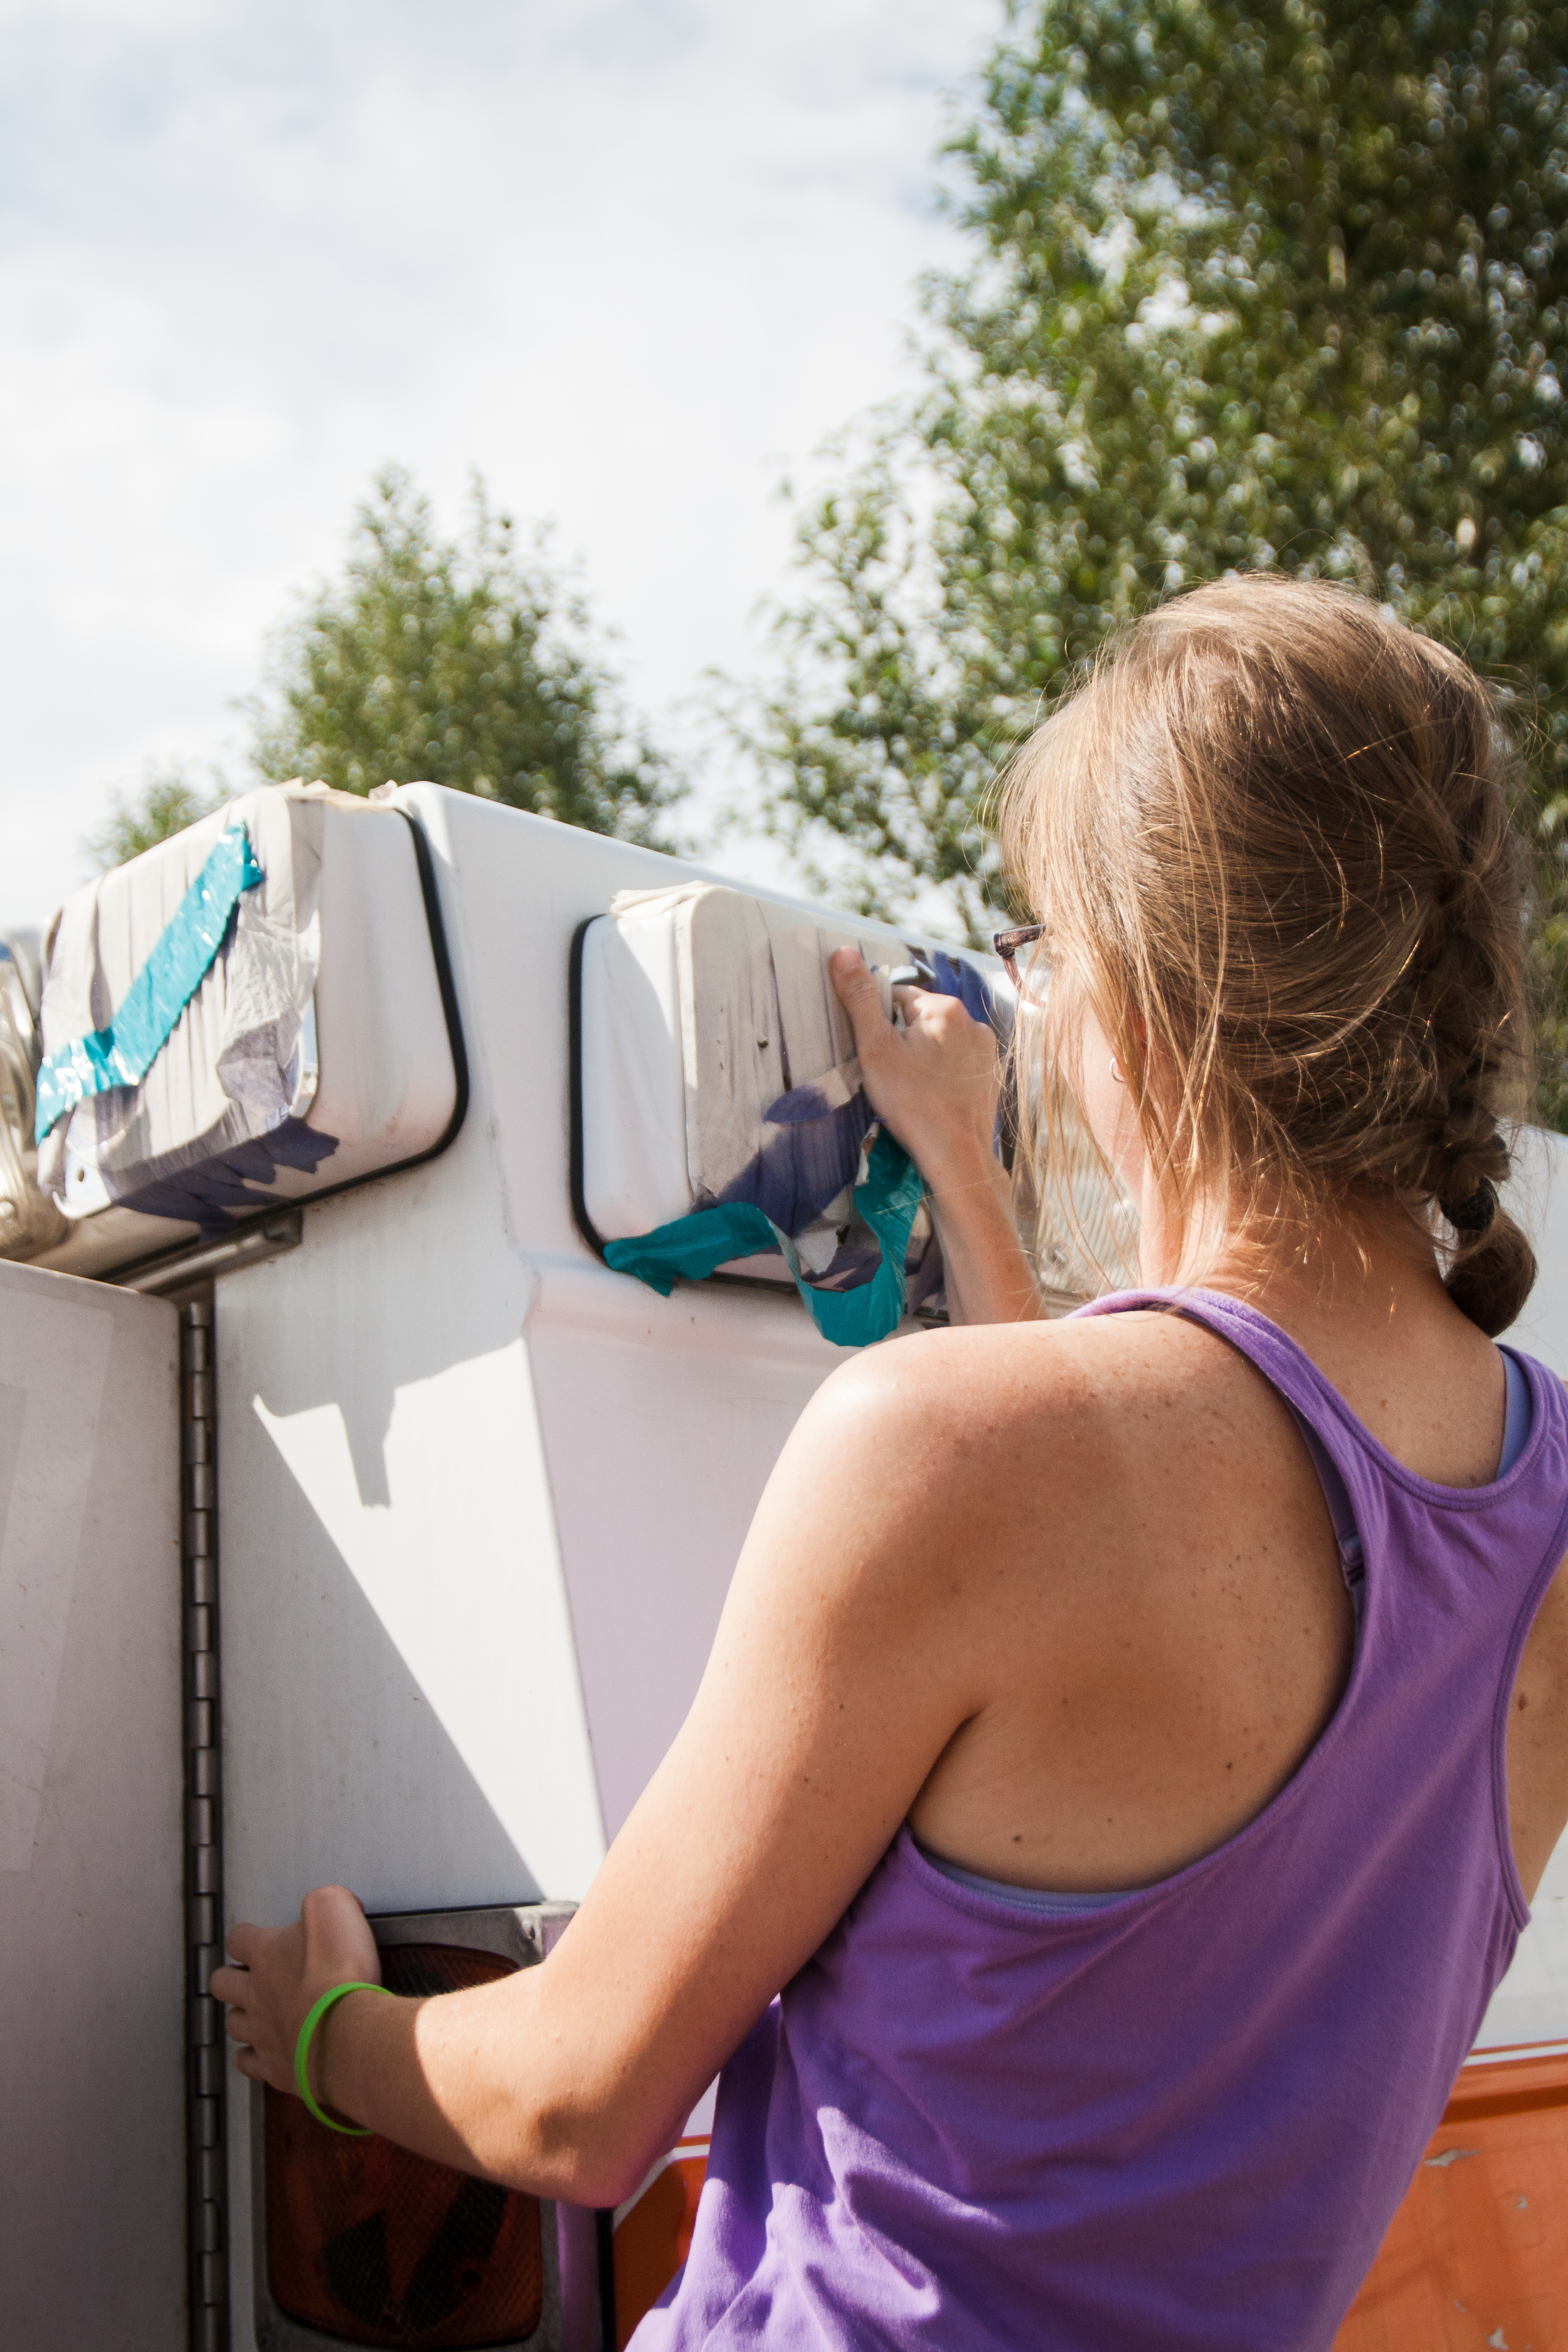
Christian and I have been working around the clock at both of our jobs as well as on the massive projects we'd mapped out for the Campbulance. A typical day in our lives has us each prepping to be and then being on the river (well…I'm beside it with a camera) from around 9am to anywhere from 5-7pm. As soon as one of us is off, we're elbow deep in the unending Campbulance projects spanning before us.

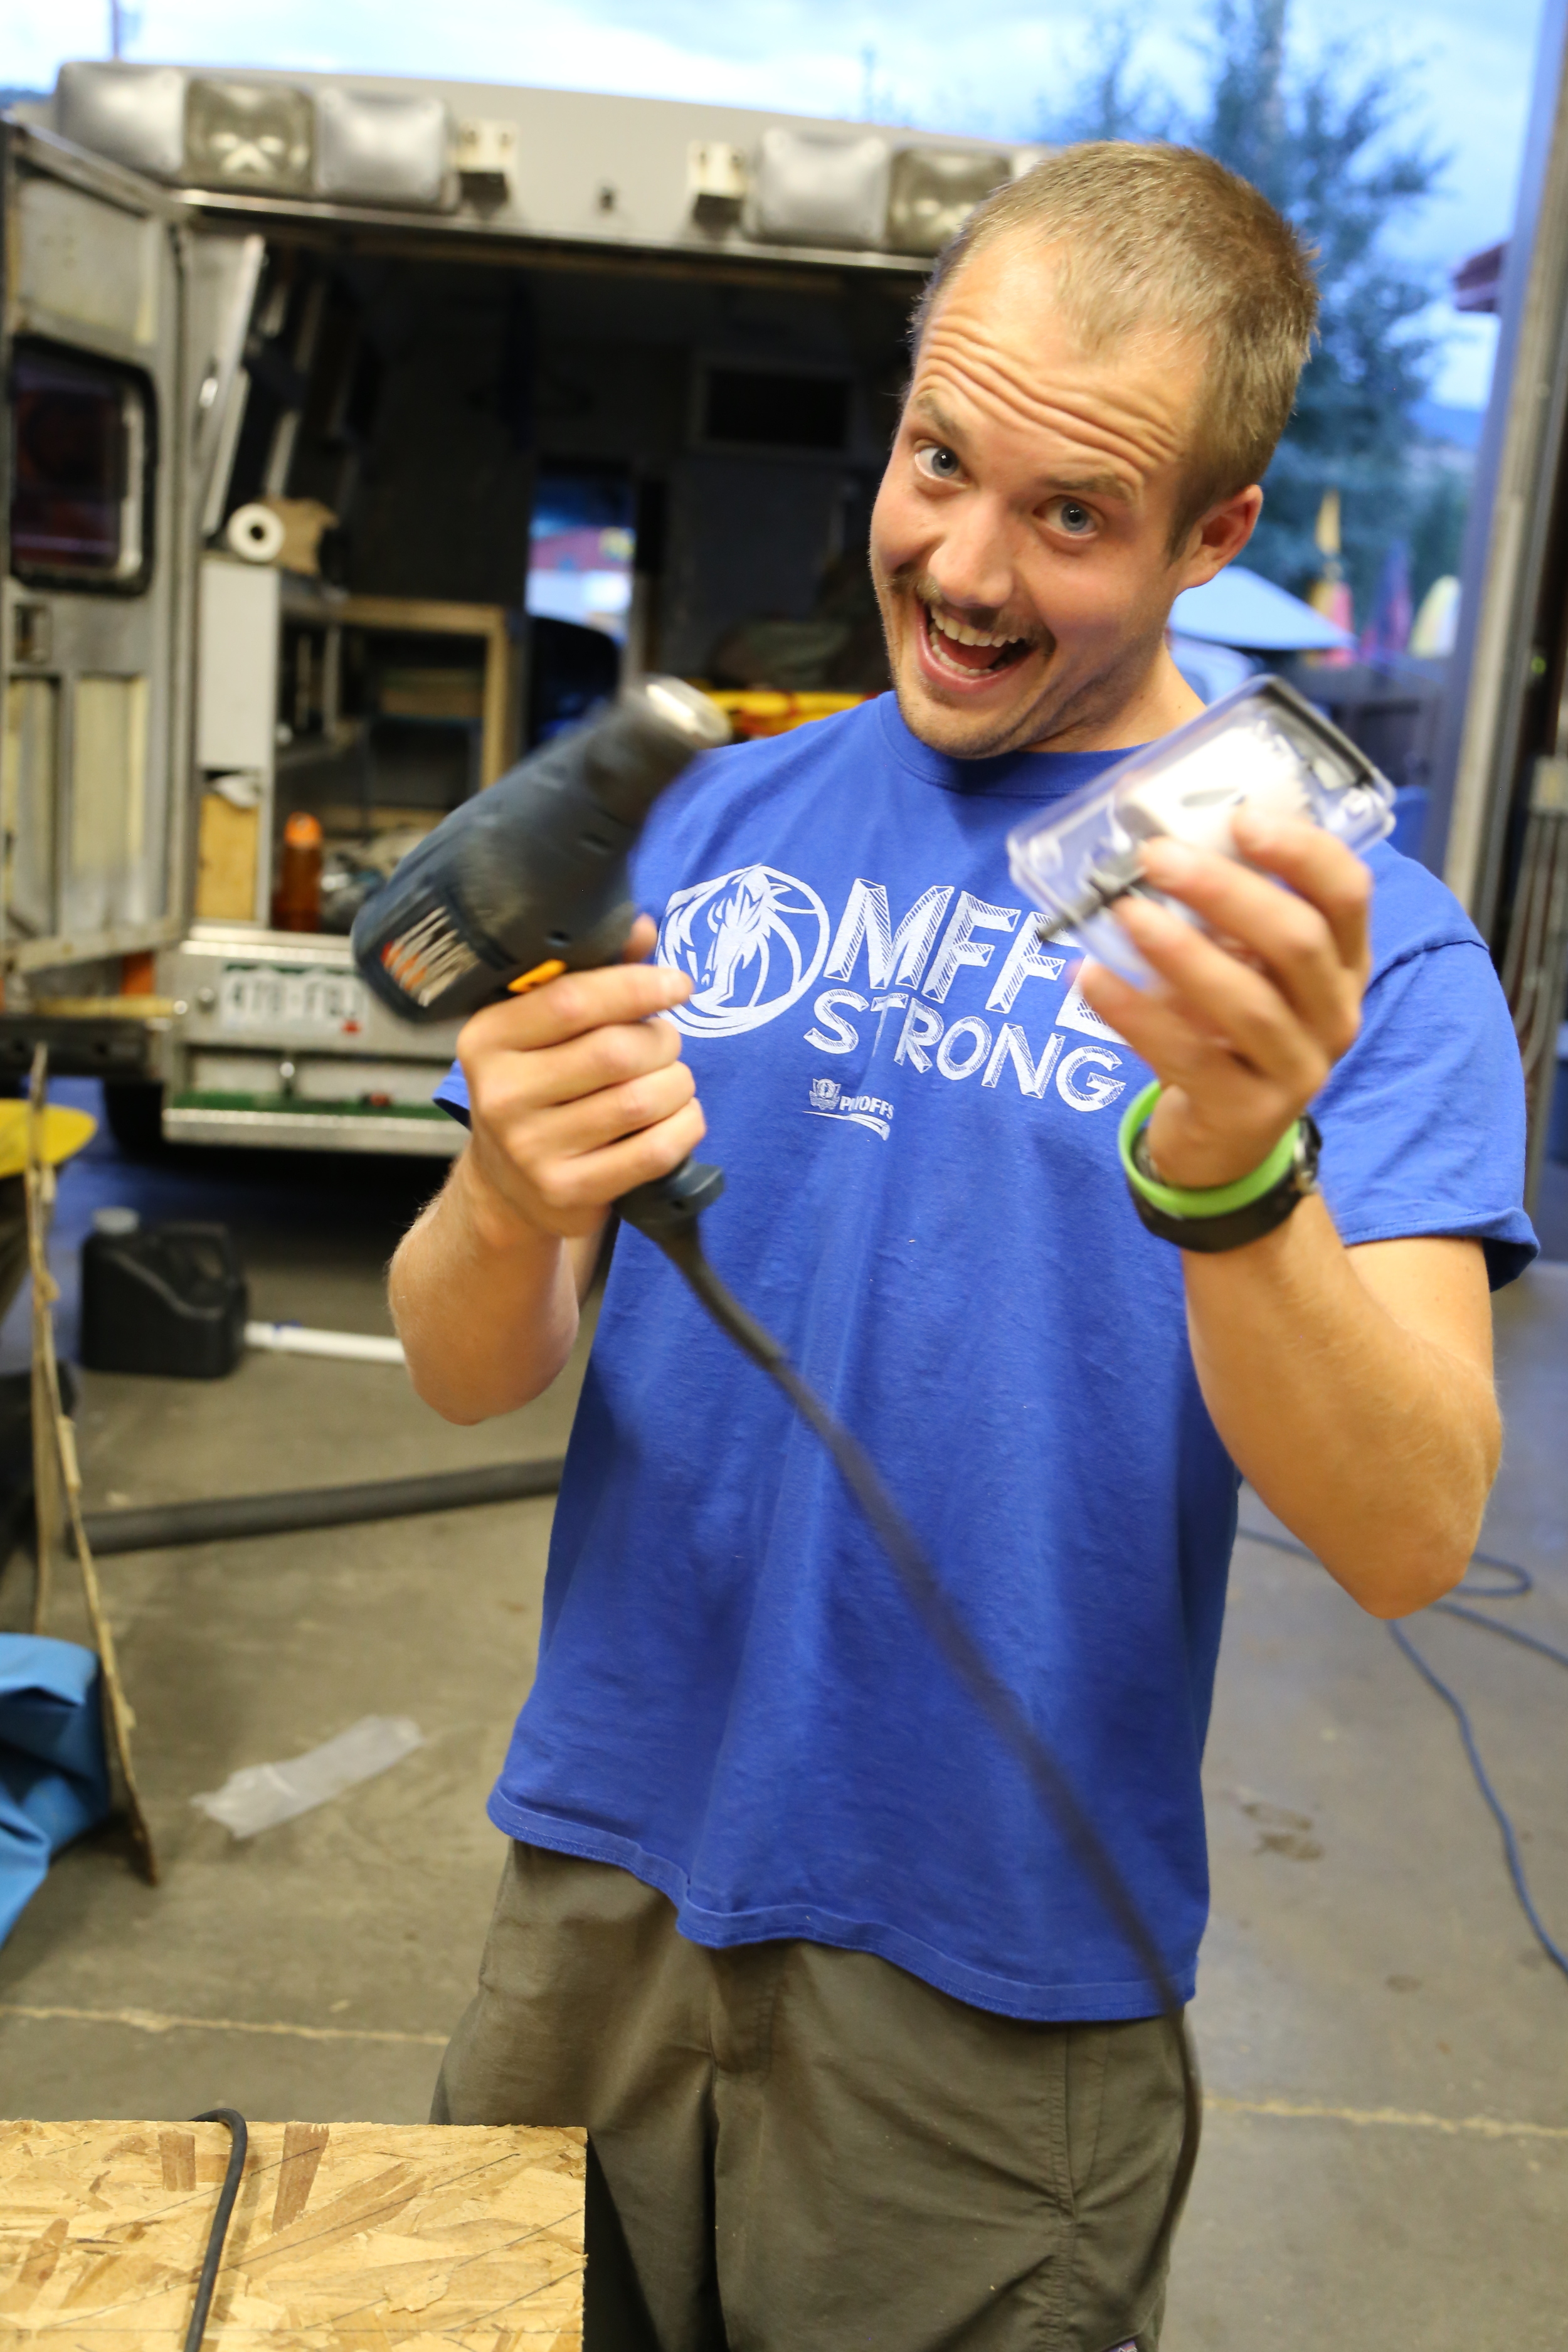
Christian has had a bit of a luckier timeframe as guides typically aren't on the water for two trips in a day, so he had a few afternoons off and was able to get some massive work done without my supervision or trigger finger on a nearby camera. Luckily, I have an extra camera I keep in the Campbulance for just this occasion.

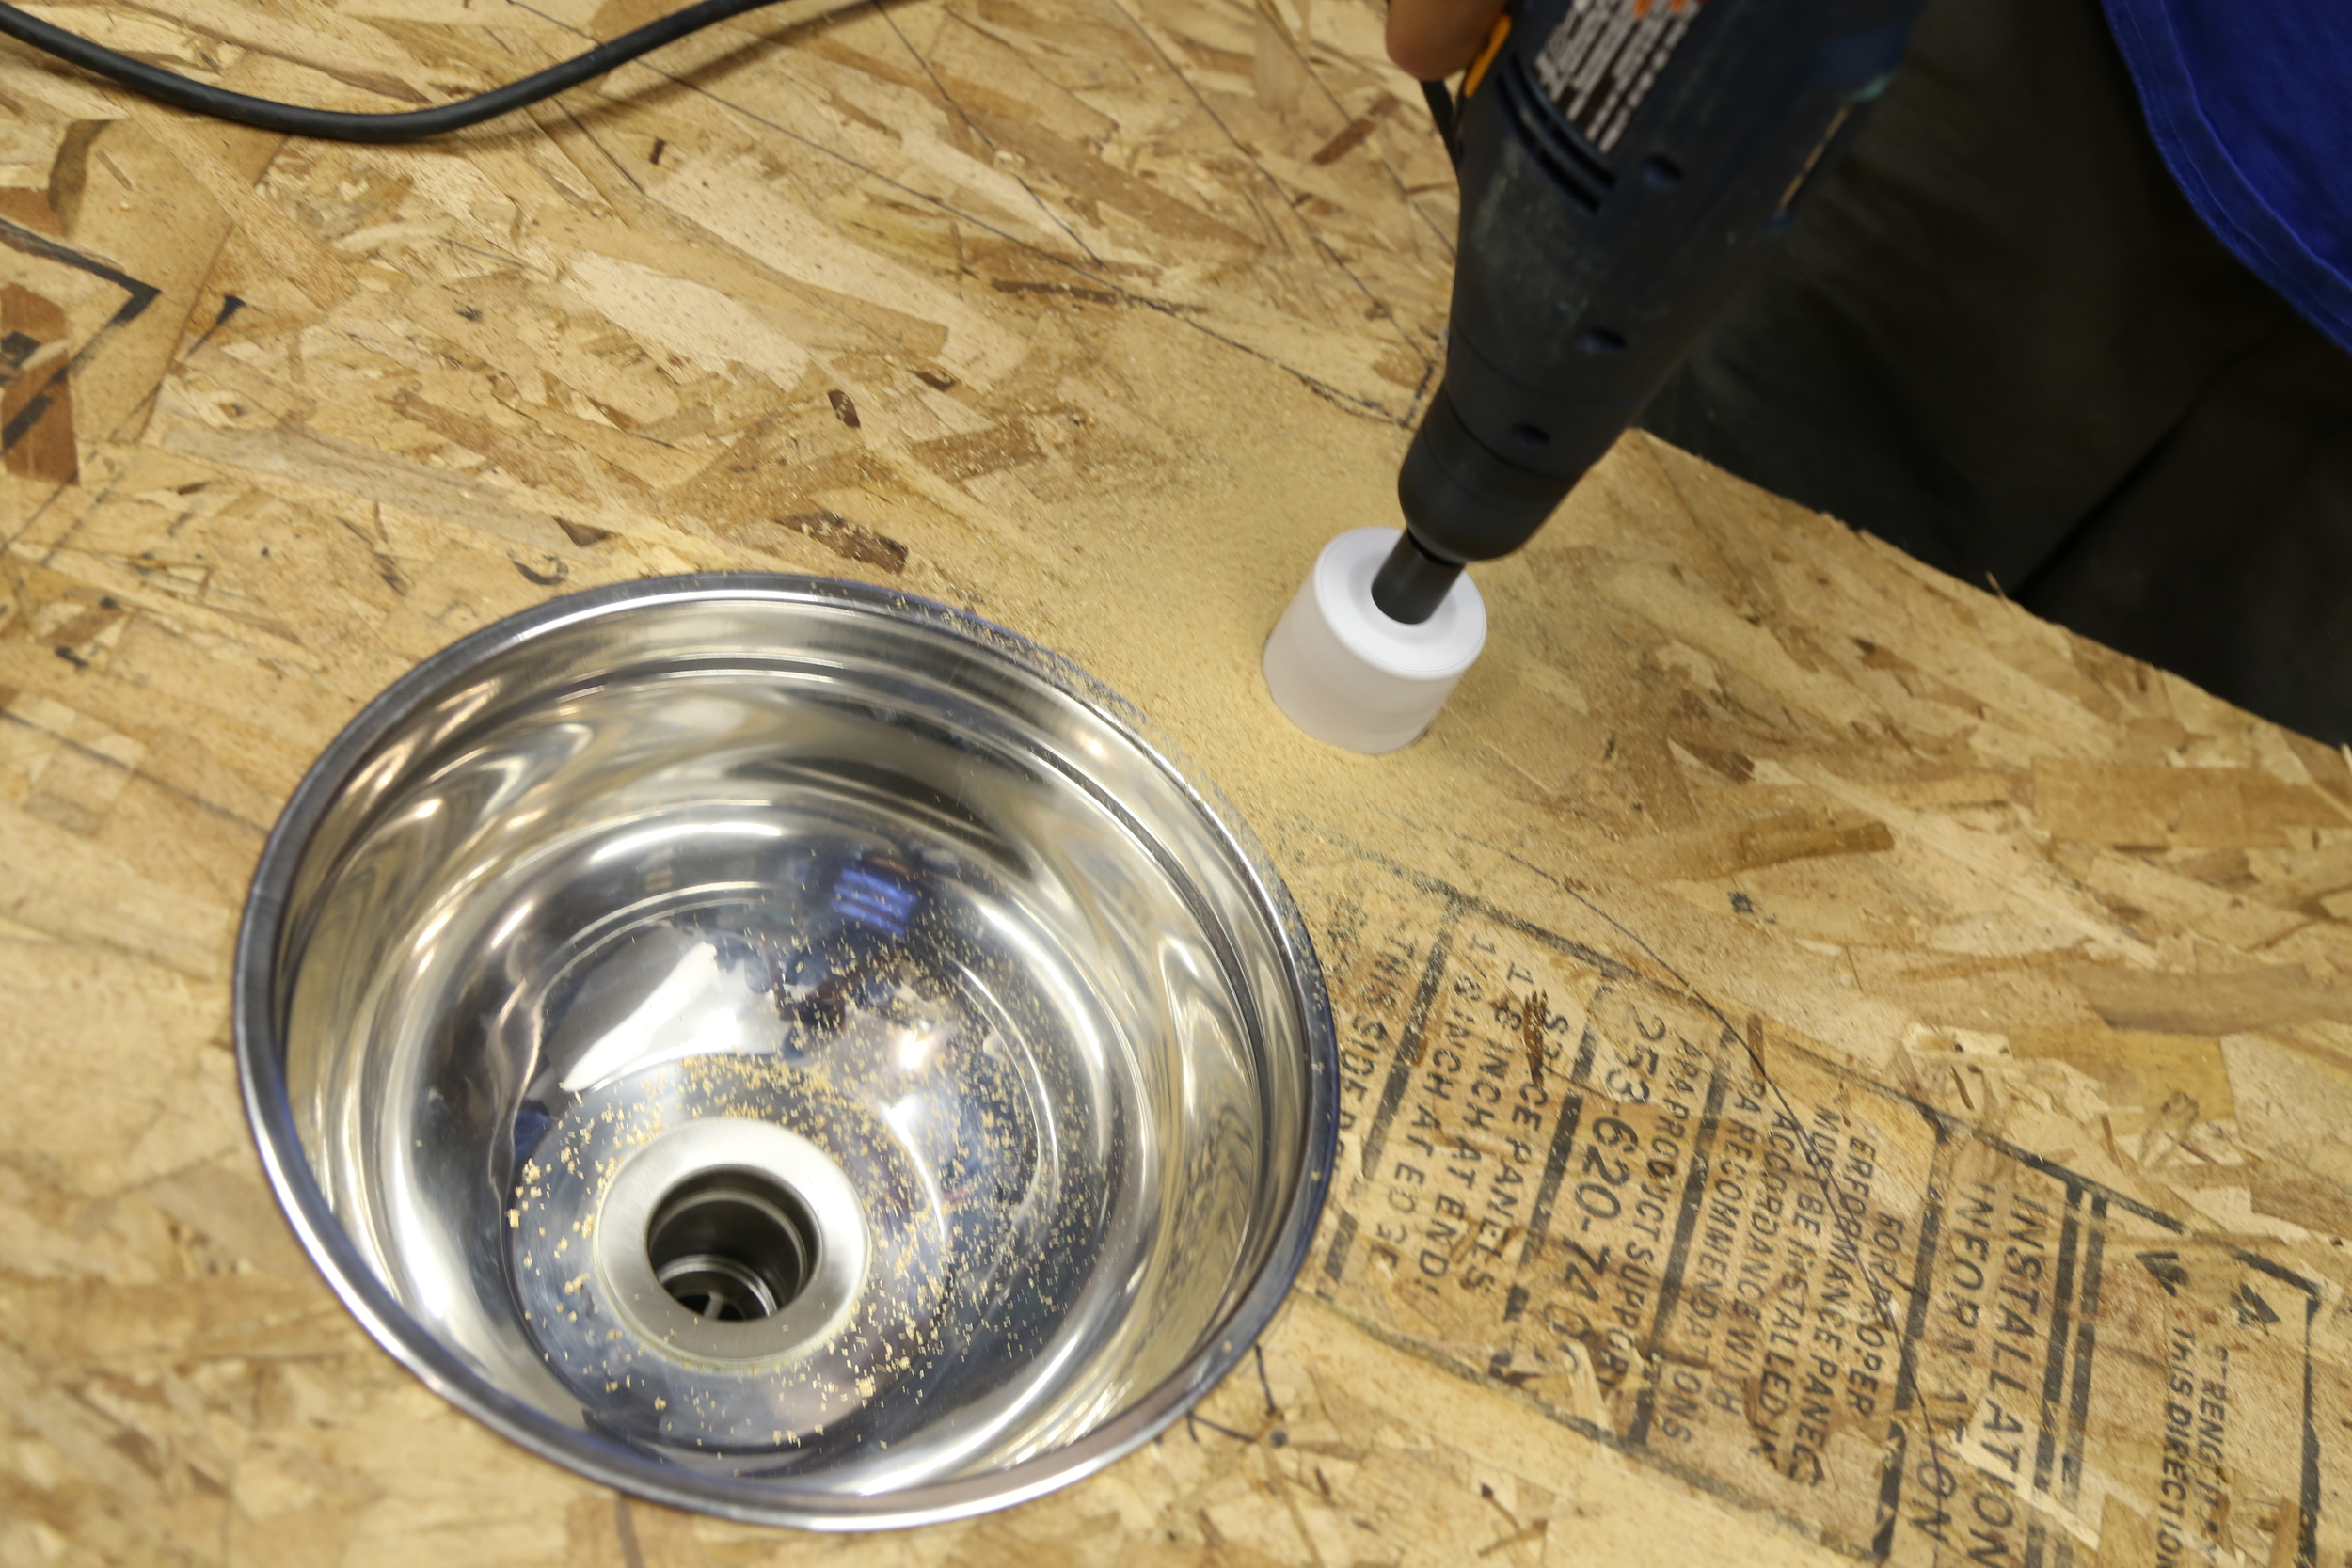
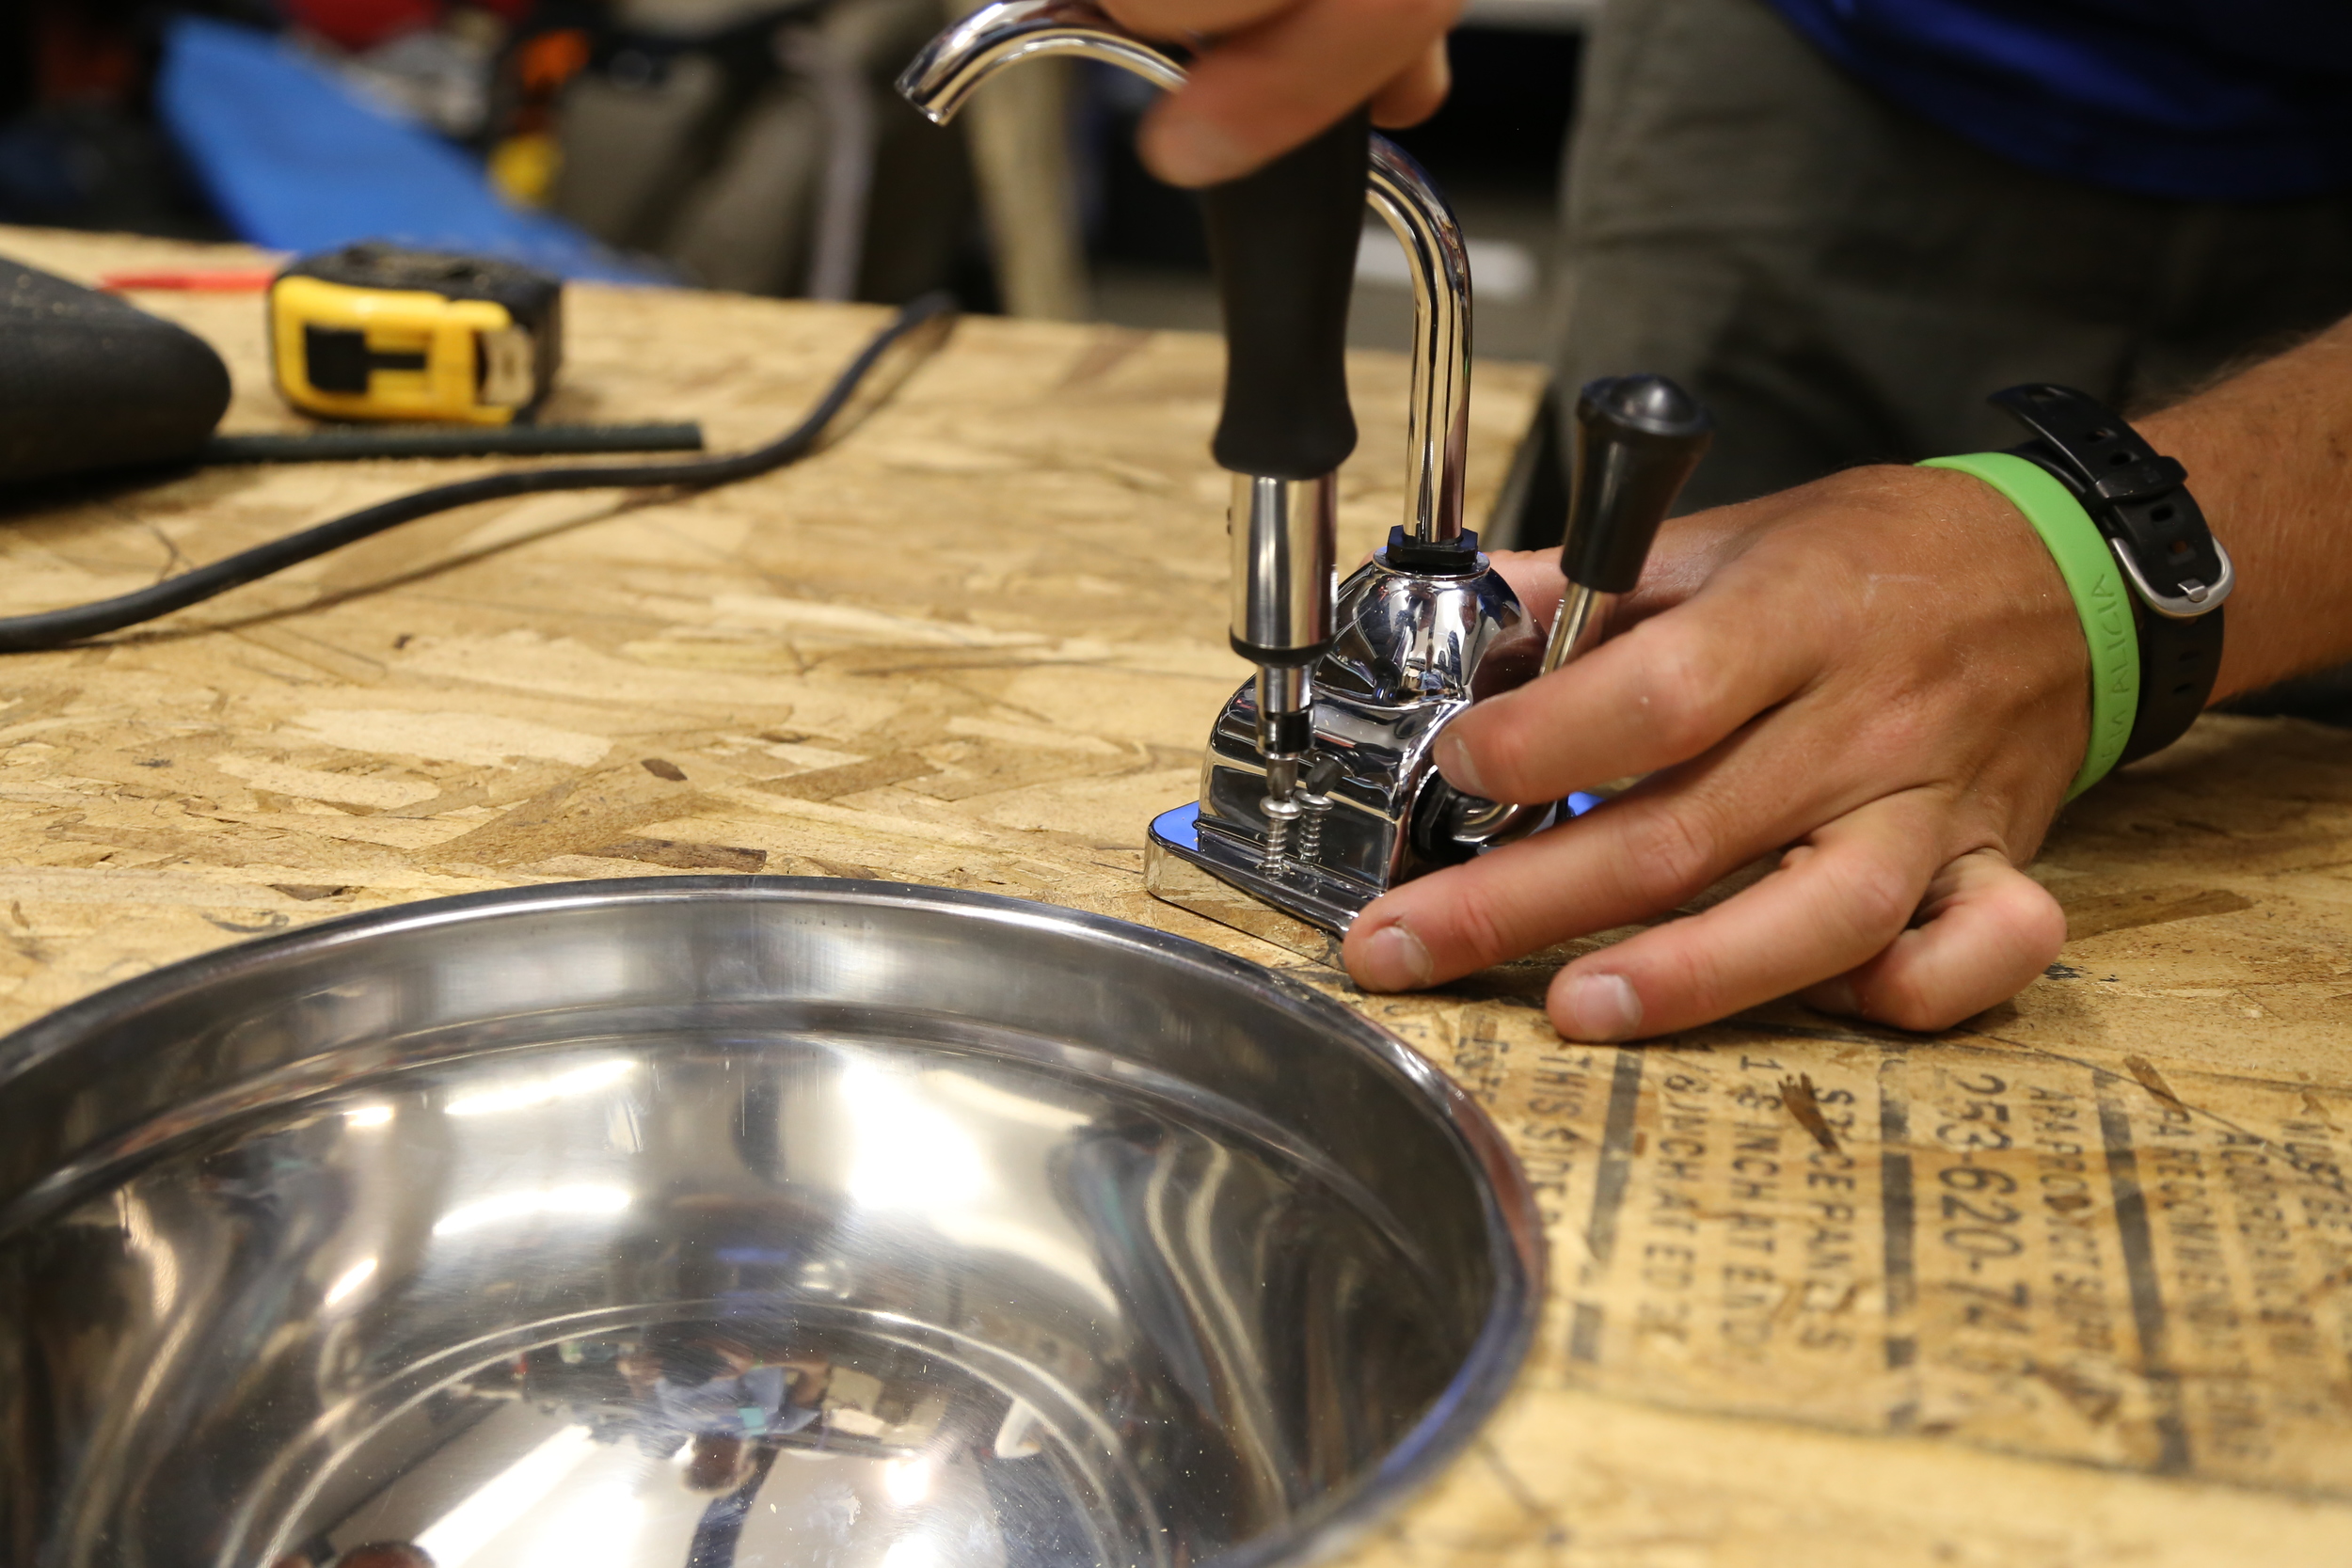
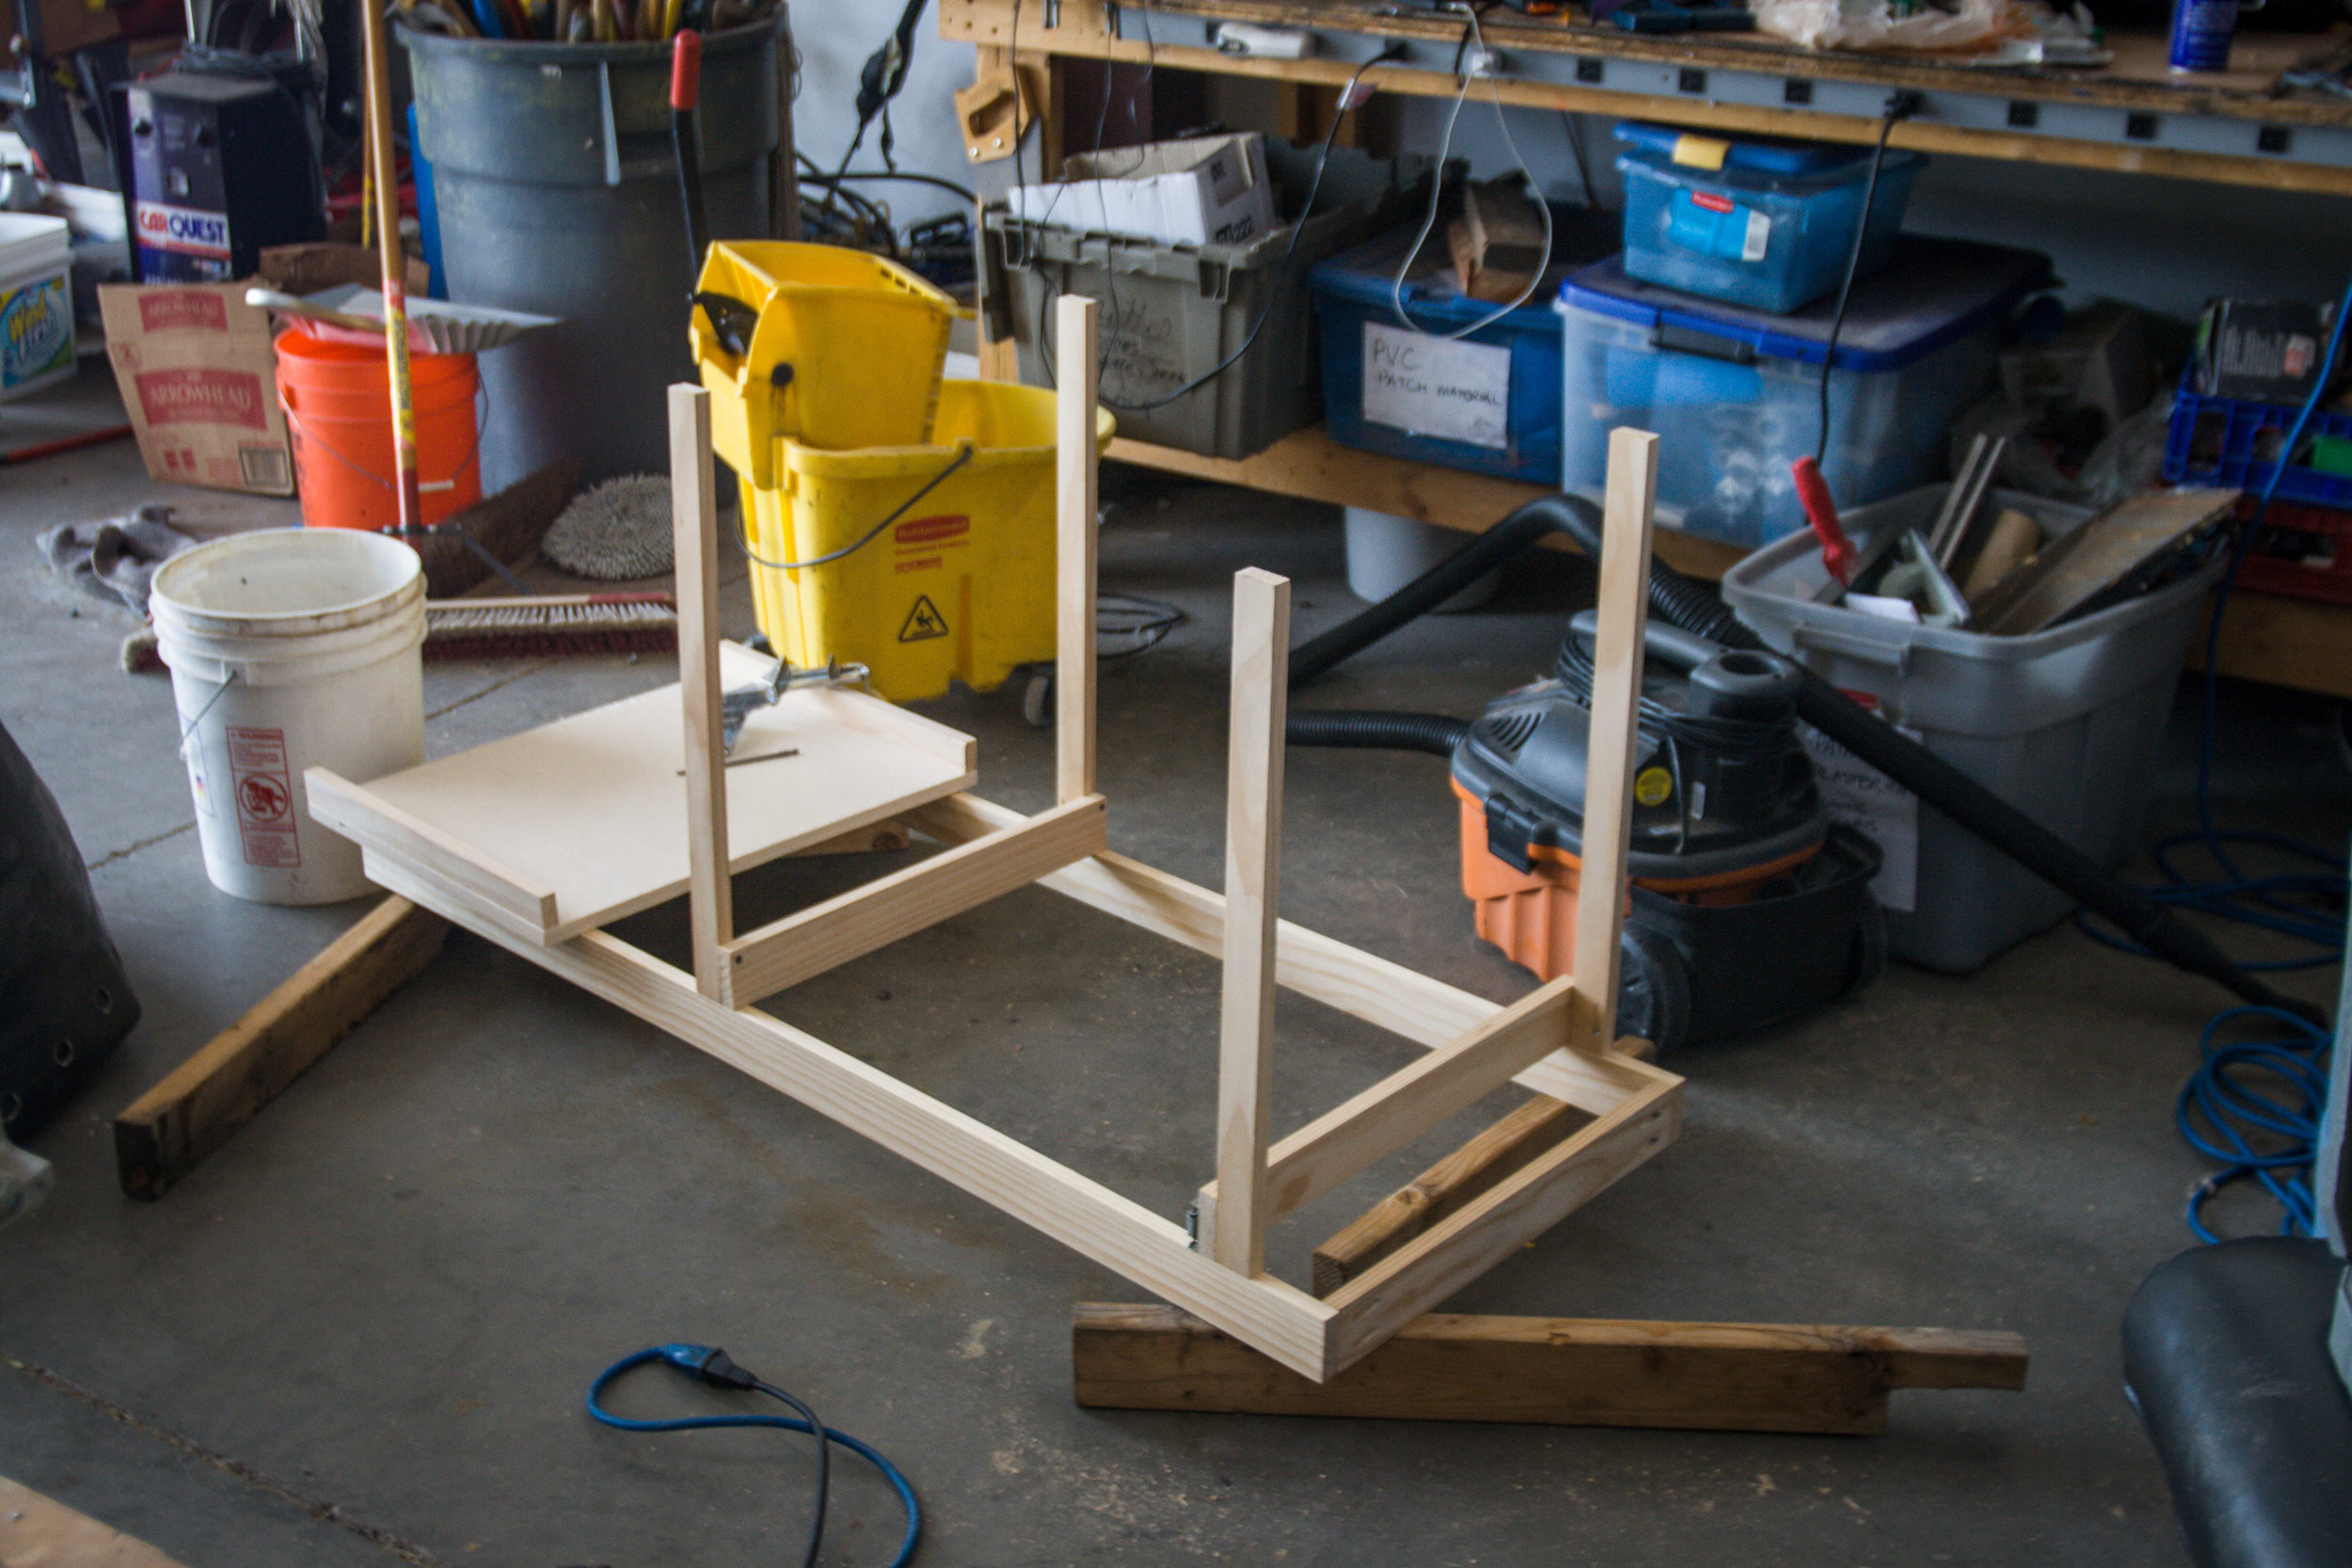
The following photos are taken by Christian of the work he was able to complete on his own. Towards the beginning of the season, I was always super bummed to miss out on any aspect of the project, but as we both got worked to the bone and saw no progress being made, I eventually got to the point that I was eager to know he'd have an hour or two to devote to it. As the season began winding down and I still found myself without spare time, I was almost insistent on him getting work done without me. Hence the massive progress that's been made in a few short weeks.

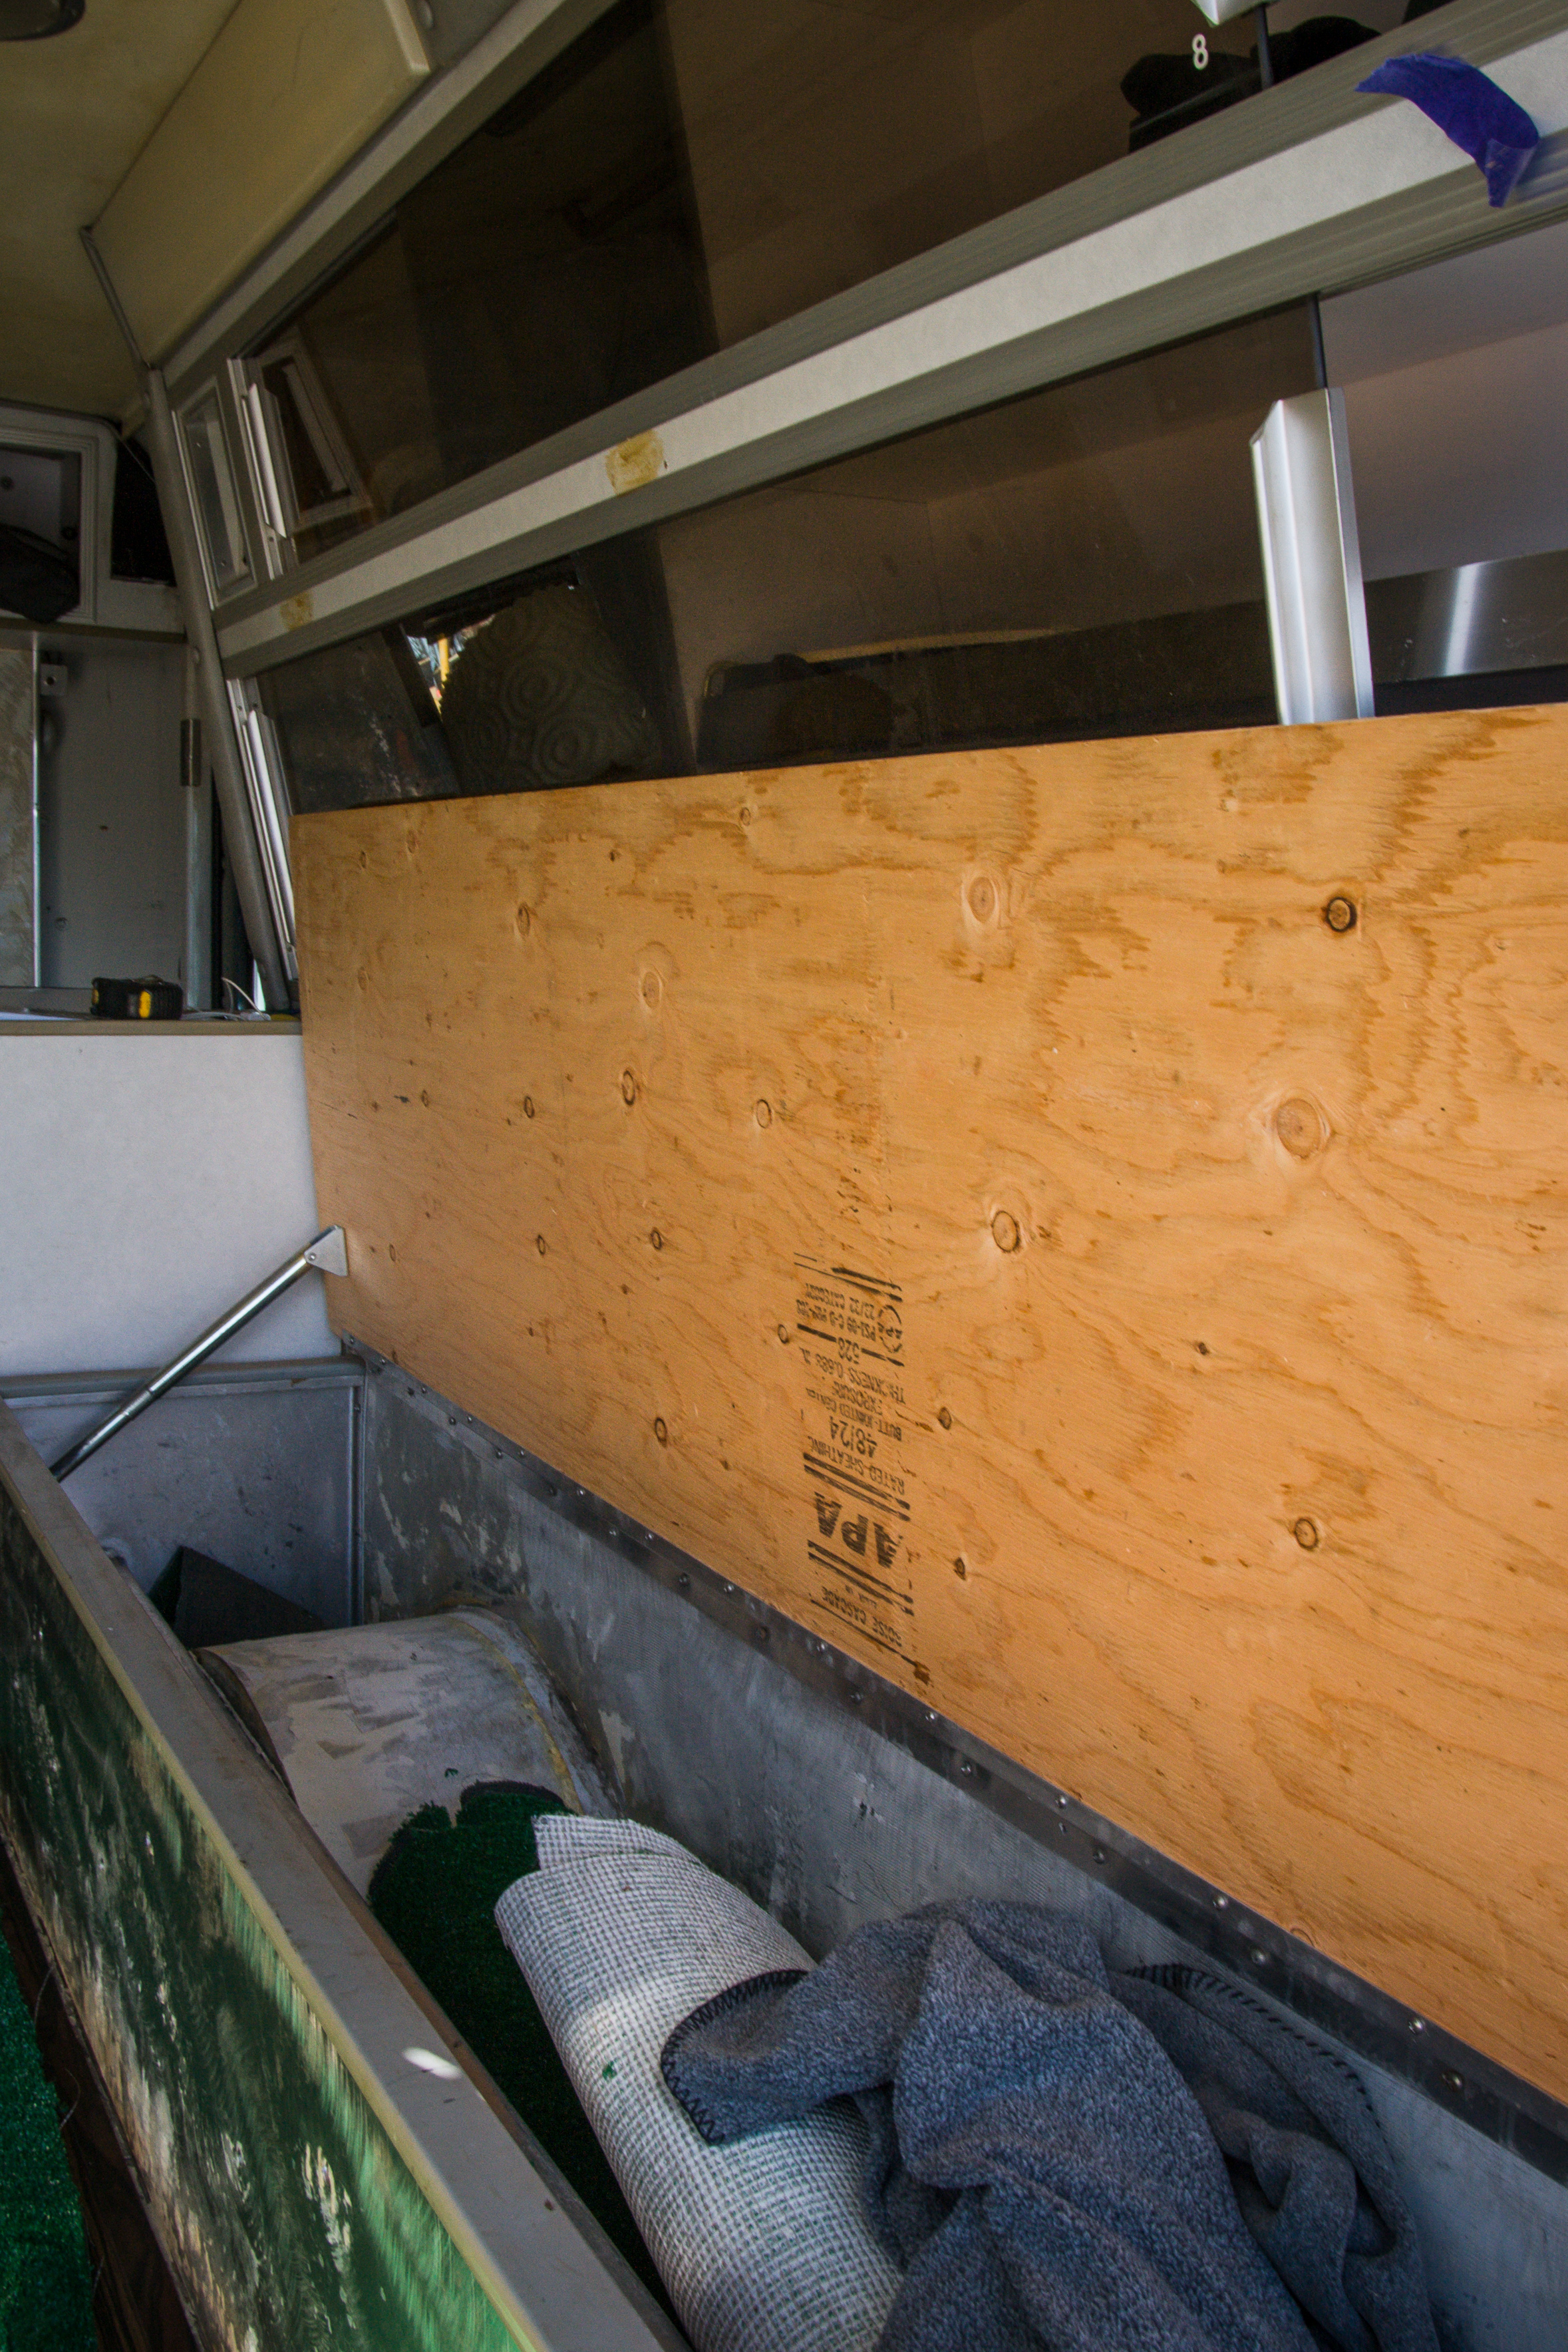
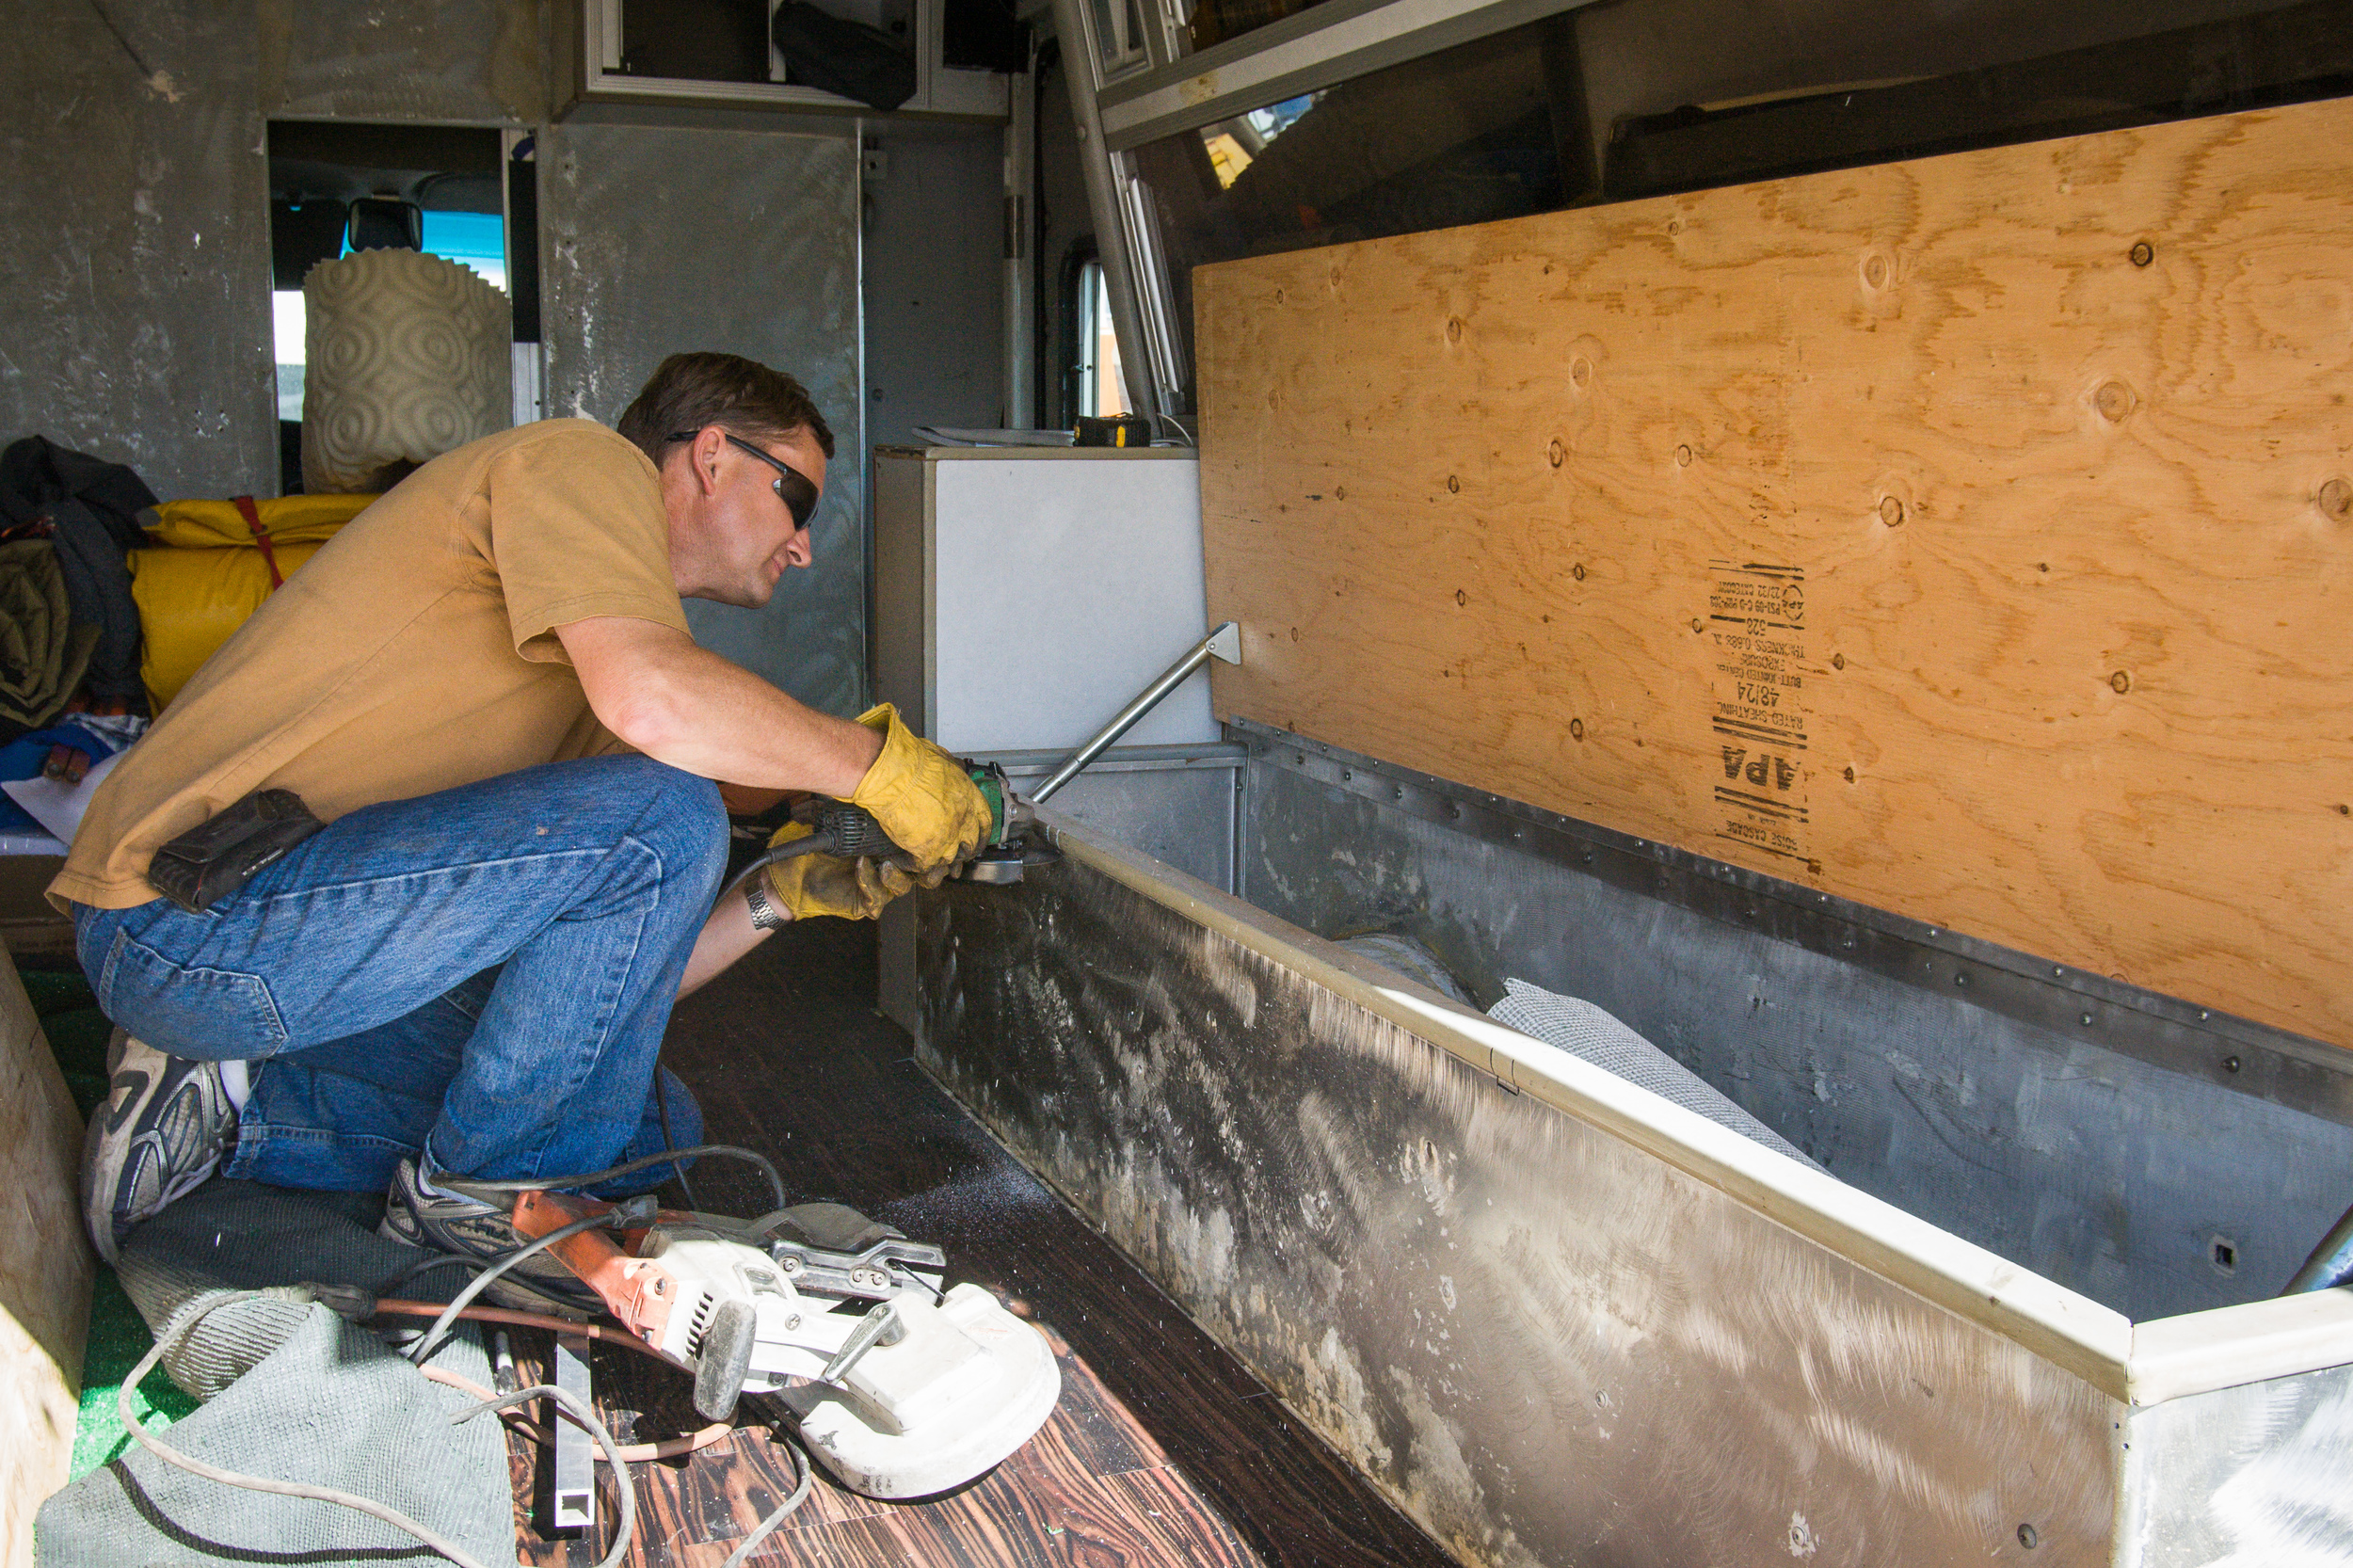
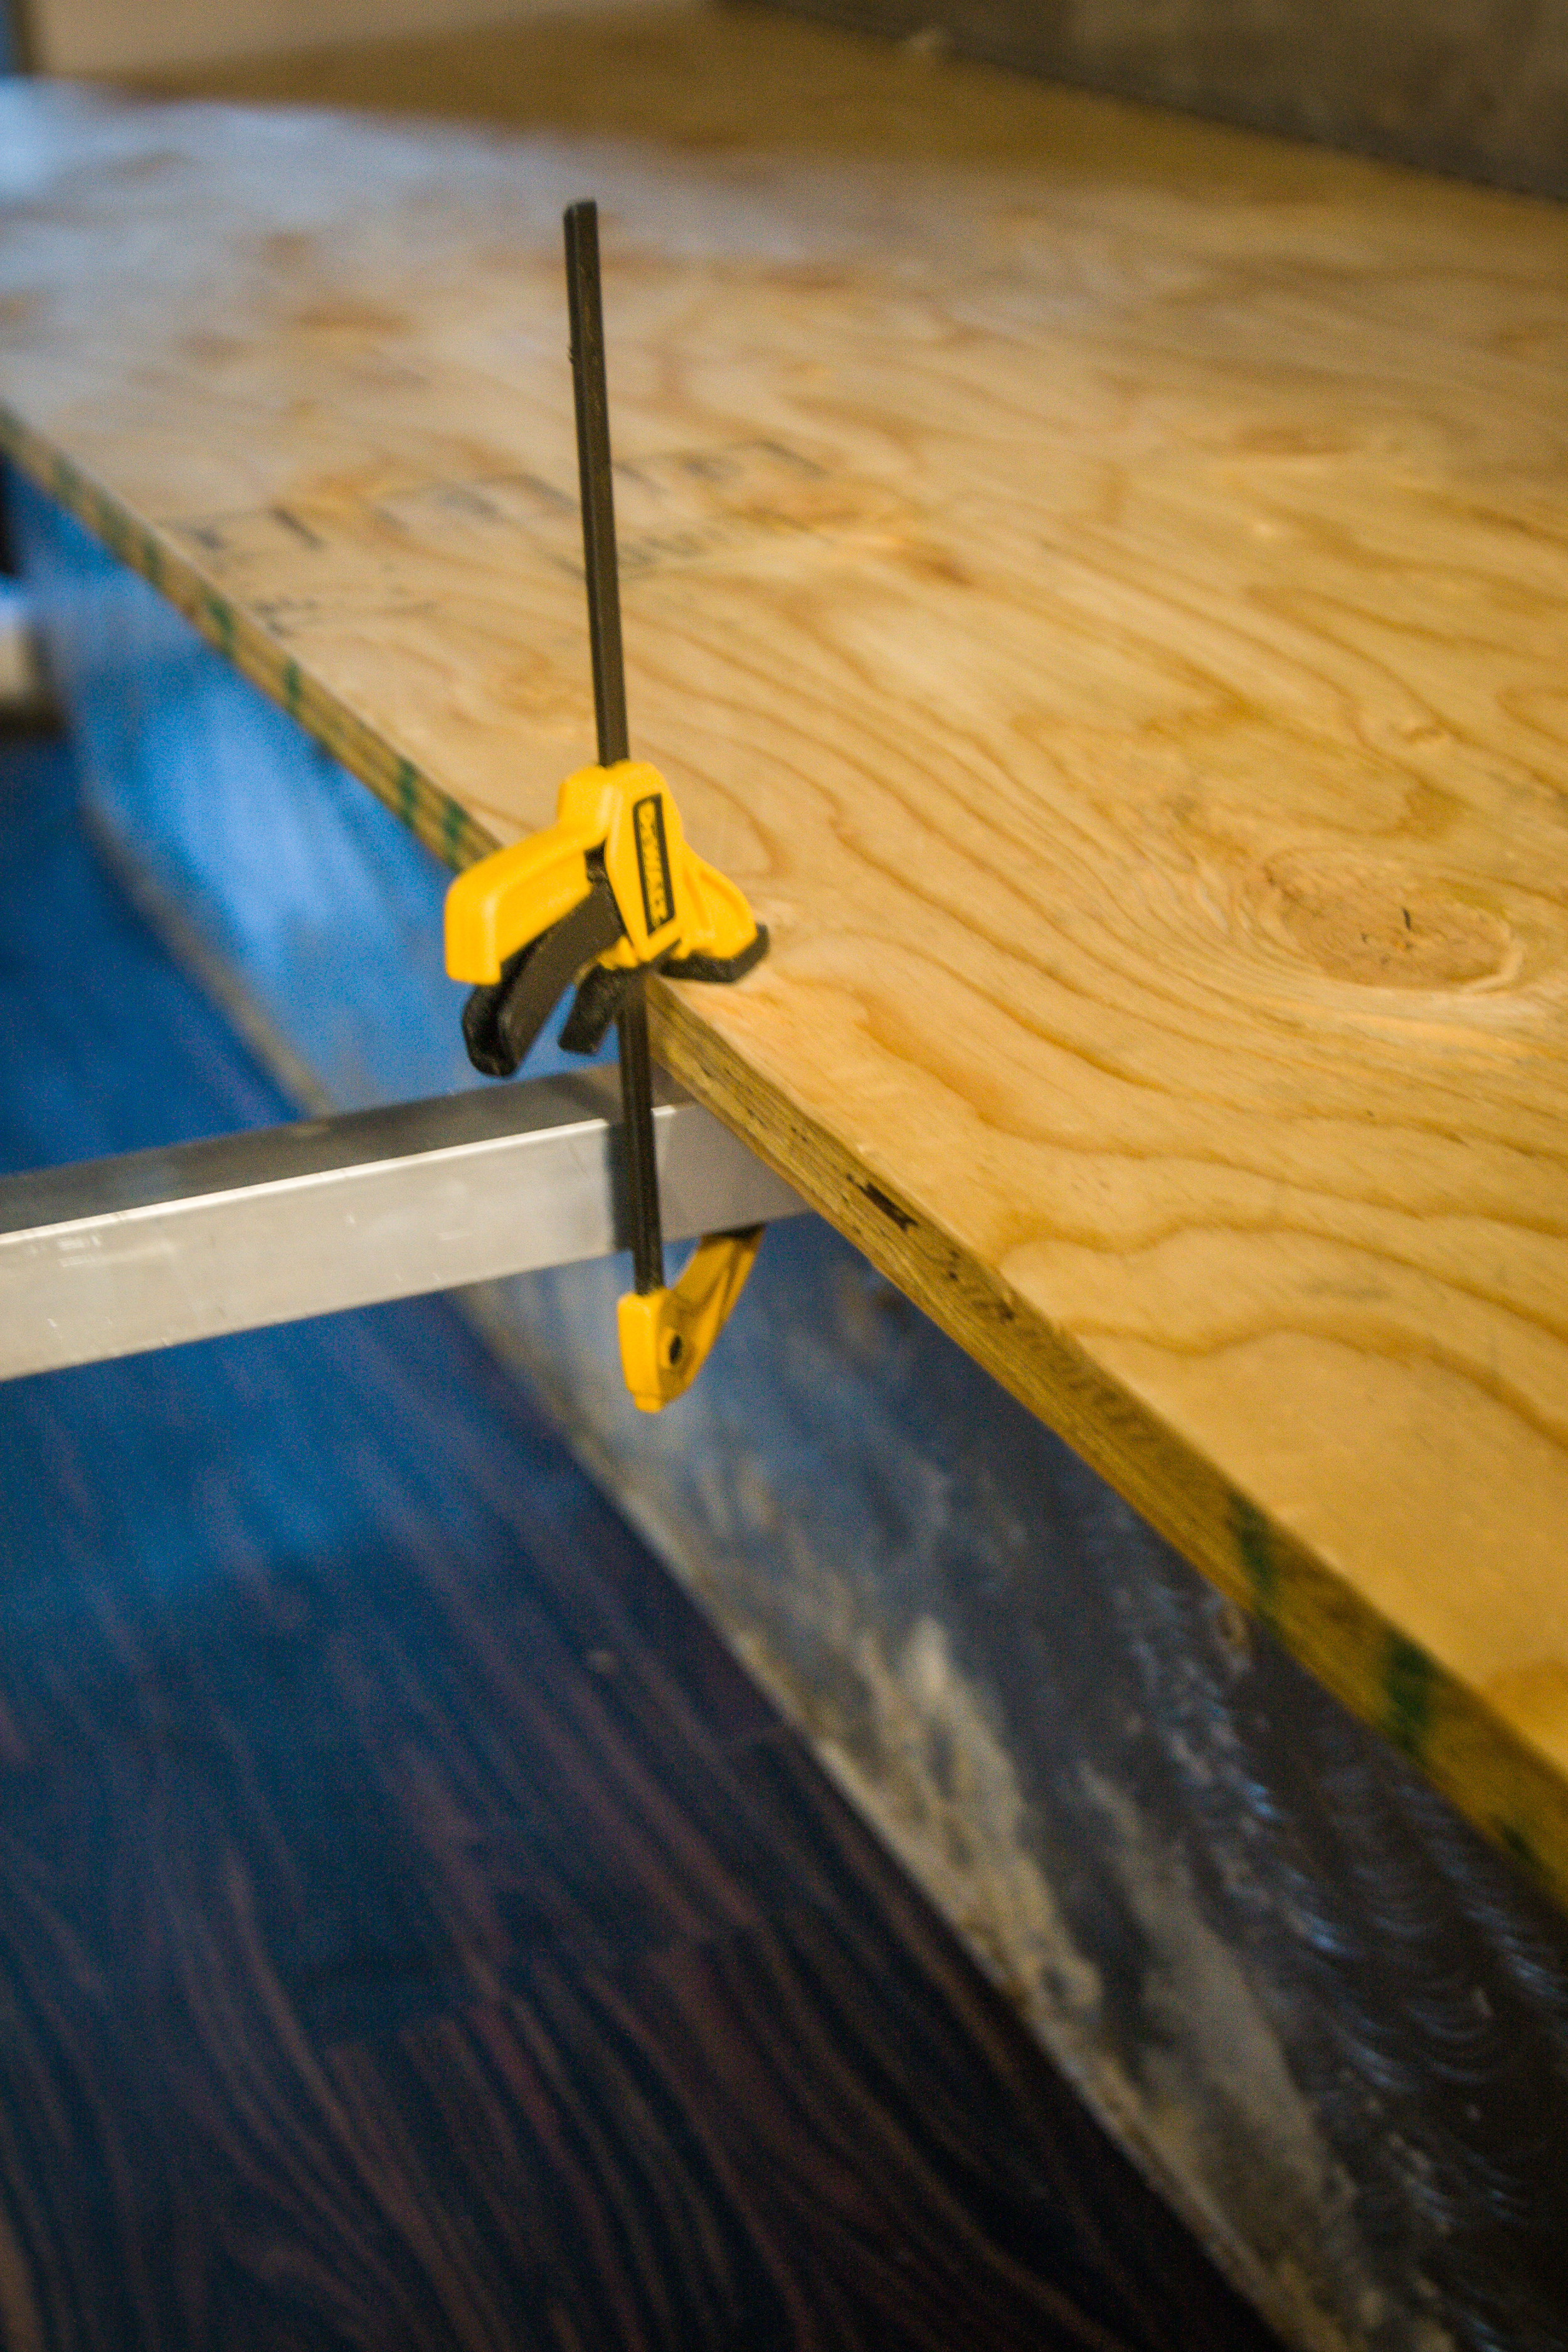
Because of the sheer quantity of photos I'm about to include, I'm adding them as a gallery. I'll write a short outline below of the work he was able to get done and what you'll see in the photos.

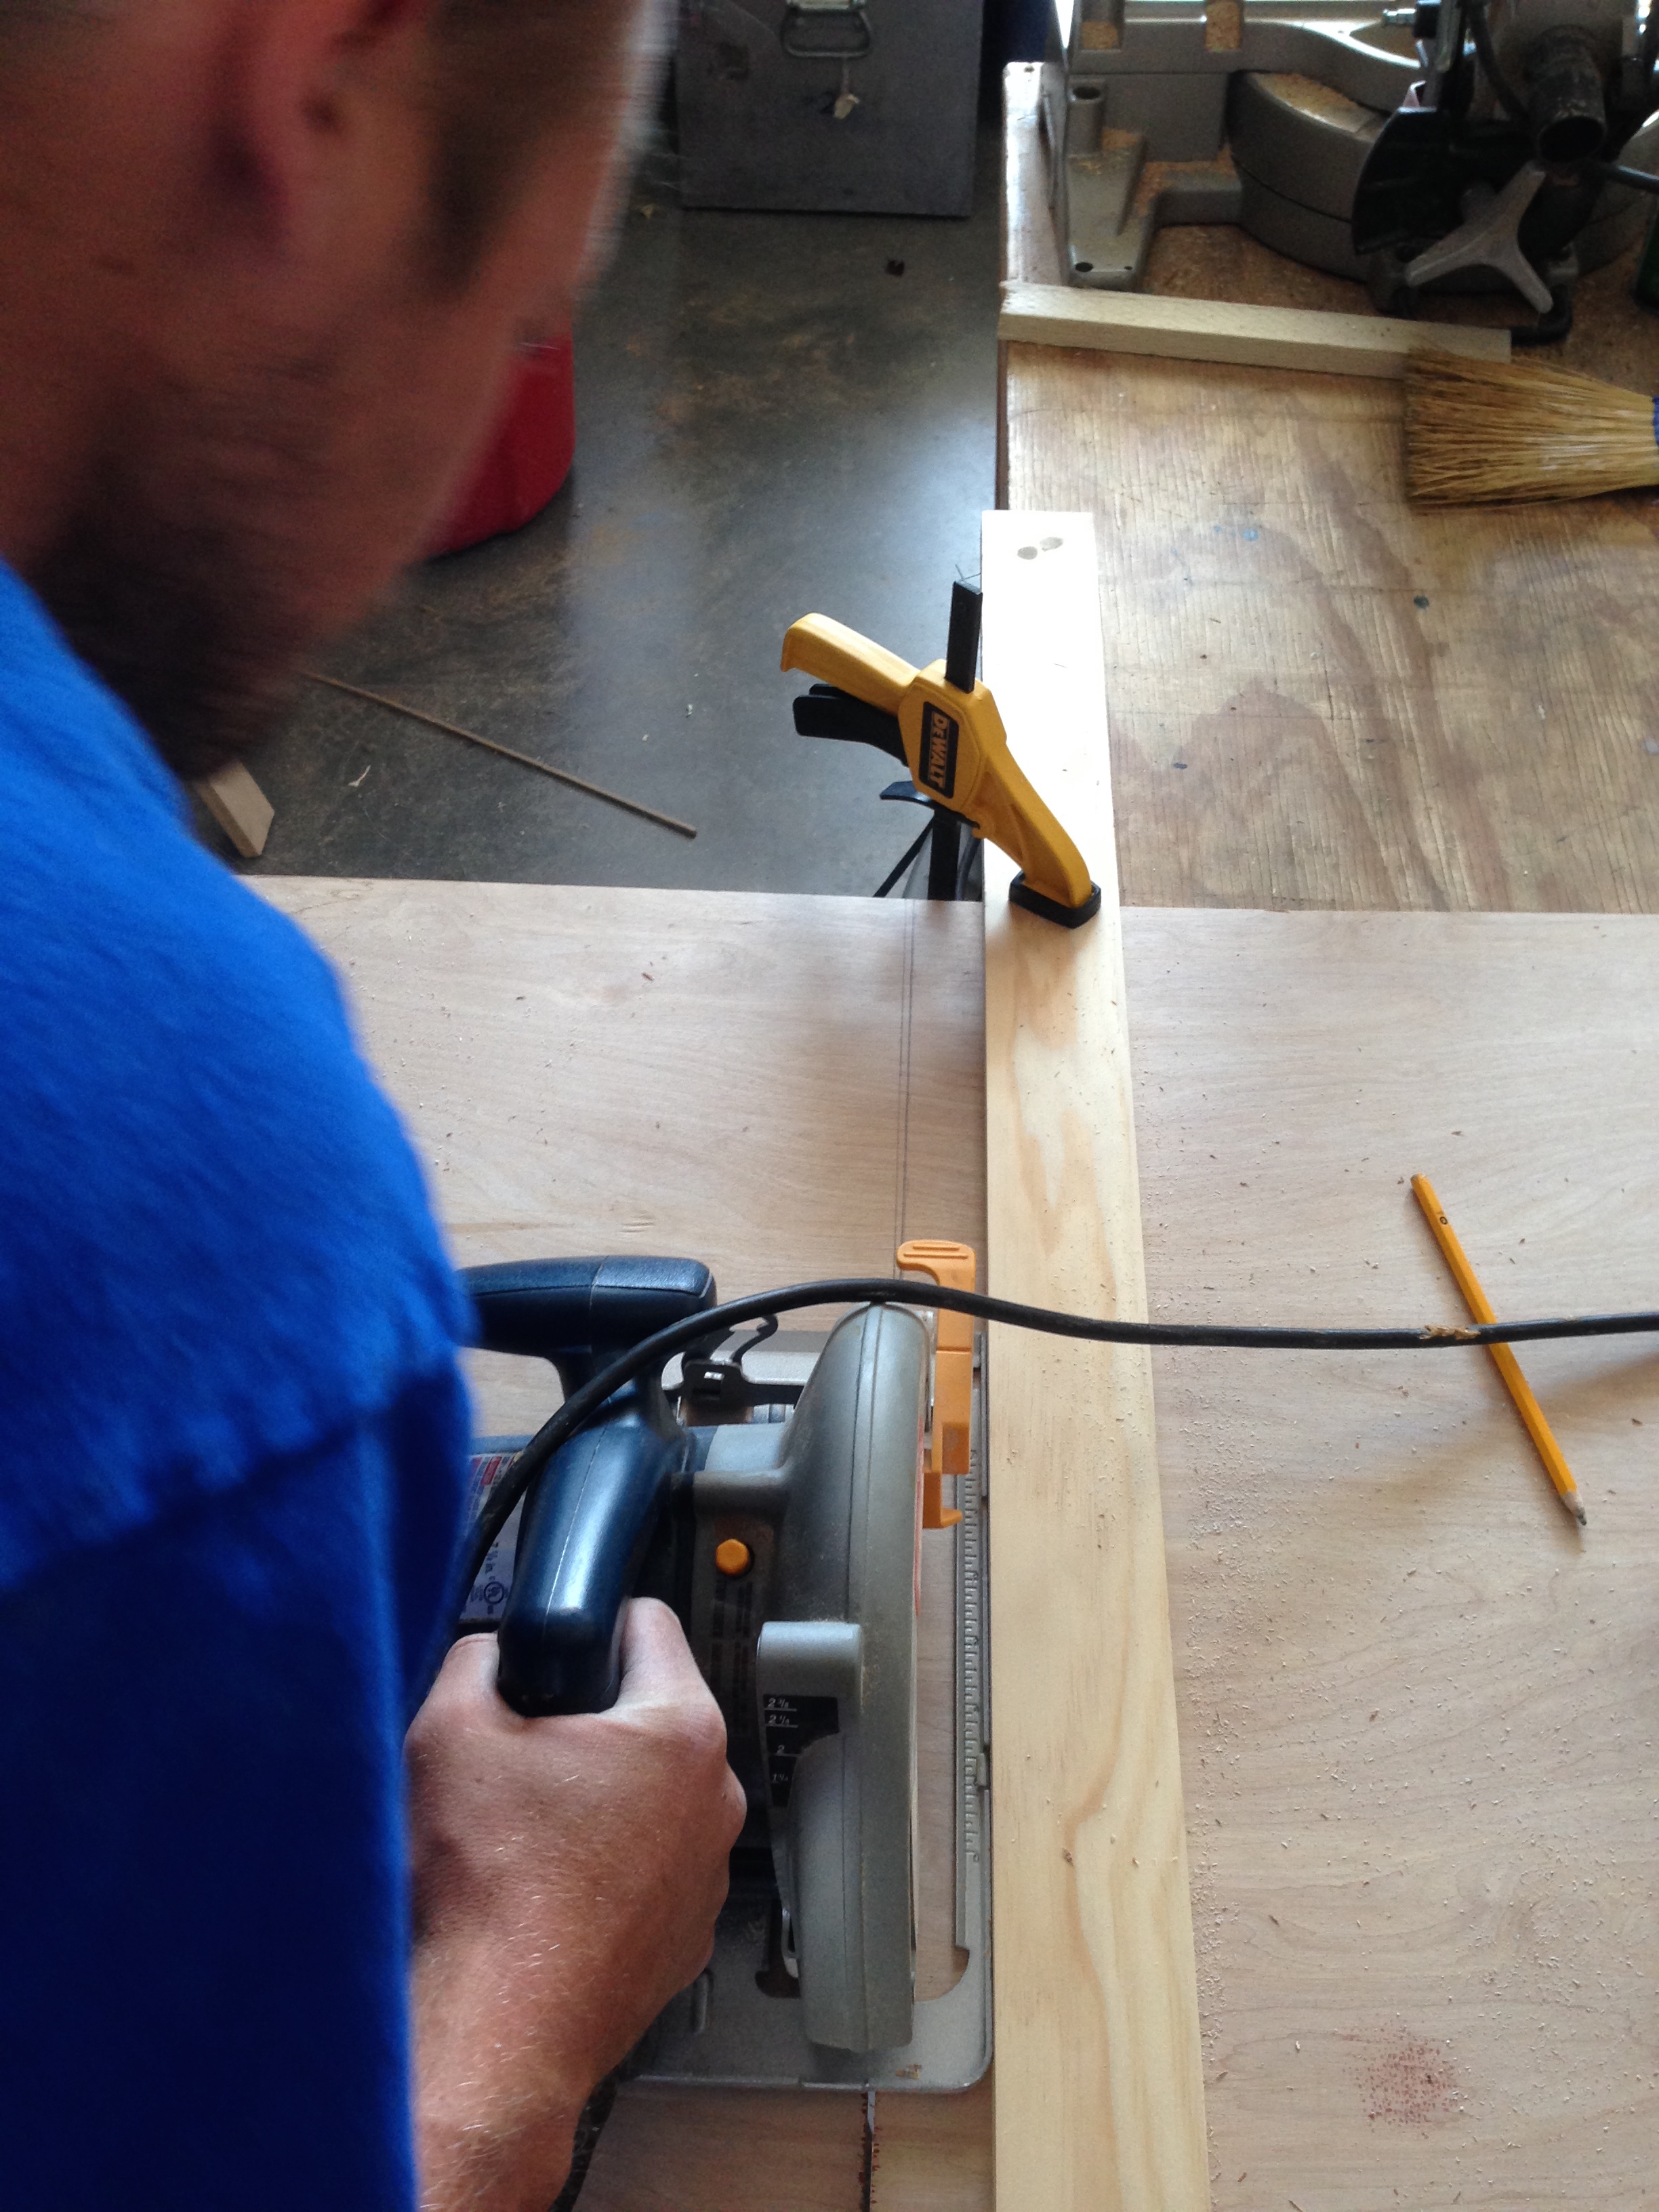
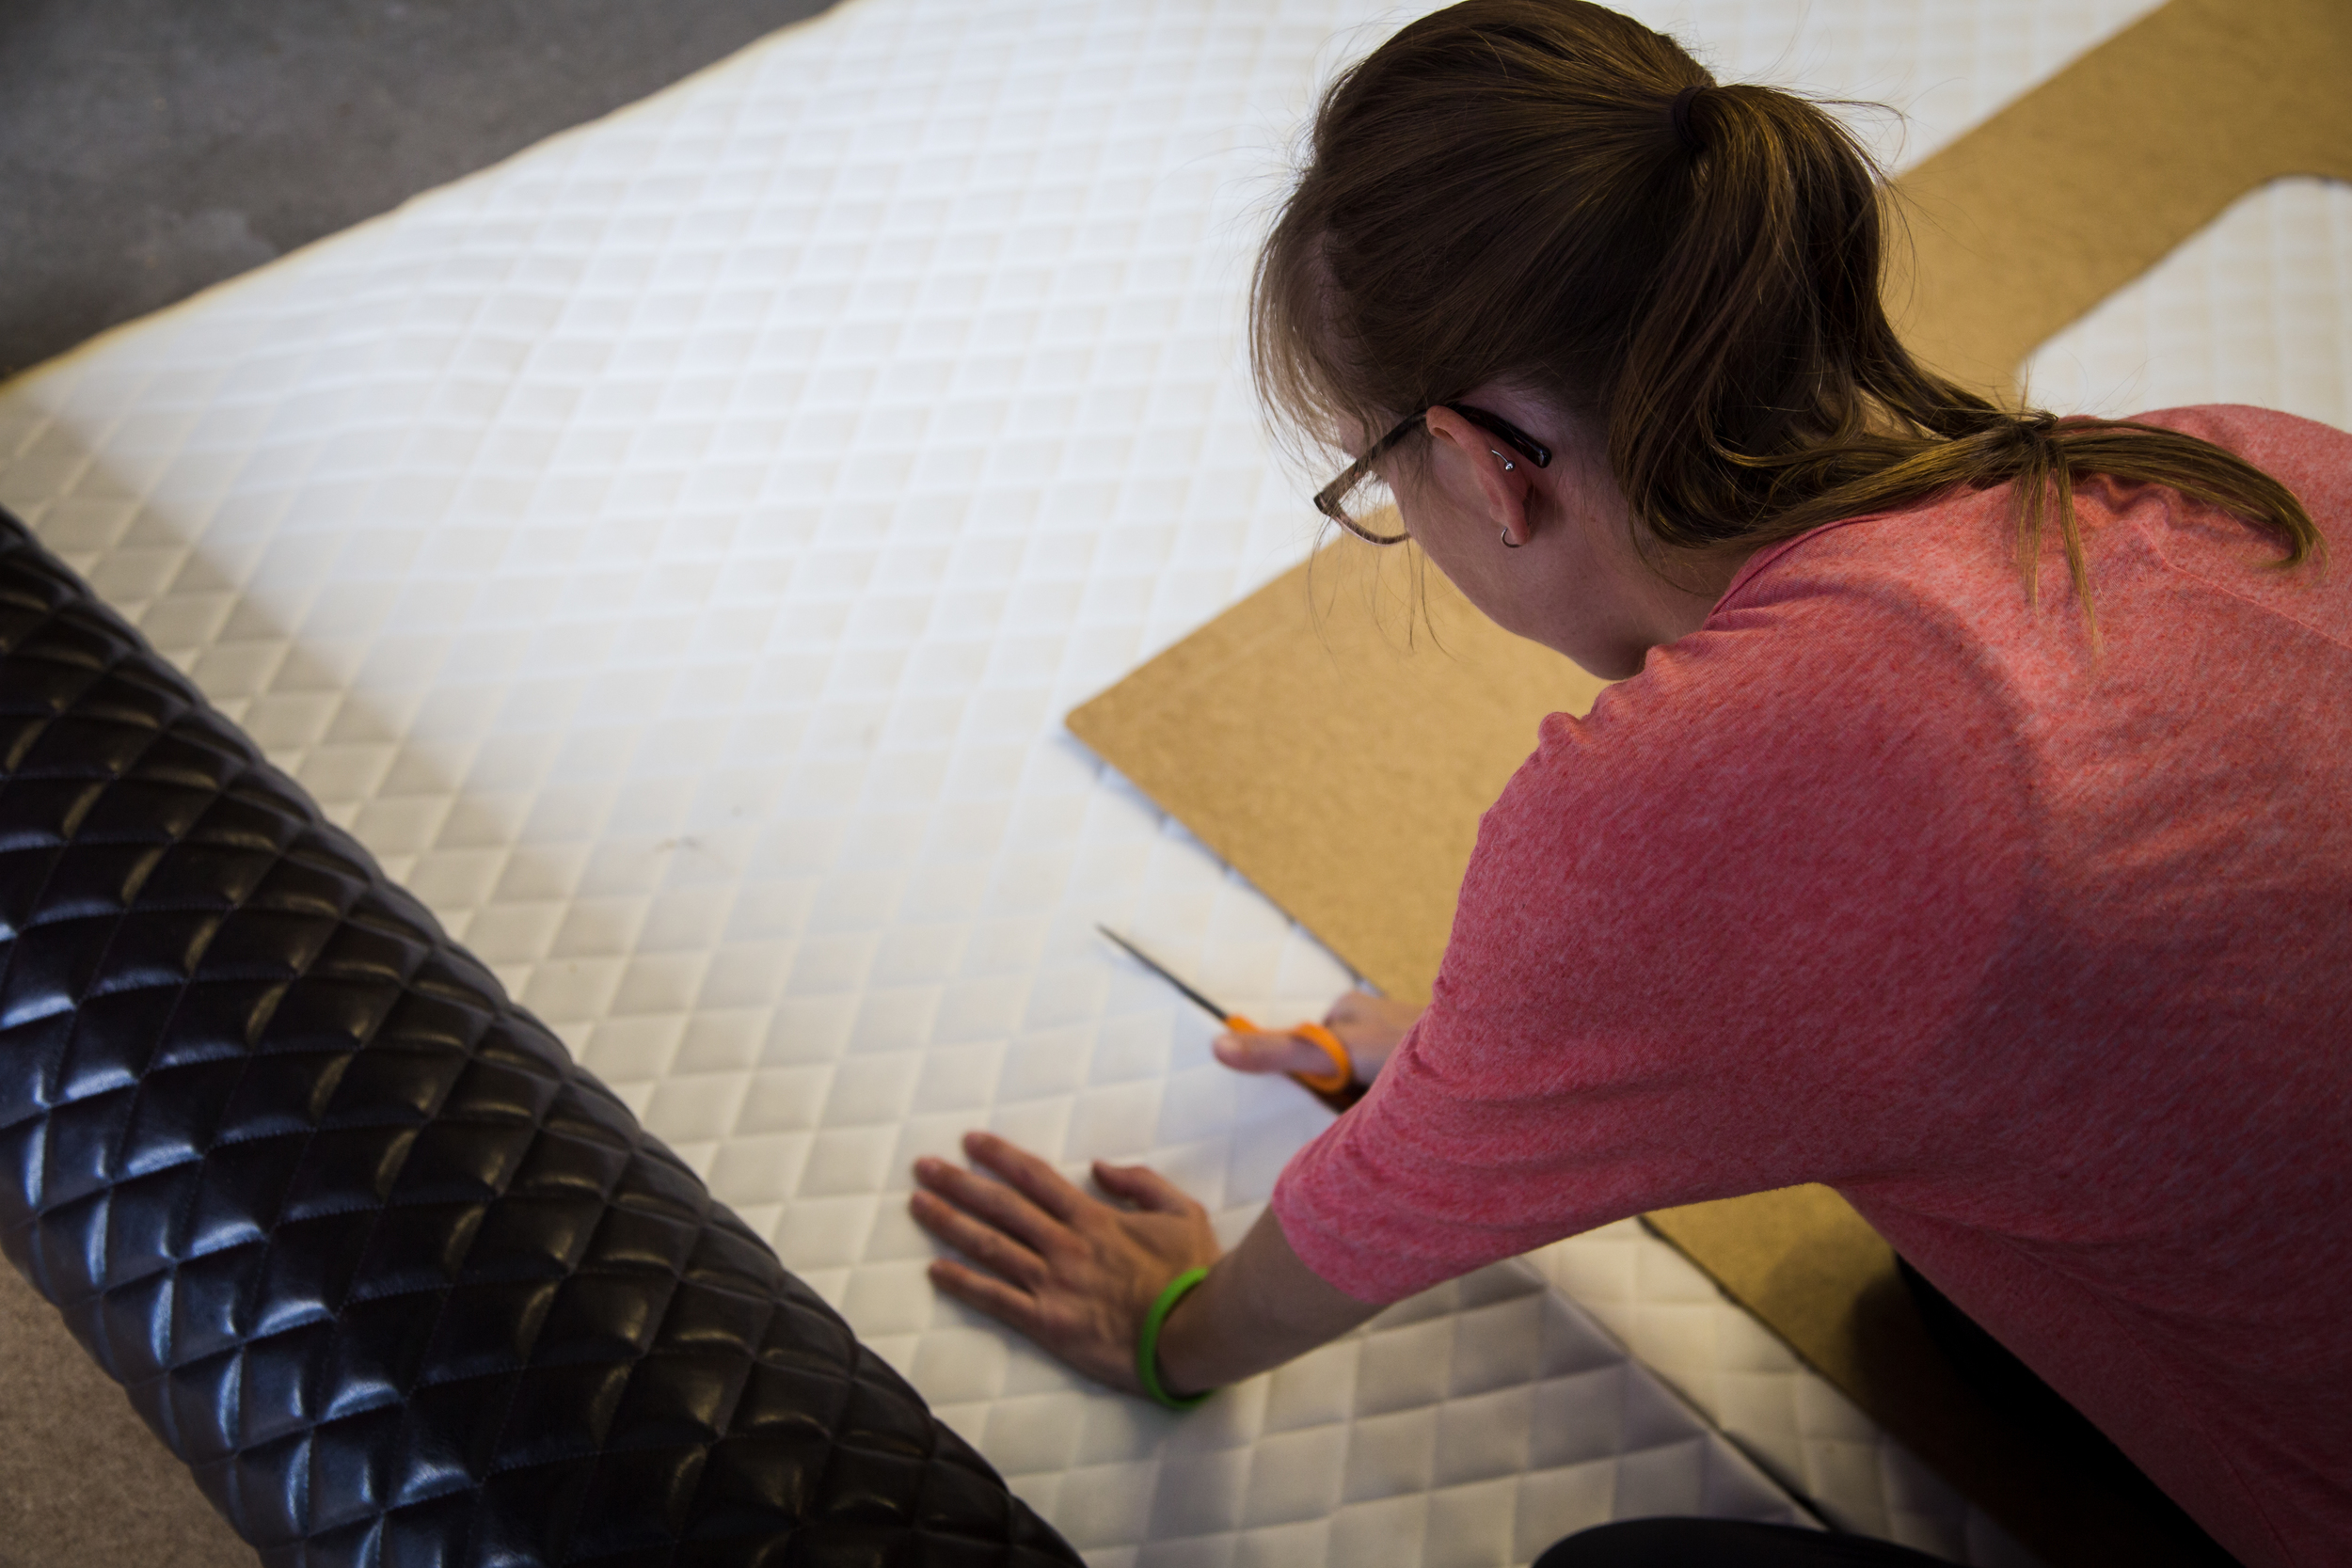
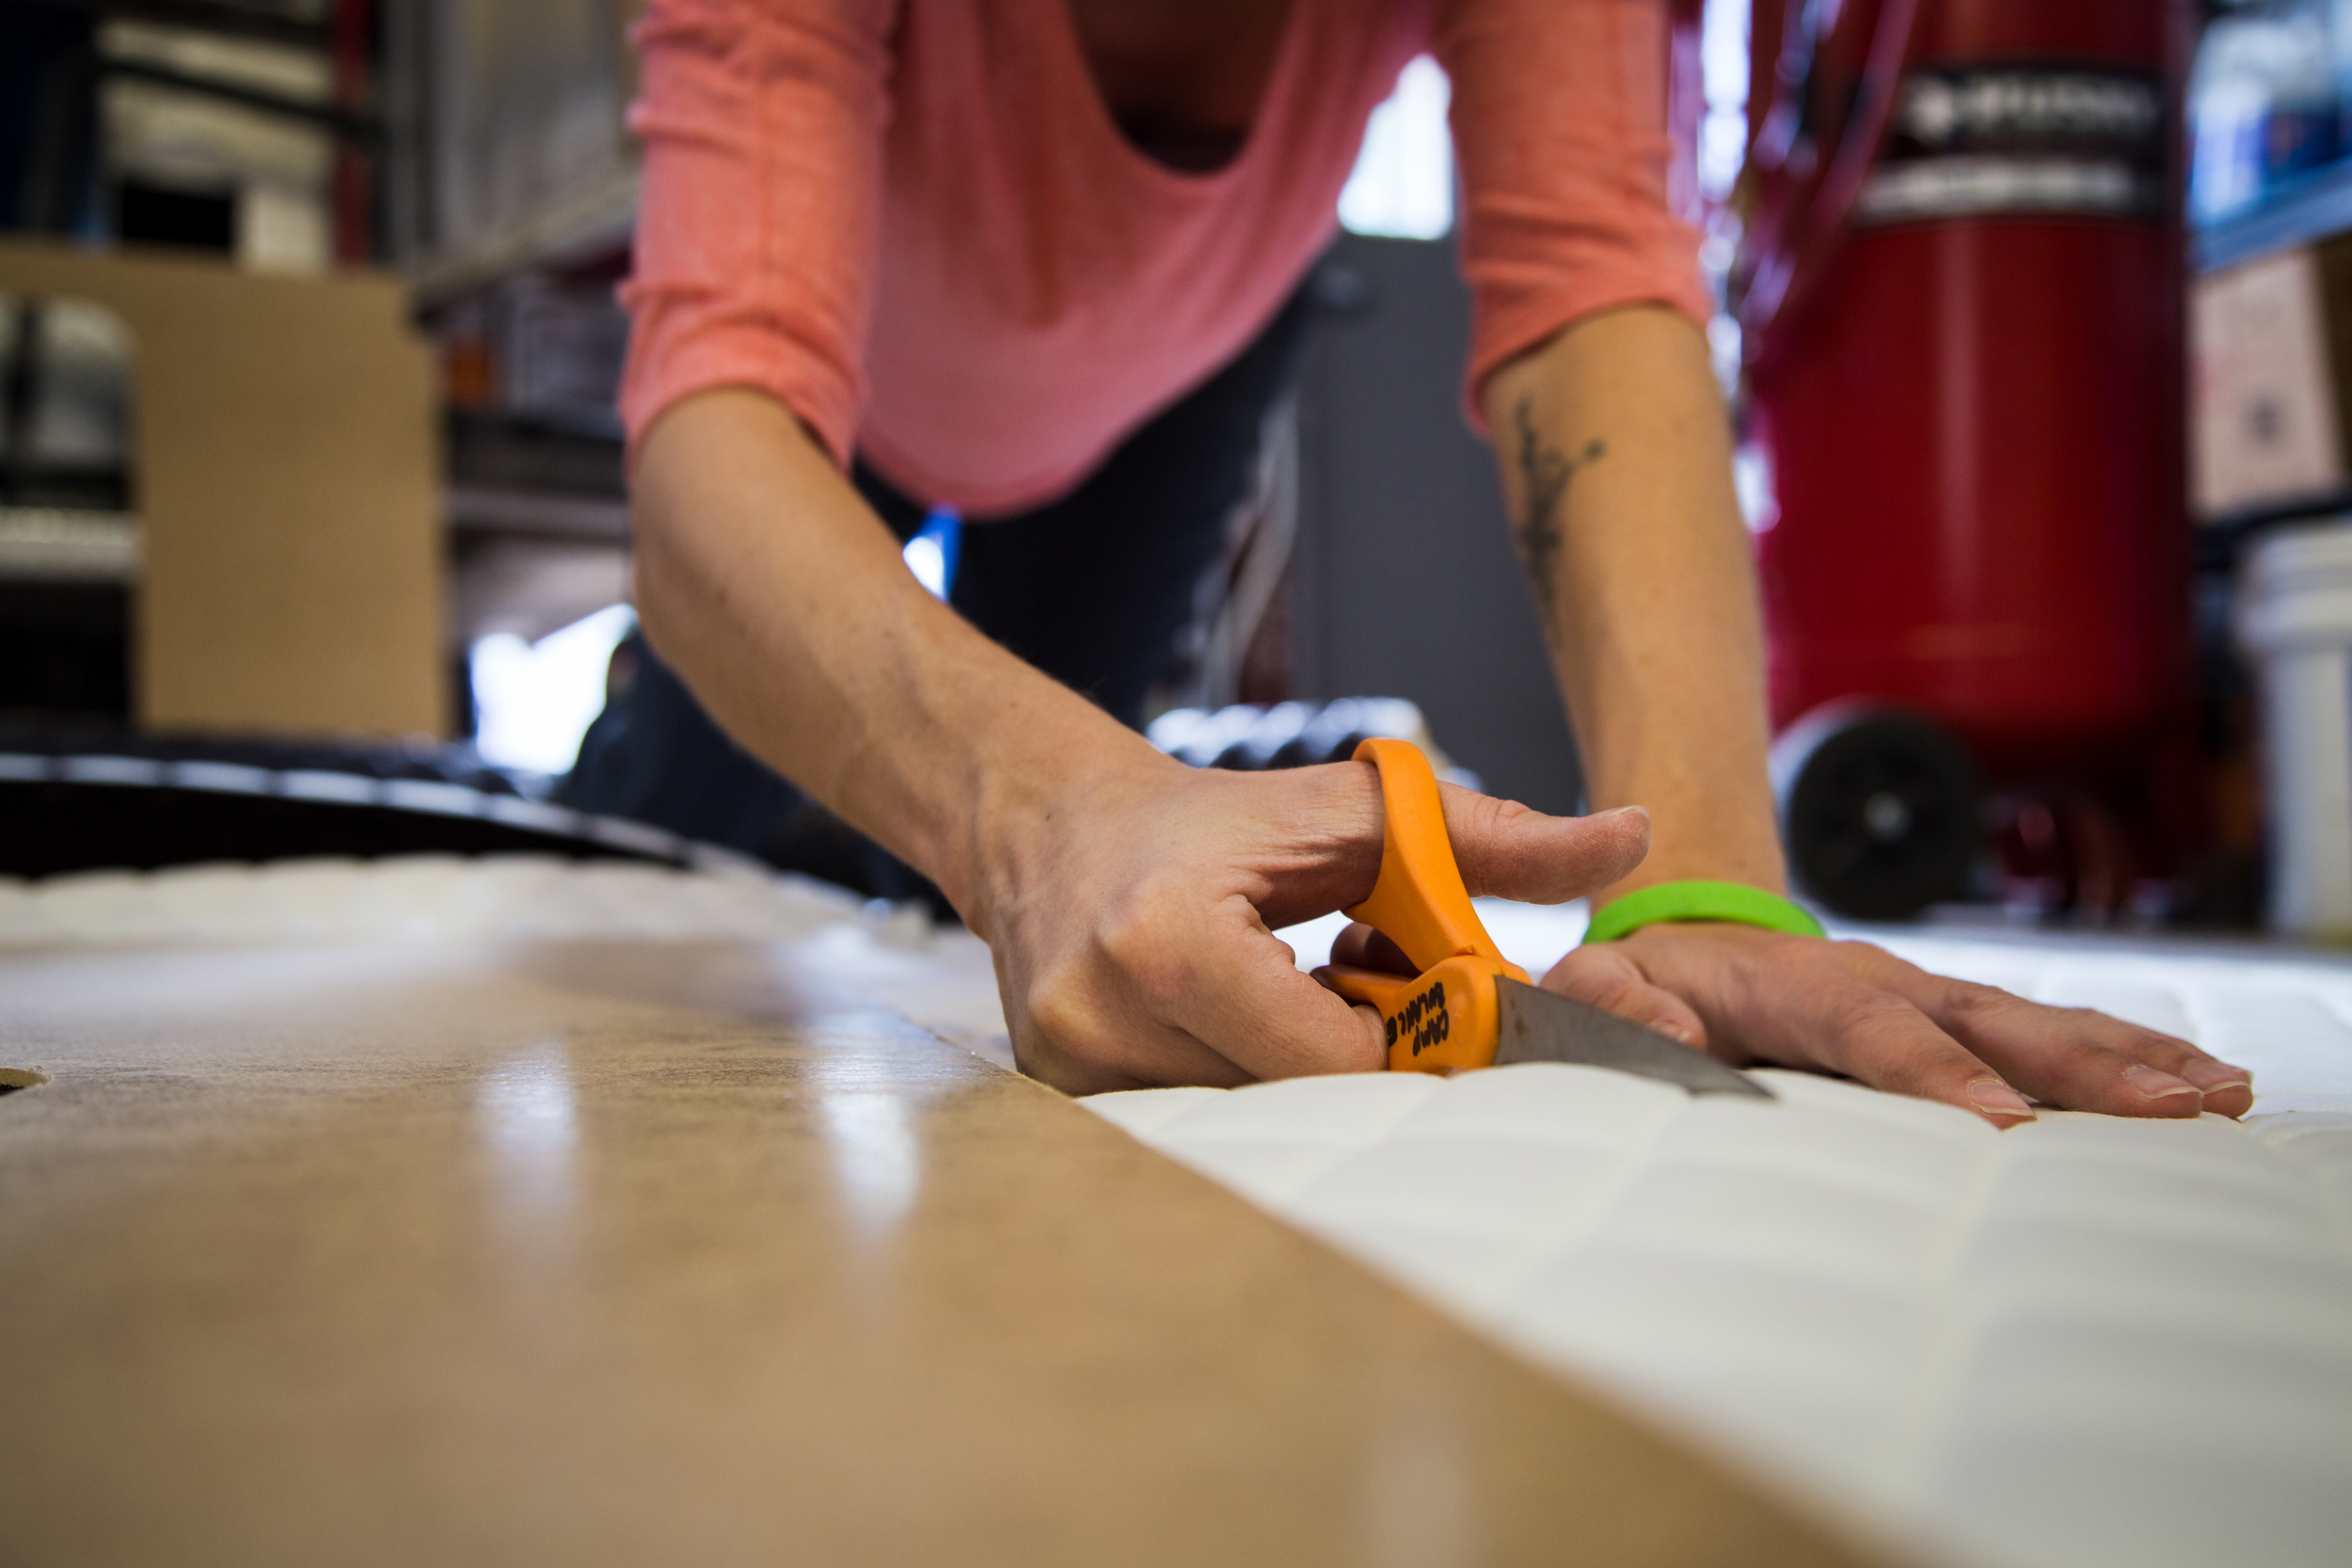
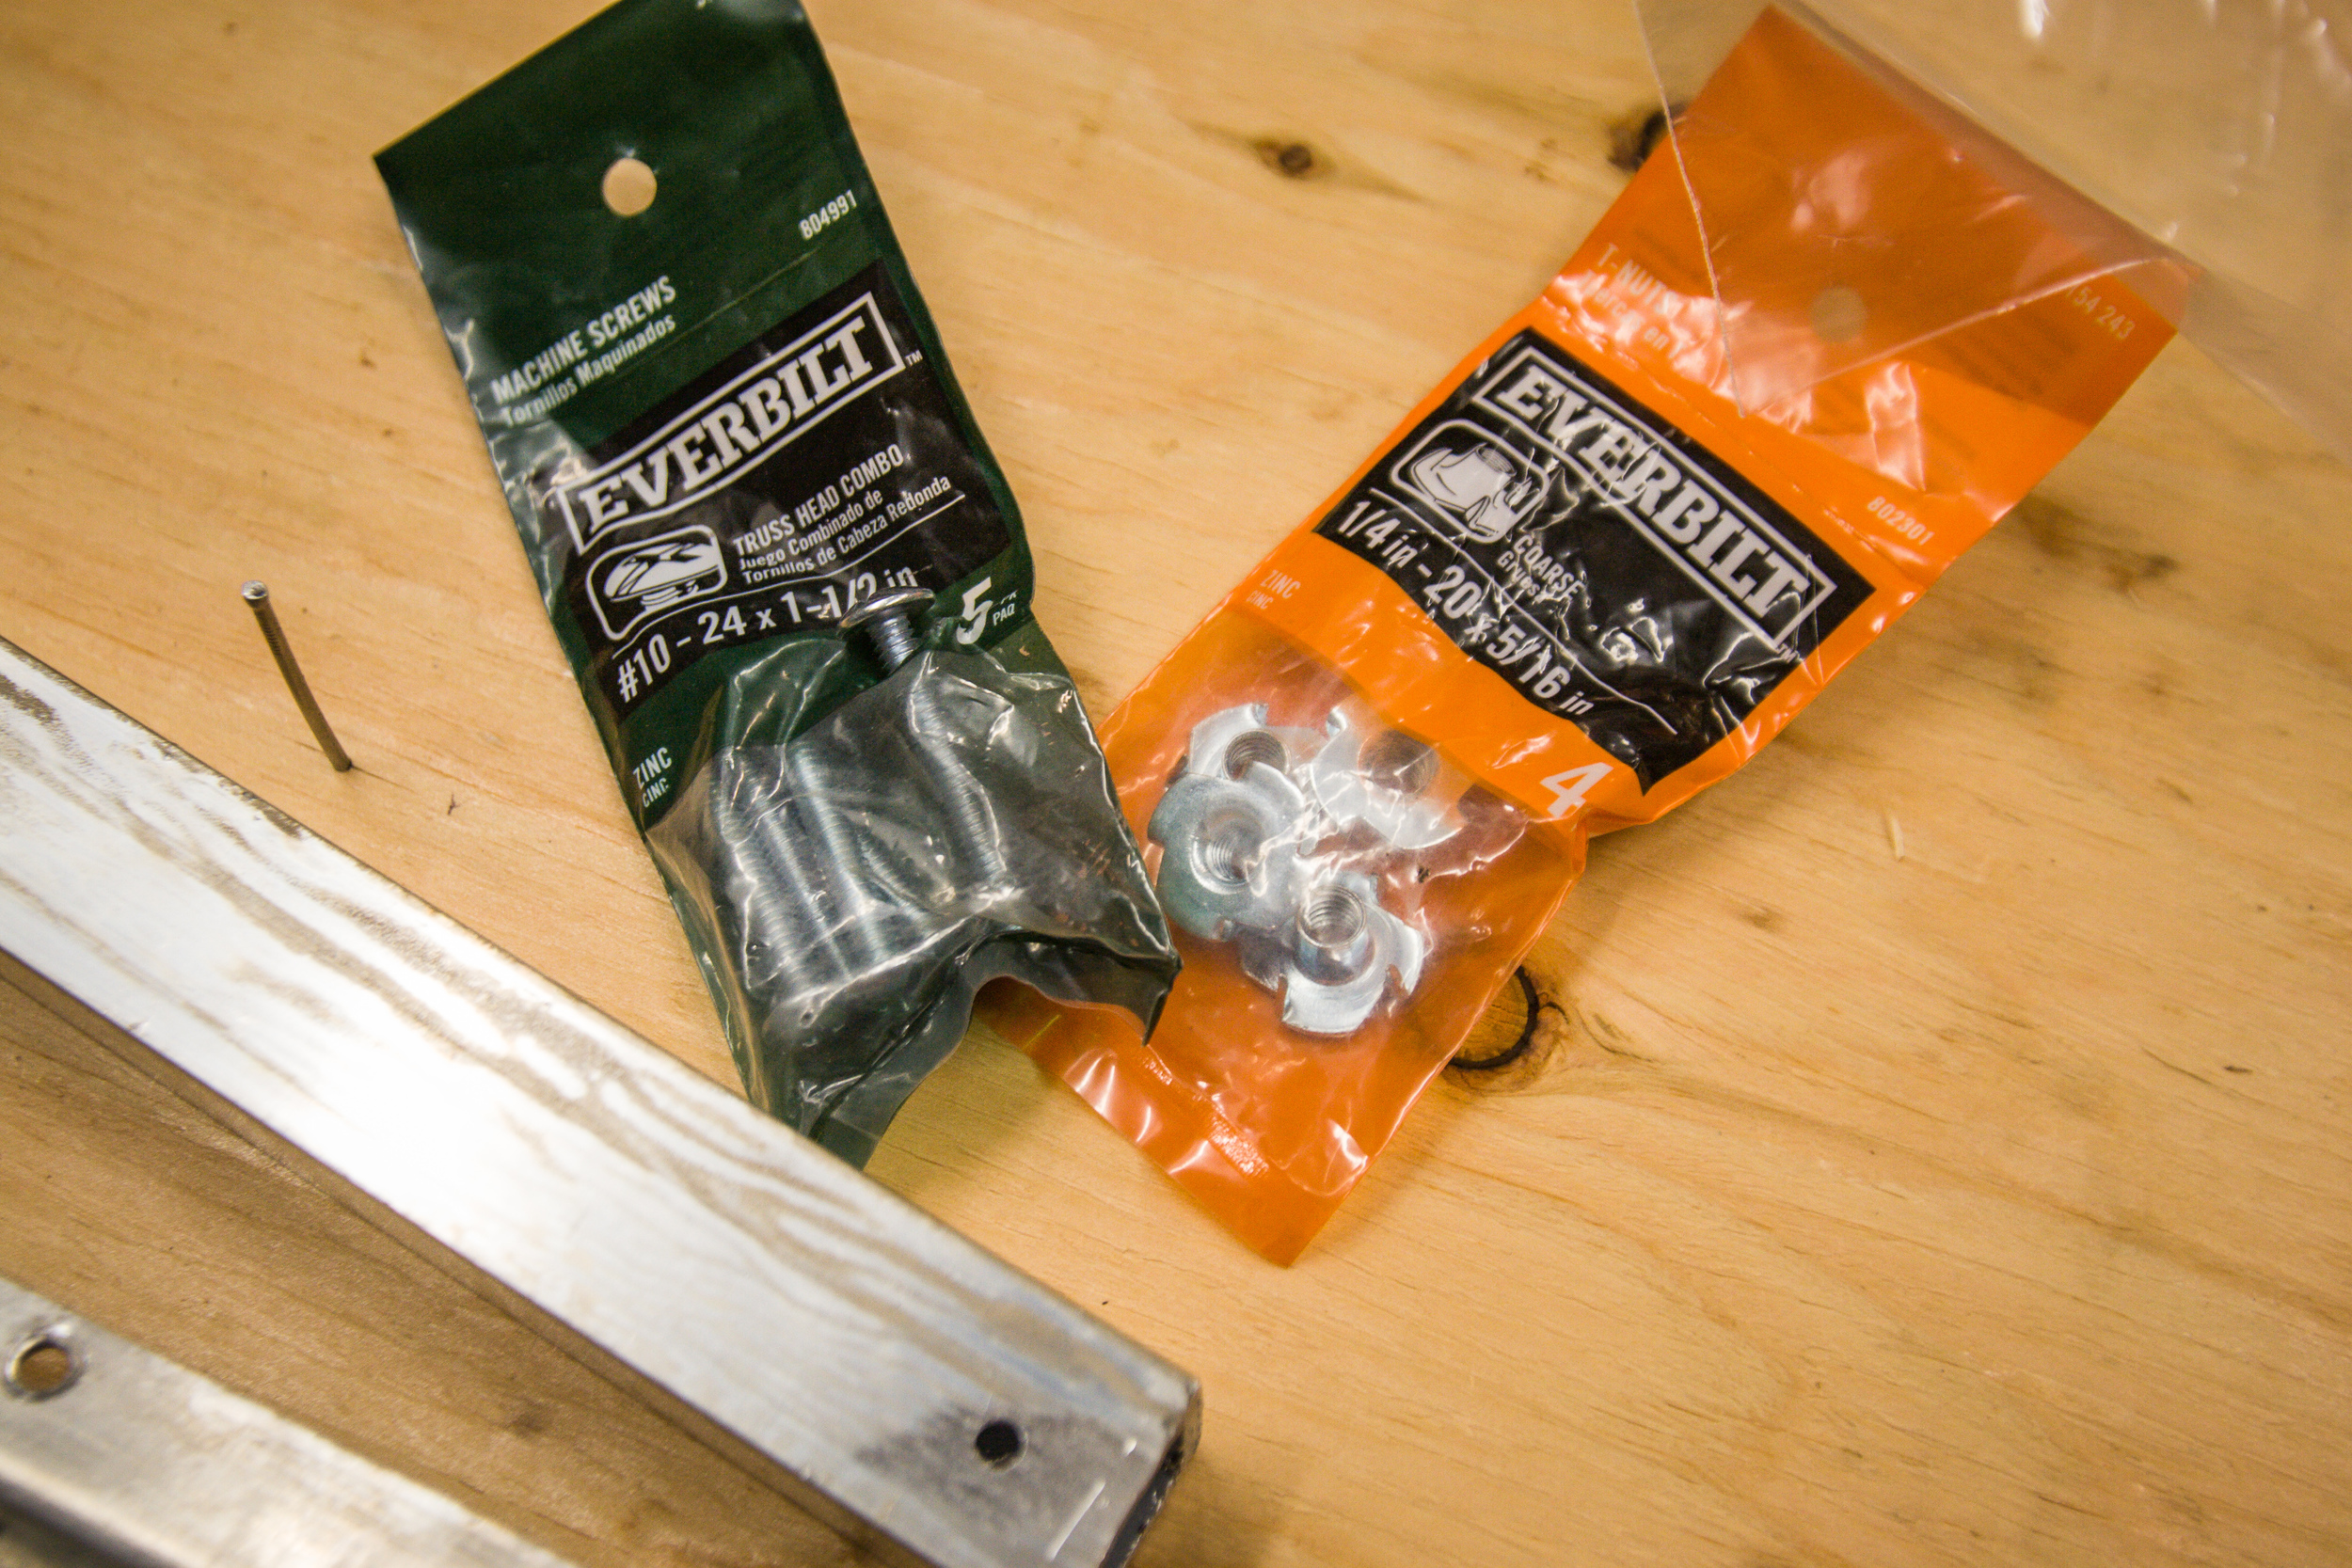
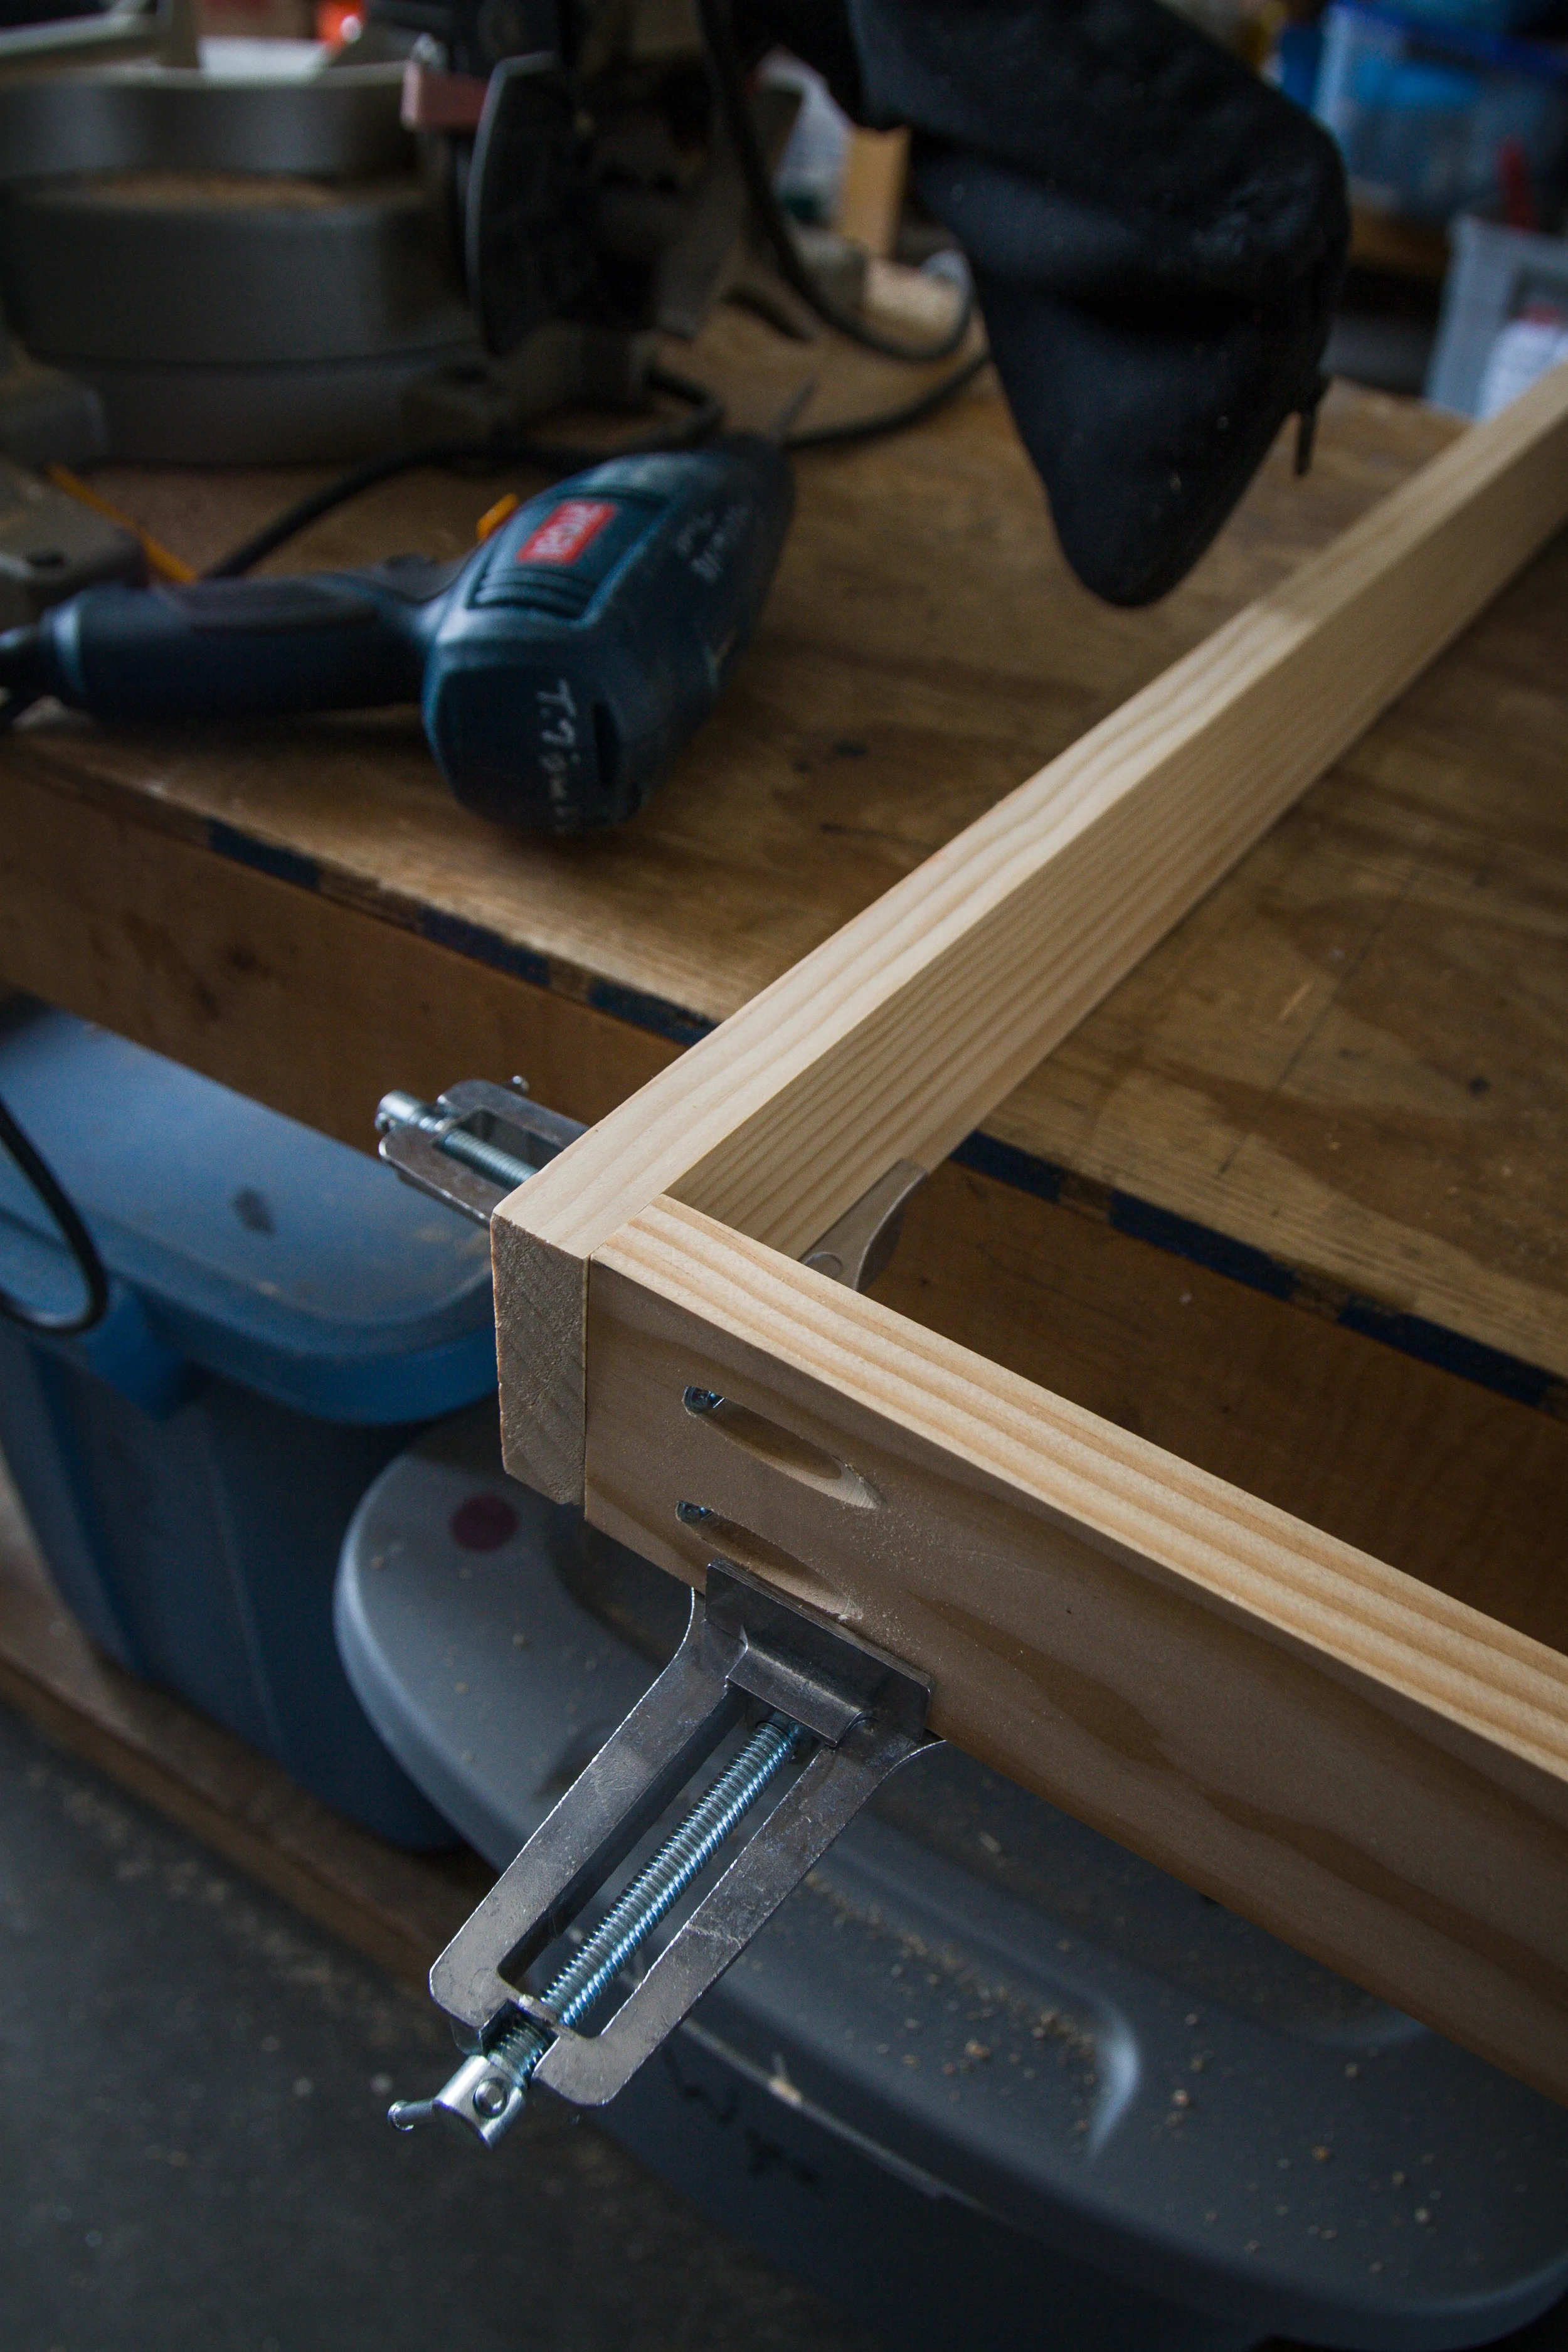
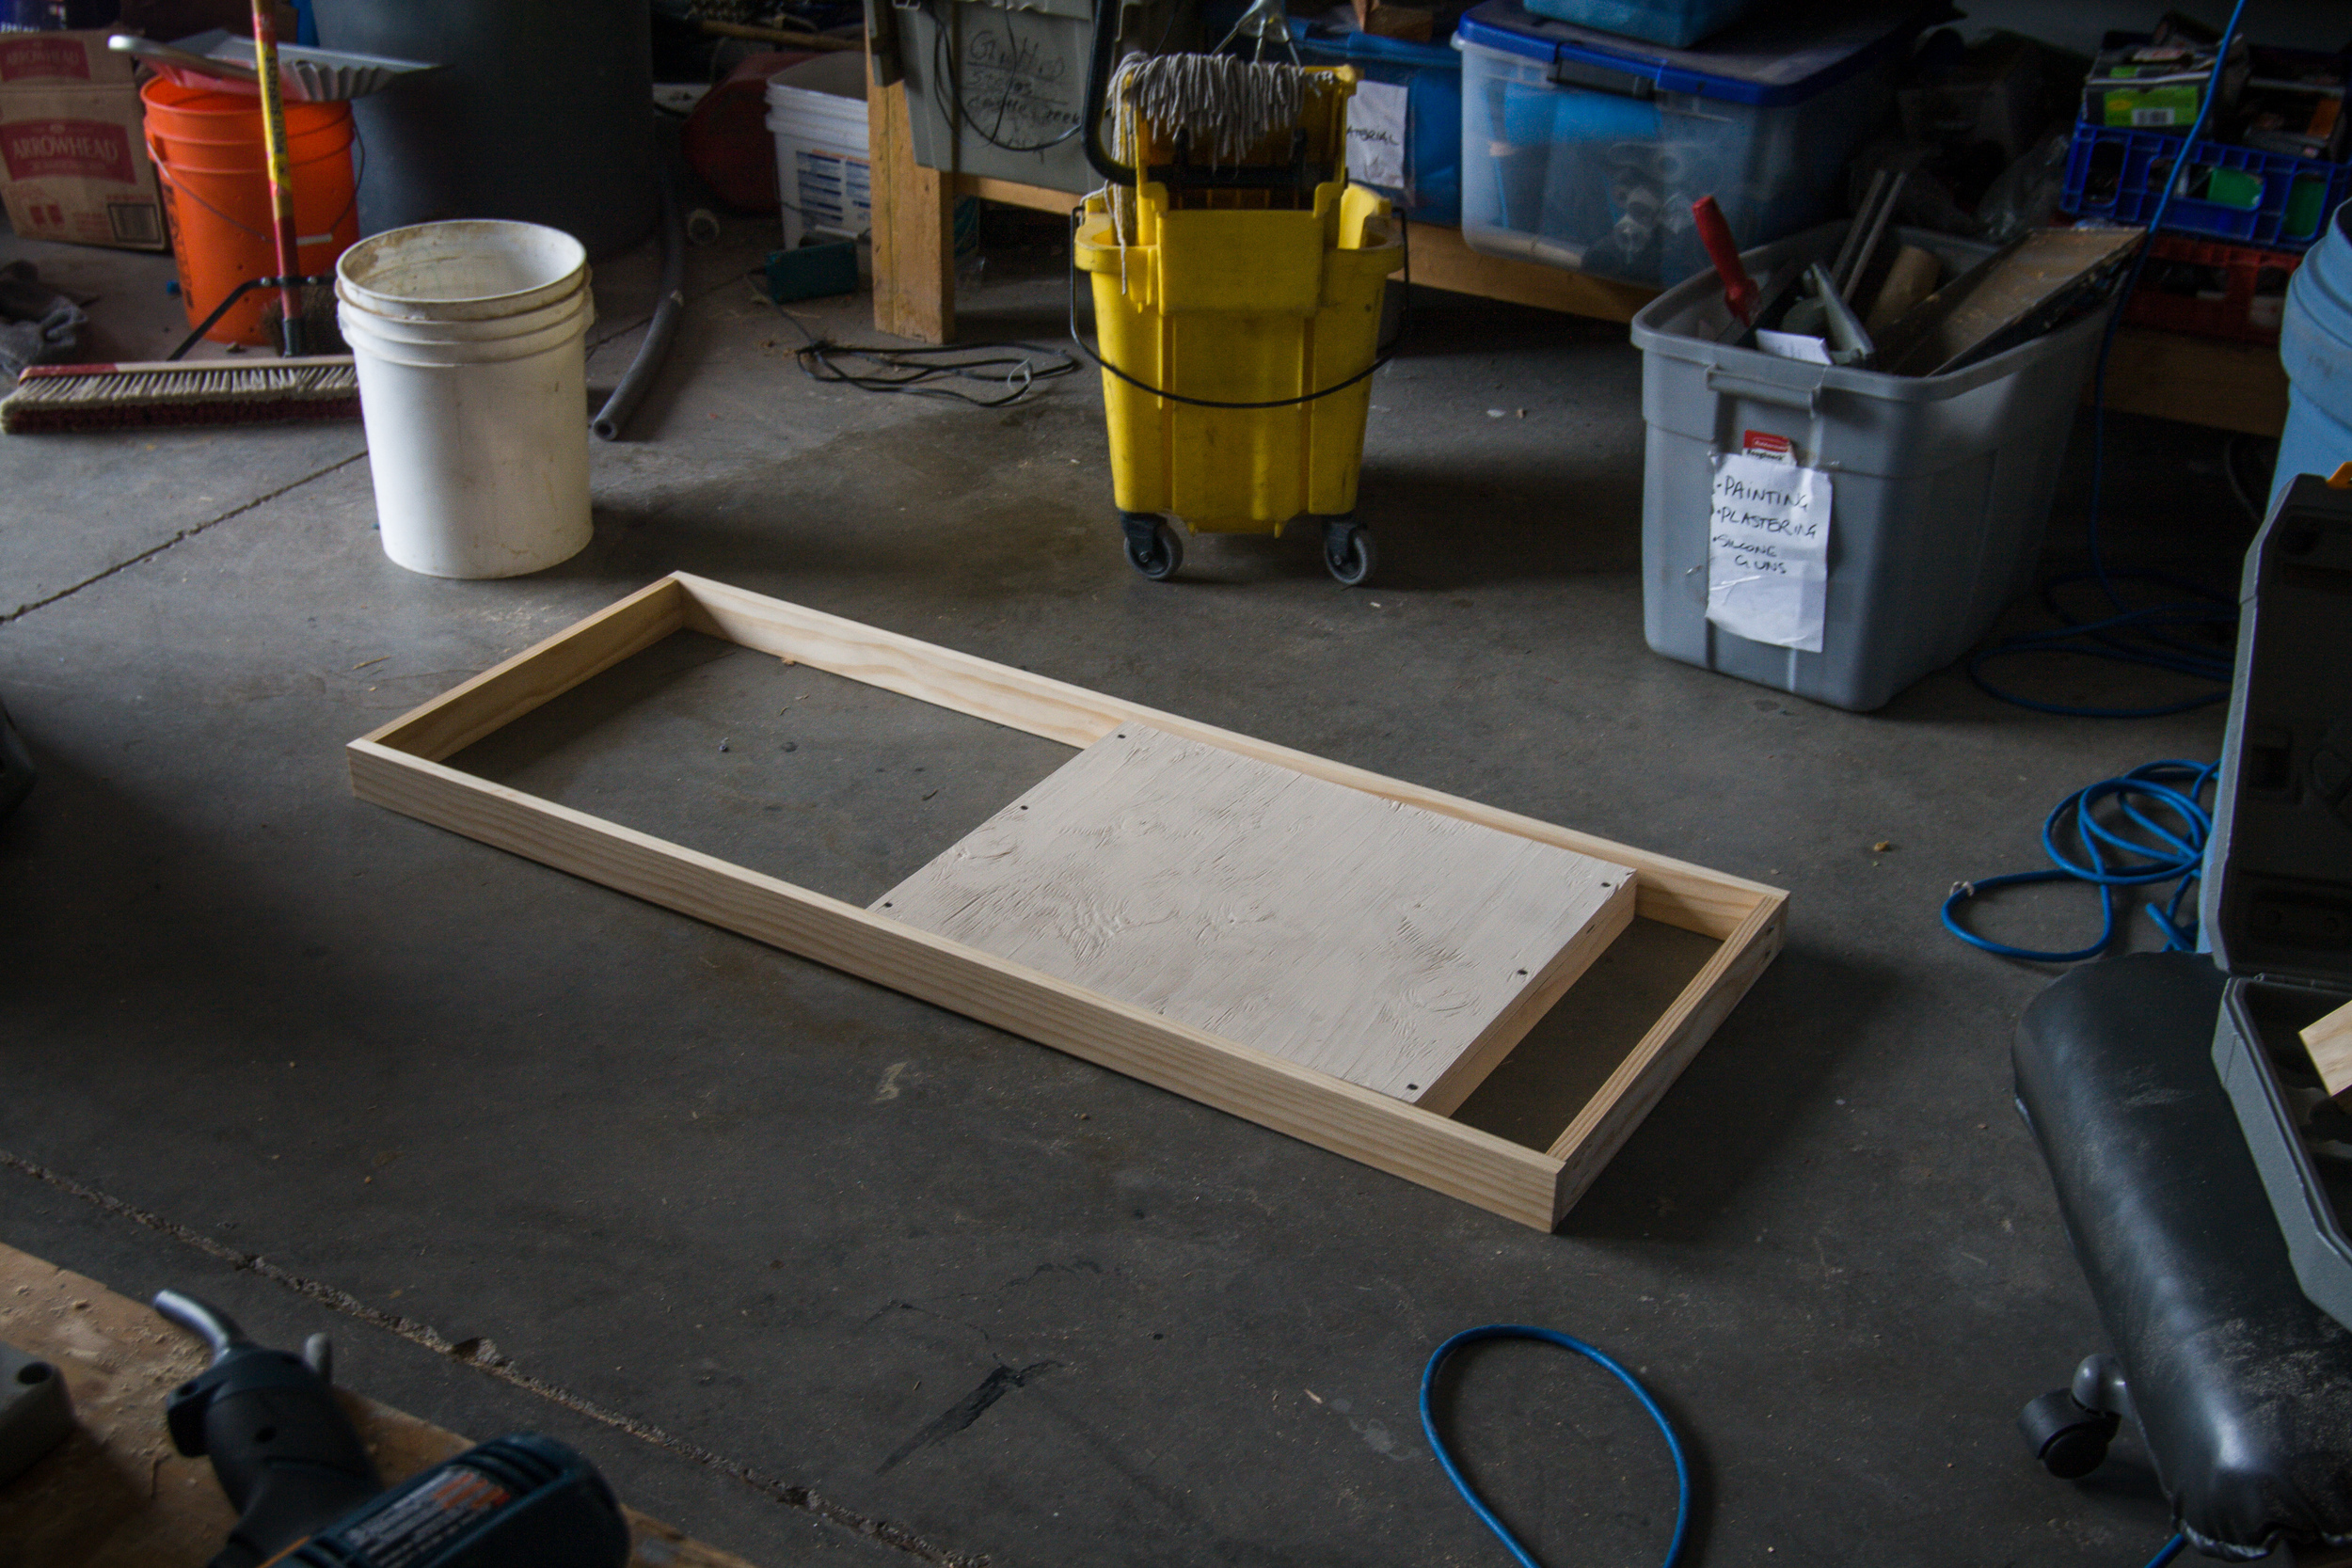
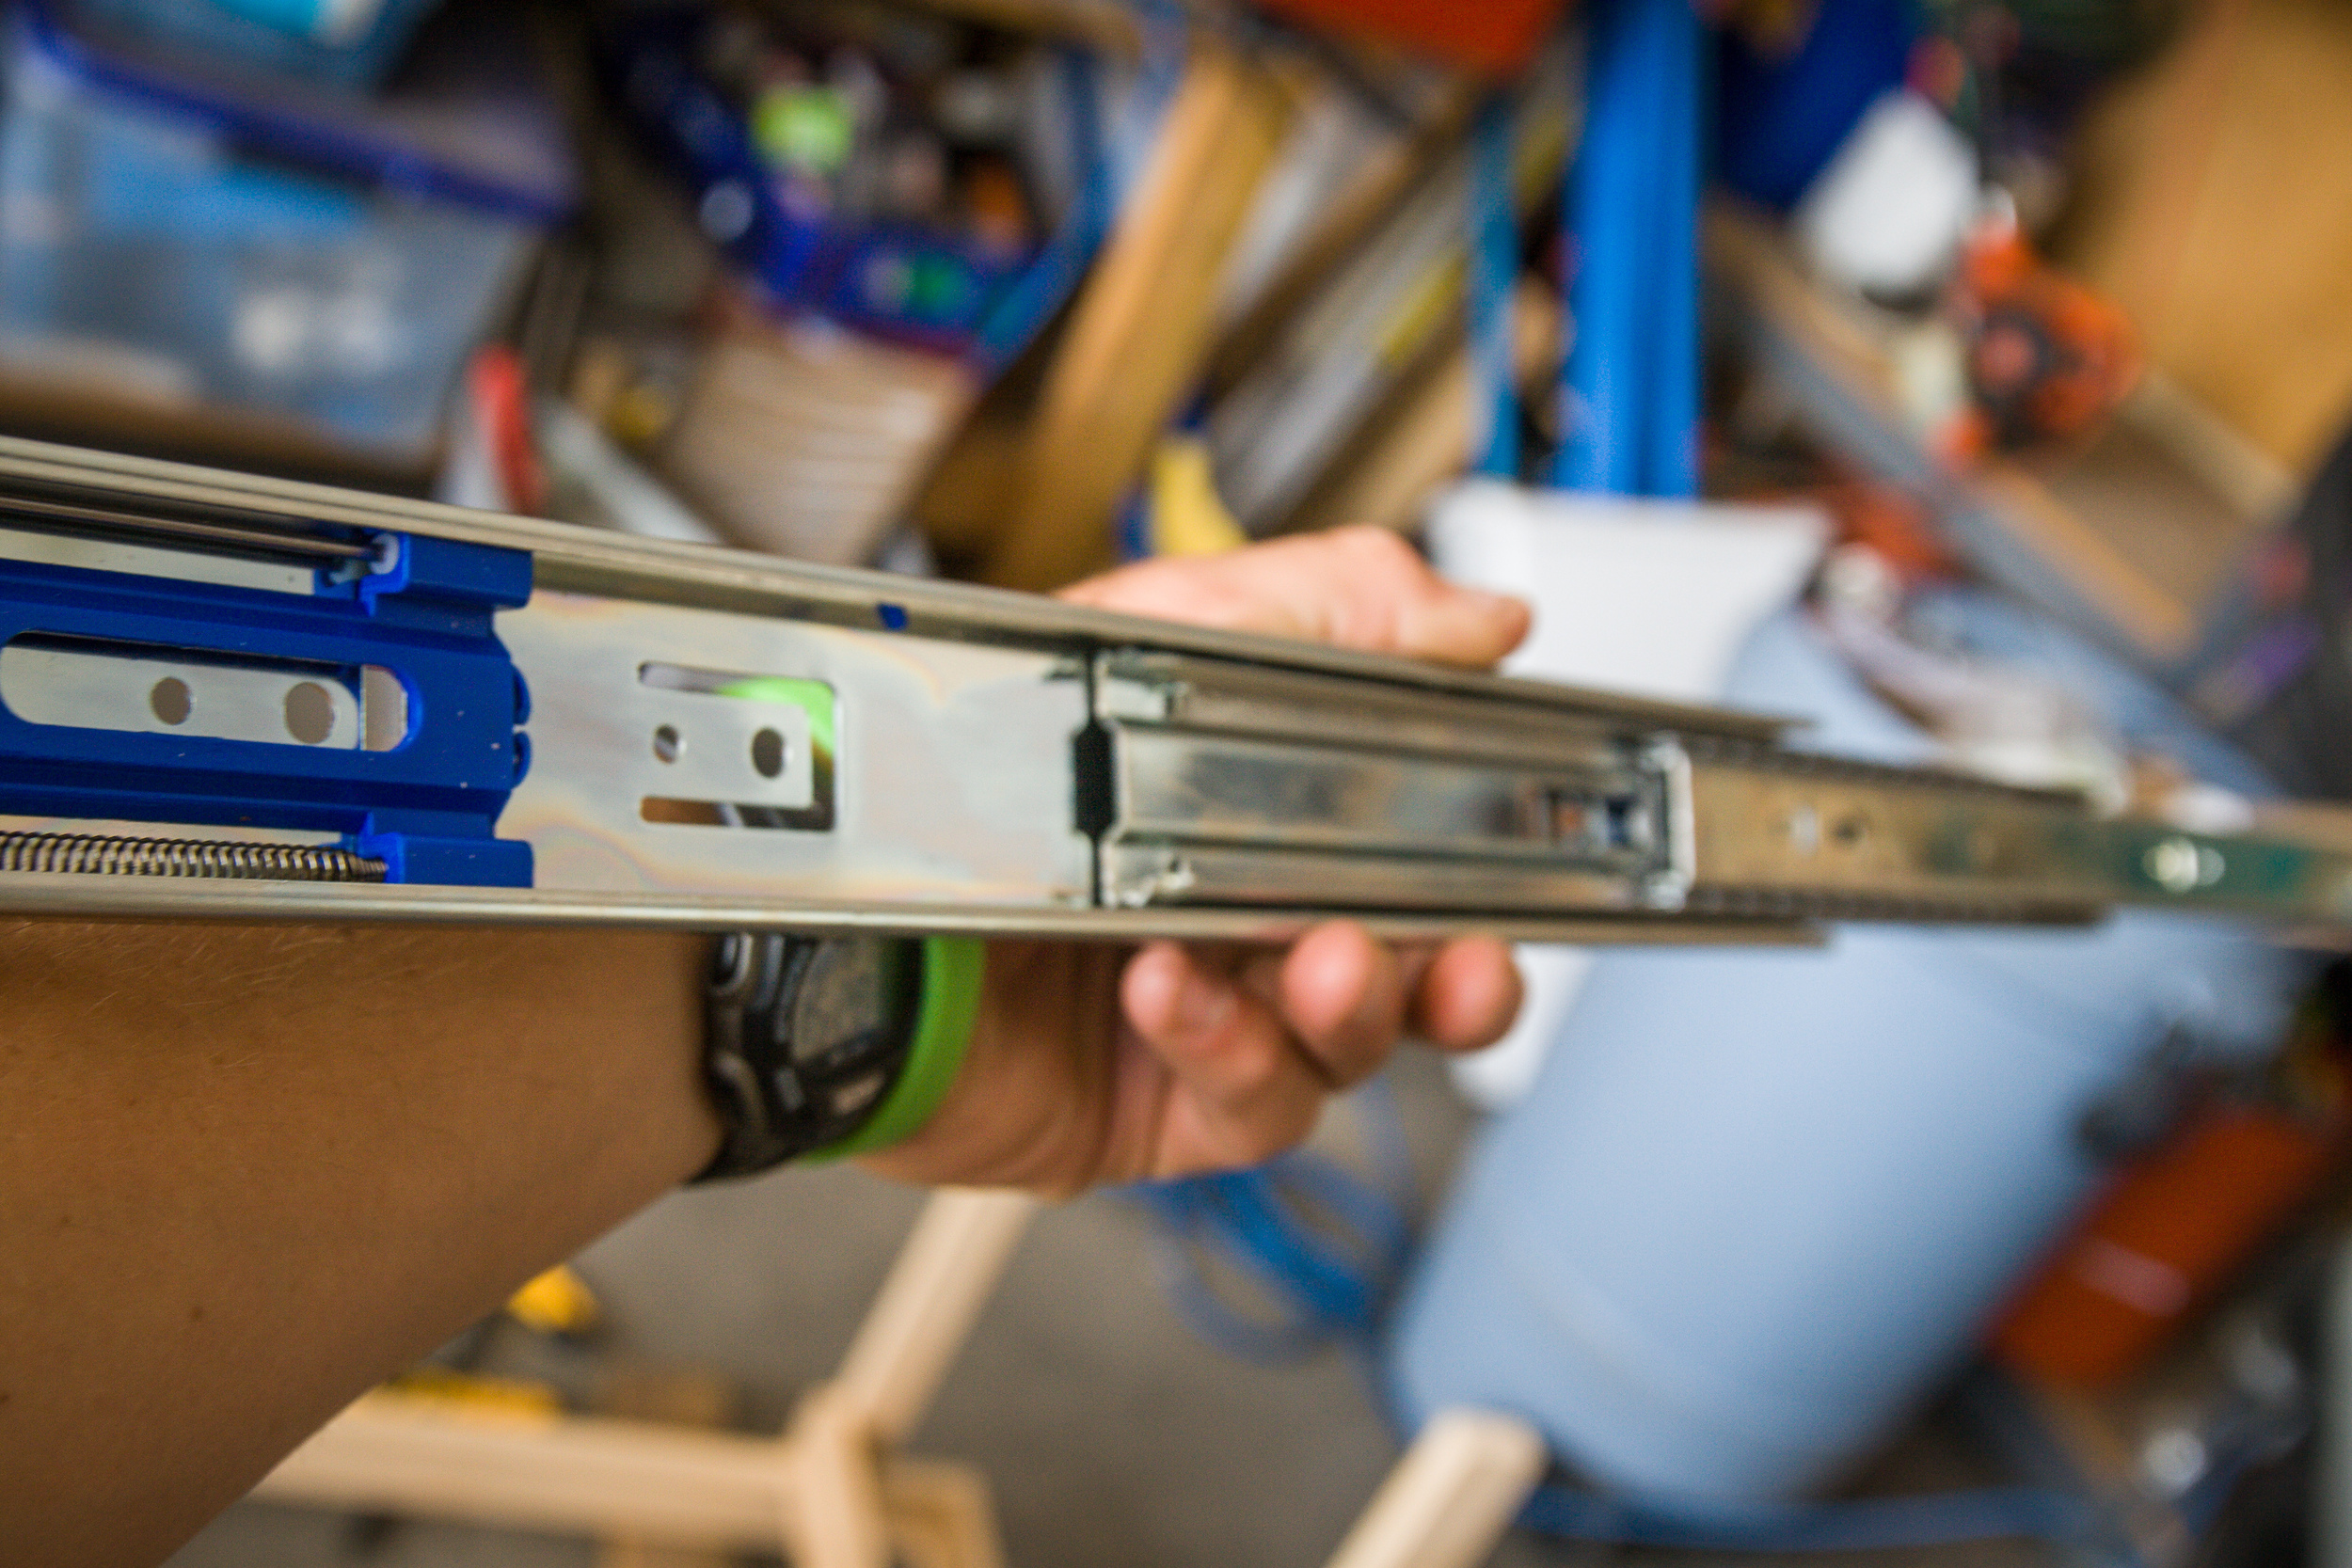
The first gallery shows the progression of our bed. For months it's been one sheet of plywood. We'd cut a second piece knowing our future plans, but hadn't had time to realize them. We found a local welder that was able to do some exact cutting work for us on the aluminum box below the bed to help facilitate the arm supports we'd wanted to swing out and support the center weight once the top half of the bed was attached to fold out.

This second gallery shows the work Christian did to put together our kitchen. Since one of the contributions I can make in my spare time is shopping trips to Home Depot (it's much closer to me than him) and ordering things from Amazon.com, I enjoy buying things to facilitate progress even if I can't be present for the realization of it. A few of my most recent purchases have been a trigger clamp, a 90º clamp and a Kreg pocket hole jig. All of these tools were essential to a decently built kitchen structure, so once Christian had these in his possession, the kitchen came to life fairly quickly (though he might argue otherwise).

We received our fridge/freezer, which is a Whynter 45qt fridge/freezer that runs off of 12 volt or 110 volt. Being the crux of our kitchen, once we received the fridge, we were able to truly map out and plan the structure around it. I'd dreamt of a pull-out solution for the fridge since it is a top-loading cooler setup, so we'd already bought some heavy duty sliders from Home Depot in prep for the build. The following photos show Christian's build of the kitchen.

Months ago on our road trip, we'd bought a few beautiful enamel bowls while visiting Christian's mom in Vermont. Thinking we'd found the perfect vessel for a kitchen sink, we hadn't revisited the notion until it'd come time to drill a hole in one of them. Turns out, it's incredibly difficult and expensive to drill a hole in enamel because of the type of metal and the easily chipped coating. After doing quite a bit of research, we finally resigned ourselves to buying a cheap stainless steel bowl from Walmart to serve as our sink. It was a bummer, as the bowls we'd picked were beautiful, but sometimes you've got to go with what's most logical. The following gallery shows the process for the sink. I love it and it works well, but it's just a bit small in diameter. The next size up in the same bowl is deeper, which neither of us want, so we're currently in search of another bowl, but until then, this one works just fine. 

replacing the light covers.

After multiple failed attempts to order replacement light covers for the red lenses we had to remove when we first got Campbulance, Christian and I hit a wall of frustration. The lens covers were not only impossible to find, but all the ones we'd thought would fit were expensive and usually specialty orders, so we were often unable to return them for a full refund and sometimes not at all.

After the latest fail, it was decided that we'd just be better off spray painting the old covers and putting them back on. The poor lights had been covered by painters tape since the day we picked Campbulance up on May 1. What was once bright purple tape had now faded to white from the days spent drying in the sun. It was time to get that stuff off.

After discussing our color options, we decided to go with silver. After two thorough coats, we reinstalled the lenses and basked in one less thing we'd have to spend money on replacing. They're not the fanciest looking things in the world, but they'll do for now and I can finally take a break from my relentless Googling of lens covers.

We tackled this project and a few other small things in the heat of the day after spending the morning rafting a class IV section of the Arkansas River, so once the covers were back on, we hightailed it out to the local brewery for a beer and some grub and totally dropped the ball on getting "finished" photos on the rehabbed lenses. Oops! I promise to post some soon.